“I’m a natural light photographer.” How many times have you heard this before? Or how many times have you said this before?
It’s time to suck it up and admit the truth–no, you’re not a natural light photographer. You probably don’t know how to use a flash. Do you know what a guide number is? Do you know how ISO works in conjunction with it? Well guess what, you don’t have to.
No longer will you say to folks that you’re a natural light photographer. If you take this guide and follow through with according levels of initiative to learn how it all works, then you’ll at least get the basics down before moving on to the advanced stuff. Don’t settle for mediocrity when you can become a better shooter by adding more tools to your skillset. In case you were wondering how to use your camera flash, here’s a guide that will explain it but is useless without practice.
Thinking About Flash in a New Way
To start, you need to think about flash differently. Instead of just a way to fill in shadows to add light to an area that is completely dark, think of it as a different light source. Let’s equate it to something that many of you do every day: go to work. If you work in an office, you could arguably work with none of the overhead lights on and only that light coming in from the window on a bright sunny day. But instead, the office demands that the lights be on. Those lights aren’t really necessary, but they add extra illumination.
Think about flash that way, but with less florescent lighting and no terrible buzzing sound that will drive you totally nuts. Instead, flash is extra light that can be added to a scene to make it look good.
Then consider the fact that folks sometimes say, “Why do you need a flash? It’s the daytime?” In truth, that’s when you SHOULD be using a flash. Why? Well, it opens up shadows and helps you create an image with less contrast. This reveals more details in the images.
So let’s begin with this new philosophy: it’s about literally thinking about flash as just a light source. And let’s take it a bit further.
How Light Sources Affect Your Images
We want you to imagine a completely dark room with no light. So little light that not even the brand new Sony A7s can handle the darkness. Now your job is to light a scene one light at a time.
For argument’s sake and to make this easier, we’re going to use a phone as an example.
Stay with us here. It’s about to get complicated and imaginative!
If you use the LCD screen of a phone, turn the brightness all the way up, and place it near a person’s face, you’d have enough light to shoot an image. Now move that phone/light around. Move it to the side, and you’ll get only half of their face illuminated. Move it in front, and you’ll illuminate their face but you’ll create shadows. Move it underneath and you’ll create different shadows.
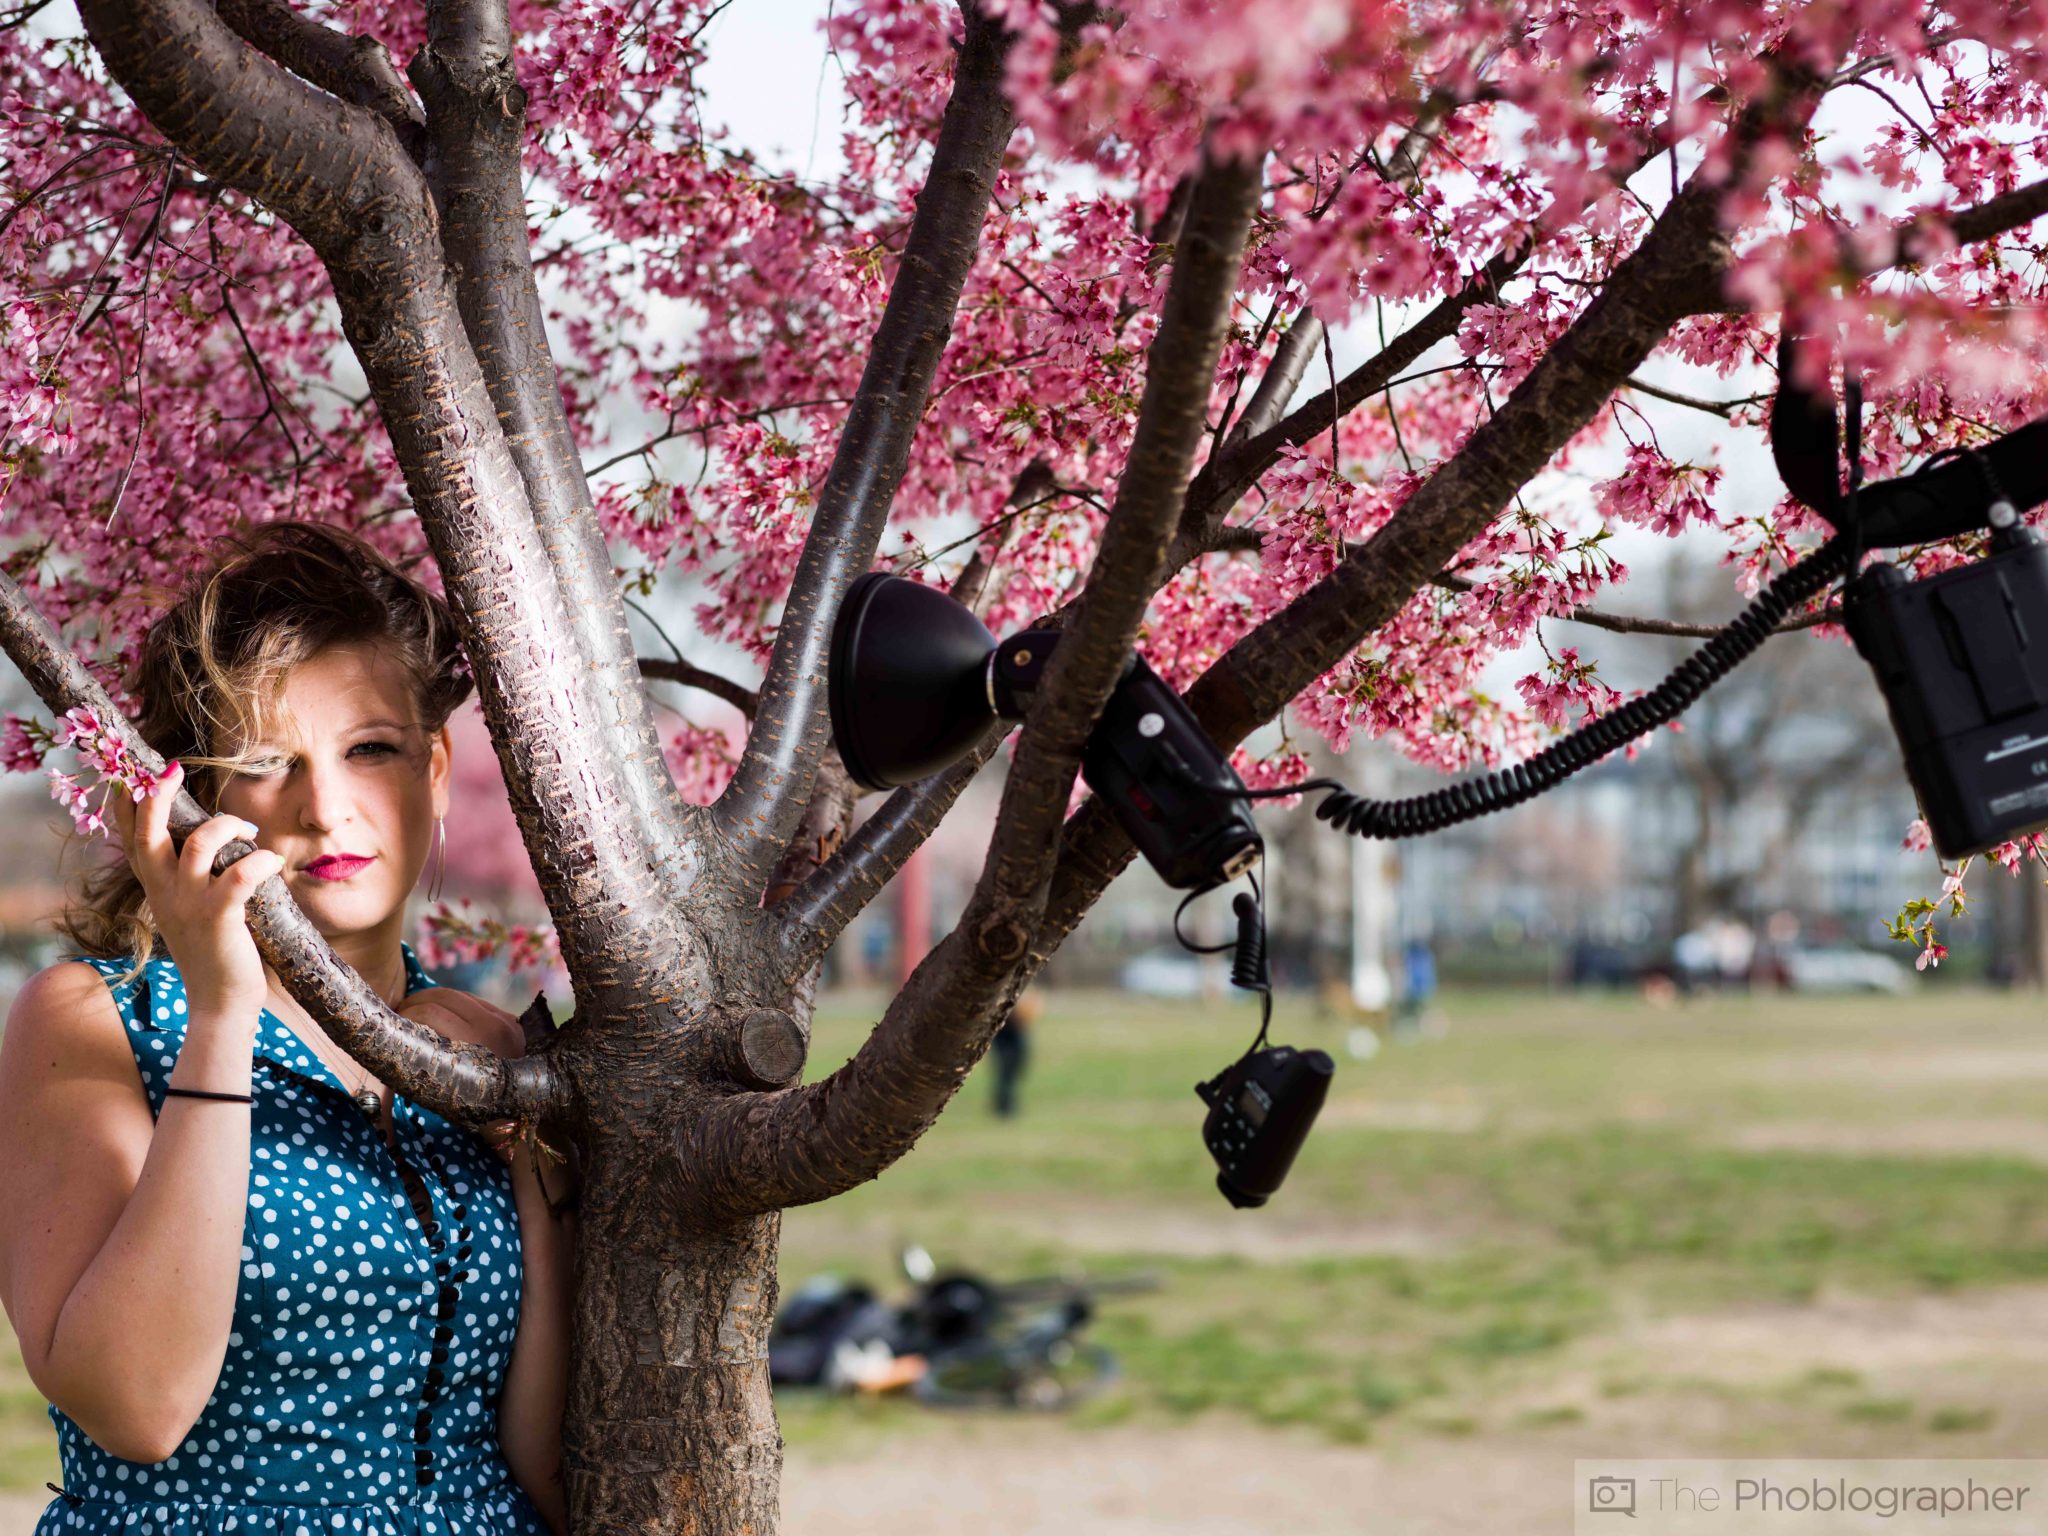
Then step out of this lightless room and go out into the open. The sun is the main light source and it shines down with all its glory. If you don’t want a subject to squint when you take a photo, then you’ll photograph them with the sun behind them. But then you run the risk of getting shadows all over their face due to lack of illumination. And that’s where a flash comes in. Now you have two light sources: the flash and the sun.

How Flash Works in Relation to Exposure

When working with a flash, you simply can’t just tell it to shoot off and get beautiful images. Well, theoretically you can, but you need a heck of a background in art and an extremely creative eye!
Do you have any of those things? If you do, and you can market the hell out of it to make sales, then stop reading here.
For the rest of us though, it’s time to understand how flash works in relation to your exposure. If you’re using your camera’s pop-up flash, then the flash will try to meter accordingly with the scene that you’re shooting, but if you are using a hot shoe flash then your camera and flash won’t necessarily work together or communicate in the same language unless there is TTL communication. If there isn’t TTL communication then keep this in mind. When a flash is connected to a camera, the following happens to the exposure parameters:
ISO: Controls the overall light sensitivity of the scene.
Shutter Speed: Controls the amount of ambient light in the scene
Aperture/F-stop: Controls the amount of light being given off from the flash currently affect the scene
But you flash also has its own power settings. Through the menus, you can tell the flash to output light that makes the scene brighter or dark. Some companies call this flash compensation.
Blending The Flash With Ambient

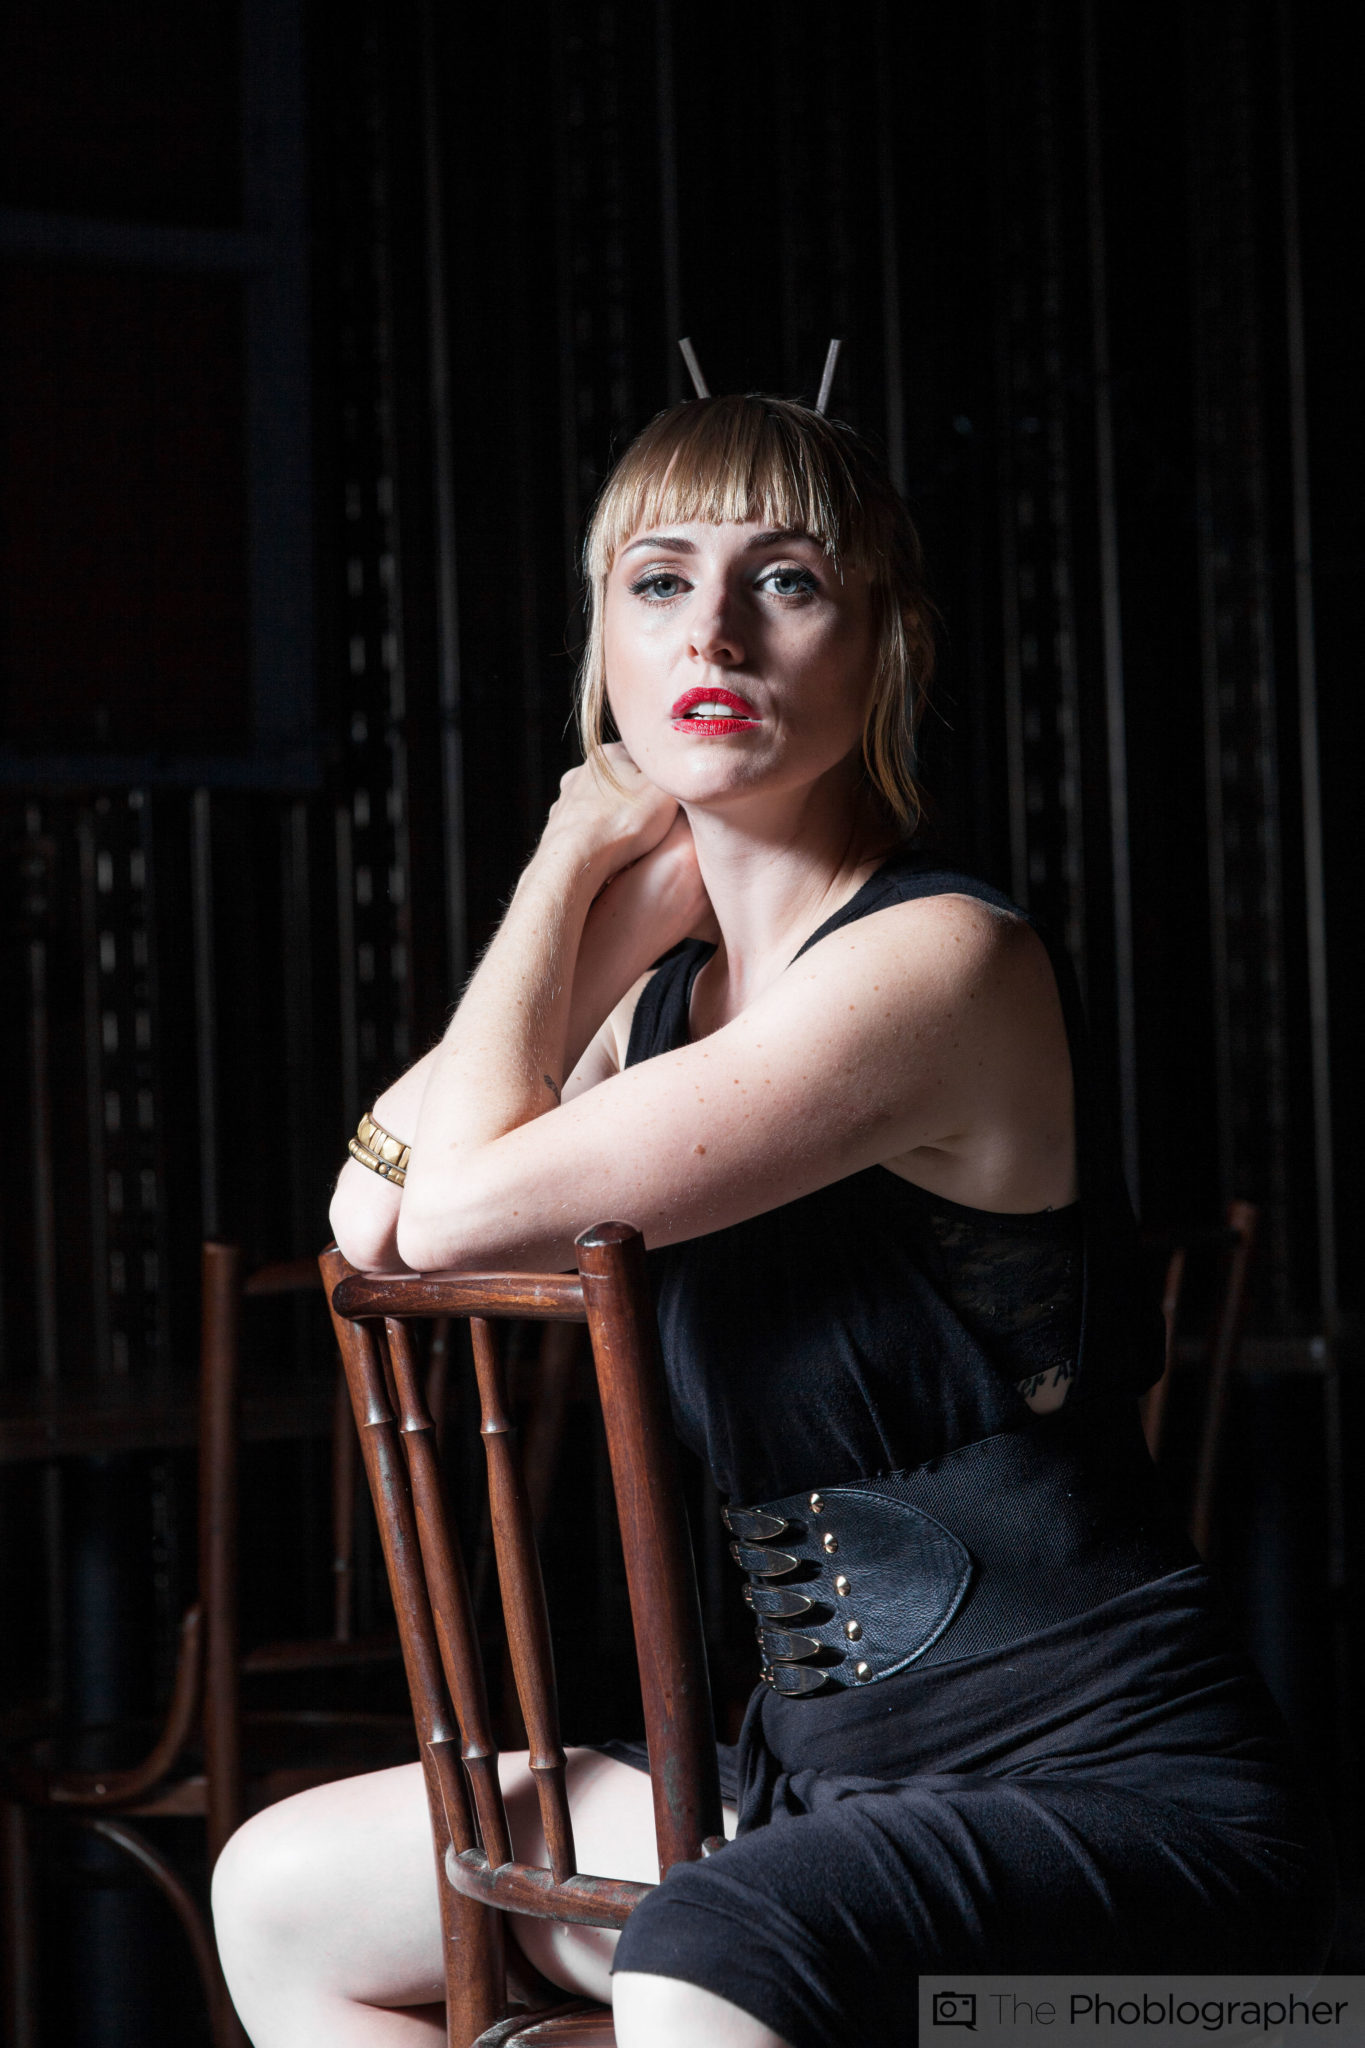
You can blend flash lighting with ambient lighting to look very, very natural and very beautiful. The way to do this involves making the light source larger. In general, the rule is that the larger the light source is in relation to the subject, the softer the light will be.
To be clear: soft light has to do with the quality of the shadows. If the shadows are dim, then the light is soft, If the shadows are dark and not much detail can be seen, then that is called hard light.
To blend flash output with ambient, you need a lot of soft light. Using a pop-up flash? You’re out of luck–there is almost no way that you can effectively make that light look soft. Using a hot shoe flash? Different story there–many photographers often use the heads of flashes to illuminate an area. This is often called bouncing the light. If you point the flash upwards towards the ceiling, the light will hit that area and create lots of soft light on a subject. Then you’ll need to adjust your exposure to make sure that there aren’t any shadows.
So what does that mean? It means that you’ll need to experiment and figure out the right feasible shutter speed and ISO combination to use with the flash.
Indeed, using a flash is a game of proportions. Do you like math? Good, you’re in luck. Hate math? No problems. Trial and error never hurt anyone.
Get rid of the ads!
Did you enjoy reading this article as much as we enjoyed writing it? There's a way to support us and our reporting, getting ad-free navigation and more as a bonus. Subscribe to us for less than a coffee per month —just $3.99— or take advantage of our yearly subscription with a hefty discount for only $25.- An ad-free experience
- A free mystery box for Lightroom or Capture One
- All the books in our store
- 20% discount on Capture One
- 30% discount on Imalume Photo Theft Protection
- 20% off Herbs and Kettle Tea Company.
- 20% off your order from MPIX printing services.
- 5% off Viltrox Products via their eCommerce store.
- 10% off all film developing, printing and scanning services from Blue Moon Camera and Machine
- 15% off 7Artisans products: The lens and accessory maker is offering a sweet discount for Phoblographer's readers.