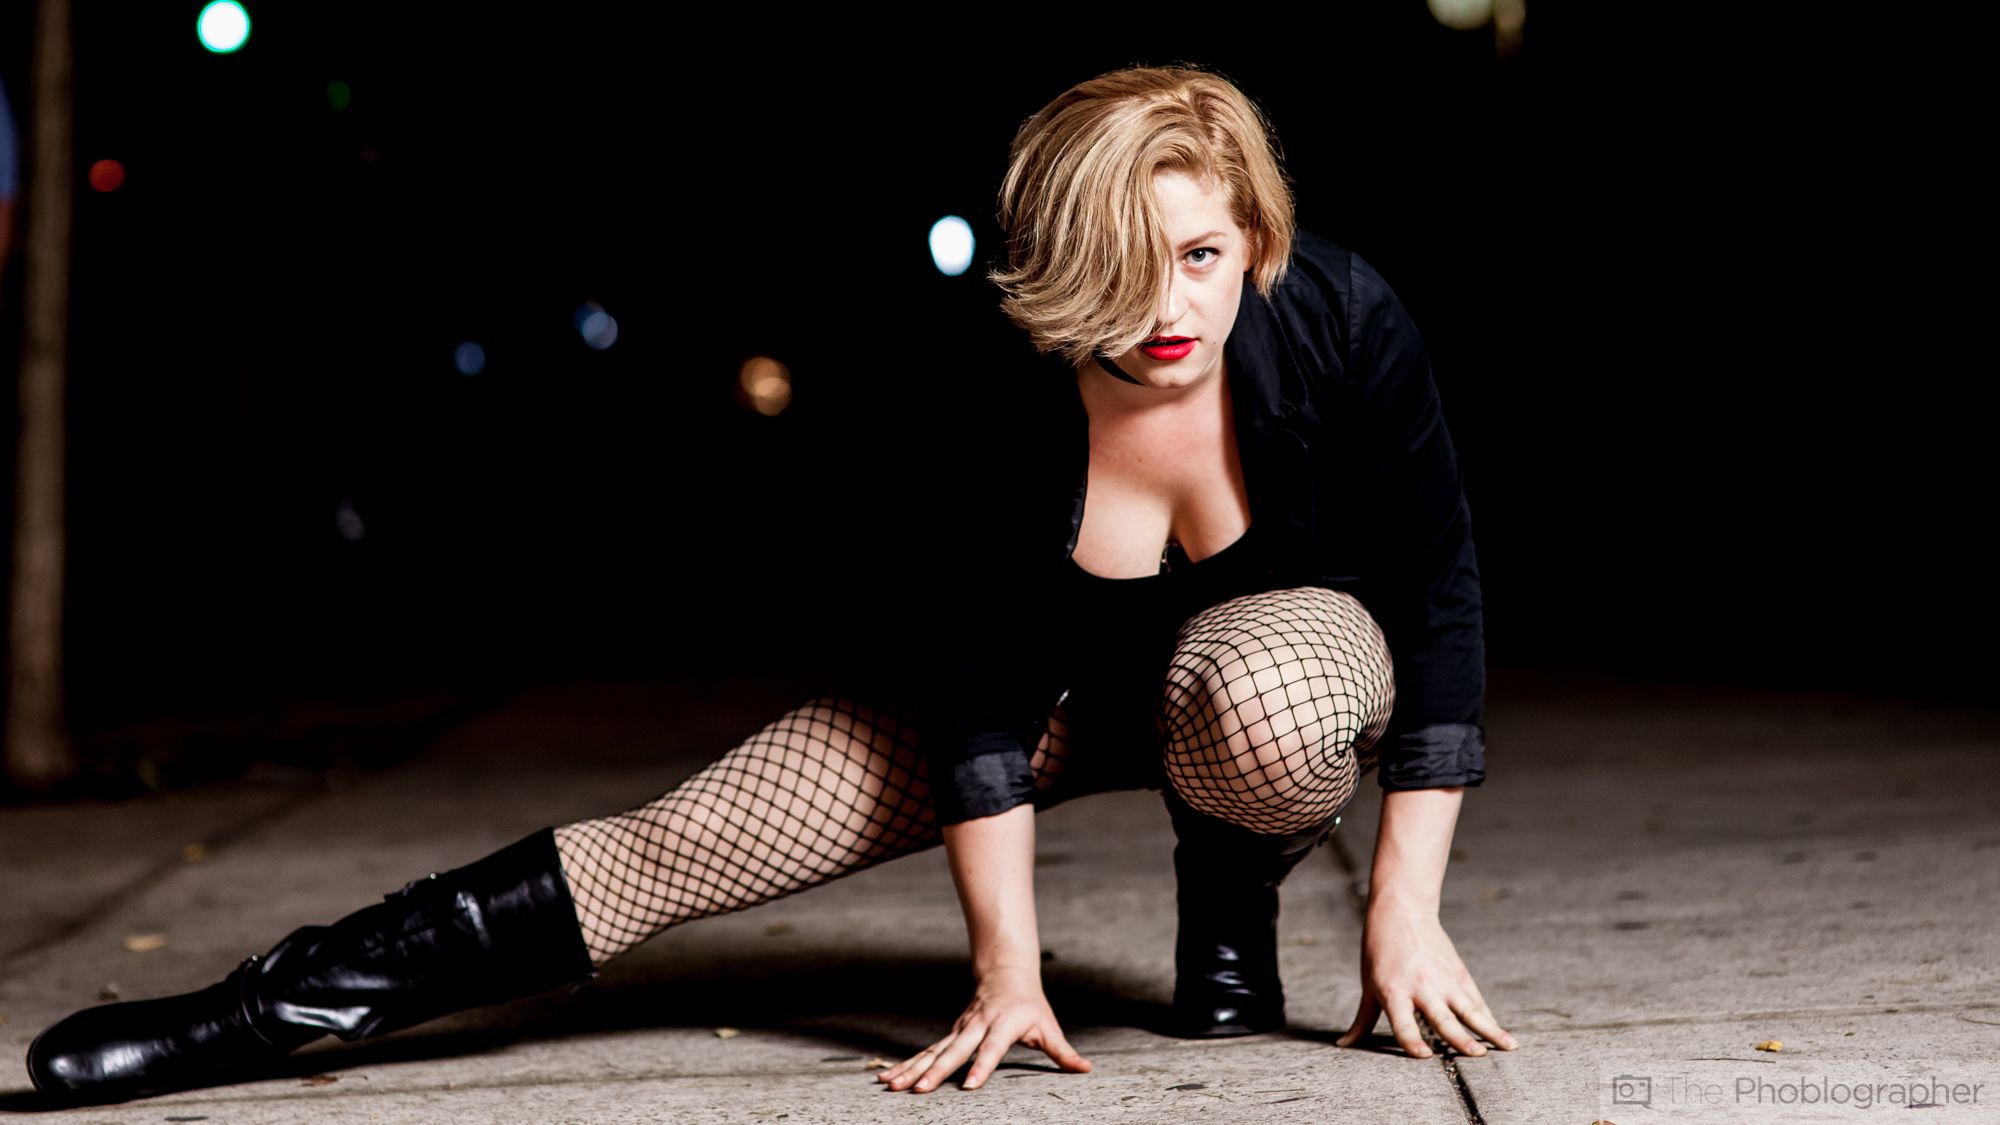
Have you ever watched a movie and loved the intimate look of the scenes? Movies and cinema usually have scenes with just the subject in focus and otherwise lots and lots of bokeh. The reason for the DP choosing this cinematic style is because they’re trying to get you to focus on particular subjects to tell their story. And when it comes to story telling, it proves to be quite effective and beautiful at the same time.
Cinema and photography are very related and getting images like this is fairly simple to do. Here’s how.
The Basics of Cinema
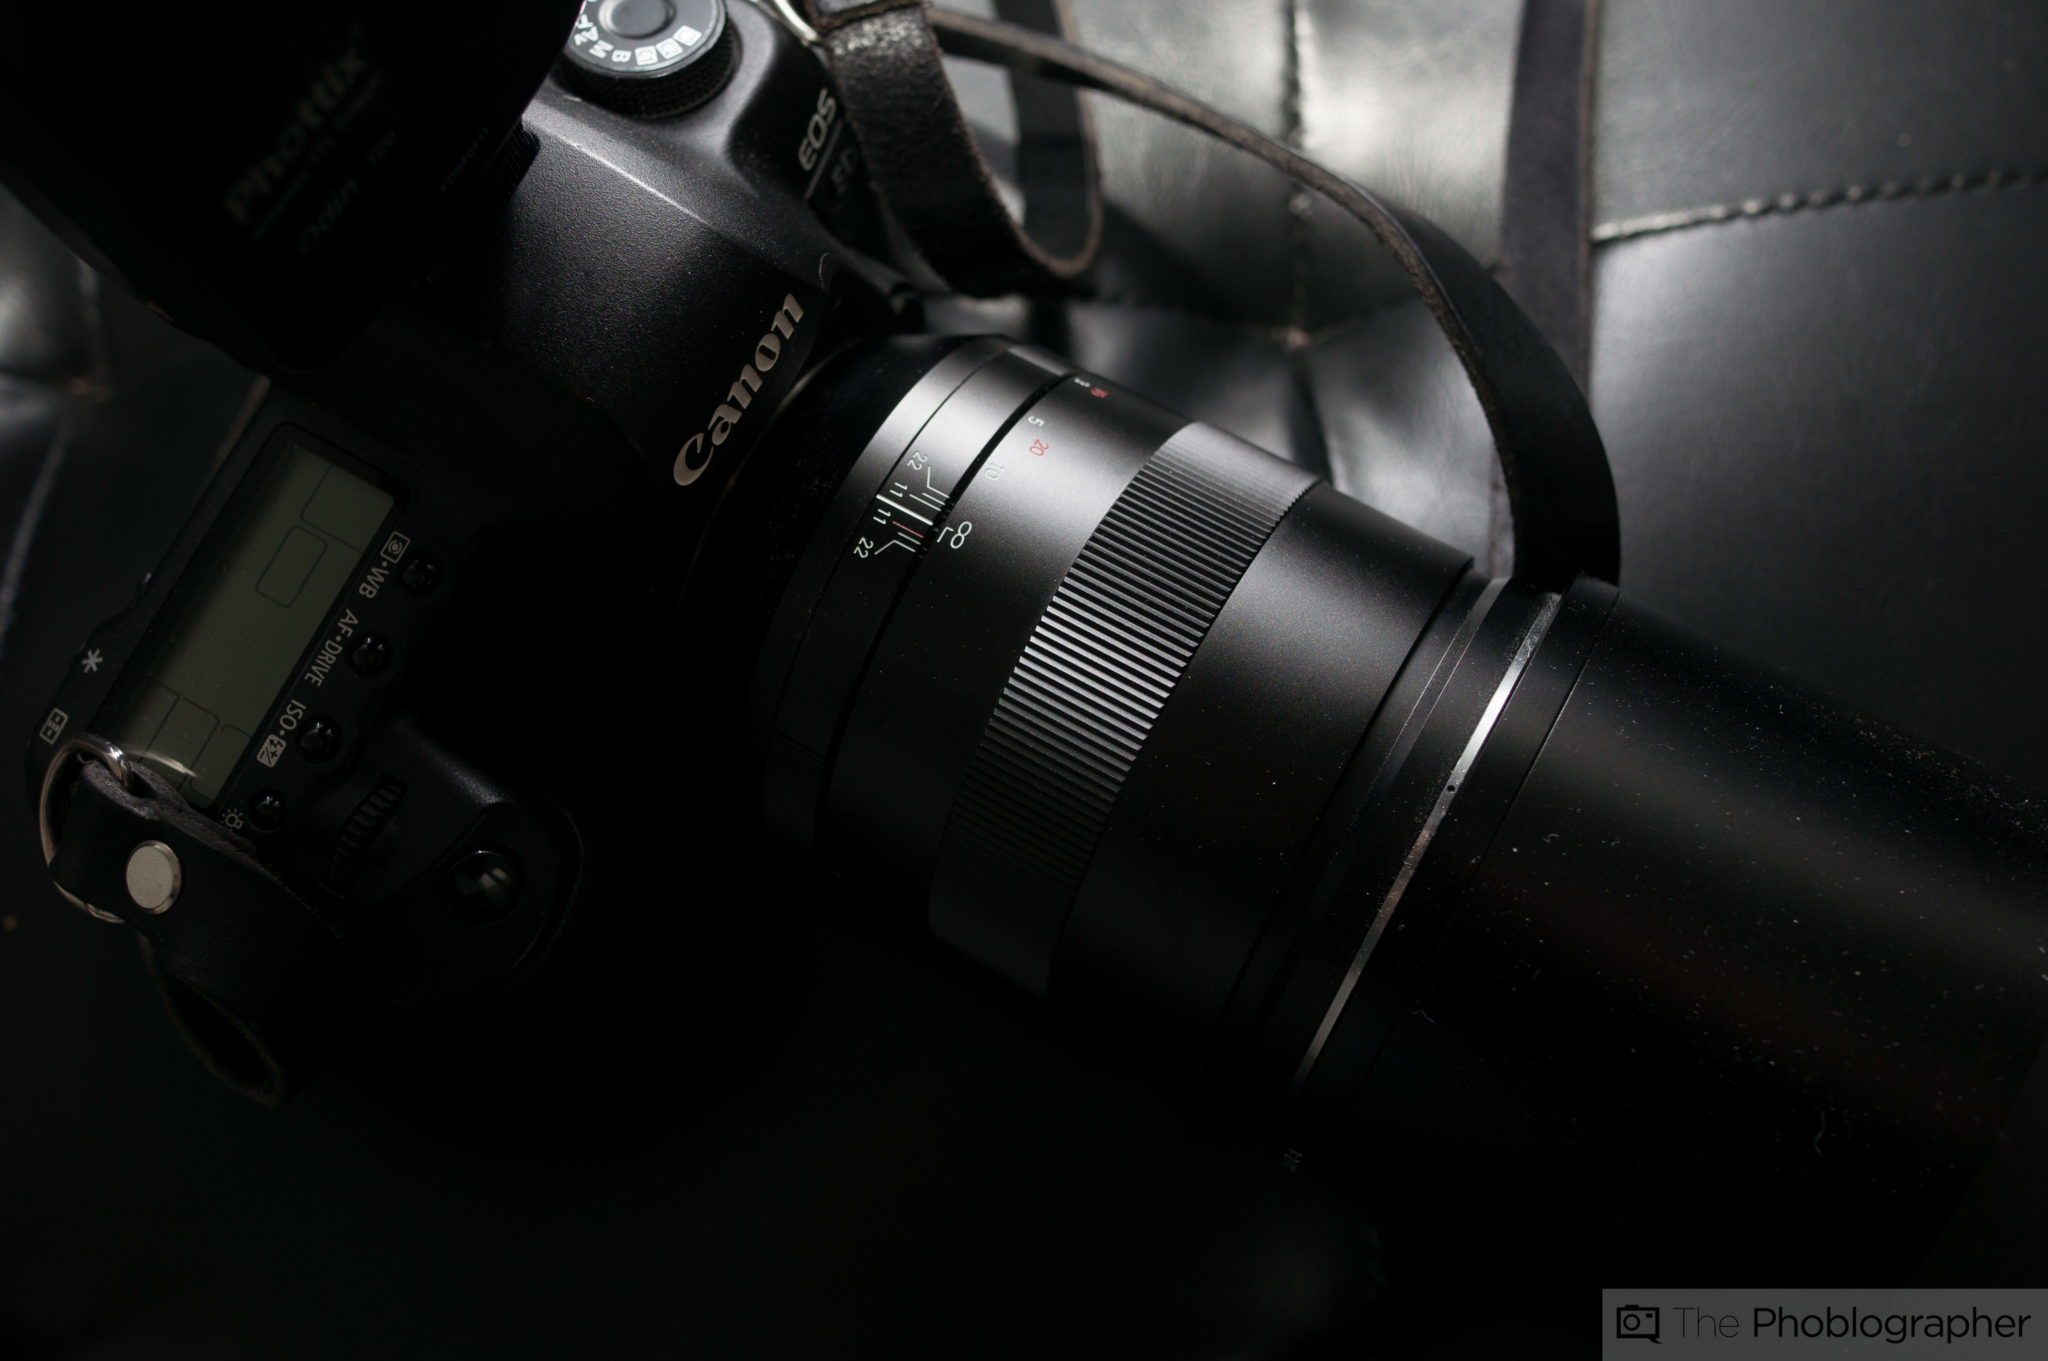
First off, you should consider the gear that you’re using. In order to get that magnificent bokeh, you’ll need to not look twice at wide angle or normal focal lengths. The way that cinematographers get so much compression is by using telephoto lenses–so you’ll need at least an 85mm lens. Ideally, it will also have a wide aperture. We have a number of our favorite portrait lenses here, and that’s a start.
Then you’ll need to consider your sensor size. Many movies have been made on Micro Four Thirds cameras, so as long as the sensor is at least that size you shouldn’t have too much of a problem. But APS-C and Full frame sensors are used quite a bit these days too.
If the movie was shot on film, chances are that they’re shooting with the equivalent of medium format but in the cinema world. Medium format film and sensor planes, by the nature of their design, will render more bokeh and a wider field of view due to the larger surface area.
In the Camera
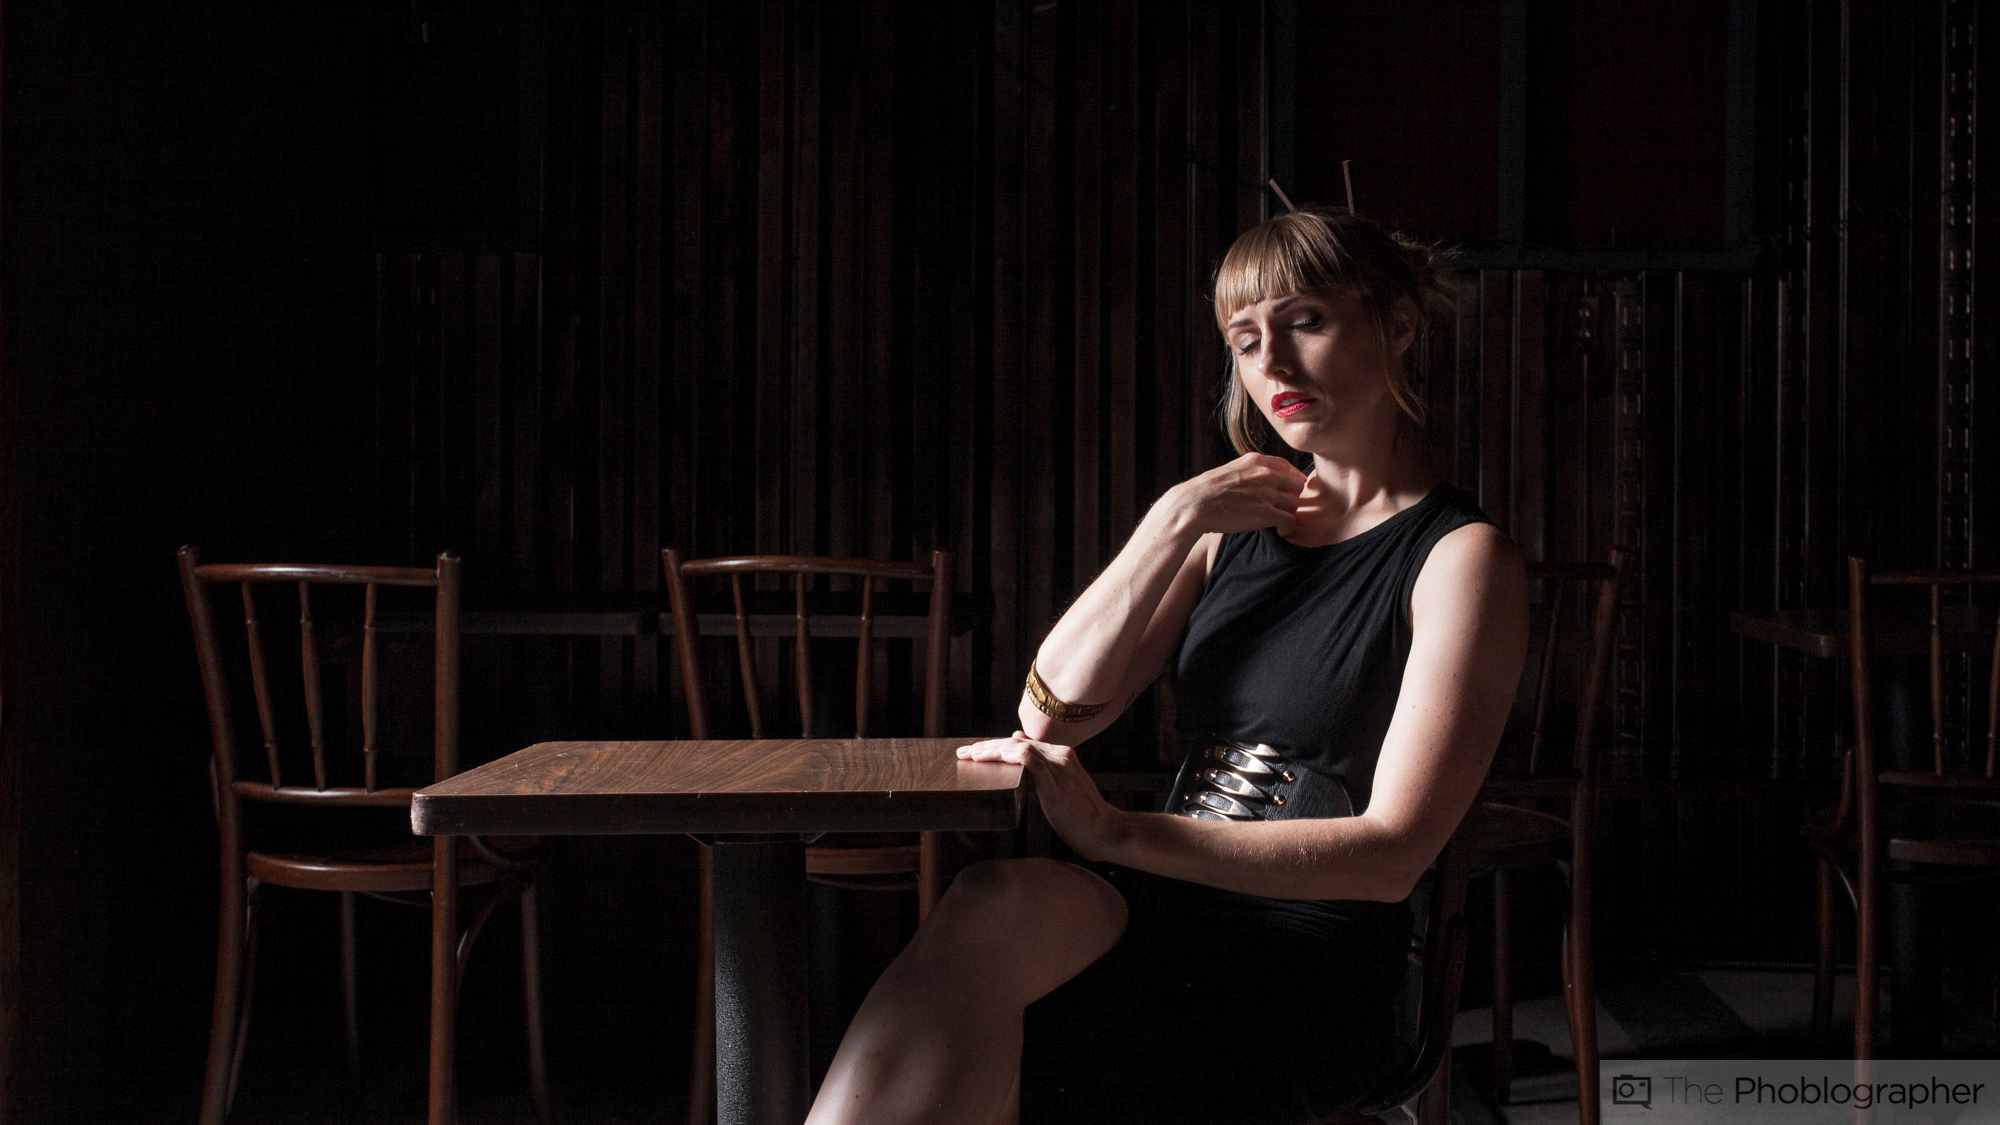
If you’re planning to do this all in the camera (which is very possible) we suggest that you switch your camera’s aspect ratio to 16:9. Many cameras are set to 3:2 or 4:3 by nature, but 16:9 is the ratio of widescreen cinema. Standard definition television and film was 4:3–in this tutorial though we’re going after more current standards. If your camera doesn’t have a 16:9 ratio, that’s fine. We will get to that in the next step.
After you get the ratio, you’ll want to make sure that your aperture isn’t too narrow. We recommend not shooting narrower than f5.6–but you’ll ideally want to be wide open.
Then it’s all about framing and storyboarding. Before cinema is even shot, there is a lot of story boarding that goes into the creation of the images.
And this should go without saying, but you’ll also need to shoot landscape style. Vertical video will be the death of us all otherwise.
In the Post Processing Phase

If your camera doesn’t have a 16:9 ratio, then don’t worry at all. After importing your image into Adobe Lightroom, you can select the crop tool, then choose an aspect ratio. Go for 16:9 and then compose your image accordingly. It also helps to be overexposed a bit more for that extra cinematic look.
Again, we’re going to remind you to not try this with vertical images. It’s really tough to pull off otherwise. For an even better effect, try this with a cinemagraph.
Get rid of the ads!
Did you enjoy reading this article as much as we enjoyed writing it? There's a way to support us and our reporting, getting ad-free navigation and more as a bonus. Subscribe to us for less than a coffee per month —just $3.99— or take advantage of our yearly subscription with a hefty discount for only $25.- An ad-free experience
- A free mystery box for Lightroom or Capture One
- All the books in our store
- 20% discount on Capture One
- 30% discount on Imalume Photo Theft Protection
- 20% off Herbs and Kettle Tea Company.
- 20% off your order from MPIX printing services.
- 5% off Viltrox Products via their eCommerce store.
- 10% off all film developing, printing and scanning services from Blue Moon Camera and Machine
- 15% off 7Artisans products: The lens and accessory maker is offering a sweet discount for Phoblographer's readers.