One of the hardest things for any photographer to do is to edit down their images to a select few. Whether they are images from a recent shoot or a body of work destined for a web gallery or portfolio, the process of editing is no easy task. It’s not something that’s taught alongside learning about shutter speed, aperture and ISO.
It’s an important skill to develop as a weak portfolio or web gallery can diminish the impact of one’s best work. Here are some suggestions that may help you to refine the way you evaluate, select and organize your best photographs.

Apply a Simple Rating Immediately After a Shoot
After a shoot, go through the day’s images and apply a positive flag to the images you favor. Go through the images quickly and don’t linger. Just let your immediate reaction dictate which images work for you.
Add Keywords
Remember to add keywords to images to identify what category of photography they fit in: portrait, landscape, macro, etc.
Review Several Days Later
Return to that day’s shoot and review the images again and add one star to those images that you are interested in editing/processing. Try to weed out duplicates or very similar images.

Use the Compare Feature
If you use Adobe Lightroom, use the Compare feature to eliminate duplicates or very similar images.
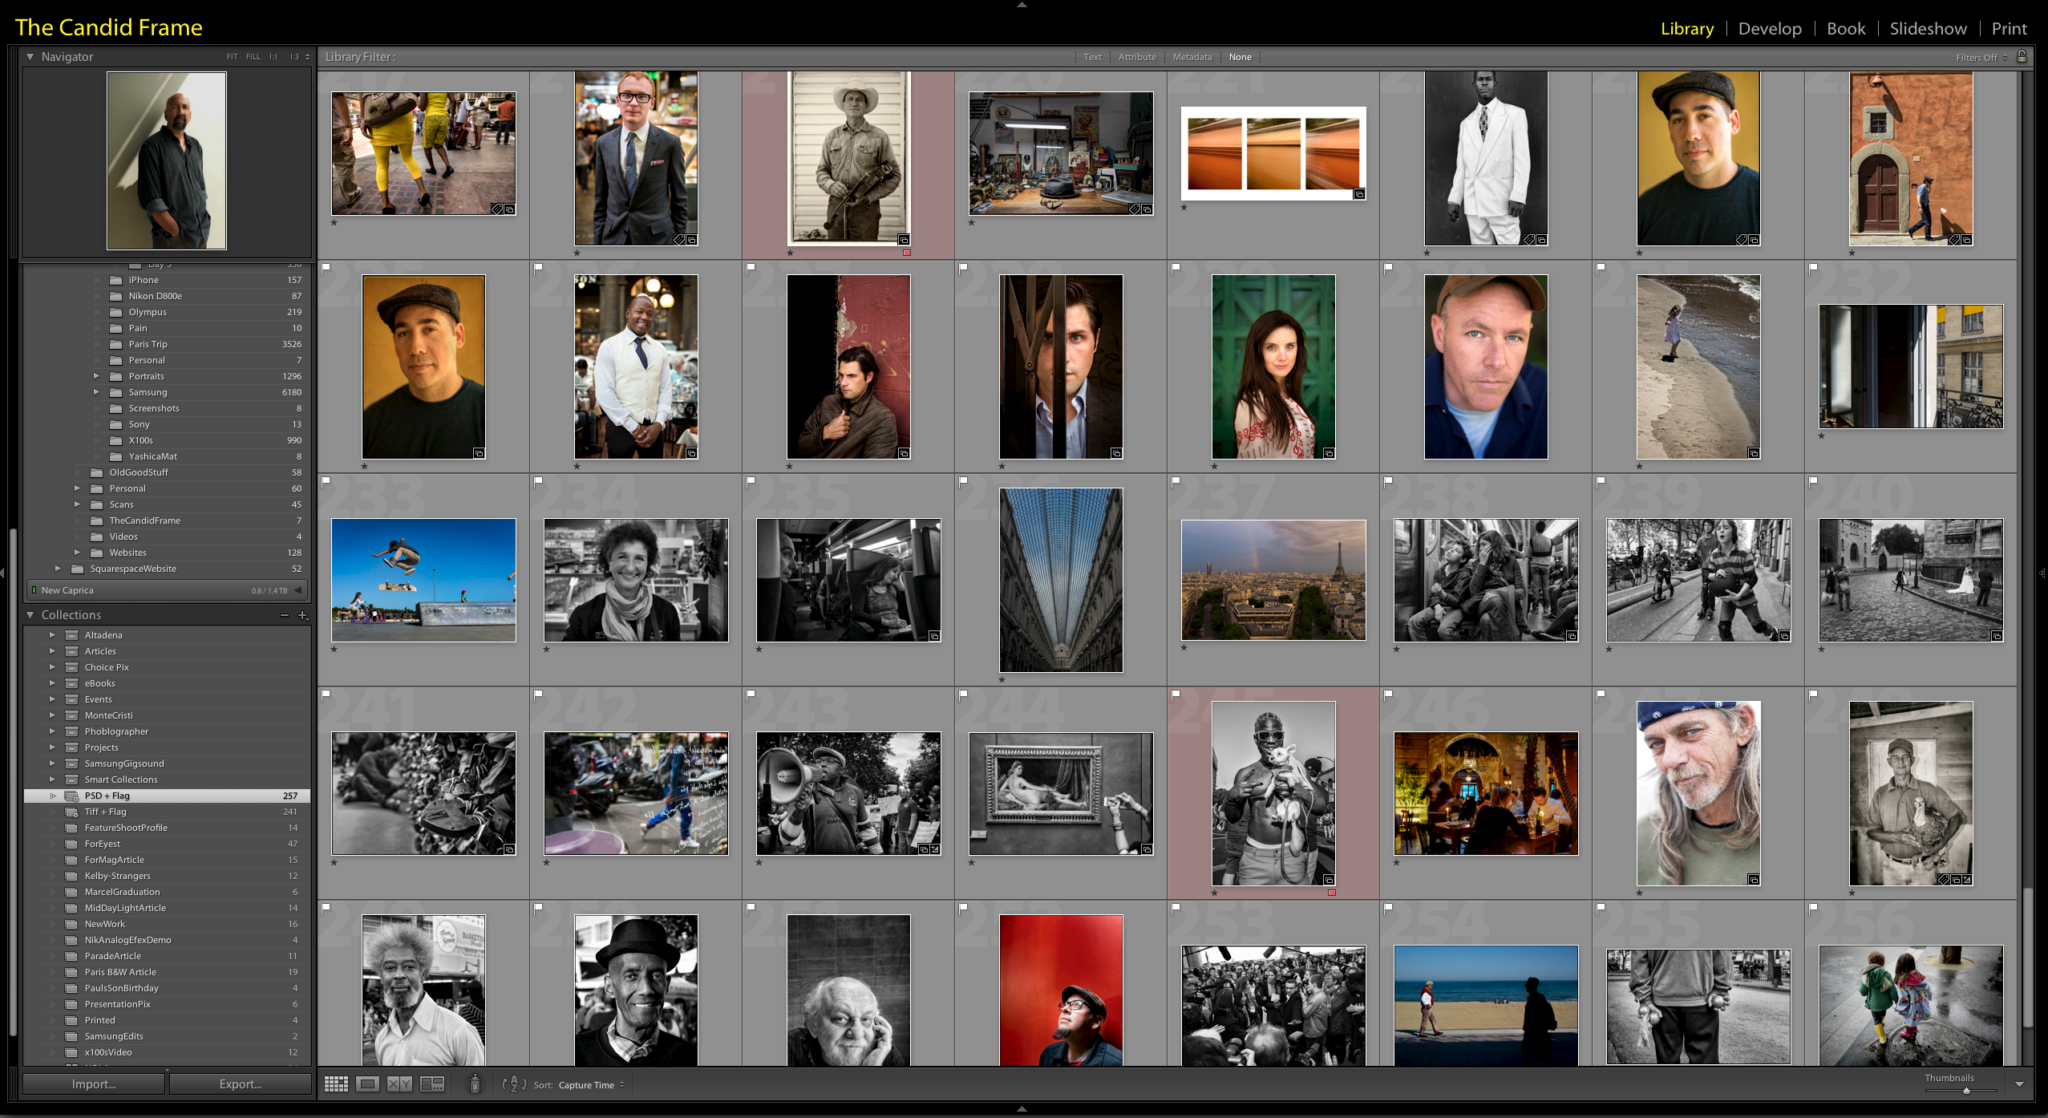
Create a Collection
Create a collection or group of these selects and identify that as your primary selects.

Collect Edited Images
As you begin to process your images, save the edits as TIFF or PSD files and create a smart collection that gathers these images based on the category of photography, file type as well as the flag and current star rating.
Periodically Review Smart Collections
As the number of your images grow in the smart collection, review and compare and discern which images are stronger than others. Increase the star rating for those images that stand out to two or three. Create another smart collection that identifies this increased rating and name it as your secondary or intermediary pass/edit.
Make 4×6 Prints
When the number of images grows to about 30 to 40 images, print or order 4×6 prints of your best shots. Lay the images out on the floor or a table and edit out half of the images.
Use Your Best Shot as a Reference
When sifting through the prints choose the best image within the group. Get rid of images that are not as good or better than your initial pick. Avoid including too similar images.
Edit Your Images to a Core 8
Cut down your print edit to a core eight. Imagine you are laying out for a portfolio and pick your first and last image of the book. Afterwards compare the remaining images until you have a final 8 selected.
Slowly Build Up
Once you have achieved your Core 8 slowly add images to build the body of work from 8 to 12 to 15 to 20. Don’t hesitate to completely remove images if you believe that you have created images that are significantly better than that.

Create a PDF Portfolio
Using the Book module in Adobe Lightroom, create a PDF portfolio of your best images and review how they flow and work together. Identify areas of strength and weakness and plan your next few shoots to remedy the latter. To view a video where I walk through using the Book module in Adobe Lightroom, click here.
Get rid of the ads!
Did you enjoy reading this article as much as we enjoyed writing it? There's a way to support us and our reporting, getting ad-free navigation and more as a bonus. Subscribe to us for less than a coffee per month —just $3.99— or take advantage of our yearly subscription with a hefty discount for only $25.- An ad-free experience
- A free mystery box for Lightroom or Capture One
- All the books in our store
- 20% discount on Capture One
- 30% discount on Imalume Photo Theft Protection
- 20% off Herbs and Kettle Tea Company.
- 20% off your order from MPIX printing services.
- 5% off Viltrox Products via their eCommerce store.
- 10% off all film developing, printing and scanning services from Blue Moon Camera and Machine
- 15% off 7Artisans products: The lens and accessory maker is offering a sweet discount for Phoblographer's readers.