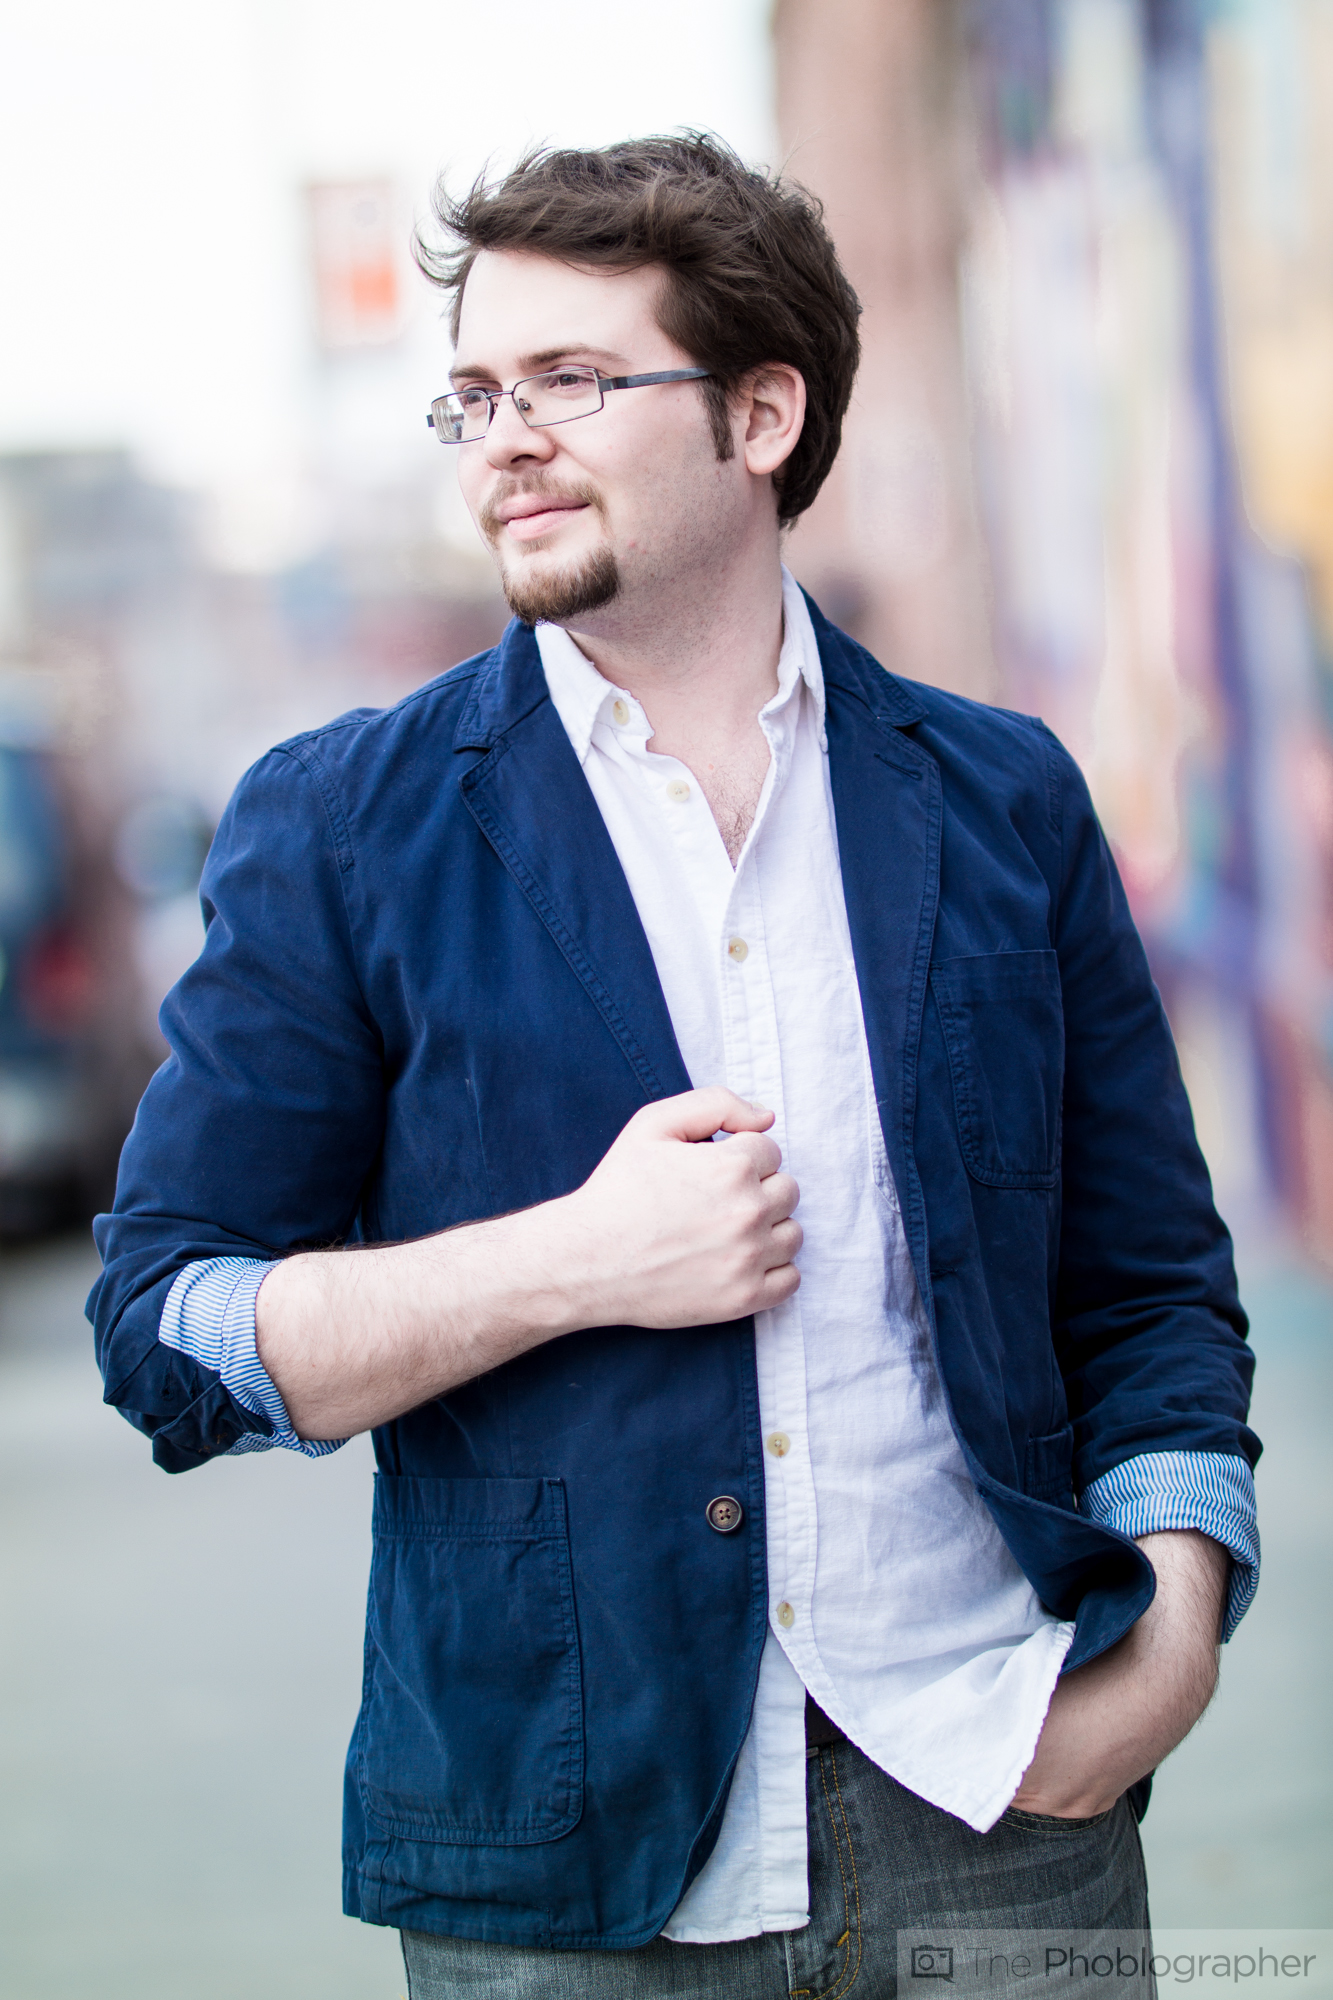
We’ve all experienced it: you’re on a portrait photoshoot sometimes during cold weather and your subject has a skin color that is of a lighter shade. And when it’s cold out, the subject will most likely blush. If you don’t have a make-up artist on board to help with that issue, then it can sometimes lead to the colors being off in the final image.
But don’t worry, there is a solution. The answer has to do with individual color channels in Adobe Lightroom. And you may never need to step into Photoshop to fix the problem. So if you haven’t purchased Adobe Lightroom yet, we strongly suggest that you do so.
First off, you’ll want to work with a RAW image. While that should go without saying, it’s still something that is very important. If you want to do this process with a JPEG, then you’ll create lots of image noise. And before we go even further, we need to emphasize that this is a process that is more generalized. There are more specific and intensive ways of doing this, but we’re not going to cover those in this tutorial.
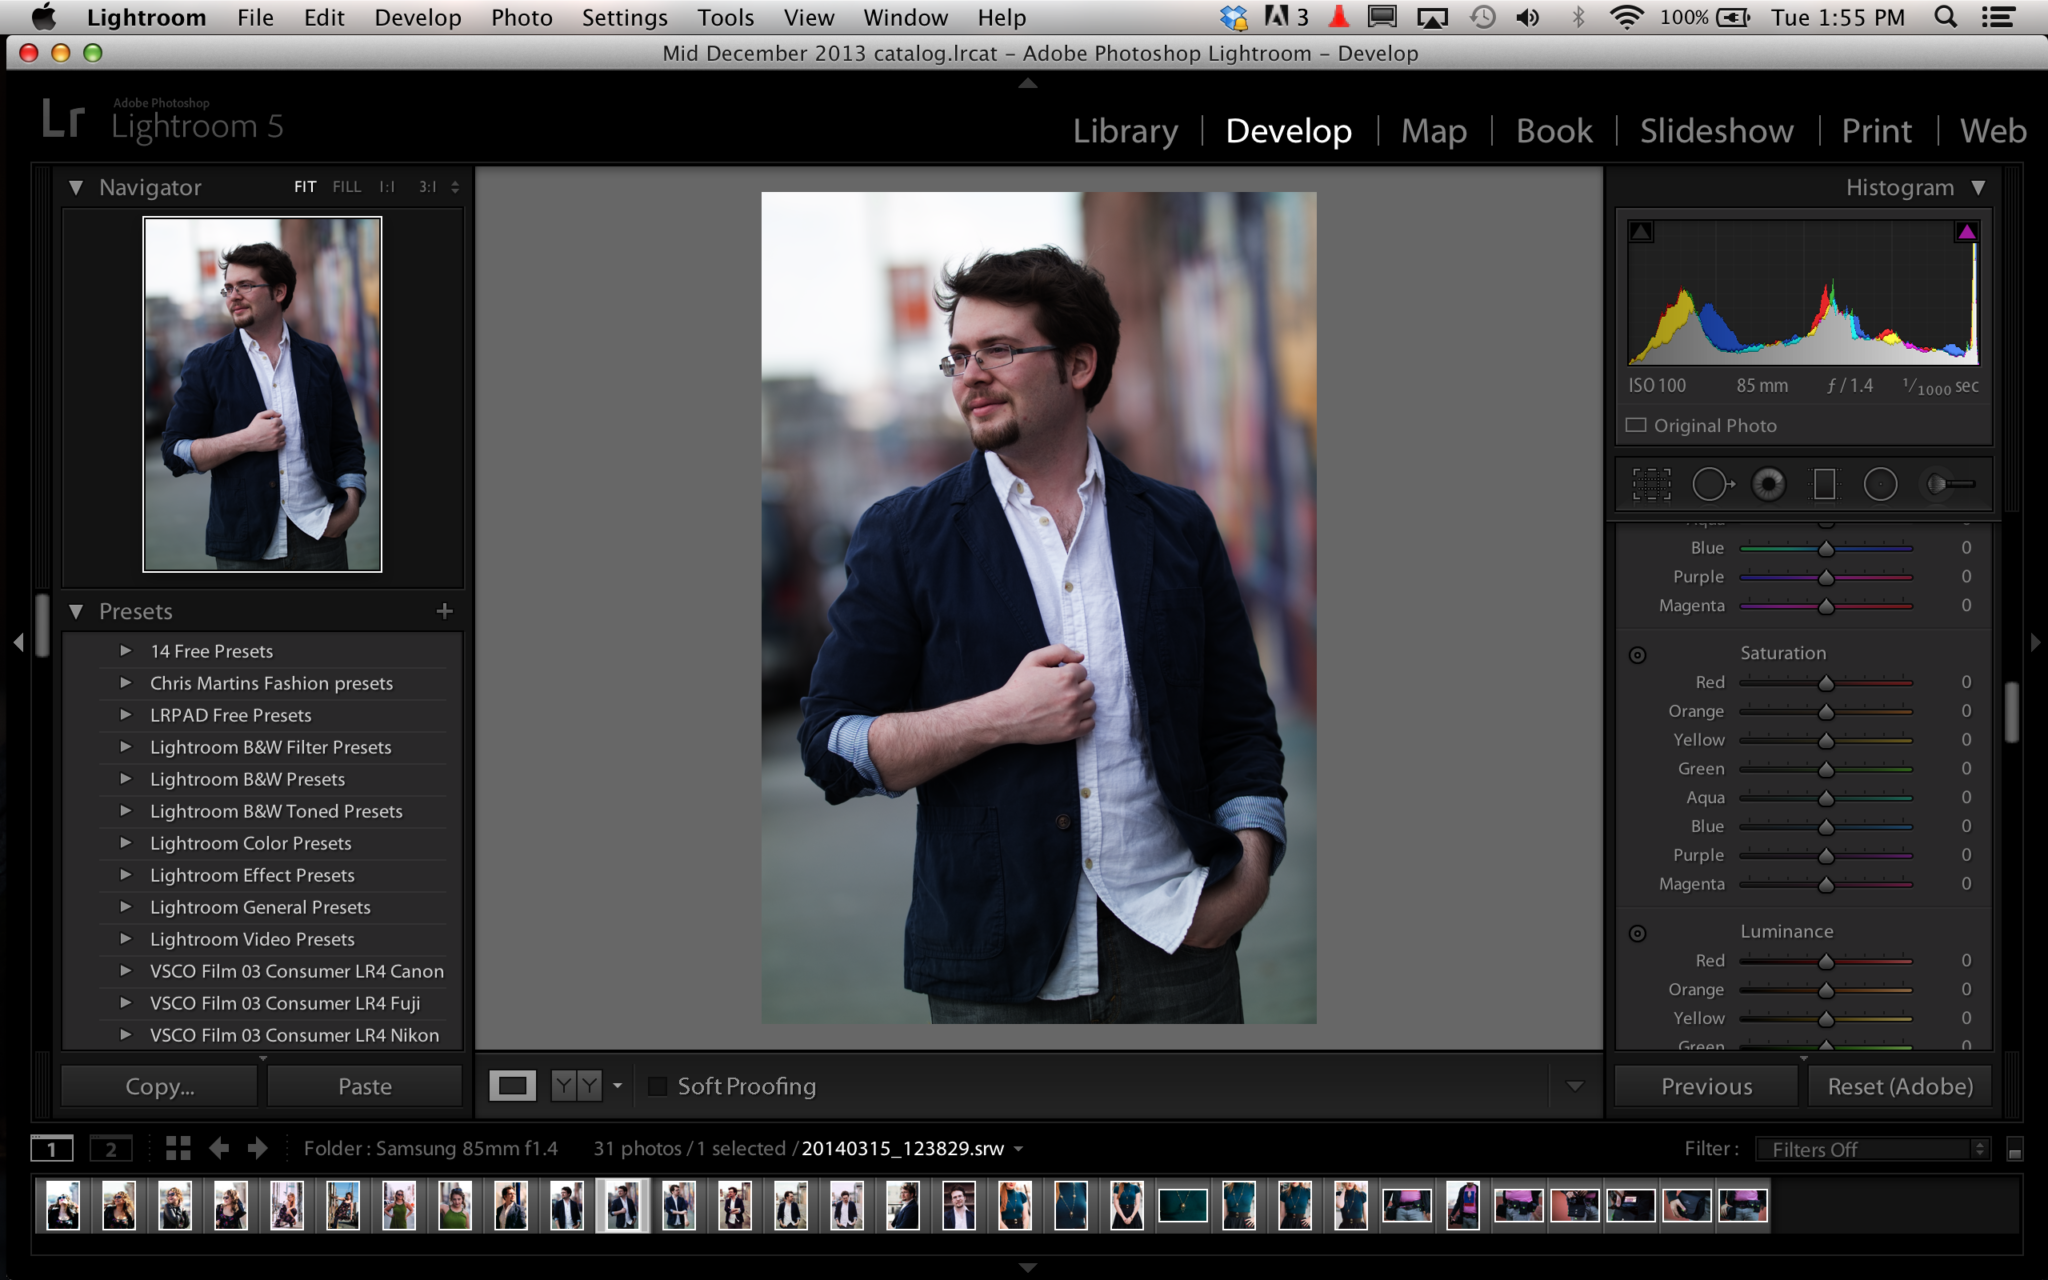
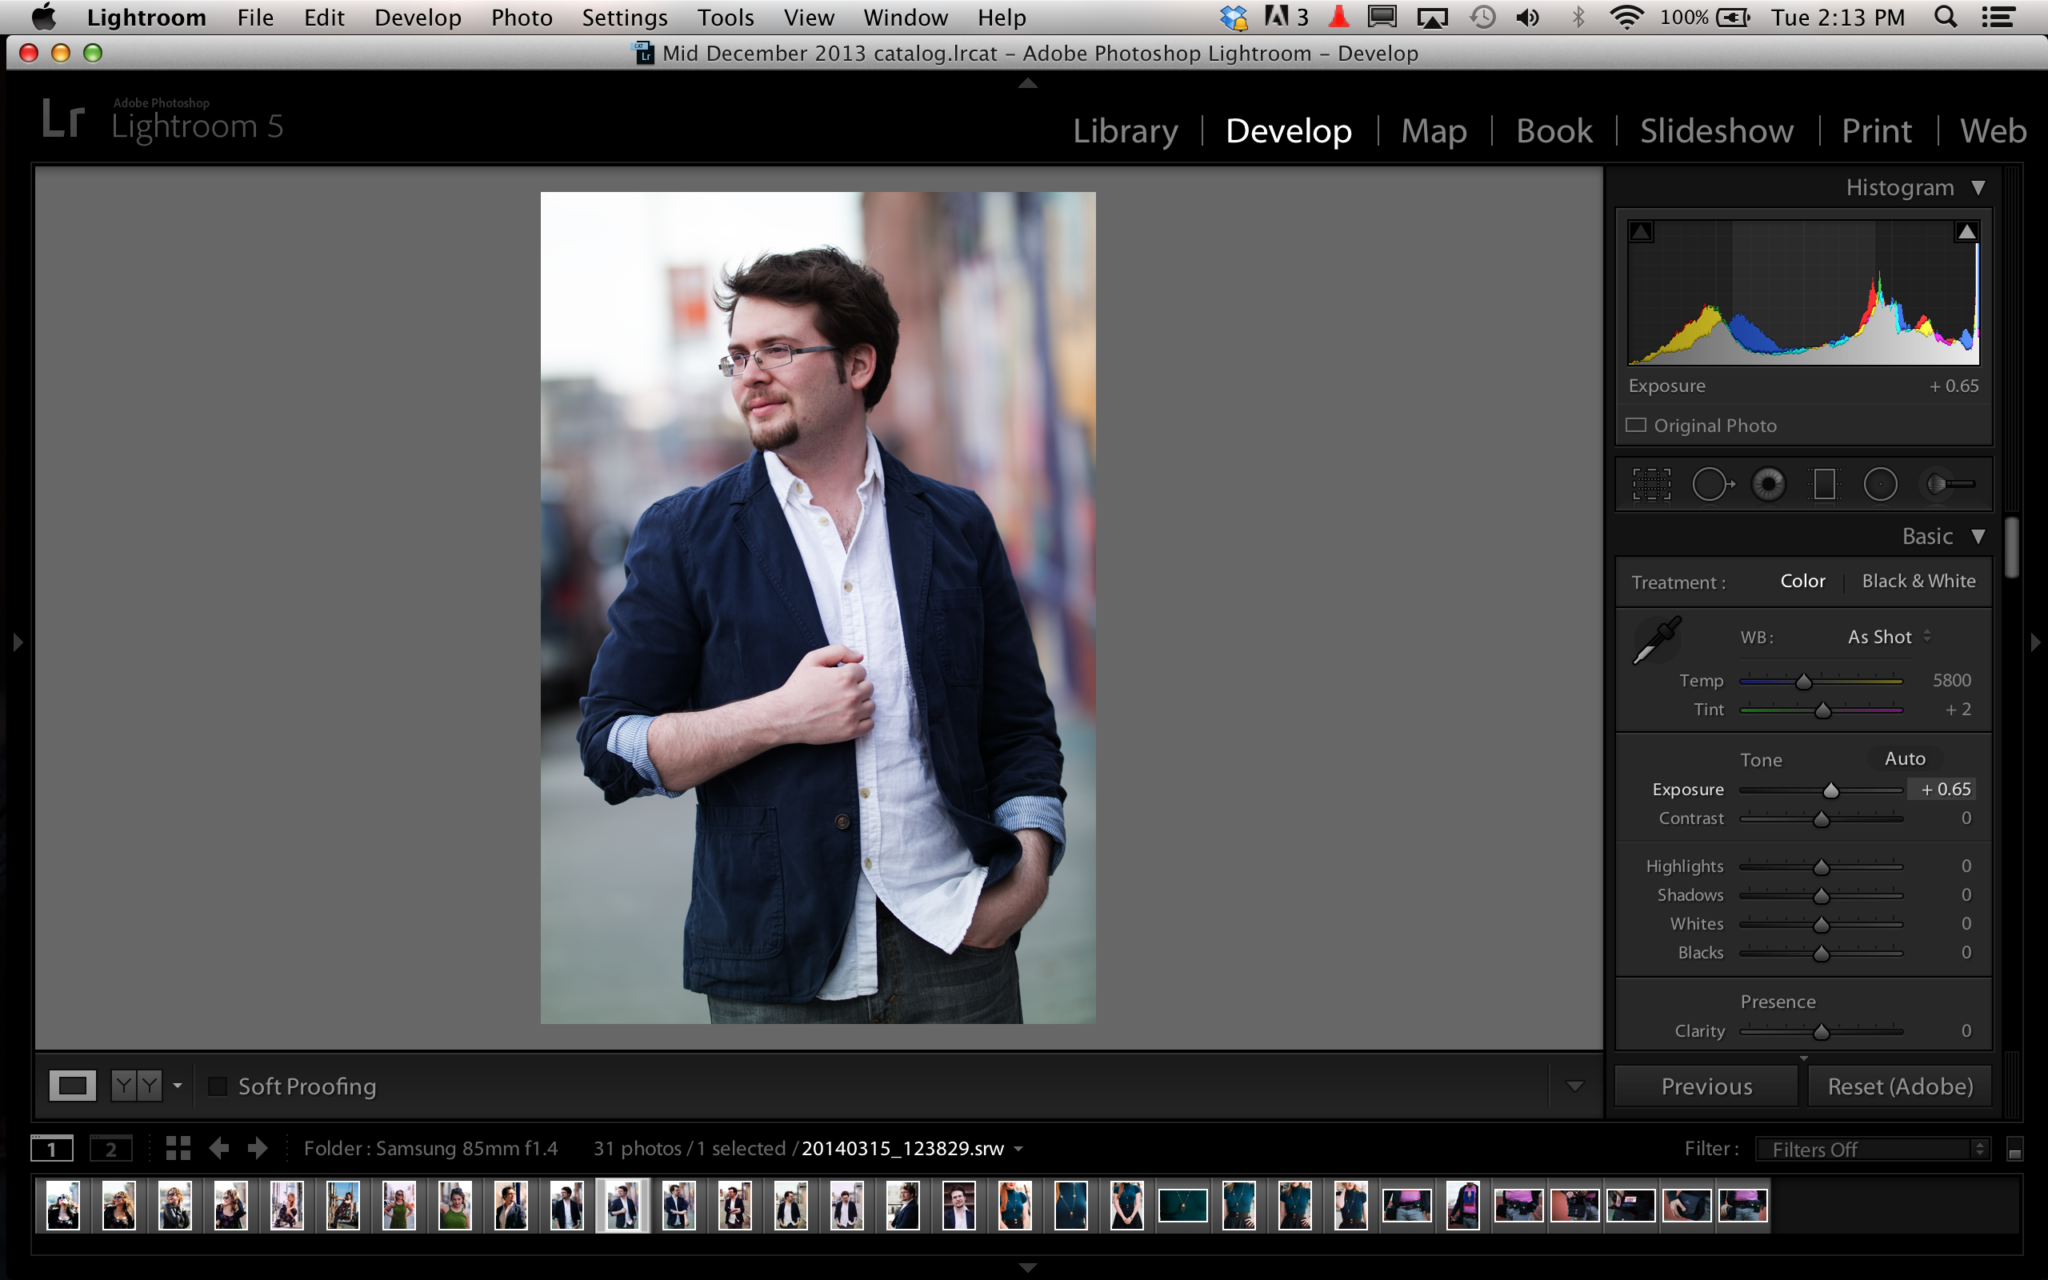
What you should start out doing is working with the top right section of the Lightroom panel. What you’ll want to do here is work on your brightening, then doing clarity, saturation, etc. We tend to brighten our images by around one third to two thirds of a stop. To add even more to that brightening, we also boost the contrast. Then we darken the blacks, and we give a bit of a boost to the clarity, saturation and the vibrance.
Yes, we boost them–though this will make the reds in the skin deeper, you’ll see why we do this later on. It makes complete sense in the state of a workflow.
And of course, you’ll want to fix your white balance first.
After you’re done with this, you’ll want to scroll down to the area where you can selectively control the hue, saturation and the luminance. We’re going to ignore Hue in this tutorial because otherwise the editing job that you’re going to do will turn into a hot mess. Now before we go on, we’re going to explain two things to you:
Saturation: Saturation has to do with how deep or wet an image looks. The more saturated an image is, the deeper the color will be.
Luminance: Luminance has to do with how bright the specific color is. Depending on your composition and the overall colors in the image, brightening or darkening can make a specific color stand out more or less. In the case of skin tones, it can eliminate it completely.
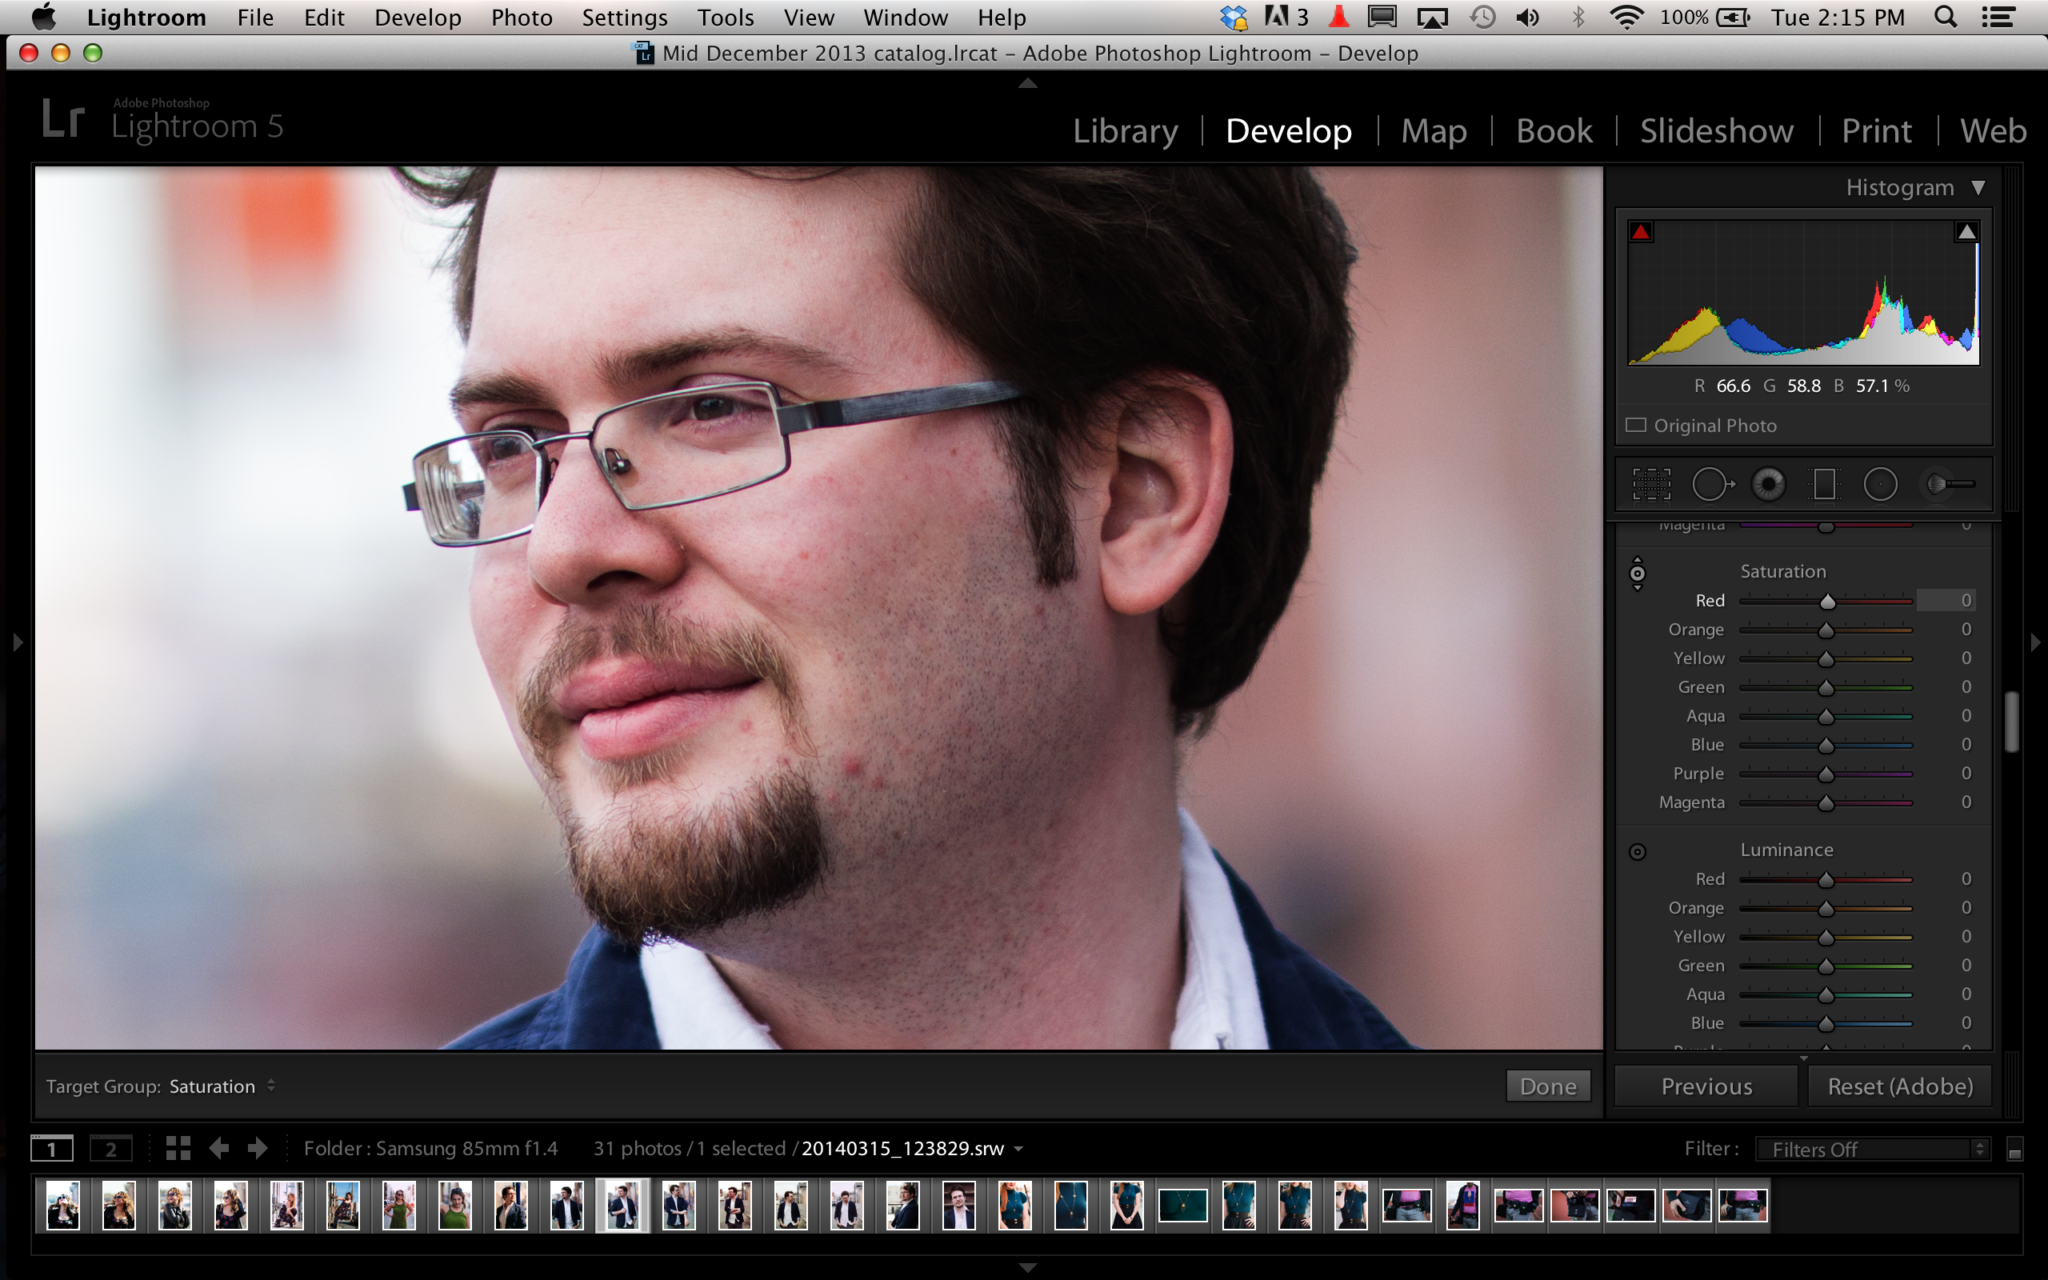
Let’s start by zooming in on the face of our subject, using the color checking tool and hovering over the skin. Usually what you’ll find are tones of orange and red. The red is what we want to get rid of and the orange is what we need to boost but not to the point of killing the skin.
So in order to fix the skin, what you’ll want to do is desaturate the red just enough in order to get rid of it. You’ll also want to do the same to the orange to give the subject a more true to life skin tone.
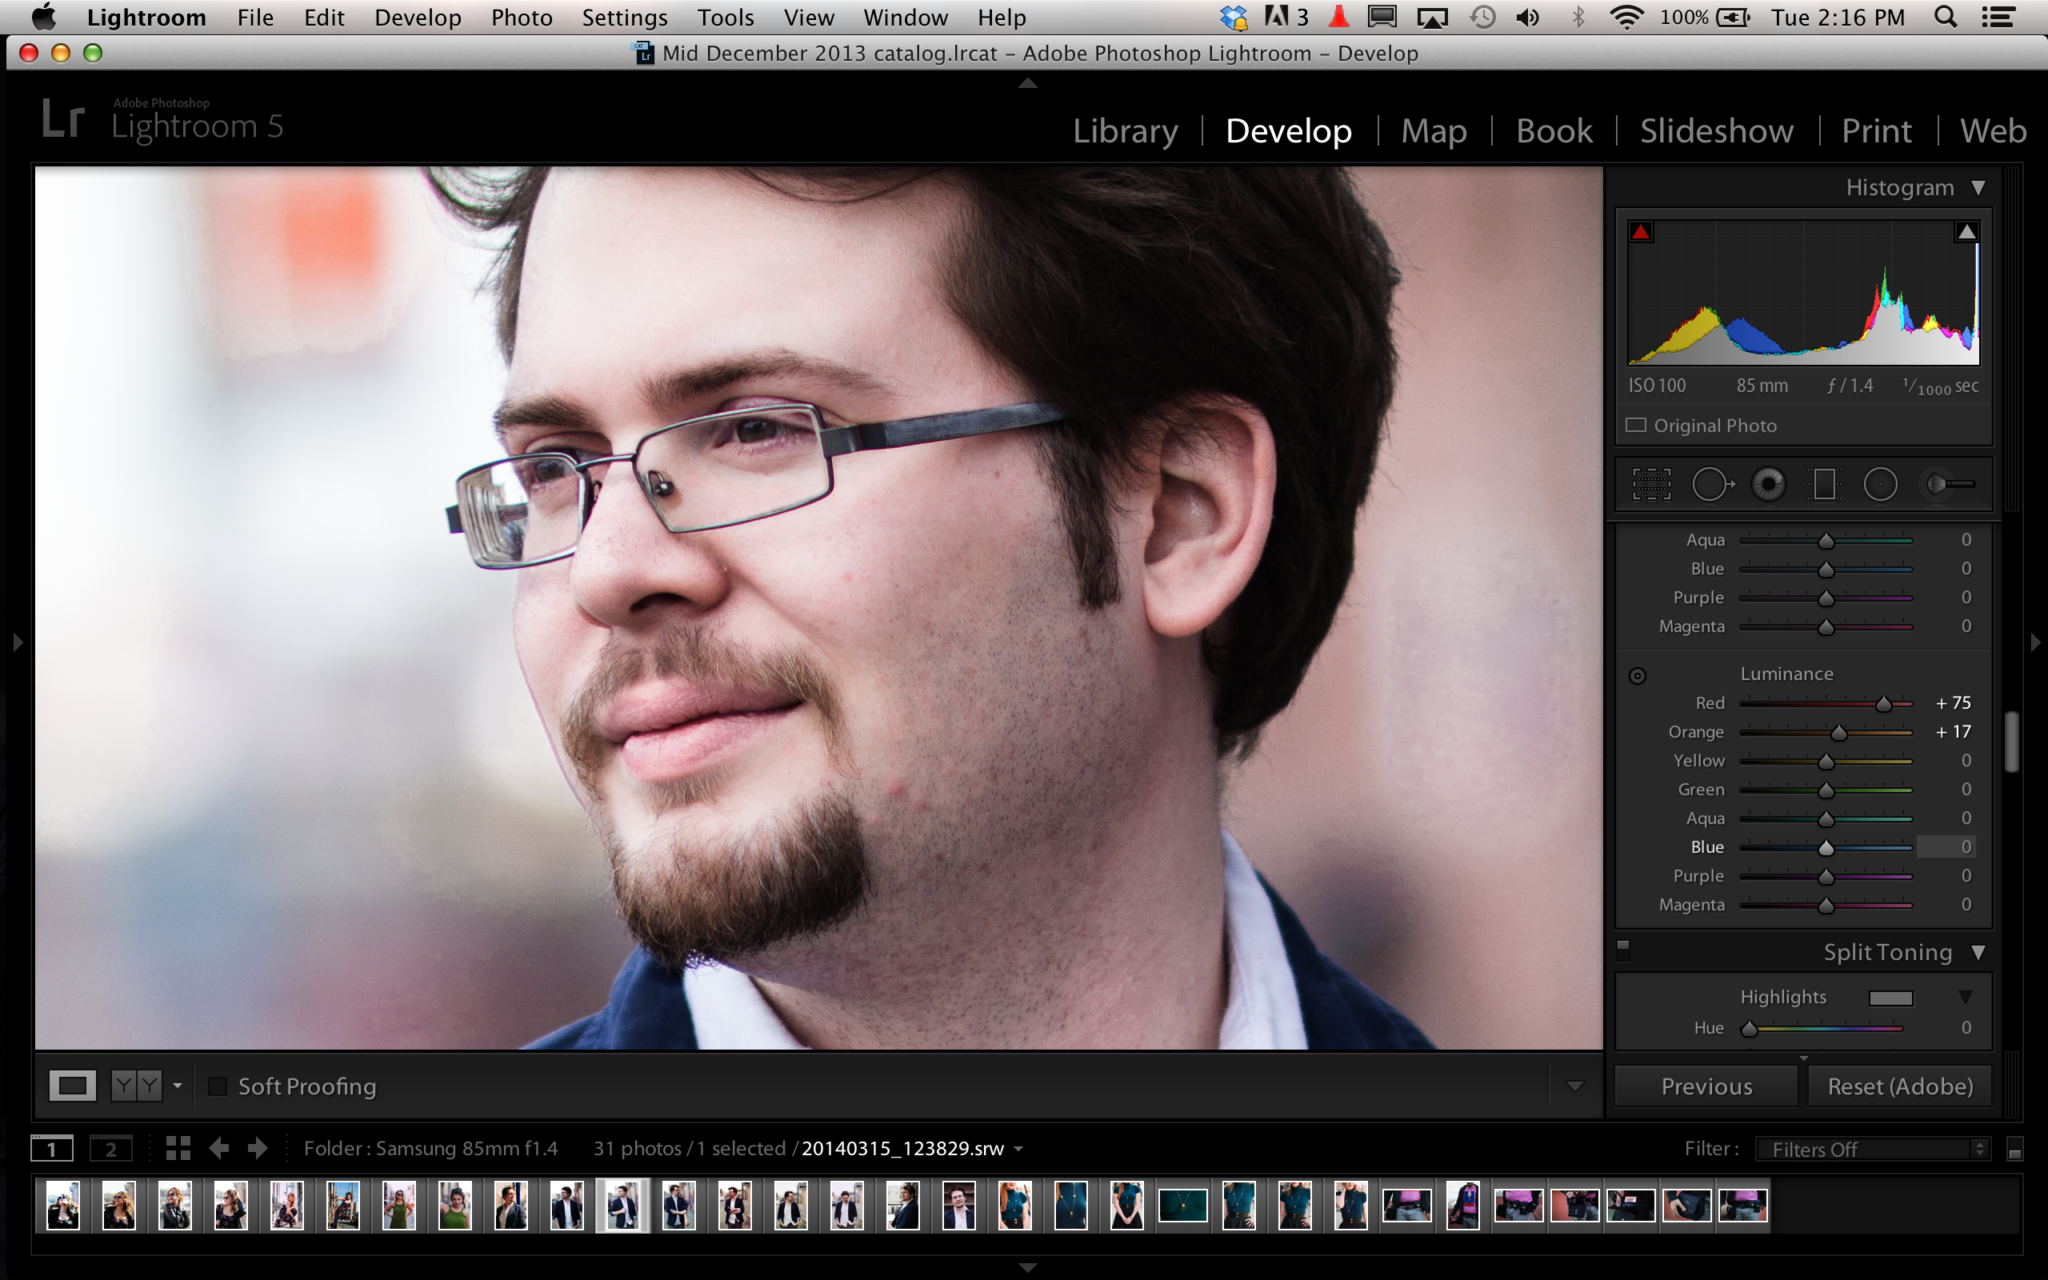
Following this, you’ll need to boost the luminance of the red and orange to give more life to the skin and make it uniform in the look. This will help you eliminate all of that blushing and make the skin look naturally healthy. Sometimes it can even hide blemishes and therefore save you time in retouching–of course this depends on how much pixel peeping your subject is going to do.
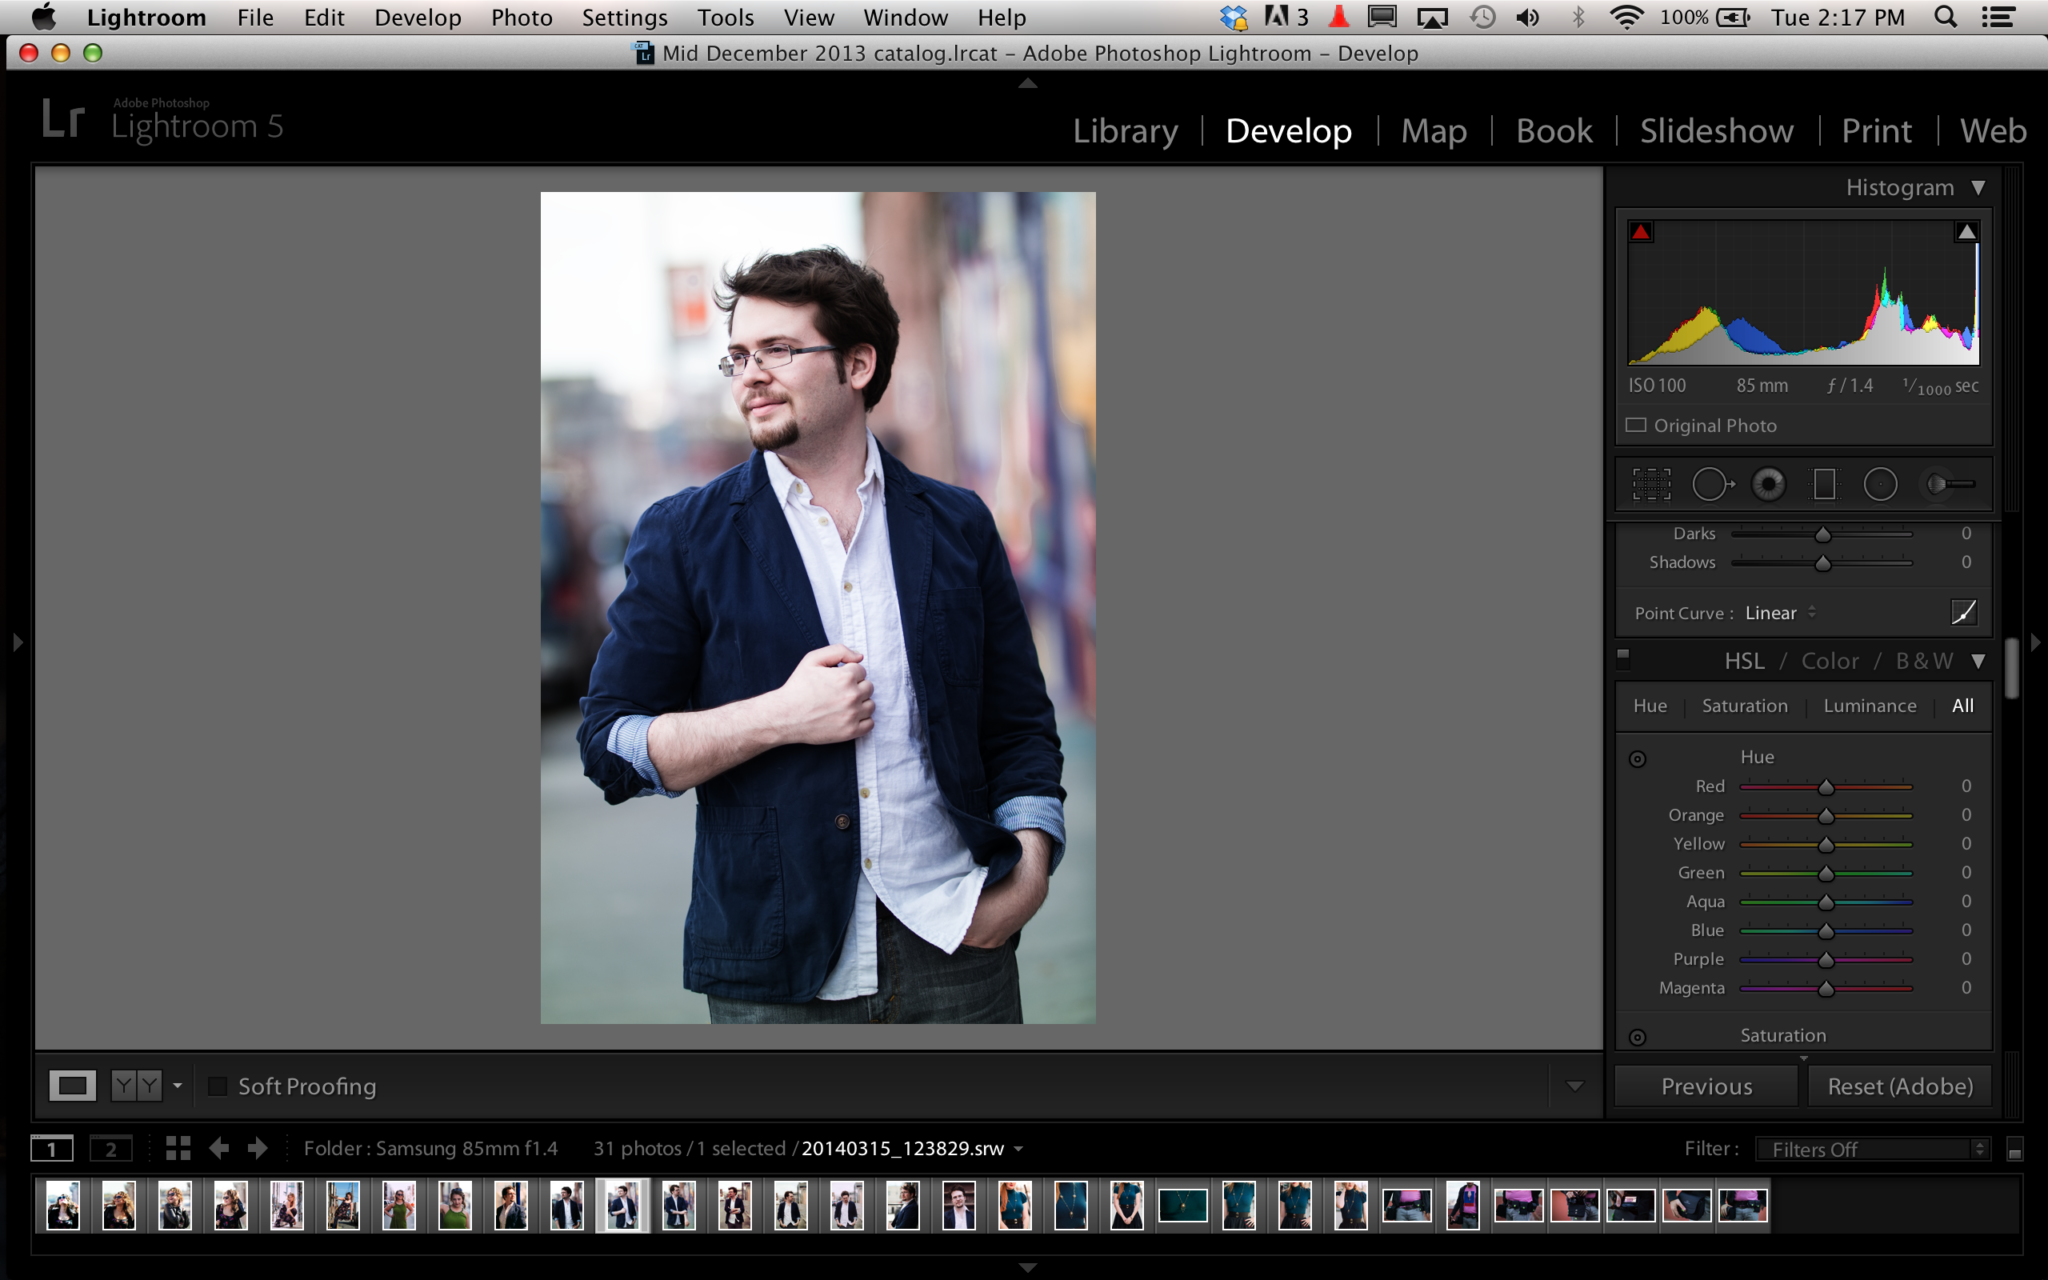
Then you’re pretty much done with the skin. What you’ll want to do finally is work specifically with the other saturation channels to boost colors individually. For this image, we boosted the blue quite a bit.
After this, we’re all done. There are different ways of doing this and the most in-depth and meticulous way of doing it is with the selective saturation brush, but that’s for another tutorial.
For more, please follow us on Facebook, Google+, Flickr and Twitter.
Get rid of the ads!
Did you enjoy reading this article as much as we enjoyed writing it? There's a way to support us and our reporting, getting ad-free navigation and more as a bonus. Subscribe to us for less than a coffee per month —just $3.99— or take advantage of our yearly subscription with a hefty discount for only $25.- An ad-free experience
- A free mystery box for Lightroom or Capture One
- All the books in our store
- 20% discount on Capture One
- 30% discount on Imalume Photo Theft Protection
- 20% off Herbs and Kettle Tea Company.
- 20% off your order from MPIX printing services.