
A little under a year ago, we reviewed Chris Martin’s Vintage Film Fades preset pack for Lightroom, and we loved the washed-out look of faded film they give to a digital image. For the summer of 2013, Chris updated his preset pack, and added a High Contrast as well as a Light Fade preset to the existing Faded Film preset. Additionally, the Summer 2013 Preset Pack contains variants of each preset that either convert the image to black & white, or give it a colored tint. Accordingly, the usability and the creative spectrum of the presets have improved greatly over the original preset pack. In this review, we take a closer look at Chris Martin’s 2013 Summer Preset Pack for Adobe Lightroom.
Pros and Cons
Pros
- A quick and easy way to get a special look to your images.
- Being simple Lightroom presets, they can be customized to your liking.
- The extra presets make this pack more versatile than the previous.
Cons
- The presets don’t work favourably on all kinds of images.
- The high contrast preset is VERY high contrast. Not to everyone’s liking.
- It’s not clear to me which presets add grain by default and which don’t.
Main Features
There really aren’t any features about this at all. You install the preset pack into your Lightroom develop presets folder, and when you start up Lightroom the next time, you can access the presets either via the Quick Develop bar in the Library module, or in the Develop module.
The presets are arranged as follows: there are three main preset types, Film Fade, High Contrast, and Light Fade. Each preset has six variations: the defaul look, a b&w version, a cool and a warm tone look, and a green and a magenta hue version.


Furthermore, there’s a noise reduction preset which adds some strong luminance and chroma nr, as well as a sharpening preset which, to my taste, overdoes it a bit. By adding such stron sharpening, the images get a plasticky look, but maybe that was the intention.
Ease of Use
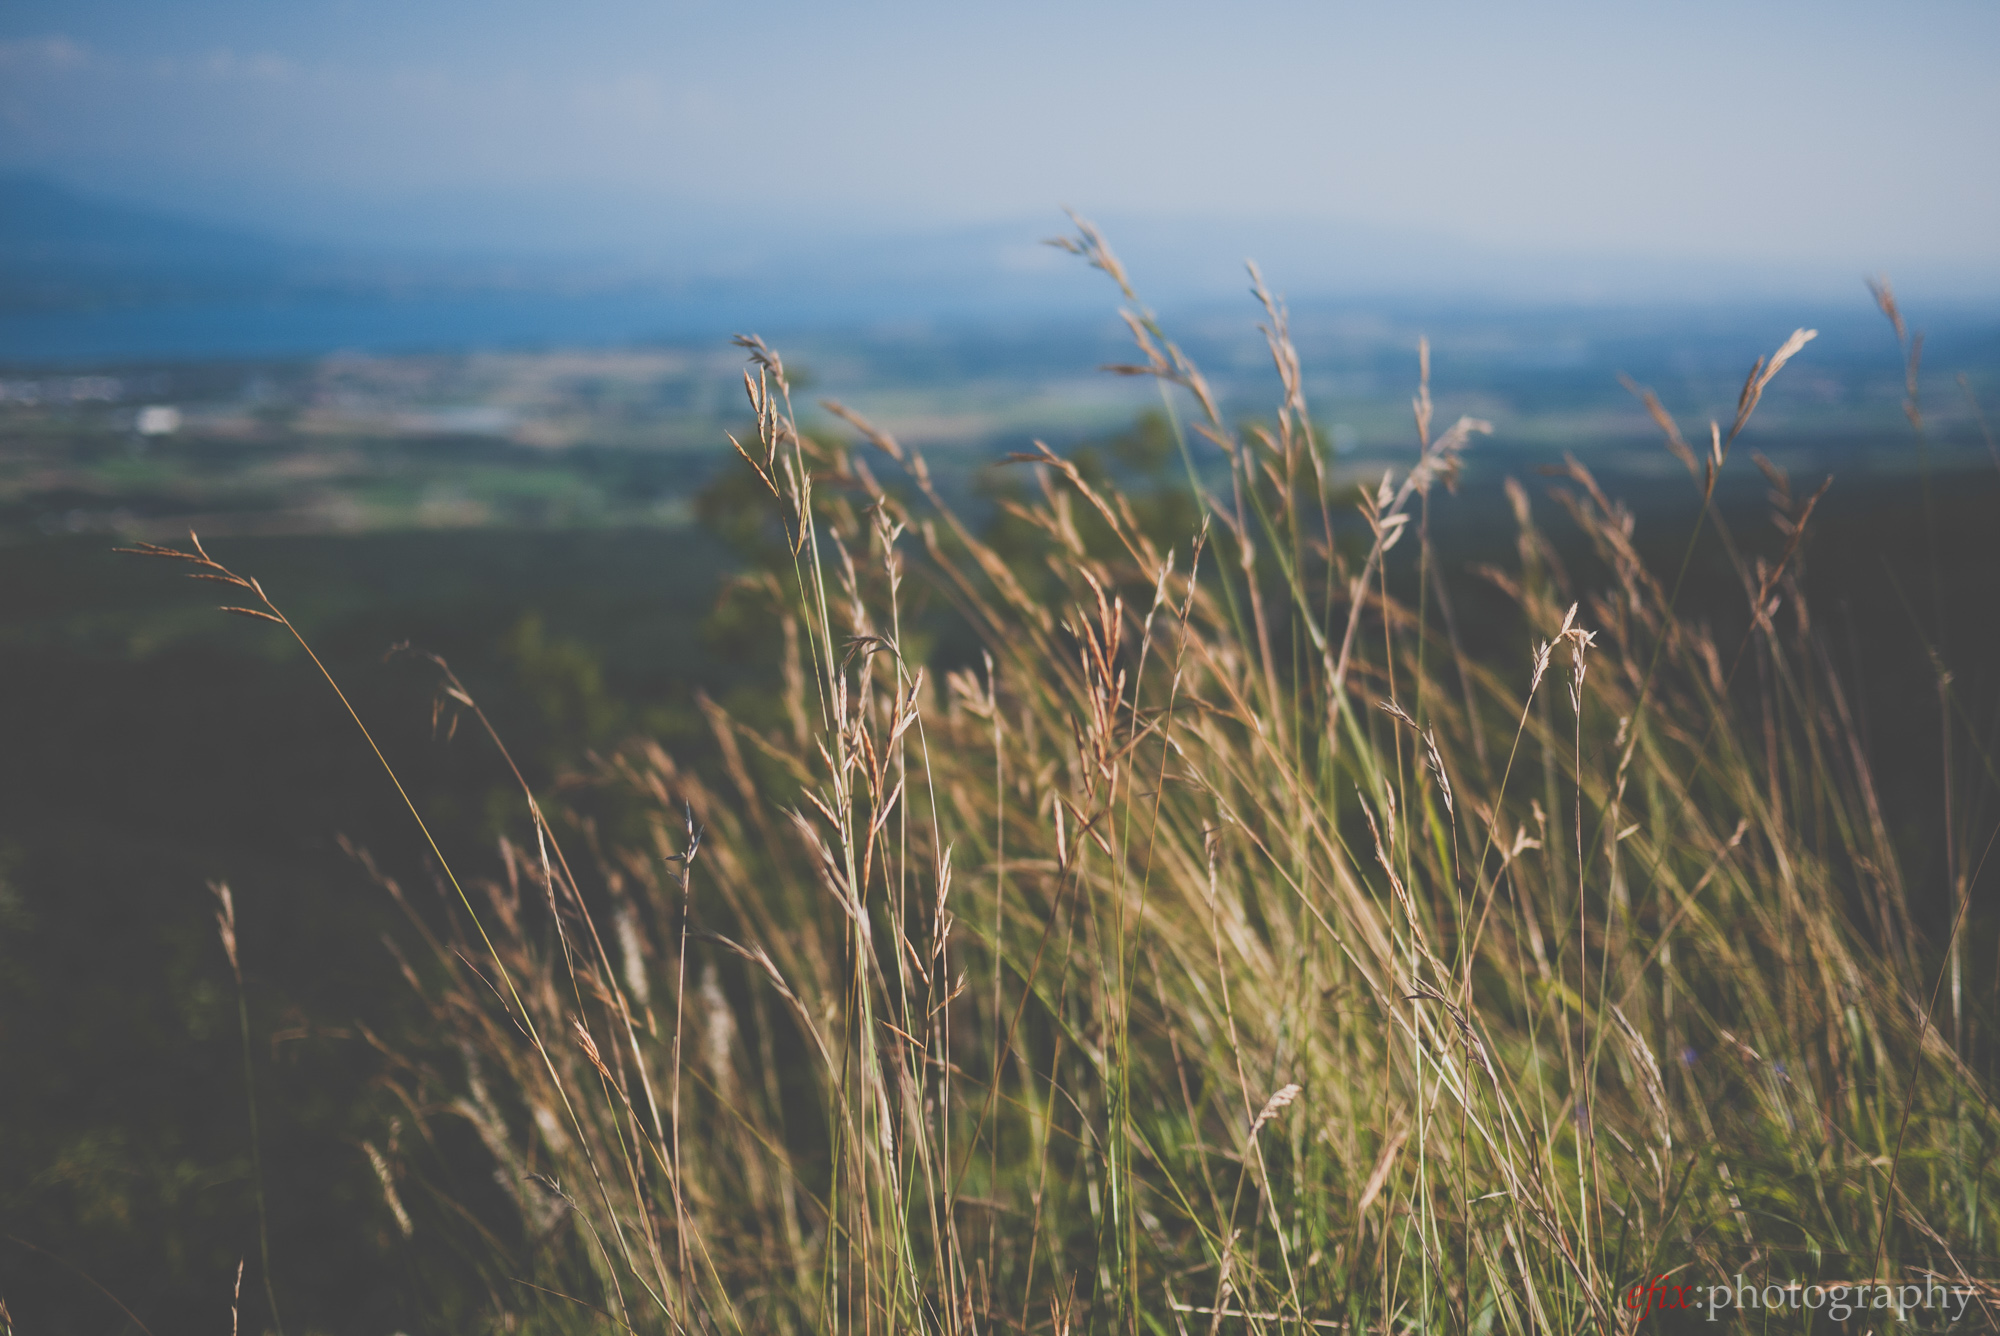
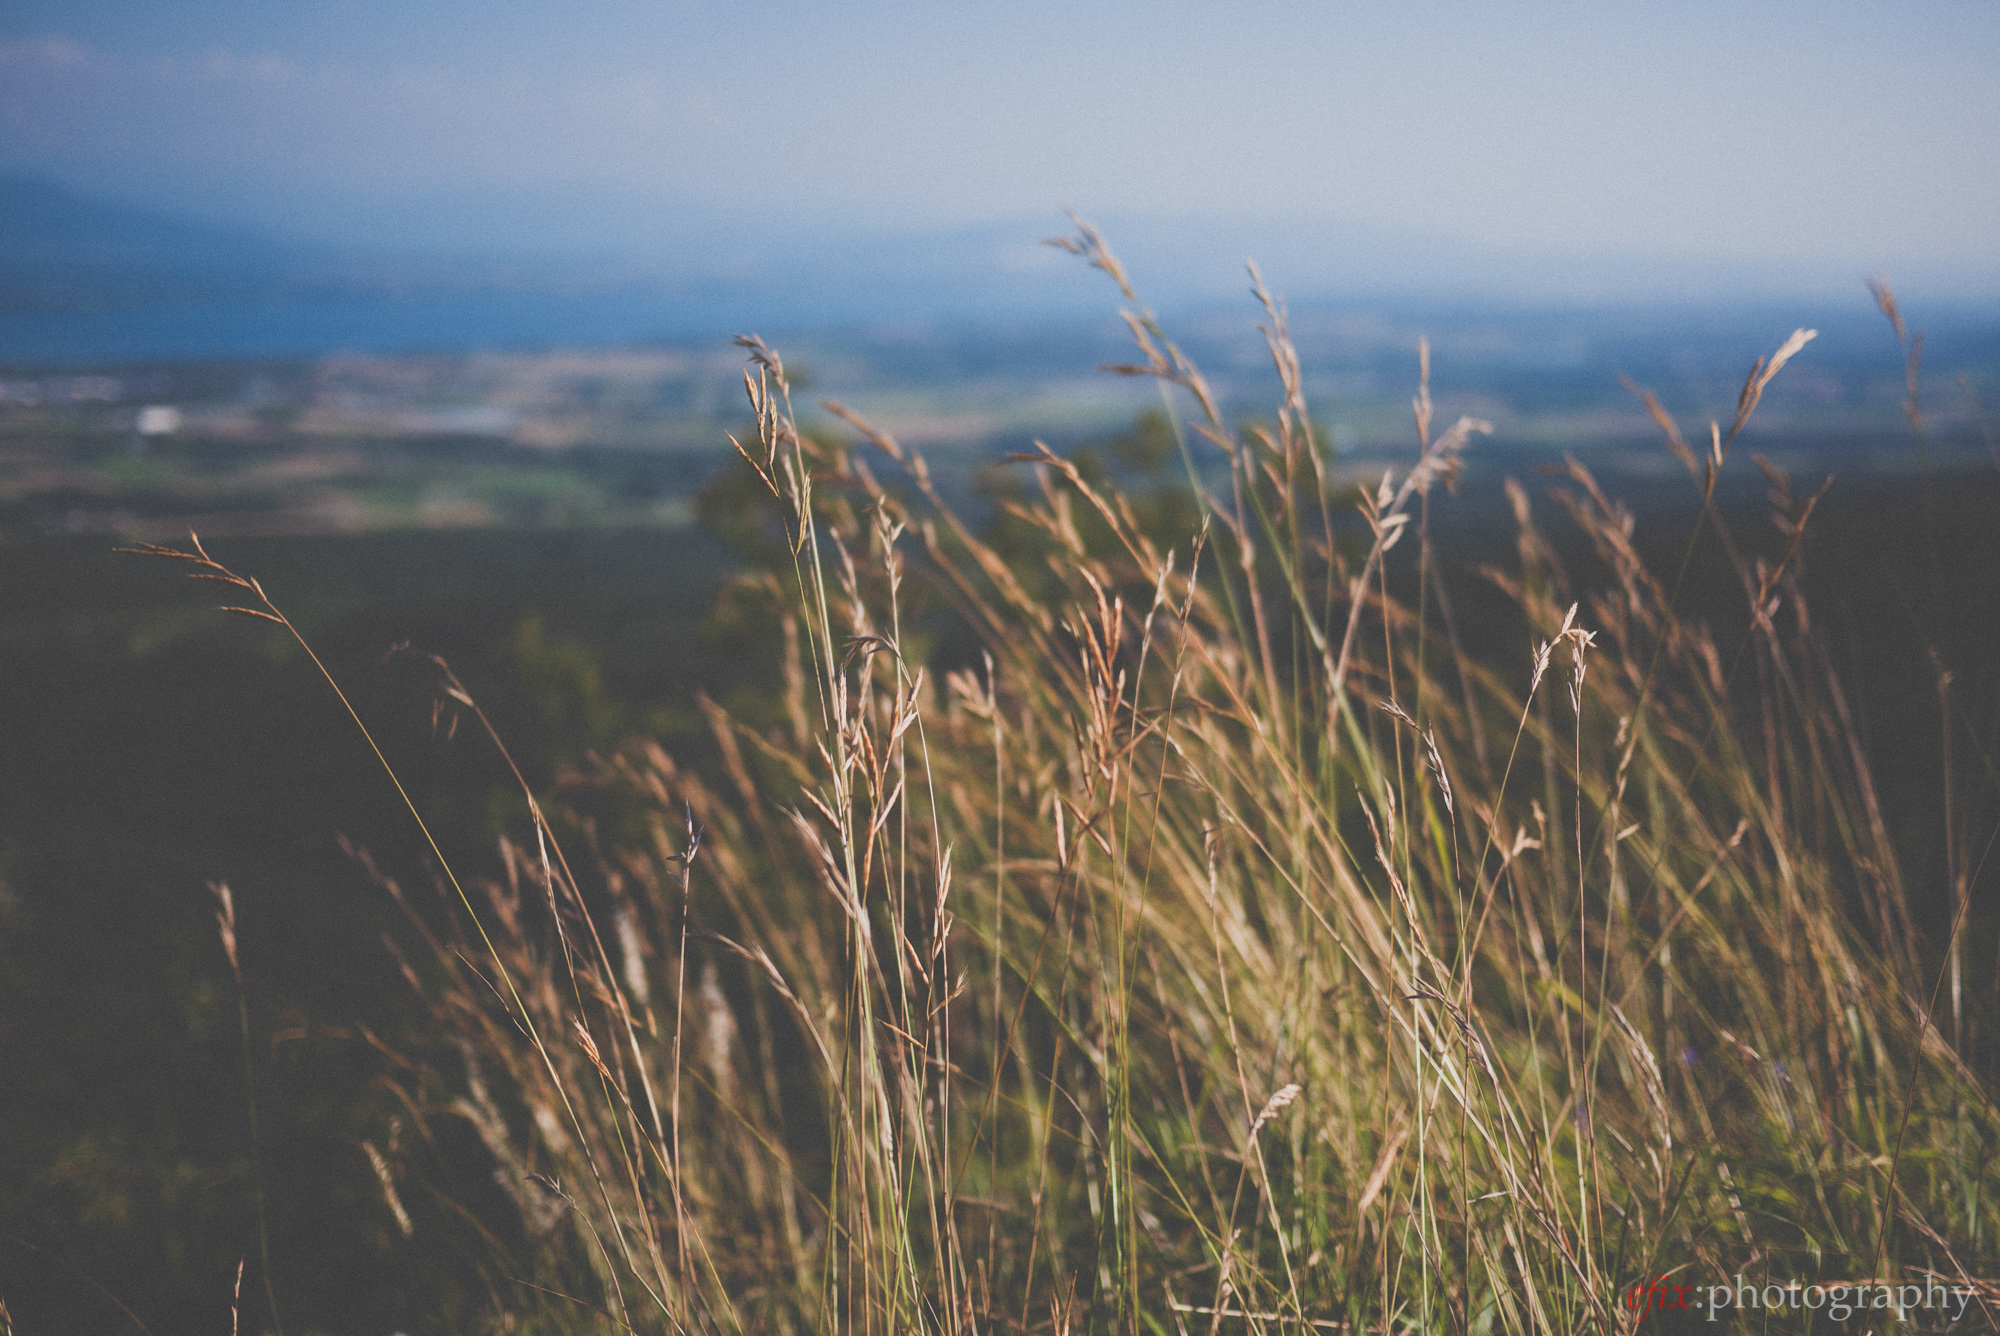
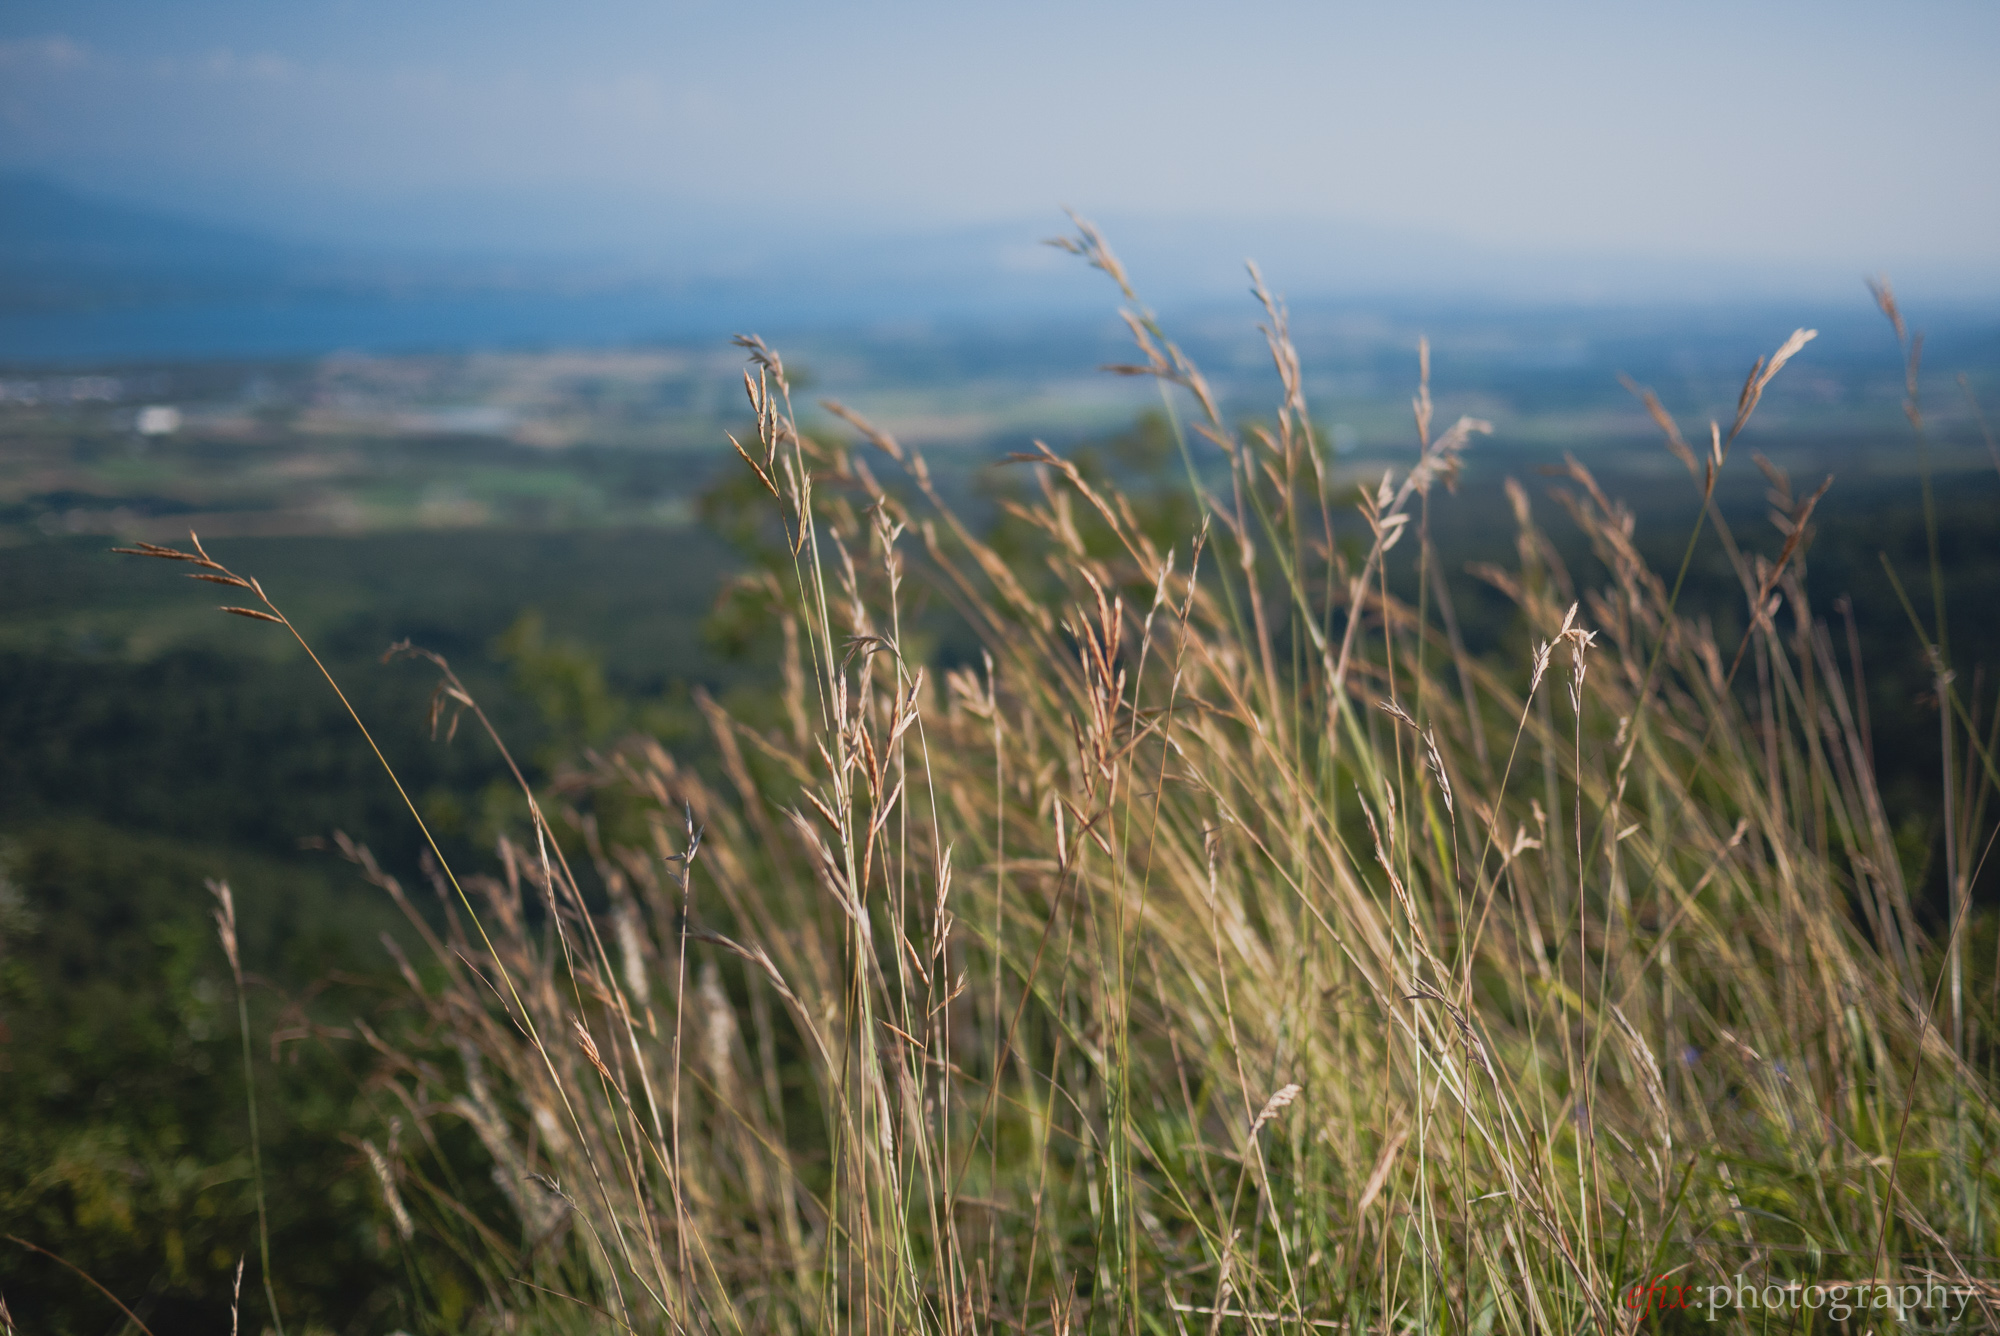
The Chris Martin 2013 Summer Preset Pack works like all other Lightroom presets: open an image in the Develop module, select a preset to apply, and there you are. Once the preset is applied, you can tweak all the develop settings to your liking–including those that were applied by the preset. For the image below, I used the Light Fade B&W preset, but tweaked the color settings afterwards, to get a more balanced look.

Real Life Application
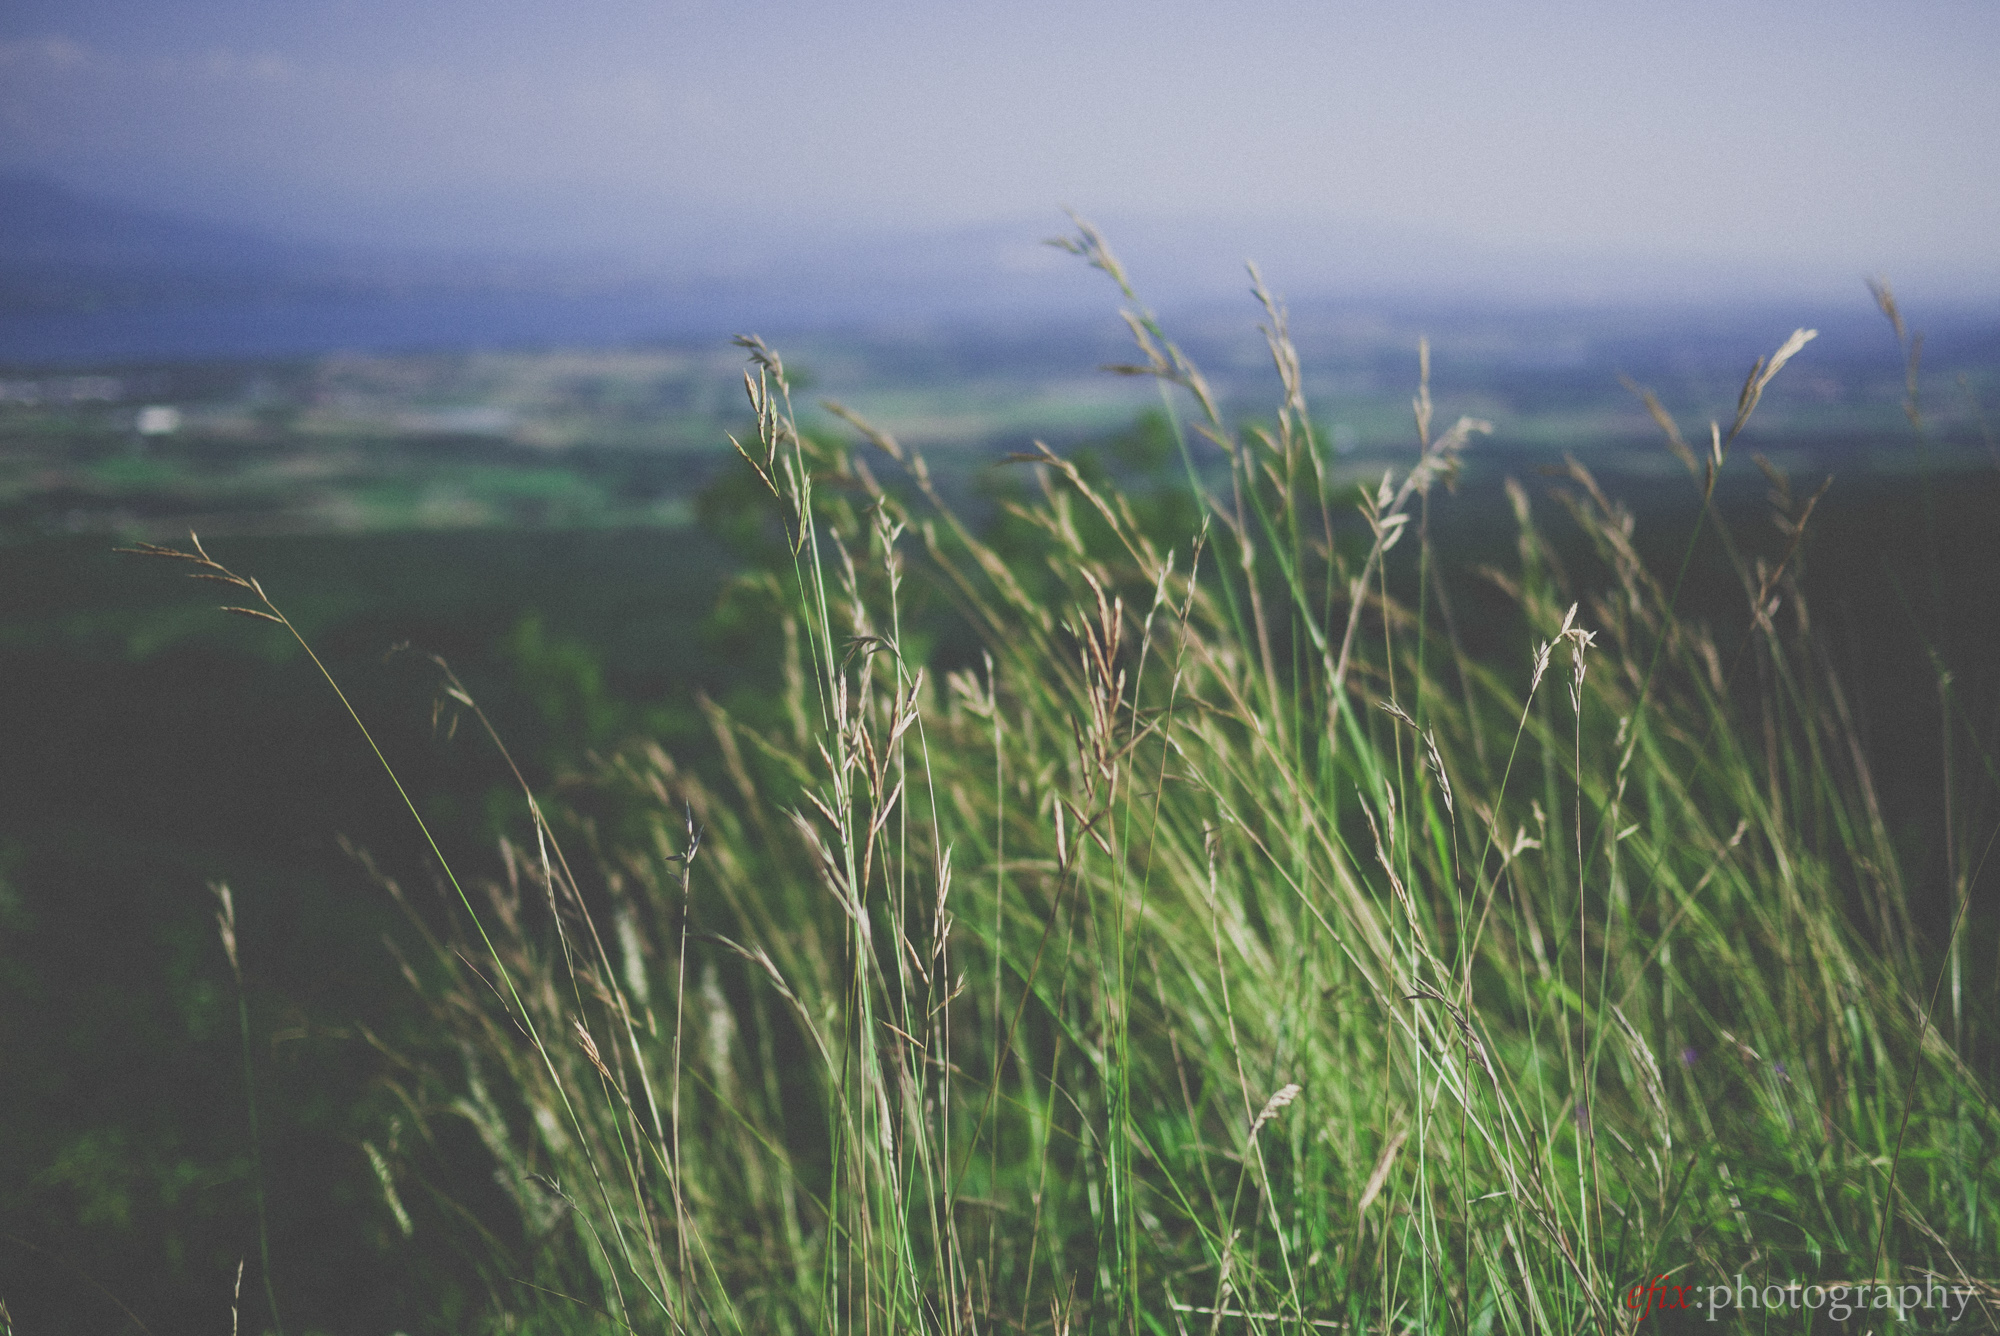
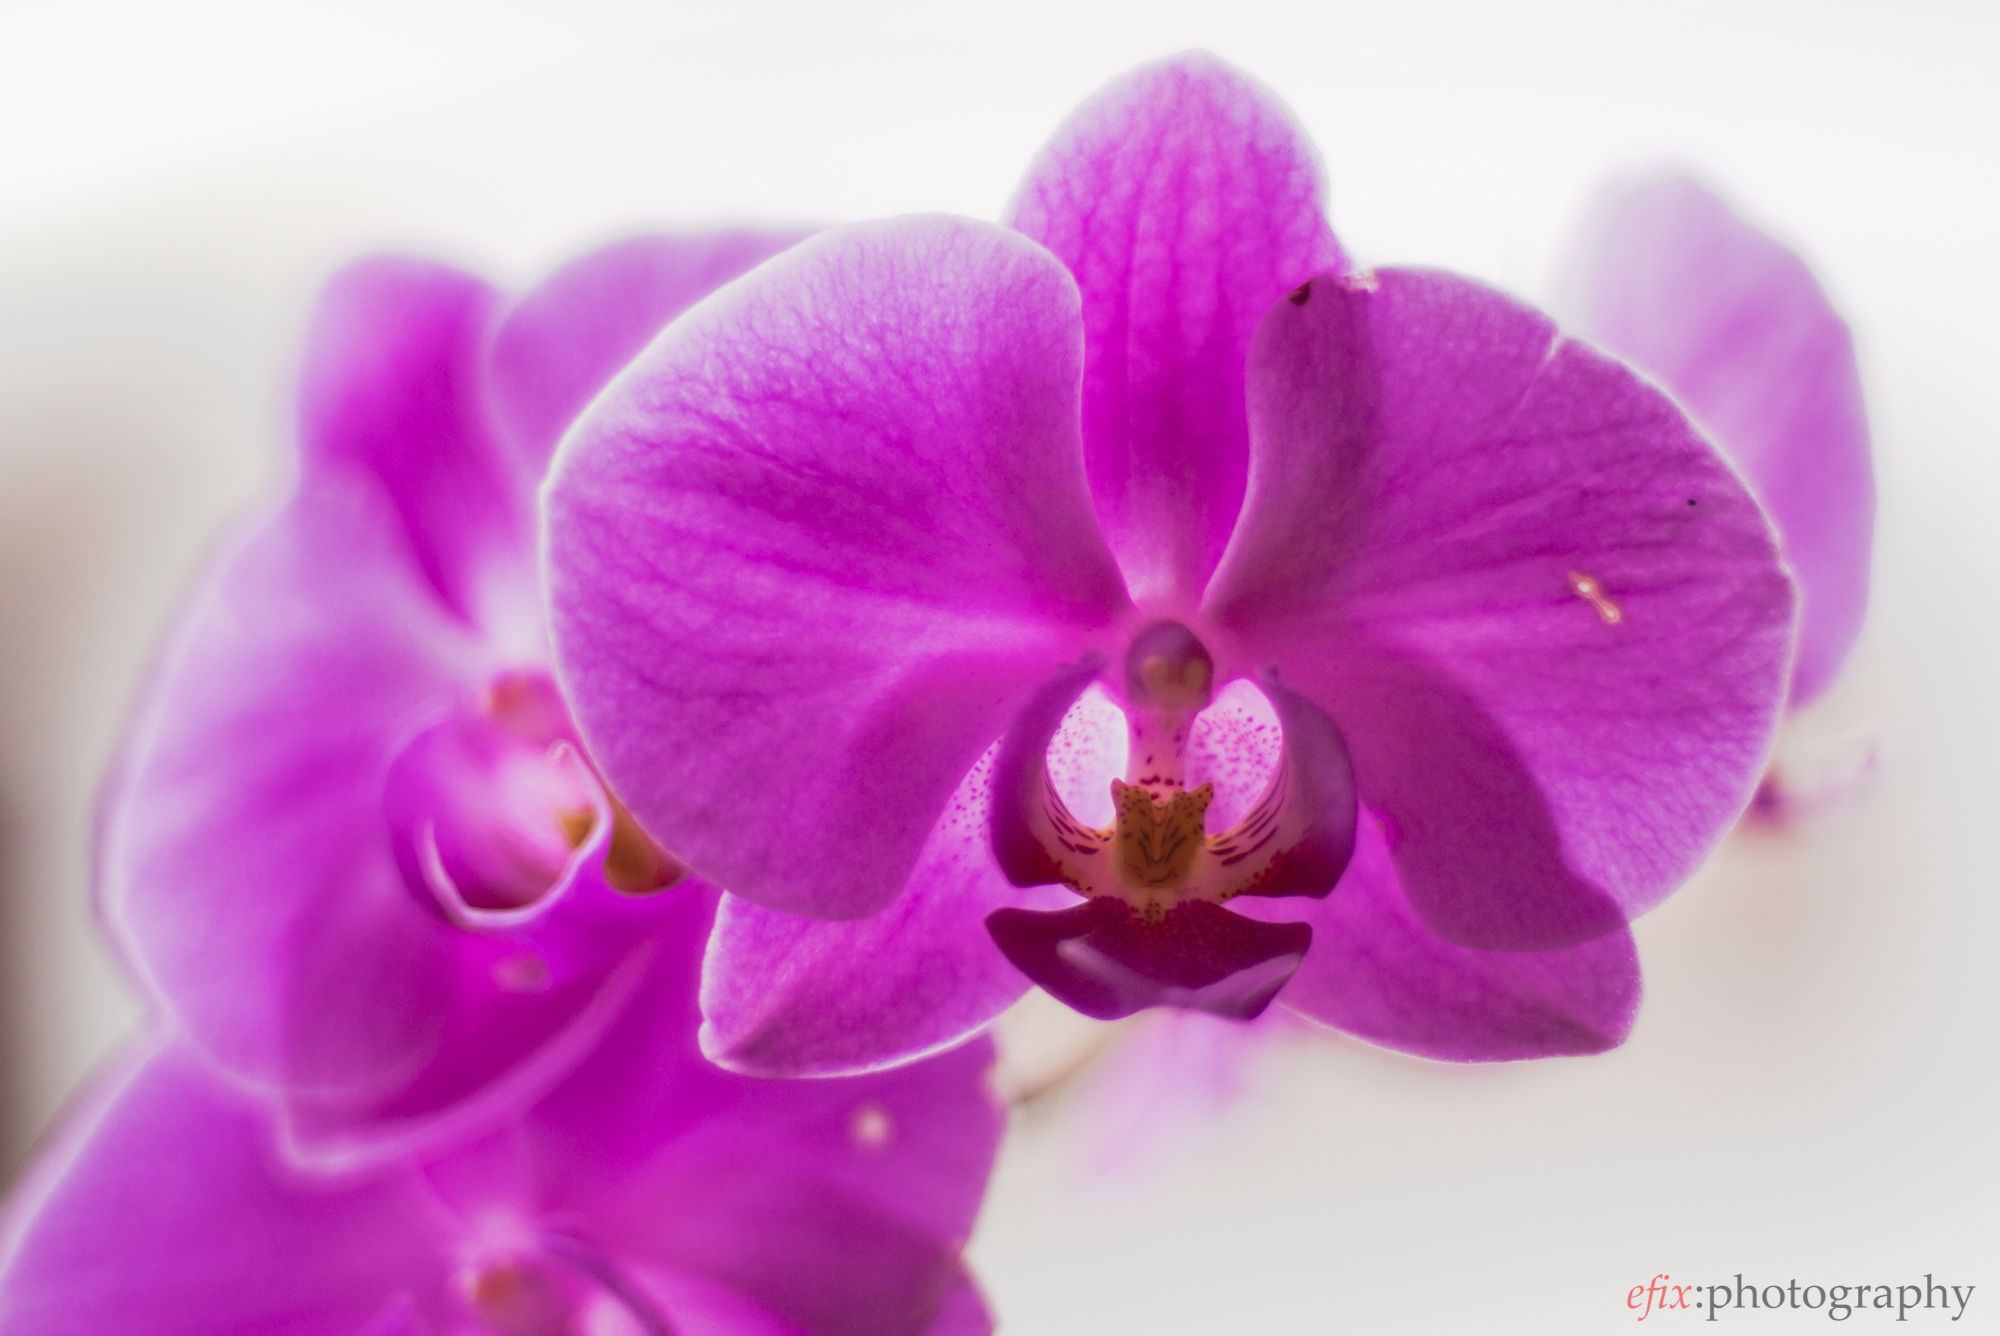
Chris Martin being a wedding photographer, these presets were presumably created with wedding pictures in mind, especially considering that the film look goes very well in that business. Since I don’t have any wedding pictures, I had to try the presets with other scenarios. As shown above, they work well for nature details and portraits. The close-up of a flower below was edited using the Light Fade preset, with some additional tweaks.
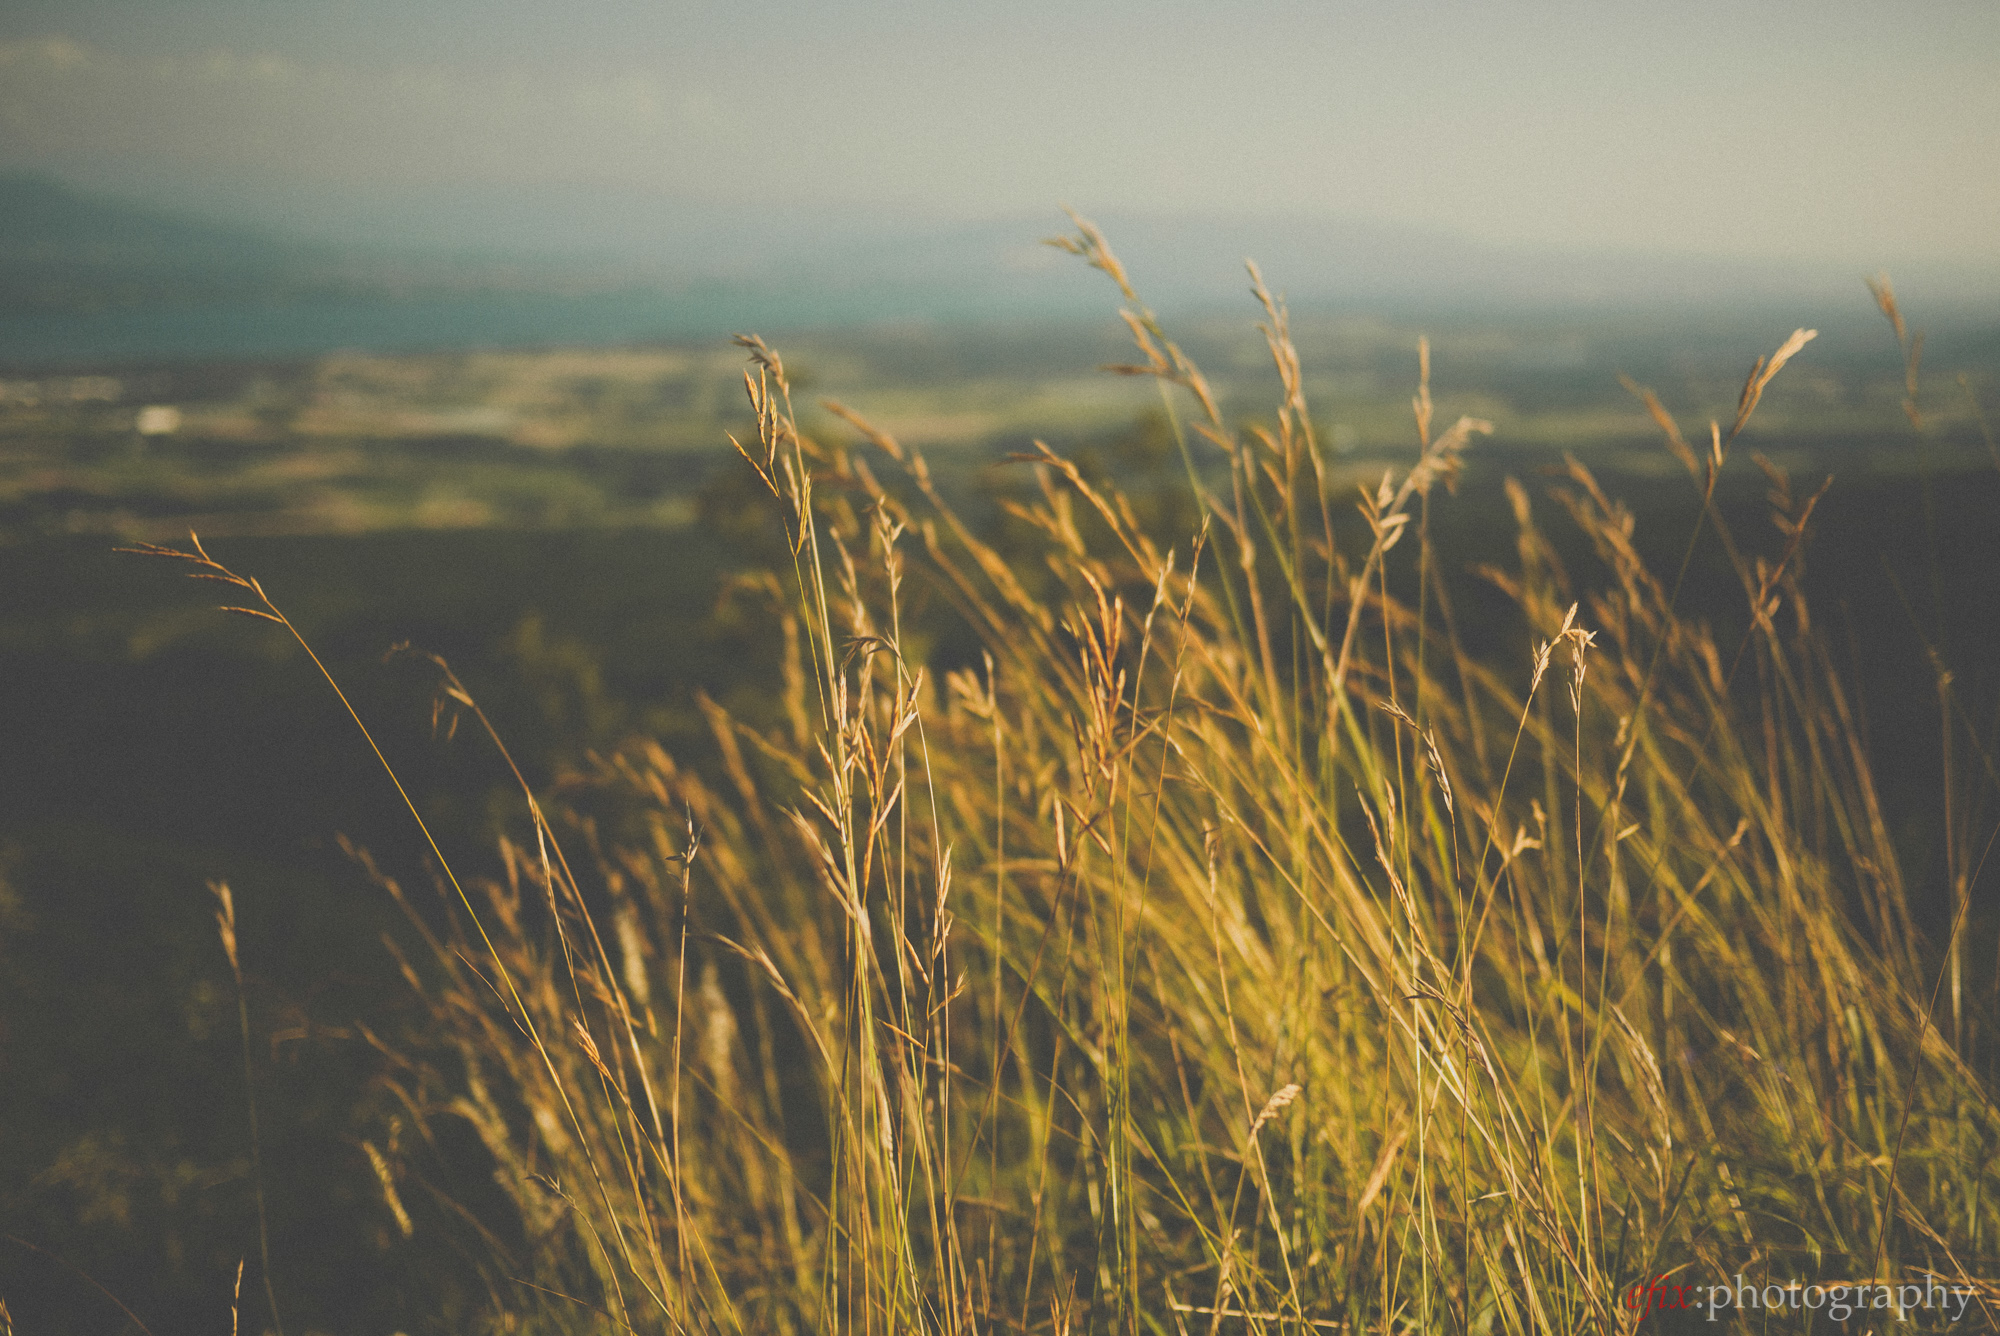
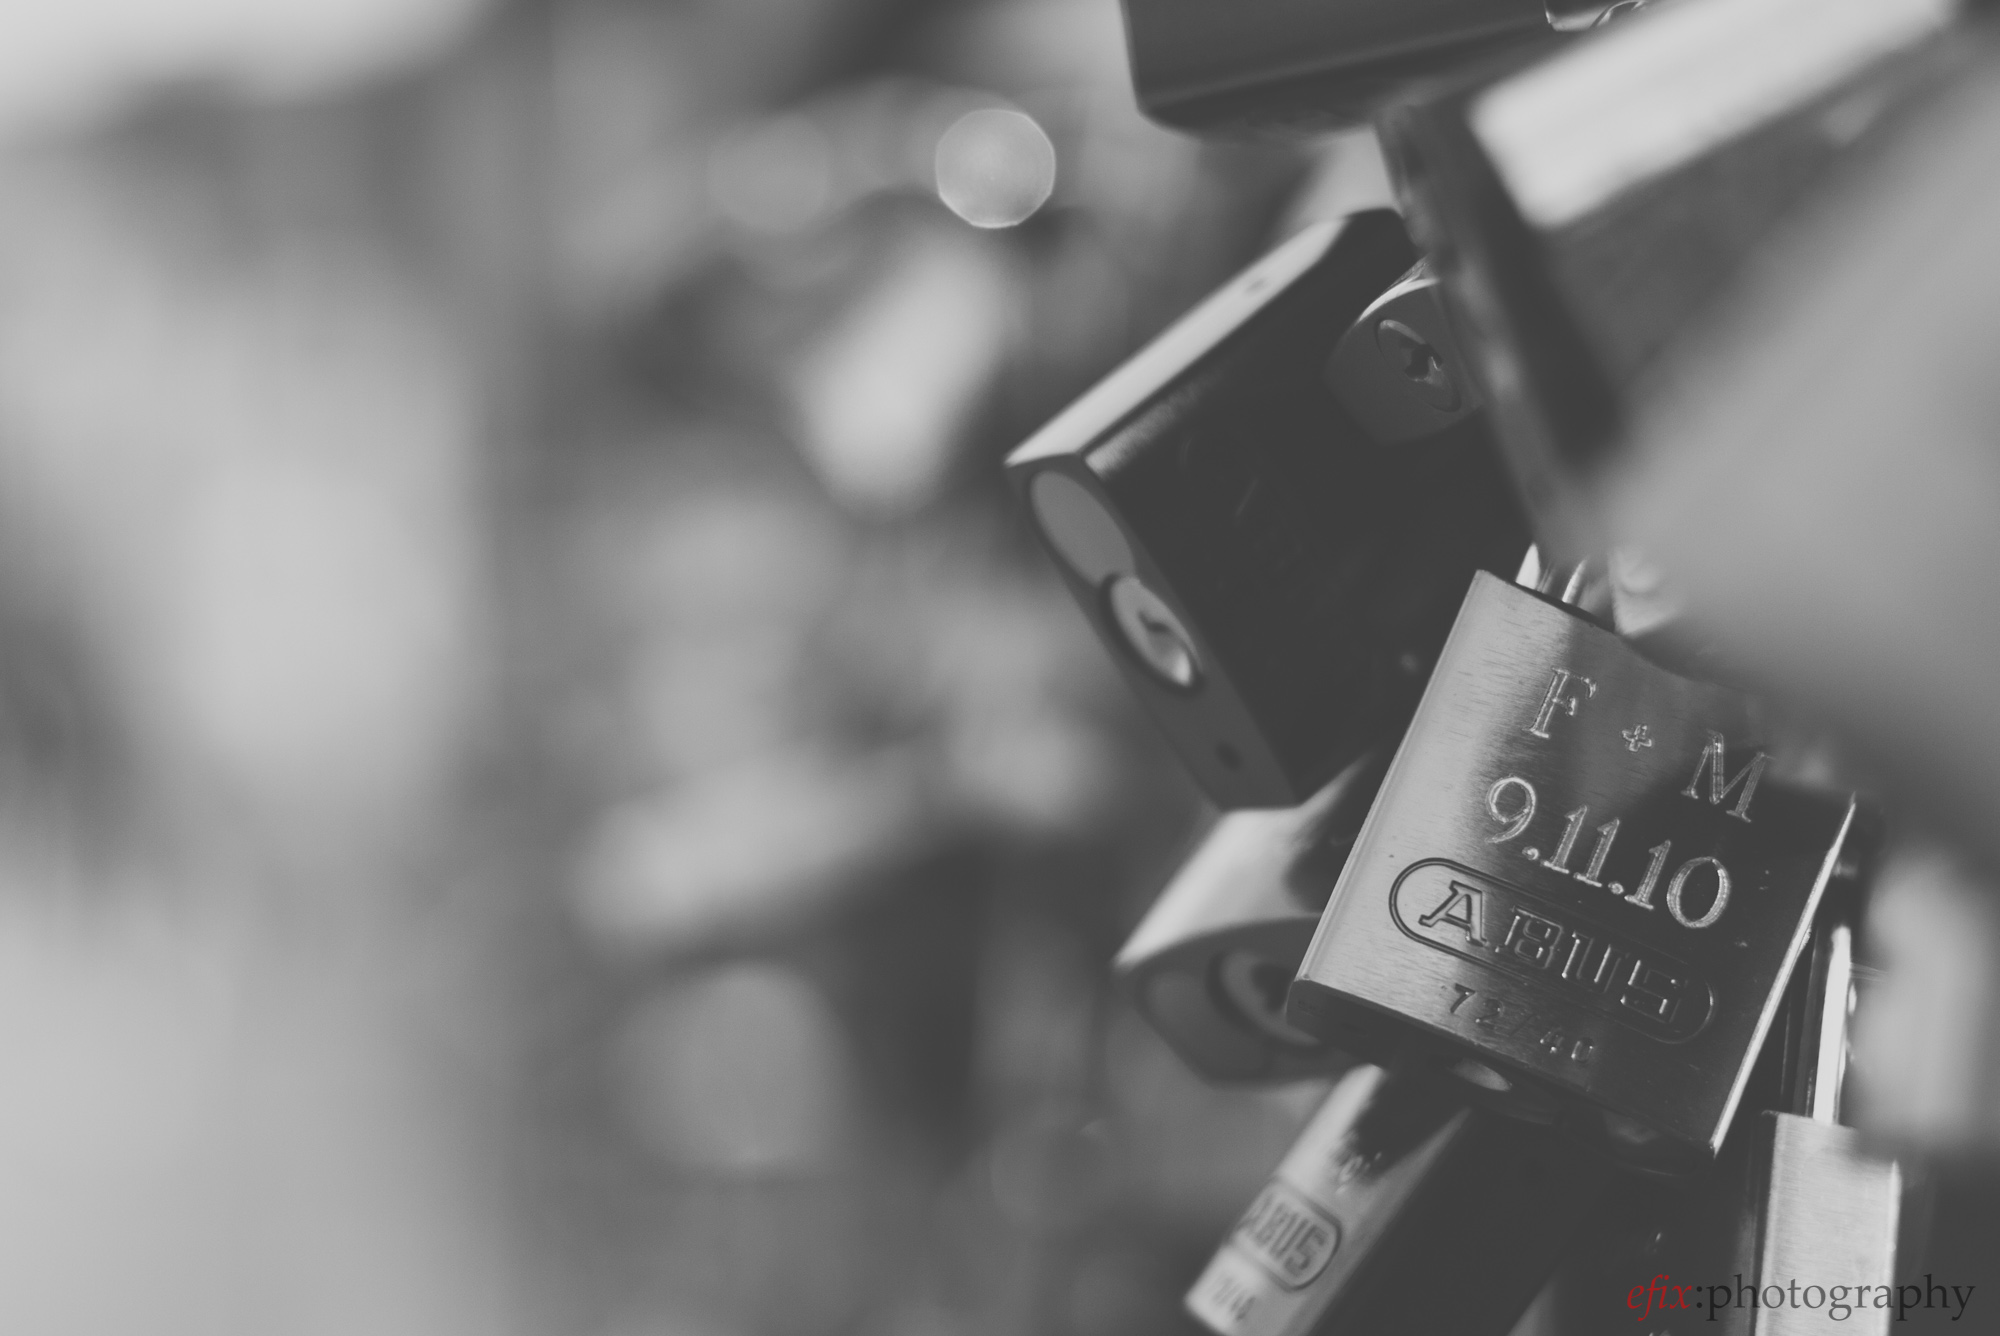
The following image was edited using the Film Fade B&W preset, but the white balance and colors were tweaked manually.
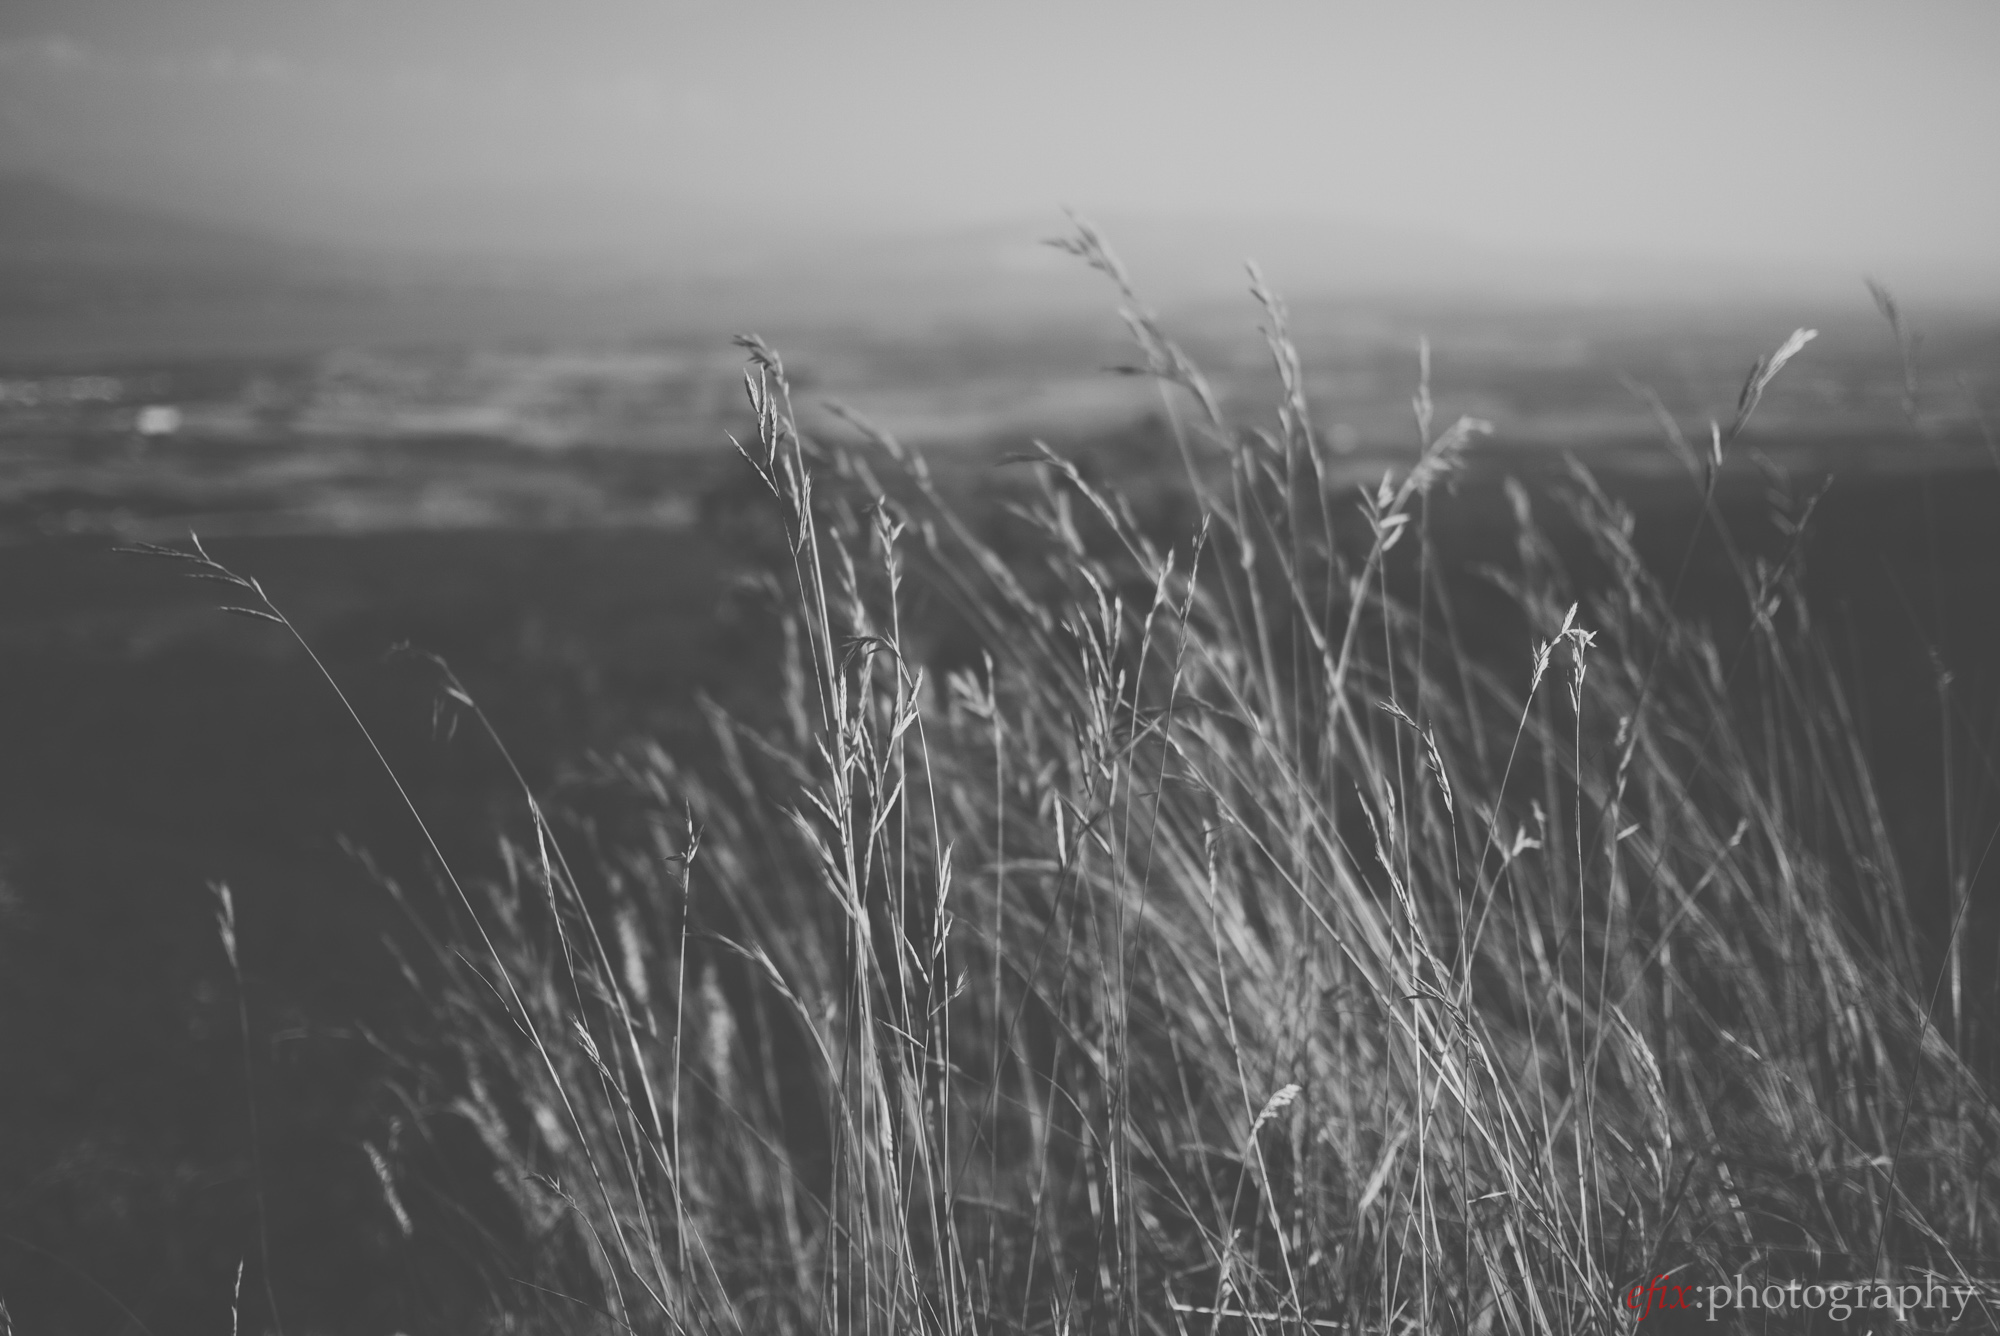
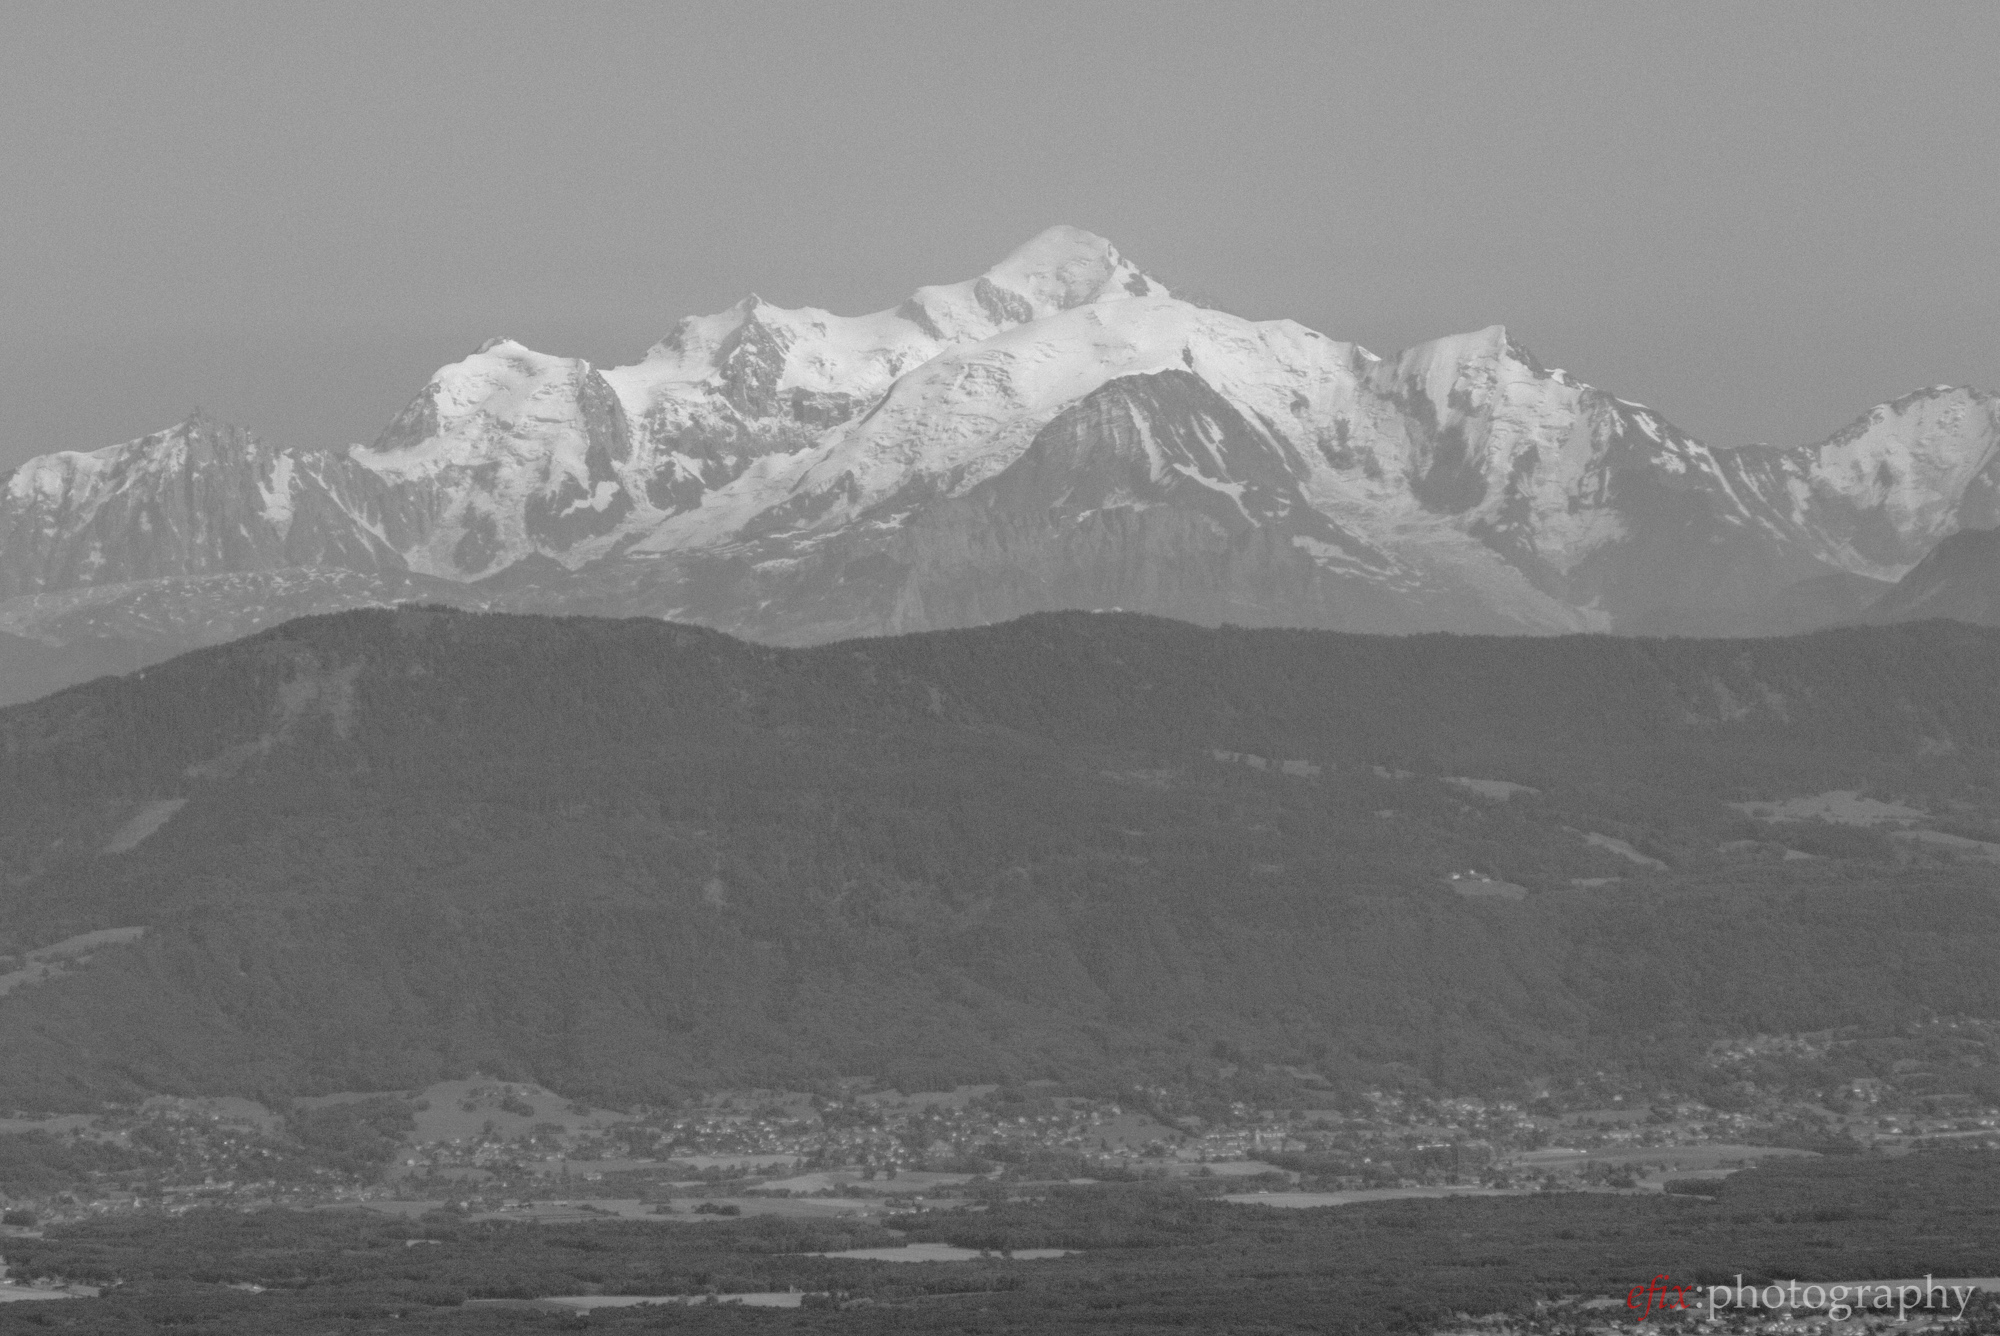
Finally, this image of Mont Blanc in the Swiss Alps had so little contrast out of the camera, that it seemed like the ideal candidate for the High Contrast B&W preset. This preset also evidently adds some grain, which gives the image a very film-like look.
Conclusions
Just like Chris Martin’s original Vintage Film Fade presets, his 2013 Summer Preset Pack delivers a set of Lightroom presets that make achieving a faded film look as easy as one click. In contrast to the original preset pack, the 2013 Summer Preset Pack comes with three basic presets, Film Fade, High Contrast, and Light Fade, that each come in six different flavors. In addition, each preset can be tweaked to better match the individual images they’re applied to, and of course tweaked presets can be saved as new presets.
Whether or not you can actually put these presets to use depends on your style and the type of pictures you take. They will work very well with portraits and wedding photography, and there are also some other scenarios that benefit from them as shown in this review. In the end though, they’re probably not everyone’s taste. And considering the price tag of US-$ 49, my advice is to only purchase them if you’re absolutely sure you’re going to use them a lot, as in the end it’s the post processing work they can save you that makes them most interesting.


Please Support The Phoblographer
We love to bring you guys the latest and greatest news and gear related stuff. However, we can’t keep doing that unless we have your continued support. If you would like to purchase any of the items mentioned, please do so by clicking our links first and then purchasing the items as we then get a small portion of the sale to help run the website.
Also, please follow us on Facebook, Flickr and Twitter.
Get rid of the ads!
Did you enjoy reading this article as much as we enjoyed writing it? There's a way to support us and our reporting, getting ad-free navigation and more as a bonus. Subscribe to us for less than a coffee per month —just $3.99— or take advantage of our yearly subscription with a hefty discount for only $25.- An ad-free experience
- A free mystery box for Lightroom or Capture One
- All the books in our store
- 20% discount on Capture One
- 30% discount on Imalume Photo Theft Protection
- 20% off Herbs and Kettle Tea Company.
- 20% off your order from MPIX printing services.
- 5% off Viltrox Products via their eCommerce store.
- 10% off all film developing, printing and scanning services from Blue Moon Camera and Machine
- 15% off 7Artisans products: The lens and accessory maker is offering a sweet discount for Phoblographer's readers.