Some folks think that when they get into shooting video that it will be super easy and a total breeze. But trust us–if you think photography is hard, videography is an Olympic sport. There is so much more that you have to remember and take into account for since you’re continuously shooting still images. For the most part, also keep in mind that you’re also probably shooting the video equivalent of a JPEG photo–which means that all that latitude and editing ability that you get as a still photographer might not be there unless you have the right camera or the right hack.
This guide will help you without going into the aspects of editing and other work including coloring. And before I was a stills guy, I was a video guy.
Frame Rates

When you read a camera’s specs, chances are that they say something like, “30p, 24p, 60p, 60i.” So what does that mean?
– 30p: 30 progressive frames per second. 30p was rated as best for internet videos for years
– 24p: 24 progressive frames per second. 24p is best for cinema shooting and as of a couple years ago has been perfectly compliant with web formats.
– 60p: 60 progressive frames per second. This mimics the way that the human eye sees and is very much a video standard in some ways due to the higher frame rate. Most users shoot at this frame rate and slow it down.
– 60i: 60 interlaced frames per second. Interlacing involves meshing lines of data together and is best for television.
For the most part, we recommend shooting at 24p all day every day. It is by far the most beautiful format for the Americans and the Japanese. Europe tends to go with the 25p format–which is what the BBC often uses.
Exposure Is a Totally Different Game

If you’re shooting a video, you’ll need to keep your exposures constant for the most part or else it will overall just look like crap. For that reason, we recommend never shooting in P or automatic modes. Heck, stay out of Shutter priority and Aperture priority as well: just go manual.
Now everything else works in a totally different way in video.
– Shutter speeds are basically an exposure first and foremost. Let’s say that you’re shooting at 1/15th and your frame rate is 24p. That means that in a period of one second the camera will shoot 24 images exposed at 1/15th of a second. Read this over again and understand it before you move on. To get the best image quality, the golden rule is to set your shutter speed to be double what your frame rate is to prevent any movement or rolling shutter problems. That means that if you’re shooting at 24p, 1/50th of a second is your ideal shutter speed.
But then what if you’re in bright sunlight? 1/50th is extremely bright? We’ll get to that later on in this section. Whatever you do, don’t EVER change your shutter speed when shooting videos.
– Apertures in video are stated to mostly control depth of field. While we also know that apertures also control light, the ideal application is using it for depth of field control. Sure, if you’re in bright sunlight you can shoot at 1/50th, 24p, and f22–but then you lose the point of using a large sensor camera. And even if your ISO is set to 100, your scene might still be over-exposed.
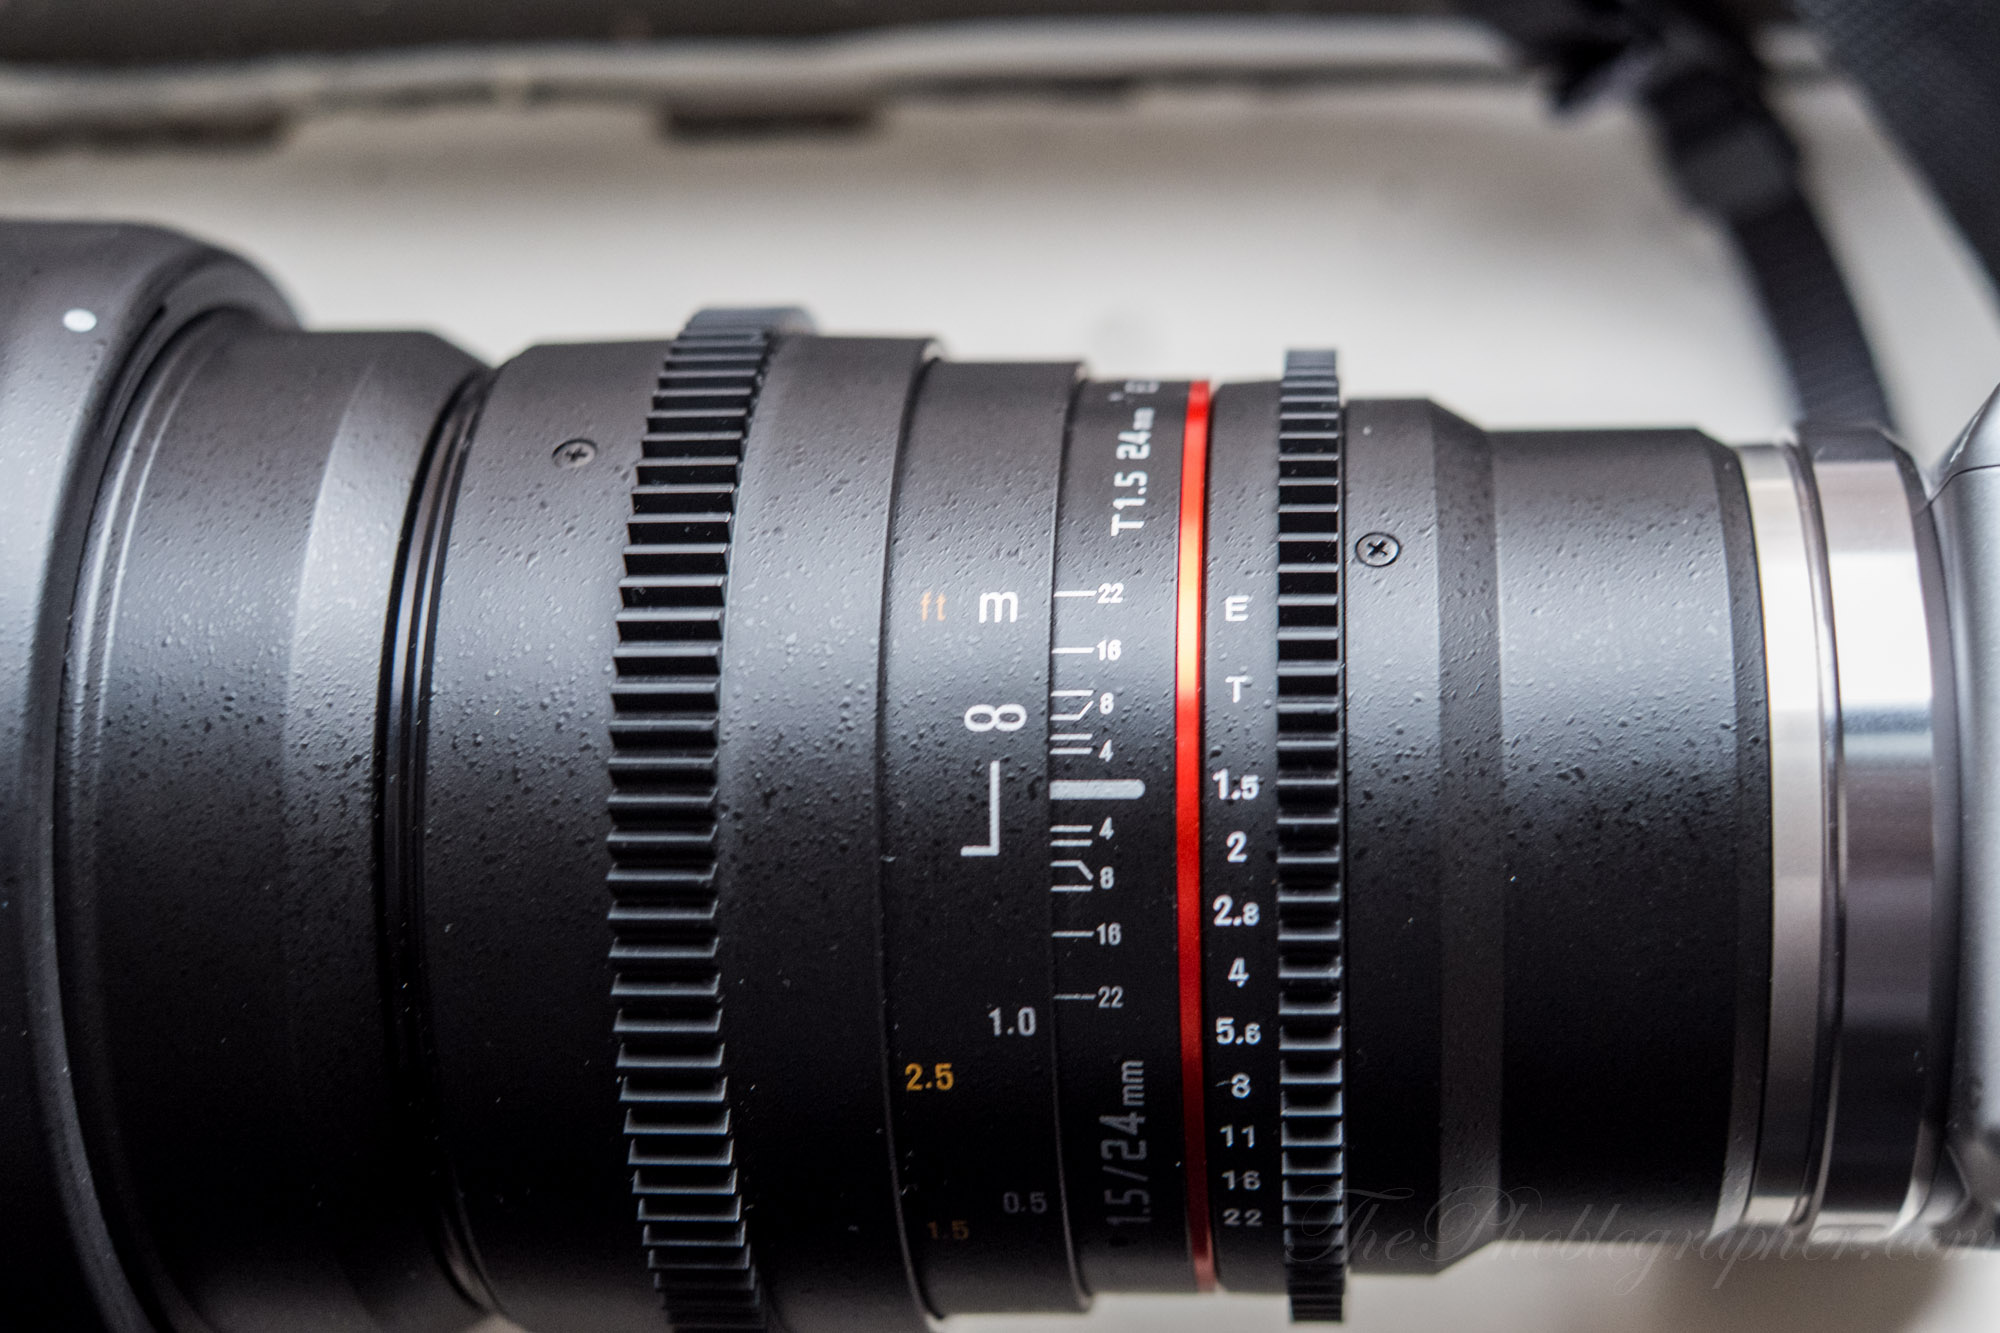
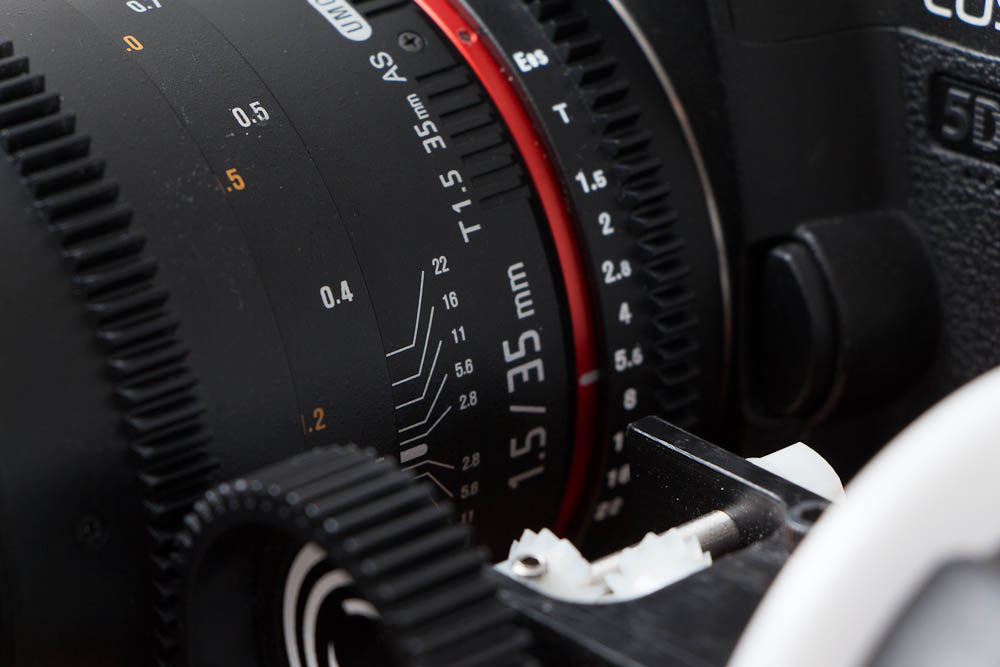
If you’re getting a lens for videography, go for a Cinema Prime. We strongly recommend lenses with T-stops. With this said though, we strongly recommend never changing your aperture during a video recording. Always stop and change it if you need to otherwise, and then continue recording. Cinema primes are designed to have a longer focusing throw and clickless apertures so your video won’t be jumpy. These clickless apertures are often called T-Stops–and they are an absolute exact value of the exposure as opposed to an estimation of the value–which is what an F-Stop is. That means that if you bought that expensive f1.2 lens, you actually may be getting an f1.4 or f1.8 exposure instead depending on the quality.
With all this in mind, we always recommend manually focusing.
– ISO can often be likened to gain. This is the overall sensitivity of your scene. Once again, we recommend never changing it during recording. Also, like in photos, note that the higher up you go in the ISO levels, the more grain will show through since you’re recording a frame at 24, 30 or 60 times a second. It isn’t easily cleaned up either as you’ll need to do it pixel by pixel frame by frame.
– This leads us to your fourth exposure value: the ND filter. This filter has been used for years by both medium format photographers and cinematographers for years. Let’s say we’re outside during a bright day and we want to shoot at 24p, 1/50th, T5.6 and ISO 100. Photographers will know that in bright daylight, that just won’t happen as the entire scene will be overexposed. An ND filter helps to cut out even more light and give a more balanced exposure. There are filters designed for use in Matte boxes and filters for use on DSLR lenses.
We’ll get to more on this in a bit.
OH AND FOR THE LOVE OF GOD: DON’T SHOOT VERTICAL VIDEO!!!! EVER!!!
Color Profiles
Your camera automatically has many different color profiles. Many come with settings like vivid, landscape, portrait, standard, monochrome and more. Almost everywhere on the web will tell you to shoot a flat color profile so that you can edit easier in post-production. While they’re correct, some people need to have a faster workflow and don’t have time to do a lot of editing besides some cutting and merging. For those folks, choose the color profile that you like best and just roll with it as beauty is in the eye of the beholder.
If you’re a Canon shooter, your color profile can be found with Technicolor and downloaded to your computer then ported to your DSLR.
The Core Accessories
Our list of recommended core accessories:
– IndiPro EVF: If you need an affordable EVF for your camcorder, the one from IndiPro is where you won’t go wrong at all. It is clear to focus with, has a decent build quality, and connects to your camera with ease. We recommend it.
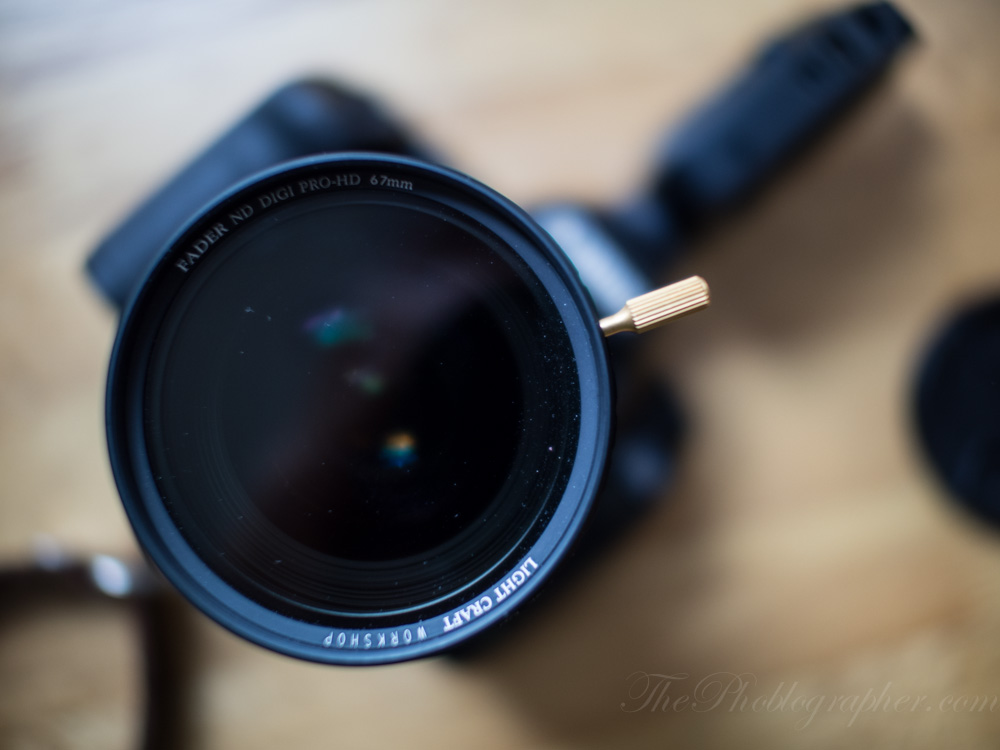
– LightCraft Workshop DigiPro HD Variable ND Filter: LightCraft Workshop has been working on their Variable ND filters for a while and many state that they’re the best in the business. The screw onto the front of your lens and you can dial in how much light cutting abilities are rendered in your scene.
And if you’re working with studio lights when shooting stills, they can kill more ambient lighting. You’ll see this in our review.
– Switronix Bolt TorchLED light: This light mounts to the top of your camera and will add fill to a subject. It is an excellent interview light and the color temperature of the light can be dialed in accordingly for different scenes. Check out our review.
– Then there is stabilization: If you’re shooting with a camera that has a built in EVF, then all you’ll need is an image stabilized lens for the best results–that is unless you’ve nearly just injected pure caffeine into your veins turning you into the equivalent of Bane from Batman, but with Starbucks.
There are shoulder rigs, tripods, and monopods. Just choose the one that’s right for you–but most photographers don’t like dealing with any of those.
Audio is 60% of Your Video
One of the most important things to note is that your video can look totally horrible, but if you have great audio it can be a major hit. For that, remember to use external microphones (depending on how serious the application is) and try to use headphones as well. In many applications, a simple boom or shotgun microphone can suffice. But other times you may need lavilliers for interviews or anything else.
This goes double for shooting concerts.
Our Favorite Cameras
Sony NEX 6: Though some folks will state that the NEX 6 has loads of moire problems, we found them to be greatly over exaggerated. We use the camera for loads of our videos with no problems at all. It has a built in EVF for better stability when shooting as well. Our NEX 6 review has more.
Panasonic GH3: Panasonic’s GH3 at the moment is the best option for recording video in the Micro Four Thirds world. With a built-in EVF and some excellent uncompressed video footage, you’ll have a lot of fun working with the video files that come from it. Check out our review.
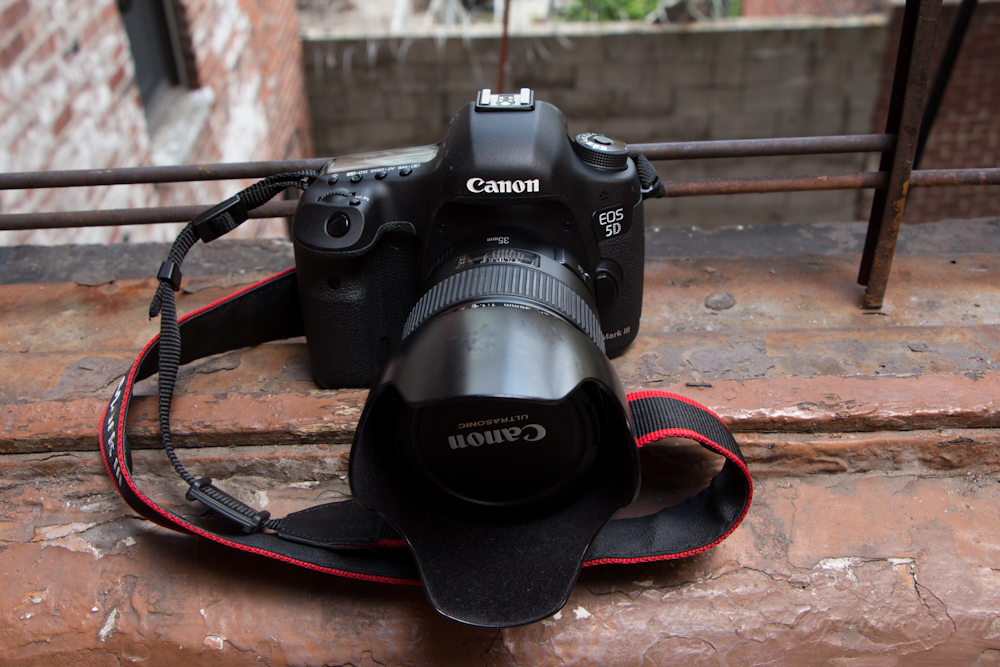
Canon 5D Mk III: The Canon 5D Mk III is currently one of the best cameras on the market for recording video due to a hack that the Magic Lantern team recently did that allows the user to shoot CineDNG video. This means that it can shoot RAW video–and that means even more versatility in the video editing. See our review for more.
Please Support The Phoblographer
We love to bring you guys the latest and greatest news and gear related stuff. However, we can’t keep doing that unless we have your continued support. If you would like to purchase any of the items mentioned, please do so by clicking our links first and then purchasing the items as we then get a small portion of the sale to help run the website.
Also, please follow us on Facebook, Flickr and Twitter.
Get rid of the ads!
Did you enjoy reading this article as much as we enjoyed writing it? There's a way to support us and our reporting, getting ad-free navigation and more as a bonus. Subscribe to us for less than a coffee per month —just $3.99— or take advantage of our yearly subscription with a hefty discount for only $25.- An ad-free experience
- A free mystery box for Lightroom or Capture One
- All the books in our store
- 20% discount on Capture One
- 30% discount on Imalume Photo Theft Protection
- 20% off Herbs and Kettle Tea Company.
- 20% off your order from MPIX printing services.
- 5% off Viltrox Products via their eCommerce store.
- 10% off all film developing, printing and scanning services from Blue Moon Camera and Machine
- 15% off 7Artisans products: The lens and accessory maker is offering a sweet discount for Phoblographer's readers.