Last Updated on 03/17/2023 by Lara Carretero

All images in this post were created by Matt Hill and used with permission.
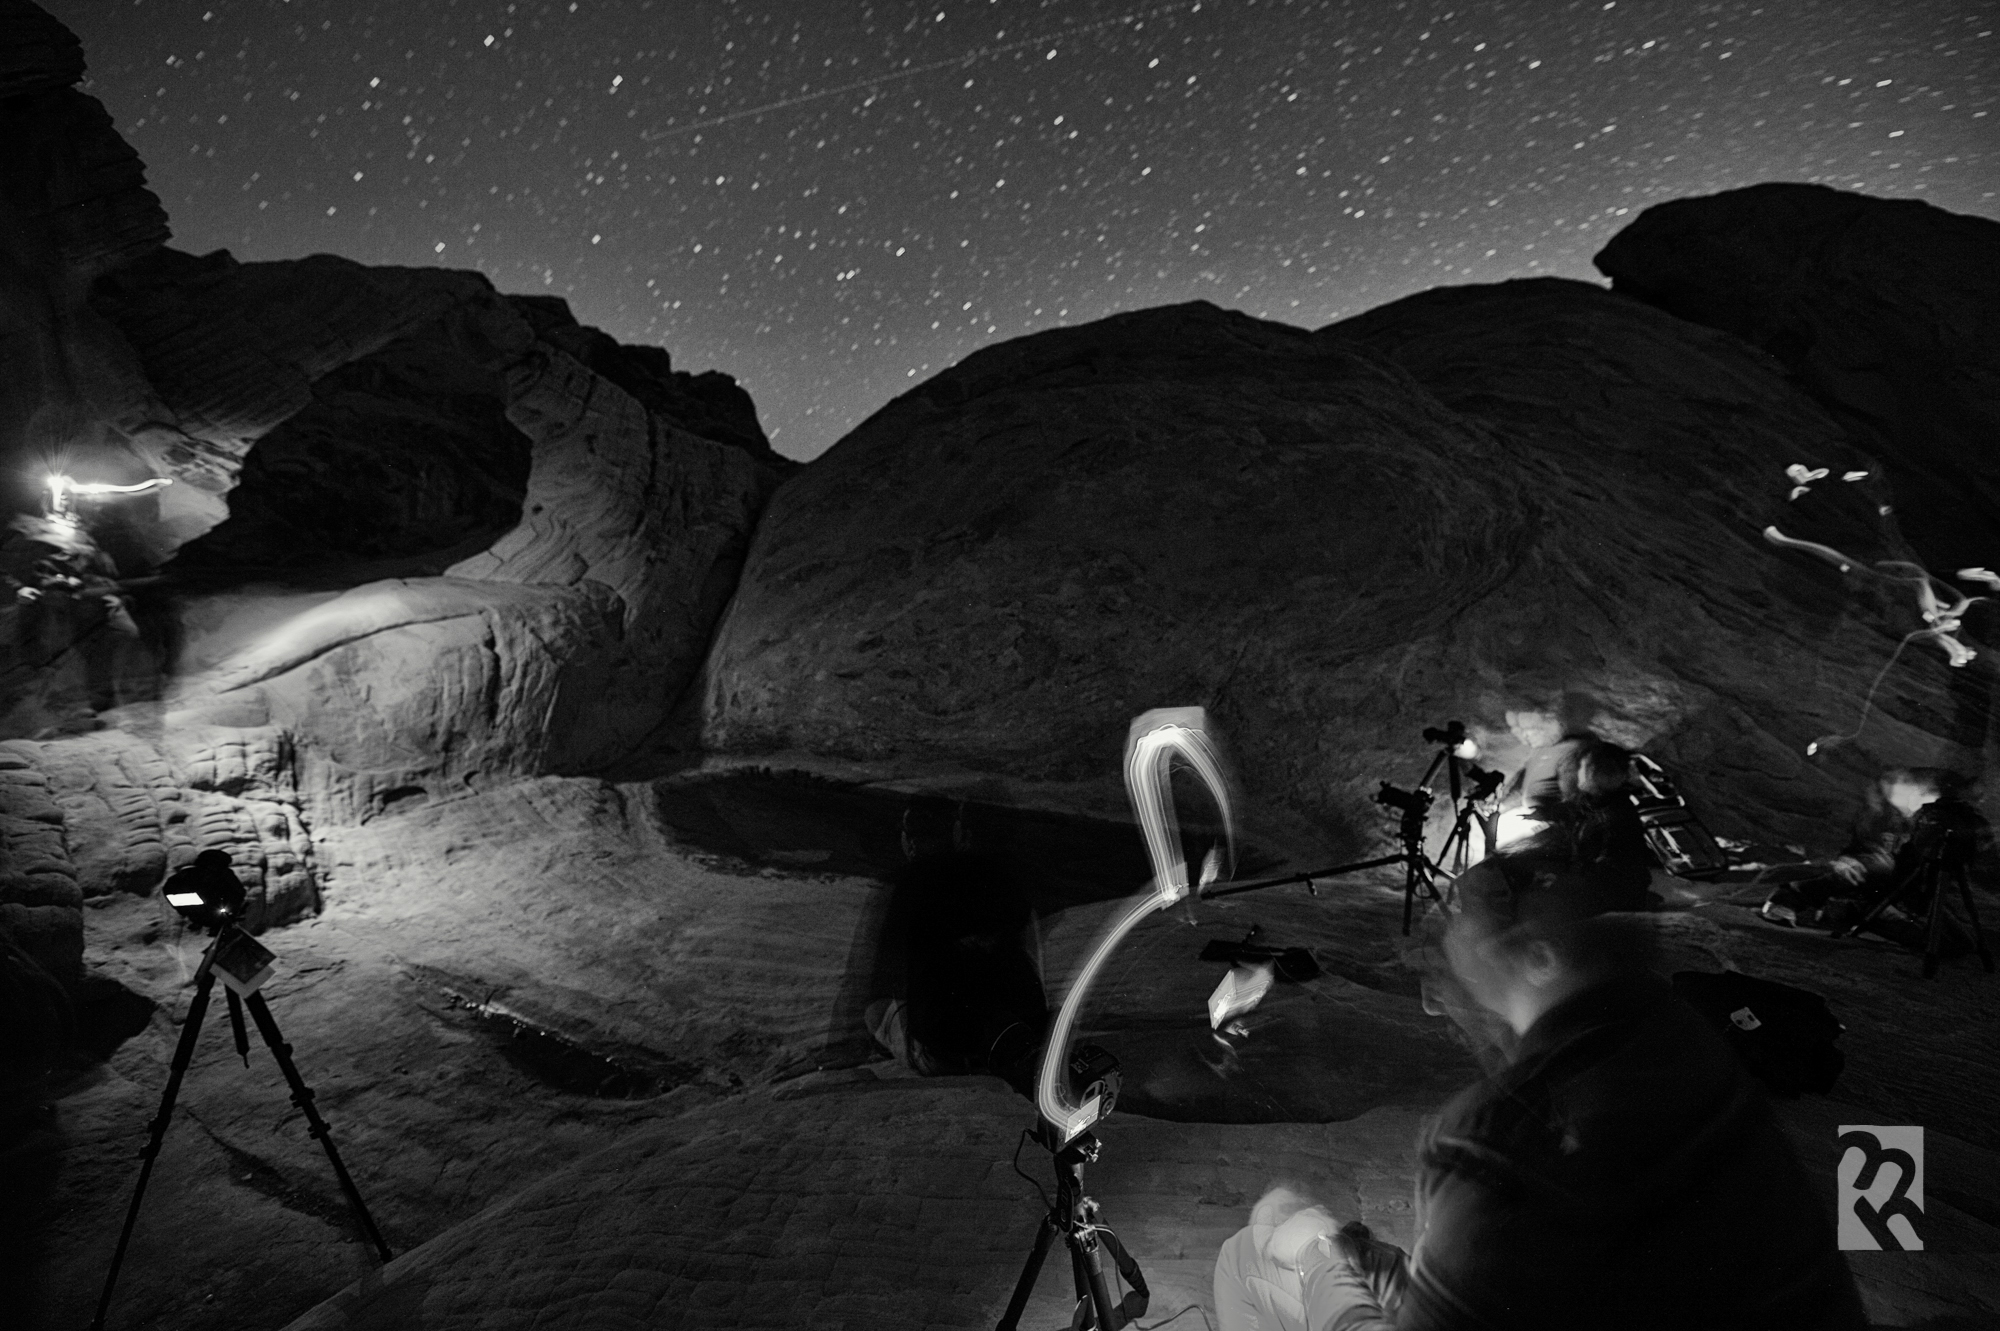
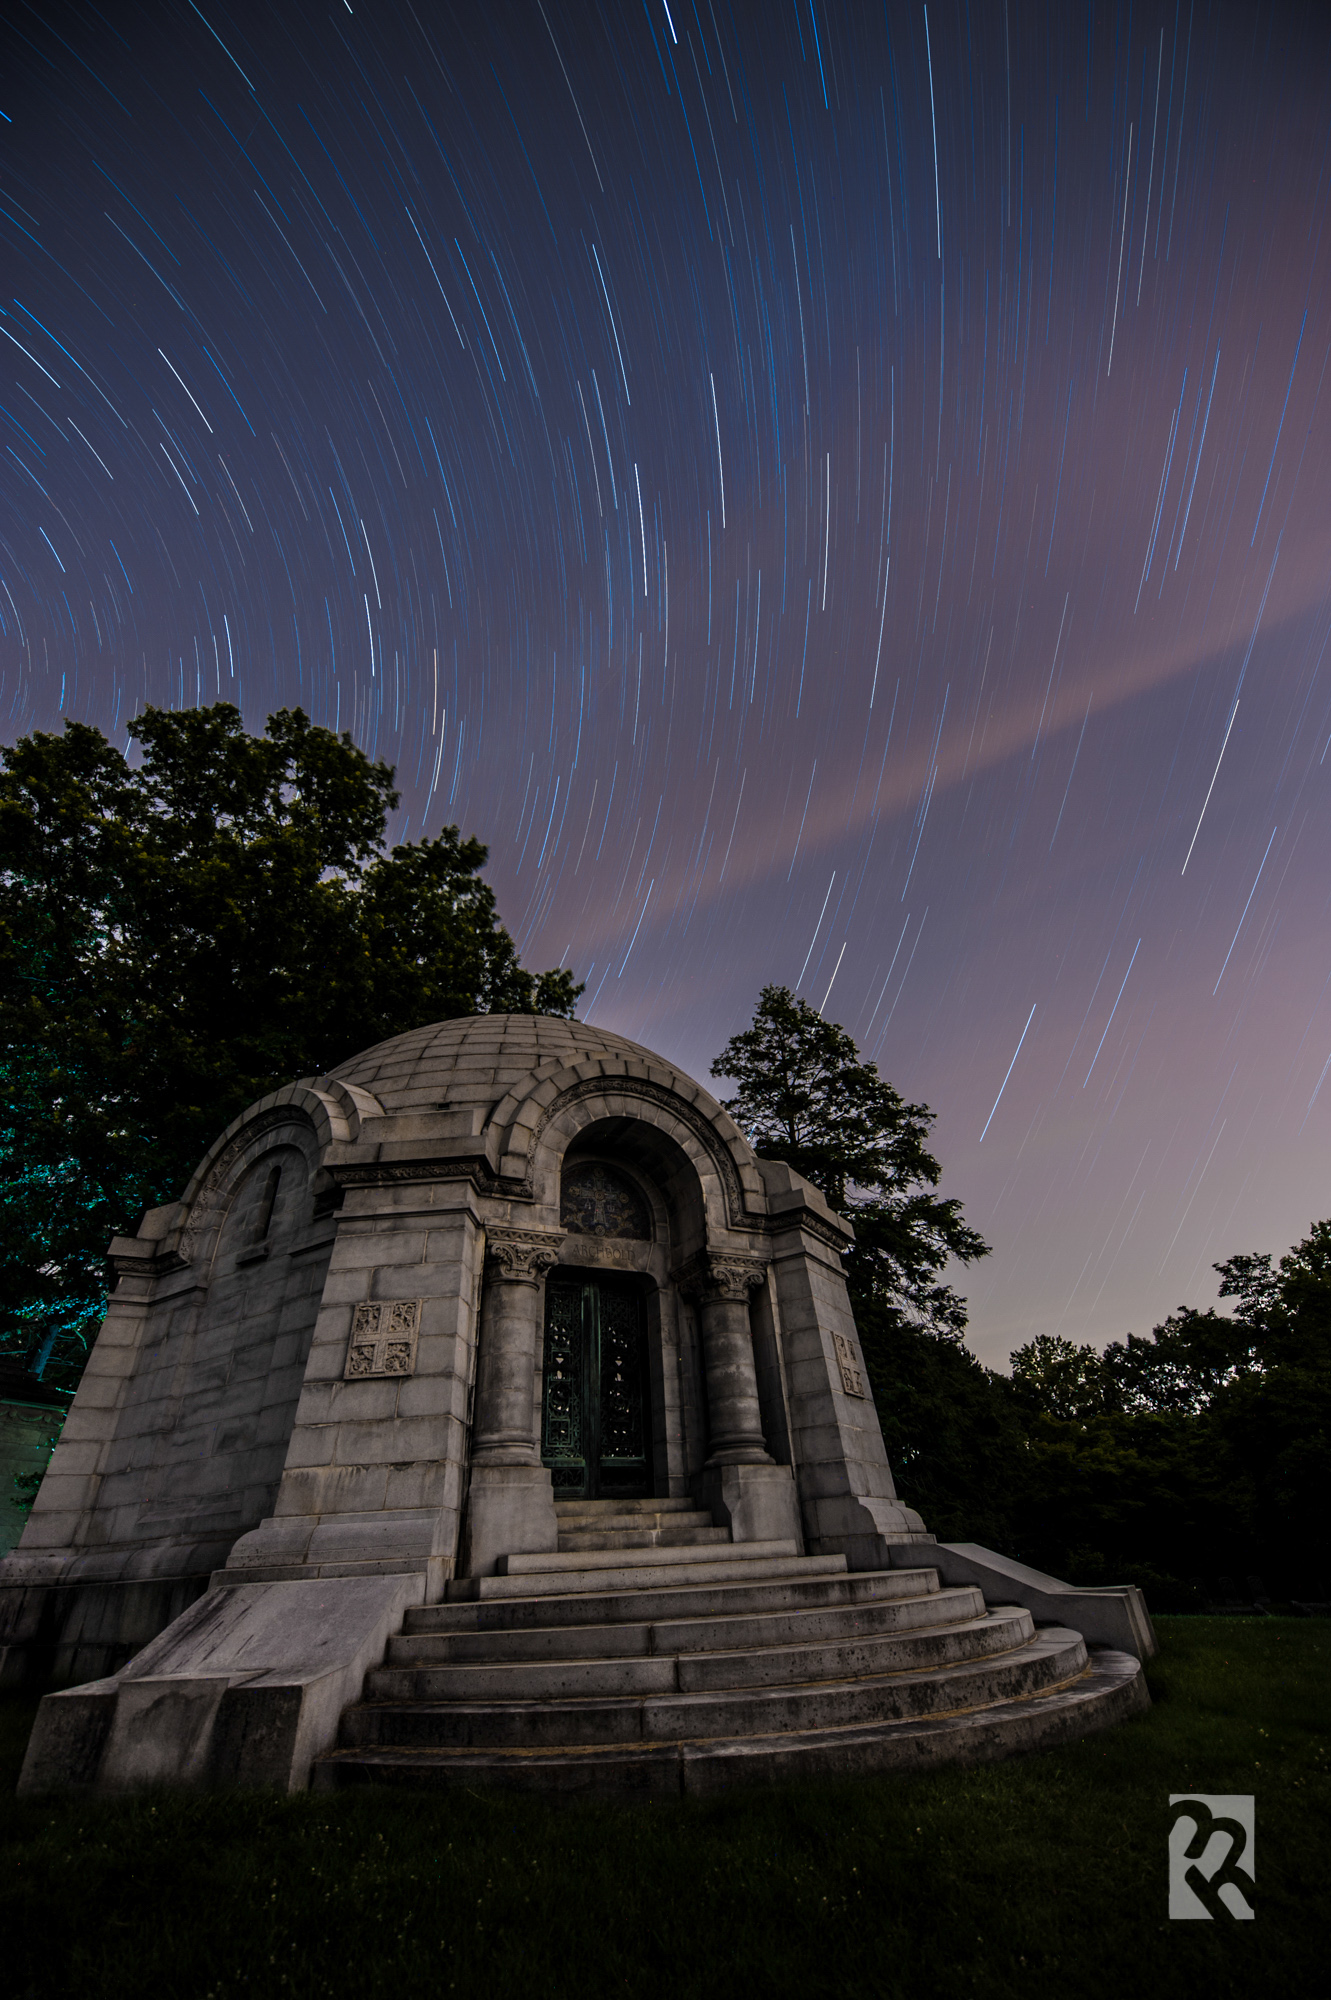
Have you been intrigued by all of those mind-bending night photography photos? C’Mon. You know you are. Was it the star trails? Was it the fire? Was it the soft, velvety water or the Milky Way galaxy laid out in front of you? If any or all of these are your goal, must first master the fundamentals.
My co-teaching partner, Gabriel Biderman, and I have been teaching night photography workshops for four+ years. I’ve been shooting at night for over 20 years. What keeps bringing me back is the endless possibilities of how you can play with time in a single photographic frame. Much like “the old days” you can do everything in-camera during a single exposure. It’s fascinating to experiment with what is possible and I’ll share more about what I’ve been doing lately after the tutorial and share an opportunity to learn with us at upcoming workshops.
In this primer I’ll cover these areas: Basic Gear & Getting One Good Exposure
Editor’s Note: This is a guest blog post from photographer Matt Hill
Part 1 – Basic Gear
There is a core set of things you must have to consistently make great exposures at night.
1) A camera capable of exposures longer then 30 seconds (see #2 also!)
Check your manual, or set your mode to “Manual” and look for the shutter speed “Bulb” after 30 seconds. DSLRs and high-end mirrorless cameras are preferred. Chances are that if the lens doesn’t come off, you cannot use it for exposures longer than 30 seconds (except the Fuji X100s which is amazing for night photography).
2) The controller that allows you to make exposures longer than 30 seconds
Somehow you have to tell your camera how long the exposure(s) will be with a “release”. This could be an electronic cable release as simple as a locking button and as complicated as a full-blown intervalometer. It could be your iPhone/iPad with an app like TriggerTrap or it could be a small rock and some gaff tape. The latter works best when you forget all of the others previously listed. If you are using film (gasp! it’s AWESOME for Night Photography), then a simple locking cable release will suffice. For my D700, I use the Nikon MC-36A.
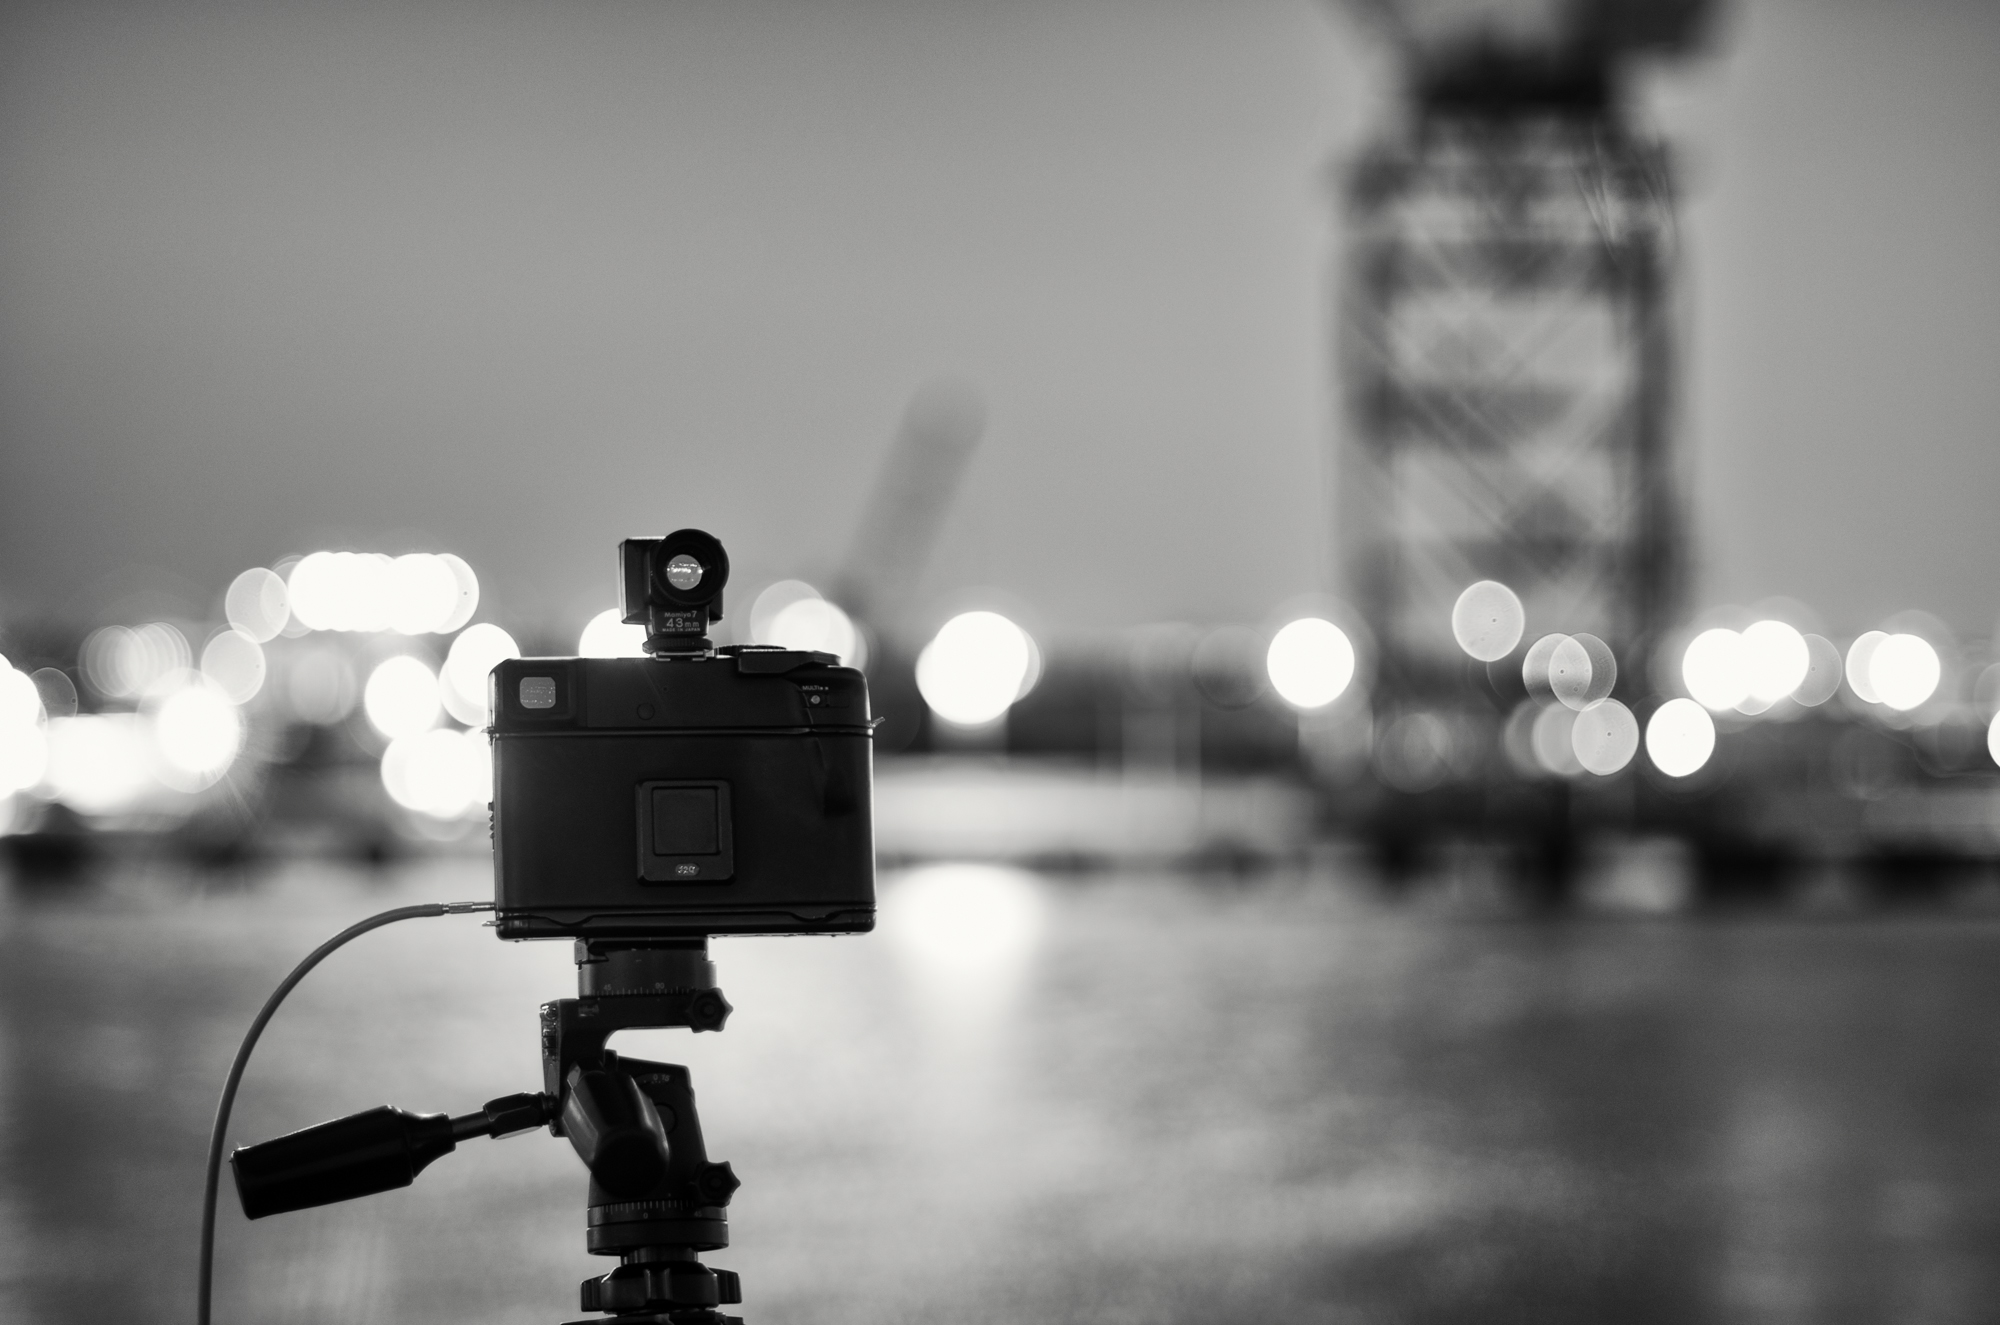
3) A rock-solid tripod and head
Zero vibration and no “creep” is your goal. My primary tripod (I own and use four tripods) is an Induro CT214 tripod and PHQ-1 head.
Disclaimer: My day job is at MAC Group. I could have chosen any tripod at all, but I chose this tripod for the quality, weight, and length to price ratio and head because I prefer to change one axis at a time; I often use the Nikon 14-24mm f/2.8 in vertical orientation. The base pan under the camera on the PHQ-1 makes composition very easy. Why not use a ballhead? Well, it’s hard to see at night. If you loosen a ballhead and everything changes when you just want to make one small adjustment, it’s very frustrating. I strongly recommend using a pan/tilt head because I prefer precision over speed. What’s the rush? These exposures take anywhere from 2 minutes to 2 hours!
Feel free to rent before you own or borrow a friend’s tripod. Develop your own opinions based on how your hands and mind work at night.
4) Two flashlights – One dim, one bright
Your dim flashlight is for looking at your camera’s buttons and settings that do not illuminate. Your bright flashlight is for light painting. The nuance is whether to use LED flashlights or a “regular” incandescent flashlight. The latter is warmer, the former is cooler. Your choice will affect how you choose and use color balance and gels once you get working on perfecting your light panting.
5) Patience and a sense of wonder
At first you may think to yourself, “My gosh, waiting for these exposures requires patience!” But after repetition you may find yourself appreciating the extra time for both crafting your image and appreciating the quiet time.
One thing that has always attracted me to night photography is the fundamental difference of time between frames. You slow down, much like shooting large format, and have time to consider every frame individually. The benefits include: lower blood pressure, smiling, and time to chat with your shooting partners to get to know them better.
But outside of that, you get some time to appreciate the beauty of the night sky and the places you may know well by daylight take on a new shape and form in the absence of sunlight. And as you come back during different phases of the moon, you will be amazed by just how much light a full moon reflects onto the Earth. Trust me, I’ve been in the desert on a new moon and a 3-hour exposure yielded nothing but stars.
6) Dress appropriately and bring water + snacks
Sounds simple. It is! But easily forgotten.
Part 2 – Getting One Good Exposure
If you do one thing well at the start of every new night photography shoot, it’s to master getting one great ambient exposure. No light painting, no flash, nothing added. Just one single good exposure.
1) Set your camera up right.
White balance: Tungsten
ISO: lowest native ISO (smallest number)
Quality: RAW (not JPGs, please!)
2) Focus and lock it
Using your bright flashlight, point it at the object in your foreground that must be in focus, or slightly behind it if you are f/8 or greater. Aim your focus points at this and half-press your shutter release until you get focus confirmation. Most often this is a green circle and a short “beep beep”. Release your half-press on the shutter release and switch your camera’s focus to manual. This can be on the lens and/or the body on most pro-level cameras. No need to refocus again unless you bump your lens or recompose.
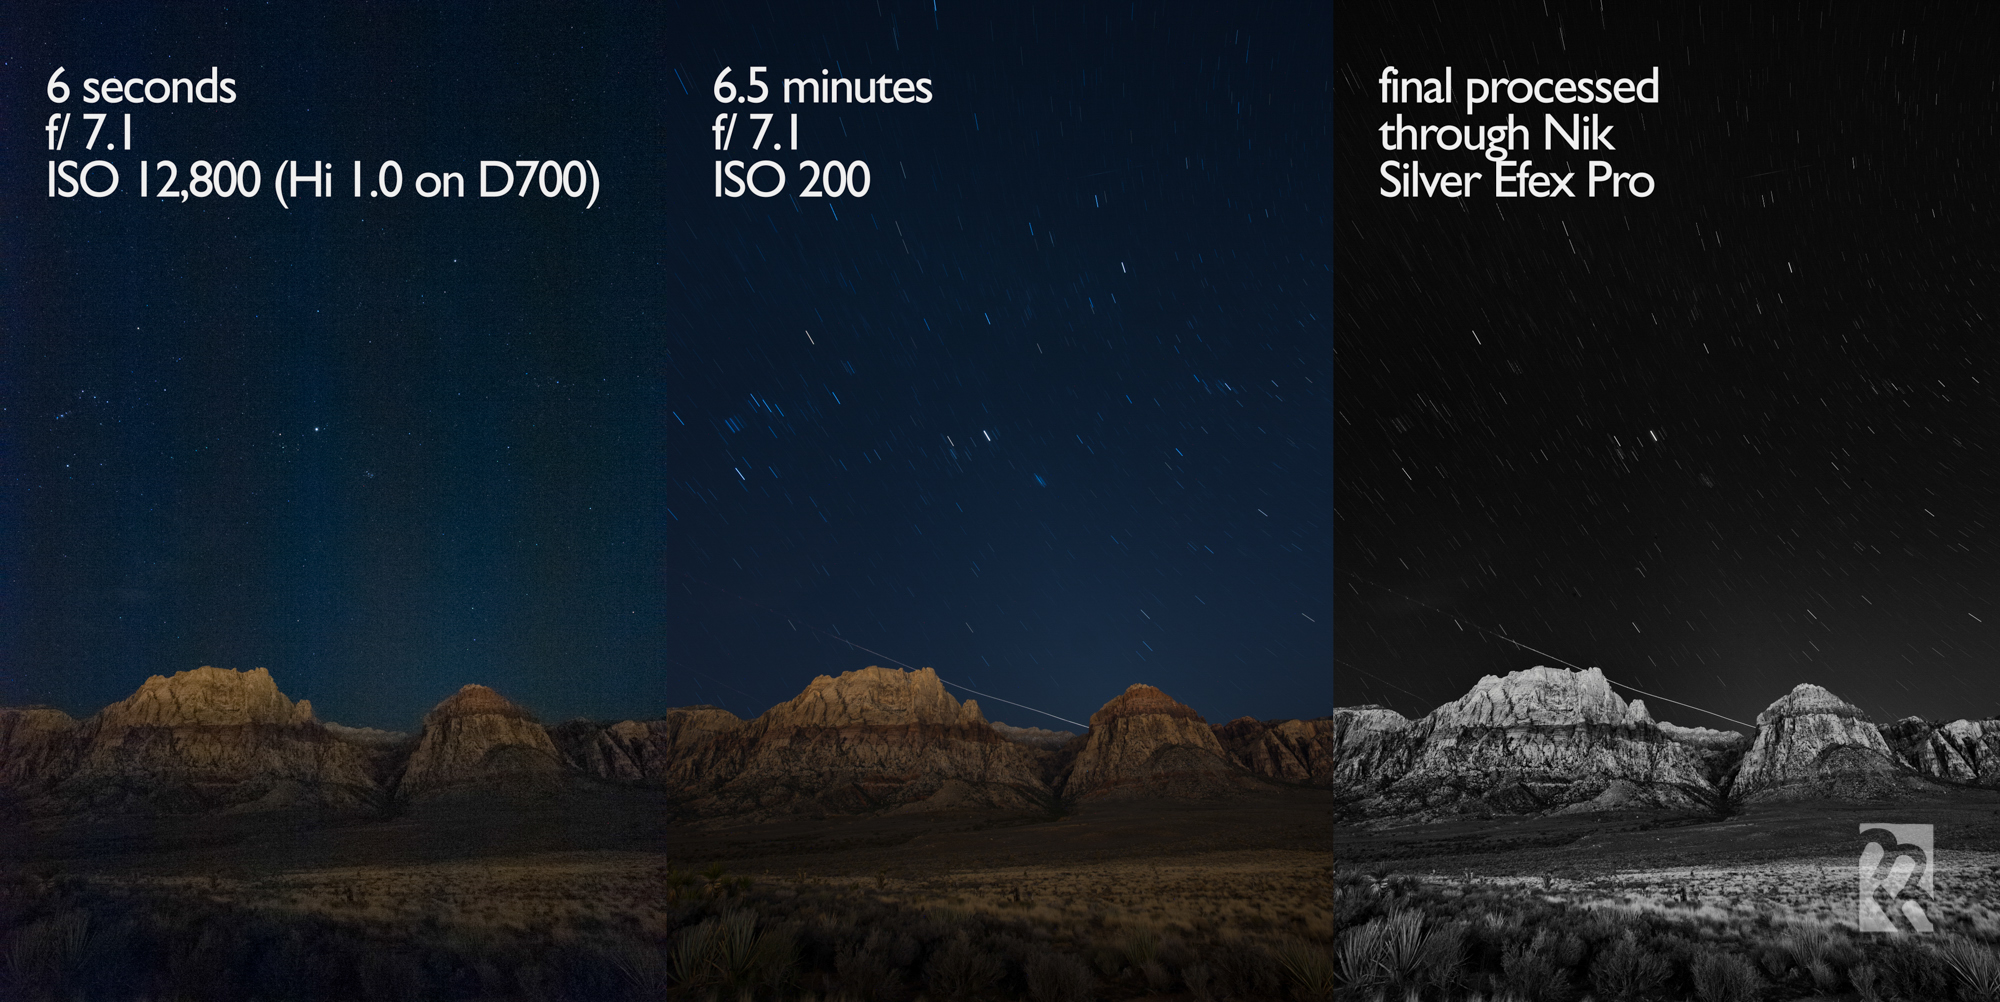
3) Perform a high ISO exposure test
I use a Nikon D700. My native ISO is 200. My highest numerical ISO is 6400, but I have “Hi 1.0”, This is six stops above ISO 200. Very important! For most Canon cameras, the native ISO is 100 and the highest numerical ISO is 6400. Perfect – six stops is what you are looking for.
a) Choose an aperture. On full moon nights, it can be f/8 or even f/11. On less-than full moon nights f/5.6 is a good place to start.
b) Set your shutter speed to 1 second.
c) Set camera to ISO six stops above your native ISO.
d) Make an exposure
If it’s too dark, move up to 2 seconds. Still too dark? Then keep doubling the time. (Remember each “stop” of light is double or half the previous value).
When you find a good-looking exposure on your LCD, the number of seconds equals minutes at your native ISO. Yes, really.
a 4-second exposure at ISO 6400 is 4 minutes at ISO 100. Do the photo math, it’s true.
4 * 2 = 8 seconds
8 * 2 = 16 seconds (really 15 seconds)
15 * 2 = 30 seconds
30 * 2 – 1 minute
1 * 2 = 2 minutes
2 * 2 = 4 minutes.
It’s genius. Digital photography revolutionized night photography. There is no light meter that can tell you the right exposure (they are not sensitive enough!), but your camera can show you the right one with pixels. In the film days when I came up, it was all trial and error plus this wonderful variable called “reciprocity failure.” Go look that up and groan. But your trade-off is noise from heat. Digital sensors are sensitive to heat and the higher the ambient temperature, the more limited you are on how long your maximum exposure can be without noise in your raw file.
4) Set it and forget it
Now set your ISO back to native (probably 100 or 200) and your shutter speed to Bulb. Set your external release to make one exposure for the correct length of time – example above was four minutes.
5) Review Focus and Histogram
You should have made one great-looking photograph using only ambient light. Now zoom in to 100% and check your focus. If it’s off, you are wasting time making exposures! Next check your histogram to make sure all the data is not all jammed over at the left side. you want a good amount of data over in the middle and right sides of your histogram. Gabe and I have both developed a habit of overexposing by up to a stop just to get more data in the shadows to that we can later bring down highlights in Lightroom when editing the RAW files. You may want to do this, too!

Additional advice
Repeat the above over and over. Become really good at nailing a basic ambient exposure. Get to know your camera’s button without looking. Practice making adjustments in the dark. Get motor memory with your fingers. It will reduce frustration when you are someplace important and want to make an exposure.
Once you have mastered this, it’s time to experiment and start breaking all these rules 😉 Speaking of which, I promised I’d share my experiments.
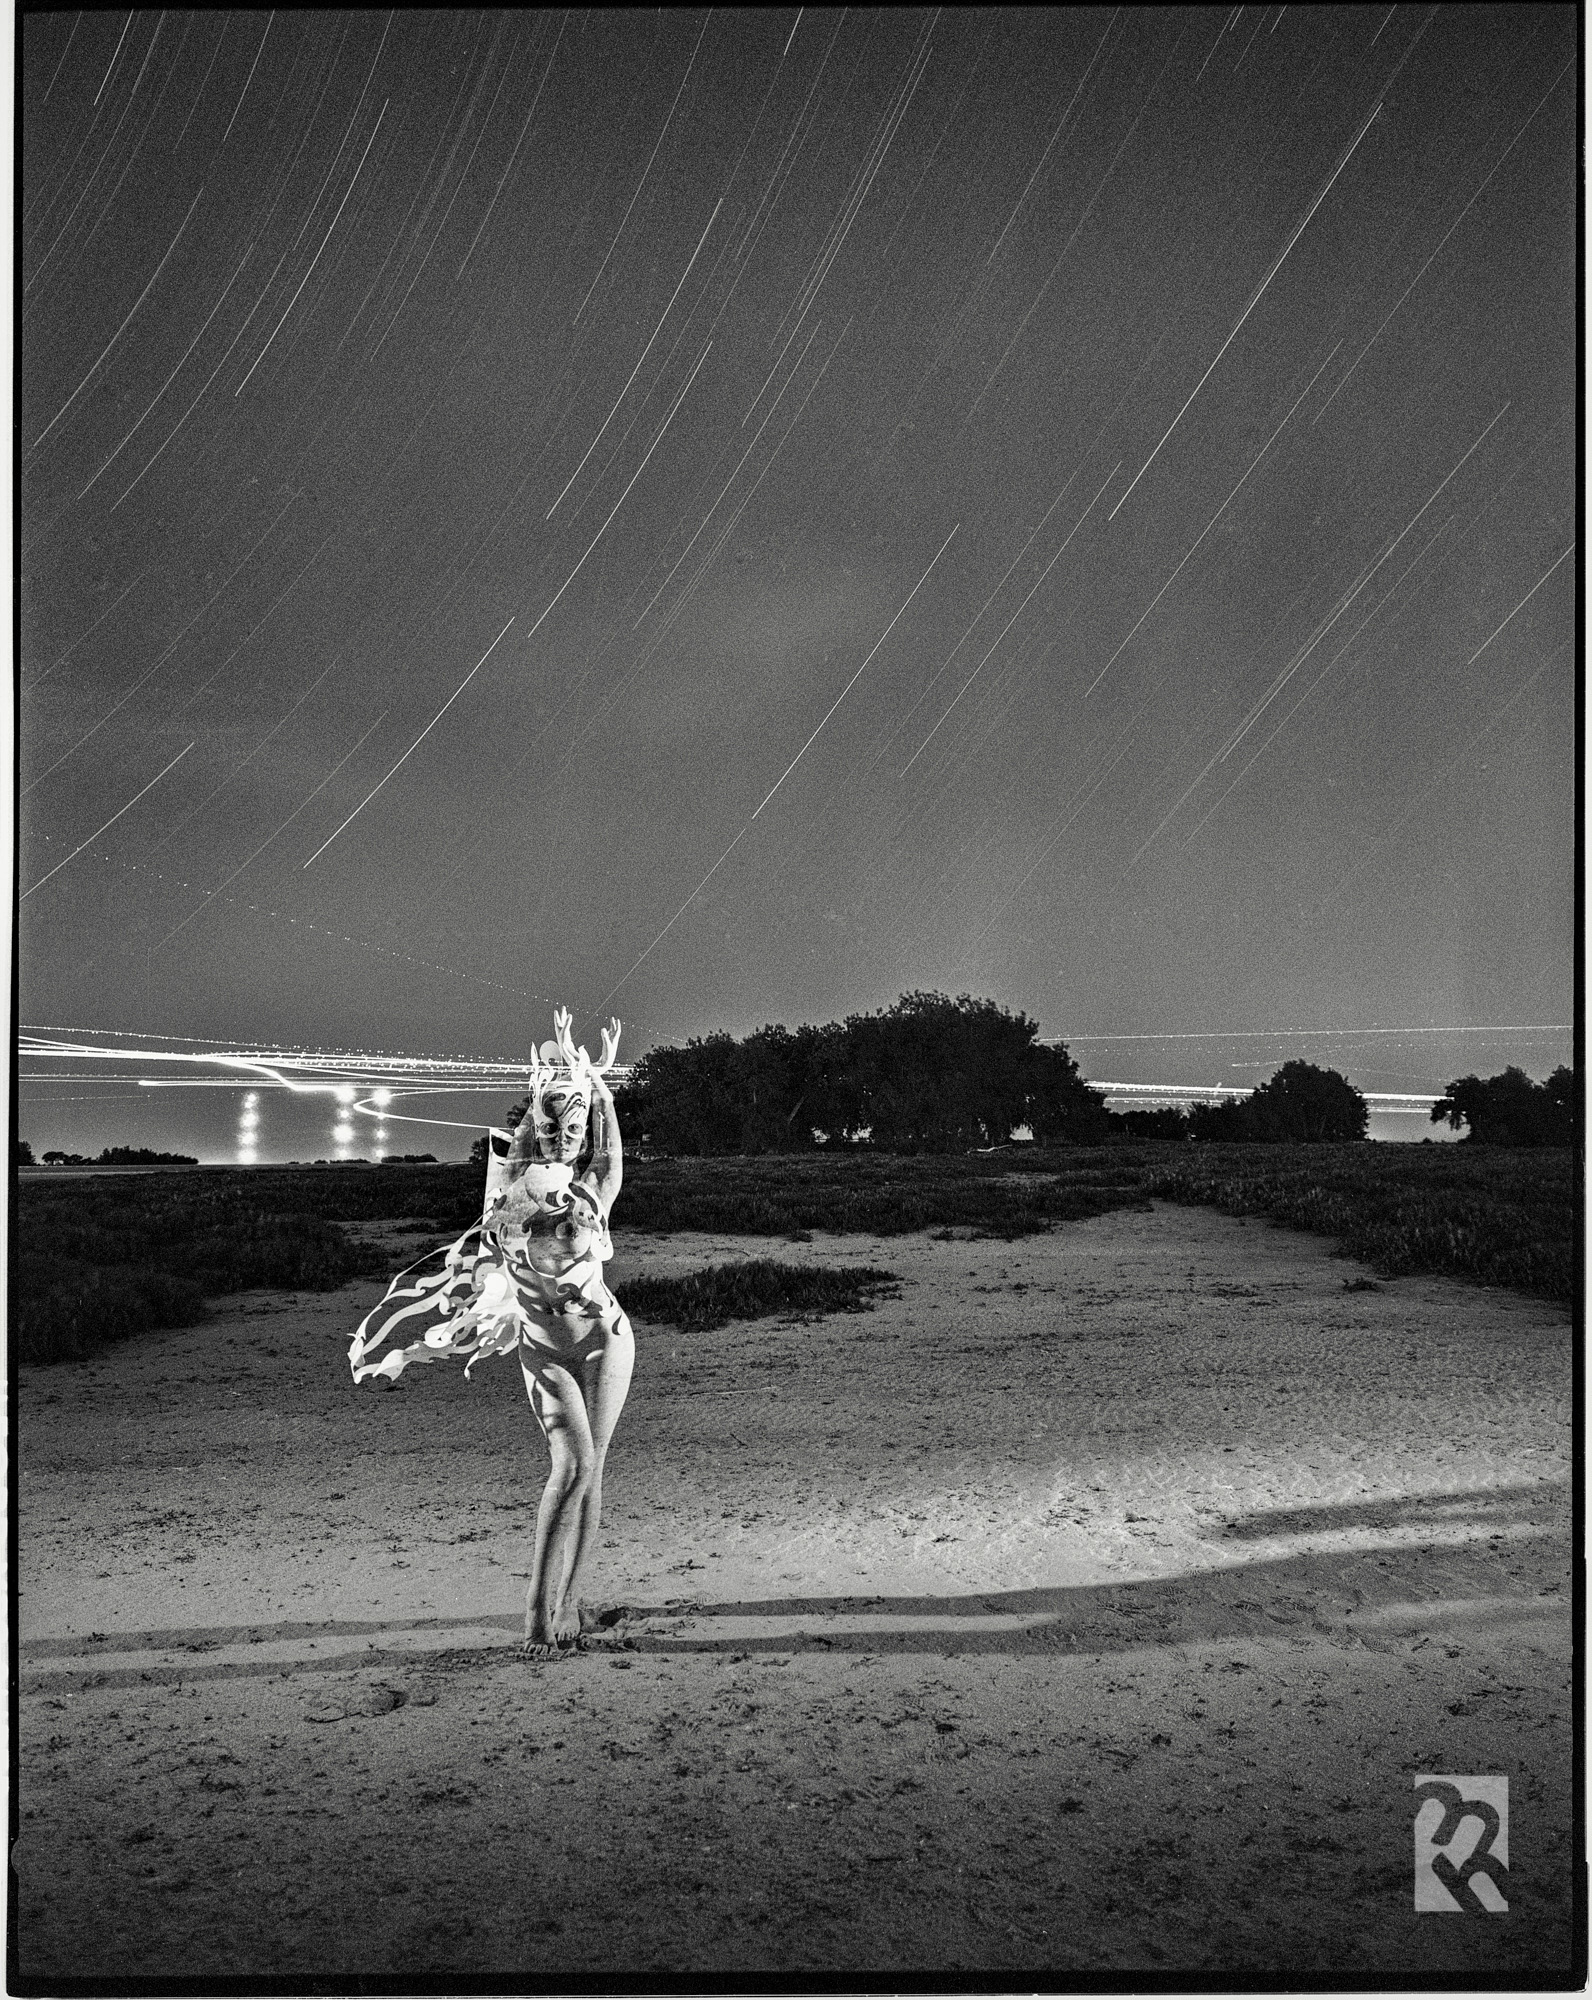
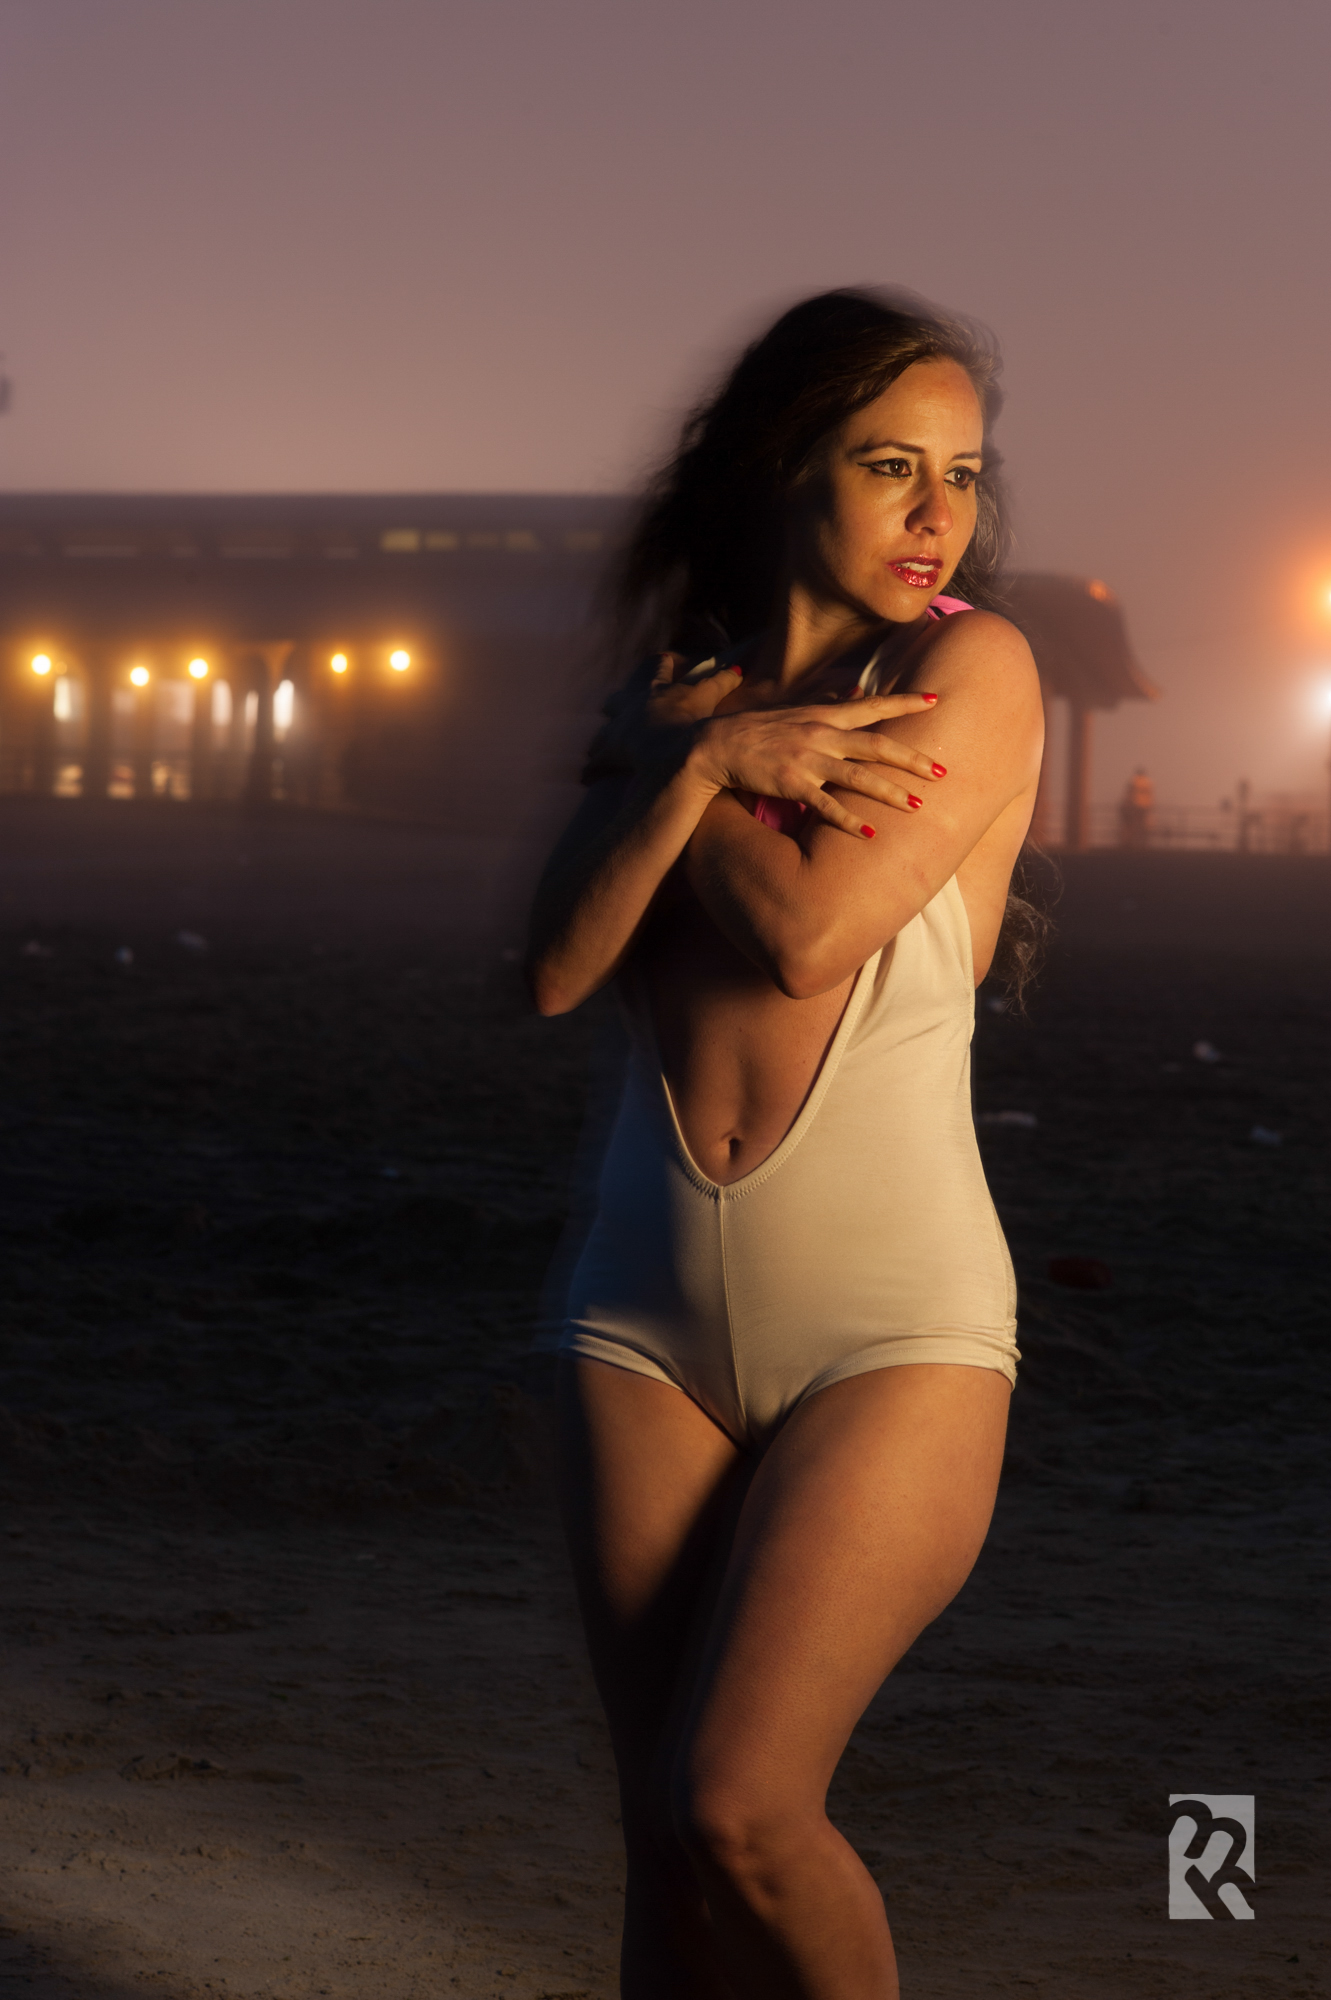
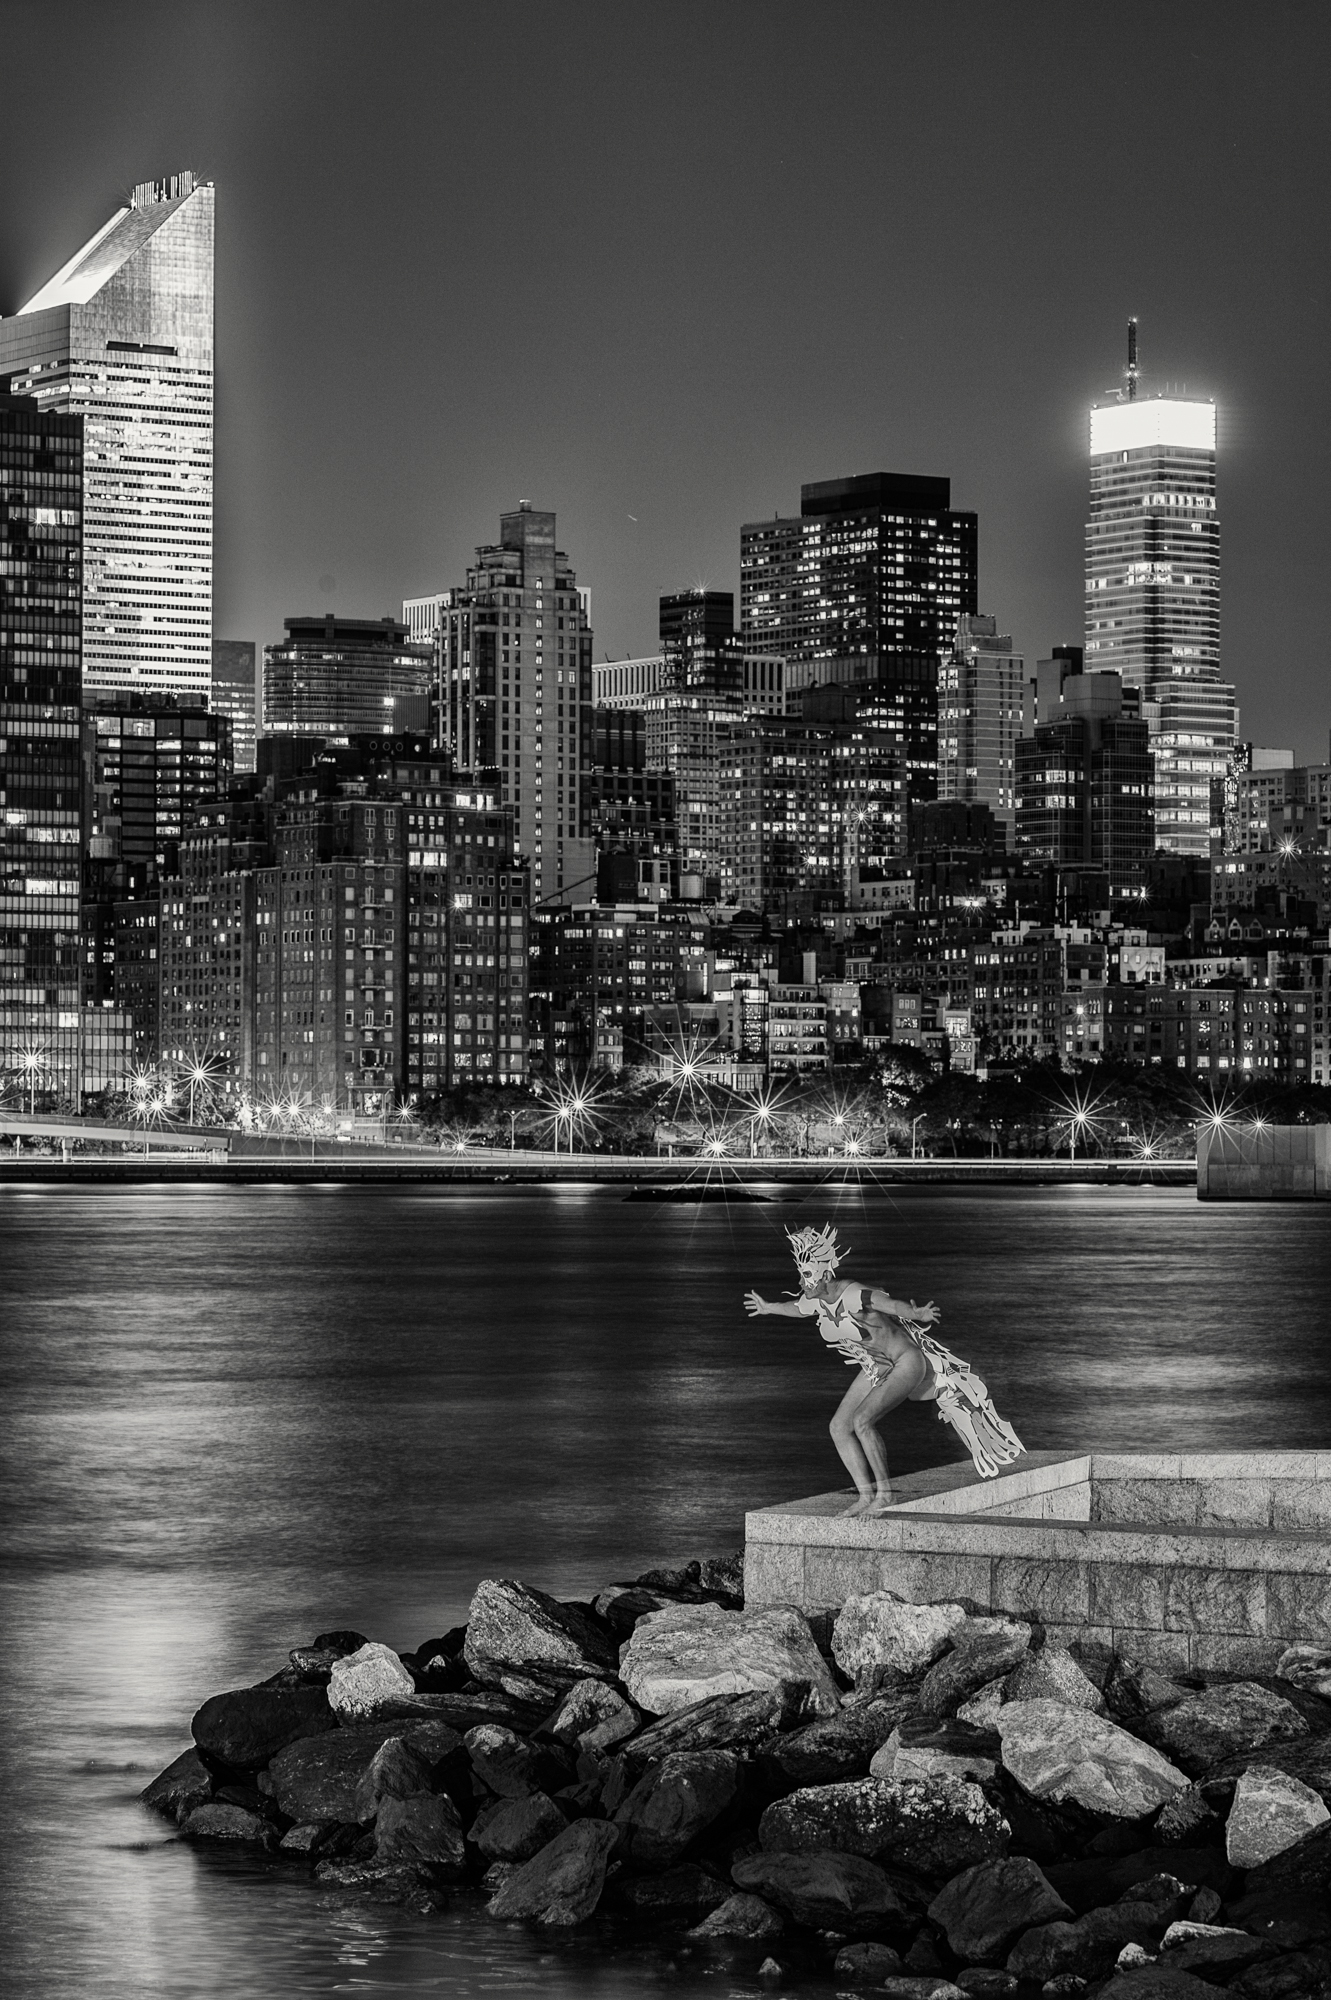
“Night Paper” is my big personal project right now. I am both a night photographer and cut paper artist. I am creating hand-cut fashions from paper and the (nude) models are wearing these during long exposures. Warning – NSFW – more about the project here.
Want to learn more about night photography? Attend a workshop now – Gabe and I have our next workshop on July 19th and 20th:
The Coney Island Night Portrait Workshop
Learn more and register.
More opportunities to learn Night Photography with Gabe and I can be found both here and here.
Please Support The Phoblographer
We love to bring you guys the latest and greatest news and gear related stuff. However, we can’t keep doing that unless we have your continued support. If you would like to purchase any of the items mentioned, please do so by clicking our links first and then purchasing the items as we then get a small portion of the sale to help run the website.
Also, please follow us on Facebook, Flickr and Twitter.
Get rid of the ads!
Did you enjoy reading this article as much as we enjoyed writing it? There's a way to support us and our reporting, getting ad-free navigation and more as a bonus. Subscribe to us for less than a coffee per month —just $3.99— or take advantage of our yearly subscription with a hefty discount for only $25.- An ad-free experience
- A free mystery box for Lightroom or Capture One
- All the books in our store
- 20% discount on Capture One
- 30% discount on Imalume Photo Theft Protection
- 20% off Herbs and Kettle Tea Company.