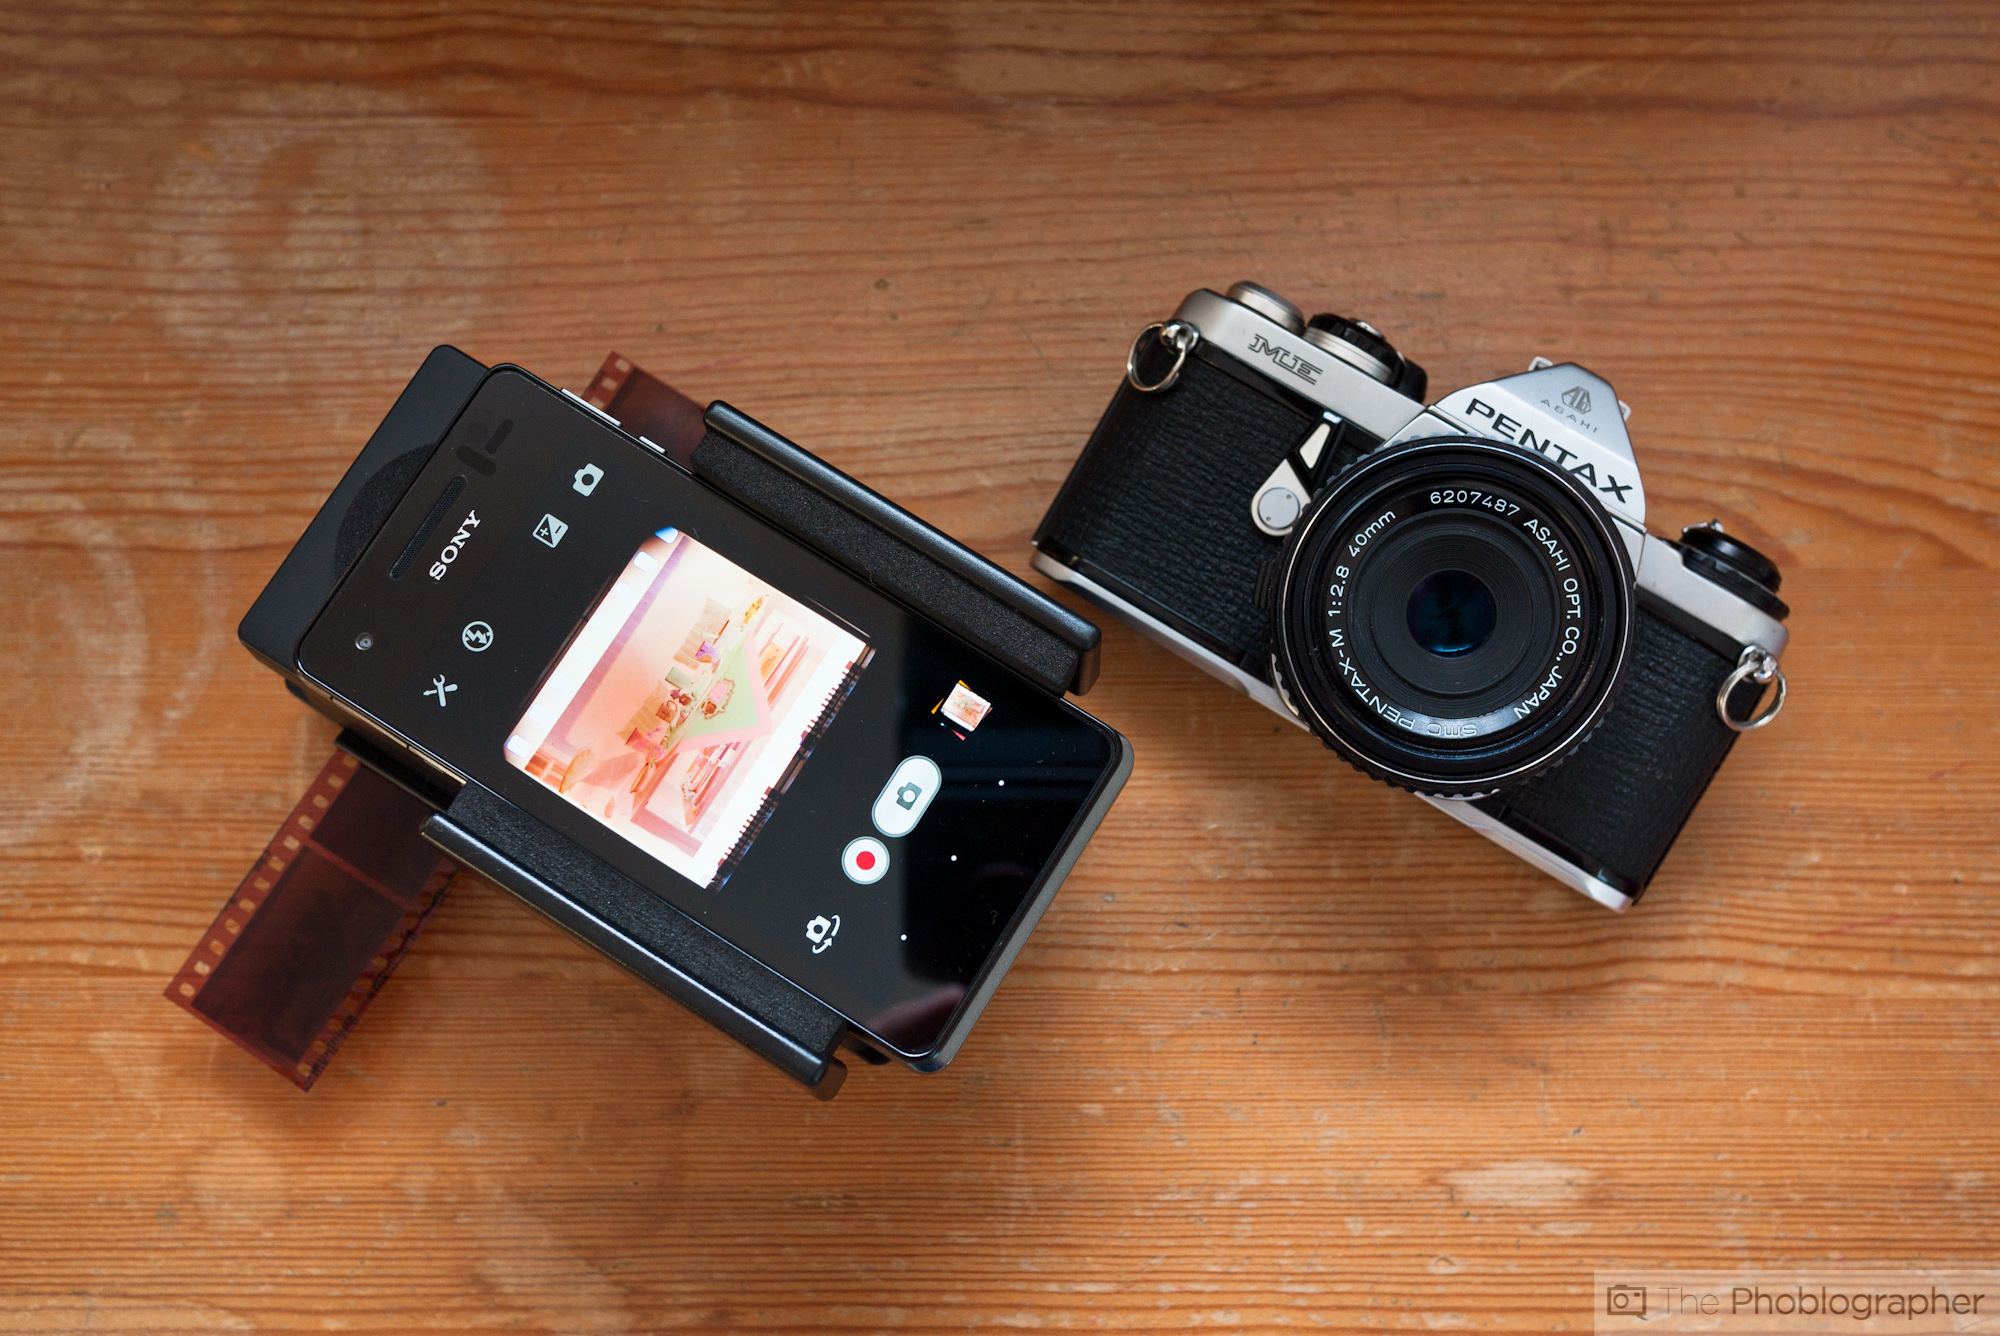
The Lomography Smartphone Film Scanner is one of a kind. It’s a 35mm film scanner alright, but not quite your regular garden variety. Instead of connecting it to a PC, you clip it onto your smartphone and ‘scan’ the images by photographing them with your phone’s camera. Thanks to the Smartphone Film Scanner’s bright light panel, this works even with slide film. Of course, this way you won’t get results that you can print in huge sizes. But it’s a quick, easy and fun way to share your analog pictures via digital media.
And you can share your photos to the social sphere a whole load faster now.
Pros and Cons
Pros
- Small and portable, you can take it anywhere
- Easy and fun way to digitize your 35mm film
- Bright light panel even works for slide film
Cons
- Nowhere near as good as a dedicated 35mm scanner
- Image quality depends entirely on your smartphone’s camera
- Sometimes it takes a lot of fiddling until your phone is properly aligned
Gear Used
For this review I used the Lomography Smartphone Film Scanner, my Sony Xperia V smartphone as well as a number of Fujifilm and Kodak films that I had previously run through my various film cameras.
Tech Specs
There isn’t really much about this scanner in terms of tech specs. It comes with a light panel which is powered by two 1.5V AA batteries.
Ergonomics
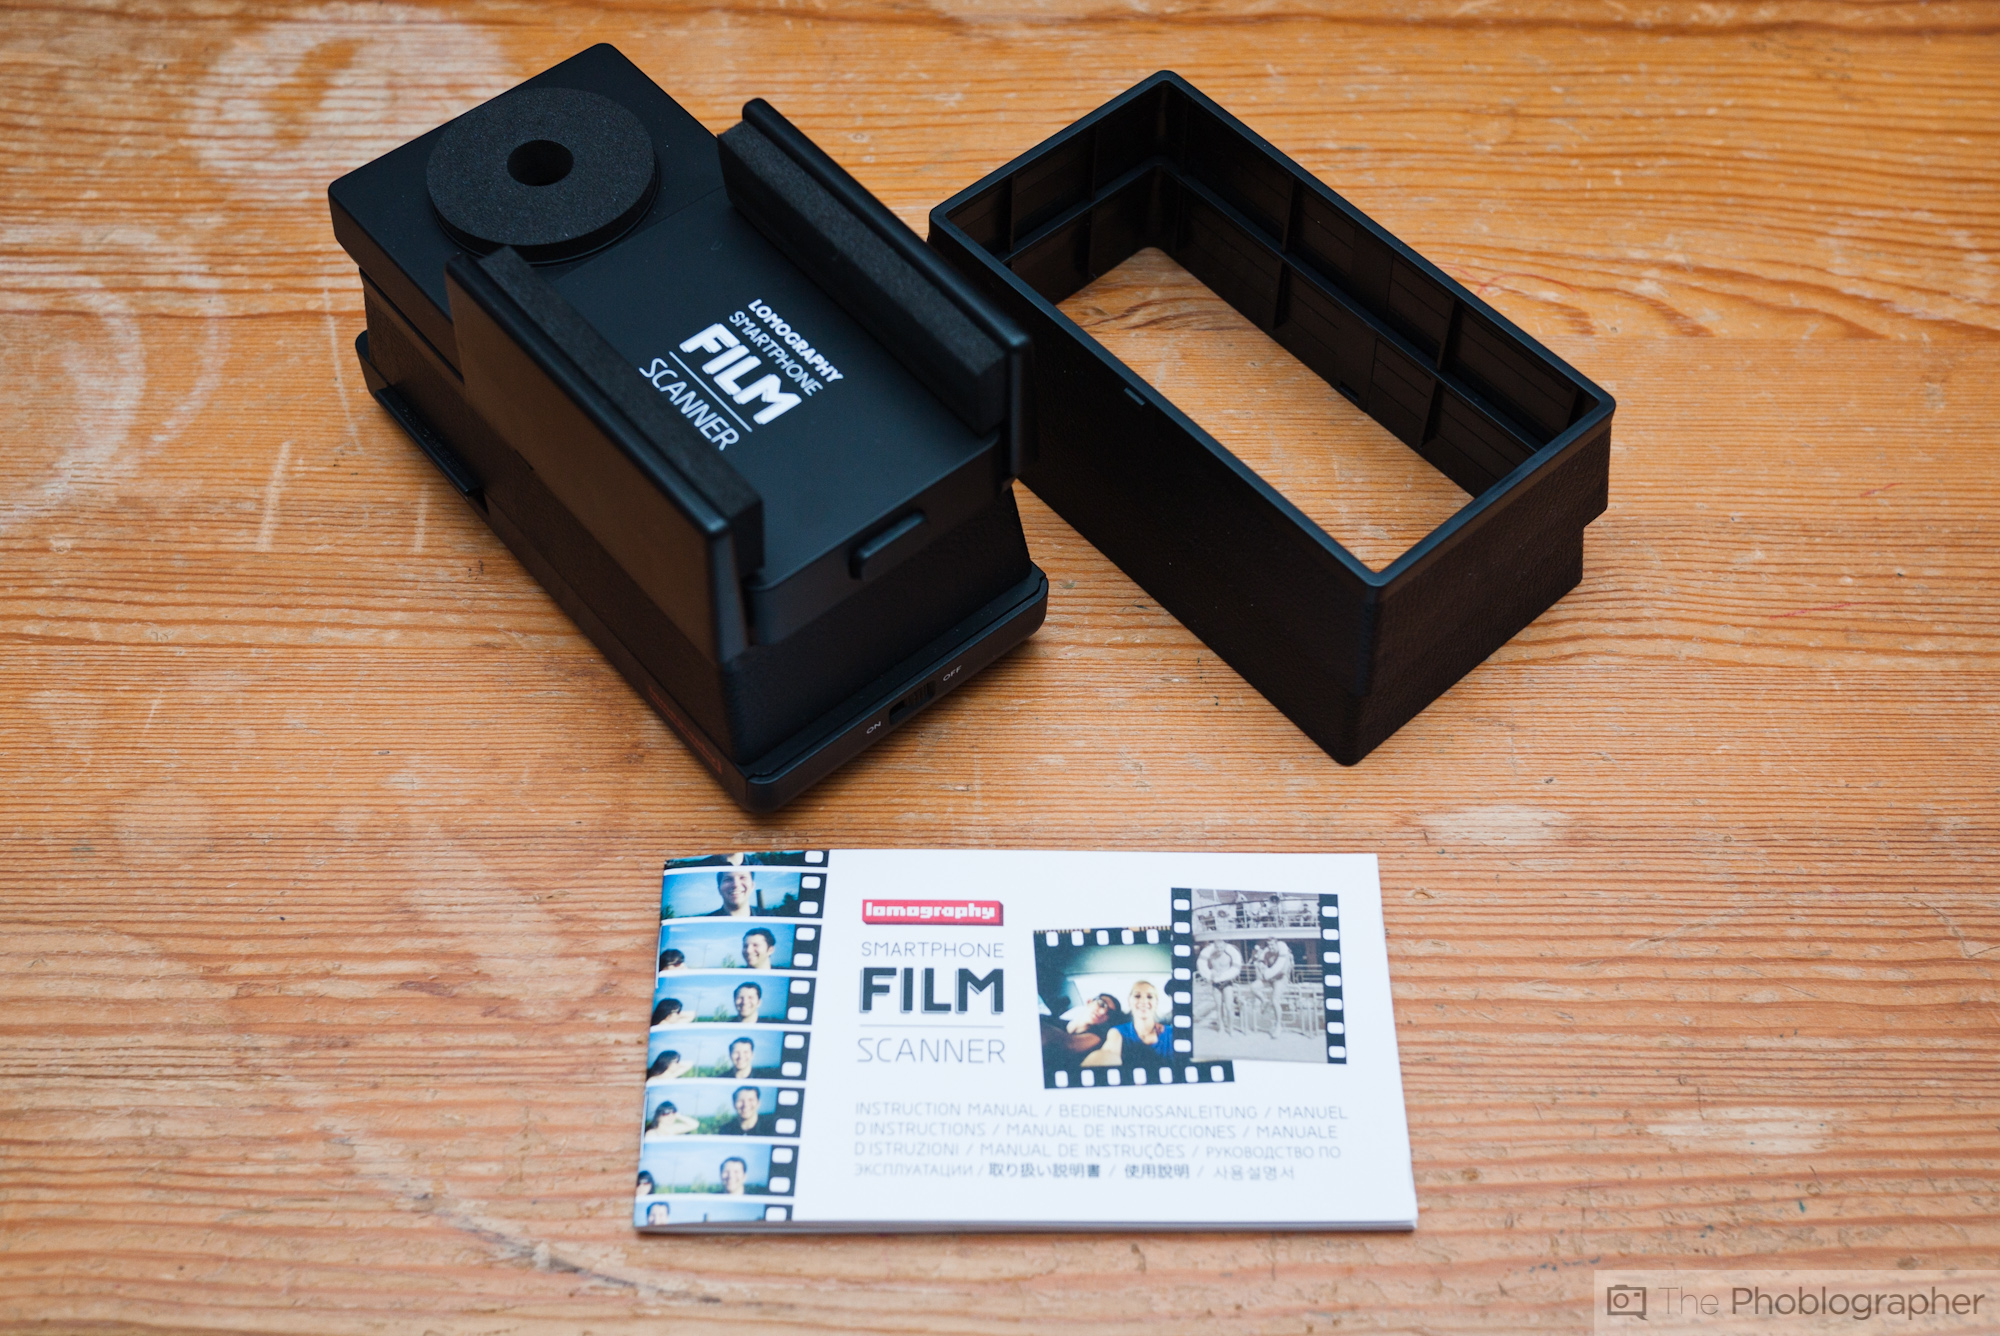
The Lomography Smartphone Film Scanner comes in a simple box together with a small handbook. Since, however, the product is largely self-explanatory, you probably won’t need the handbook at all.
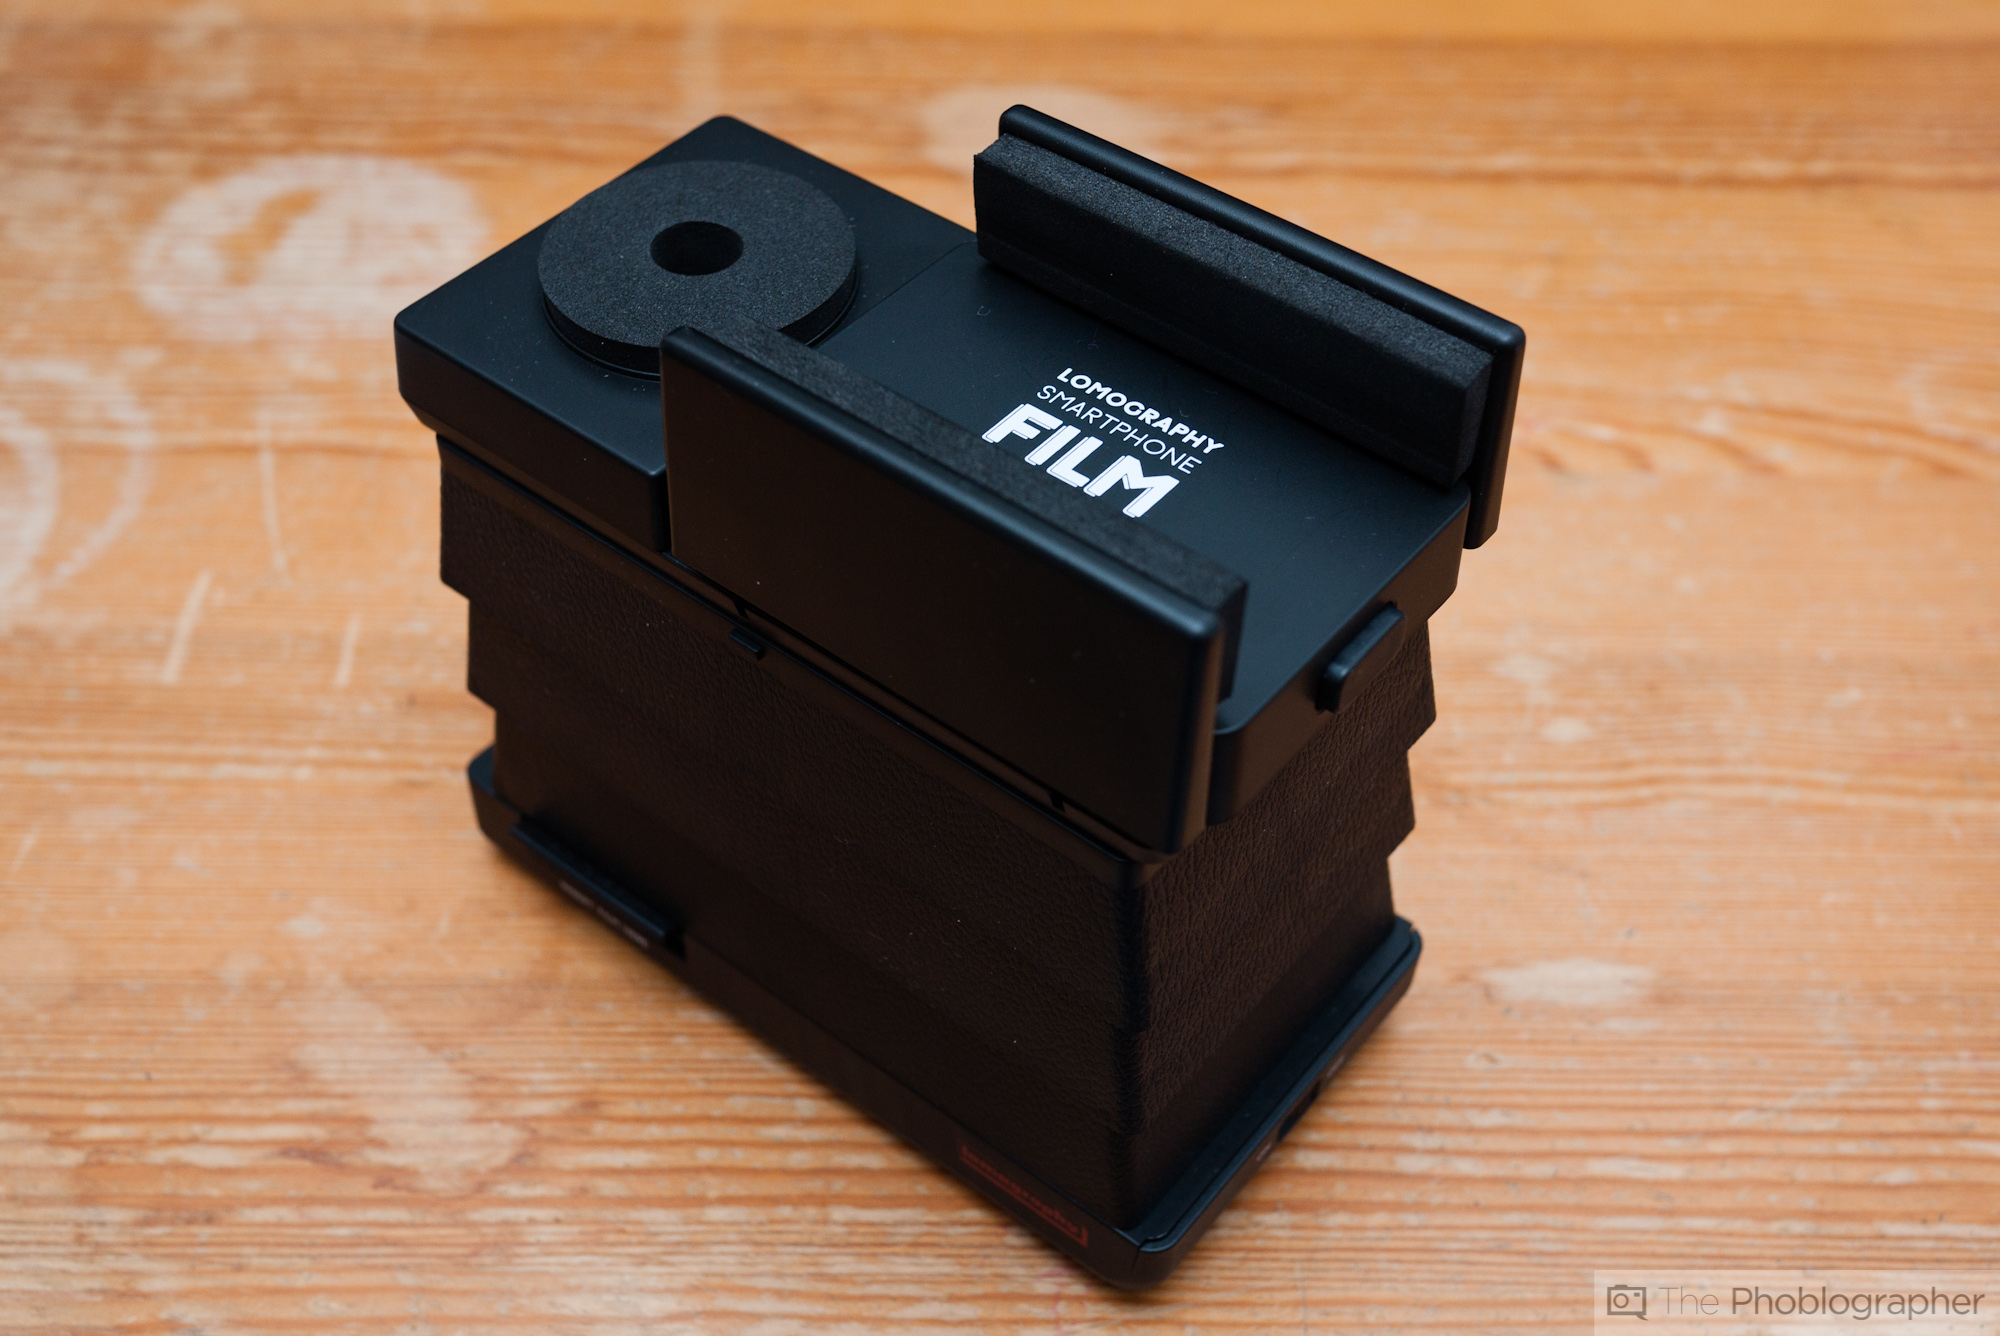
The scanner itself consists of the base that contains the light panel and batteries, three (removable) spacers, and the top that takes the smartphone. The spacers are needed to bring your phone into a position where both the magnification of the film image is large enough, but the camera is still able to autofocus. Since, however, most smartphone cameras have pretty wide angles of view and very short focal lengths, they usually focus very close. With my Sony Xperia V, I achieved the best results using only one spacer.
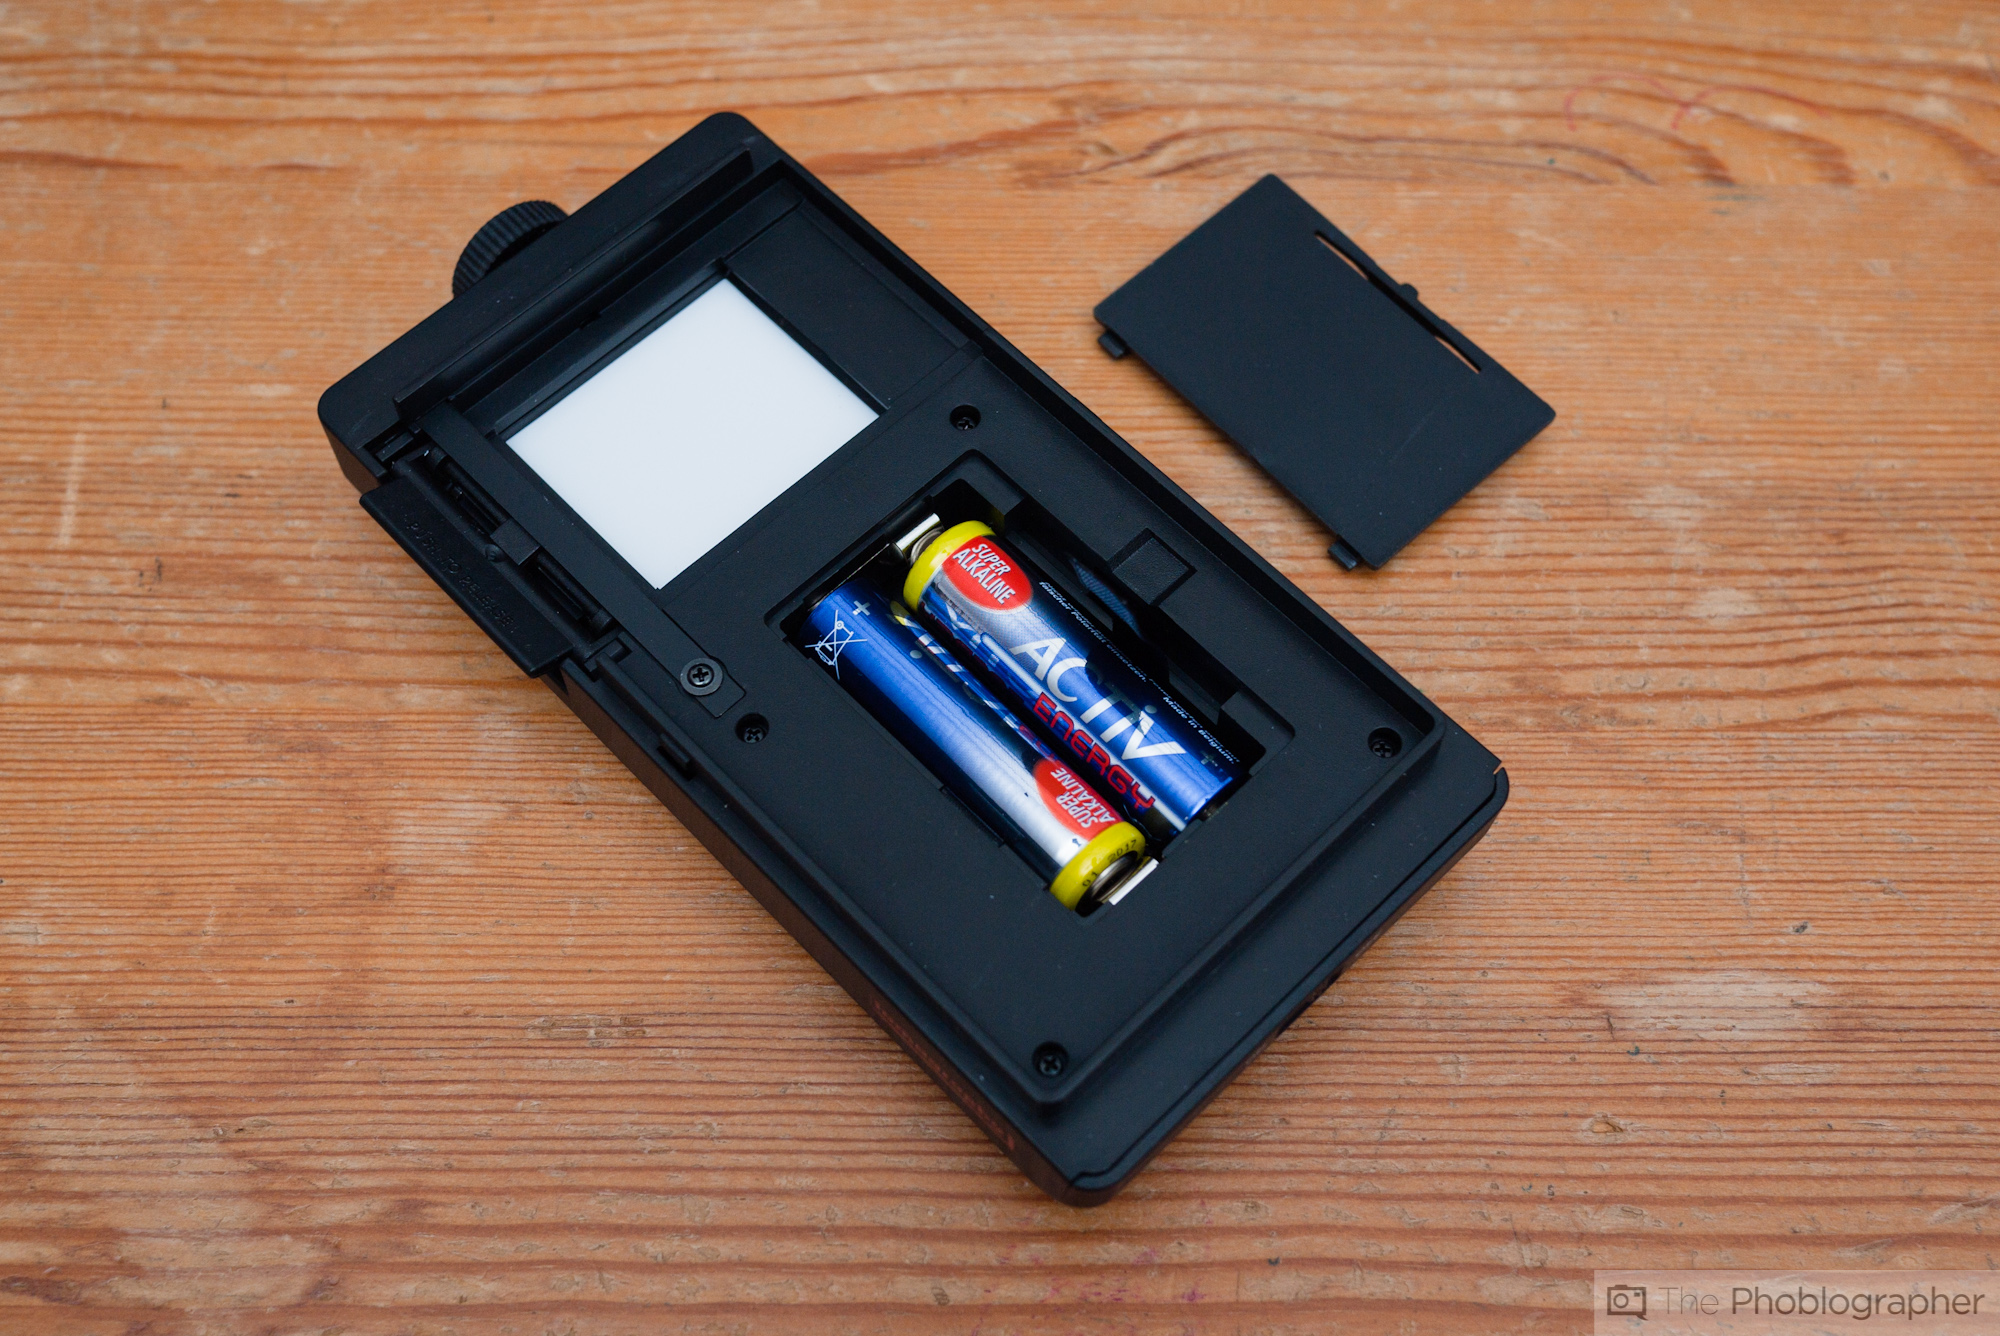
This is the base with the light panel and the battery compartment. The batteries are protected by a removable plastic lid.

The light panel emits a relatively bright light–bright enough to even shine through slide film, which has a higher density than negative film. On the right is the top part with one of the three spacers attached, the way I used it with my phone. The spacers easily attach to the base, to each other and to the top, and can also be easily separated again.
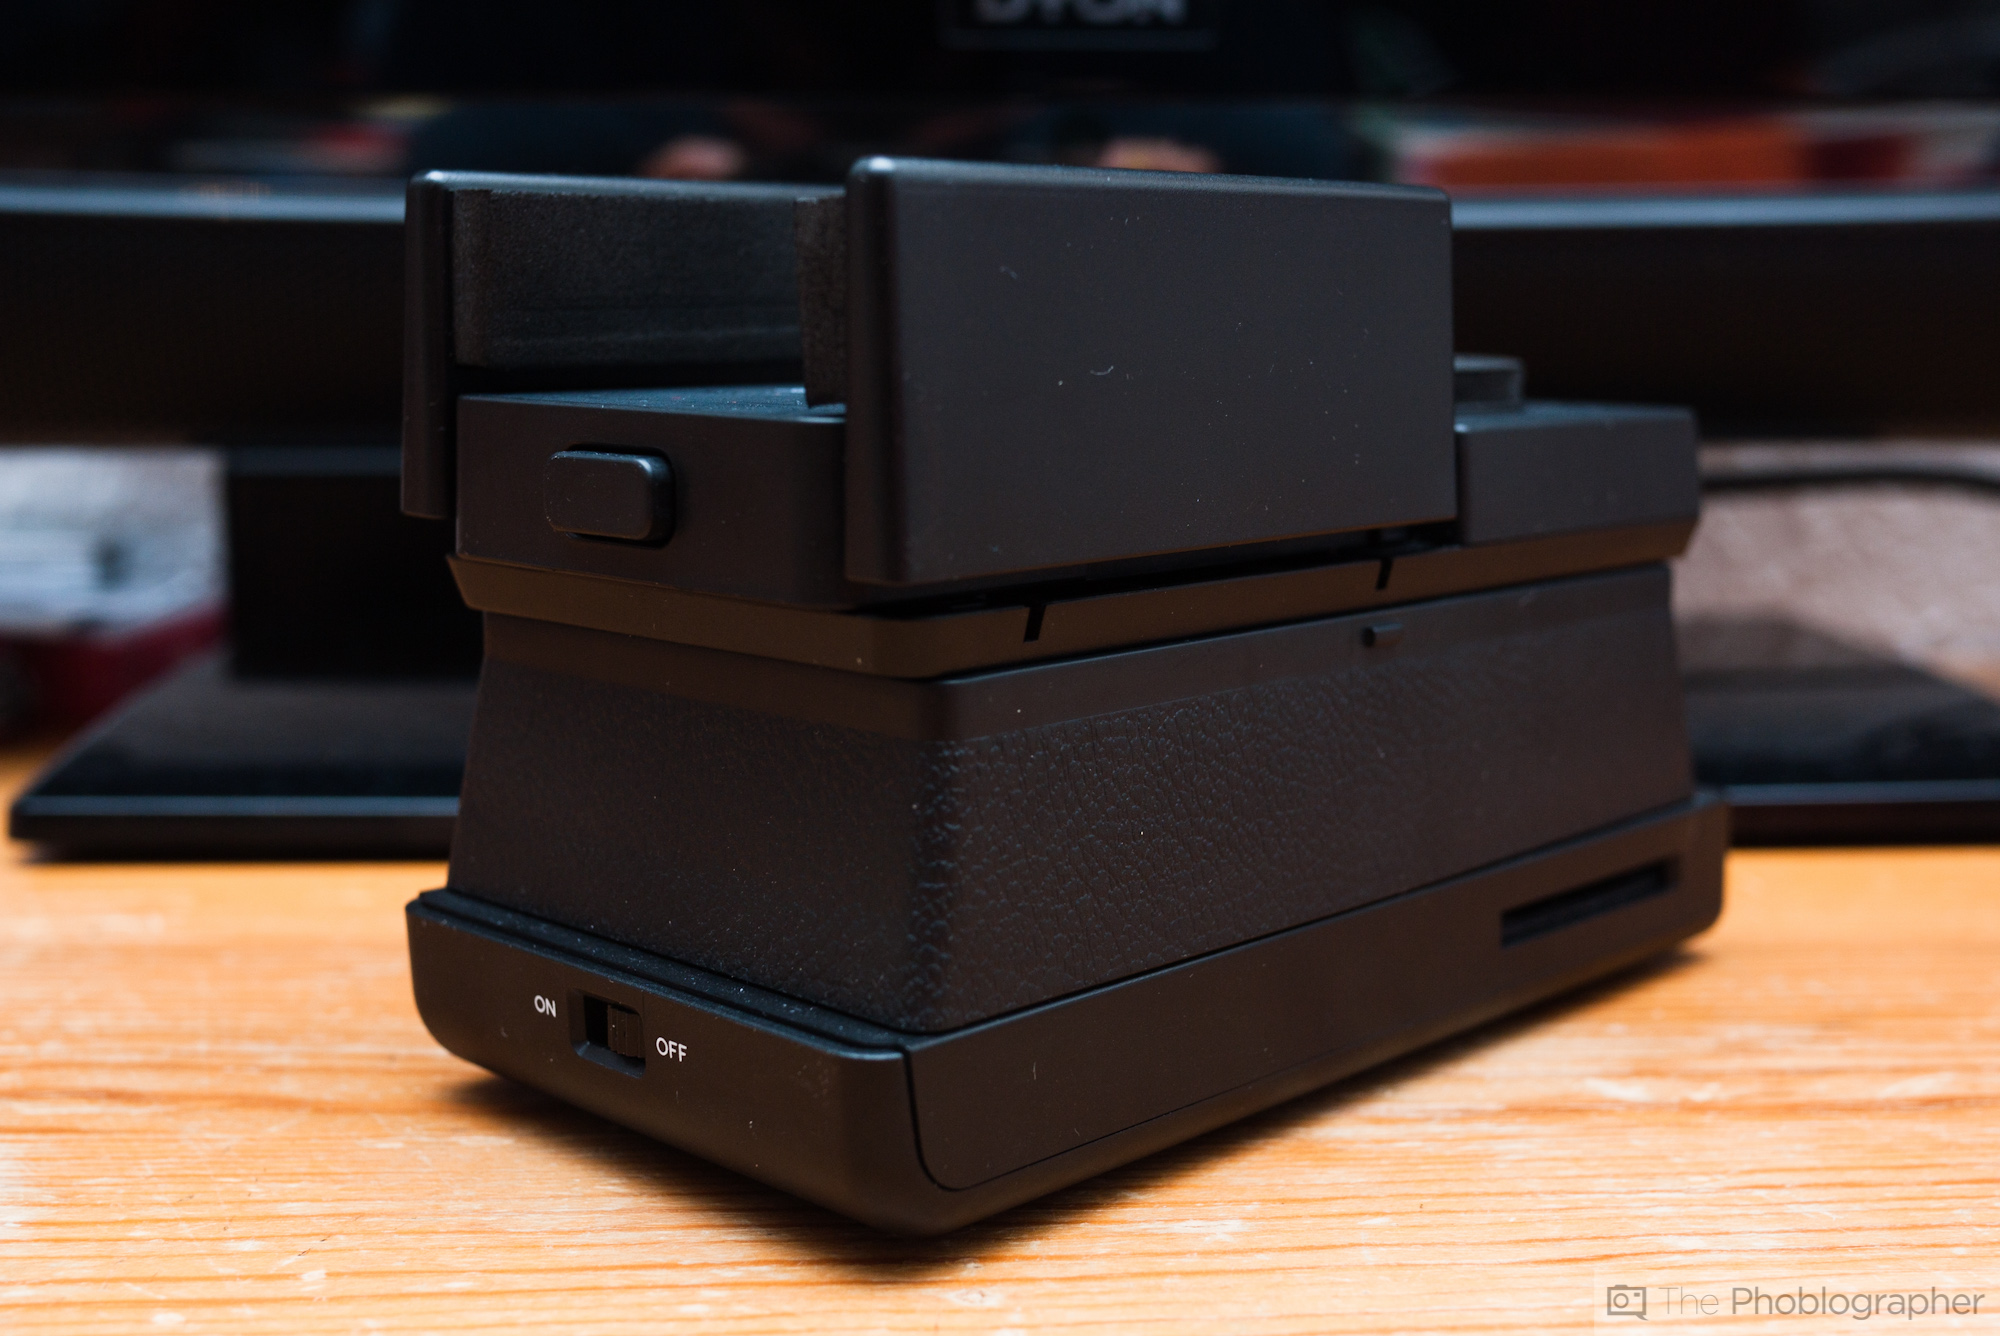
On one end, the Lomography Smartphone Film Scanner has an on/off switch, which activates or deactivates the light panel. On the top, there’s the release button for the smartphone holder’s locking mechanism.
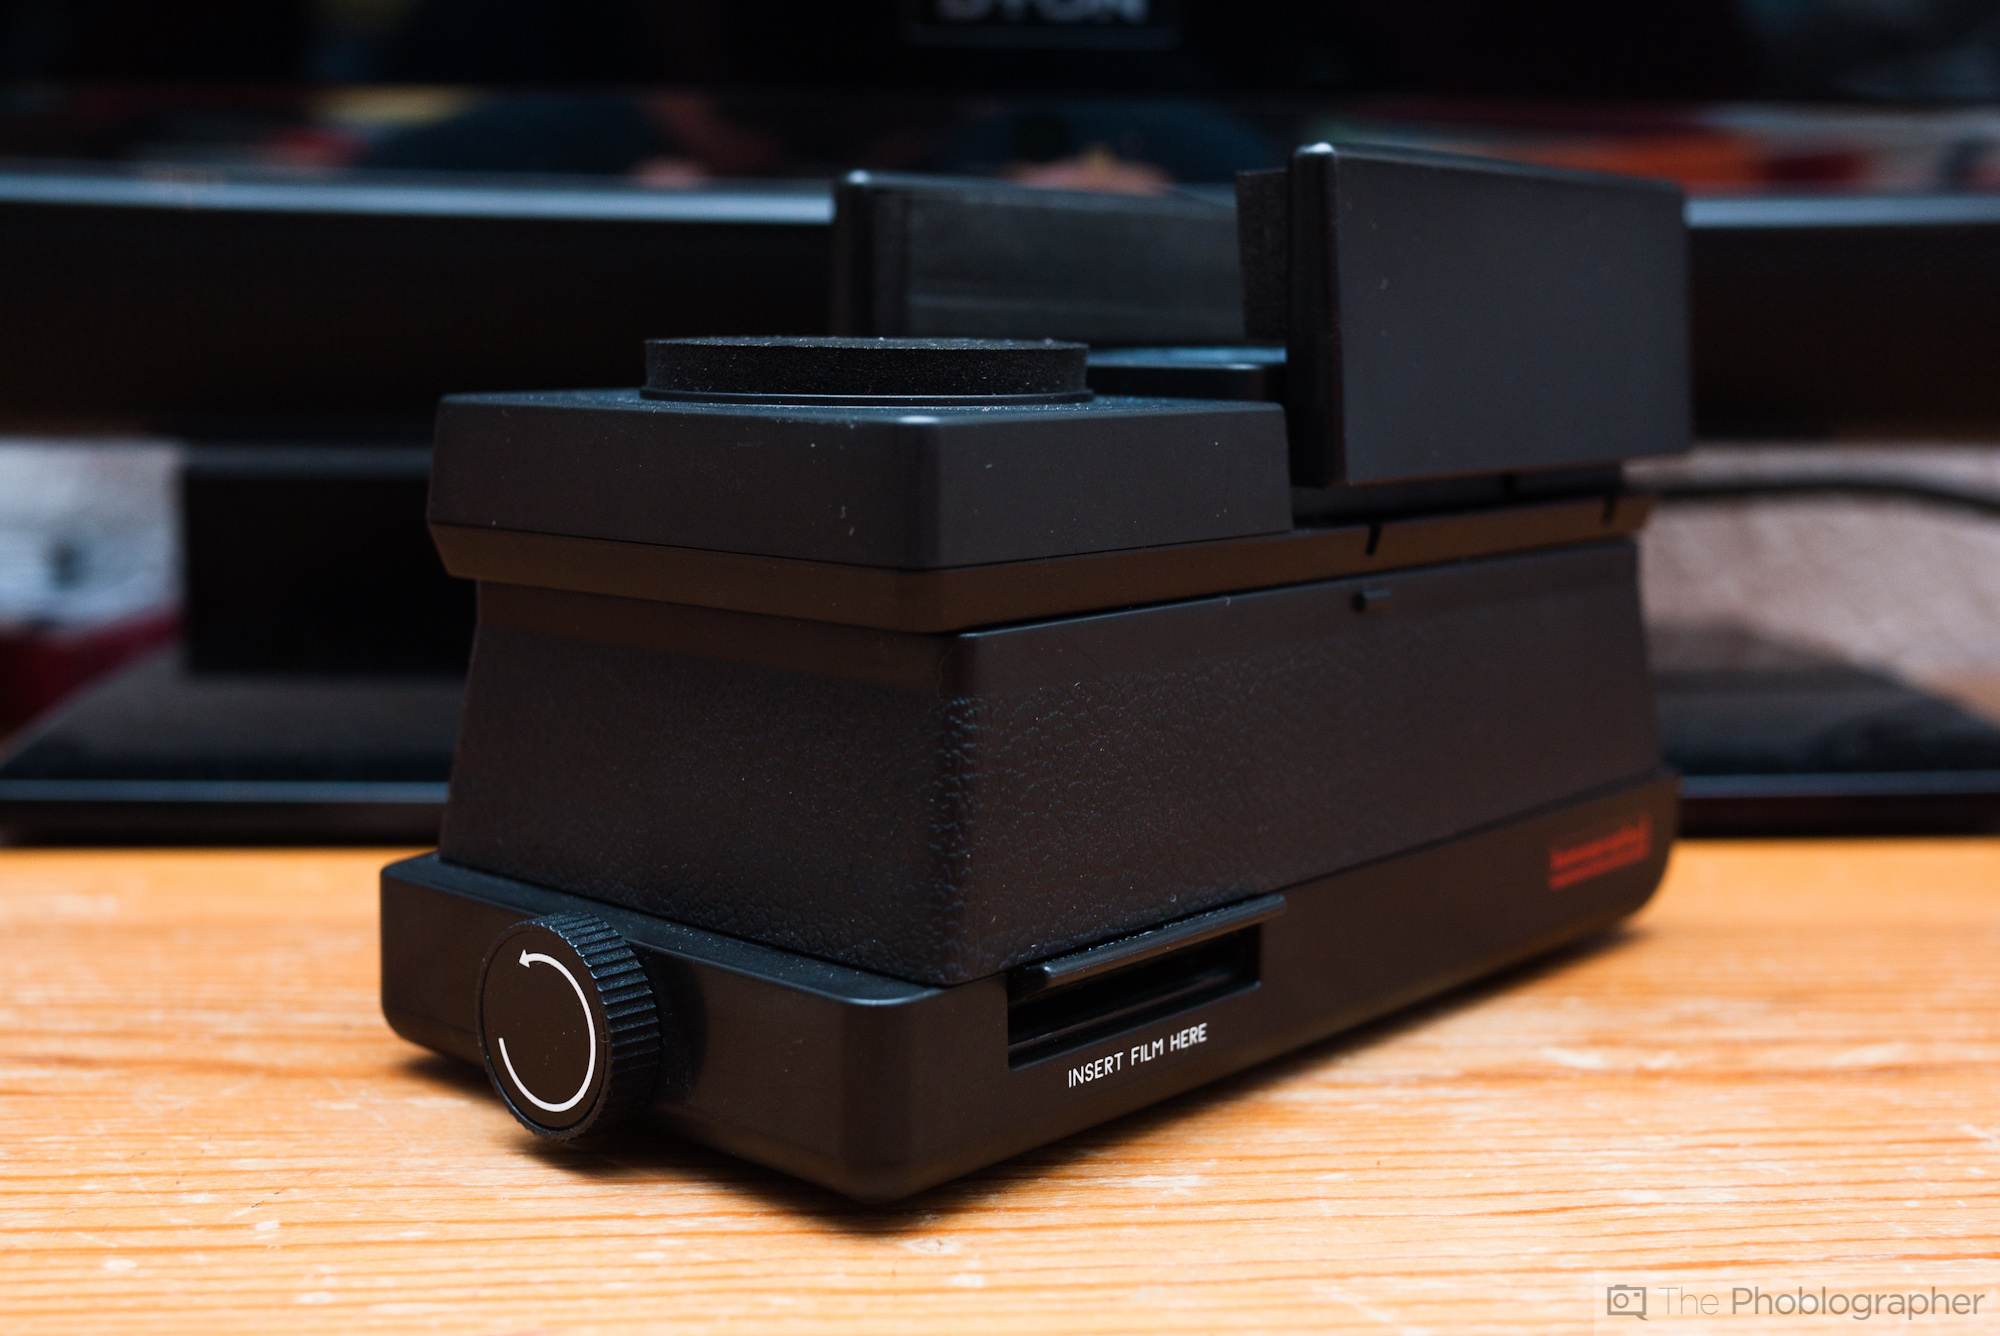
On the other end there’s a winding knob that advances the film once it’s inside the scanner. The film is inserted on the right (left when you’re actually using it, considering this is the front) where it says ‘INSERT FILM HERE’. Pretty self-explanatory, as I said.
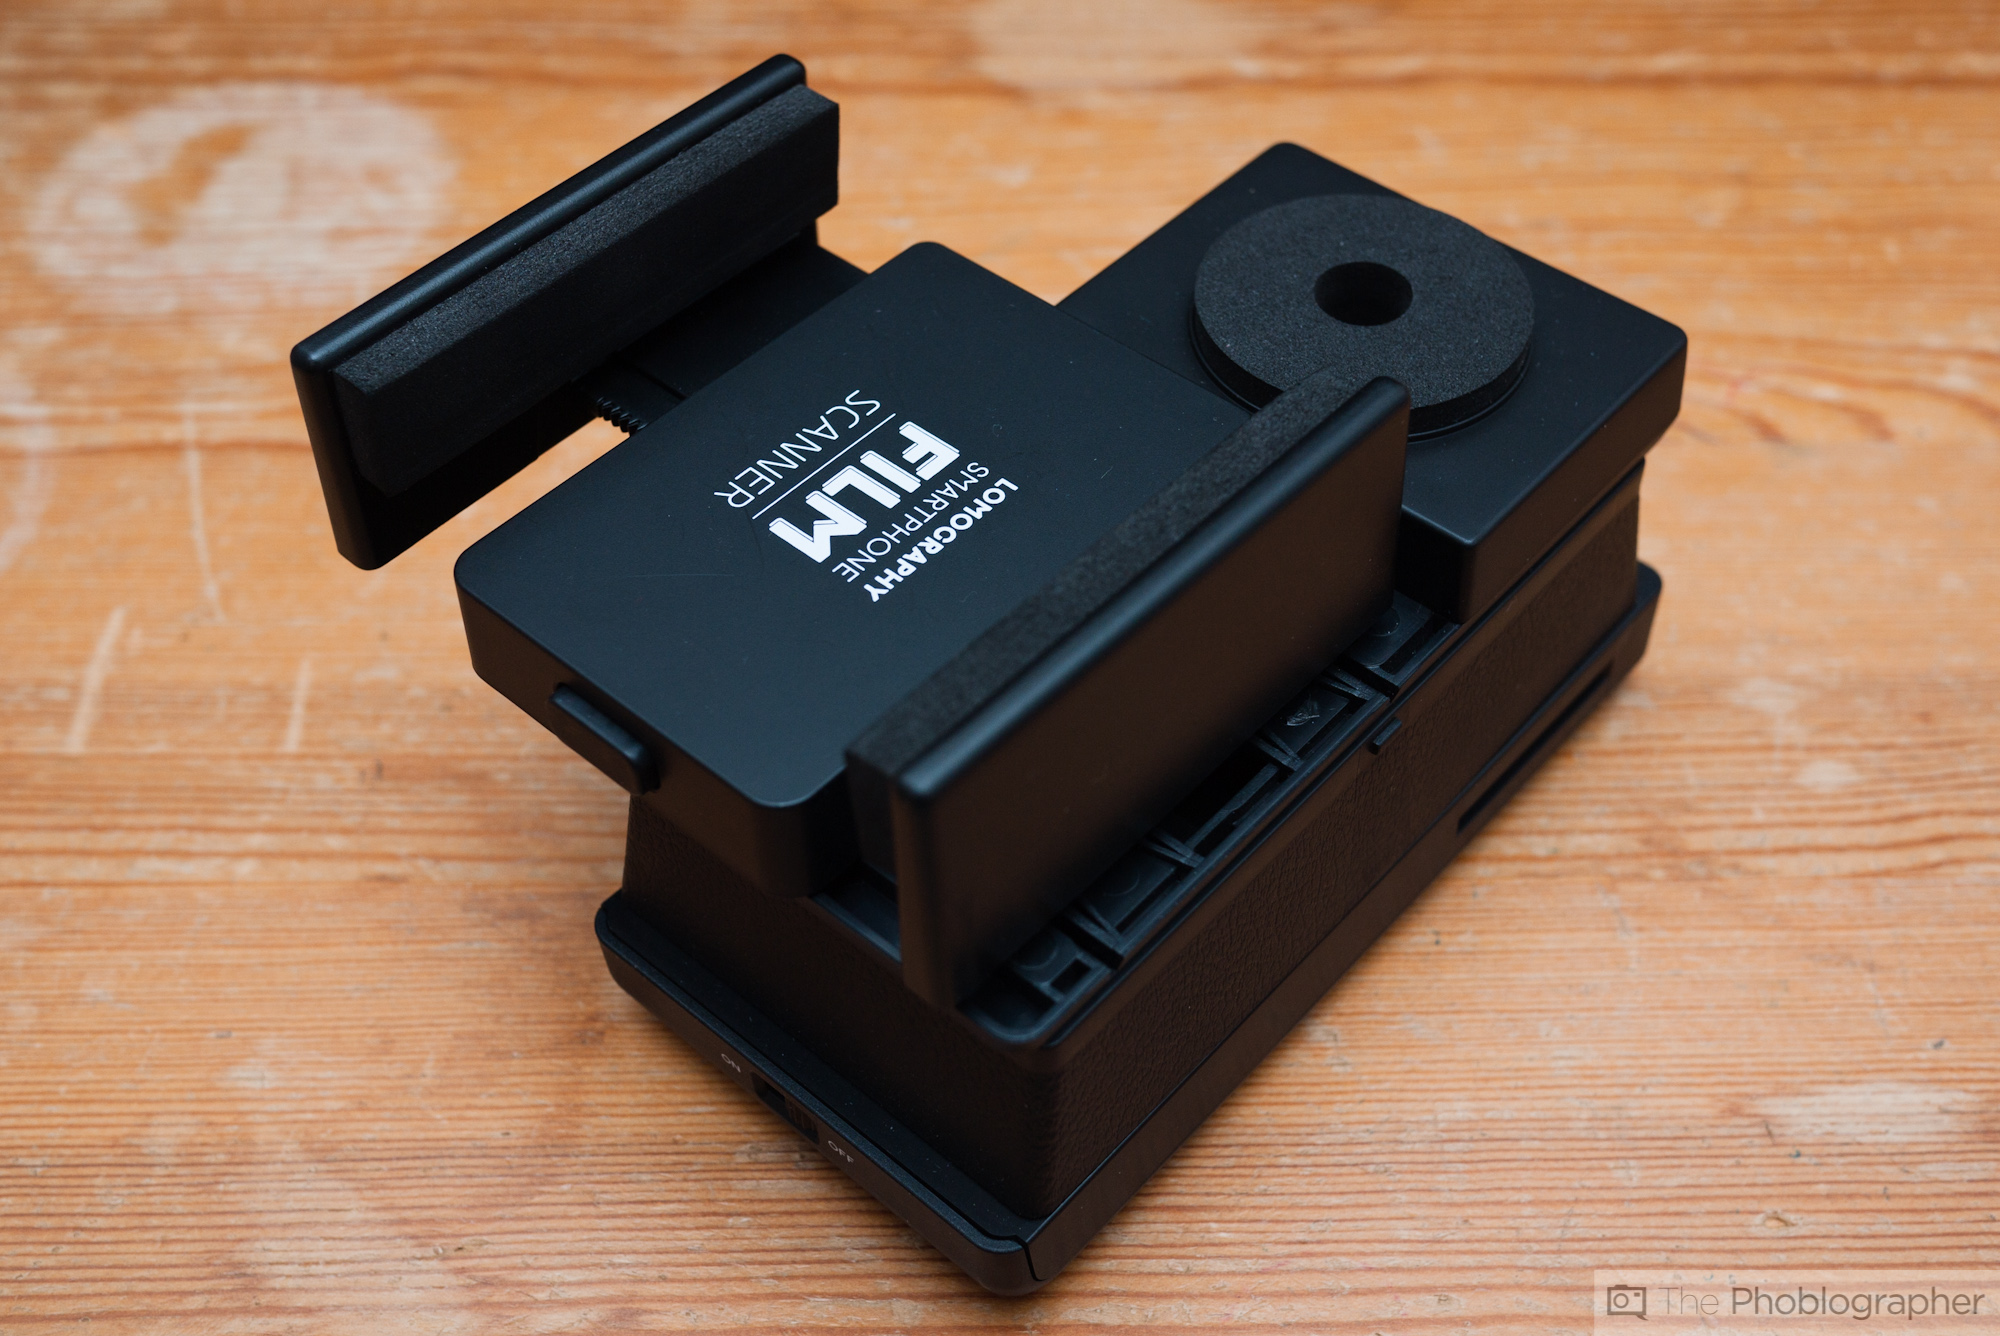
The top part is where you put your phone. It can be fixated in the holder, which can then additionally be moved left or right to properly align the camera with the peephole. Make sure not to place the top part the wrong way round (which is possible), with the peephole at the bottom instead of over the light panel, or you won’t be seeing anything on your phone’s display.
Build Quality
The Lomography Smartphone Film Scanner, like all Lomography products I’ve handled so far, is pretty low tech, and has a rather cheap feel to it. It’s made mostly of plastic and some foam pads that keep your smartphone comfortable. My biggest fear is that the individual parts may not be properly fixated on top of one another after a lot of use, since plastic is prone to wear out. The mechanisms of the smartphone holder feel quite sturdy, though.
Ease of Use
Operation of the Lomography Smartphone Film Scanner is a piece of cake. You simply insert the film at the side, place your phone on top, activate the light panel and the camera, and snap away. As easy as that. Much more difficult is it to get good results in-phone. While for black and white film all you need is an app that can invert colors in an image, for color negative film you need an app that is also able to compensate for the color tint caused by the orange film base. The ability to scan slide film, finally, depends entirely on the dynamic range you can get from your phone’s camera–as it does with a normal scanner.
Scanning Slide Film
I already mentioned that the Lomography Smartphone Film Scanner’s light panel is bright enough to shine through the relatively dense material of slide film. However, because of its density, the contrast between the darkest and the brightest part in a positive image is usually much more than the tiny sensor of a smartphone camera can handle. My Sony Xperia V’s camera, fortunately, has a built-in HDR mode, which proved to be perfect for the task of scanning slides with the Lomo scanner.
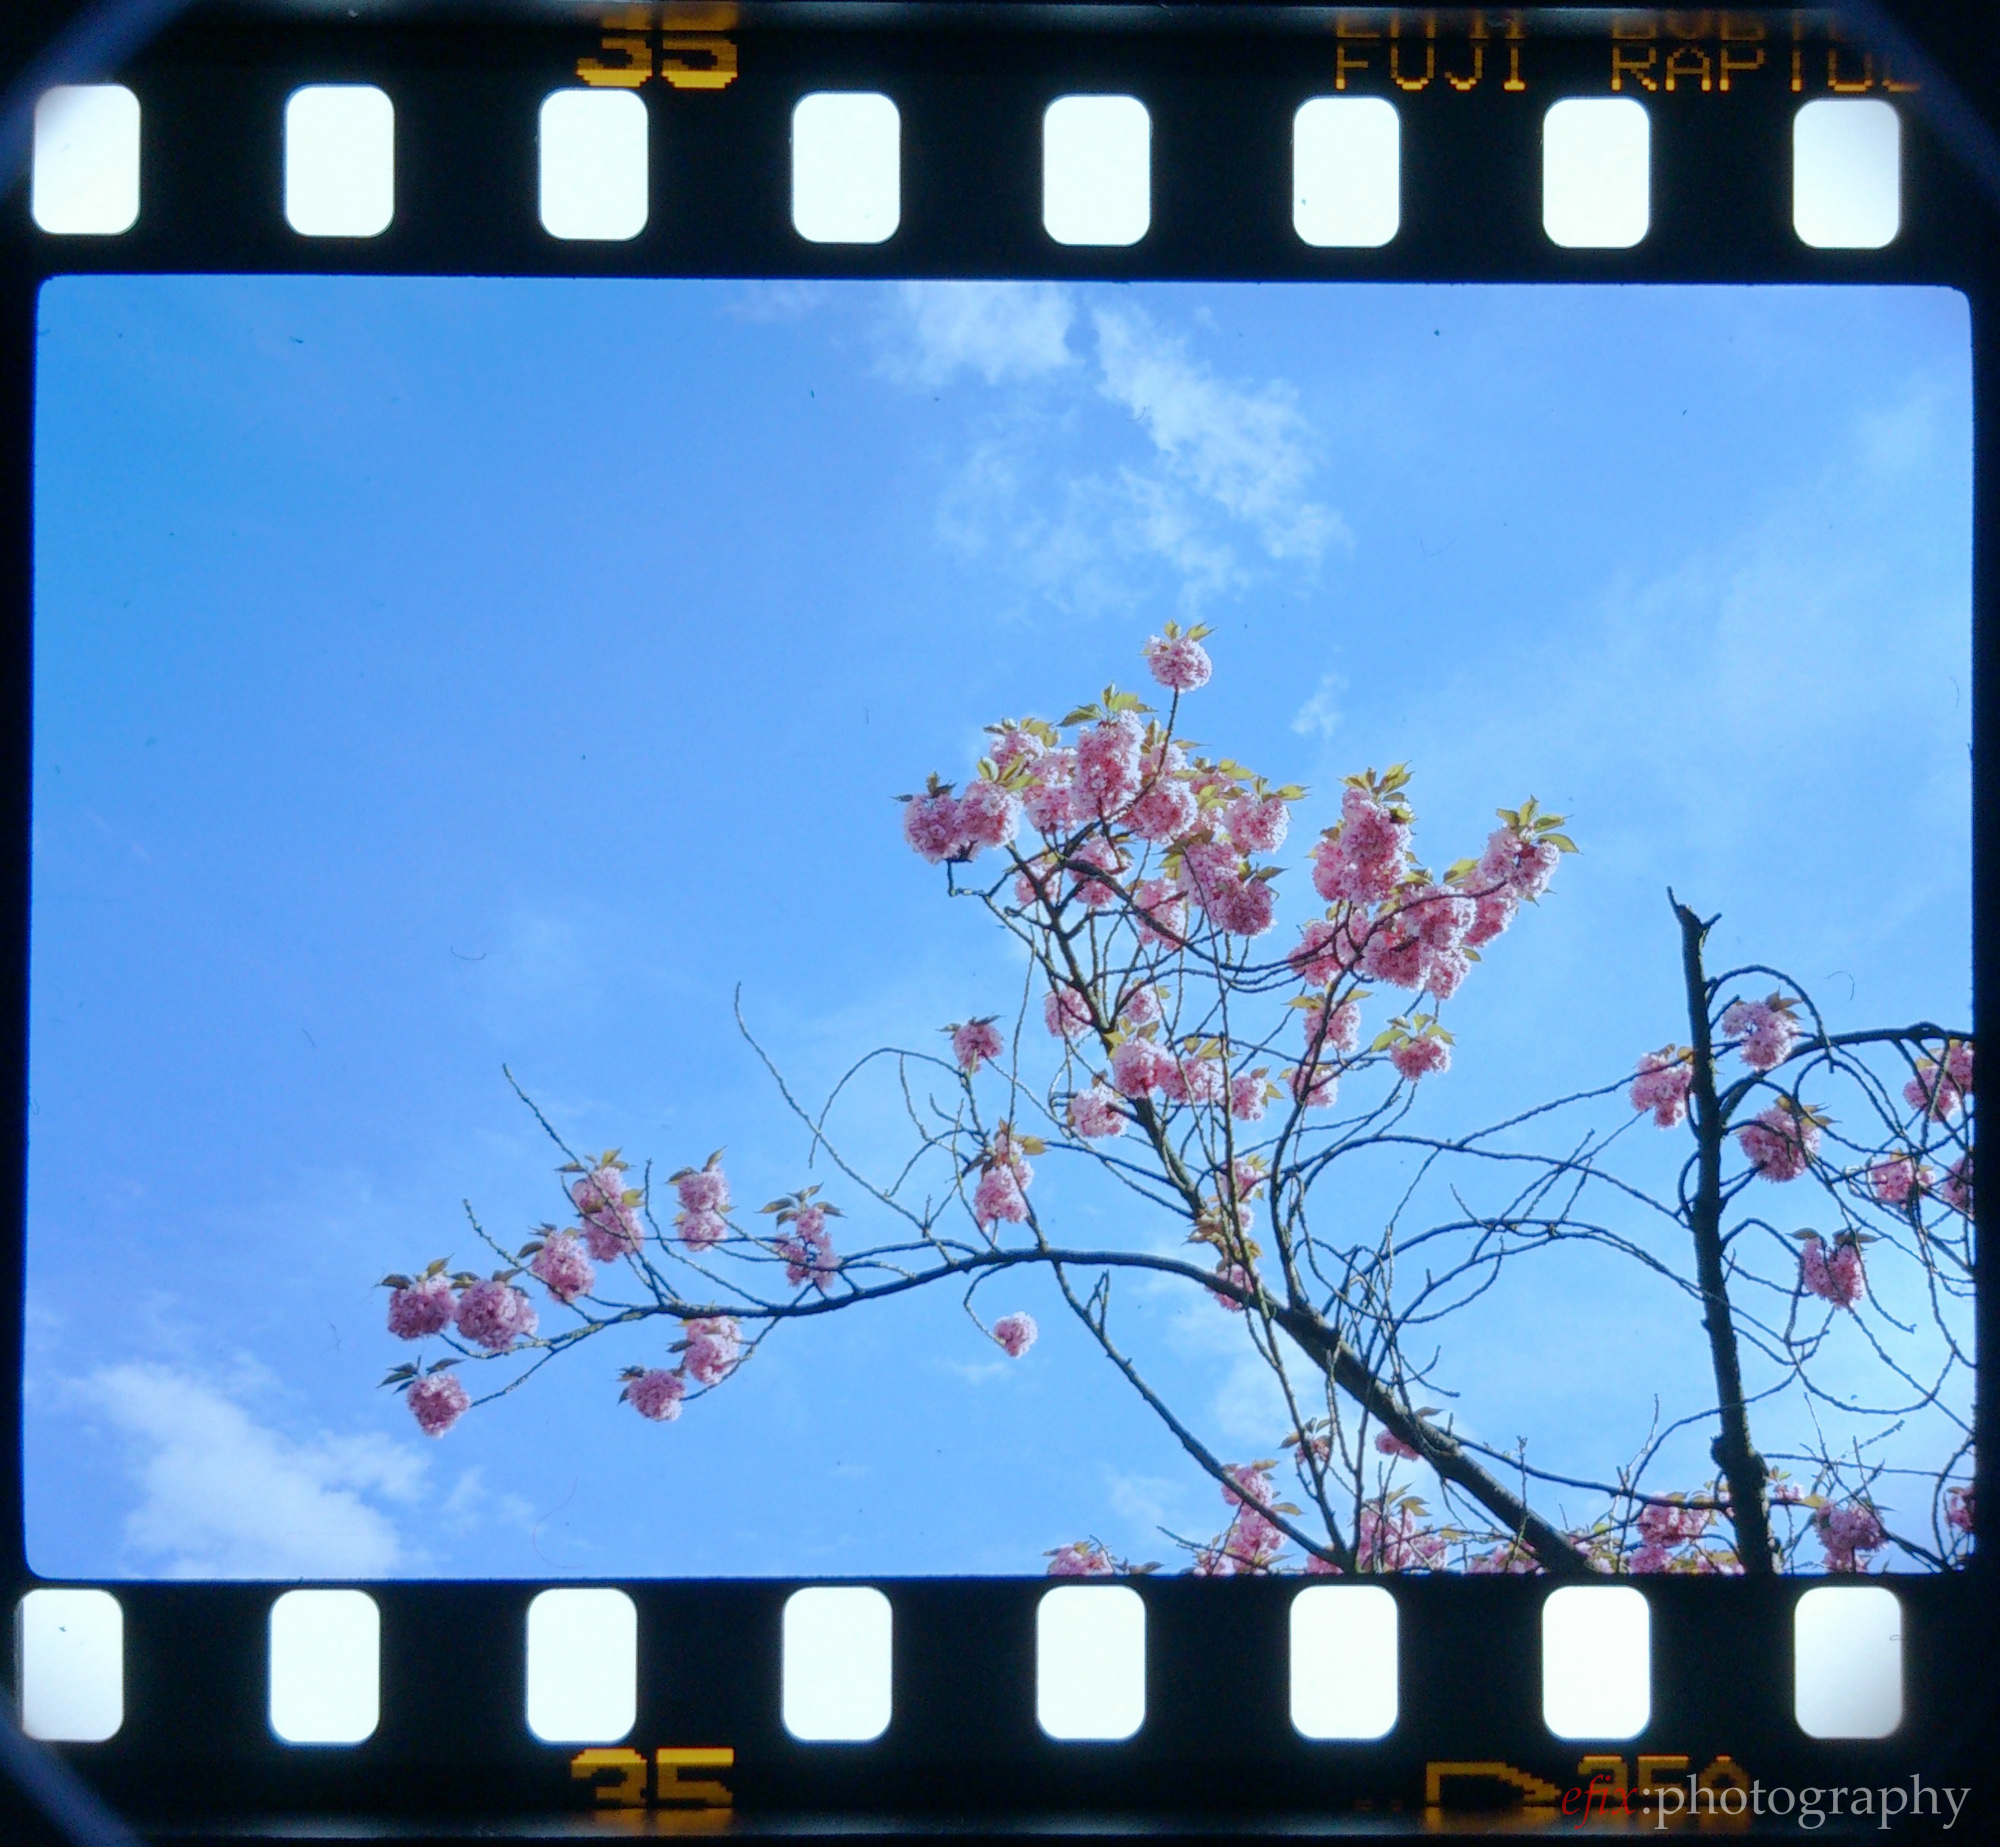
As with all films, there are those that are easier to scan and those that are more difficult to scan. Fujichrome films usually don’t put up much of a fight. They provide great colors under most conditions, and this shows in the above scan. The next scan is from Kodak Ektachrome E100Vs, which tends to produce a strong blue cast when used in the shade. I couldn’t compensate for this even with selecting the ‘cloudy’ white balance setting in my phone.
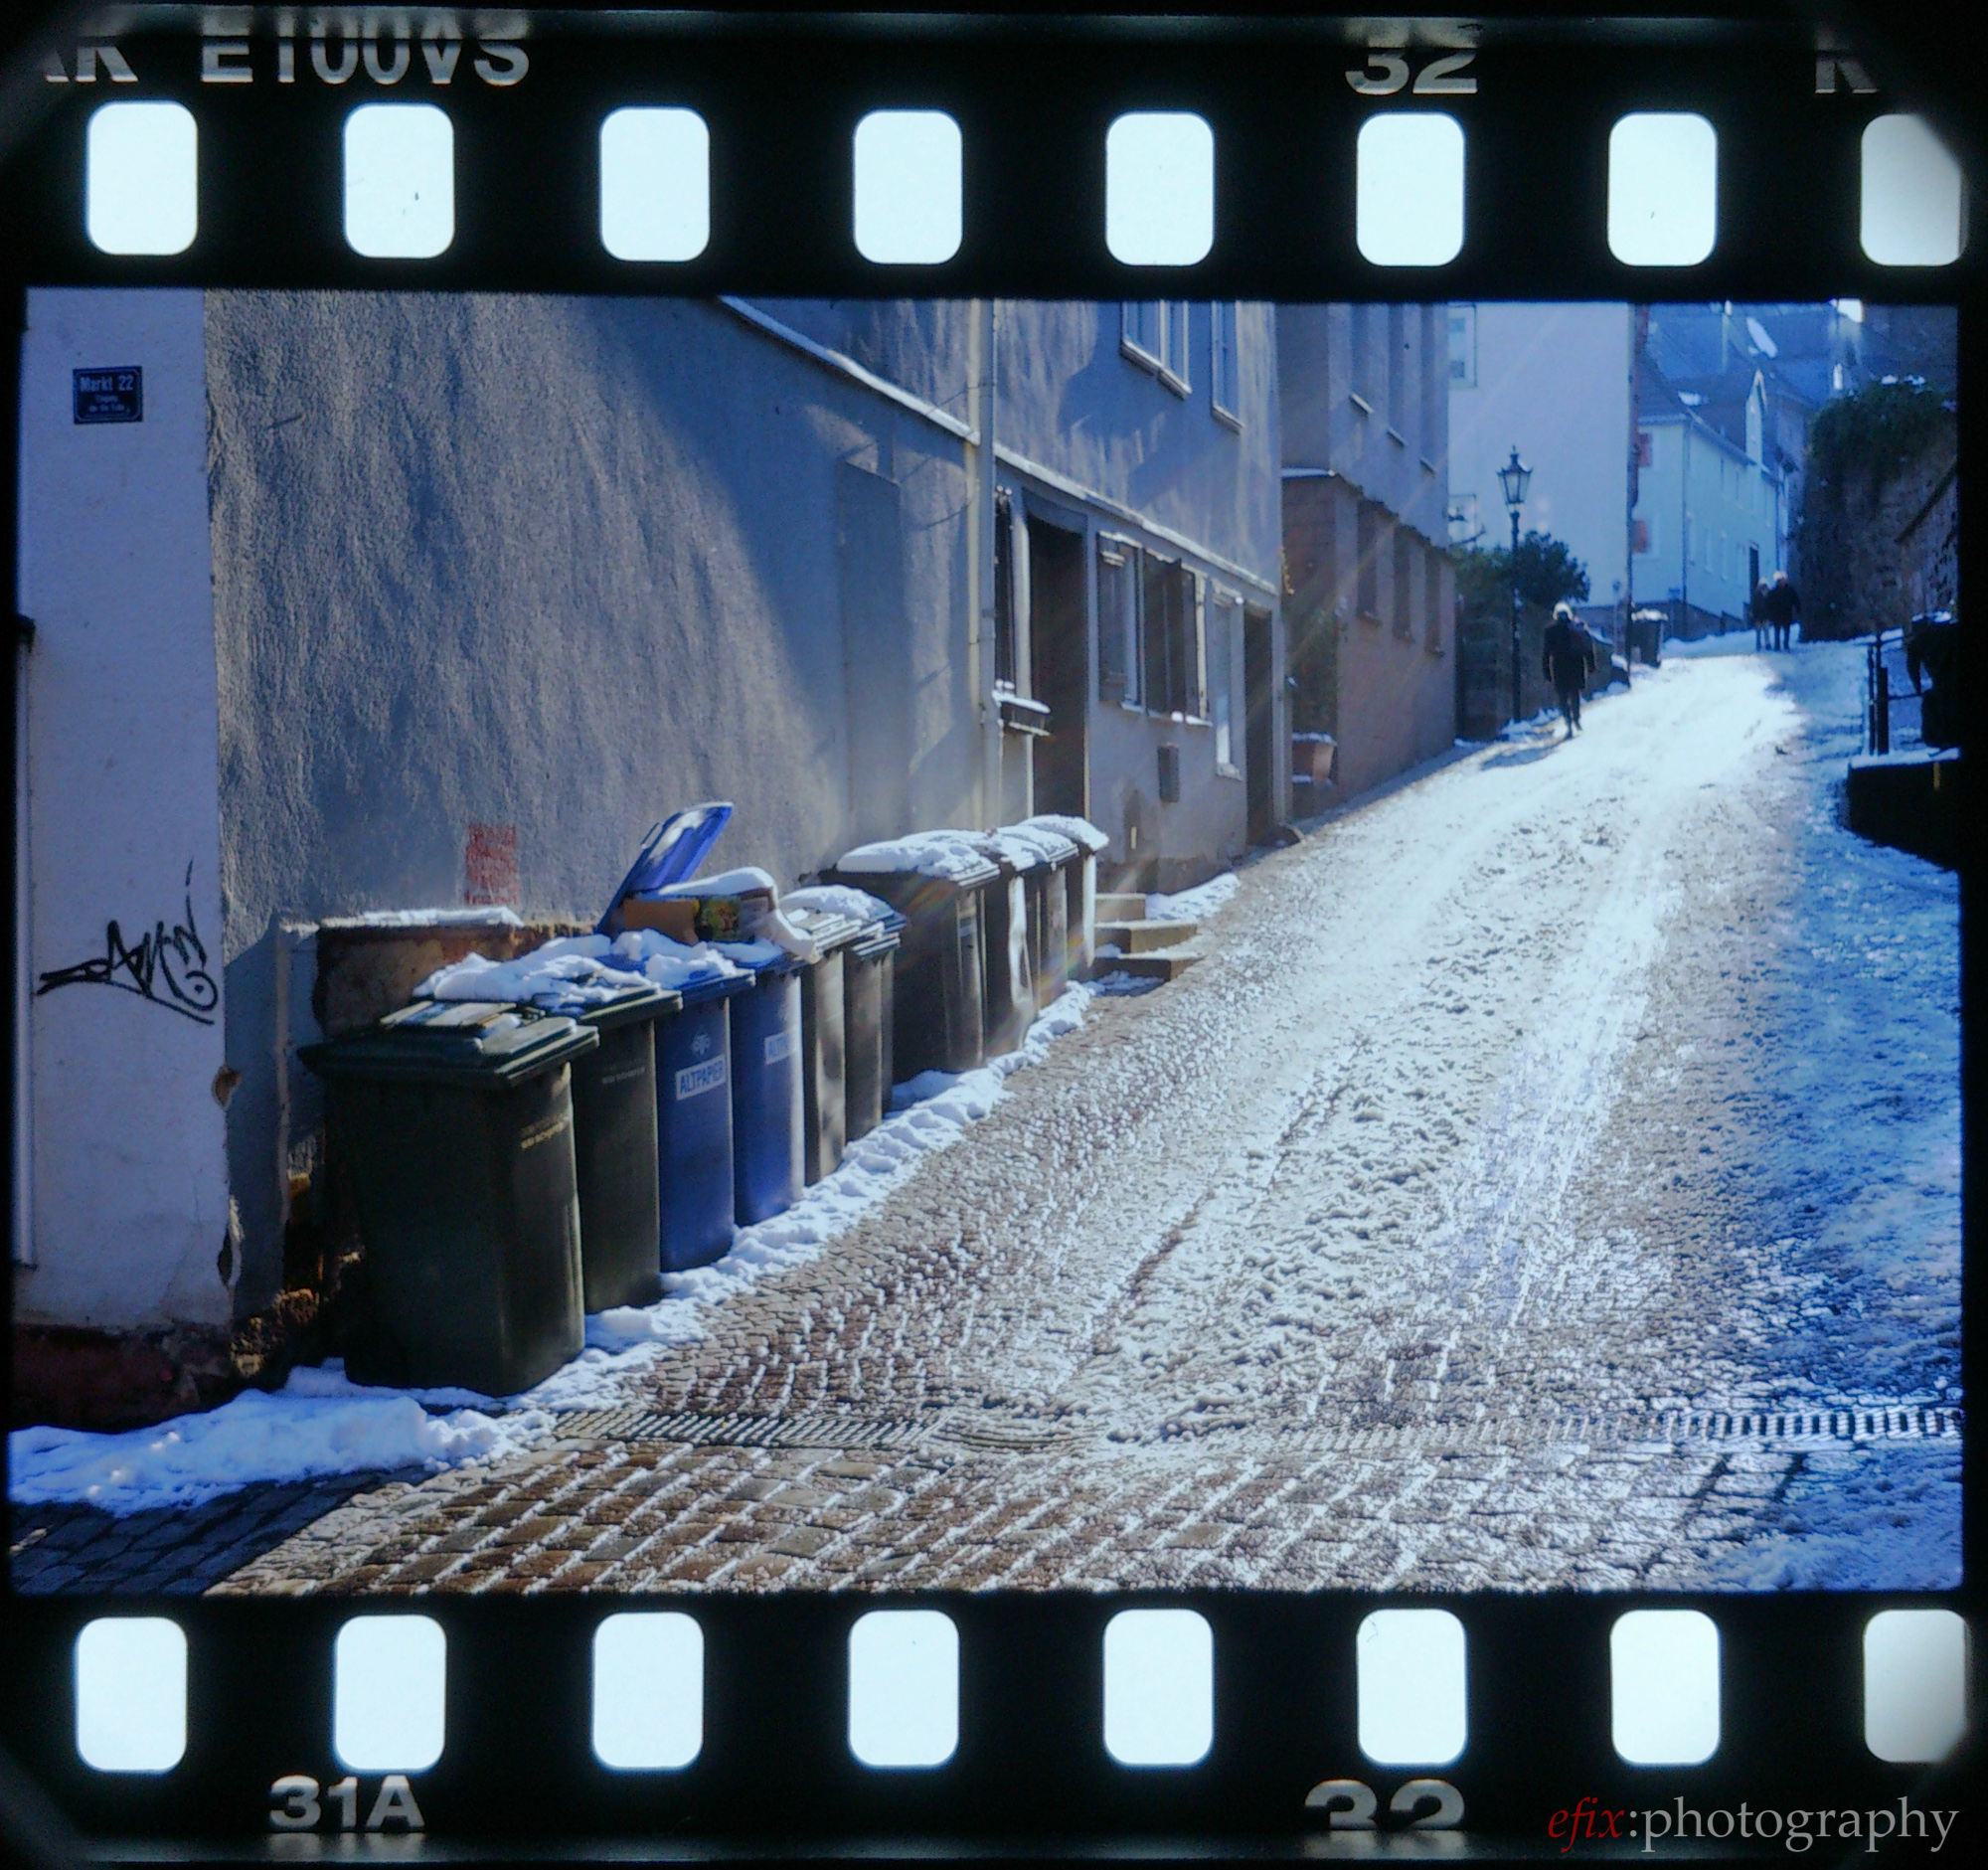
In both cases, however, I was glad my phone had a built-in HDR mode, or it would not have been possible to capture both shadows and highlights of these slides (especially of the last one) in one exposure, due to the limited dynamic range of the sensor. Also, thanks to the 13 megapixel resolution of the Sony Xperia V’s camera, I was able to scan the slides with a resolution of over 2k pixels on the long edge, which translates to somewhere between 4 and 5 megapixels. Not bad at all!
Scanning Negative Film With the Helmut Android App
For scanning negative film, I used the Helmut app for Android, which comes with a sizeable amount of processing options and generally does a pretty good job with both b&w and color negative film. Lomography also provides their own app to use with the scanner, which is available for both iPhone and Android. However, I found the Helmut Android app much better as we stated in our first impressions.
Upon starting Helmut, you are greeted with a picture of a person holding a film camera. On each start Helmut changes the picture. Not that this is of much use, but it’s a nice twist. You then have the option to choose to scan slide film, color negative film and b&w film.
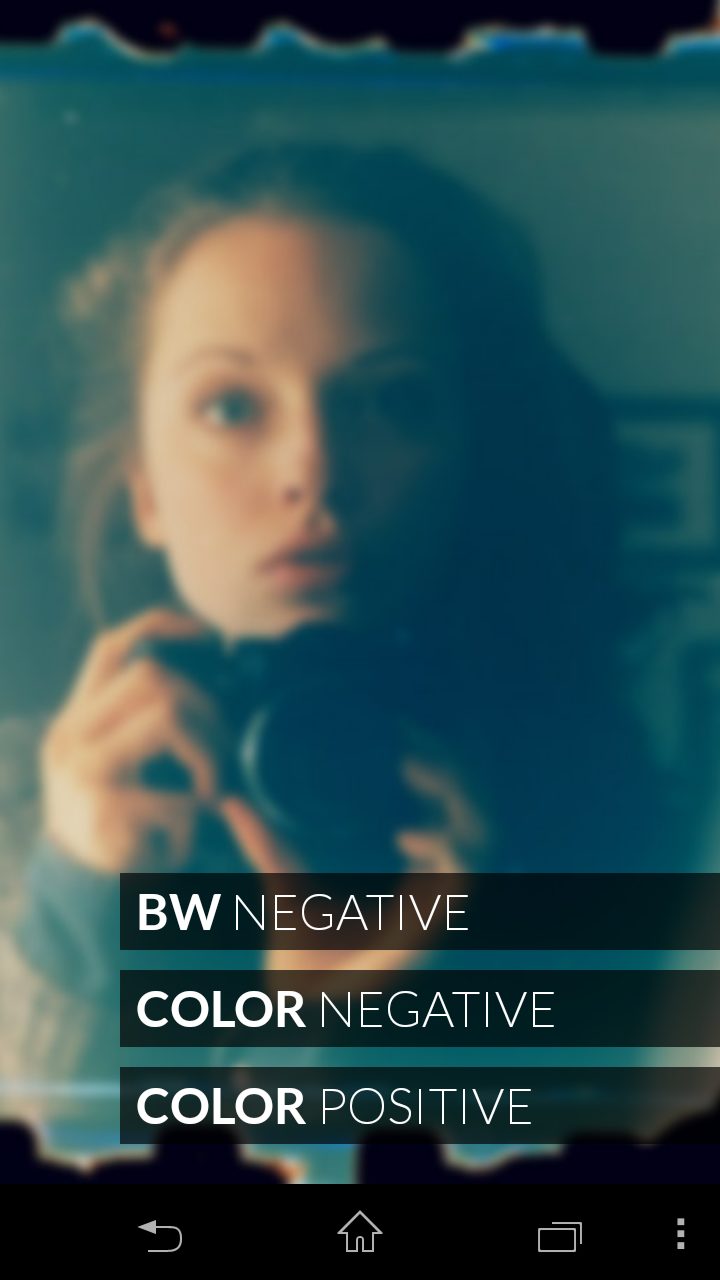
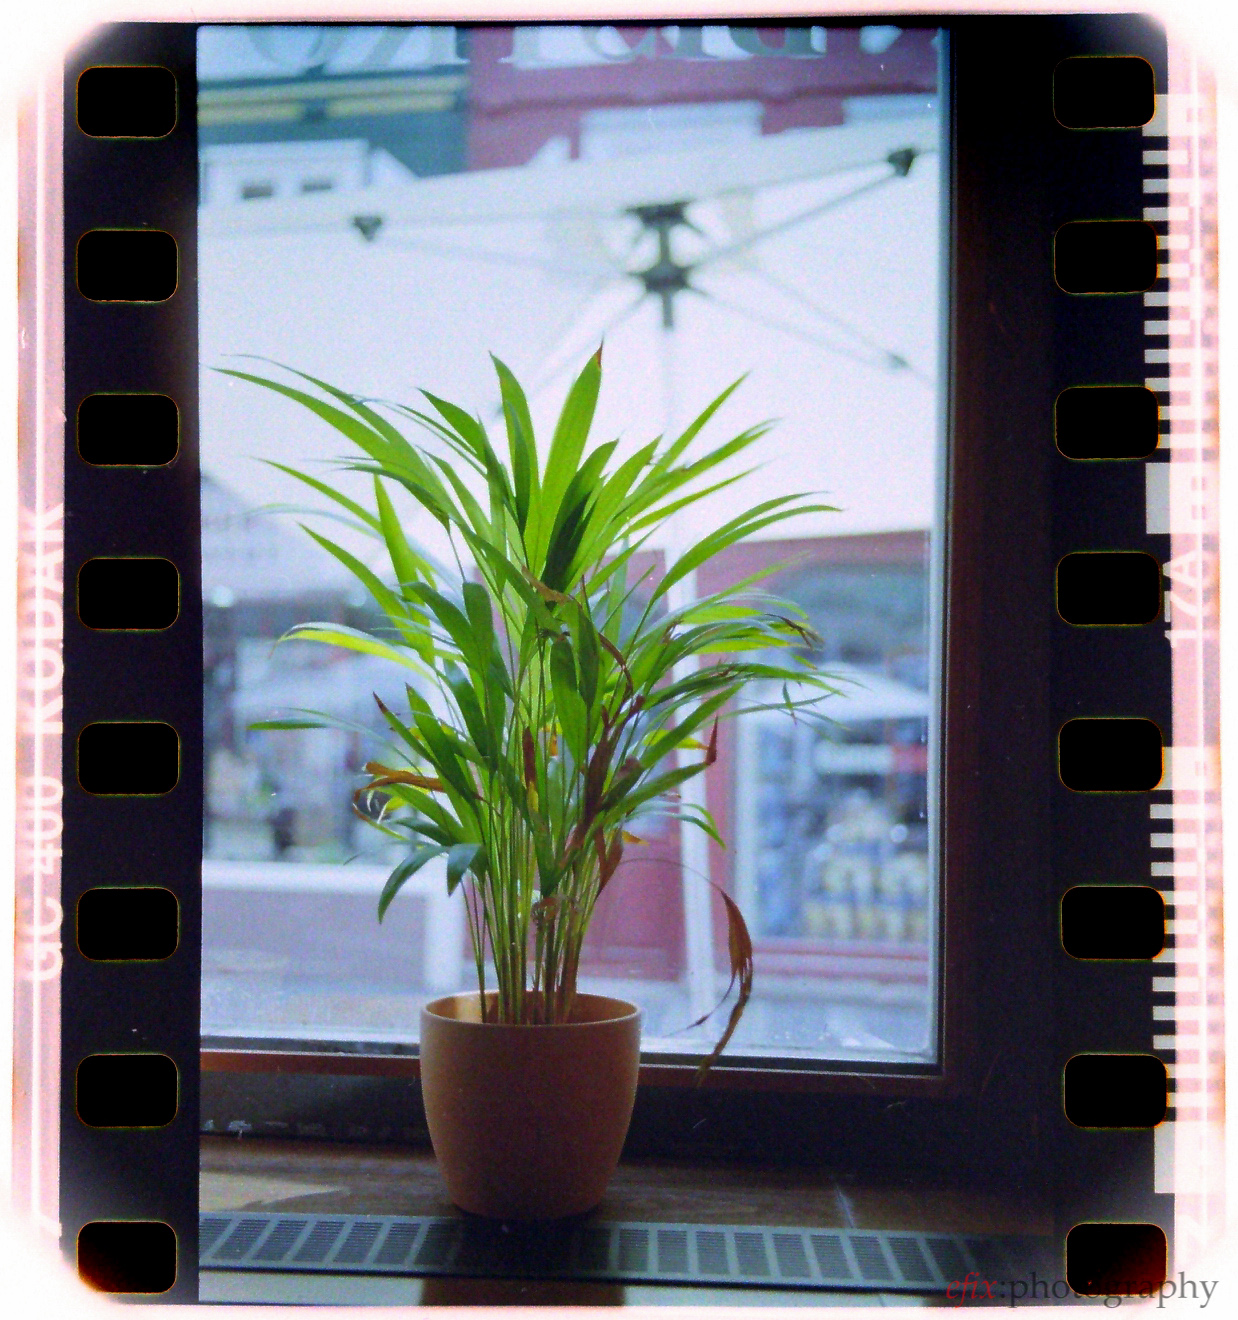
When choosing color negative film, Helmut then gives you the option to either open a file from your gallery, or to capture a file with your camera. When choosing the camera, what you’ll see in the preview is the current negative being illuminated by the Lomography Smartphone Film Scanner.
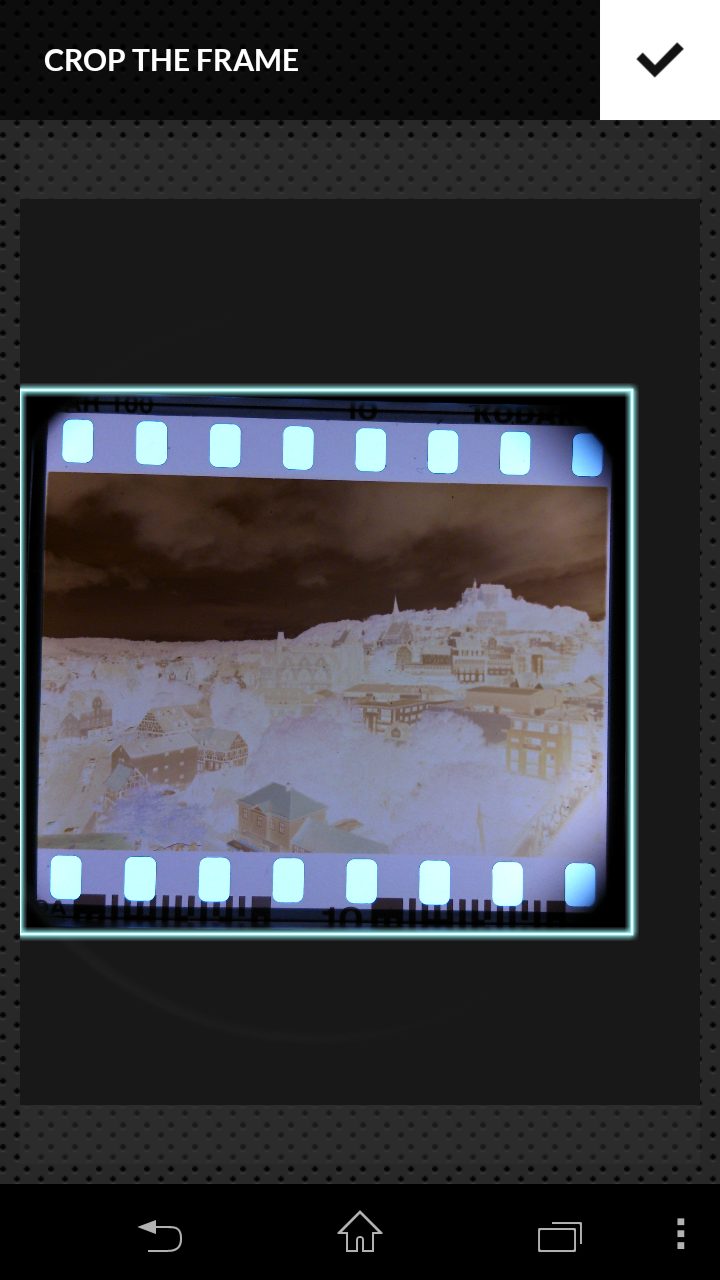
In the next step, the frame can be cropped. Personally, I prefer to include the sprockets, but you may prefer to crop just the actual image. When you’re done cropping , Helmut will automatically reverse the image’s colors, compensate for the color shift induced by the film base, and provide you with a number of options to post-process the image.
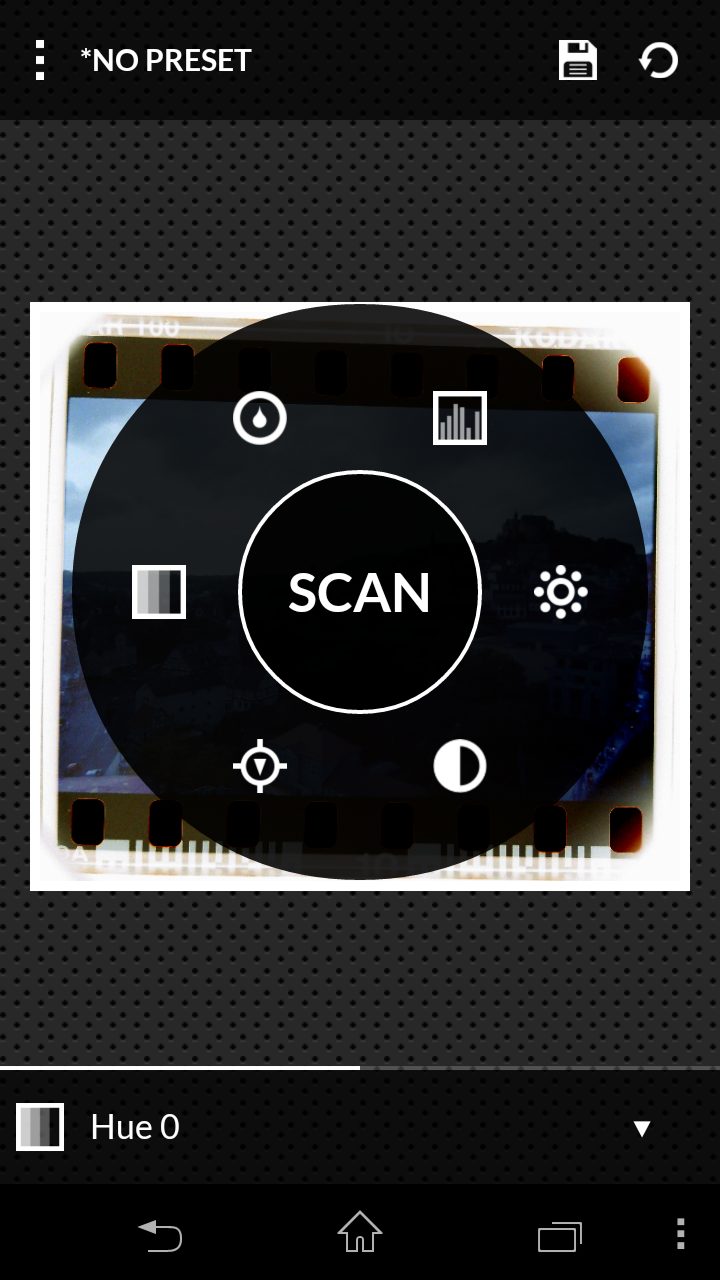
Among the processing options Helmut provides are color corrections, level adjustments, sharpening and more. Since Helmut offers no presets for different color negative films, the resulting colors in the reversed negative image depend on what white balance you chose in your camera app when capturing it, as well as on the color of the film base of the particular film. In most cases, the image will still have a noticeable color cast which you can (partially) remove with Helmut’s color correction tool. Personally, I found Fuji films to be the most challenging to scan (especially Reala 100), while Kodak films put up much less of a fight. Ultra Max 400 especially was a piece of cake to scan.

With b&w film it’s of course much easier. All you need to do is invert the colors, and then apply some tweaking to the levels to balance out brightness and contrast.
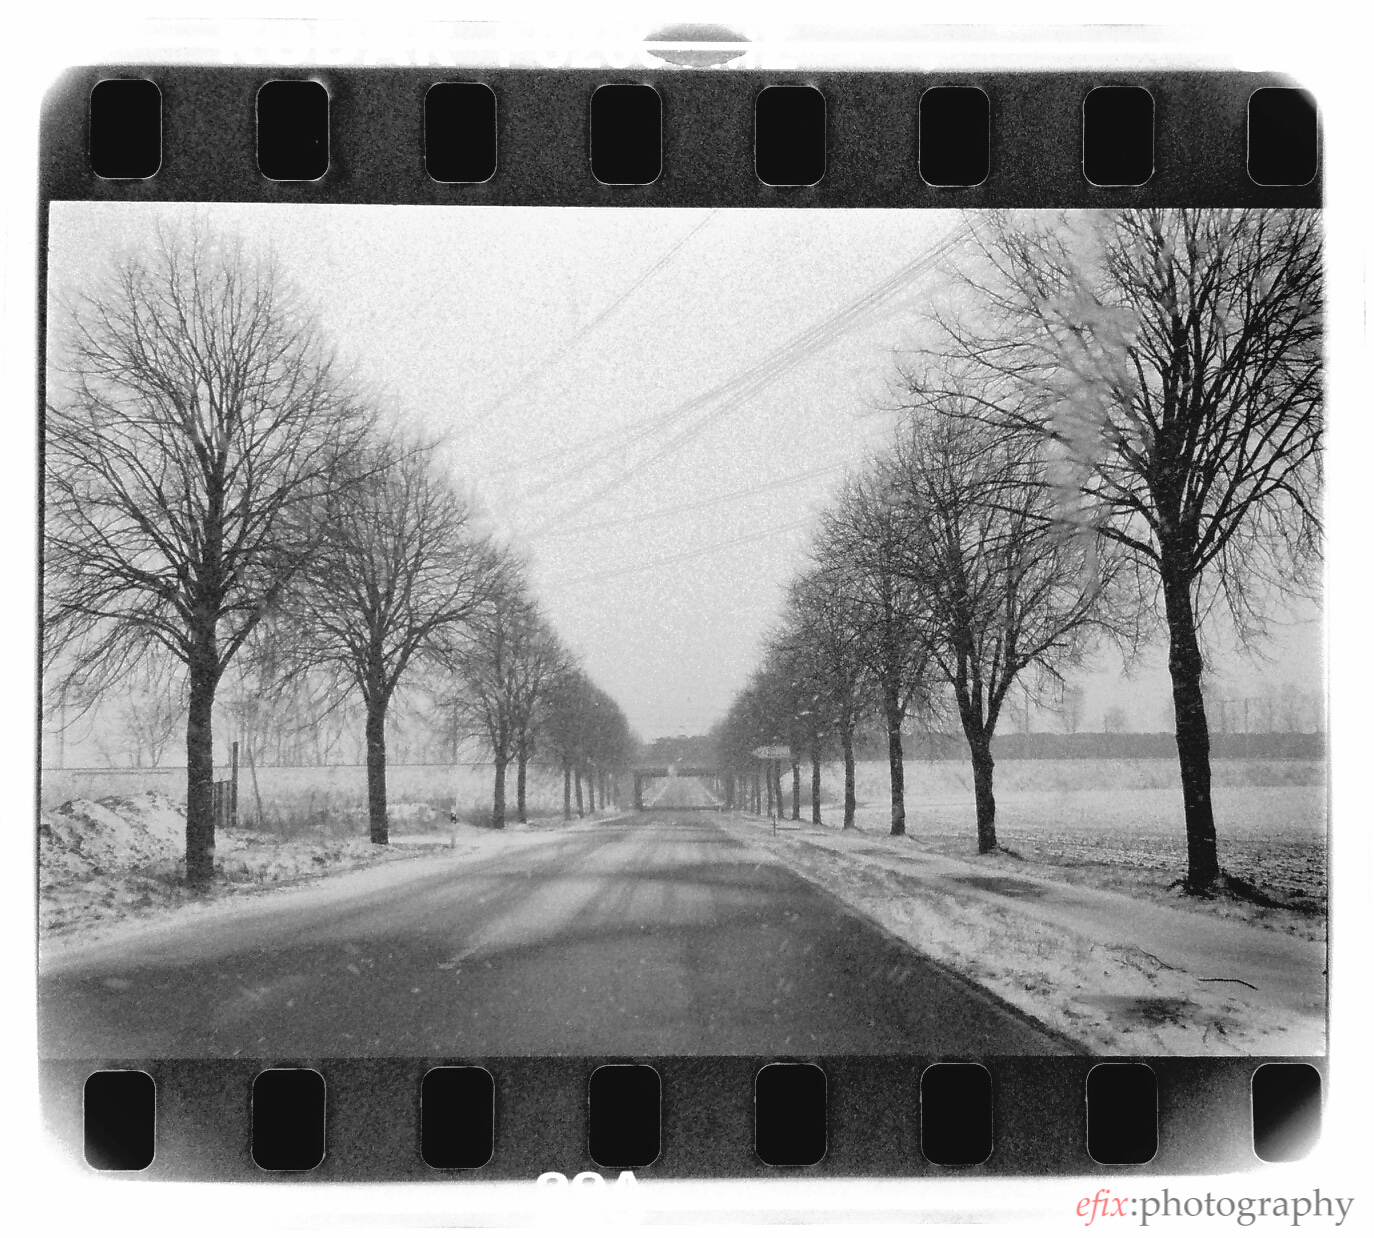
Image Quality
As mentioned earlier, this really depends on what smartphone you use. With my Sony Xperia V I found the image quality to be rather good, considering I took photos of film images with a tiny smartphone camera. The Xperia V’s camera has 13 megapixels, which means that resulting images show quite a bit of detail. In addition, the phone’s standard camera app comes with an HDR mode, which helped a lot with scanning slides.
The experience may vary depending on your particular smartphone.
Conclusions
This is a tough one, really, because I’m not sure what to think of this product. I admit that it’s a lot of fun to use, but unless you want to share your film shots on Instagram, I don’t see much use for it. Especially not if you already have a proper, dedicated 35mm film scanner. No smartphone has a camera that can deliver results as good as a proper film scanner, and scanning color negative film is a real hassle due to the lack of an app that comes with pre-defined color negative presets. While Helmut is overall a great app, it lacks the versatility of a proper scanning software like SilverFast. So for serious scanning, the Lomography Smartphone Film Scanner is not really recommendable.
If, however, you enjoy to share your photography on social networks and don’t mind low quality and in-phone processing, then the Lomography Smartphone Film Scanner is the quickest way to get your film shots onto your phone and into the internet. And especially when using Instagram’s filters, absolute image quality isn’t much of an issue anyway.

Please Support The Phoblographer
We love to bring you guys the latest and greatest news and gear related stuff. However, we can’t keep doing that unless we have your continued support. If you would like to purchase any of the items mentioned, please do so by clicking our links first and then purchasing the items as we then get a small portion of the sale to help run the website.
Also, please follow us on Facebook, Flickr and Twitter.
Get rid of the ads!
Did you enjoy reading this article as much as we enjoyed writing it? There's a way to support us and our reporting, getting ad-free navigation and more as a bonus. Subscribe to us for less than a coffee per month —just $3.99— or take advantage of our yearly subscription with a hefty discount for only $25.- An ad-free experience
- A free mystery box for Lightroom or Capture One
- All the books in our store
- 20% discount on Capture One
- 30% discount on Imalume Photo Theft Protection
- 20% off Herbs and Kettle Tea Company.
- 20% off your order from MPIX printing services.
- 5% off Viltrox Products via their eCommerce store.
- 10% off all film developing, printing and scanning services from Blue Moon Camera and Machine
- 15% off 7Artisans products: The lens and accessory maker is offering a sweet discount for Phoblographer's readers.