Last Updated on 01/26/2012 by Chris Gampat
Yasuhara sent us their latest 5x Macro lens for review. We previously had a hands-on experience with it and after lots of use, this lens that turns your camera into a microscope is bound to have some very interesting applications. The company used to produce screw mount rangefinder cameras with TTL metering amongst other film using cameras.
So in the end, will this become your next fun accessory to keep in your camera bag?
Editor’s Note: Because I know everyone will ask, the strap is from the Olympus Pen Premium Case.
Gear Used
Note: Some sections are being repeated from the Hands on Review.
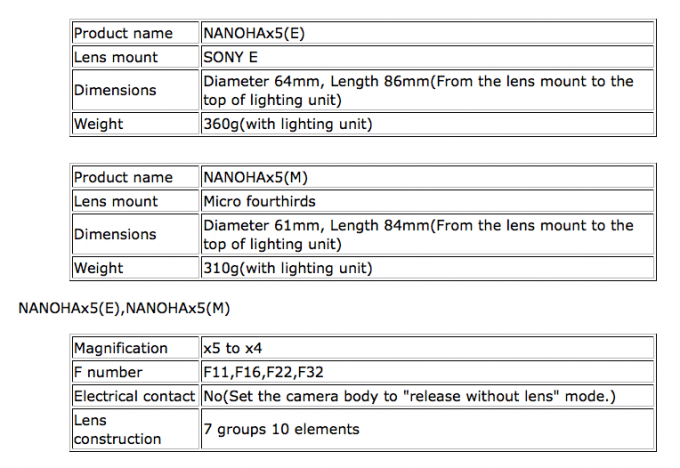
Tech Specs
Specs taken from the company’s specs page.
Ergonomics
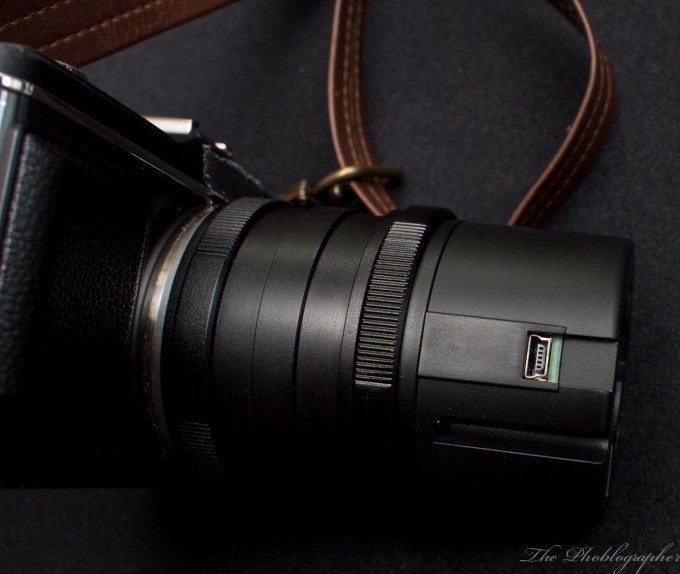
The Yasuhara Nanohax5 is solidly constructed out of metal and has the feeling of a well built portrait lens. It’s a pity that it only focuses so closely because otherwise, it would have been more versatile to use for other things. However, this is very much a specialty lens.
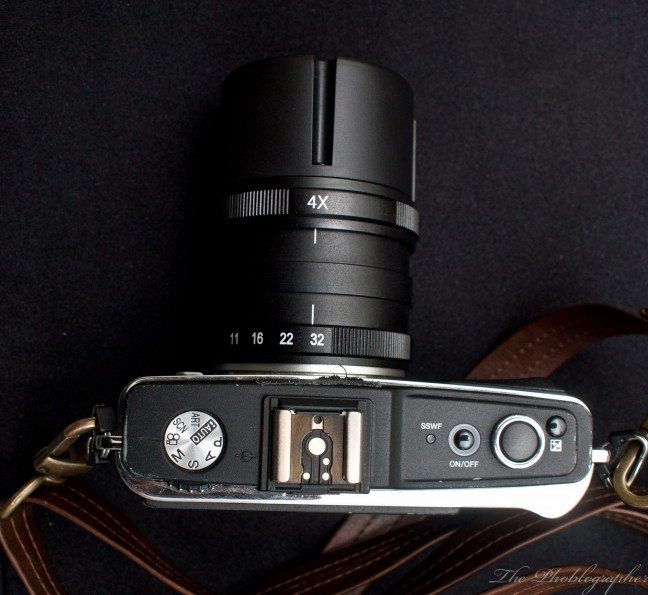
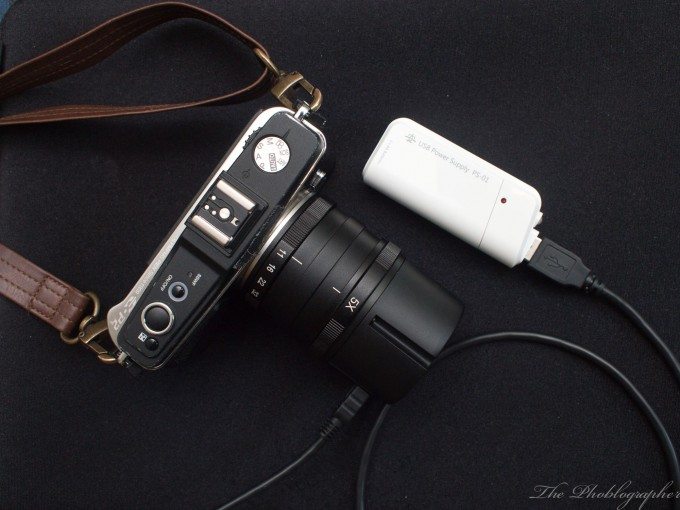
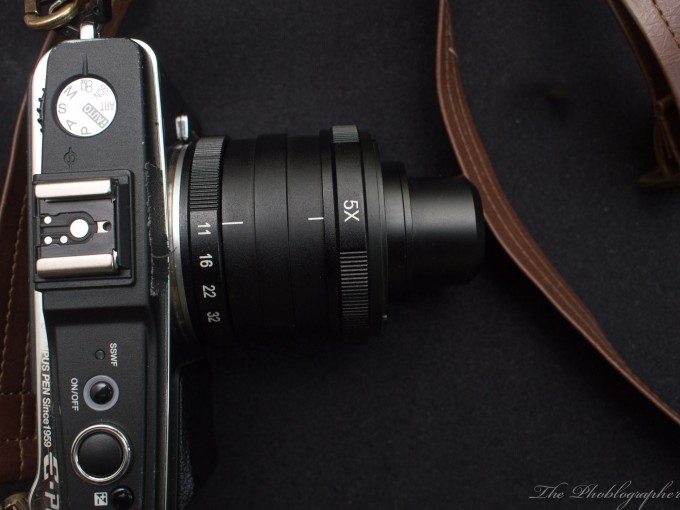
The top of the lens consists of two different markers and dials. One sets the lens from a 4x magnification to a 5x magnification. The other controls the aperture in full steps. The only choices that you have are f11, 16, 22 and 32.
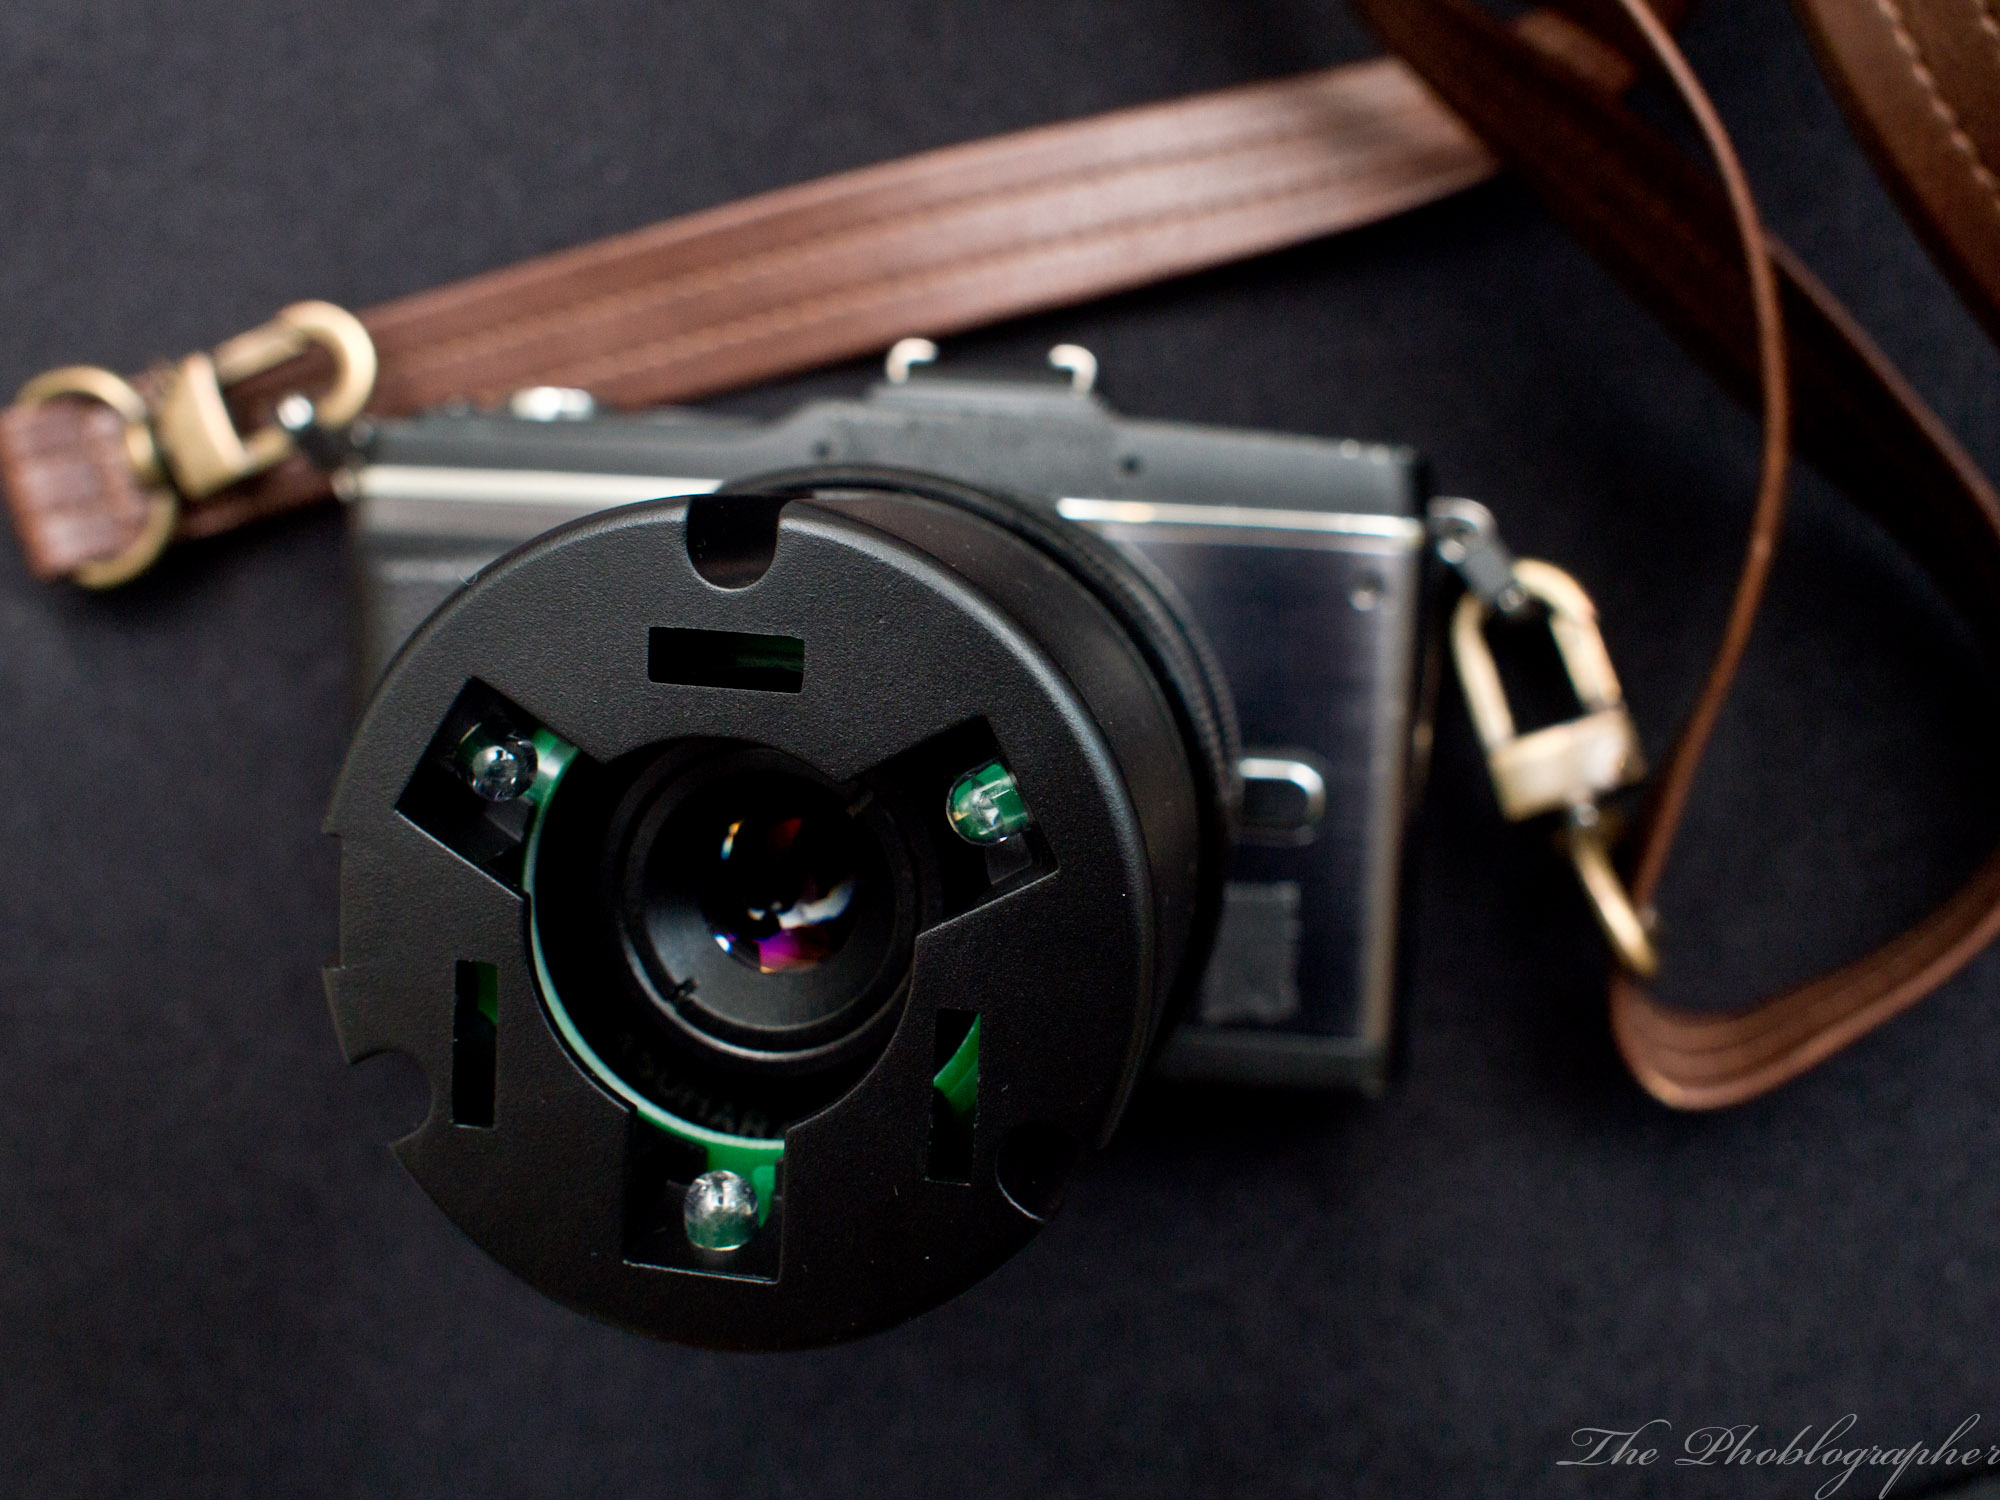
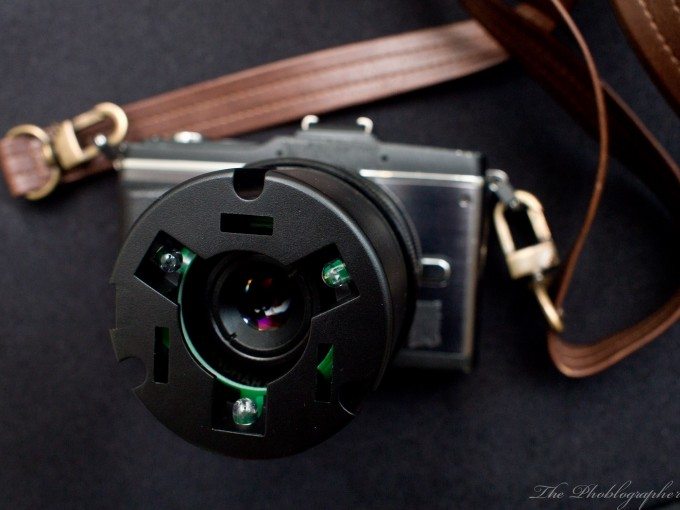
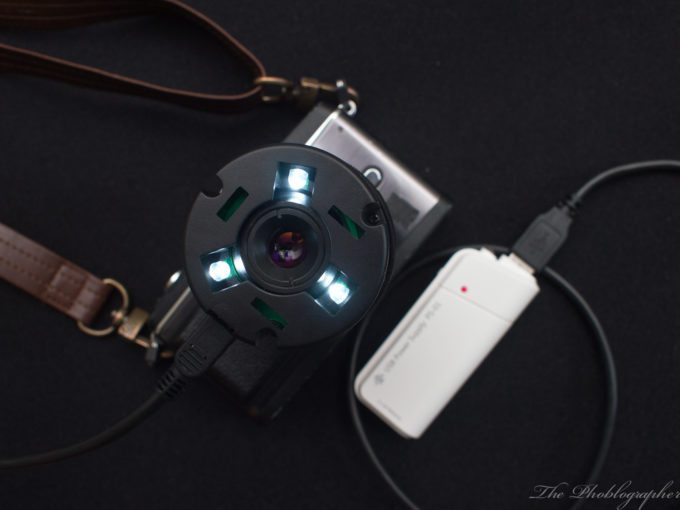
The front features a continuous lighting rig that is powered by an external USB power source. Three LED lights will further illuminate your subject. The lighting rig also has attachments that seem like they will hold other lenses in front of the actual lens. However, I wasn’t sent any of those magnifiers or elements.
That rig is powered via USB using a little port on the side of it. The company sends you a power cord with the package.
The cord plugs into the side of the lens and at the other end is a battery powered switch. The switch holds two double A batteries and has different power settings. Those are off, on and a bulb; which basically turns on a little LED light on the power supply.
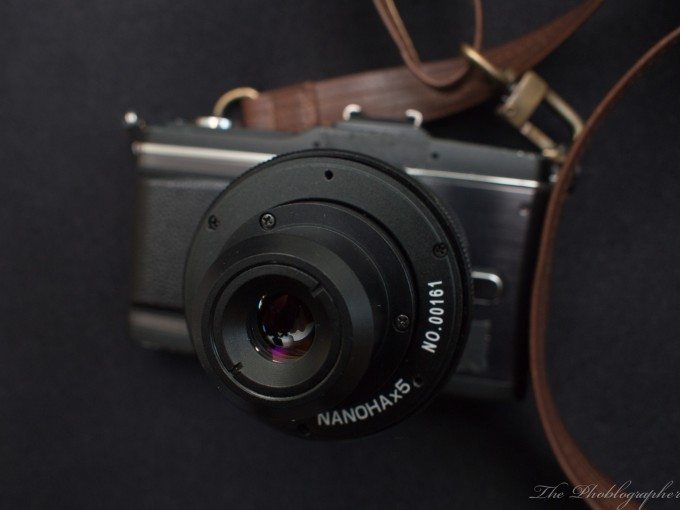
Once powered on, the three LED lights power on around the actual lens itself. If you don’t want to use this rig (and it’s quite useless to because it prevents someone from moving close enough to their subject) you can undo the tiny screws around it and store it away. Yes, you have to take three screws out: the company provides you with a tiny screwdriver to do so.
When the lighting rig comes off, the lens looks like this with a fairly naked front element.
When focusing the lens from 4x to 5x, the actual optics will move back and forth.
Focusing and Lighting
To use this lens, your subject must be close to 11mm away from the front element. Additionally, your subject will need to be very well illuminated. Your options are:
– Using a ring flash of some sort that allows you to get in super close.
– Cranking up the ISO
However, what I did was cranked up the ISO setting and attached the Rokinon D900AF-Z. That flash features a TTL setting for Olympus and Panasonic cameras and is an excellent on-camera flash option for the system.
I also used the Impact One Light Kit, which I didn’t think provided strong enough light for me. Above is an image from that one particular shooting session. In the end, I found that the best option was to use the Vello TTL cord with the Canon 430 EX II with the Olympus EPM1. Though the two TTL systems don’t communicate with one another, setting the flash to the 1/64th power output setting did very well with the flash around 9 inches away from the subject at f32 or f22.
Image Quality
As stated previously, constant lighting just doesn’t do it for me when using this Macro lens. In fact, nor did the provided LED lighting rig that you’re supposed to put in front of the lens. In fact, I found that damn near useless. But once you put a flash on at the side, you’re in business.
However, this brings up a much bigger point: the micro four thirds system needs a dedicated macro flash unit that doesn’t suck. And someone needs to do it fast. The system has macro extension constant lighting arms, but they need a flash for more power.
Note that no matter what, your LCD screen is going to be super dark when using this lens and that you’ll be at the mercy of sometimes shooting at f32 and making random little observations to try to figure out what’s in focus and what’s not. So if anything, you’ll be guessing.
But with a flash, you can set your camera to ISO 200 or lower and also raise the shutter speed to somewhere around a 1/250th or 1/320th. This way you’ll prevent any sort of camera shake.
Even though the Olympus Micro Four Thirds system has stabilization in the sensor, you can still get photos that suffer from camera shake when shooting handheld. Shooting with a tripod is near impossible due to the design, ergonomics, and just how extremely close you need to get to your subjects.
Note that during use, you can only focus either 4x or 5x. However, it doesn’t really tell you how far that distance is. Some sort of indicator would have greatly helped when focusing. Instead, you’ll often need to just move the lens back and forth until you get something in focus.
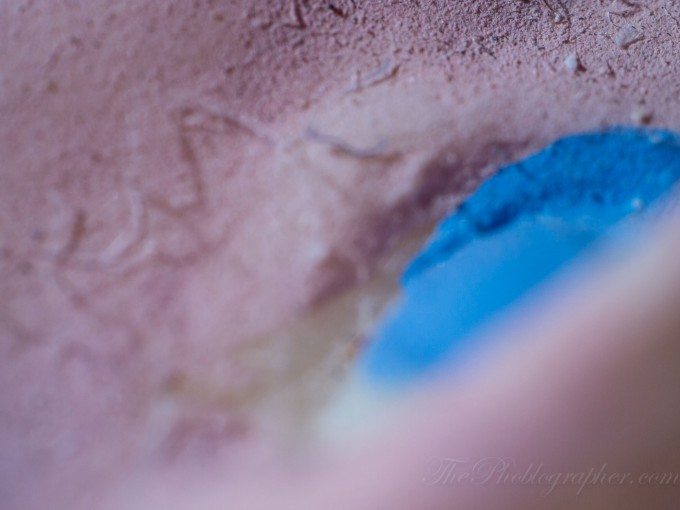
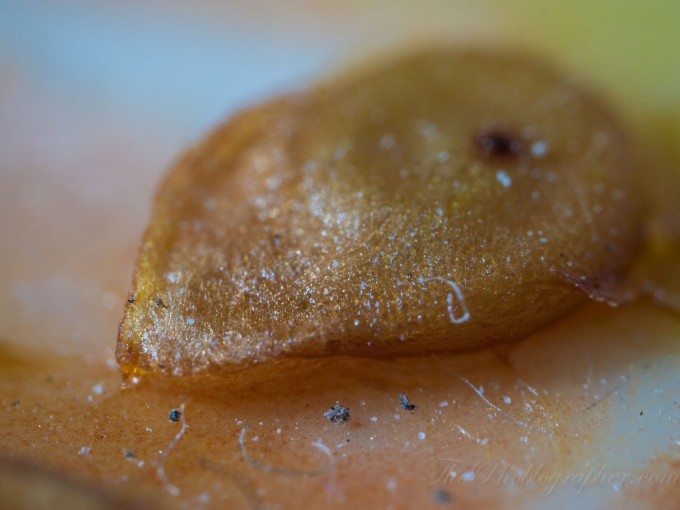
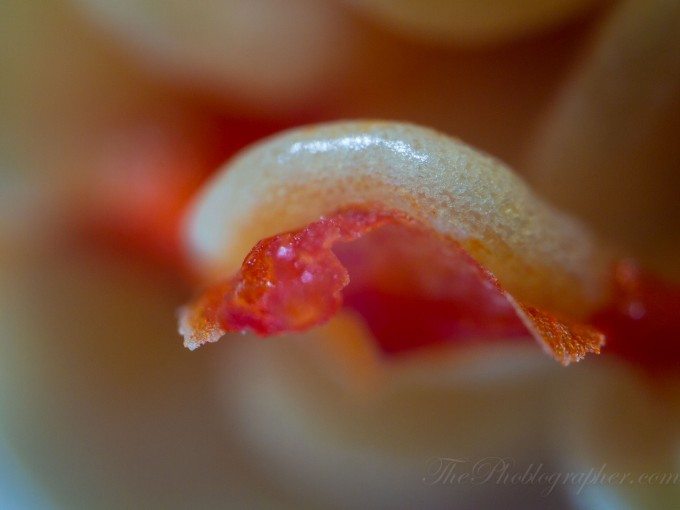
With all of this aside, the colors straight out of the camera when this lens is attached are actually extremely good; which counters the usability problems. All images in this series were slightly sharpened, and there were minor color corrections mixed in with slight boosts of vibrance or saturation.
Overall, the lens is really quite sharp, but I felt that the sharpest it got was at f22. At f22, good luck trying to get anything in focus at all.
Getting anything in focus at all is hardest to do at f11. Though I don’t shoot macro subjects often, this lens made me respect macro photographers and filmmakers even more.
Even though I am complaining lots about this lens, I need to mention just how amazingly fun it was to use when I switched from constant lighting to a flash. I was almost ready to give it a terrible review when using with constant lighting. If I can, I’d actually recommend that the company create a macro flash if possible. The LED lights are simply just so weak.
This lens actually inspired me in many ways. After photographing one subject, I quickly searched around my house for another, and another, and another. And photographing the subjects became a fun game or trial, error, learn, correct, reshoot, and rejoice.
Besides the tough to use factor, one should also consider that this lens can shoot nothing else but at the macro level. So it’s not versatile enough to photograph anything else. And that, perhaps, could be the one big killer of wanting to actually purchase this lens.
Conclusions
The Yasuhara Nanohax5 5x Macro Lens is extremely fun to use. The image quality from it is really quite good, and it represents something that other Micro Four Thirds lens makers should take note of. The build quality is excellent, but if anything, what I really wish the company had focused on was making the lens easier to use with a depth of field scale as well. Plus, I would have loved to have had the ability to focus further out and in.
My major problem with the lens though is the fact that it can only shoot macro subjects. At $479 at the time of writing this post, I’m not sure that I personally could stomach that. However, if I shot macro subjects for a living and use a Micro Four Thirds setup, I probably would be able to justify it to myself.
In the end, a user is much better off using a flash with this item. That way, it can really show off what it’s made of. And when it can, the Yasuhara Nanohax5 really shines.

Gear Used
Yasuhara Nanohax5 5x Macro Lens
Please Support The Phoblographer
We love to bring you guys the latest and greatest news and gear related stuff. However, we can’t keep doing that unless we have your continued support. If you would like to purchase any of the items mentioned, please do so by clicking our links first and then purchasing the items as we then get a small portion of the sale to help run the website.


