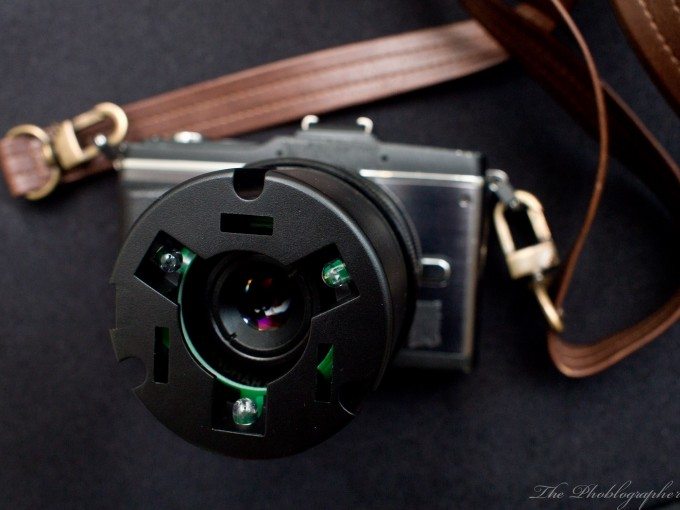
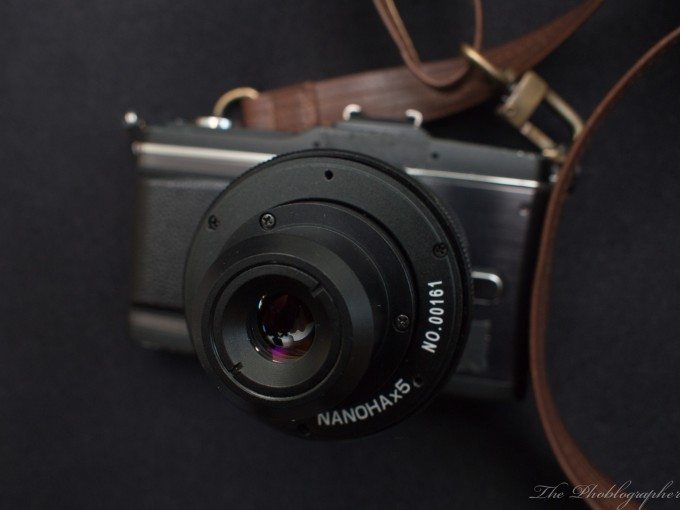
Yasuhara is a company that used to produce screw mount rangefinder cameras with TTL metering amongst other film using cameras. However, they have recently created a 5x Macro lens that in my opinion, works much like a microscope. It was recently shipped to me for review and I couldn’t wait to try out this curious looking lens.
Editor’s Note: Because I know everyone will ask, the strap is from the Olympus Pen Premium Case.
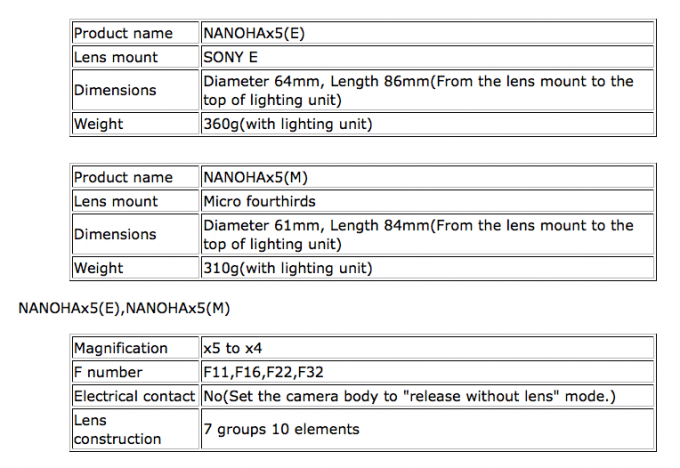
Tech Specs
Specs taken from the company’s specs page.
Ergonomics
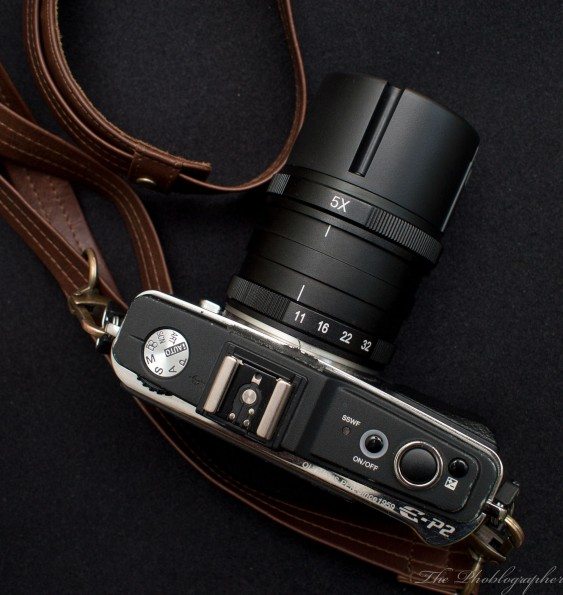
The Yasuhara Nanohax5 is solidly constructed out of metal and has the feeling of a well built portrait lens. It’s a pity that it only focuses so closely because otherwise, it would have been more versatile to use for other things. However, this is very much a specialty lens.
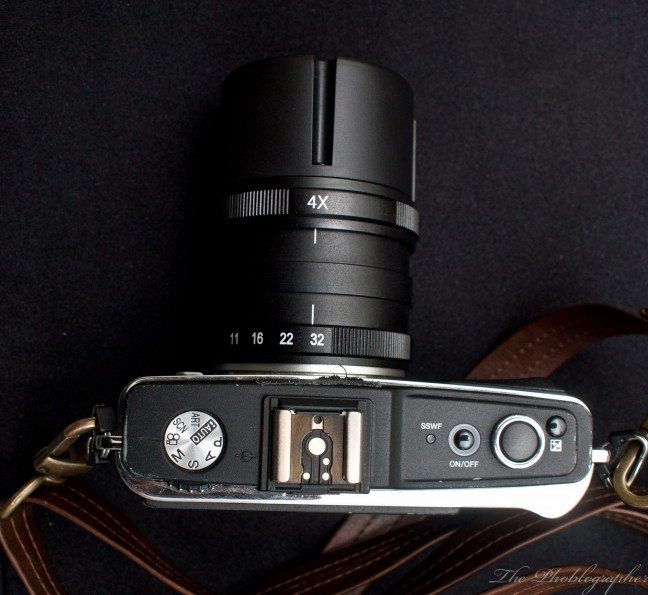
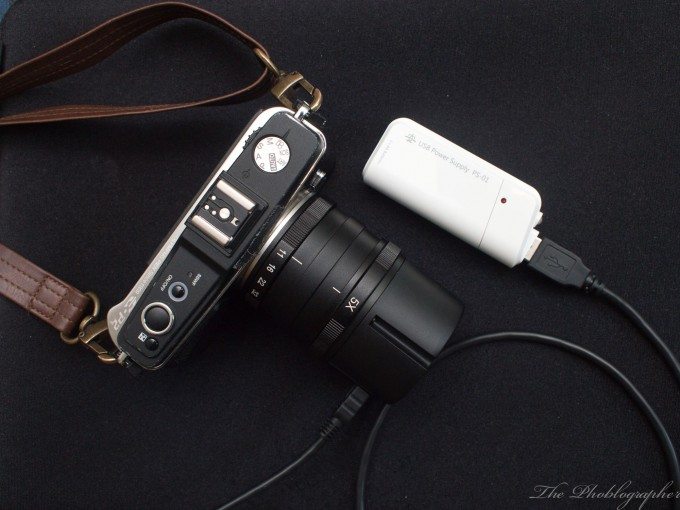
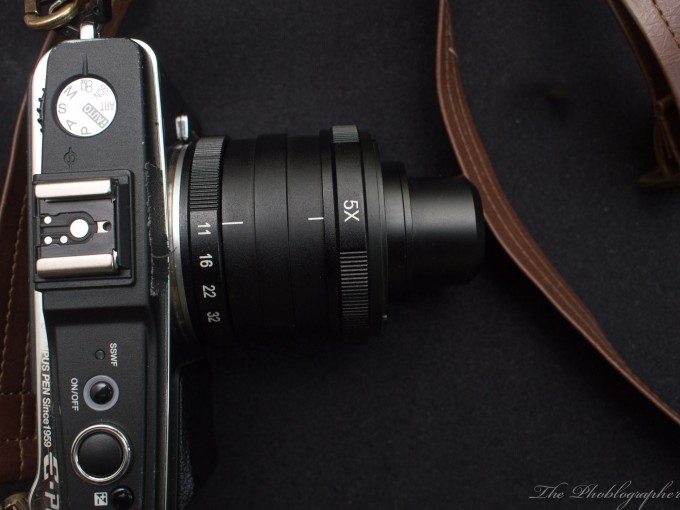
The top of the lens consists of two different markers and dials. One sets the lens from a 4x magnification to a 5x magnification. The other controls the aperture in full steps. The only choices that you have are f11, 16, 22 and 32.
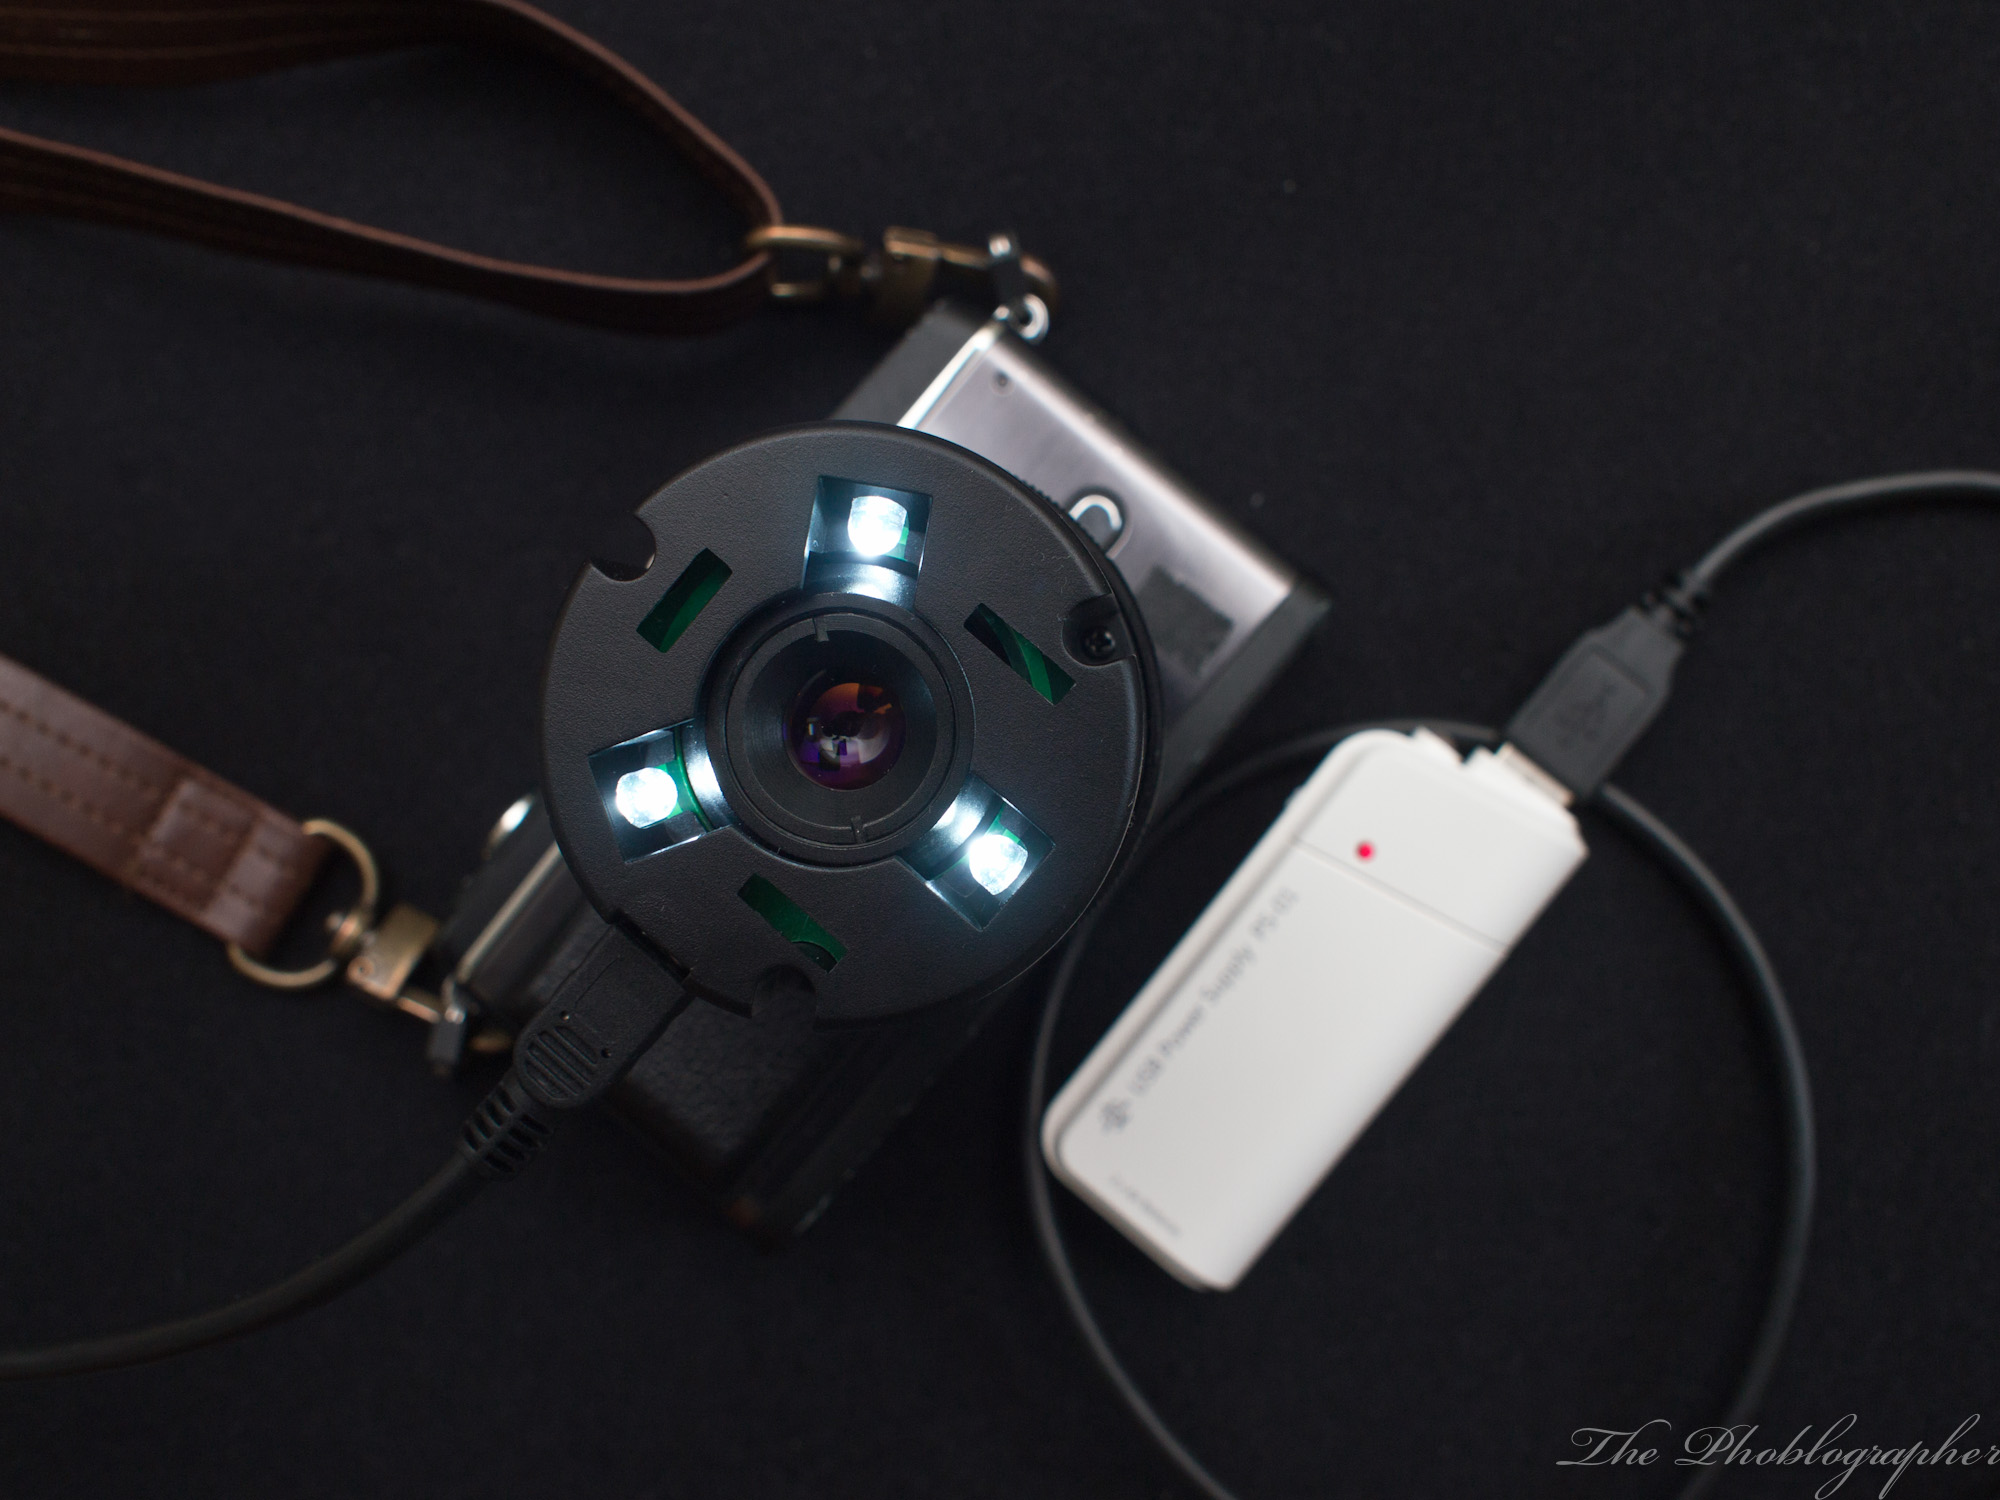
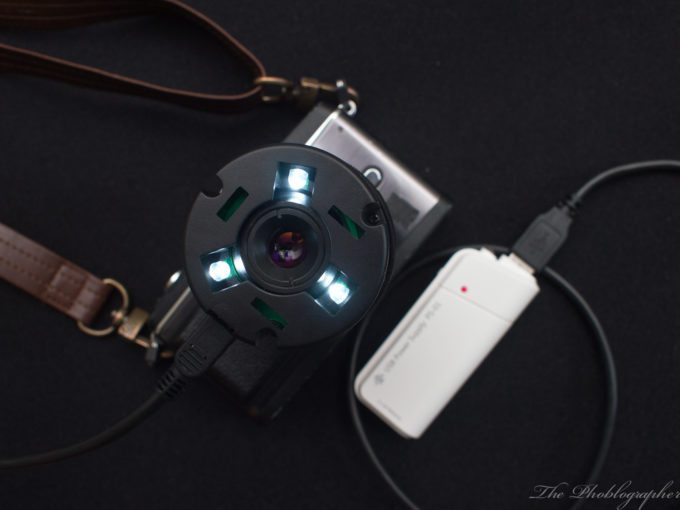
The front features a continuous lighting rig that is powered by an external USB power source. Three LED lights will further illuminate your subject. The lighting rig also has attachments that seem like they will hold other lenses in front of the actual lens. However, I wasn’t sent any of those magnifiers or elements.
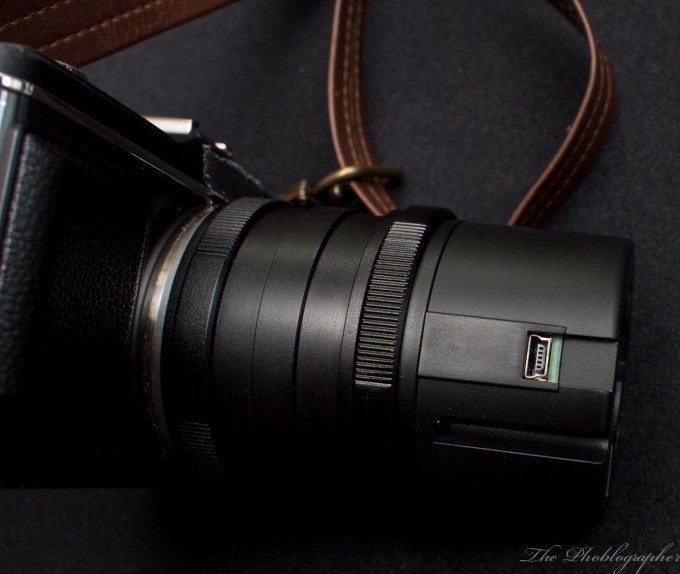
That rig is powered via USB using a little port on the side of it. The company sends you a power cord with the package.
The cord plugs into the side of the lens and at the other end is a battery powered switch. The switch holds two double A batteries and has different power settings. Those are off, on and a bulb; which basically turns on a little LED light on the power supply.
Once powered on, the three LED lights power on around the actual lens itself. If you don’t want to use this rig (and it’s quite useless to because it prevents someone from moving close enough to their subject) you can undo the tiny screws around it and store it away. Yes, you have to take three screws out: the company provides you with a tiny screwdriver to do so.
When the lighting rig comes off, the lens looks like this with a fairly naked front element.
When focusing the lens from 4x to 5x, the actual optics will move back and forth.
Focusing
To use this lens, your subject must be close to 11mm away from the front element. Additionally, your subject will need to be very well illuminated. Your options are:
– Using a ring flash of some sort that allows you to get in super close.
– Cranking up the ISO
However, what I did was cranked up the ISO setting and attached the Rokinon D900AF-Z. That flash features a TTL setting for Olympus and Panasonic cameras and is an excellent on-camera flash option for the system. A full review of it is to come. The photos in the section below were shot with my Olympus EPM1.
Image Quality
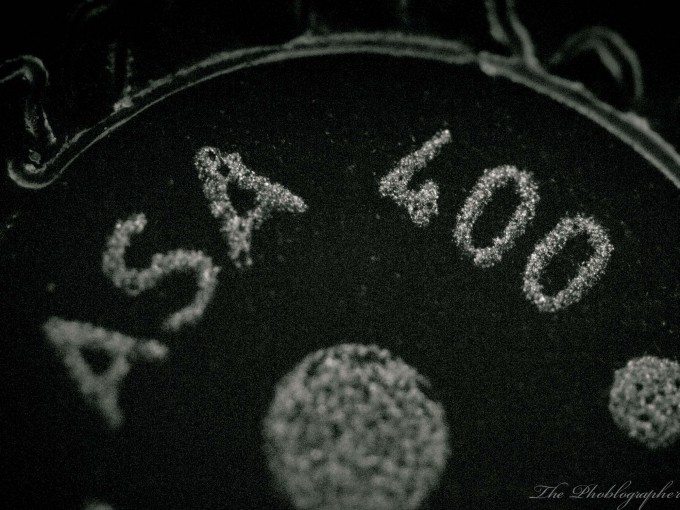
These photos are of my Lomography Lubitell 166+ mini keychain. I then used Lightroom 3 presets on the images to make them look only black and white. Otherwise, the images have a purplish tint to them. Please do not mistake that for purple fringing.
At F11 and at the macro level, you’ll often have trouble focusing on anything if you’re shooting handheld. The best option would be to get a tripod if you can. But in order to get more of your subject in focus, you’ll need to stop down even more.
When you’re not shaking about (even Olympus’s stabilization system couldn’t help tremendously) you’ll notice that this lens is actually extremely sharp and opens you up to a brand new world.
For the best results, I’d recommend using lots of sunlight or a very strong artificial light source. Judging from how much light the Rokinon flash had to output at medium level ISOs, I’m not sure if even the lighting rig would help but I have yet to test it effectively.
In real life use, you’ll need to be very careful when focusing. In fact, at times you’ll just need to move the camera back and forth. To get a blur free image, you’ll also need to shoot at a fast shutter speed; which in turn means cutting down ambient light and therefore means that your flash will be doing lots of extra work.
So far, I didn’t like the images I got right out of the camera with this lens attached because of just how limited it is. However, that may change.
What I can say so far though is that if you’re looking into getting this lens, ensure that you have a decent lighting kit. And to be honest, using the LCDVF would also help with stabilization.
Video Demo
EXCLUSIVE ! NANOHA 5X ultra macro lens M43 -quick and first hands-on- from Seb Farges on Vimeo.
Here’s a video demo that I found on Vimeo. I will be filming my own in the full review of the lens. So far though, this lens is decent but I’m not thrilled yet. I’m admittedly not a macro user (even when I shot weddings, I thought of creative ways to showcase rings) so it will take some time to get used to it and find better subjects. But once I get the hang of it, I’m positive I’ll be able to create some great images with it.
If anything, it’s super fun to use.
Please Support The Phoblographer
We love to bring you guys the latest and greatest news and gear related stuff. However, we can’t keep doing that unless we have your continued support. If you would like to purchase any of the items mentioned, please do so by clicking our links first and then purchasing the items as we then get a small portion of the sale to help run the website.


