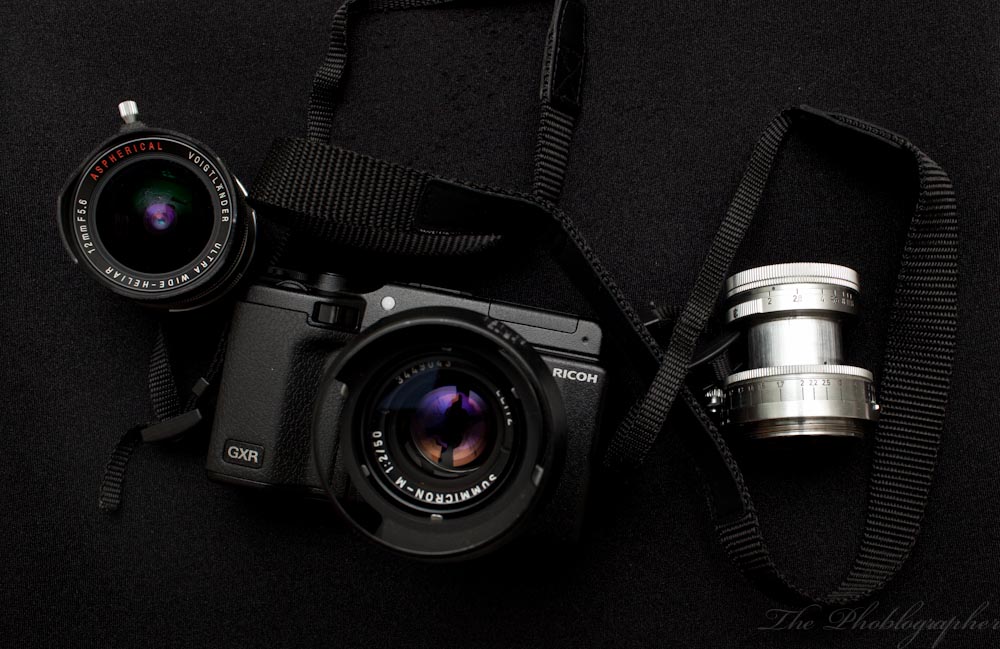
After reviewing the Ricoh GXR and A12 module, we saw postings on forums and other questions arise on the focusing and how it all performs in real world use. If you’re a street photographer, you’ll want to pay attention to this posting. You may also want to check out our face off. So can this little manual focus wonder hold its own against the others?
Ergonomics
The Ricoh GXR feels a heck of a lot like the high end point and shoots offered by both Canon and Nikon (G12 and P7100 accordingly.) However, what’s nice is that there is a full sized APS-C sensor in there vs a much smaller sensor.
Accessing the settings that are most important to you while shooting is extremely easy. Want to choose a specific ISO? You can program that to one of the camera’s programmable buttons or use the Direct control button to access and change it. Going full manual in the settings? The top control dial will set your shutter speed (as with Canon DSLRs) and the aperture is right around your M Mount lens.
In your hand, it feel very much like you’re using one of those point and shoots mentioned earlier or like using a Micro Four Thirds camera without the viewfinder. With this said, always cradle this camera with two hands (one on the camera and one around the lens) unless you’ve already set yourself up for hyperfocal length style shooting.
Focusing in the Streets
Focusing the camera can be done in three ways: just straight up viewing it on the screen, using the first peaking mode, or using the grayscale peaking mode.
First off, you’ll need to enable the focusing assist mode and I’d also recommend setting your own favorite magnification factor.
When you focus your lens and peaking is enabled, you will see little silhouetted lines appear around your subject. That means that they are in focus. To see this even more enhanced, use Mode 2, which will work better in some circumstances.
Press and hold the center circle button to enable magnification. Now the center area will be magnified even more depending on what you set it to. Press it again and the magnification will take up the entire screen. To get out of this, press it yet again.
This can help with achieving more critical focusing in most cases. In some cases, such as when I tried focusing on a co-worker’s tote bag, it didn’t give me those peaking lines around the edges of his bag to tell me that it was in focus. This was being done with a Leica 50mm f2 Summicron. While it did help a bit with the Voigtlander 12mm f5.6, it took too much time to be practical in real world use and it still told me that more was in focus than actually was. Instead, I just went ahead and use hyperfocal length focusing.
Think about it, a person isn’t going to be sitting there waiting for you forever to take a photo of them unless you ask them to. But if it’s a candid moment, it’s there and then it’s gone. In a case like this, you’re best off just using the peaking function.
As an aside, I tried this camera with a electronic viewfinder at a recent event (details on that coming in a couple of days.) The viewfinder didn’t really seem to help much with focusing critically. All of those pixels crammed into a tiny display seemed to throw off the peaking just a bit to make focusing more difficult. By that, I mean that it became harder to see the lines of what was in focus and it forced me to always use the magnification feature. As an FYI, when you magnify the area, you miss a critical part of the middle of the screen due to the picture in picture feature. Because of this, I’d rather just use the LCD screen and save the money.
Durability
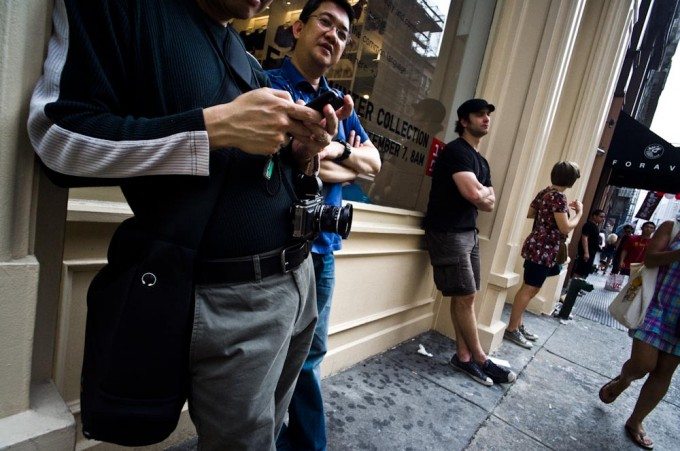
While walking through crowds of people, the Ricoh GXR took bumps like crazy. I remember being in a crowd when Khloe Kardashian appeared and got out of a car. Trying to get through to mob to see is Kim was with her, the camera took lots of hits from fan girls trying to get a picture.
The Ricoh held up and in fact, none of the settings were changed. Nor was the mode dial thrown off due to the locking mechanism. This made me happy.
Additionally, it survived being thrown into a day bag with a medium format camera thrown into there as well. Plus passing through turnstiles for the NYC subway. The build quality of the Ricoh GXR really did stand up very well. In fact, I’d probably call it the toughest camera of this size and caliber, but the Fuji X100 may also be up there.
Metering
Metering with this camera is very similar to the Sony and Canon system and users coming from those systems will be right at home. According to our Sunny 16 tests, it underexposes by around 1/3rd of a stop.
In practice, this means that if you want to get the shot quickly, you’ll need to set the camera to aperture mode and manually set the ISO levels yourself.
In the auto ISO setting, you can tell the camera what the minimum shutter speed will be before it bumps up the ISO setting. This is critical for when you switch focal lengths to ensure that you get a sharp image based on the reciprocal rule of shutter speeds. Manually setting the ISO is less of a pain when all you want to do is take photos though; especially since the high ISO settings are so good and you can easily stop the lens down with the ring around the lens.
In this way, you can almost embrace the Lomography way of life and just shoot and worry about everything else in post-production.
Conclusions
So is the Ricoh GXR the choice for street photography? To be honest, It really is quite good but I prefer the autofocusing of the Olympus EP3 much more. For those that love to manually focus, you’ll want to get your hands on this camera vs a couple of others though. In fact, I’d probably recommend it over anything else when it comes to manually focusing. The image quality from this camera is absolutely stunning and right up there with the Fuji X100. However, from what I’ve seen from the Sony NEX C3, I’m a bit hesitant to say that as the C3 looks a bit more promising.
The Ricoh GXR’s image quality beats the EP3’s though; but that focusing, ergonomics, and ease of use just make it such a great little camera to carry around.
In the end, I’d recommend the Ricoh GXR to those with an investment in Leica glass that don’t want to pay for an M9-P and are happy with an APS-C sized sensor. Trust me, this one won’t disappoint. The M9-P isn’t a bad camera, the files are more like chrome film though in that they are hard to edit but deliver wonderful colors. The metering is also wonky. It lost in our showdown.
Indeed, with training and careful attention to details, it is an excellent tool for street photography.
You can get the units at these locations by clicking the links below:
A12 Module: B&H
Leica 50mm f2 Summicron: B&H or eBay
Voigtlander 12mm f5.6: eBay
Leica 50mm f2 collapsible: eBay
Leica 35mm f3.5: eBay
Leica screwmount to M mount adapter: eBay
Please Support The Phoblographer
We love to bring you guys the latest and greatest news and gear related stuff. However, we can’t keep doing that unless we have your continued support. If you would like to purchase any of the items mentioned, please do so by clicking our links first and then purchasing the items as we then get a small portion of the sale to help run the website.


