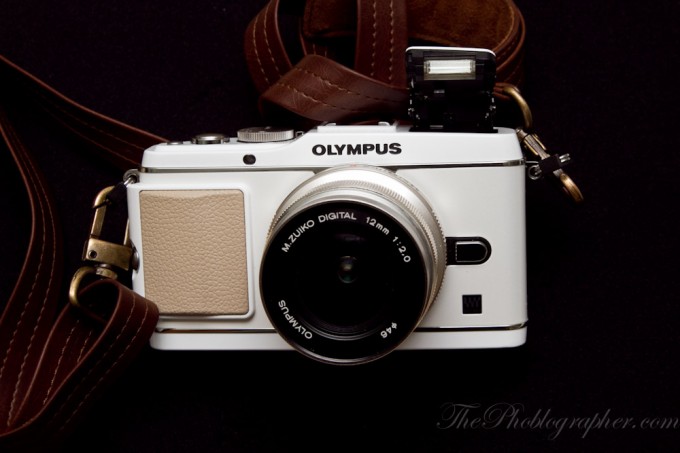
Last Updated on 07/31/2011 by Julius Motal
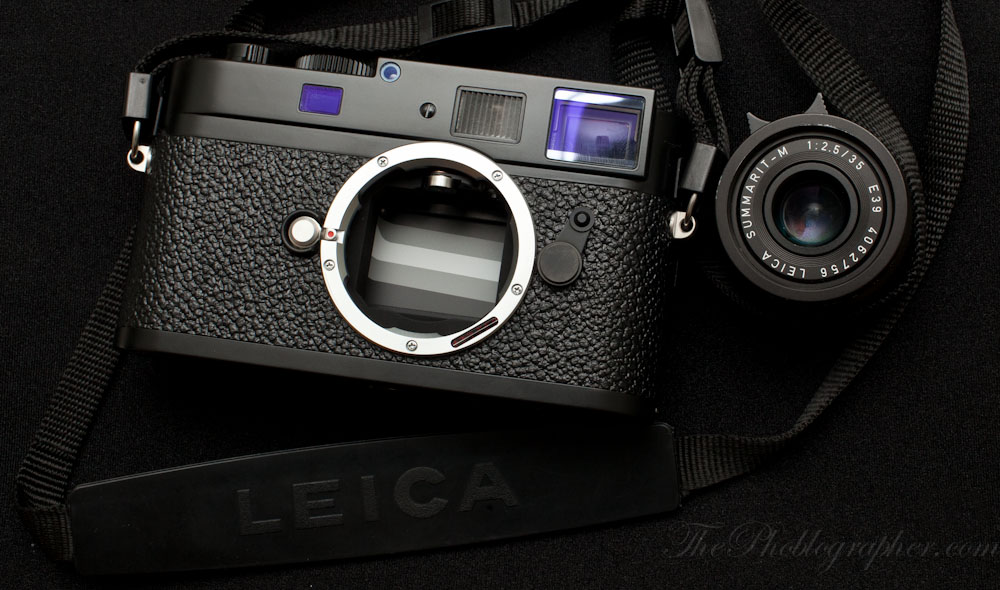
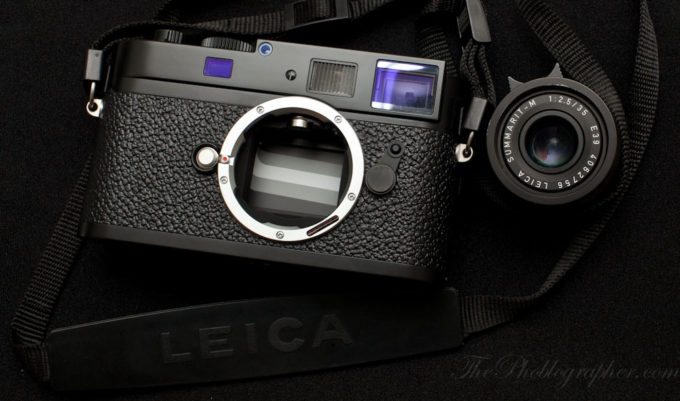
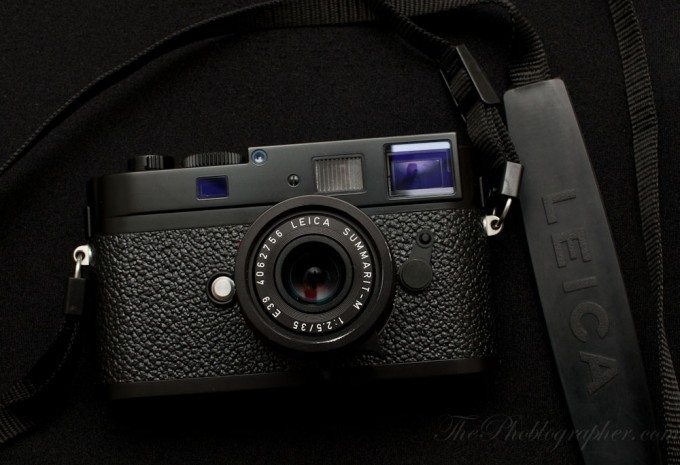
Though the differences from its predecessor are extremely minor, something compelled me to review the Leica M9-P(or M9P, M-9P as the interwebs call it). Perhaps it’s the recent reawakened love of street photography from inspirations like Eric Kim or my co-worker Brian who runs La Pura Vida. Either way though, the timeless classic ended up in my hands. I’ve previously reviewed the Leica M9 and the Leica M7: both of which I felt were excellent image capturing devices. However, I’m a slightly older, much more experienced photographer than I was before. Is the M9-P a work of art or is it just an expensive doorstop?
Tech Specs
Specs borrowed from B&H’s listing of the M9-P. Also tested with this camera was the Leica 35mm f2.5 Summaritlens.
| Camera Type | Digital rangefinder |
| Lens Mount | Leica M bayonet With additional sensor for 6-bit coding |
| Sensor | 18.5Mp (5270 x 3516) CCD 18Mp active area – 23.9 x 35.8mm / 5212 x 2592 |
| Resolution | DNG (RAW): 18Mp (5212 x 3472) JPEG: 18Mp (5212 x 3472); 10Mp (3840 x 2592); 4.5Mp (2592 x 1728); 2Mp (1728 x 1152); 1Mp (1280 x 846) |
| Formats | DNG (RAW), JPEG |
| File Size | DNG (RAW): 18MB (compressed); 36MB (uncompressed) JPEG: 2-10MB |
| Color Spaces | Adobe RGB, sRGB |
| White Balance | Auto, manual, 7 presets, color temperature selection |
| Memory | SD – up to 2GB SDHC – up to 32GB |
| Languages | German, English, French, Spanish, Italian, Japanese, Traditional Chinese, Simplified Chinese, Russian |
| System Requirements | Windows 7, Vista, XP Mac OS X 10.6 |
| Exposure Metering | TTL, center-weighted |
| Metering Range | f/1.0 to 32 |
| Sensitivity | ISO 160-2500 |
| Exposure Mode | Manual; Aperture priority |
| Exposure Compensation | +/- 3 1/3 EV in 1/3 steps adjustable on SCA-3501/3502 adapter; On Leica SF 24 D, +/- 3 EV in 1/3 steps with computer control, or from 0 to -3 EV in 1 steps; On Leica SF 58 adjustable in all modes of +/- 3 EV in 1/3 steps |
| External Flash Connection | Via hot shoe |
| Sync | Optional on 1st or 2nd shutter curtain |
| Flash Synchro Speed | 1/180 |
| Viewfinder | Large, bright-line frame with auto parallax compensation Diopter adjusted to: -0.5 dpt; Correction from: -3 to +3.0 dpt available Image framing: By activating 2 bright-line frames; Auto activation when lens is attached Enlargement: 0.68x Large basis rangefinder: Split or superimposed image shown as a bright field in center of viewfinder image Effective rangefinder base: 47.1mm (actual: 69.25mm x 0.68x viewfinder enlargement) |
| Display | 2.5″ color TFT LCD with 230,000k pixels |
| Shutter | 32 seconds to 1/4000, bulb Microprocessor controlled, metal blade shutter with vertical movement |
| Interval | 2 pictures / second (up to 8 seconds) |
| Self Timer | 2, 12 seconds |
| Power | Lithium-ion battery, 3.7V, 1900mAh Charger: Wall outlet – 100-240VAC, 50/60Hz ; In vehicle – 12/24VDC (output: 4.2VDC, 800mA) |
| Tripod Mount | 1/40″ DIN |
| Interface | mini USB 2.0 |
| Operating Temperature | 32 to 104°F / 0 to 40°C |
| Dimensions | 5.5 x 3.1 x 1.5″ / 139 x 80 x 37mm |
| Weight | 20.6 oz / 585g With battery |
Upgrades
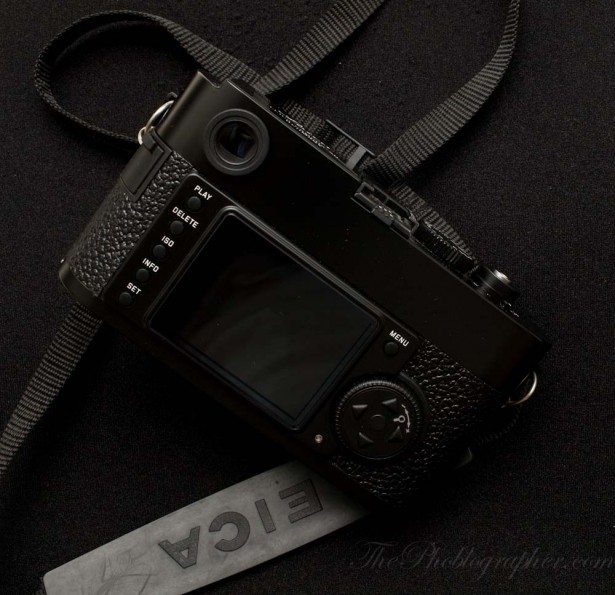
– The Leica M9-P features a sapphire glass LCD screen. This screen is the same type of glass used in your expensive Rolex or Fossil watches. It helps to make viewing easier and clearer.
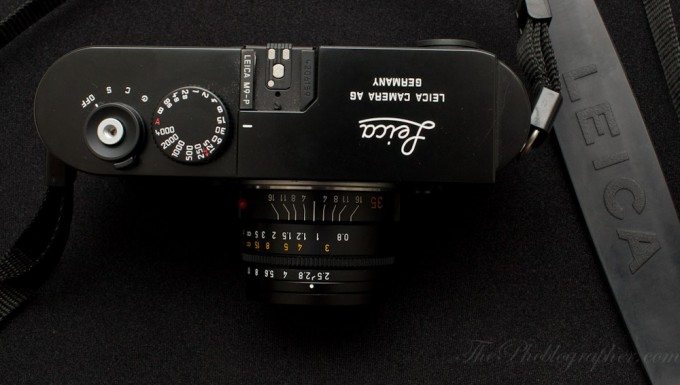
– The red dot is gone from the front of the camera as is the Leica logo on the front. The logo has been moved to the top.
– The leather exterior now makes for easier gripping.
And that’s it.
Ergonomics
The Leica M9-P is best held with the strap wrapped around your wrist or with the strap slung around your torso. This way the camera is secure and can quickly be brought up to your eye for easier and faster focusing. And trust me, you’ll need it since this camera manually focuses.
The top of the camera is characterized by a simple layout. You’ve got the shutter speed dial, the shutter release, an on/off switch which is also the drive mode, and a hot shoe. Plus, you now have the spiffy Leica logo engraved up top. This will remind Leica veterans of the older cameras.
The back is the same as the M9. Here you have all the buttons on the left side of the screen with the exception of the menu button on the top right side of the screen. To the lower right hand side of the screen is the directional setting keypad and a setting dial. Canon users will feel right at home with the dial.
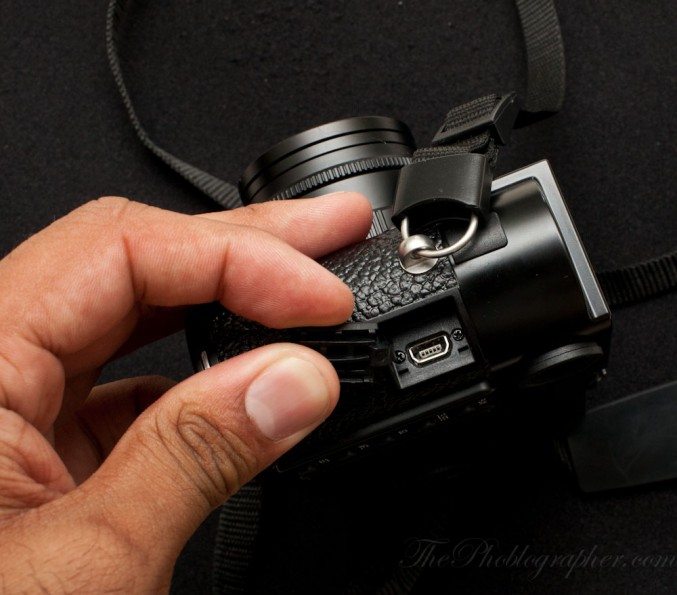
On the side, you have the only port on the camera: a USB 2.0 port. To be quite honest, I never used it because the damned rubber cover was too difficult to open at times.
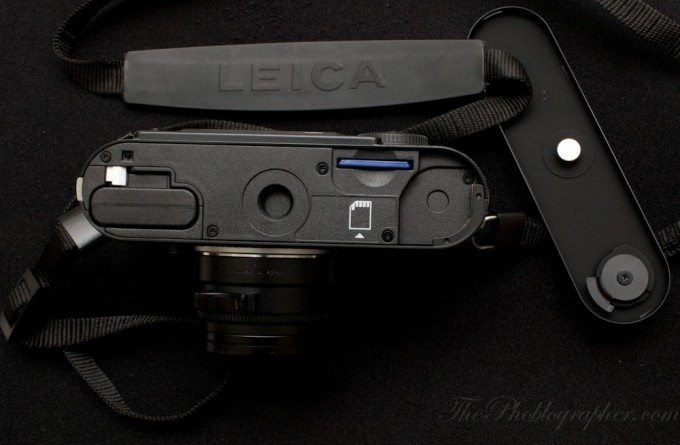
Instead, I went in through the bottom of the camera. Here houses the SD card slot and the battery. To upload my images, I’ve found it much simpler to just removed the bottom plate and take out the card.
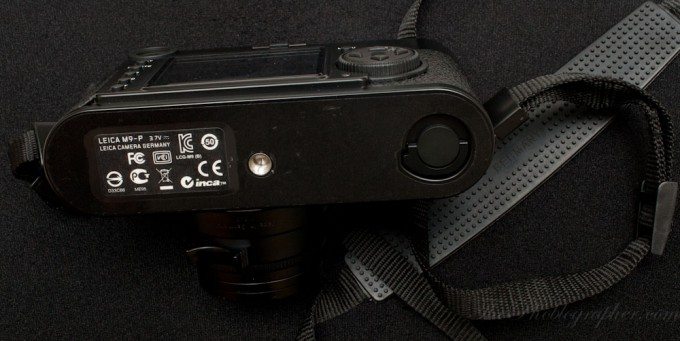
Leica veterans will also appreciate the fact that the bottom plate is just like the older cameras. In the previous film models, this was how you unlocked the back panel to switch out the film.
Focusing
We’ve got a whole posting here on how a rangefinder focuses. The Leica M9-P focuses the same way. If you’re familiar with rangefinder focusing, move on with the rest of the review.
Metering
Remember back in the film days how we would use the Sunny 16 rule of photography to get our images? Then, electronic metering came along.
Perhaps my biggest beef with the Leica M9-P is one that I’ve found to be absolutely unacceptable for the amount of money that you’re paying: the absolutely deplorable metering. This test was done a number of times and in different lighting situations, but I’m going to show you one example. In fact, getting the metering right and truly understanding how to work with it was figured out in the NYC subway system—an area with not much light at all.
The rules of Sunny 16 work with any other camera: DSLR, rangefinder, EVIL camera, you name it. It works. But take a look at this and feel free to download the images and peek at the EXIF Data.
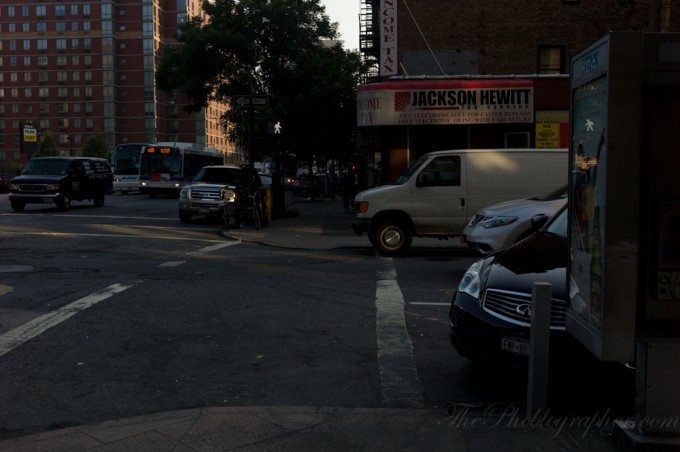

The secret to using this camera is to overexpose by at least a stop, no matter what. Only then will you be able to get the wonderfully vibrant colors that the Kodak sensor is capable of. Additionally, don’t ever trust Aperture priority on this camera. Always manually meter and overexpose.
Granted, you can set the camera to activate exposure compensation, but you’re still best off working for the image yourself.
To take the best advantage of this camera’s sensor, pay attention not only to the characters around you in your environment, but also to the lighting. You’ll often sit there guessing what exposure to set the camera at. Indeed, you’ll see that you’ll get your best images with f-stops wider than f5.6.
These metering methods are very important to street photographers and documentarians: the people that this camera is targeted towards.
With all this said though, know this: when you nail that exposure, it’s like angels are singing to you. Because of this, I believe that shooting the Leica M9-P is akin to shooting with Chrome film.
Image Quality
Once you nail the exposure and the focusing, you really can’t complain about the Leica. It will reward you with mesmerizing images with wonderful colors and skin tones that will make you want to reach into the photo and touch the person.
Of course, the images won’t look that way on the LCD screen and for the life of me, I can’t figure out why Leica didn’t take the screen from something like the cheapest Canon Powershot camera and slap it on. It would’ve been much better than the current one. In fact, the current one will make you believe that you didn’t nail the image at times—rendering the images too dark most of the time or sometimes even too bright. For the best results, reading the histogram will become your mainstay. Also be sure to shoot RAW.
No matter what, you’ll find that every photo will need to be edited but may not necessarily need the same amount of editing as say Canon, Nikon, Fuji, or Olympus. This is perhaps one the Leica M9-P’s main strengths.
The color accuracy of the DNG RAW files is very, very accurate. However, the files don’t have a lot of latitude when it comes to editing. This is a huge bummer as many other digital cameras in this price range have amongst the highest dynamic range, color depth, and high ISO capabilities.
Another reason why you often want to overexpose is because of the fact that you can then tell the file that you’ll want to create a more muted image or one with super vibrant colors.
Another problem with the images (and this is more of a personal preference) is that they don’t at all look film-like. This is sad because the camera utilizes a 35mm full frame sensor specially developed by Kodak—a legendary company in film creation! I’ve been shooting lots of film as of late with Portra being a favorite of mine. And from the images, I can’t see why I’d purchase a Leica M9-P vs something like the M7, a great lens, and rolls of Portra. The images you’ll get from it are well worth the money and if you know what you’re doing in terms of metering and can find a good processing location, you’ll see that shooting film is very rewarding.
As stated earlier, you’ll also get the best colors and images from the lens being shot wide open. This is a major bummer for some street photographers using the hyperfocal length style of shooting.
Indeed, as with all street photography, you’ll just need to accept that you won’t always nail the shot perfectly or just the way you want it.

On the flip side though, the color balance is super accurate and very true to life. It rarely (if ever) needs tweaking.
In Use

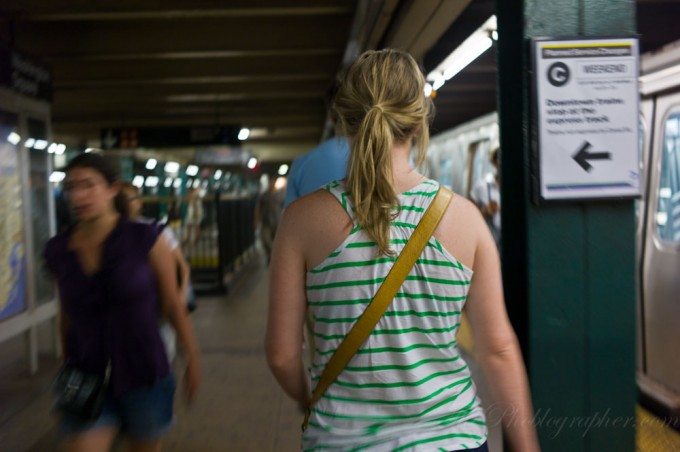
Because the camera is actually fairly large (not much smaller than my 5D Mk II), good idea to capture photos can sometimes be to not put the viewfinder up to your eye. You can see this in my reflection in the window right next to the woman.

That’s an acquired skill though, and you’ll need to think like the focal length. Imagining what you’ll get and positioning the camera in the right spot and the focusing out using the distance meter can be a task at first until you get it right. The key is to keep experimenting.
Another problem of mine is the super loud shutter sound. Most people around you don’t seem to notice it, but there is no reason why a camera needs to be this loud? It sounds like a miniature garbage truck is lifting a miniature dumpster. The reason for this is because the shutter needs to recock.
Sure, you can use the Quiet and Discreet mode, but the sound shouldn’t be there to begin with. This mode softens the shutter sound (though not noticeably) and discreet only recocks the shutter when you let go of the shutter button. Note that this isn’t work in continuous shooting mode for obvious reasons.
Note that people won’t hear the shutter when there is lots of noise going on such as on a train or at a party. When I snapped this photo, he was not only in deep thought, but there was a concert going on and the girl I was with was distracting him because she was bringing beers back for us.
That harkens back to one of the pinnacles of street photography, capturing candid moments. And for what it is, the Leica M9-P does a good job in the right hands.

If you’re going to shoot by not looking through the viewfinder though, then you’ll actually want something more out of this camera. A top LCD screen would help tremendously because you’d be able to see the meter readout easier. A good idea when exposing is to overexpose your image just a tad or do the opposite. The image above was underexposed and then brought up in post to have this wonderful look.
Dynamic Range
Here is a photo that was blown out really badly. Can it be saved?
If you don’t mind your images looking a bit like they’re from a lomography camera, sure they can. Granted the sensor is once again not as versatile as those from the likes of Canon, Sony or Nikon.
Once again, metering with this camera and getting the exposure properly balanced for a better histogram readout is an art in and of itself.
High ISO
I’ll be very frank with you, the high ISO settings on this camera aren’t pretty. There is color noise abound that you’ll have to work carefully to process out. And easier option would be to convert to black and white, but not everyone wants to do that all the time.
The good thing though is that the noise looks very film-like, so you can embrace that, add more film grain in post, and make it look like an old time photo. Indeed, the images will bring out the artist in you to work with what you’ve got.
Overall though, I can’t help but understand why Leica chose to use a CCD sensor vs a CMOS. Don’t get me wrong, CCD sensors can do great work. One of the reasons why they said they went with a CCD is because you can get sharper images from them without a special filter on it.
But CMOS has been proven to do better at high ISOs. Additionally, Leica’s lenses are more then sharp enough to make images from a CMOS sensor look amazing.
VS the Fuji X100
So with this review, there is officially another point of view on the internet about whether one should choose the Fuji X100over the M9.
Choose the M9 if:
You want interchangeable lenses
You want better build quality
Choose the Fuji X100 if:
You want a lighter but tough option
You want better image quality
You don’t mind the 35mm focal length
You want to be able to focus closer than around 3 feet away. Rangefinders are limited.
You don’t want to sell your car, your wife, your house and your dog.
I’d choose the Fuji X100 any day, and get it from B&H or Amazon.
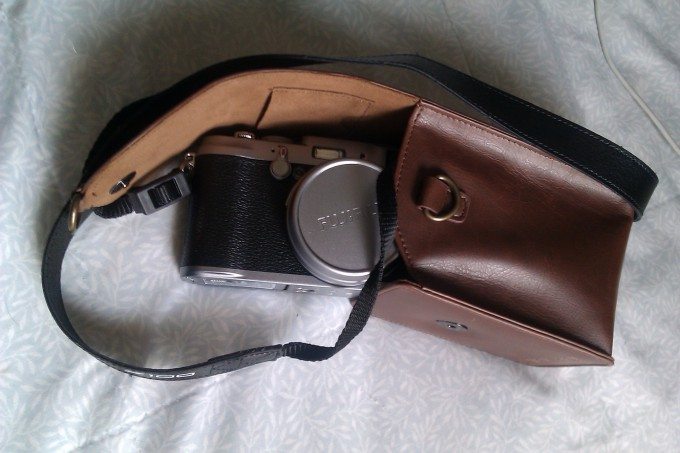
In the end though, I ended up choosing the EP2 over the X100 though the camera helped to reteach me things about street photography.
You can read the full Fuji X100 review here.
VS the Canon 5D Mk II
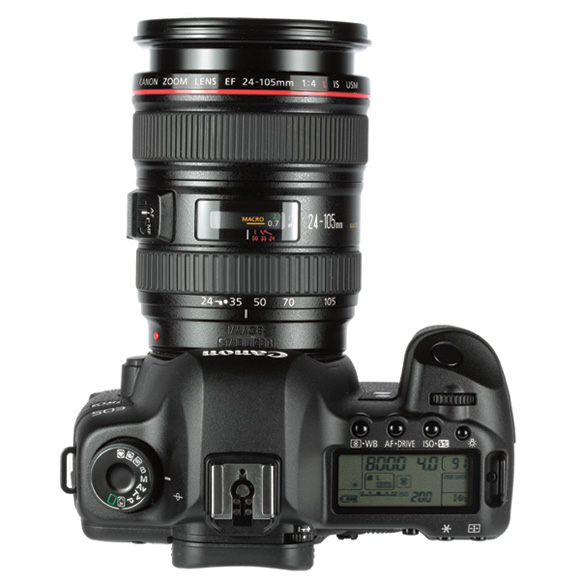
The Leica M9-P was designed for photojournalistic work and street photographers. That’s the same thing that many photographers use the Canon 5D Mk II for (and lots more).
At the price point, I cannot help but recommend the Canon 5D Mk II over the Leica M9-P. You’ll get better image quality, HD video, a very tough camera body, and access to much more affordable lenses. Since being released years ago, the Canon 5D Mk II is still seen as a force to be reckoned with in the photography industry. I’ve almost never heard the same said about a Leica in the digital age; at least not yet.
VS the Olympus EP3
The latest addition to the Pen line of cameras is a formidable but gorgeous beast. It has great image quality, some of the fastest focusing I’ve seen, and is the most affordable of the competitors I mentioned. Plus, if you have Leica lenses, they can be adapter onto the camera very easily.
Once again, this battle goes to the Olympus EP3. Though the Leica is a wonderful camera, I can’t justify purchasing it for almost $10,000 (or 8k at some places) and then have to imagine having to purchase lenses.
You can read my full Olympus EP3 review here.
Conclusions
The Leica M9-P is a wonderful piece of gear; but should not be at the price point it is at. If the camera were around $3,000, it would be very reasonable and they would sell like hotcakes with bacon on them. Unfortunately though, the camera is only a dream to many.
To the photographer that wants that old school feel of things, the Leica is for you. If you’re a current M9 owner, it isn’t worth the upgrade for you. To be quite honest, even if I shot with a Leica film camera like the Leica CL, Leica M7
or Leica MP
I probably wouldn’t purchase it for the sole reason that there are some magnificent films out there. Sure you need to develop and scan, but you also save loads of money. Think I’m crazy? Think of it like this: can you make that $10,000+ that you’re spending on the Leica M9-P back from using that camera? If not, does the processing of film and the expense of a Leica M7 sound more affordable to you? Most people would say yes because they understand that in the end it is the photographer that creates the images.
And in the end, I believe that the Leica M9-P puts up a good fight, but I cannot recommend it despite my admitted love for all things Leica and my deep respect for a company that steadfastly holds true to their traditions and core values.
Please Support The Phoblographer
We love to bring you guys the latest and greatest news and gear related stuff. However, we can’t keep doing that unless we have your continued support. If you would like to purchase any of the items mentioned, please do so by clicking our links first and then purchasing the items as we then get a small portion of the sale to help run the website.


