
Last Updated on 03/10/2013 by Chris Gampat
There are some photographers that will only shoot in natural light. Indeed, when my good friend Jason tested out a Hasselblad H4D, he shot with his own natural light studio. If you want to take the minimalist approach, here are a couple of tips on how to do just that.
Reflect The Right Color
")
Reflectors can come in handy big time when it comes to shooting in natural light. The best are the ones that balance portability with versatility, like the Impact 5-in-1 Reflector. These reflectors have different configurations that will add subtle but noticeable differences to your portraits:
– Transparent reflectors can diffuse incoming light to soften it and help accentuate some of the natural and beautiful colors. Use this in harsh sunlight and teach it whose boss!
– Silver reflectors will bounce a cooler toned light onto the subject to help fill in the shadows under the eyes, neck and other areas that will prevent the person from not liking the photo (and therefore asking you to delete it). Metallic linings (like silver) makes the diffused or reflected light harder. In effect, it adds more more contrast than a solid white lining on a reflector.
– White linings will reflect more neutral lighting.
– Gold reflectors will reflect extremely warm lighting onto your subject. Now, depending on skin tones, wardrobe, and the exact look, this may or may not be what you want. Try it out for yourself.
– Soft Gold (aka Gold and Silver mix) will do the same as a gold reflector but much more subtle. Think of it as dialing in an intensity level.
Some reflectors also have black lining to totally block the light.
At this point, I should mention that this all depends on the color temperature of your light to begin with. If the sun is more neutral in tone, then you’ll be working with mostly neutral light. If the sun is already warm in tone (such as around sunset or sunrise) then a good idea would be to either use the white lining or silver lining of the reflector to balance the light reflection.
Think of it like this:

Take a look at the color wheel above. Balancing the colors of light works in an inverse relationship to one another. So according to this wheel, if the sun is orangeish in color, then the best thing to do to balance out the image would be to reflect blueish light. And from this, comes the need for the silver reflector since it cools the light.
Your white balance works in the same way.
White Balance for the Primary Light
While there are so many photographers out there that would prefer to do all the white balancing in post-production, getting it right in the first place will help you to get the image ready faster for publishing to your Flickr, 500px, or other site. Since you’re using the sun, the best thing to do is to balance for that light.
I recommend using the ExpoDisk, and I have a full tutorial on how to use it here. Trust me, it will also help with the color accuracy of your images when you’re shooting them since you’re also going to be working with reflected or diffused lighting.
Sunny 16 Rule
We all know that metering is a dark art in and of itself, and not all of us have handheld light meters. To boot, many Canon and Nikon photographers often complain about the metering in their cameras. Consider something that I use to test the metering of a camera while reviewing it: the Sunny 16 exposure rule. According to this:
“To achieve a balanced exposure in bright sunlight, one will need to set their aperture to f16 and their shutter speed to the reciprocal of the ISO of their film.”
That means that in bright sunlight, you can shoot at f16 and 1/100th at ISO 100. Or at f16 and 1/500th at ISO 500.
When you’re in the shadows or other overcast situations, the rule changes a bit. In general, here it is:
| Aperture | Lighting Conditions | Shadow Detail |
|---|---|---|
| f/22 | Snow/Sand | Dark with sharp edges |
| f/16 | Sunny | Distinct |
| f/11 | Slight Overcast | Soft around edges |
| f/8 | Overcast | Barely visible |
| f/5.6 | Heavy Overcast | No shadows |
| f/4 | Open Shade/Sunset | No shadows |
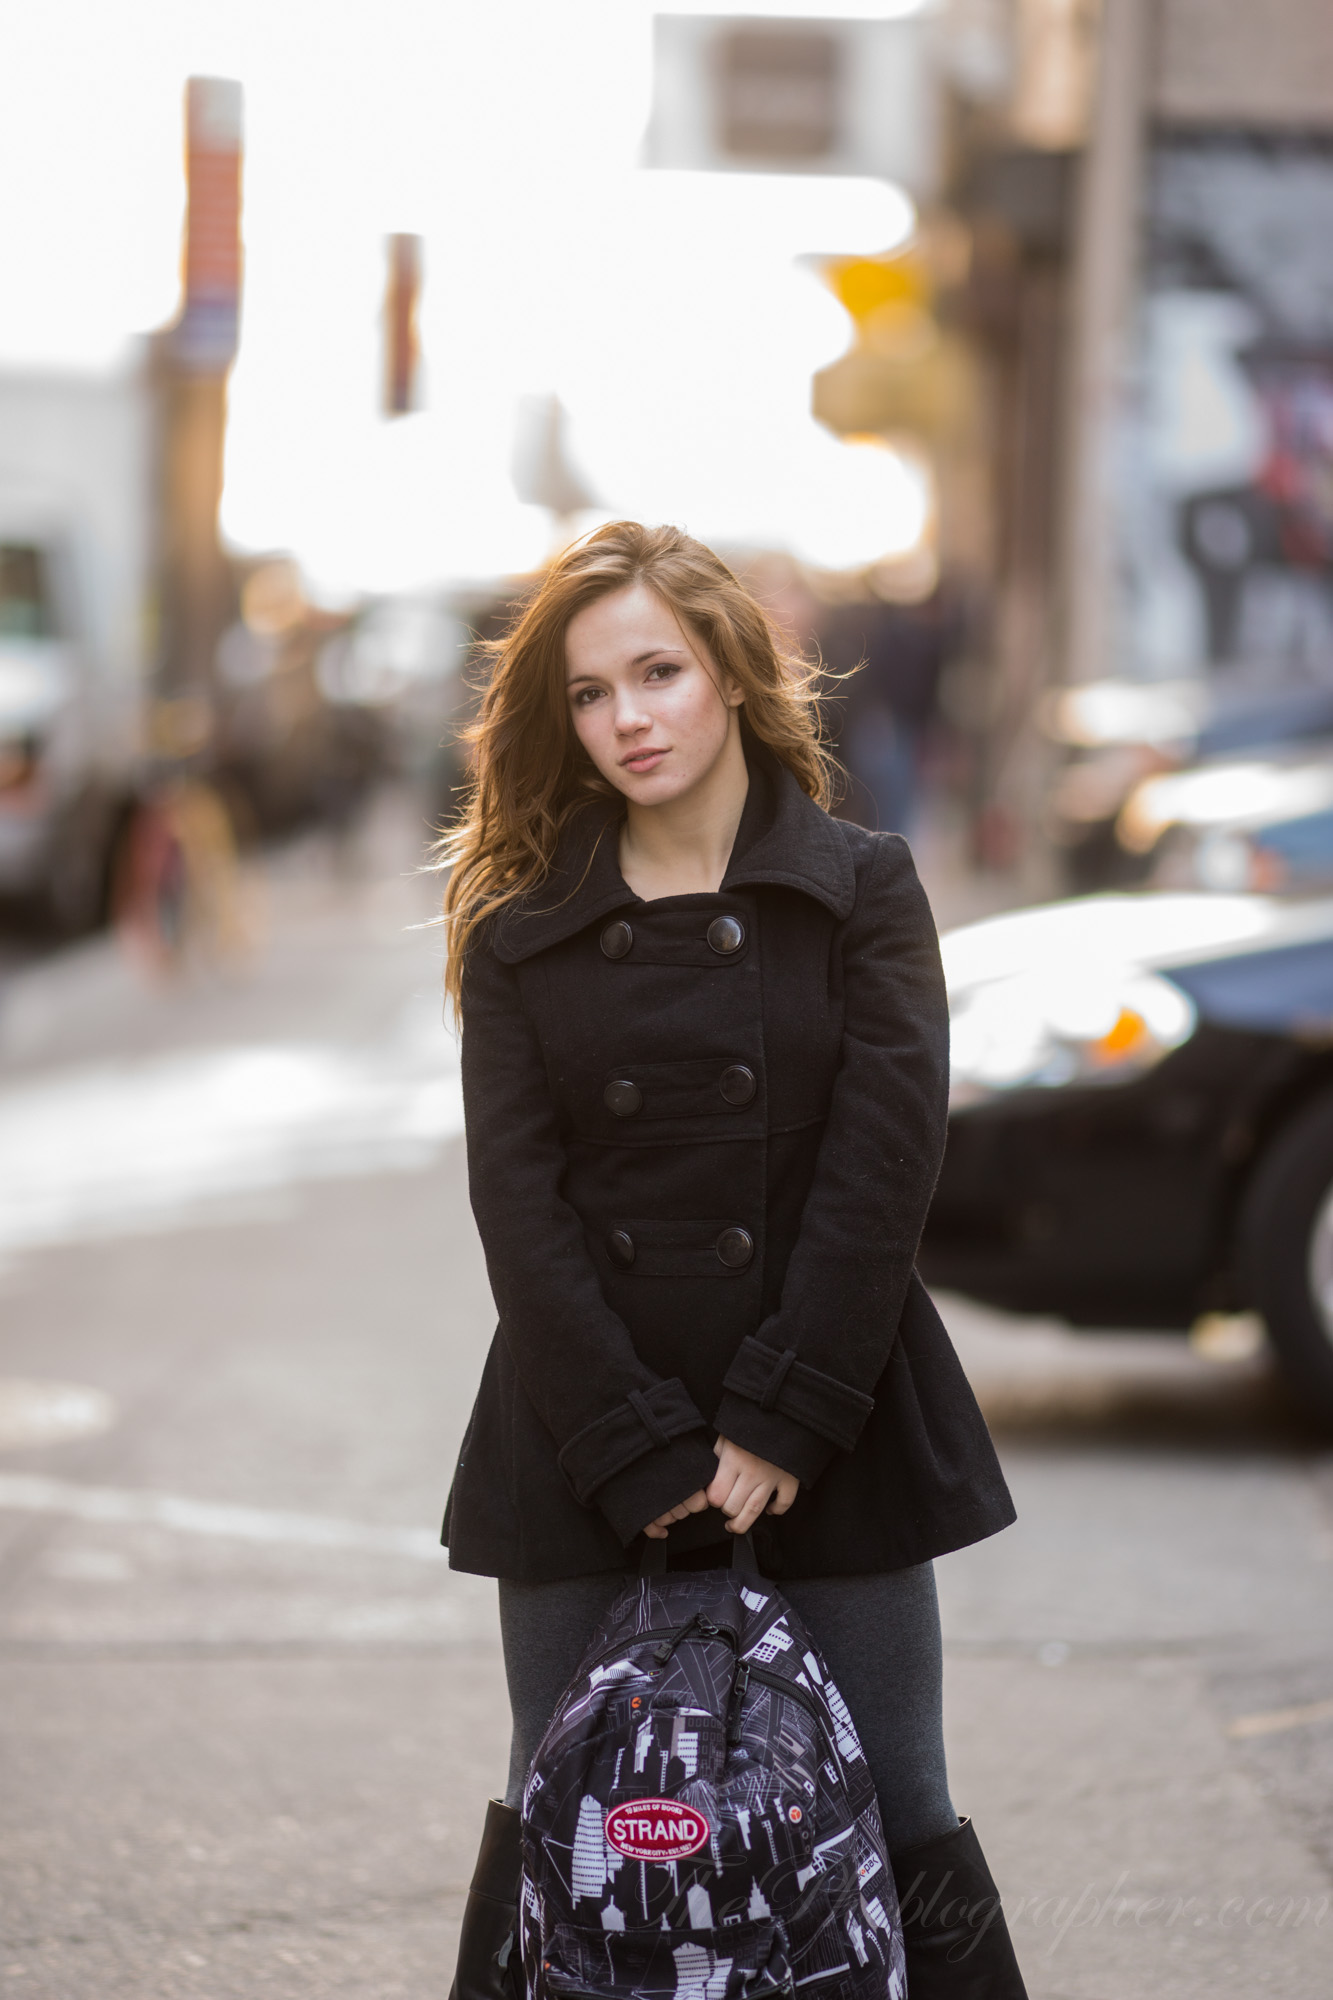
Make the Exposure of the Portrait Subject Paramount
")
If someone comes up to you and complains about how the sky is terribly blown out, turn around and smack them and tell that I told you to.
You’re shooting a portrait of someone, obviously the main focus of the photo is of the person, pet, or animal, yes? YES!!!!! A thousand times yes!
Once again, make sure that the exposure on the subject is perfect and worry about all the rest later. To be fair though, consider a bit of a balance. Sander-Martijn, the site’s Education Director, will tell you to underexpose your images a bit and bring them back up in post-production. I will tell you the opposite because I believe I get better colors when doing so.
Either way, find the method that works for you.
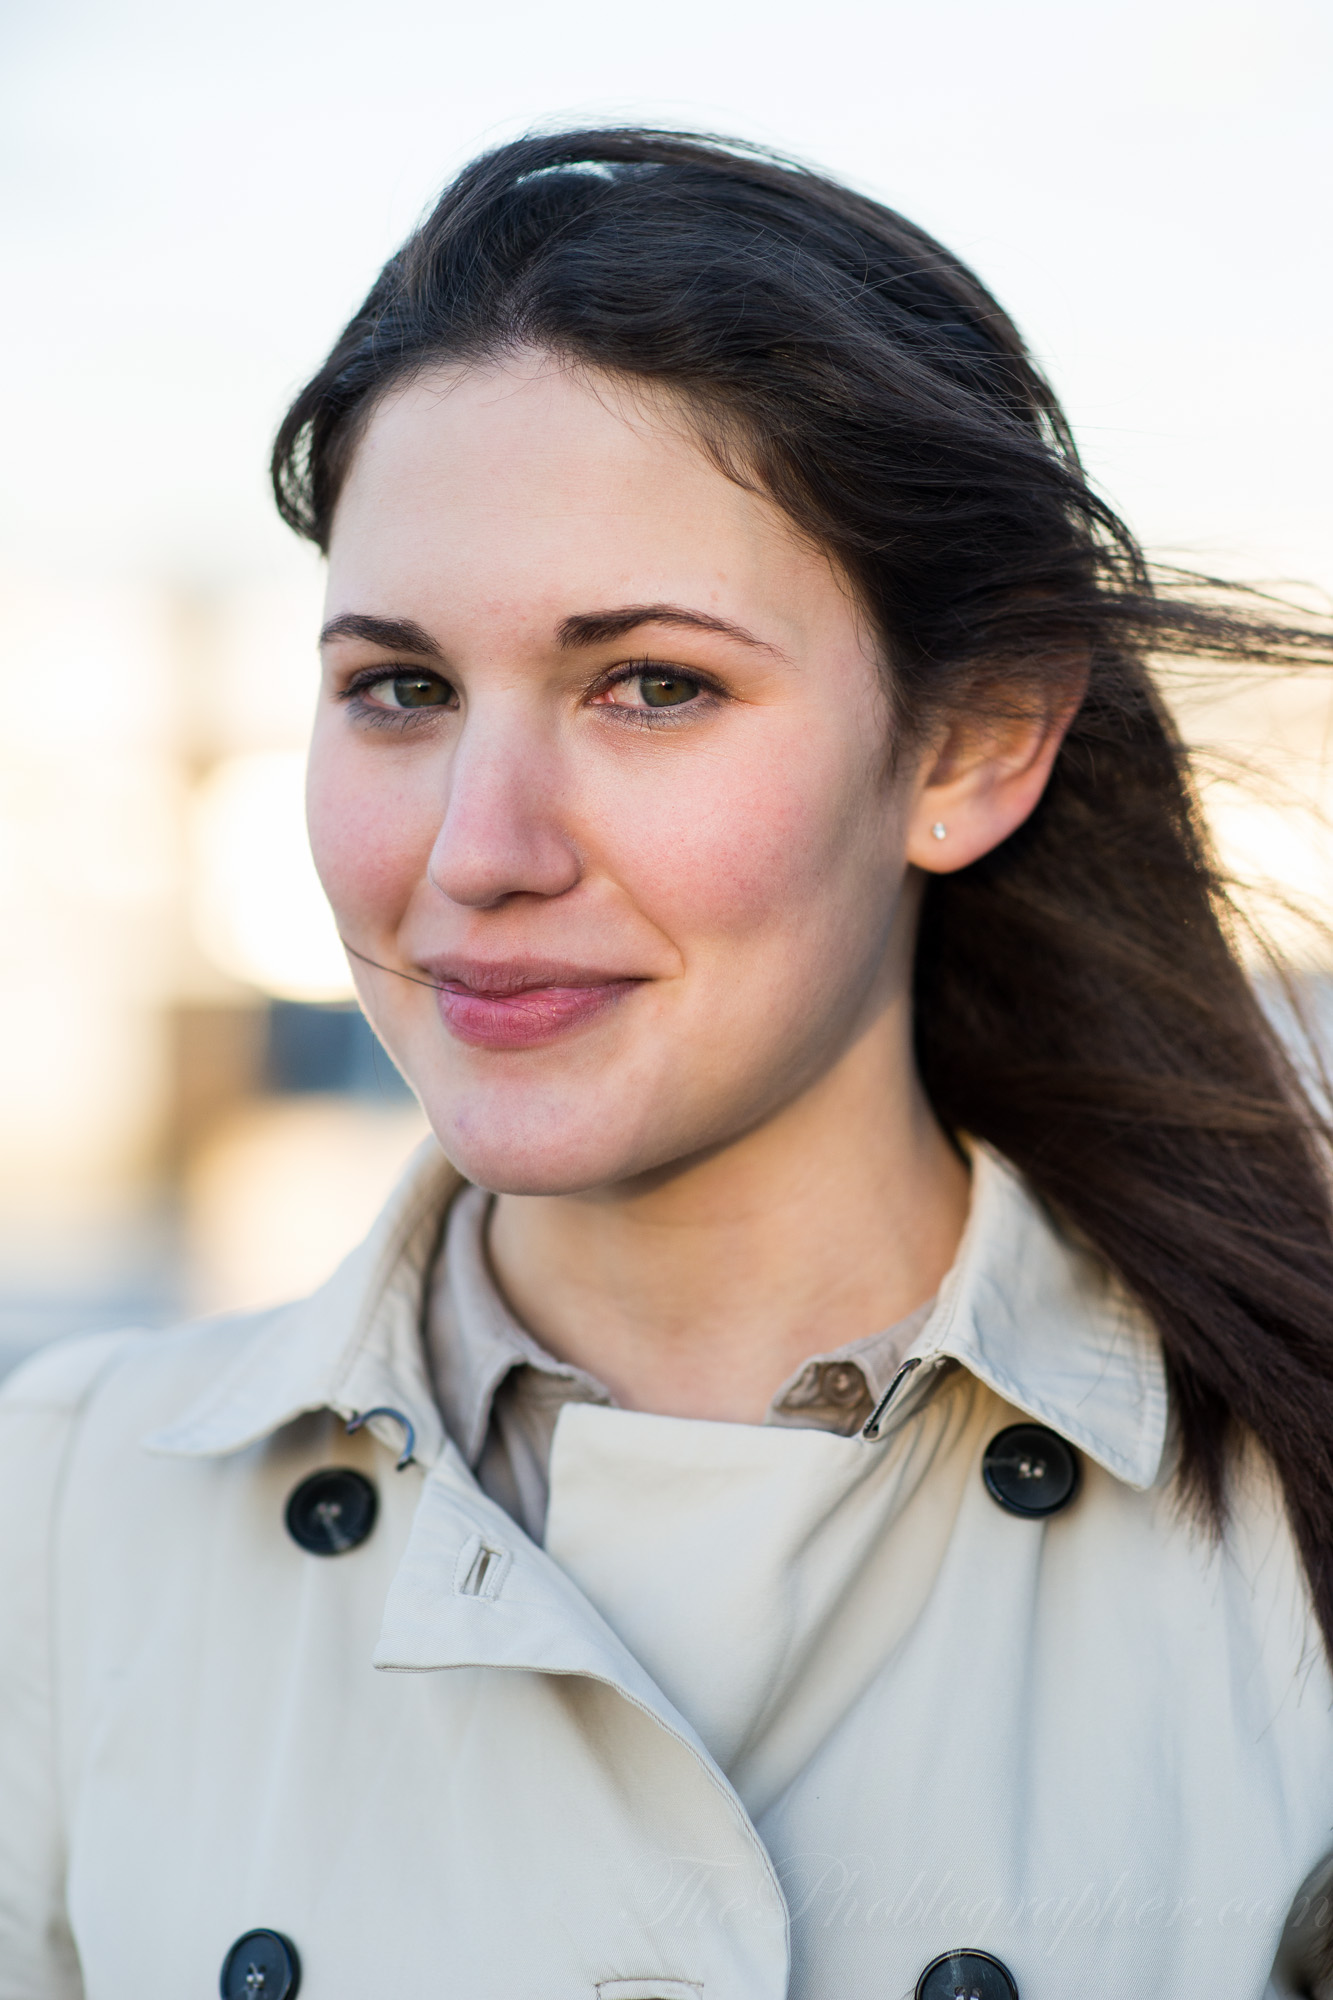
In Post-Production, Desaturate the Skin Tones
")
When you’re shooting the portrait, you’ll often see during the editing process that you’ll want to add some more saturation or vibrance to the overall image. That will also affect the skin tones. The best thing to do in Photoshop or Lightroom is to go in and desaturate the skin tones a bit to look more pleasing and natural.
Indeed, naturally gorgeous skin can make or break a portrait at times if the focus isn’t on the eyes necessarily. Seriously, think about how attractive skin can be—we’re only human!
If you have your own tips to add, we’d love to hear what you have to say in the comments below. Happy shooting!
Please Support The Phoblographer
We love to bring you guys the latest and greatest news and gear related stuff. However, we can’t keep doing that unless we have your continued support. If you would like to purchase any of the items mentioned, please do so by clicking our links first and then purchasing the items as we then get a small portion of the sale to help run the website.
Get rid of the ads!
Did you enjoy reading this article as much as we enjoyed writing it? There's a way to support us and our reporting, getting ad-free navigation and more as a bonus. Subscribe to us for less than a coffee per month —just $3.99— or take advantage of our yearly subscription with a hefty discount for only $25.- An ad-free experience
- A free mystery box for Lightroom or Capture One
- All the books in our store
- 20% discount on Capture One
- 30% discount on Imalume Photo Theft Protection
- 20% off Herbs and Kettle Tea Company.
- 20% off your order from MPIX printing services.
- 5% off Viltrox Products via their eCommerce store.
- 10% off all film developing, printing and scanning services from Blue Moon Camera and Machine
- 15% off 7Artisans products: The lens and accessory maker is offering a sweet discount for Phoblographer's readers.