Lomography recently announced the La Sardina camera, and upon going to their launch party, I bought one. It’s a gorgeous camera for the price—and that was very much so a problem to me. With that in mind, I decided to workaround some of the problems that the camera presents. Despite this, I am very well aware of the Lomography way: which is essentially to just shoot and be happy with your results. Years of being screamed at by a Pulitzer Prize winning photojournalism professor and experience in the field have taught me to make the best of a situation and to also get through problems that you may encounter. So here’s how I’m getting through mine with this beautifully flawed camera.
Tech Specs
First off, know that the La Sardina has a 22mm F/8 lens and that the shutter speed is fixed to 1/100th of a second according to the manual. It’s all plastic as well and takes 35mm film.
Hopefully, they’ll come out with an instant camera back for it.
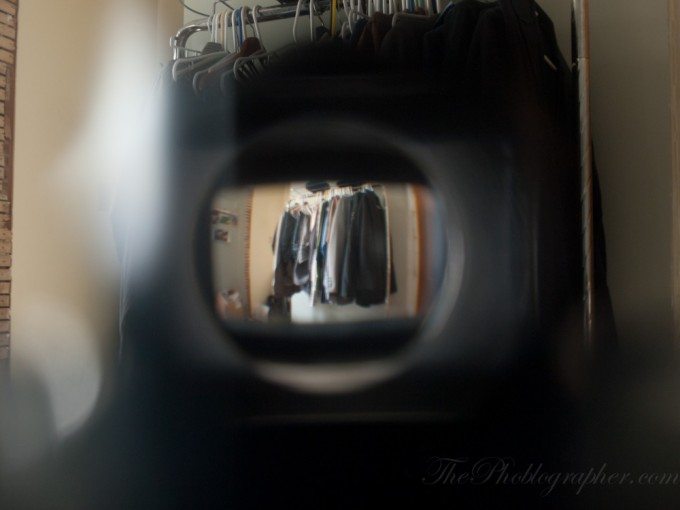
By the way, the image above is a scene from inside the viewfinder. Though I’m not sure if that’s a 100% equivalent or not. It will give you an idea of just how wide it is.
Problems
1. I loaded Tri-X 400 into it. Considering the settings of 1/100th and F/8, the only situations that I can shoot in are essentially lighting conditions equivalent to the magic hour or at twilight and dusk. Shooting in bright sunlight will yield overexposure and shooting in dark situations inside will result in heavy under exposure. Granted, it’s black and white and it’s a Lomo camera.
My other problem is that I have a vision for each image I take and I want to turn each one into a little piece of art if I can.
2. The shutter speed and F-stop are locked into those settings and cannot be changed unless I really hack into the camera.
3. The camera is gorgeous and could attract more attention than I’d like.
4. The closest focusing is around 1 and a half feet if I understood the manual correctly.
Solutions and Workarounds
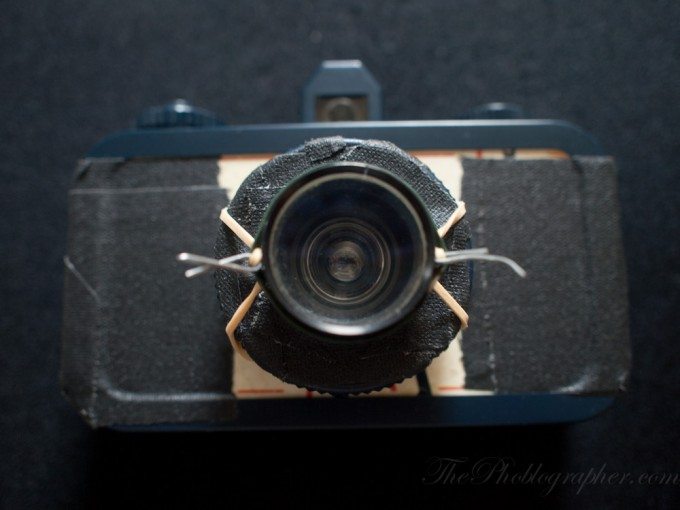
The person that said that Gaffers Tape is a photographer’s best friend wasn’t joking. Indeed, I Gaffers Taped the hell out of this little camera.
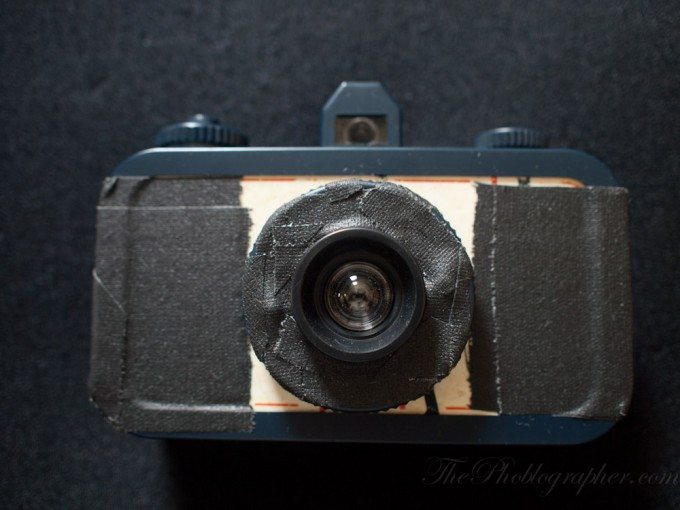
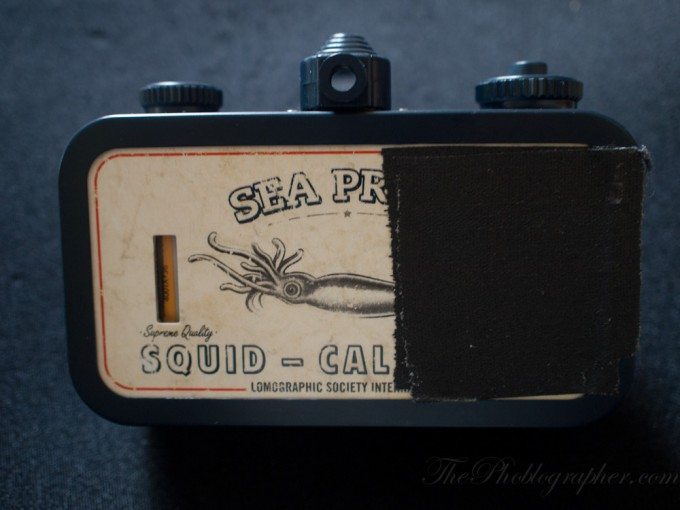
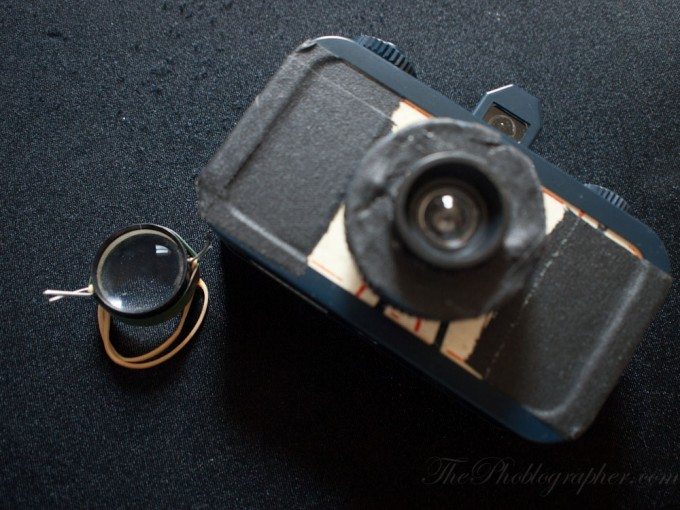
I first noticed that when I hold it, the camera is very smooth and could easily slip out of my hand. I’m trying to figure out a way to attach a strap onto the camera (and believe I’ve done so) but in the mean time I thought that I’d use textured Gaffers Tape around it. So now that it’s on the back, my thumb has a textured area to help grip the camera better. Said tape is also around the front as you’ve already seen.
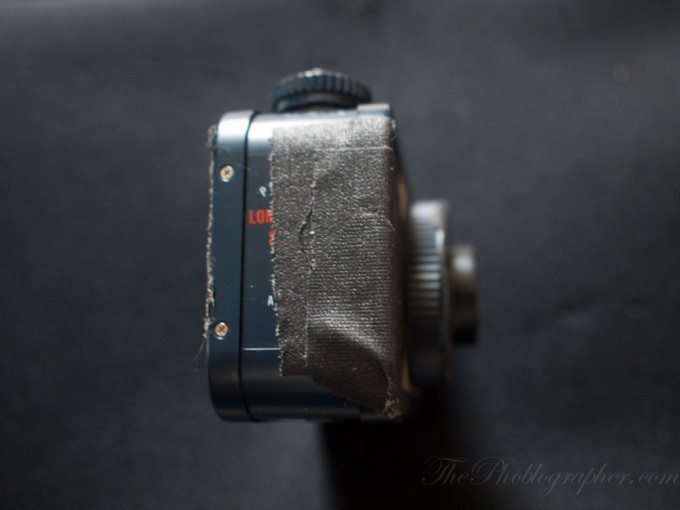
Besides the front and back, the tape is also on the side of the camera so that when my fingers go around the body, I’ll have a little bit more extra gripping power.
Plus, this all helps to make the camera look even older so nobody will try to steal it.
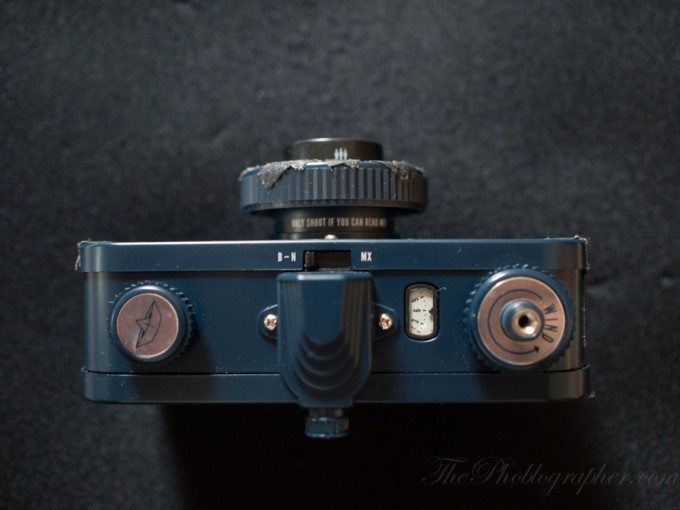
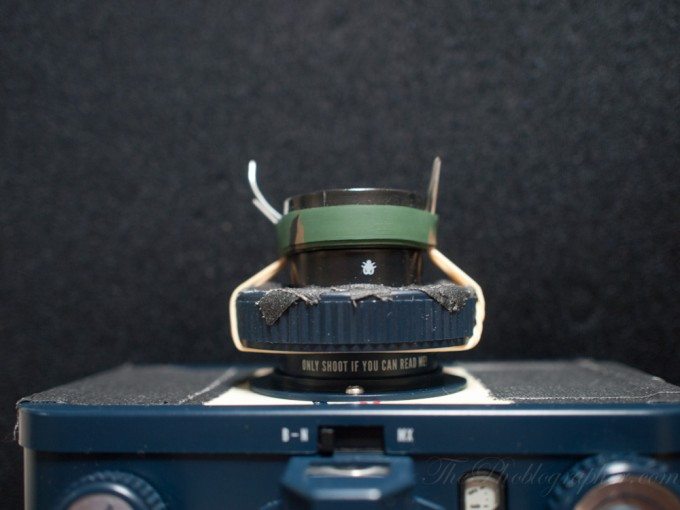
When you put the Gaffer’s tape on, I’d recommend keeping it off of the top of the camera for the reason that there are some very important things to the camera’s functionality on top. For example, the film counter is there, as are the advance, rewind, shutter release (with a wired release mount), viewfinder, and setting for bulb/normal to multiple exposure shutter recock.
A little bit of a problem here that I haven’t dealt with yet because my film is already advanced a bit is the fact that the back cover is coming off a tiny bit. I’m not sure if it’s enough to invite light leaks, but we’ll see.
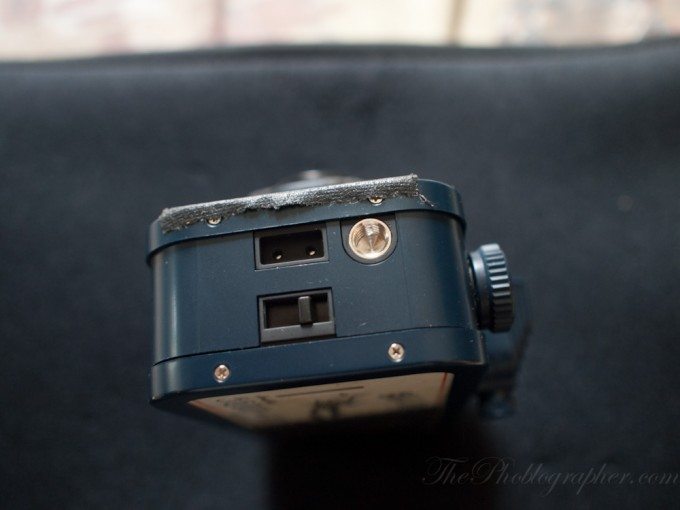
The tripod socket there is where I will probably attach my strap when I put it on. Those other areas are for the flash and for the user to pop the camera’s back open.
Besides the grip issue, there is also the fact that I’d love to get even close to my subjects at times. For that I turned to an old friend of mine: binocular lenses.
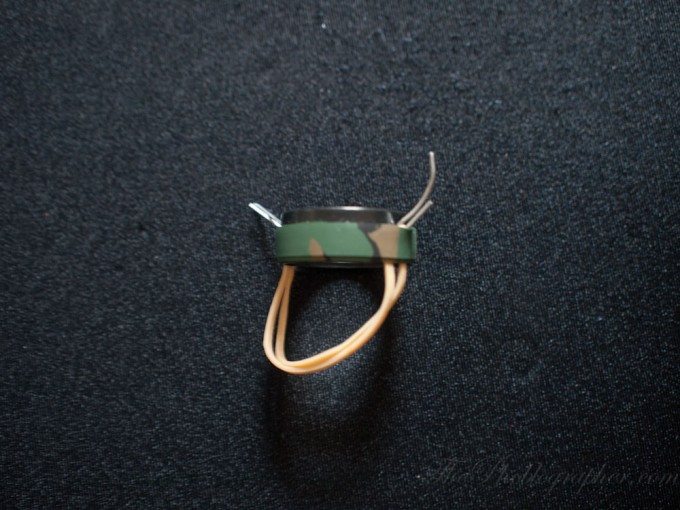
Years ago when I was an intern at PCMag.com, I took the binocular lenses and put them on a Flip camera. When I did that, it got very sharp and had macro focusing abilities. All I did was:
– Took a binocular lens
– Wrapped a plastic ring around it (cut off from the binocular)
– Bent a rubber band in half and put bent paper clip pieces at each end
– Slipped the paper clip ends into the plastic ring
– Placed around the camera’s lens and I was ready to shoot.
So after cleaning it off a bit, I took the old lens and placed it around the front of La Sardina. I’m not sure how the results will look, but I’m very excited to see how they come out and what will happen.
The great thing is that the camera still stays very compact and I didn’t have to pay a cent to get some closer focusing. Nor did I need to hack the lens a bit.
I’m positive that I’ll be getting some light loss, but that would be a good thing since I have ISO 400 film in there. If anything, I’d probably take some neutral density glass and tape it to the front of the lens to cut down even more light and therefore hopefully give me a more balanced image.
A full review is coming from this camera, but this is how I’ve hacked mine. If you’ve hacked your camera, we’d love to hear about it in the comments below.
Please Support The Phoblographer
We love to bring you guys the latest and greatest news and gear related stuff. However, we can’t keep doing that unless we have your continued support. If you would like to purchase any of the items mentioned, please do so by clicking our links first and then purchasing the items as we then get a small portion of the sale to help run the website.


