The Kelvin Pimont Lightroom Brush Presets are only one part of the 5 Day Deal, and they seriously surprised me.
Years ago, I used to create all my own Brush Presets in Lightroom. So I never took all the on-market ones very seriously. But the Kelvin Pimont Lightroom Brush Presets are some of the first that I’m genuinely impressed with. The cool thing is that they make Lightroom even easier to use. Better yet, they’re well-tailored to the hobbyists and the photographers who don’t want to do a ton of editing. These are something Capture One only wishes it had. What’s more, they saved me a lot of time and headaches. Rather than playing with the brush adjustments back and forth for a while until I became bleary-eyed, the preset brushes just worked. I’m incredibly impressed.
A Preface
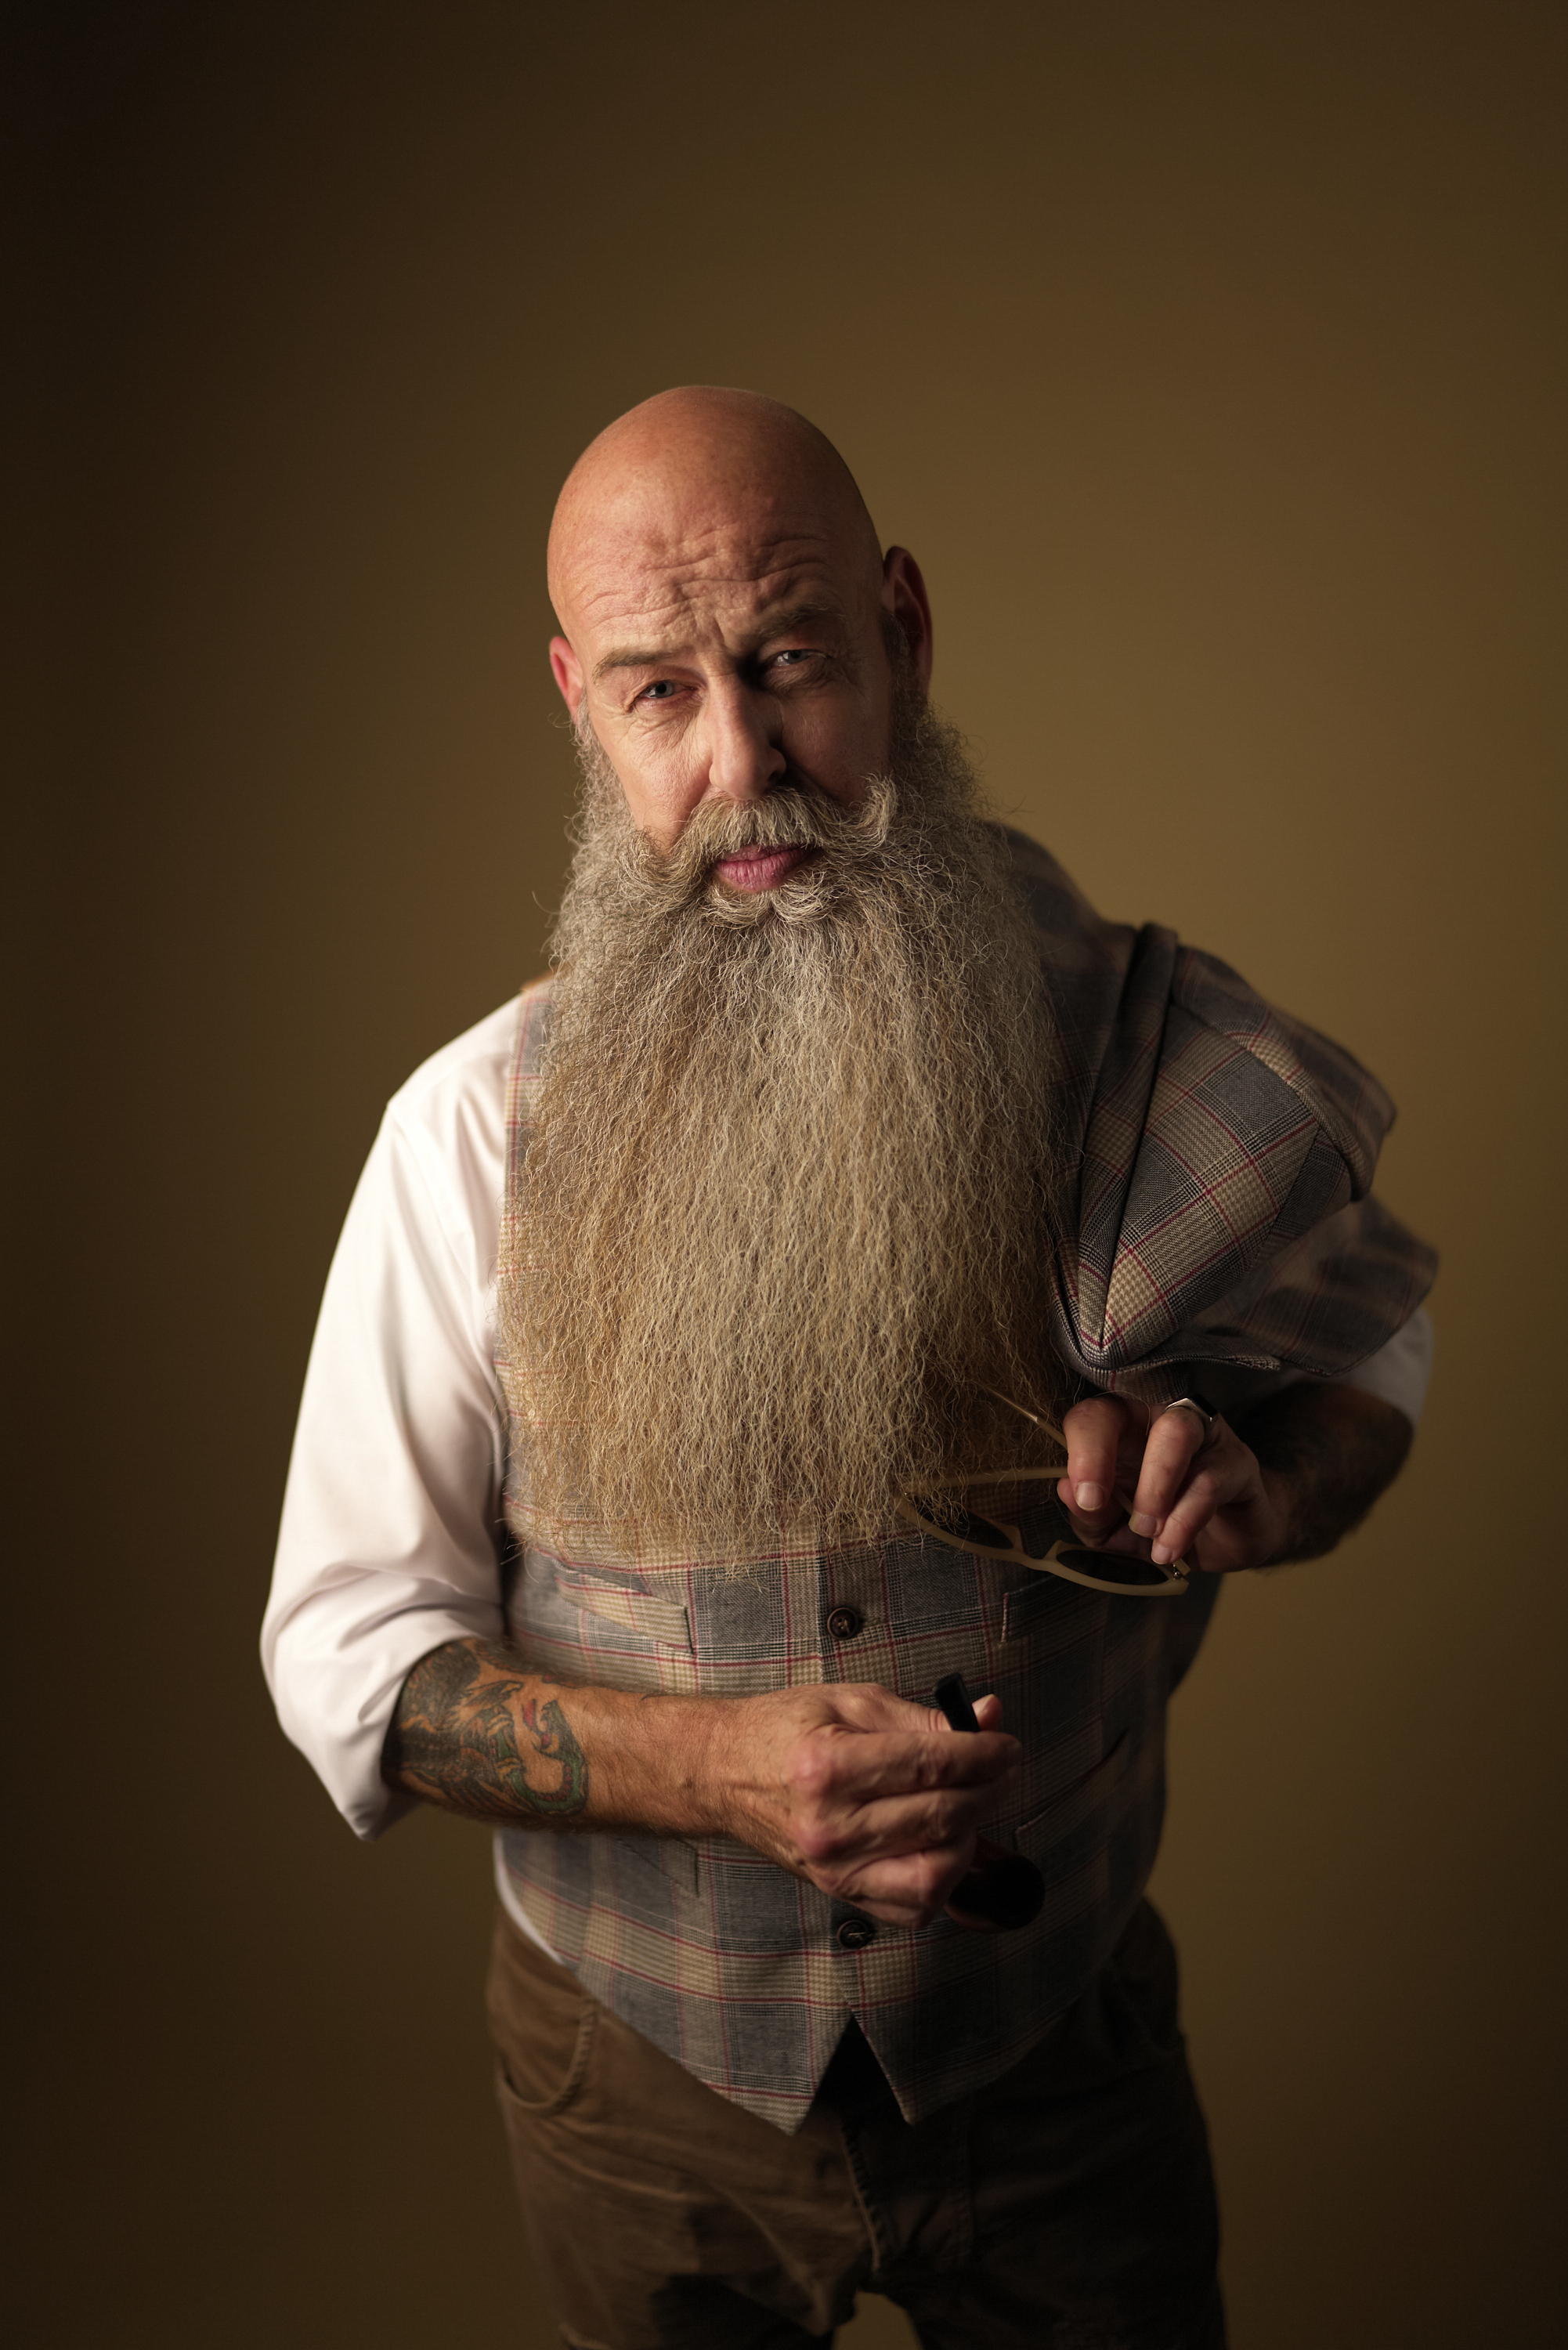
I’m going to start this off with some very honest things. On my iMac, I only use Capture One. I really don’t like Lightroom, and they wrongfully don’t even give us NDAs anymore. But on my old gaming PC, I have Lightroom Classic CC loaded up. The reason for this is simple. Most of you do exactly that; you’re editing and working with PCs. You’re also using Lightroom there instead of on a Mac. This was a recent return and I only do it for testing. Otherwise, I stand with most of the manufacturers that side with Capture One Pro. Ideally, I’d try to get images right in-camera and rid myself of the toxic culture that needs to fix it in post-production and Photoshop. We spend enough time in front of computers and need to get back out there shooting. The Kelvin Pimont Lightroom Brush Presets work within ethical boundaries, and that’s one of the best things about it. Nothing involved with it promotes body-shaming culture. Even tools like skin softening and making lips look fuller aren’t as heavy-handed as some people are with their Instagram filters.
Ease of Use
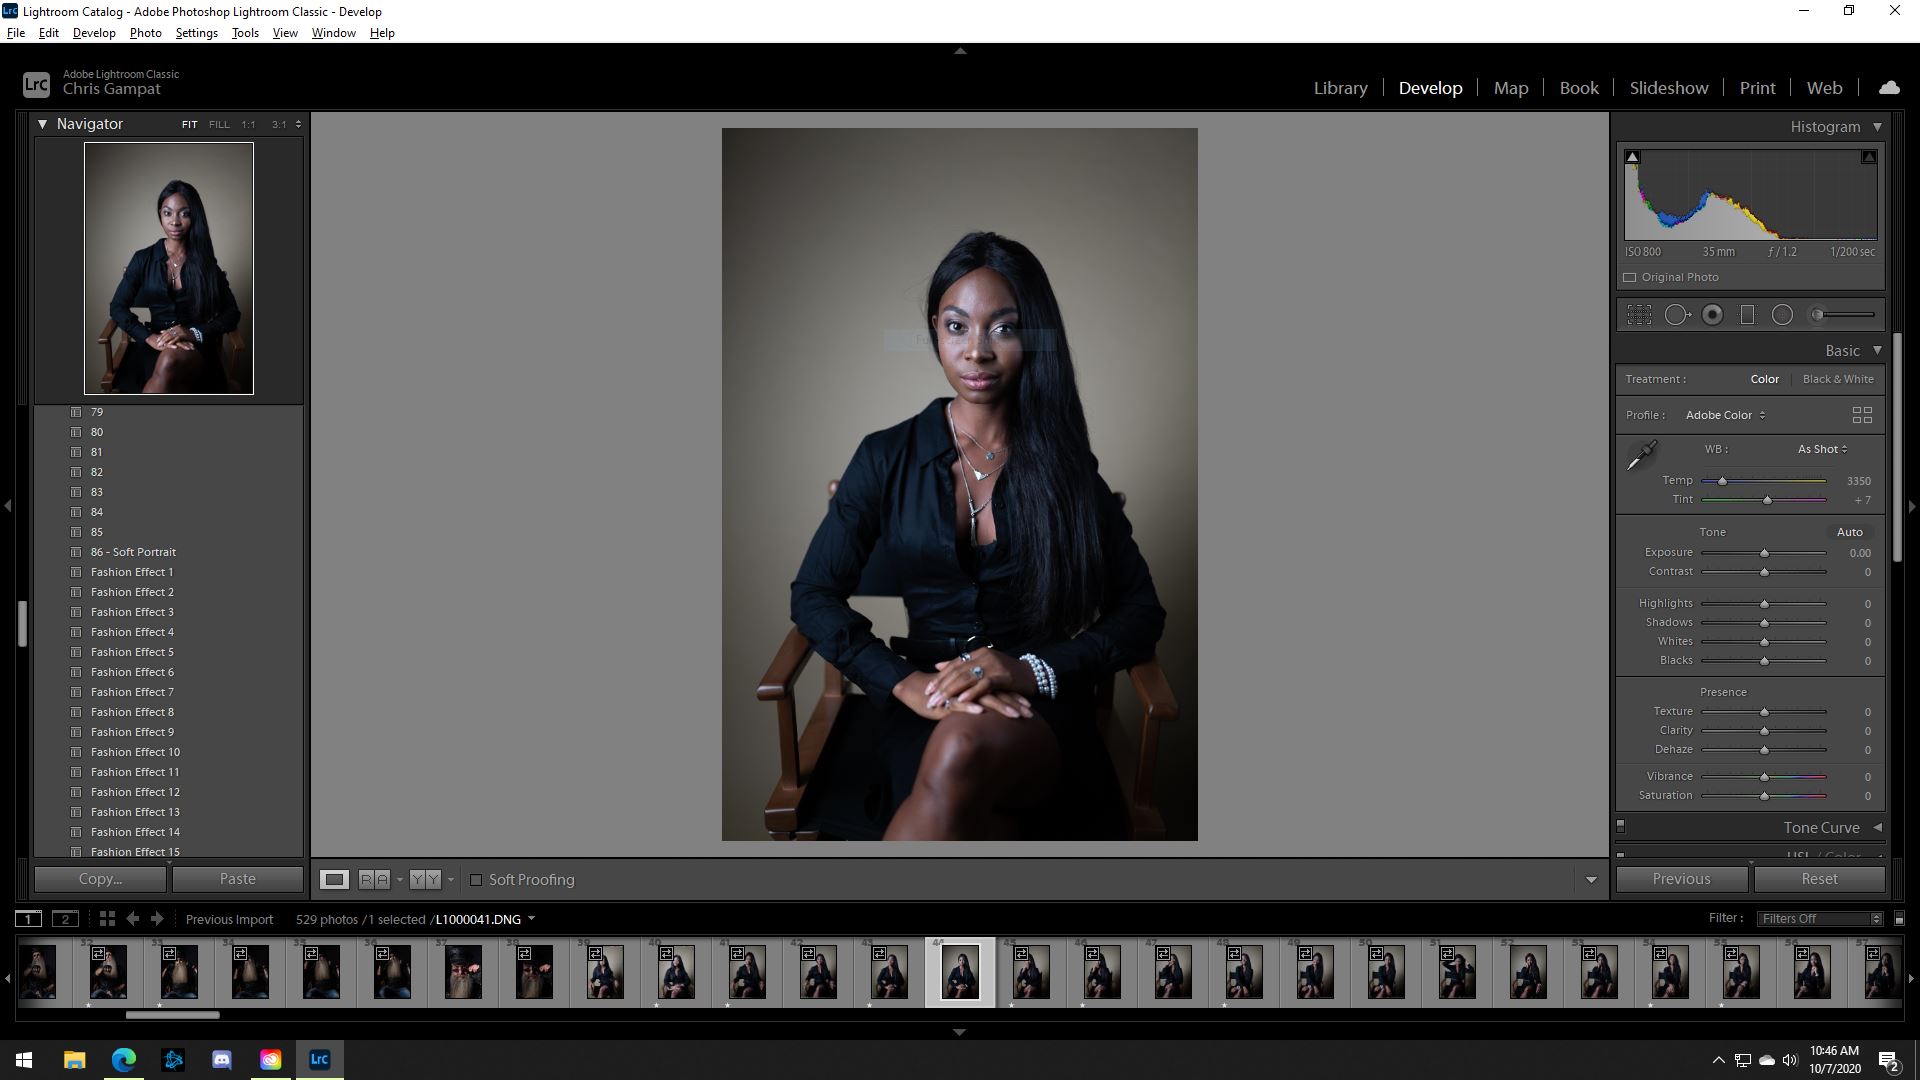
The Kelvin Pimont Lightroom Brush Presets includes all four packages that Kelkin Piemont has on their website. So there’s a portrait, lights, landscape, and dodge and burn. You surely probably wonder why you can’t just do this yourself. And again, it’s about time-saving measures. Take it from a guy who spent nearly a decade sitting in Lightroom, editing, and sorting out images for reviews. Moving over to Capture One for me was a massive game-changer. But I understand that most of you don’t want to. So fine. Embrace this Preset Brush life.
Installing the Brushes on PC is far more difficult than it is with a Mac. In fact, everything in Lightroom is far more difficult on a PC than it is with a Mac. On Apple devices, things just work. But with a PC, you need to install things there, add this profile, do that thing, etc. That’s the nature of Windows and PCs though. And if you’re on a PC, then you have to do the following:
- Download the presets
- Go to edit and then preferences
- Select all other Lightroom presets
- Add the presets to the Lightroom folder for local adjustments
- Close Lightroom and restart after you’re out of the Edit Preferences menu
And that’s it. I remember it being far easier on the Mac years ago. But to each their own! After the Kelvin Pimont Lightroom Brush Presets are loaded up, select the brush tool. Then select the brush style, and you’ll see the options come up. You’ll notice that you’ve got a ton of options. And if you’re going in for the 5 Day Deal, you’ll arguably get more than you need.
Here are some results.


In the photos above I worked on lightening the skin. It’s not incredibly visible. This is all subtle. But in Lightroom, I felt I went heavy handed. The presets did a better job in my opinion. And I concede to being beaten.
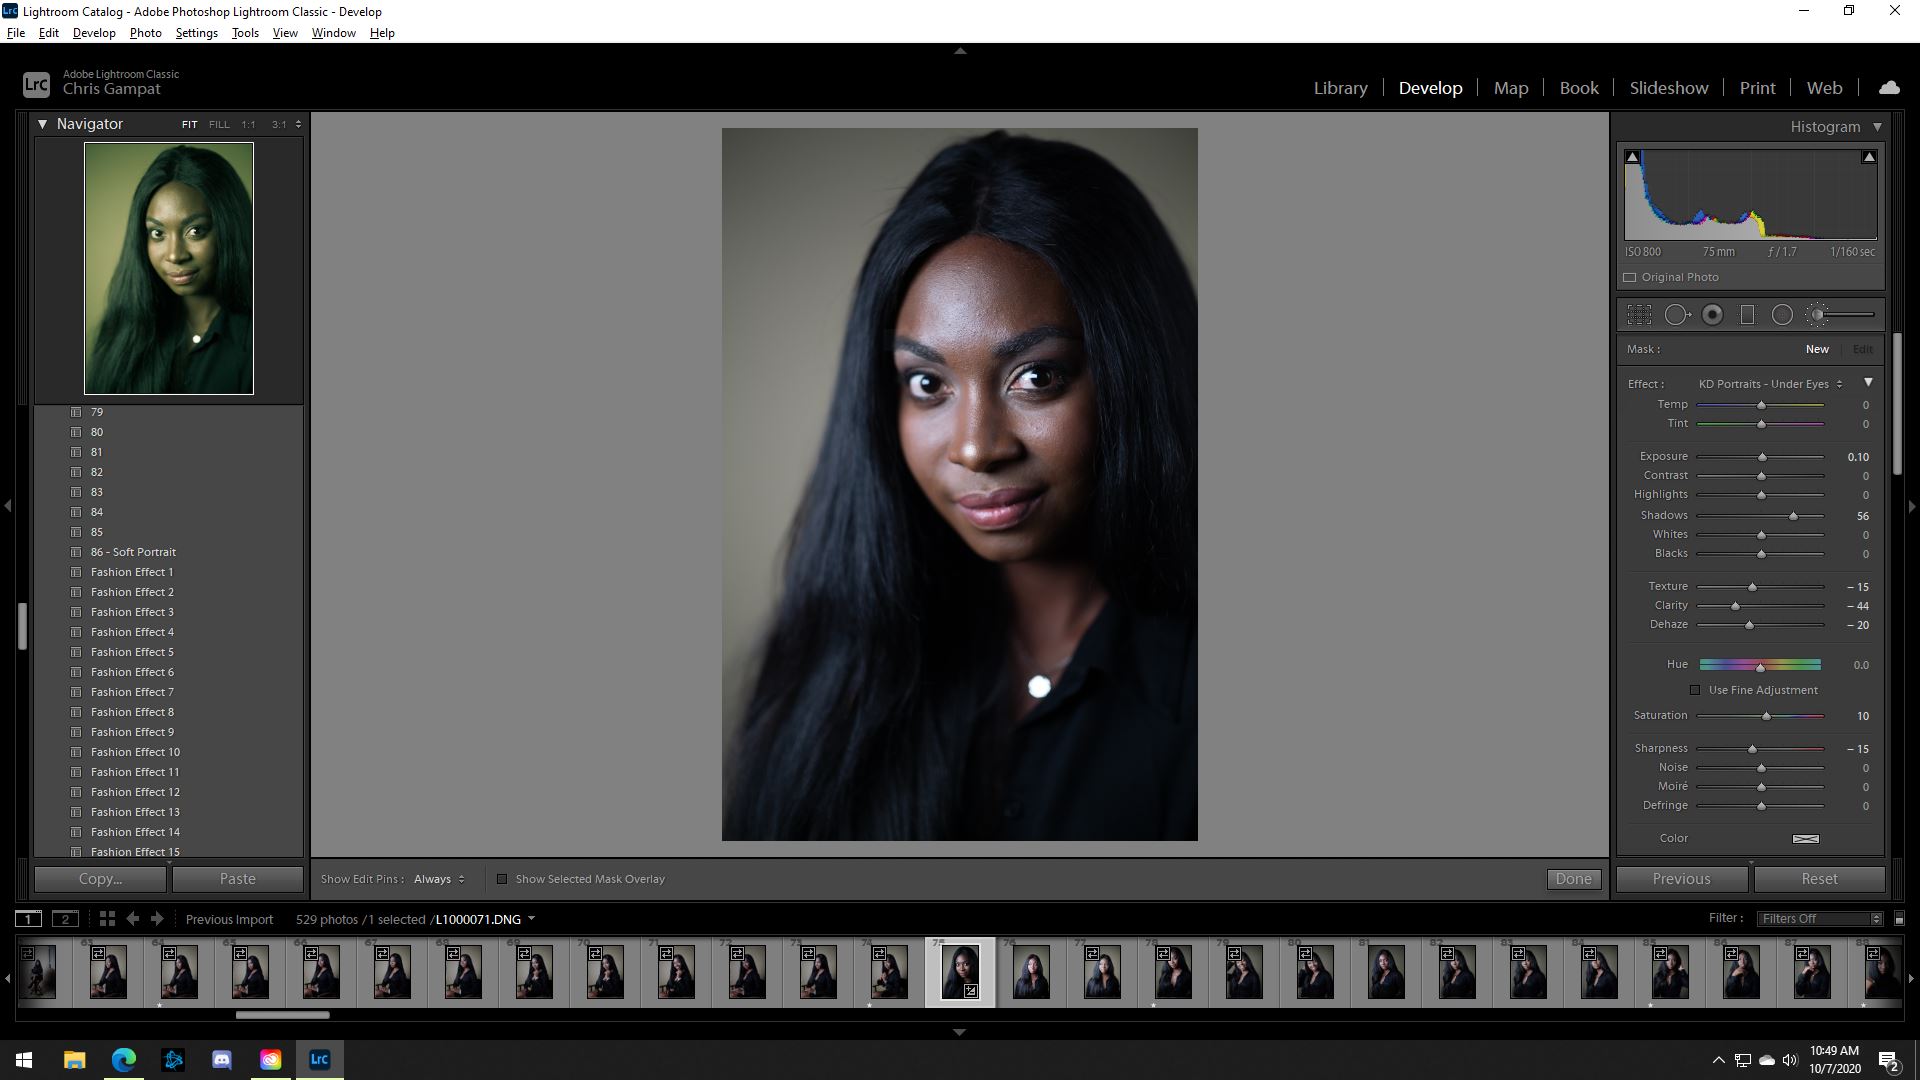


In this set above, I worked with the brush that lightens bags and dark areas under the eyes. Our lovely model doesn’t have many. But the extra little spark makes the photo pop more.
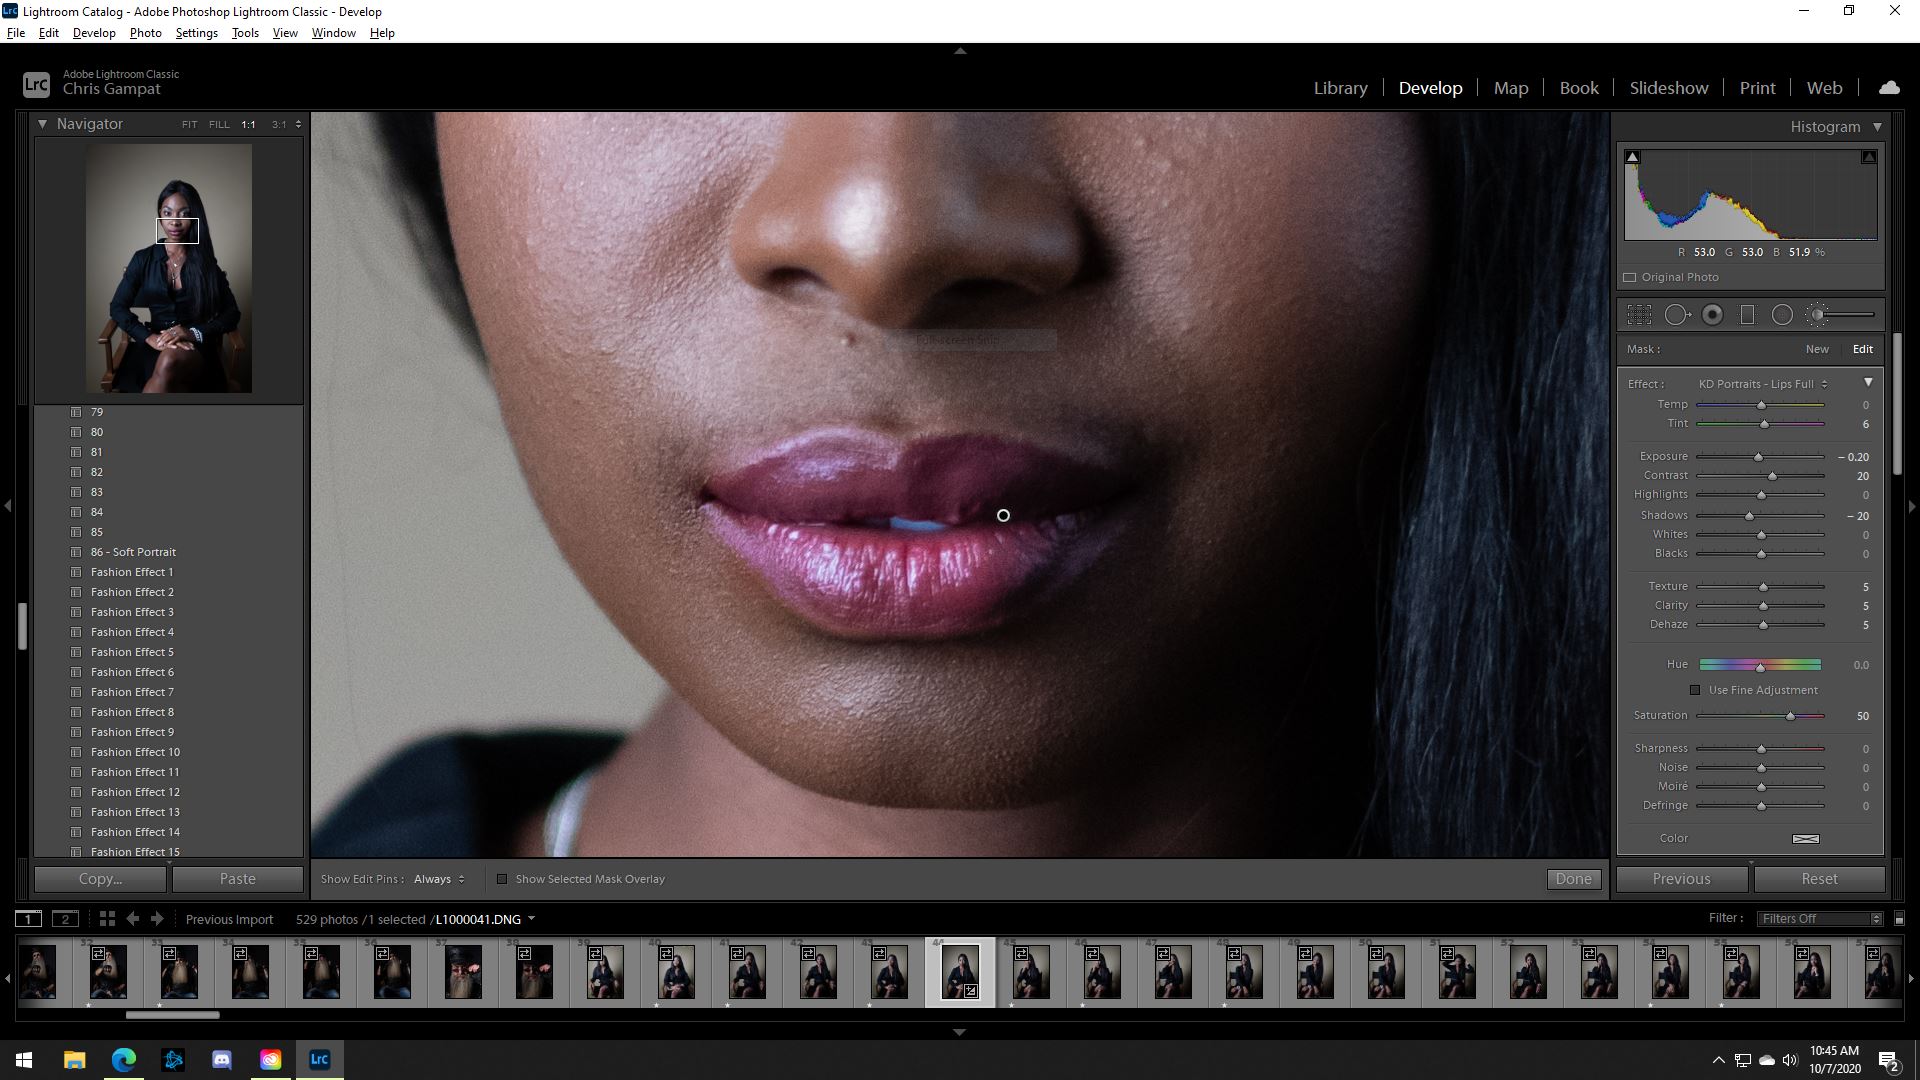
With this image, I used the fuller lips editor. I think we can all agree that it did its job. Otherwise, I’d have to do saturation, brightening, etc.

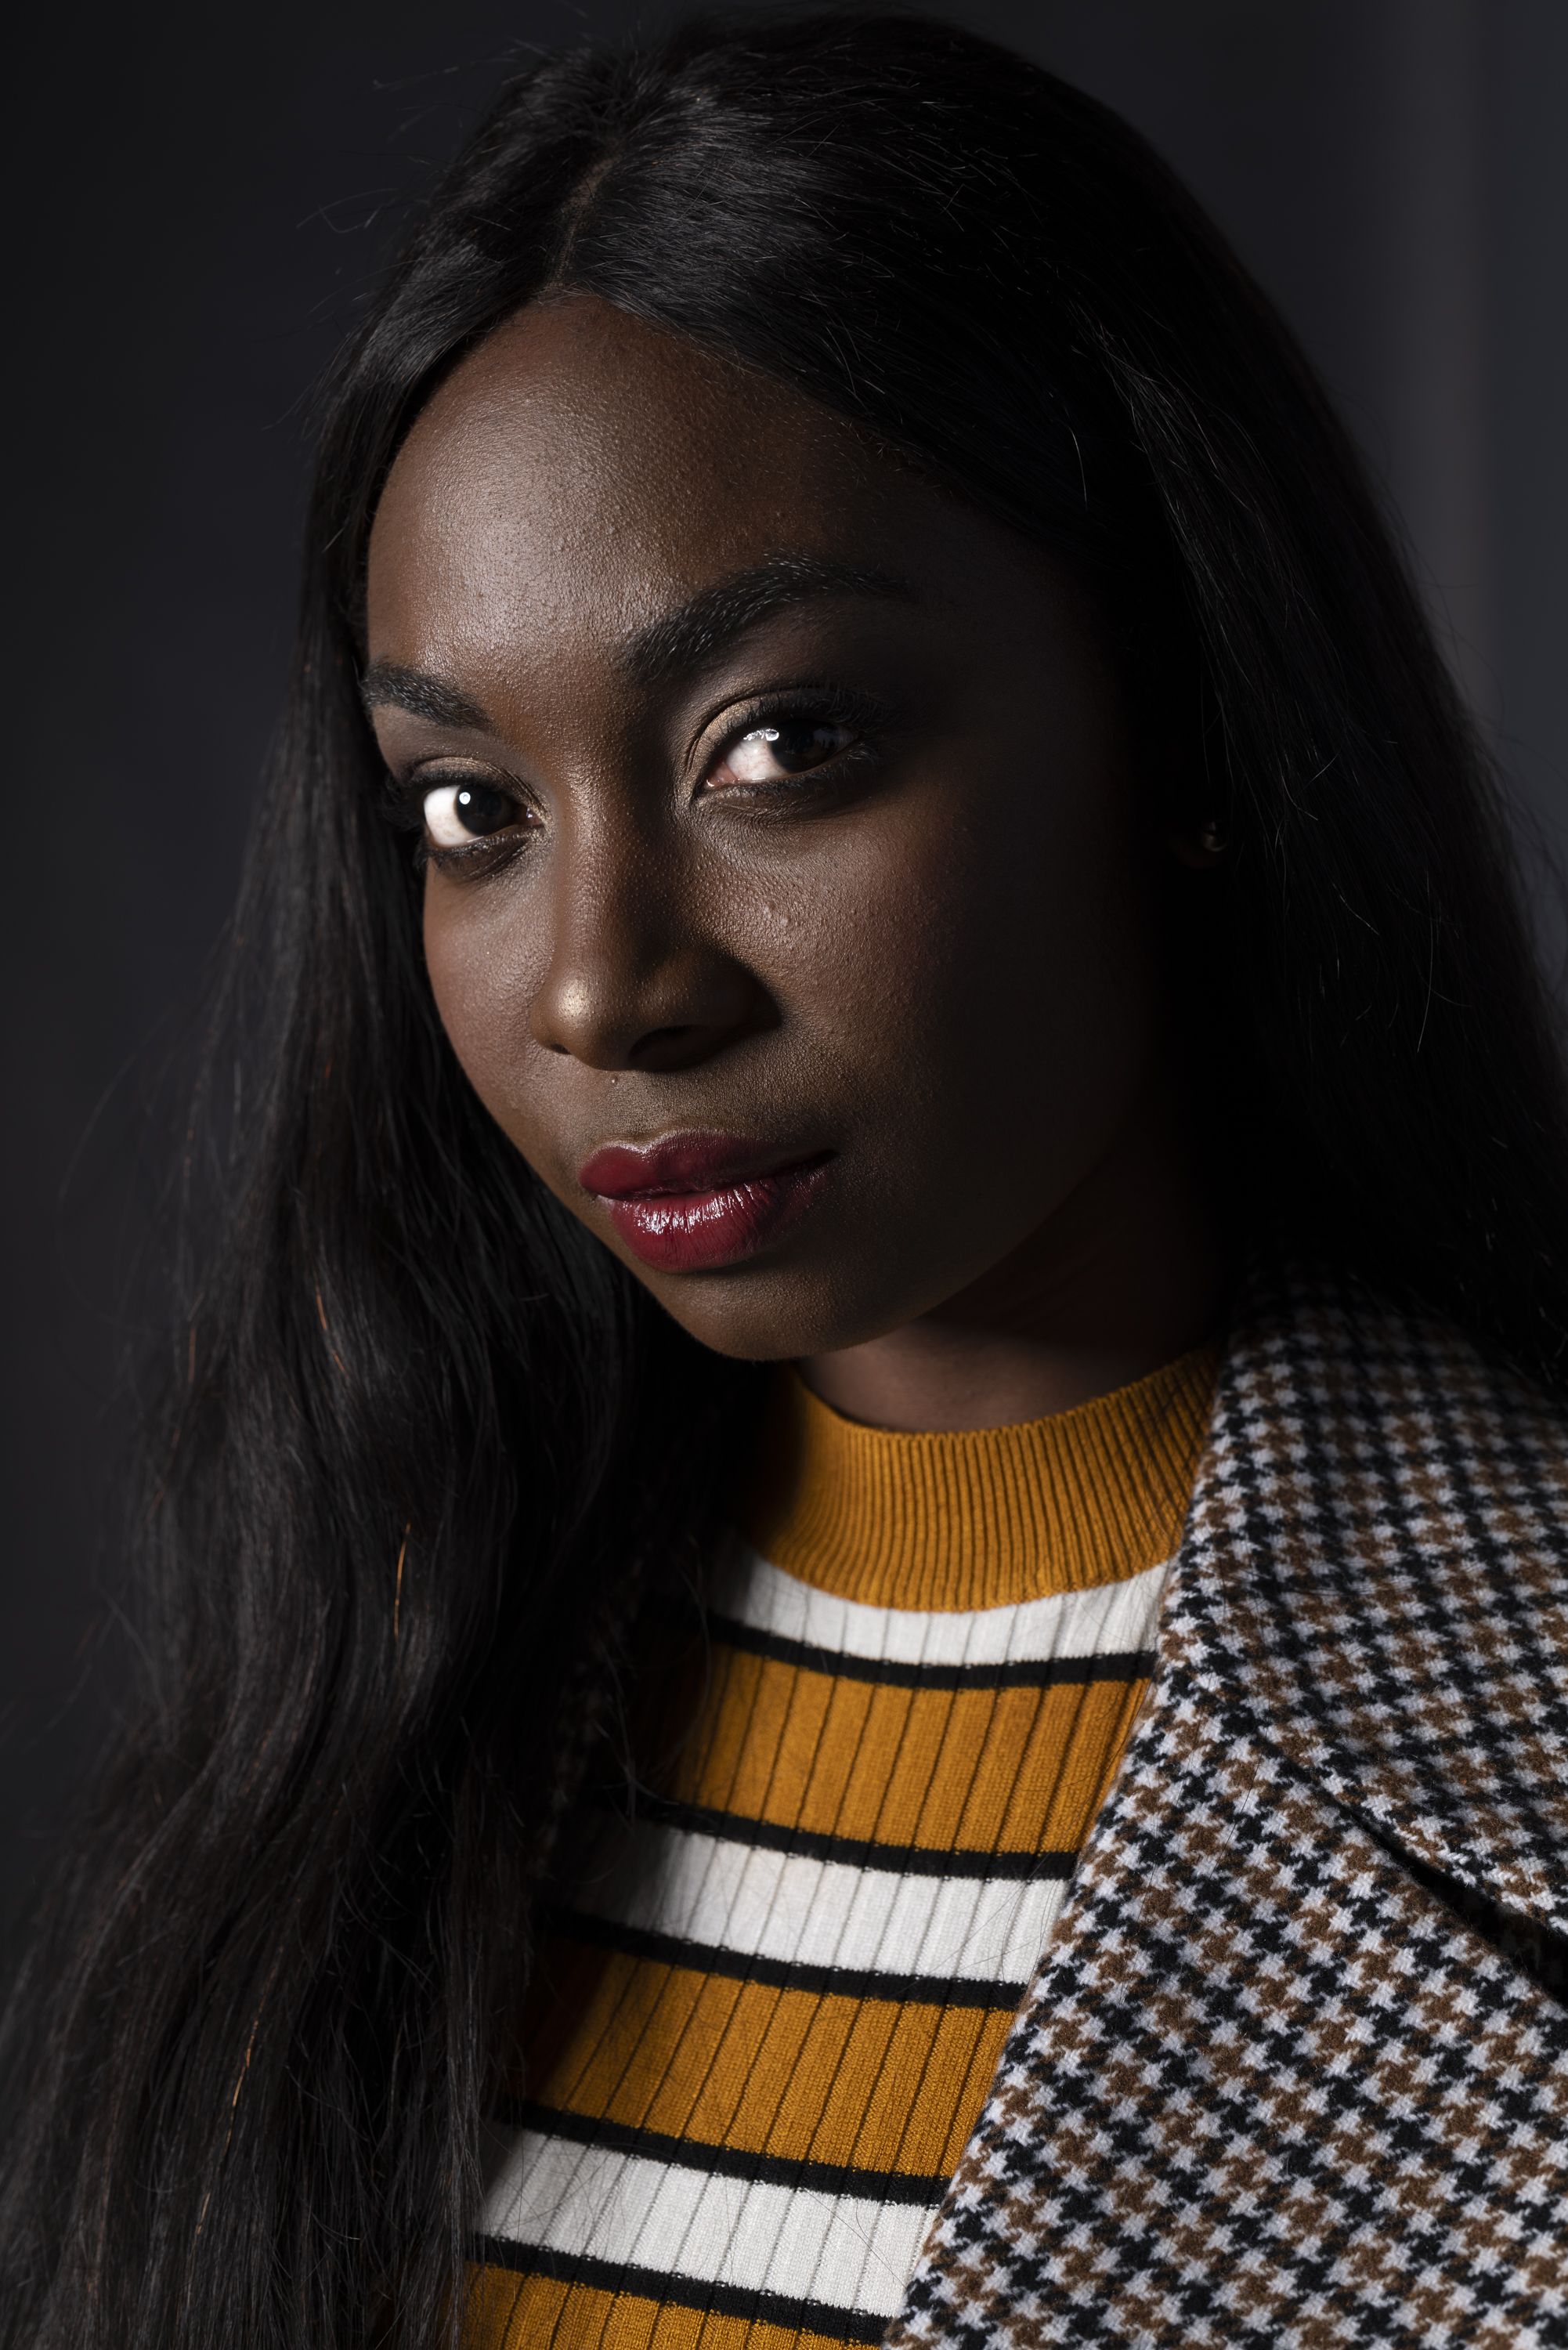
The eye whitening is where I feel it went a little bit heavy handed. And you can adjust it if you wish. But that would take a lot more time than with the starting point the brushes give you.
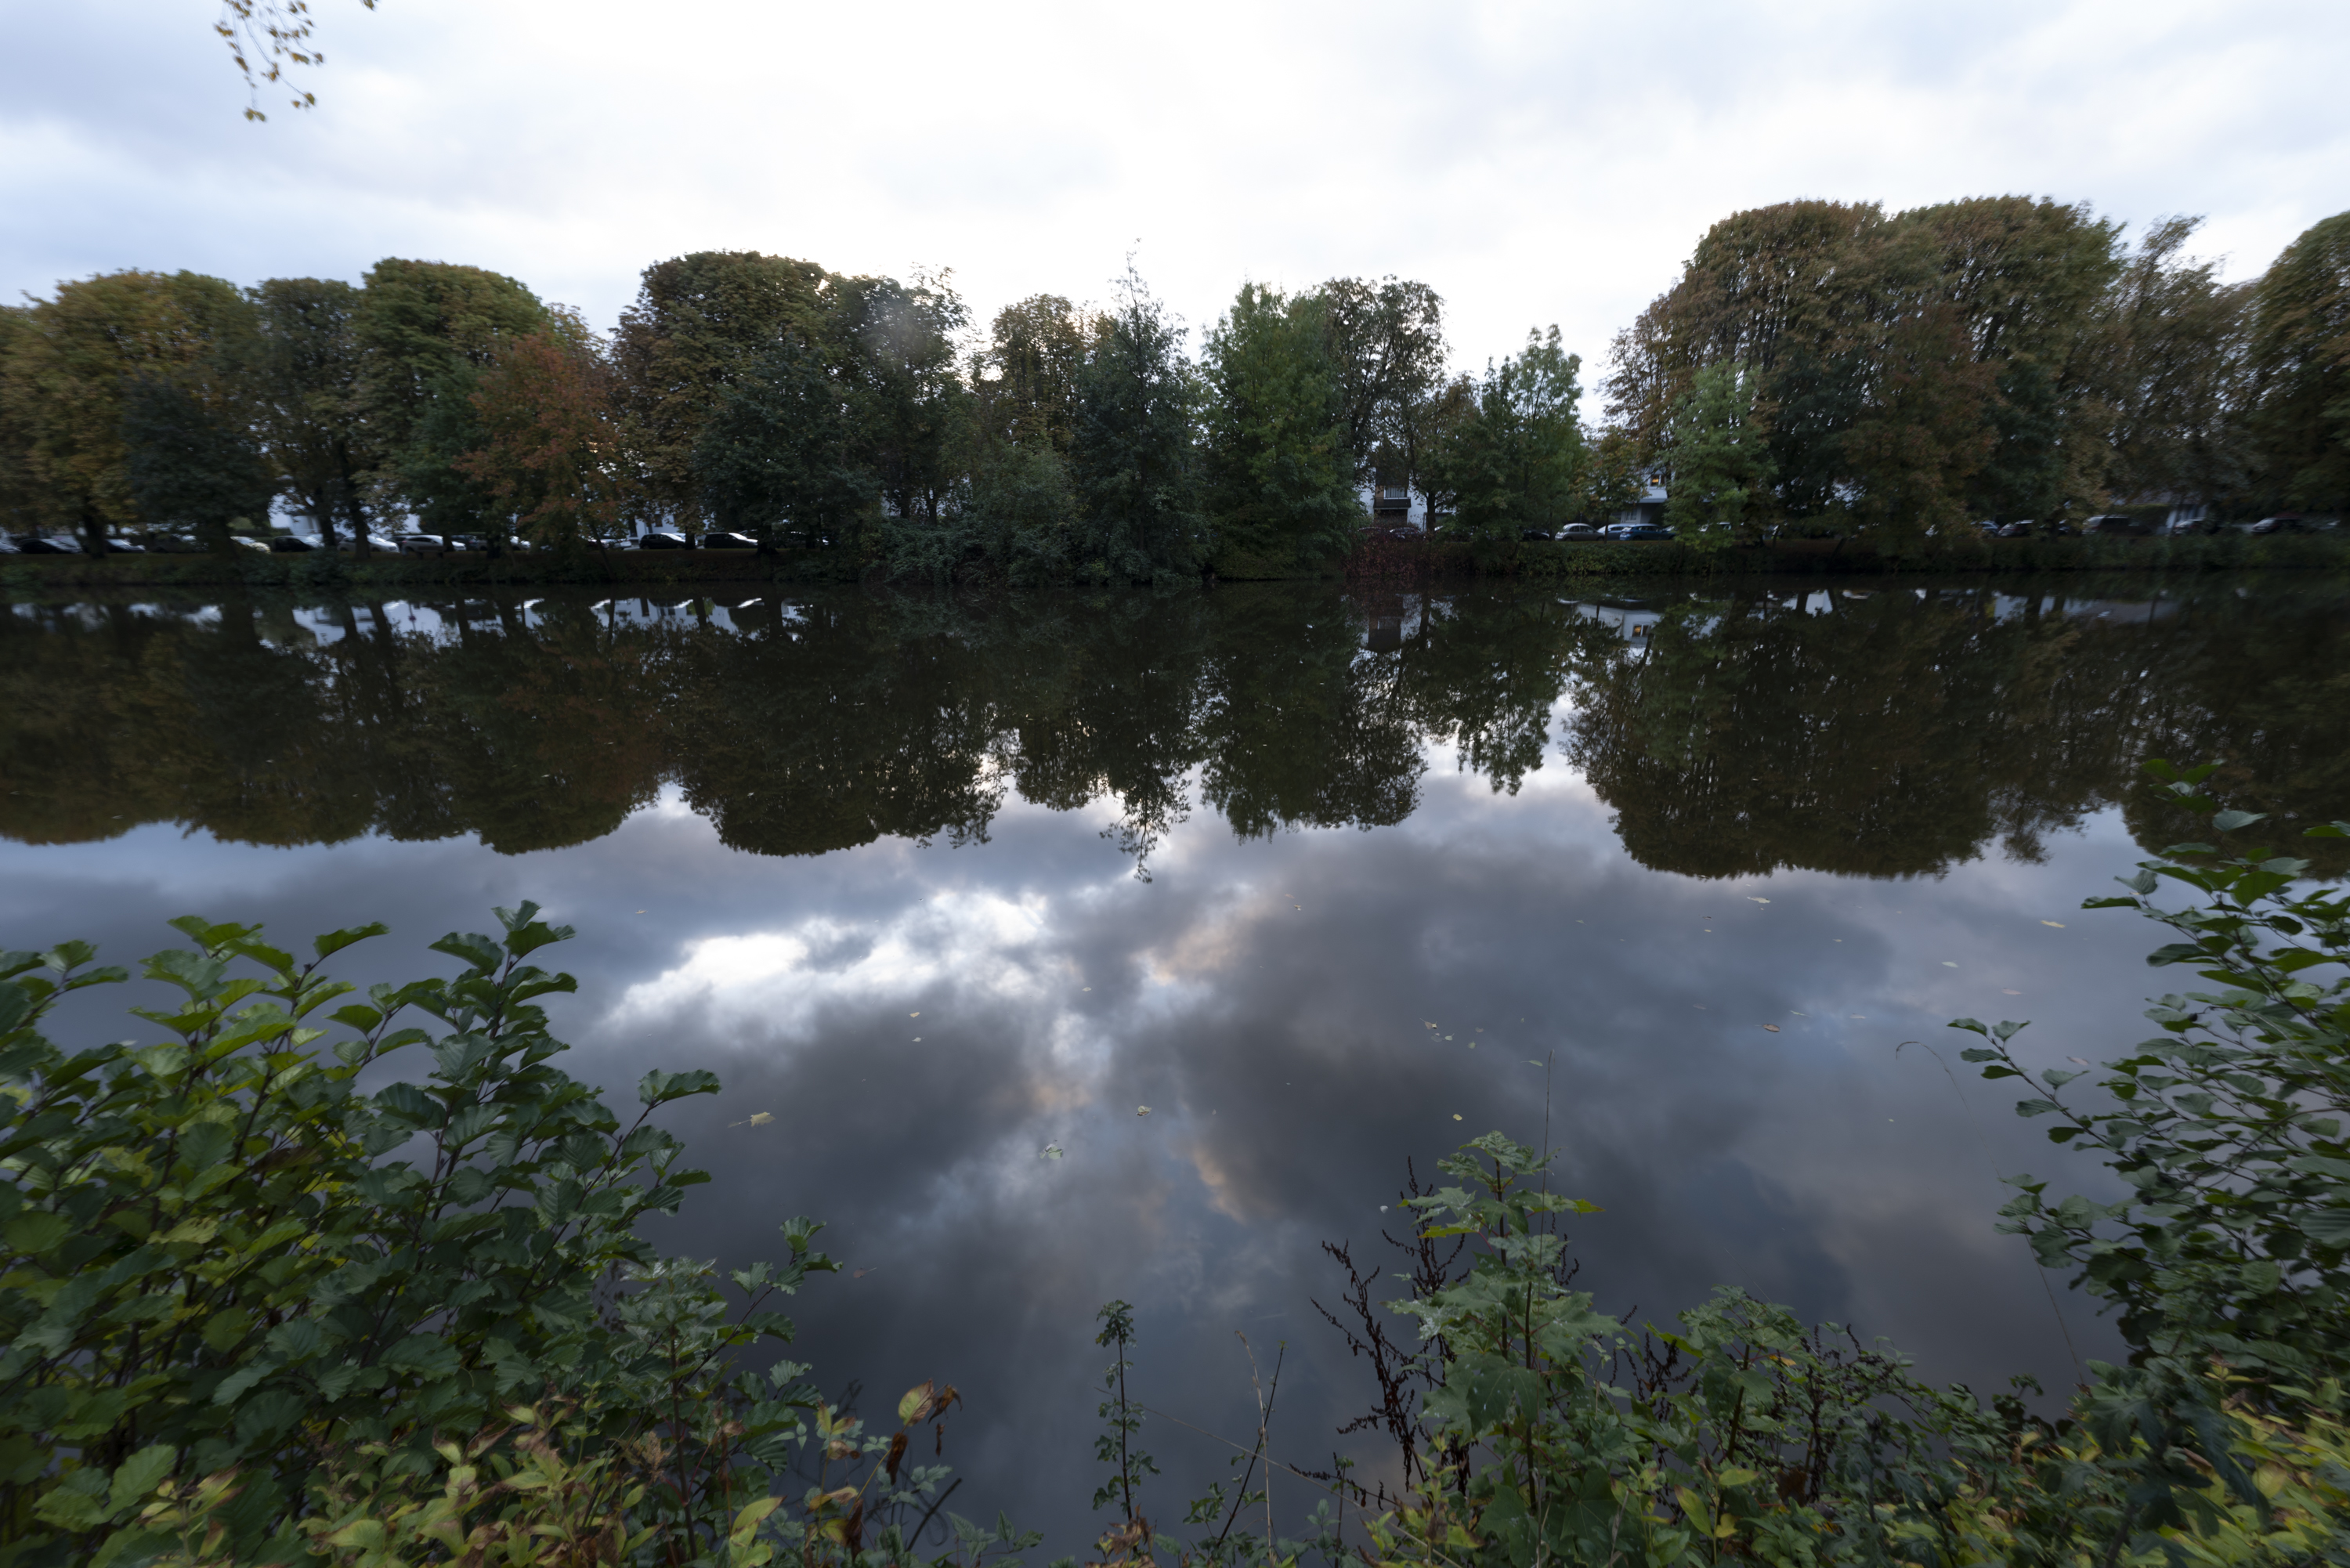
Now here was the really cool one. I edited these with the landscape brushes.

This one is supposed to give you the look of fog. It’s different than moving the Dehaze slider for example. It surely works, but I feel it could have done even more of a job involving the fog. Fog sometimes has a motion blur to it. And that’s not here.
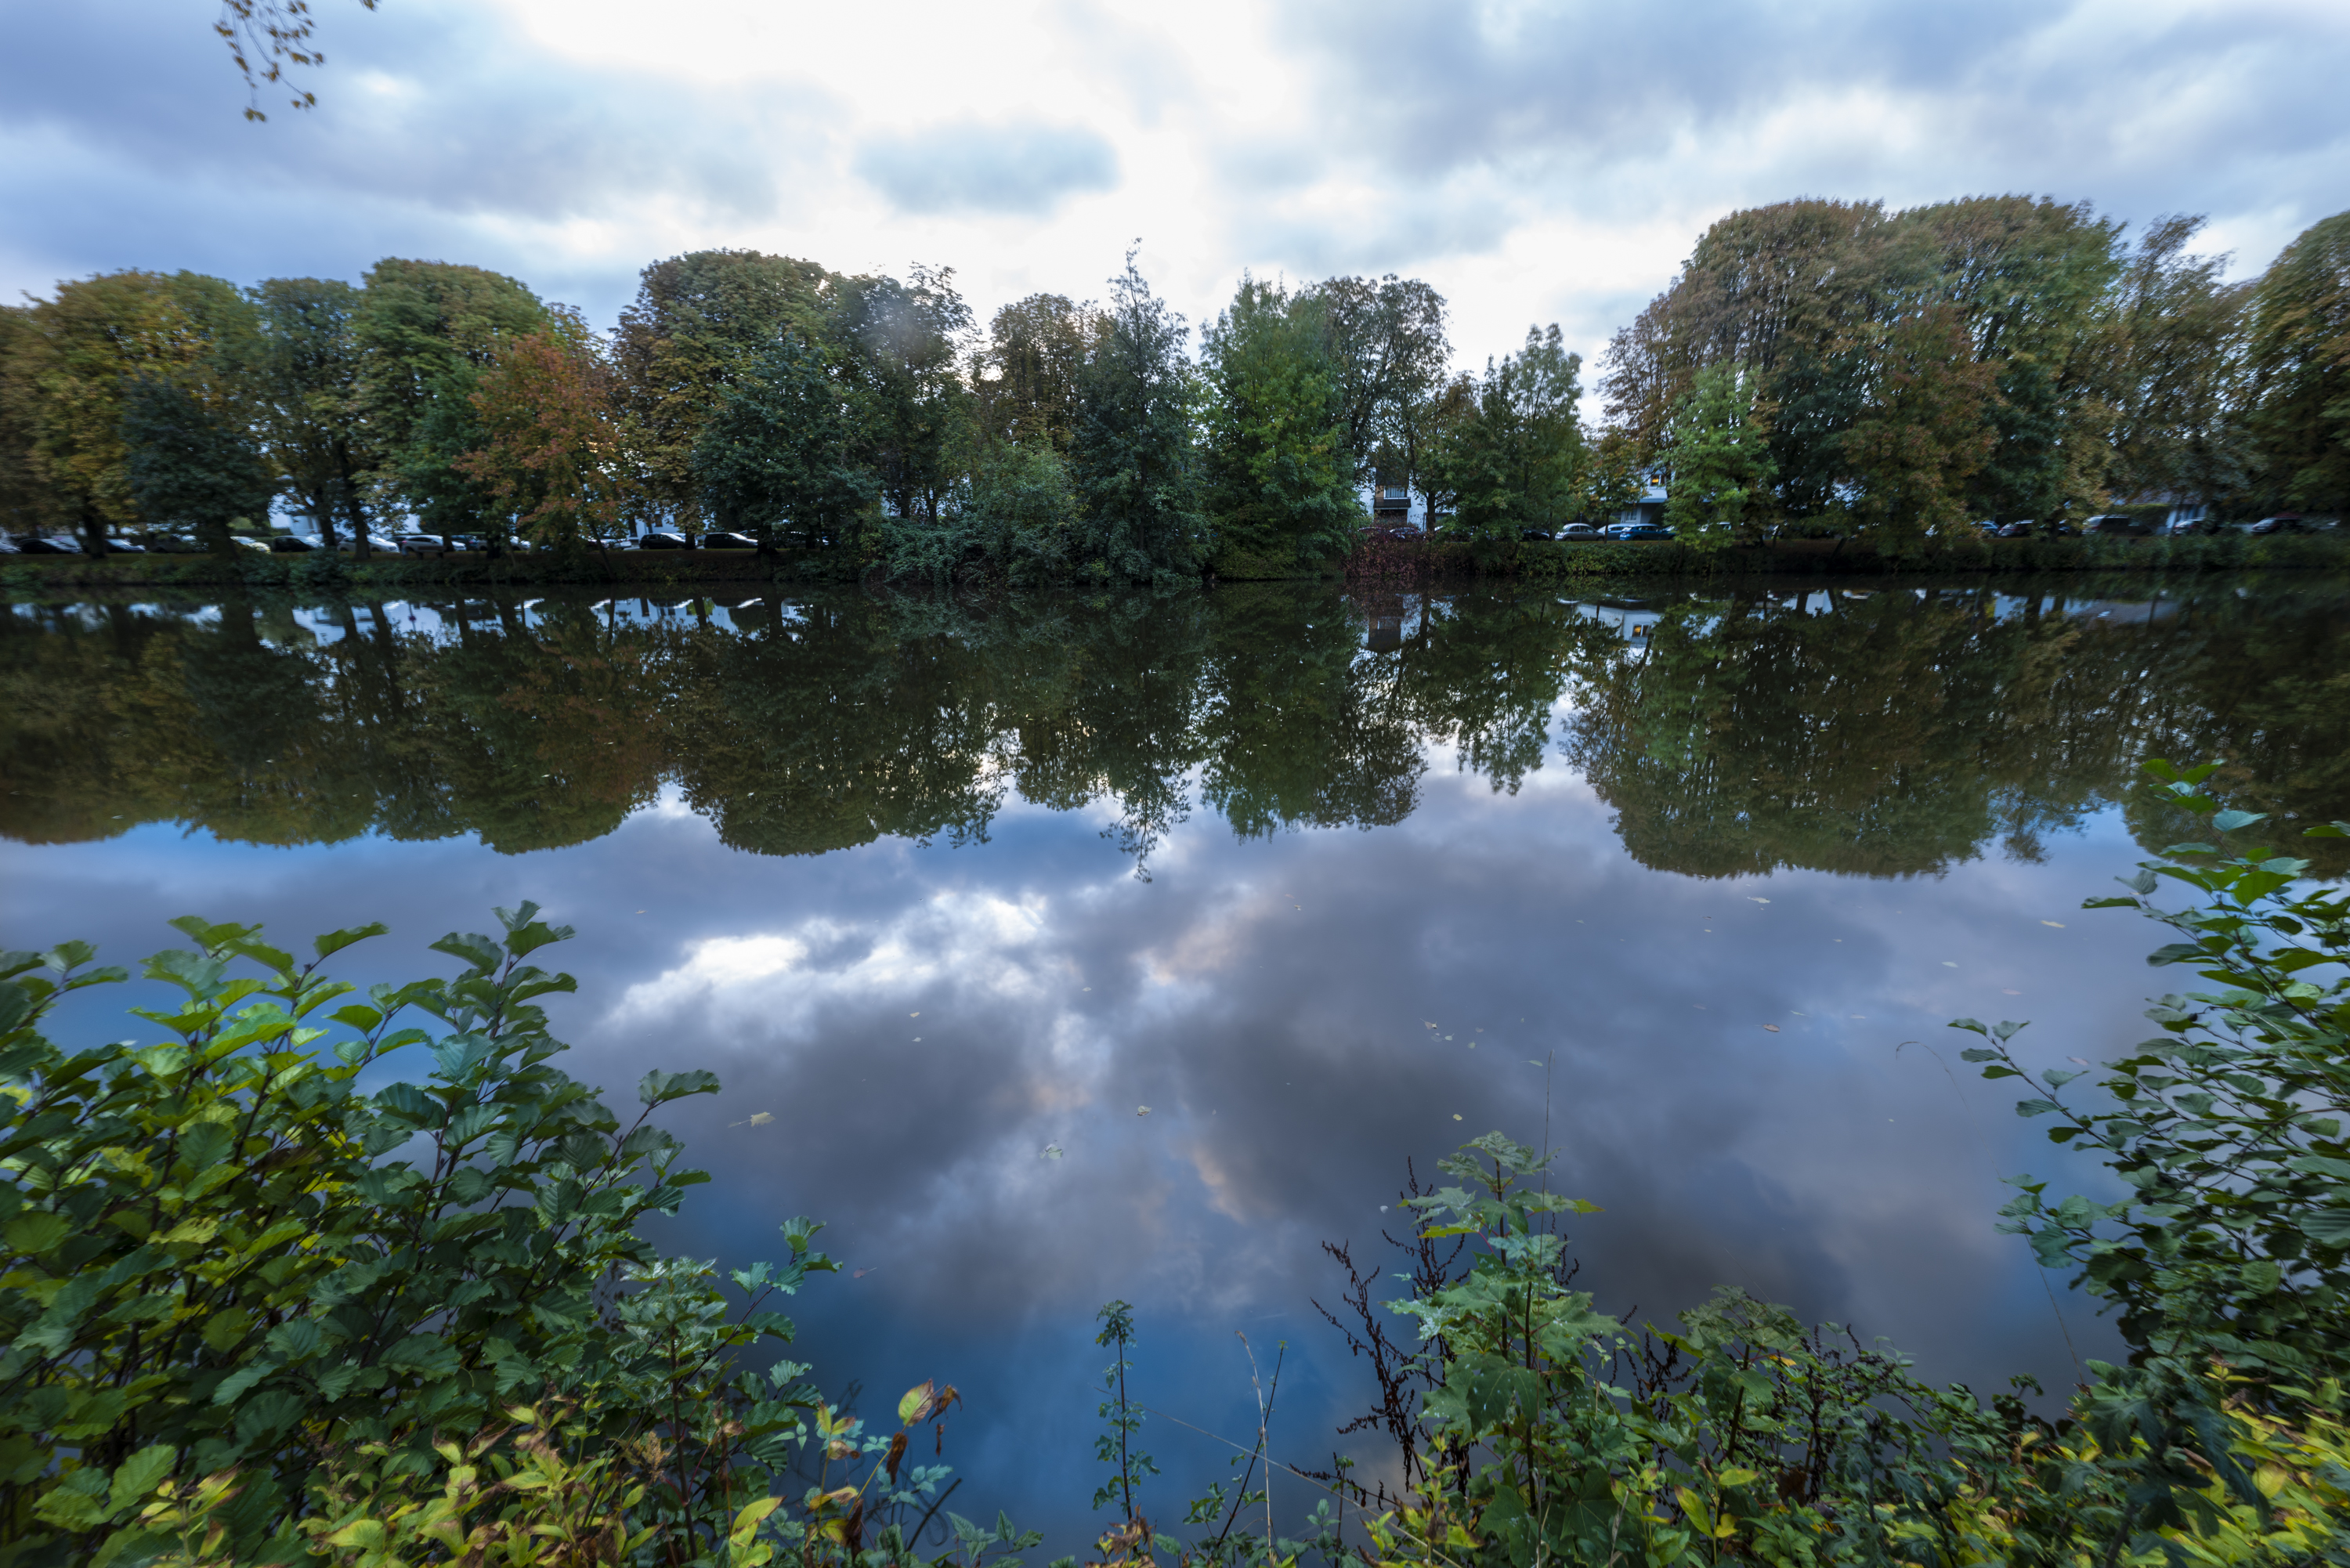
Using the cold sky and happy trees preset, I was incredibly happy with the results. This was very, very fun. And I audibly showed excitement when editing these.
Conclusions
The Kelvin Pimont Lightroom Brush Presets are part of the 5 Day Deal. Would I buy them? Honestly, yes. It’s a no-brainer when it’s part of the bundle you’re getting. But individually speaking, I think they’d save me a ton of time when posting images to the web. When printing, I think I’d need to be a bit more careful. Either way, the Kelvin Pimont Lightroom Brush Presets get very high recommendations from me.
Get rid of the ads!
Did you enjoy reading this article as much as we enjoyed writing it? There's a way to support us and our reporting, getting ad-free navigation and more as a bonus. Subscribe to us for less than a coffee per month —just $3.99— or take advantage of our yearly subscription with a hefty discount for only $25.- An ad-free experience
- A free mystery box for Lightroom or Capture One
- All the books in our store
- 20% discount on Capture One
- 30% discount on Imalume Photo Theft Protection
- 20% off Herbs and Kettle Tea Company.