
The inspiration for this article comes from my love and acceptance for the images that I’ve made when writing reviews for this website. Most recently, I dove into my Canon 28mm f2.8 IS review from over a decade ago. That review was done using the Canon 5D Mk II — and the photos remind me of a time when everything in the photo world was so much easier. The colors were vibrant, the details popped, and images simply looked really good. Luckily, there’s an easy way to do this that I recently rediscovered. This discovery felt like a getting back in touch with yourself and speaking with an old friend.
Table of Contents
What You Need
To do this, you need just a few things:
- RAW files from your camera
- Capture One Pro: This is essential
- Ideally, a Mac or a similar computer with screen calibration to something from 2009 to 2013 or so. I’ve been a Mac user since 2005 or so.
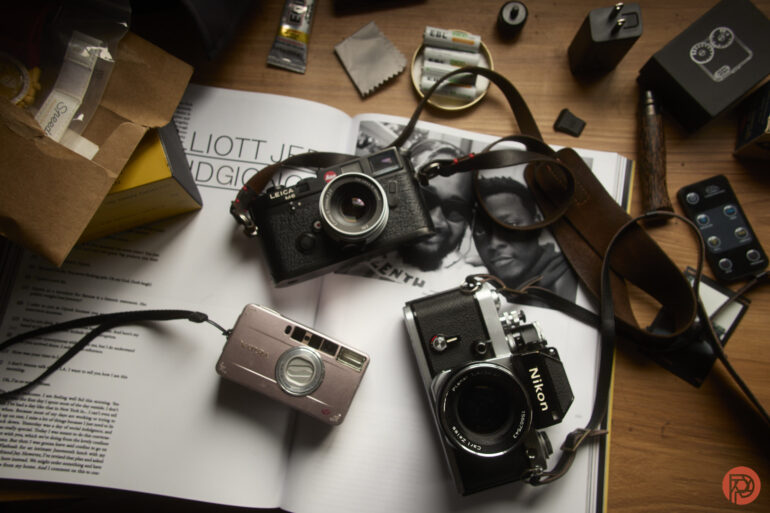
- Not necessary, but an older camera’s raw files will do best here. I’m using the Canon G1x Mk III because it’s the camera I always use. It’s small, weather resistant, has a zoom lens, and continually works. I add profiles from Thomas Frannson onto it for film looks too.
That’s really all you need. Capture One Pro is essential to this tutorial.
How to Make Your Photos Look Like the Canon 5D Mk II
Here’s the easy step by step tutorial:
- Load up your images into Capture One
- In the tool tab, select the Shape tool
- Set the lens profile to Generic correction
- In the style tab, set the ICC profile to Canon EOS-5D Mk II Pro Standard
- Set the curve to either Auto or Film High Contrast
- In the adjust tab, adjust your white balance, contrast, highlights, saturation, clarity, and vignetting to your taste
- In the refine tab, set your sharpness and noise reduction
That’s it. Capture One doesn’t edit images in the same way that Lightroom does. It’s arguably much better and often recommended more by manufacturers than Adobe products are. However, Adobe products are the standard here. So the idea is to do exactly what all the trends were around then. Most people only touched the basic sliders and messed around until they got something they felt looked good. This was the case even if you got a high end camera like the Canon 5D Mk II. You’d be surprised at how many people bought one and shot with it in auto mode.
Luckily, Phoblographer’s app subscribers get a discount to Capture One via our membership. But if they’re really intent on using Lightroom, maybe our Photojournalism presets could help you be inspired.

Think Lightroom
To make the most of this process, think about warm tones. Most photographers white balanced their images to above 5500K to get warm skin tones back then. They also raised the clarity slider instead of the sharpening slider. Plus, most photographers used the saturation tool instead of the individual color channels to get the colors they wanted and needed.
So this whole thing isn’t just about using the profiles Capture One offers. To make your photos look like the Canon 5D Mk II, you have to think the same way. So it’s also all about editing in a similar way to the time. This was a time when 500px was all the rage and Flickr was slowly starting to fade away. It was also around the time that Sony launched their a7 series of cameras in 2013. Most photographers didn’t take mirrorless seriously back then with the exception of the Fujifilm X Pro series. That changed later on, of course.
Get rid of the ads!
Did you enjoy reading this article as much as we enjoyed writing it? There's a way to support us and our reporting, getting ad-free navigation and more as a bonus. Subscribe to us for less than a coffee per month —just $3.99— or take advantage of our yearly subscription with a hefty discount for only $25.- An ad-free experience
- A free mystery box for Lightroom or Capture One
- All the books in our store
- 20% discount on Capture One
- 30% discount on Imalume Photo Theft Protection
- 20% off Herbs and Kettle Tea Company.
- 20% off your order from MPIX printing services.
- 5% off Viltrox Products via their eCommerce store.
- 10% off all film developing, printing and scanning services from Blue Moon Camera and Machine
- 15% off 7Artisans products: The lens and accessory maker is offering a sweet discount for Phoblographer's readers.