
DJI’s Mini series gave me my start as a drone pilot, teaching me the basics of flight, safety, and imaging from above. Yet its budget-friendly price helped ease the flying anxiety, even when I experienced a dropped connection and a crash from a low height. The DJI Mini 4 Pro enhances that beginner-friendly entry by adding the ability to detect obstacles on all sides.
Like the earlier Mini drones, the Mini 4 Pro comes equipped with a smaller sensor that delivers images more in line with a smartphone camera. Yet, the under 249-gram weight and lower price point make the drone an enticing choice for beginners and hobbyists on a budget. I flew the new DJI Mini 4 Pro to see just how the drone giant’s latest entry-level quadcopter holds up.
Table of Contents
The Big Picture
The DJI Mini 4 Pro is a smartphone camera with wings and an excellent option for any beginner or experienced pilot with a strict spending limit. The small size flies under the radar for many regulations and also easily fits into a bag. Flight tutorials and built-in safeguards, plus obstacle sensing, make the drone an ideal option for first-time pilots. The JPEGs are bright and colorful and have more than enough quality for Instagram and smaller prints.
The most significant downsides to the DJI Mini 4 Pro are simply those that come with the lower price point. The image quality is more in line with a good iPhone than a good mirrorless camera, with muted details and grain when viewing at 100 percent. There’s significant noise in the 48-megapixel file option, and I preferred the 12-megapixel files in most cases. These downsides, however, are expected for an entry-level drone. While pixel peepers and Pros should lean towards the Mavic 3, The DJI Mini 4 Pro is an excellent starter drone for the price.
I’m giving the DJI Mini 4 Pro five out of five stars.
Pros
- Compact and under 249 grams
- Easy for beginners to try
- Obstacle detection!
- Manual exposure controls and RAW shooting
- JPEGs are bright and colorful
- One of DJI’s most budget-friendly options
Cons
- Smartphone-like image quality is grainy fast, even at lower ISOs
- The 12-megapixel mode looks much cleaner than the 48-megapixel mode
Gear Used
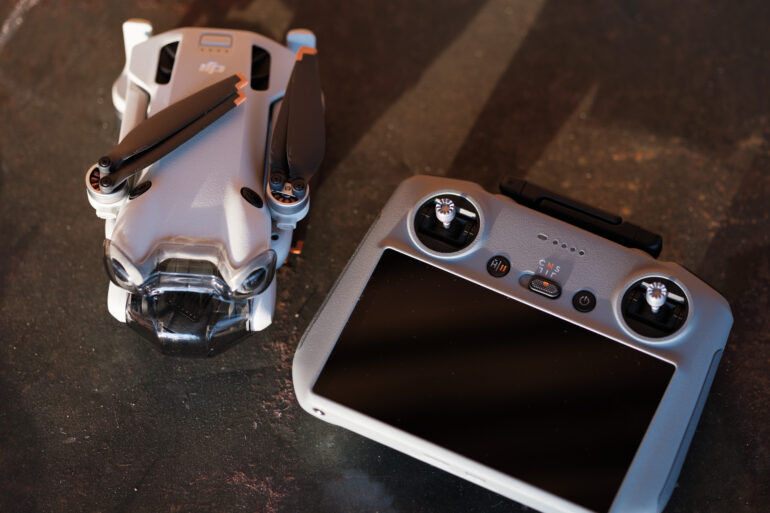
I tested the DJI Mini 4 Pro Fly More Combo, which included the RC 2, the controller with a built-in screen. The review sample is a temporary loan for review purposes provided by DJI.
Innovations
The DJI Mini 4 Pro is the first Mini-series drone with omnidirectional object detection. Considering the Mini series is aimed at beginners, that’s a pretty significant update. The other upgrade is that the transmission system is stronger, so the drone can fly further without losing connection to the controller. It also comes equipped with Waypoints, which allows pilots to pre-record custom flight paths and save the drone’s position for tasks like taking the same photo but in different seasons.
Ergonomics
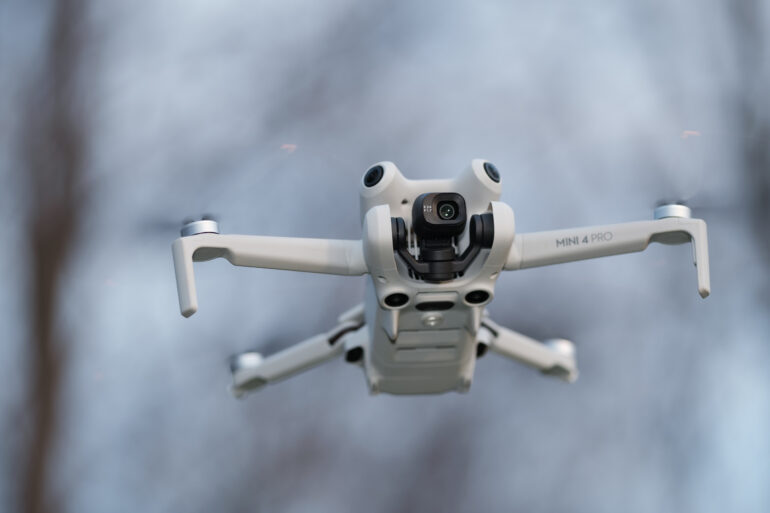
As part of the Mini series, the DJI Mini 4 Pro slides in at under 249g. In the U.S., that means the drone doesn’t require registration. That also means it doesn’t take up a huge spot in a camera bag. It could use a small dedicated messenger bag, or, in a larger bag, take up roughly two lens slots, one for the drone and one for the controller.
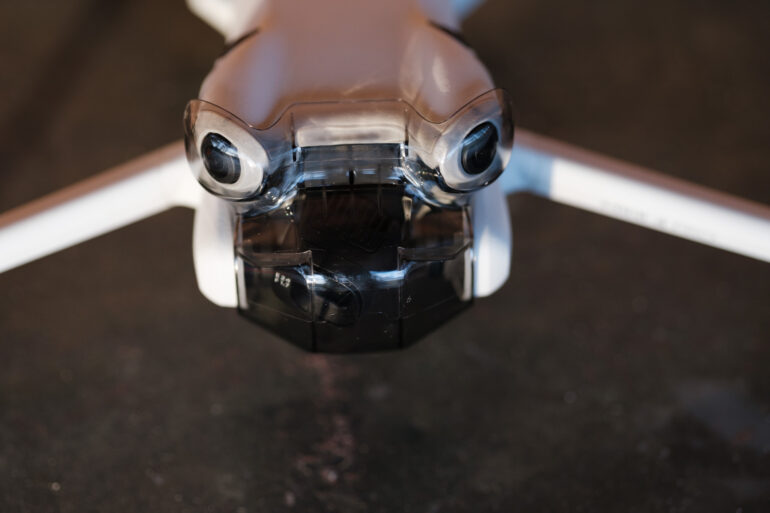
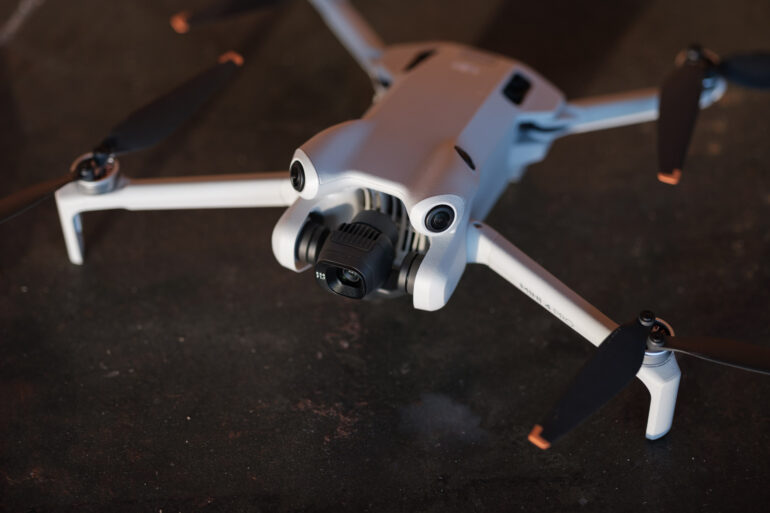
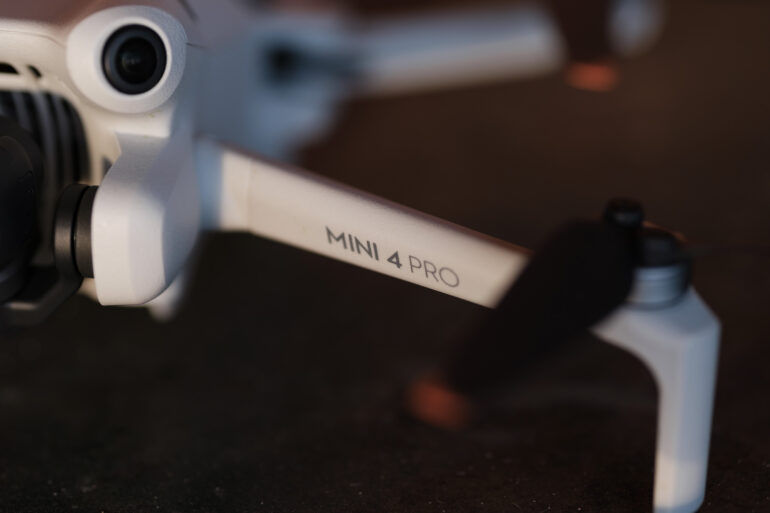
The drone’s design is fairly consistent with earlier models, but there are a few key differences. First, there are sensors throughout the drone to power the Omni-Directional sensing. Second, the gimbal cover has been improved over earlier models. Perhaps that seems a bit inconsequential, but I hate the gimbal cover on my own Mini 2; it’s so annoying to put on that I rarely use it. On the Mini 4 Pro, the cover slides over the forward-facing sensors as well, so it’s much easier to put on.
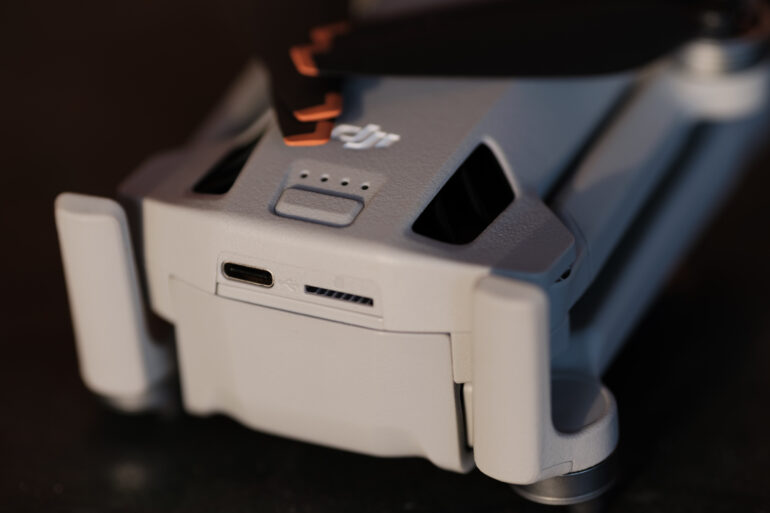
The DJI Mini 4 Pro has four folding arms, so it is compact but quick to set up. The back houses the battery, a micro SD port, and a USB-C port, while the front houses the camera and gimbal.
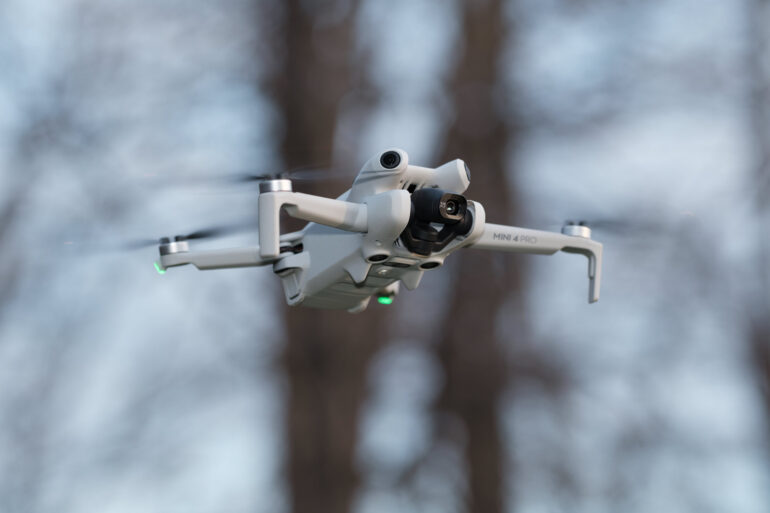
Overall, the design is pretty solid for keeping it under .55 pounds. My biggest request is for DJI to start making different color options. Keeping a line of sight on a drone the same color as clouds is a challenge — bright neon colors would be easier to fly.
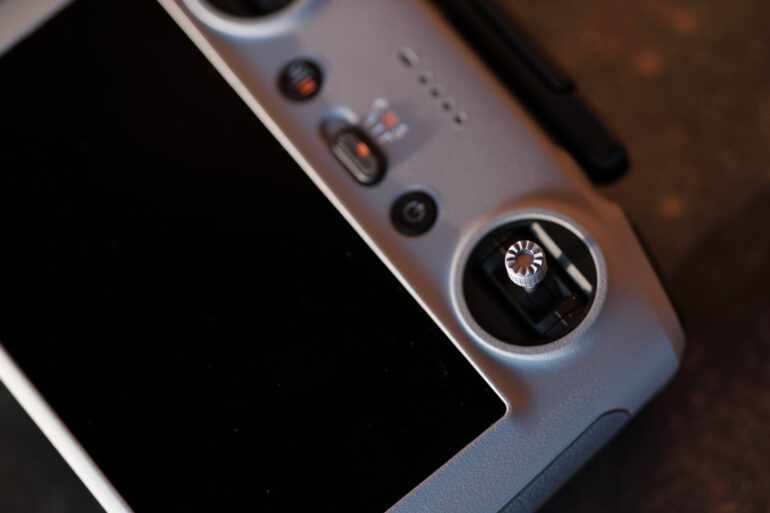
Depending on your selected kit, the DJI Mini 4 comes with either the DJI RC-N2 or the DJI RC 2 controller. The biggest difference between the two is that the N2 doesn’t have a built-in screen and requires plugging into a smartphone to operate. The control system is comfortable, with some nice shortcut buttons that allow you to fly with very little use of the touchscreen.
Build Quality
The Mini series must stay under 249 grams, so don’t expect super thick, heavy materials. The DJI Mini 4 is made with lightweight plastic. I wouldn’t expect the drone to survive a fall from 400 feet, though my own DJI Mini 2, which has a similar lightweight plastic feel, recently crashed into a bed of leaves from about 20 feet up and didn’t even break a propeller.
I always recommend picking up DJI Care, which covers damage beyond the original warranty. There’s a small fee if you need a total replacement or the drone flew away and you lost it entirely. DJI Care just replaced my entire Mini 2 after I fried the electronics this summer, so when I buy my next drone, I’ll certainly be factoring DJI Care into the cost.
Focusing
Everything from one meter to infinity is in focus on this drone. That means there are really no focusing challenges here, though I still recommend tapping on the subject to be sure the focus is locked in the correct place.
Ease of Use
The Mini series is how I learned to fly a drone, and the DJI Mini 4 Pro is even easier to use thanks to upgraded obstacle sensing. On the first flight, the DJI app walks new pilots through the different controls. That tutorial is also available anytime from the settings menu.
With Omni-Directional obstacle sensing, the drone will hoover or brake to avoid obstacles. That means even if you are flying manually, the drone won’t let you fly into a detectable object (unless you turn the sensors off). The screen will flash a warning and beep when you are near an obstacle.
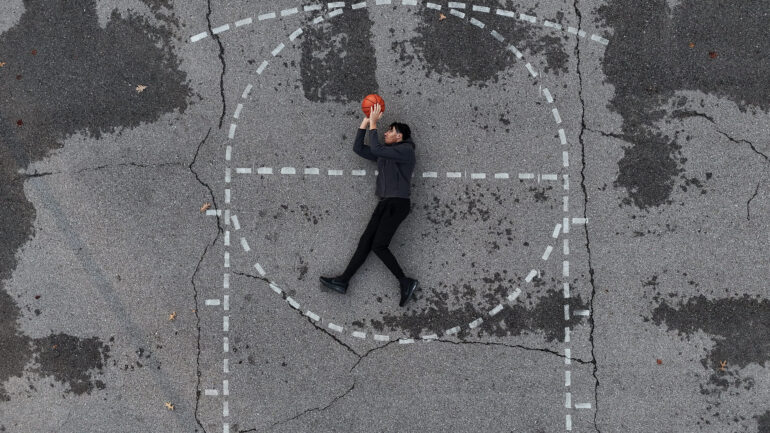
Obstacle detection is a huge safety feature, especially with automated flight modes. Without obstacle detection, the automated flight modes that create some pretty cool videos without experience should be relegated only to wide-open fields. But even as a stills photographer, I loved the extra safety of having that obstacle detection. If the drone loses connection with the controller, for example, it’s programmed to fly back to the home point. Losing connection with a drone that doesn’t have obstacle detection and having it fly back automatically is a terrifying experience.
However, new pilots need to know that obstacle detection isn’t foolproof. The sensors can miss smaller objects, and they also don’t work at very high speeds. Omni-directional sensing should always be used while still maintaining a line of sight on the drone and watching for potential obstacles. Don’t let the new sensors give you a false sense of security.
One of the reasons I chose DJI as my own drone system is that several safeguards are built in. The drone won’t allow you to fly into protected airspace (without unlocking the area with a special license), and you’ll also receive warnings if an aircraft is in the area. The safety settings also allow you to limit the drone’s height to comply with local regulations.
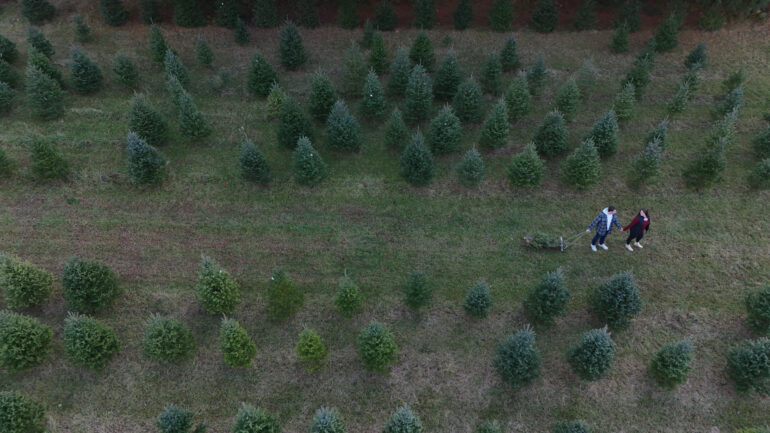
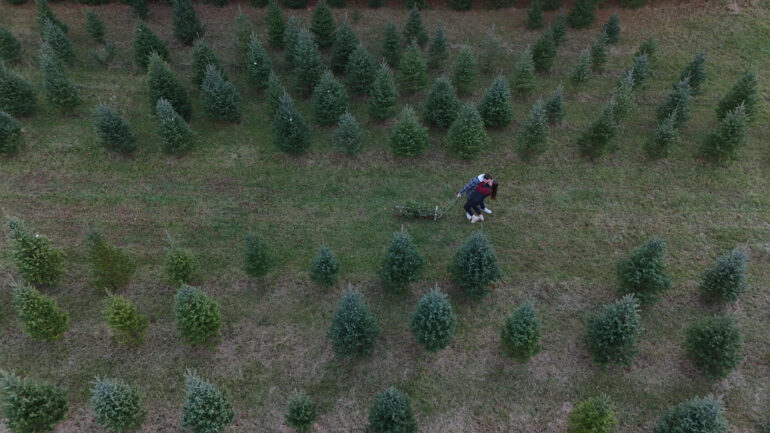
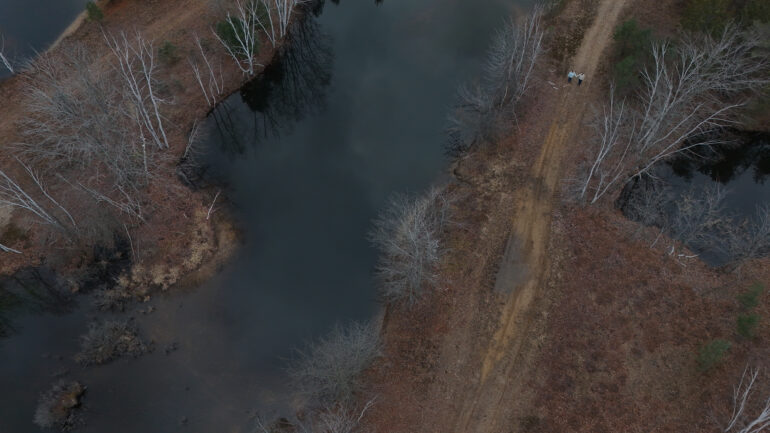
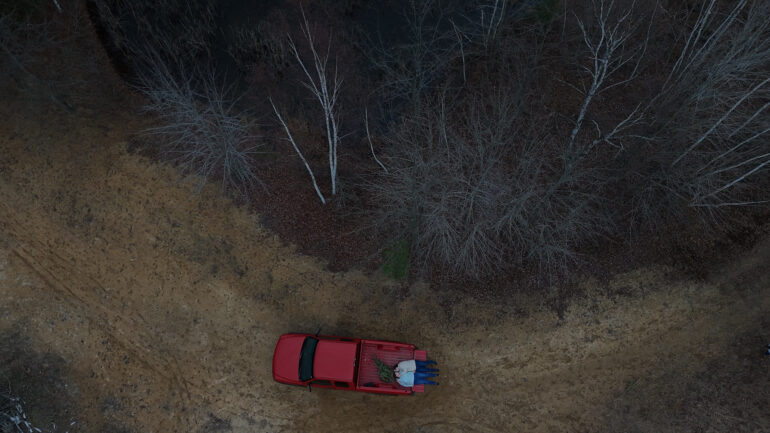
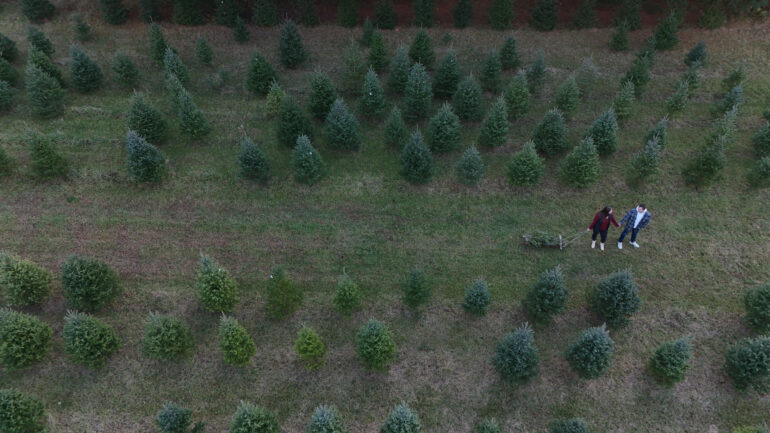
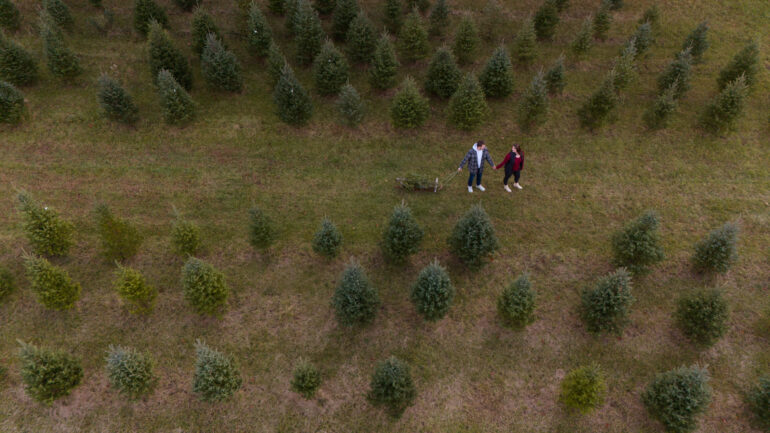
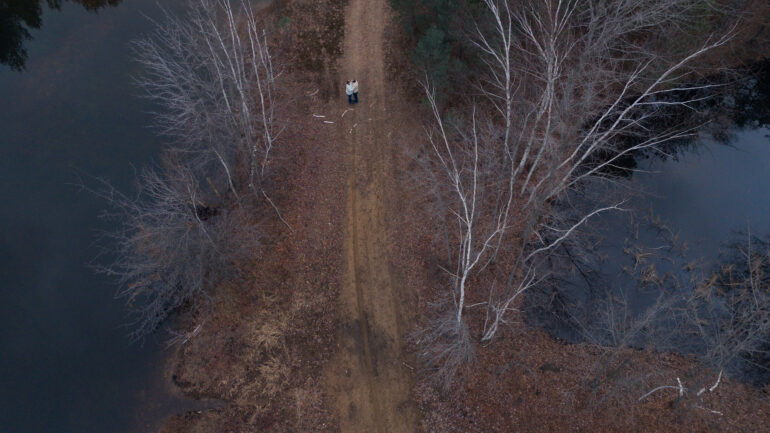
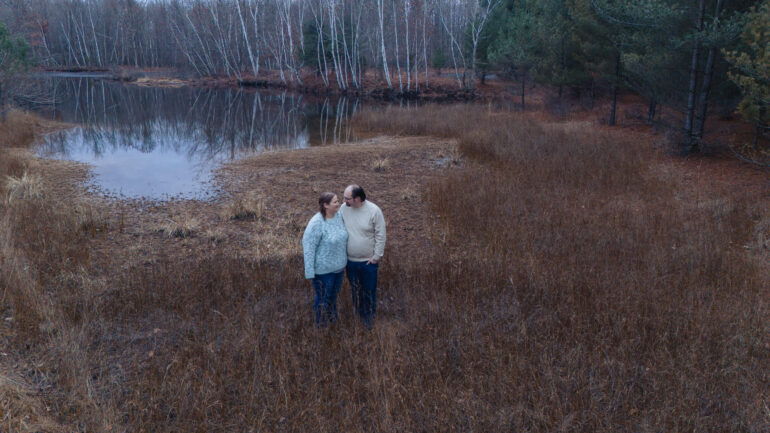
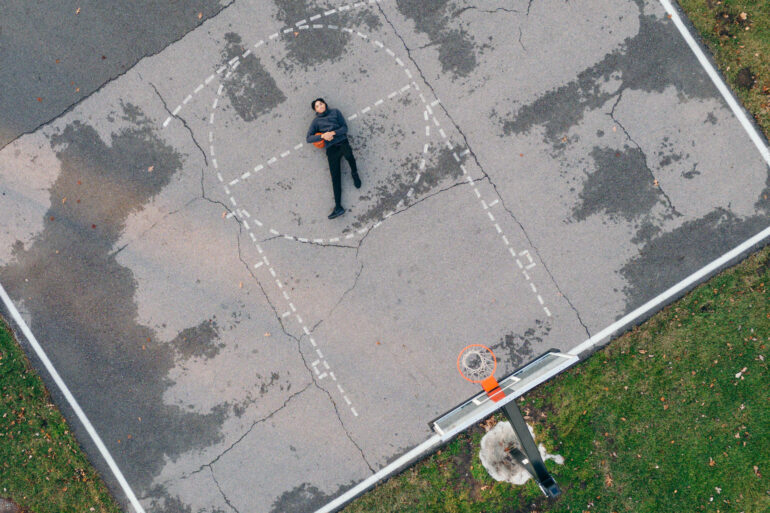
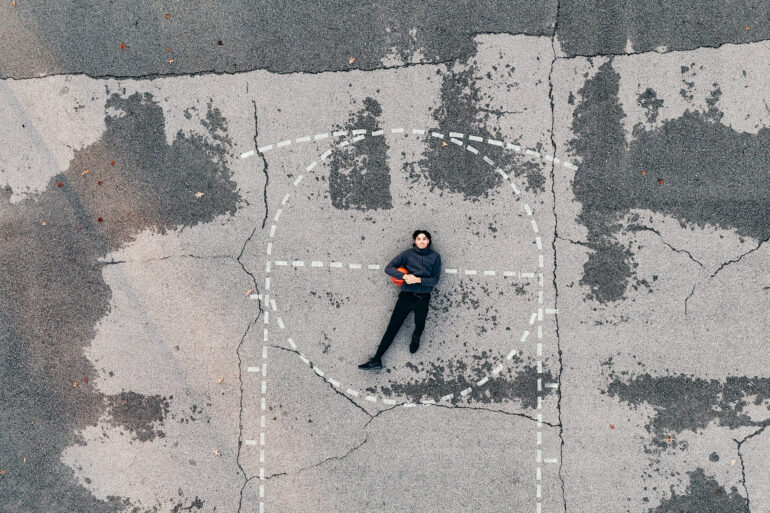
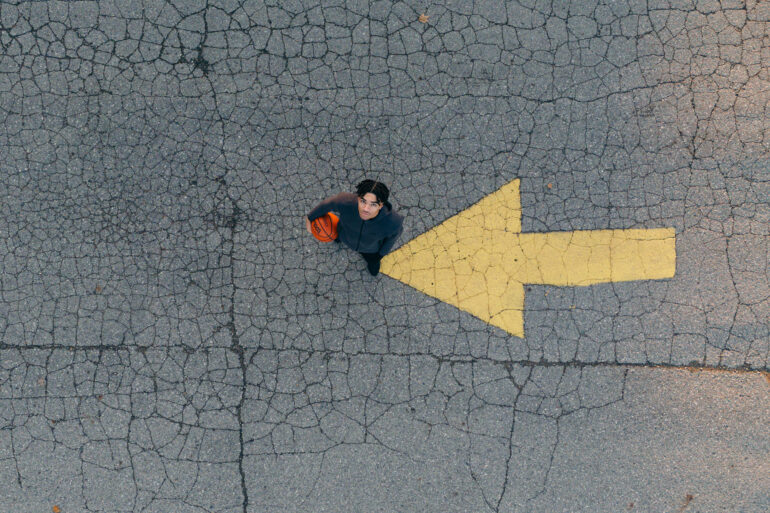
DJI has also continued to improve the battery life of the Mini series, with the Mini 4 Pro rated up to 34 minutes. I had plenty of flight time to take some aerial portraits at the end of a regular portrait session without getting a low battery warning. Video users and flights beyond roughly half an hour will want extra batteries. Or, there is the option to upgrade to the Intelligent Flight Battery (which is not sold or usable in Europe), but that increases the drone’s weight, which means registering.
The DJI Mini series is one of the easiest drones for beginners. The Mini 4 Pro expands on that by adding obstacle detection in all directions. While new pilots will still need to learn things like local regulations, drone safety, and aerial photography skills, the Mini 4 Pro has a lot of newbie-friendly features.
Metering
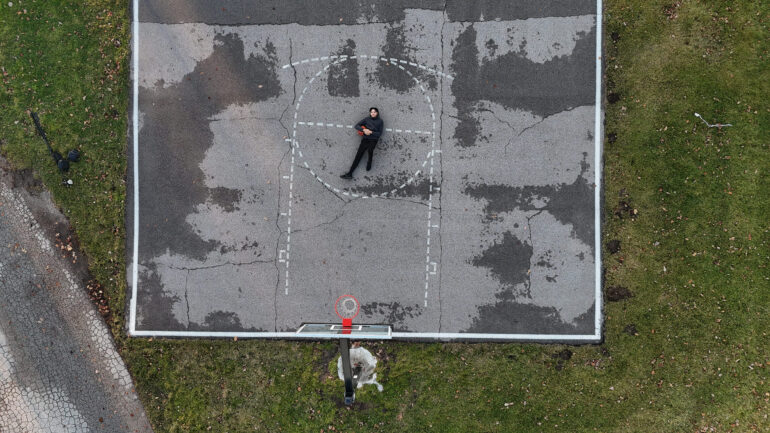
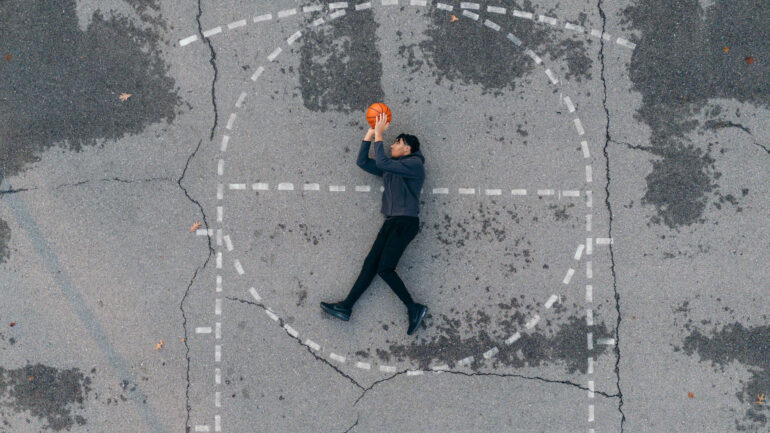
Metering is always tricky with aerial photography; white objects like sidewalks skew the metering, as will dark objects like blacktop. Sometimes, the Mini 4 Pro got the exposure just right. Typically, I wanted to use the Pro mode with the manual camera settings or at least the exposure compensation.
Image Quality
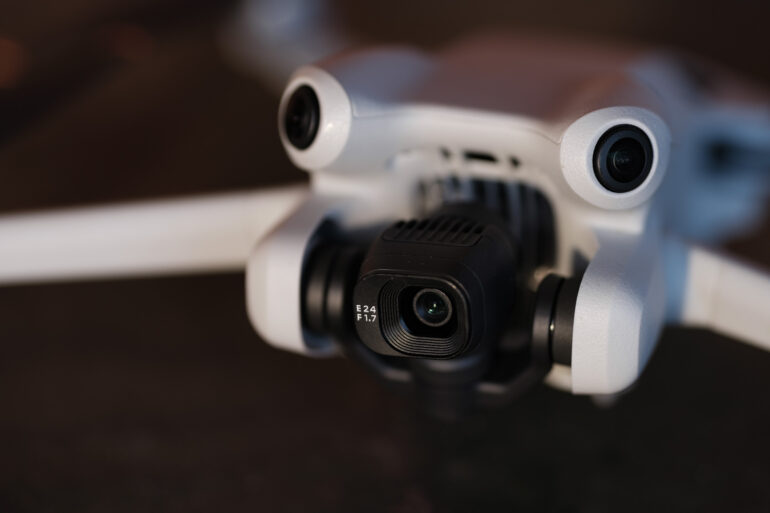
Like the DJI Mini 3 Pro, the Mini 4 Pro uses a 1/1.3-inch Quad Bayer sensor. The default resolution is 12 megapixels, but the Quad Bayer design means that it can divide each of those megapixels into four, effectively creating a 48-megapixel mode. Like the earlier models, the Mini 4 Pro is like a smartphone camera with wings without an upgrade in the sensor. The image quality isn’t the best, but that doesn’t mean you can’t snap award-winning photographs with some creative use of perspective. The key is to limit it to the base ISO.
JPEG Quality
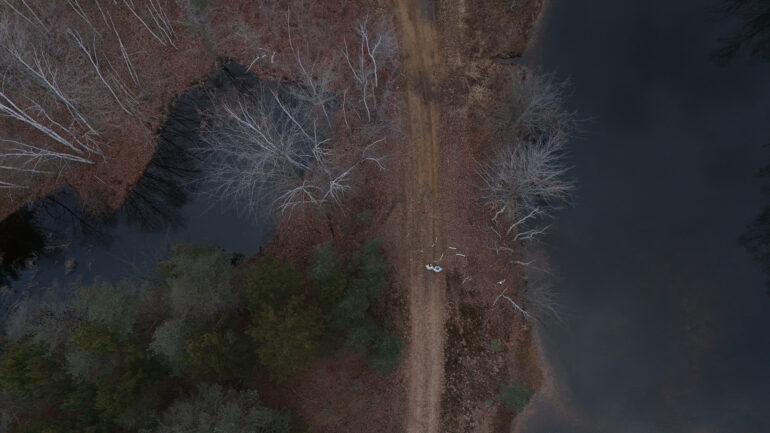
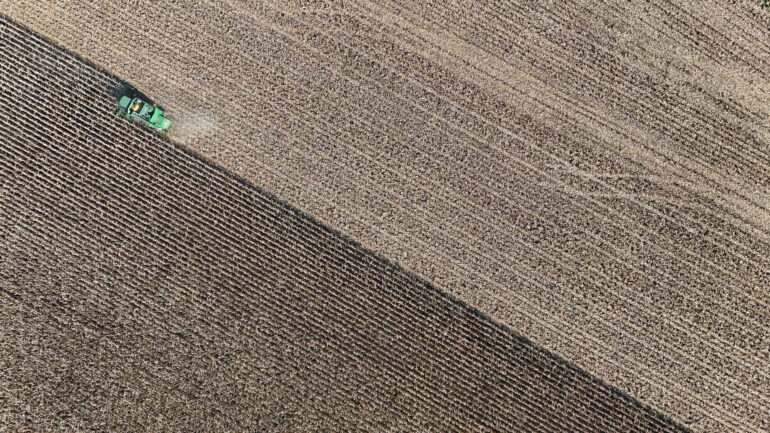
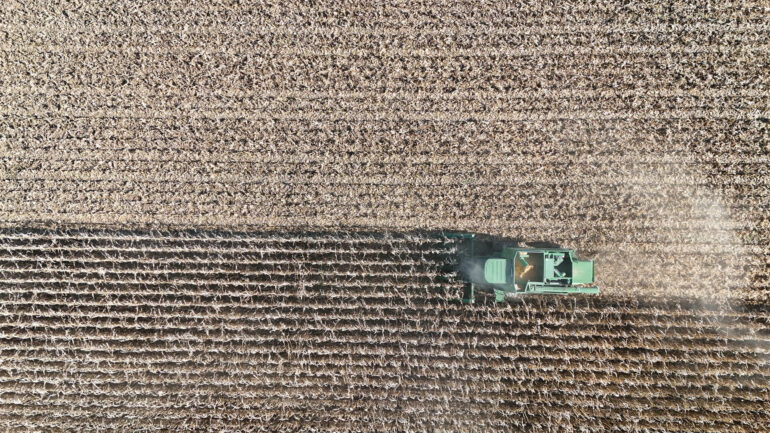
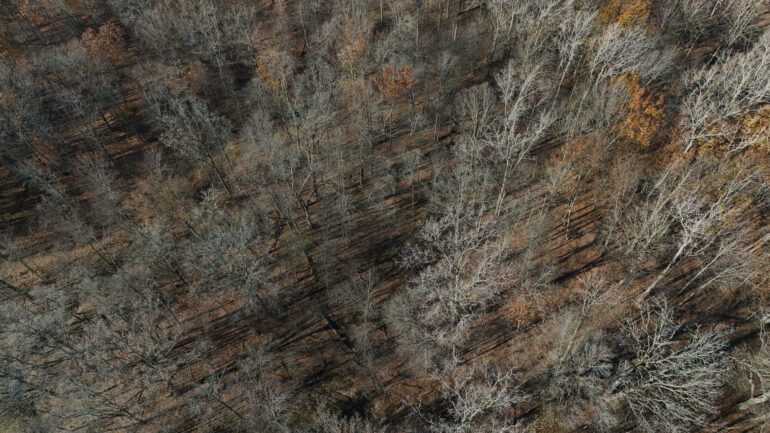
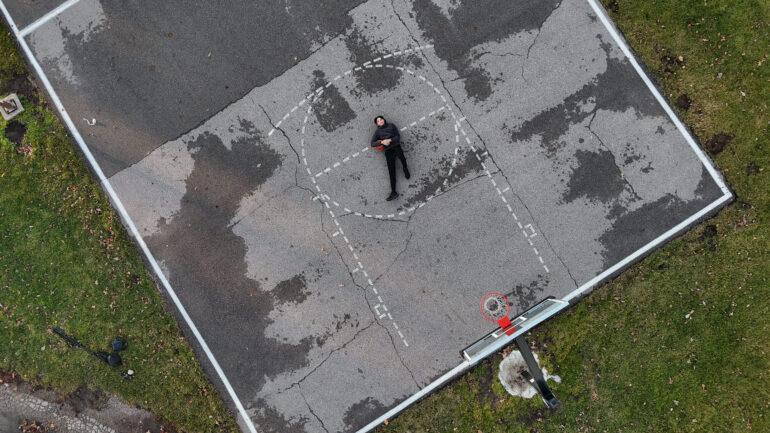
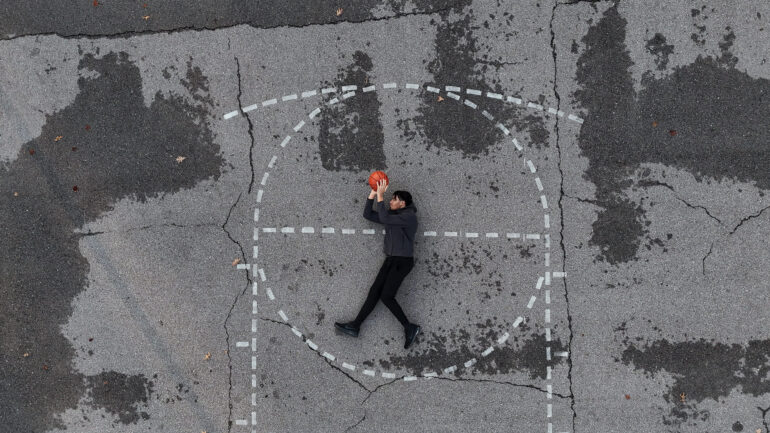
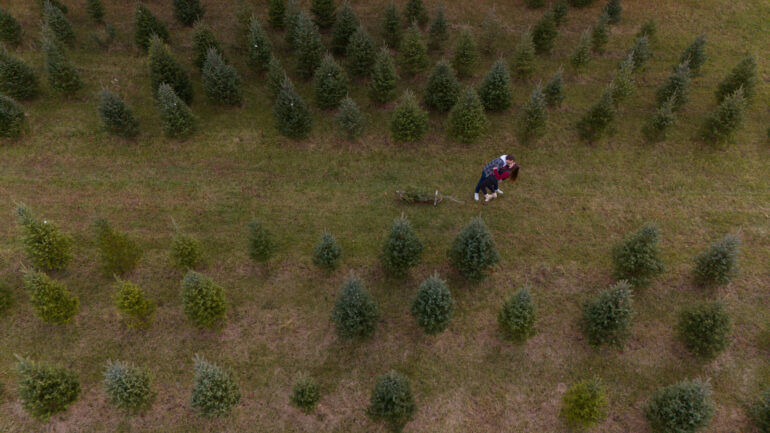
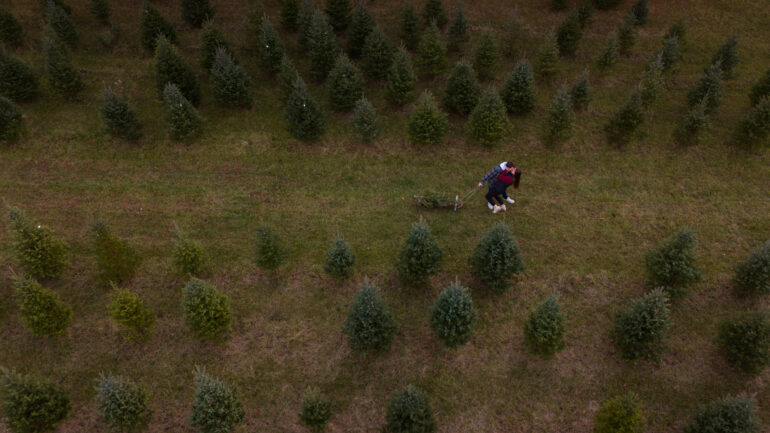
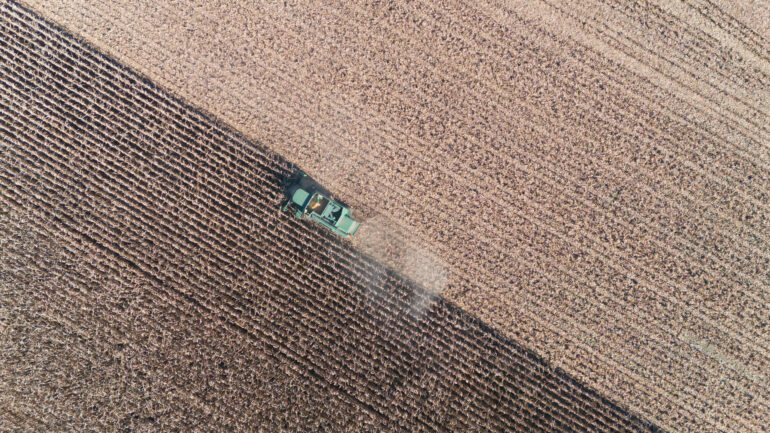
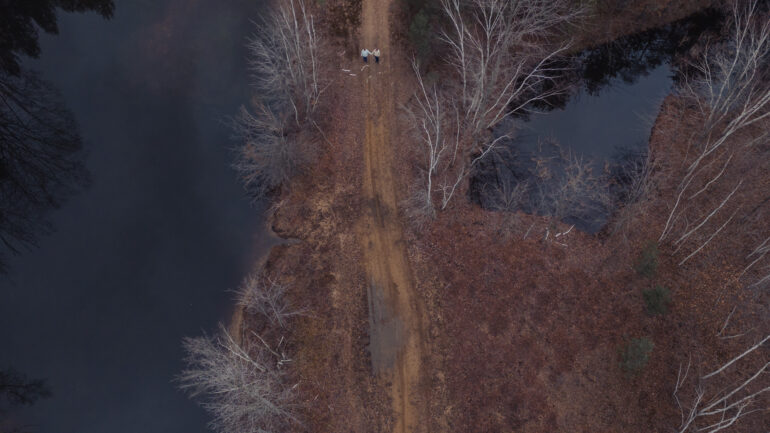
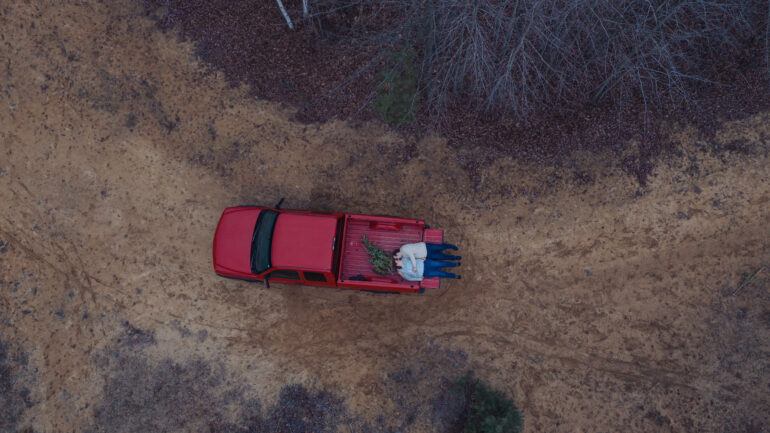
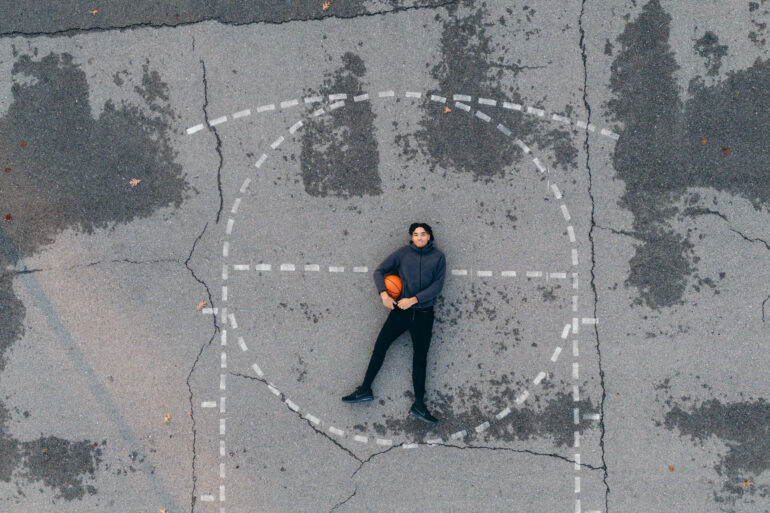
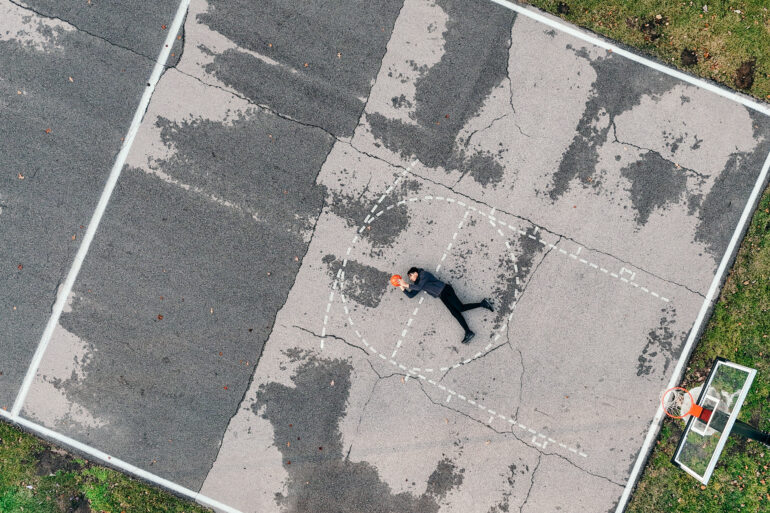
The JPEGs coming from the DJI Mini 4 Pro are bright and colorful and show off the drone’s dramatic perspective. Viewing the entire photo, there’s a lot to love with excellent color and contrast.
However, view the images at 100 percent, and you’ll see why I call the Mini series a smartphone with wings. The image quality isn’t terrible, but it’s more in line with a good iPhone than a mirrorless camera. That, of course, is to be expected from a compact, budget-friendly drone. If you want to pixel peep, you’ll be happier with a Mavic series drone.
High ISO Output
While, in theory, a 48-megapixel image should look better when viewed at 100 percent, that’s not exactly the case with the Mini 4 Pro. The high-resolution mode introduces more noise, even when shooting at the lowest possible ISO 100. In the 48-megapixel mode, I spotted color noise even at ISO 100. The 48-megapixel mode creates more resolution, but it doesn’t create more detail because those details are lost in noise. The images also tended to appear more soft than in the 12-megapixel mode.
I actually preferred the image quality coming from the default 12-megapixel mode. The 48-megapixel mode is there if you’re planning on making a much bigger print, but fewer pixels means larger pixels and less noise and the base ISO. While the default resolution leaves more wiggle room, there’s a big jump in noise between ISO 400 and ISO 800. I would keep the drone at ISO 400 or less. On a regular camera, this would be terrible news. But, with the restrictions to flying at night and the fact that the camera is mounted on a gimbal, most pilots won’t need to raise the ISO.
RAW File Versatility

For starters, the RAW files appear about one stop underexposed when compared to the JPEGs. While it’s better to be underexposed than overexposed, it’s still rather annoying to have to edit the exposure on every image. There are at least two stops of wiggle room on underexposed images. Highlights are more difficult to recover — if you blow out the sky, chances are, you won’t be able to get those details back.
Extra Image Samples
From day one, The Phoblographer has been huge on transparency with our audience. Nothing from this review is sponsored. Further, lots of folks will post reviews and show lots of editing in the photos. The problem then becomes that anyone and everyone can do the same thing. They’re not showing what the lens can do. So we have a section in our Extra Image Samples area to show edited and unedited photos. From this, you can make a decision for yourself.
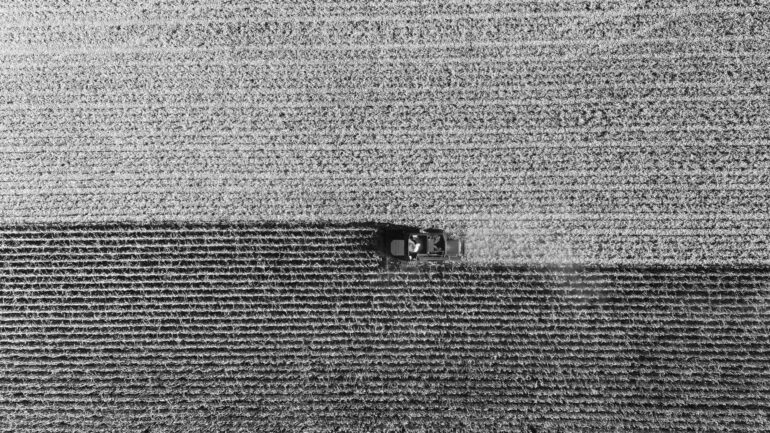
Unedited

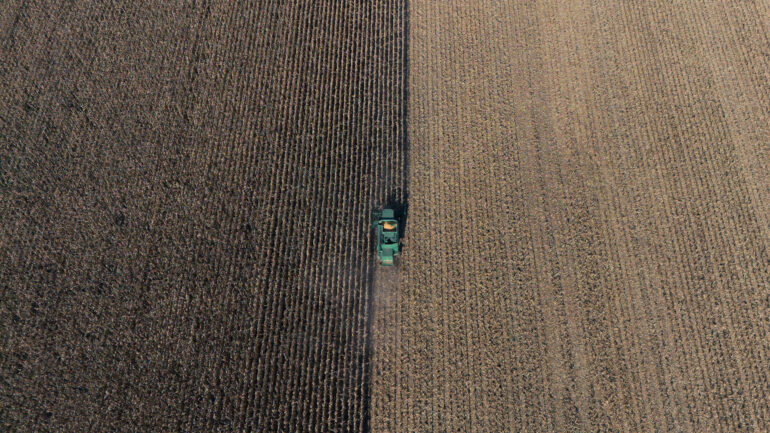
Edited


Who Should Buy It?
The DJI Mini 4 Pro is an excellent choice for new pilots. The drone is among the easier options to fly, and the added obstacle detection adds another layer of protection. It’s compact enough to travel with. While the drone sits at an affordable price point, it’s still packed with tons of DJI’s best features, including safety and learning tools and advanced options like RAW shooting and manual modes.
While excellent for beginner and budget pilots, the images coming from this drone are closer to smartphone quality than mirrorless quality. That’s okay for beginners and budget flyers, but some pros and pixel peepers will want to save up for the DJI Mavic 3 or Mavic 3 Pro.
Tech Specs
The DJI Mini 4 Pro has the following key tech specs (visit DJI for the full list):
- Takeoff Weight: < 249 g. Standard aircraft weight (including the Intelligent Flight Battery, propellers, and a microSD card). The actual product weight may vary due to differences in batch materials and external factors. Registration is not required in some countries and regions. Always check local laws and regulations before use. With the Intelligent Flight Battery Plus*, the aircraft will weigh more than 249 g. Always check and strictly abide by local laws and regulations before flying. The Intelligent Flight Battery Plus is not sold in Europe.
- Dimensions: Folded (without propellers): 148×94×64 mm (L×W×H)
- Unfolded (with propellers): 298×373×101 mm (L×W×H)
- Max Ascent Speed: 5 m/s (S Mode), 5 m/s (N Mode), 3 m/s (C Mode)
- Max Descent Speed: 5 m/s (S Mode), 5 m/s (N Mode), 3 m/s (C Mode)
- Max Horizontal Speed (at sea level, no wind): 16 m/s (S Mode), 12 m/s (N Mode), 12 m/s (C Mode). The max horizontal speed is subject to dynamic local restrictions. Always abide by local laws and regulations when flying.
- Operating Temperature: -10° to 40° C (14° to 104° F)
- Image Sensor: 1/1.3-inch CMOS, Effective Pixels: 48 MP
- Lens: FOV: 82.1°
- Format Equivalent: 24 mm
- Aperture: f/1.7
- Focus: 1 m to ∞
- ISO Range Photo: 12 MP 100-6400; 48 MP 100-3200
- Shutter Speed: 12MP Photo: 1/16000-2 s (2.5-8 s for simulated long exposure); 48MP Photo: 1/8000-2 s
- Max Image Size: 8064×6048
- Still Photography Modes: Single Shot: 12 MP and 48 MP
- Burst Shooting: 12 MP, 3/5/7 frames, 48 MP, 3 frames
- Automatic Exposure Bracketing (AEB): 12 MP, 3/5/7 frames at 0.7 EV step; 48 MP, 3 frames at 0.7 EV step
- Timed: 12 MP, 2/3/5/7/10/15/20/30/60 s; 48 MP, 5/7/10/15/20/30/60 s
- Photo Format: JPEG/DNG (RAW)
- Sensing Type: Omnidirectional binocular vision system, supplemented with a 3D infrared sensor at the bottom of the aircraft
The Phoblographer may receive affiliate compensation for products purchased using links in this blog post.
Get rid of the ads!
Did you enjoy reading this article as much as we enjoyed writing it? There's a way to support us and our reporting, getting ad-free navigation and more as a bonus. Subscribe to us for less than a coffee per month —just $3.99— or take advantage of our yearly subscription with a hefty discount for only $25.- An ad-free experience
- A free mystery box for Lightroom or Capture One
- All the books in our store
- 20% discount on Capture One
- 30% discount on Imalume Photo Theft Protection
- 20% off Herbs and Kettle Tea Company.
- 20% off your order from MPIX printing services.
- 5% off Viltrox Products via their eCommerce store.
- 10% off all film developing, printing and scanning services from Blue Moon Camera and Machine
- 15% off 7Artisans products: The lens and accessory maker is offering a sweet discount for Phoblographer's readers.