
One of the best things to do when you get a brand-new camera is night photography. Sure, you can do it at night in the middle of the desert. But the frenetic pace of big cities also lends itself to adapting to what’s in front of you. It presents a fascinating challenge for your brand-new camera and can fuel you creatively in ways that we can’t even explain. So here are some tips on shooting night photography and how Panasonic cameras can help you make the most of the experience.
This piece is presented in partnership with Panasonic Lumix. We’ve independently and ethically reviewed all the products in this post already without sponsorship. And we worked with them to recommend a few key gems to you.
Recommended Settings for Night Photography
Here are a few of our recommended settings for shooting night photography in big cities.
- Keep your ISO raised up to at least 1600. Though Panasonic Lumix cameras have some of the best image stabilization that we’ve tested, we don’t expect most beginners to know how to do things like controlling their breath while shooting photos. Your ISO is the overall sensitivity that your camera has to the scene in front of you. Think of it as your standard salad before you put dressing and other toppings inside — but you’re choosing your own variant of what the standard salad is. Pure greens is like ISO 100 while ISO 1600 takes it to the next level with greens, tomatoes, onions, etc.
- Trust us, shooting at a higher ISO is organically much better than what you’d get with your smartphone. You’re using a full-frame camera or a Micro Four Thirds in the case of Panasonic’s options. You’re probably shooting your photos to put them online. But with a dedicated camera, you can think so much larger. Consider printing them — which is something you’d never really want to do with smartphone cameras. A print is a far different experience — get people together to come have them look at them in person and stare at them.
- Shoot with a wider aperture on your lens. That’s a number that is signified by an f and 3.5 or 1.8 — specifically, they’re either whole numbers of decimal points. A wider aperture is a lower number like f1.4. It also gives you a blurry background and lets more light into the scene.
- Compared to your smartphone, the aperture (otherwise known as an f-stop) is simulated via processing via the computer inside the smartphone. With a dedicated camera, you’ve got much more control here. More importantly, it looks better too.
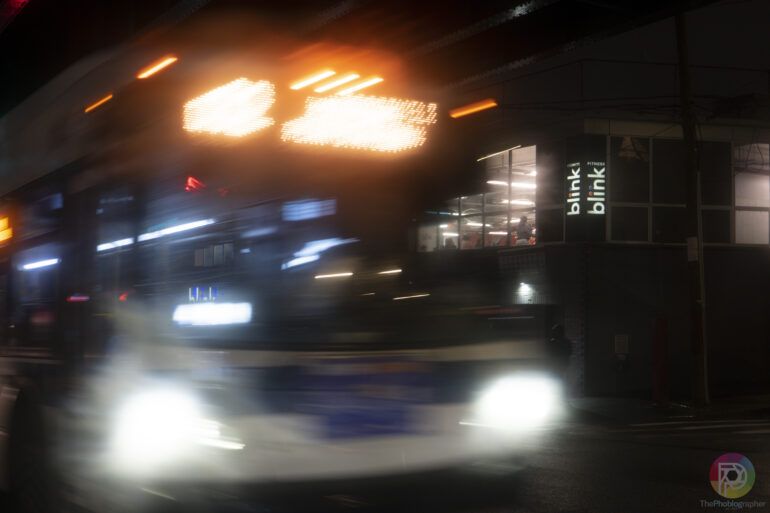
- Your shutter speed is set in fractions of seconds. Most people can’t handhold a camera and not get blurry photos slower than 1/60th of a second even with image stabilization. So make sure that you’re shooting at a faster shutter speed. Fast than 1/60th of a second, for example, is 1/1000th of a second. You can audibly hear these differences with the shutter.
- Most photographers would tell you to just do it in post-production, but we think you should get it right in-camera. With that, we’re discussing white balance. Panasonic cameras have a lot of symbols that are preset to get a specific color in your photos. Some look warmer (more orange) while others are cooler (more blue in tone.) At night, try to go for something Tungsten (3200K if setting manually) or Daylight (5500k if setting manually.) They’ll both give you very cinematic effects. However, sometimes you want something in between.
- Panasonic cameras also have preset color setups like CineLike V2 or D2. These can further customize your looks and palette. Think of these like adding a preset to your photos before you shoot them. There’s also Real Time LUT.
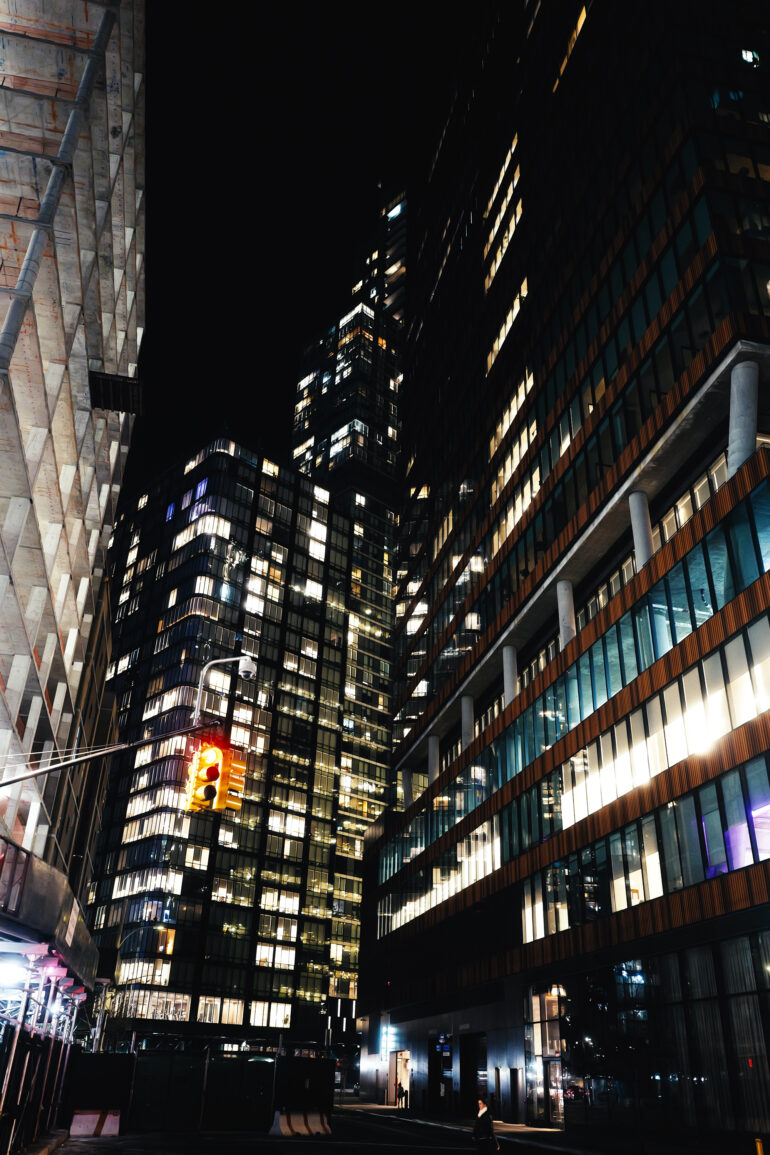
Shooting Wide (And Why It’s Best)
Shooting photos with a wide-angle lens is one of the best things you can do when shooting night photography. Part of the reason for this is because it lets you take in the vast landscape around you. But the more scientific reason is that it lets you shoot at a slower shutter speed. The reason for this is called the reciprocal rule of shutter speeds — which states that your shutter speed should be, at a minimum, the reciprocal of your lens to get a blur-free photo. So a 50mm lens, per se, would need to be shot at 1/50th. Of course, image stabilization in Panasonic cameras and more can help.

Because of this and the fact that it mimics the way I see, I tend to reach for a 35mm equivalent lens. With Micro Four Thirds, that’s around a 20mm lens. With full frame, the 35mm f1.8 calls to me.
For the record, too, I like to shoot my images with a bit of a slower shutter speed as I really like blur in my images. That aesthetic is currently very fashionable.
Compose by Color and Light
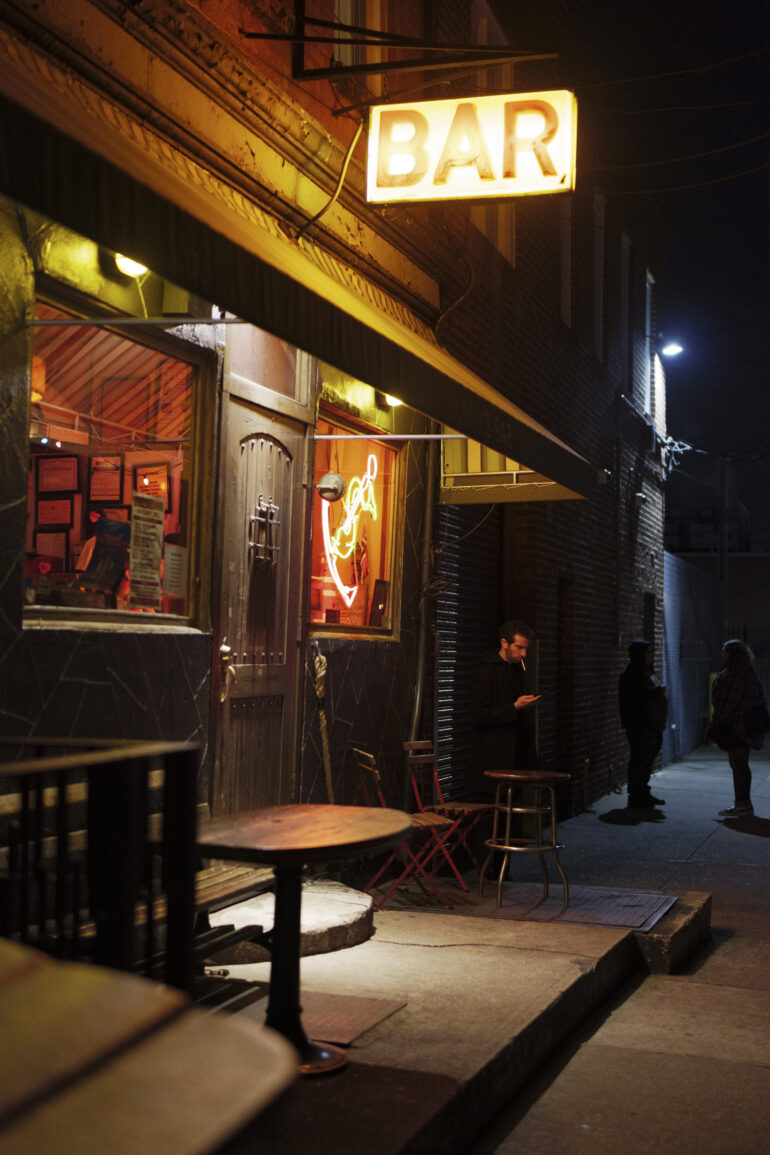
When you’re shooting photos at night, don’t necessarily think about just the rule of thirds. Consider composing your scene by color and light. After you’ve set your white balance to what you want, this will become far more clear. Typically in cities, there isn’t a whole lot of color — or it’s separated very clearly at night. When you set the white balance, that changes a bit. You can suddenly see the way the camera sees and start composing scenes based on how certain colors stand out. The same can be done with points of light as they create visually-fascinating lines and contrast.


People Detection
One of the favorite things of so many people to do at night is street photography. For that, Panasonic cameras have human and animal detection built in. But you can set it to just focus on humans, their body overall, or their faces and eyes. Turn this on at night and use it in conjunction with choosing the focusing point. Combine that with composing by color and light.
A fun thing to do is to look at a scene and admire it for what it is. Then wait for people to move in and out of it to see what you get.
Exposure Preview: Use it or Not?
By default, cameras are set to help you see what sort of exposure you’d get from the camera. This is called exposure preview. However, it affects autofocus performance in low light when doing night photography. This can mean that you actually do miss the shot at times. Instead, you can read the light meter on the side of the camera’s screen or use aperture priority, which will help you overall by only letting you control the aperture and other settings that you want to be locked.
Keep these in mind when shooting night photos, and you’ll see the magic that your Panasonic cameras can help you produce.
Get rid of the ads!
Did you enjoy reading this article as much as we enjoyed writing it? There's a way to support us and our reporting, getting ad-free navigation and more as a bonus. Subscribe to us for less than a coffee per month —just $3.99— or take advantage of our yearly subscription with a hefty discount for only $25.- An ad-free experience
- A free mystery box for Lightroom or Capture One
- All the books in our store
- 20% discount on Capture One
- 30% discount on Imalume Photo Theft Protection
- 20% off Herbs and Kettle Tea Company.
- 20% off your order from MPIX printing services.
- 5% off Viltrox Products via their eCommerce store.
- 10% off all film developing, printing and scanning services from Blue Moon Camera and Machine
- 15% off 7Artisans products: The lens and accessory maker is offering a sweet discount for Phoblographer's readers.