
Modern cameras and phones are so incredibly good at capturing photos that we don’t really need post-production. Sure, it can help. But chances are that if you’re just looking for some likes on social media platforms you can post a photo straight from the camera. So we’re creating a short tutorial on how to shoot your best sunset photo without needing to do any Photoshop or Lightroom edits. When you’re done, you can get back to simply enjoying the sunset and life overall. Are you ready to shoot your best JPEG?
Choose a Place You’re In Love With for Your Sunset Photo
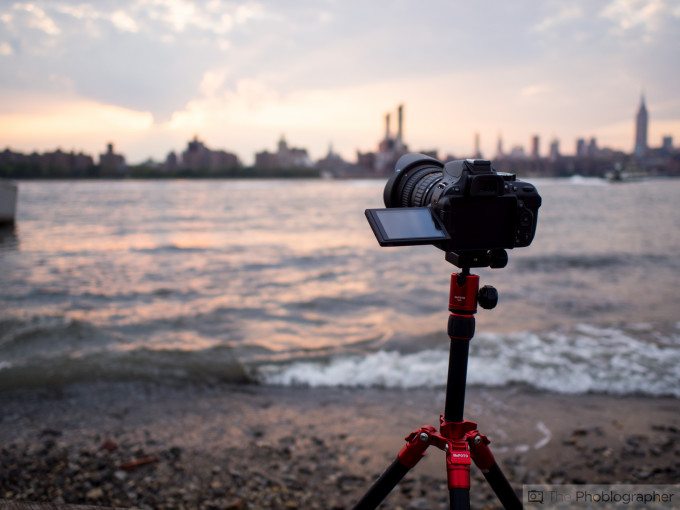
To get a better sunset photo, first start by selecting a spot that’s important to you. Years ago, I loved shooting sunsets at the waterfront in Williamsburg, Brooklyn. But these days, I enjoy going to my friend’s rooftop instead because I get a completely different view and experience. There aren’t tons of other photographers trying to take the same shot as me. And to me, that’s where I can get my best sunset photo. Of course, there are lots of other elements involved but this is all a very personal choice. That’s why it’s so important to choose a place that you’re in love with.
Use the HDR Mode and Special Looks
In-camera, you can shoot a bunch of RAW images for you to just have in case you really want to edit them later on. But otherwise, you can and should shoot for the JPEG. To do that, you should explore the various looks that you camera can give you. Canon cameras have toy camera looks hidden deep in their menus. Fujifilm has them too via both film simulations and various other renders within the drive mode of the camera. Sony has profiles like this too! If you look at the various color render options, you’ll find them with Nikon too. Of course, OM System and Panasonic have them as well. The Panasonic S5 II has a real time LUT feature that lets you mimic the look of various film stocks!
To start, use the camera’s dynamic range expansion or HDR settings. Sometimes the HDR available depends on what ISO you’re shooting your best sunset photo at. So you’ll need to experiment a bit here. Once you shoot a photo, determine whether or not you like what you’ve got and make adjustments. Just remember that you don’t have all that long during the sunset.

These days in NYC, sunset seems to last for a while. Perhaps you live somewhere similar. We’re not going to go into things like using an ND filter or something like that. But we’ve got tons of articles on that.
Worry More About Composition
Now that you know that your camera can pretty much do everything for you. you just have to focus on composition. These days, I’m enjoying using the center focusing point and then rotating or twisting the camera to have the rule-of-thirds intersection points intersect on something particularly important or aesthetically pleasing within the frame. Here are a few other tips:
- Lock the white balance to either 3200k (tungsten) or 5500k (daylight). The former will give you a very orange glow, while the latter will balance out the blues and oranges in the scene with more vividness.
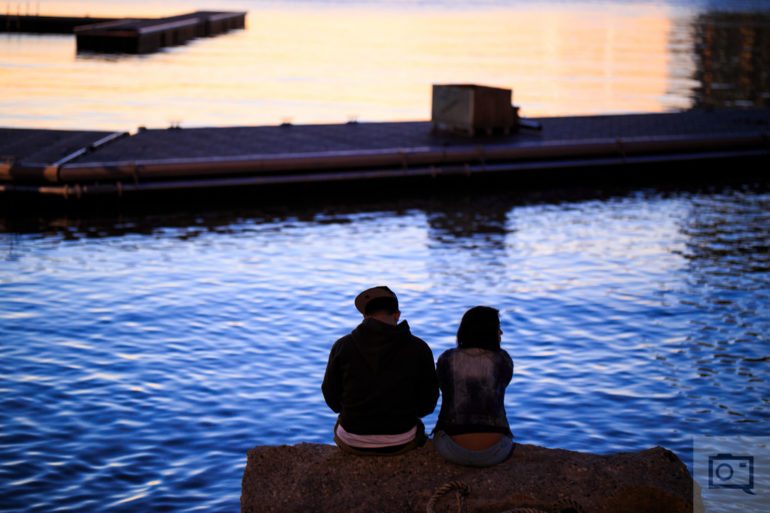
- You don’t need to have a fast shutter speed and a super crisp image. Sometimes there’s camera shake that wasn’t intentional. But intentional camera shakes can be really beautiful! You can make a painterly effect. There’s an example of this being done very obviously earlier on in this article.
- When you compose a shot, turn on your camera’s distortion correction features.

No matter what though, the point here is to not take it too seriously. Don’t be nervous. Just get the shot and trust yourself. But ensure that you’ve got the HDR mode and a scene mode selected beforehand that can render the photo in a unique way. Then just have fun!
Get rid of the ads!
Did you enjoy reading this article as much as we enjoyed writing it? There's a way to support us and our reporting, getting ad-free navigation and more as a bonus. Subscribe to us for less than a coffee per month —just $3.99— or take advantage of our yearly subscription with a hefty discount for only $25.- An ad-free experience
- A free mystery box for Lightroom or Capture One
- All the books in our store
- 20% discount on Capture One
- 30% discount on Imalume Photo Theft Protection
- 20% off Herbs and Kettle Tea Company.
- 20% off your order from MPIX printing services.
- 5% off Viltrox Products via their eCommerce store.
- 10% off all film developing, printing and scanning services from Blue Moon Camera and Machine
- 15% off 7Artisans products: The lens and accessory maker is offering a sweet discount for Phoblographer's readers.