
Do you know how to hold a camera and keep it steady without image stabilization??
If you’re looking for a way to stabilize your camera and finding that image stabilization isn’t enough, then we’ve got some methods for you. Of course, there is the tried and true method of using a tripod. But not everyone always wants to carry one around. We’ve noticed lots of folks just not using the proper methods of doing these things. This is partly because of all the new photographers who have come up in the past few years. With so many lenses and sensors having image stabilization, they think they don’t need to check themselves. The truth though, is that proper camera stabilization starts with you. So we’re getting into the basics today and showing you how to hold a camera.
Breathing: Out or In?
There are different sides to the coin here. I’ve been scolded by men older, lamer, and with something to hide that you should always deflate your lungs when shooting and that army snipers do this. I can tell you that this isn’t necessarily true. But the rationale behind it is pretty logical. Think of a balloon, it doesn’t move around at all when it’s fully deflated. But when it’s filled with air, it can move on its own.
The flip side of this is to breathe all the way in and hold your breath at the top. Of course, you don’t fully inflate your lungs. But if you hold your breath fully, you won’t shake as much.
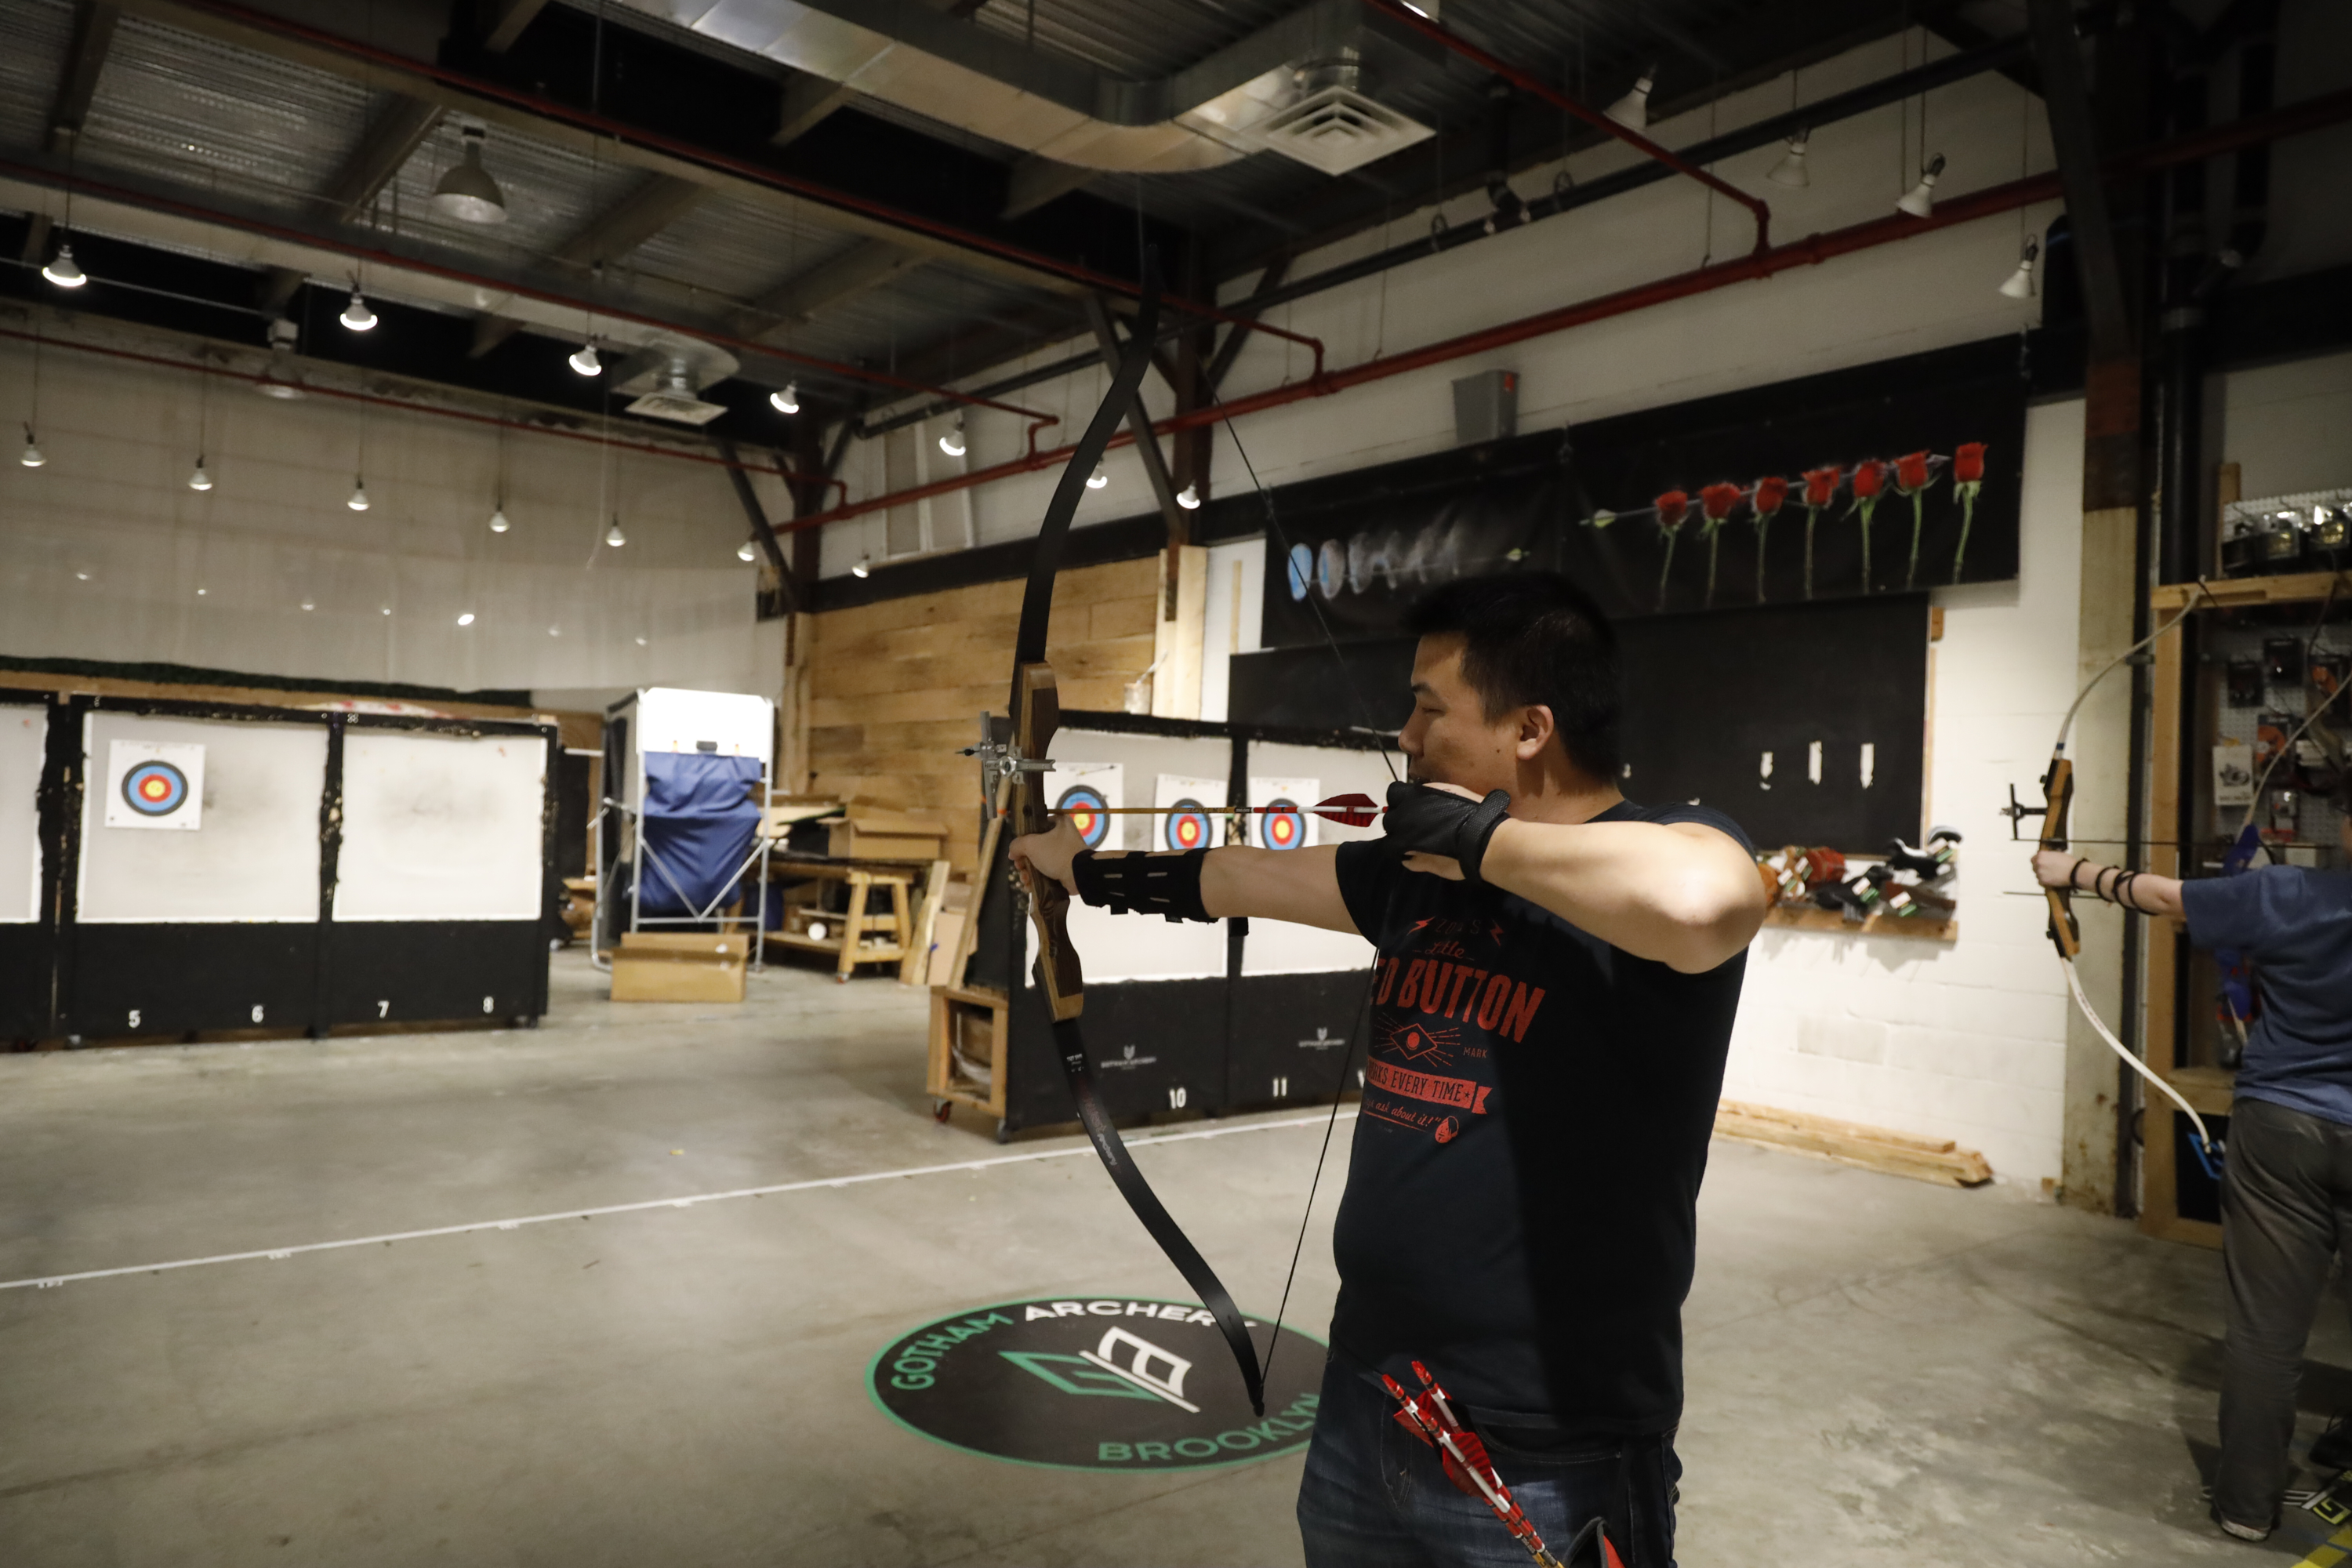
Personally, I go for the latter because it allows me to shoot for a more extended time. I like to relate it to archery. You have a specific stance. Your torso is one way. Your head and back are straight. Your shoulders and your elbows are doing the work in a way. And if you deflate your lungs, pull the string, then aim, you’ll end up sometimes trying to suck air in. That will destabilize you. Of course, the further your target is, the more dramatic the effect. As it relates to photography, the longer the lens you use, the more dramatic the effect. Let this seep in when you think about how to hold a camera next time.
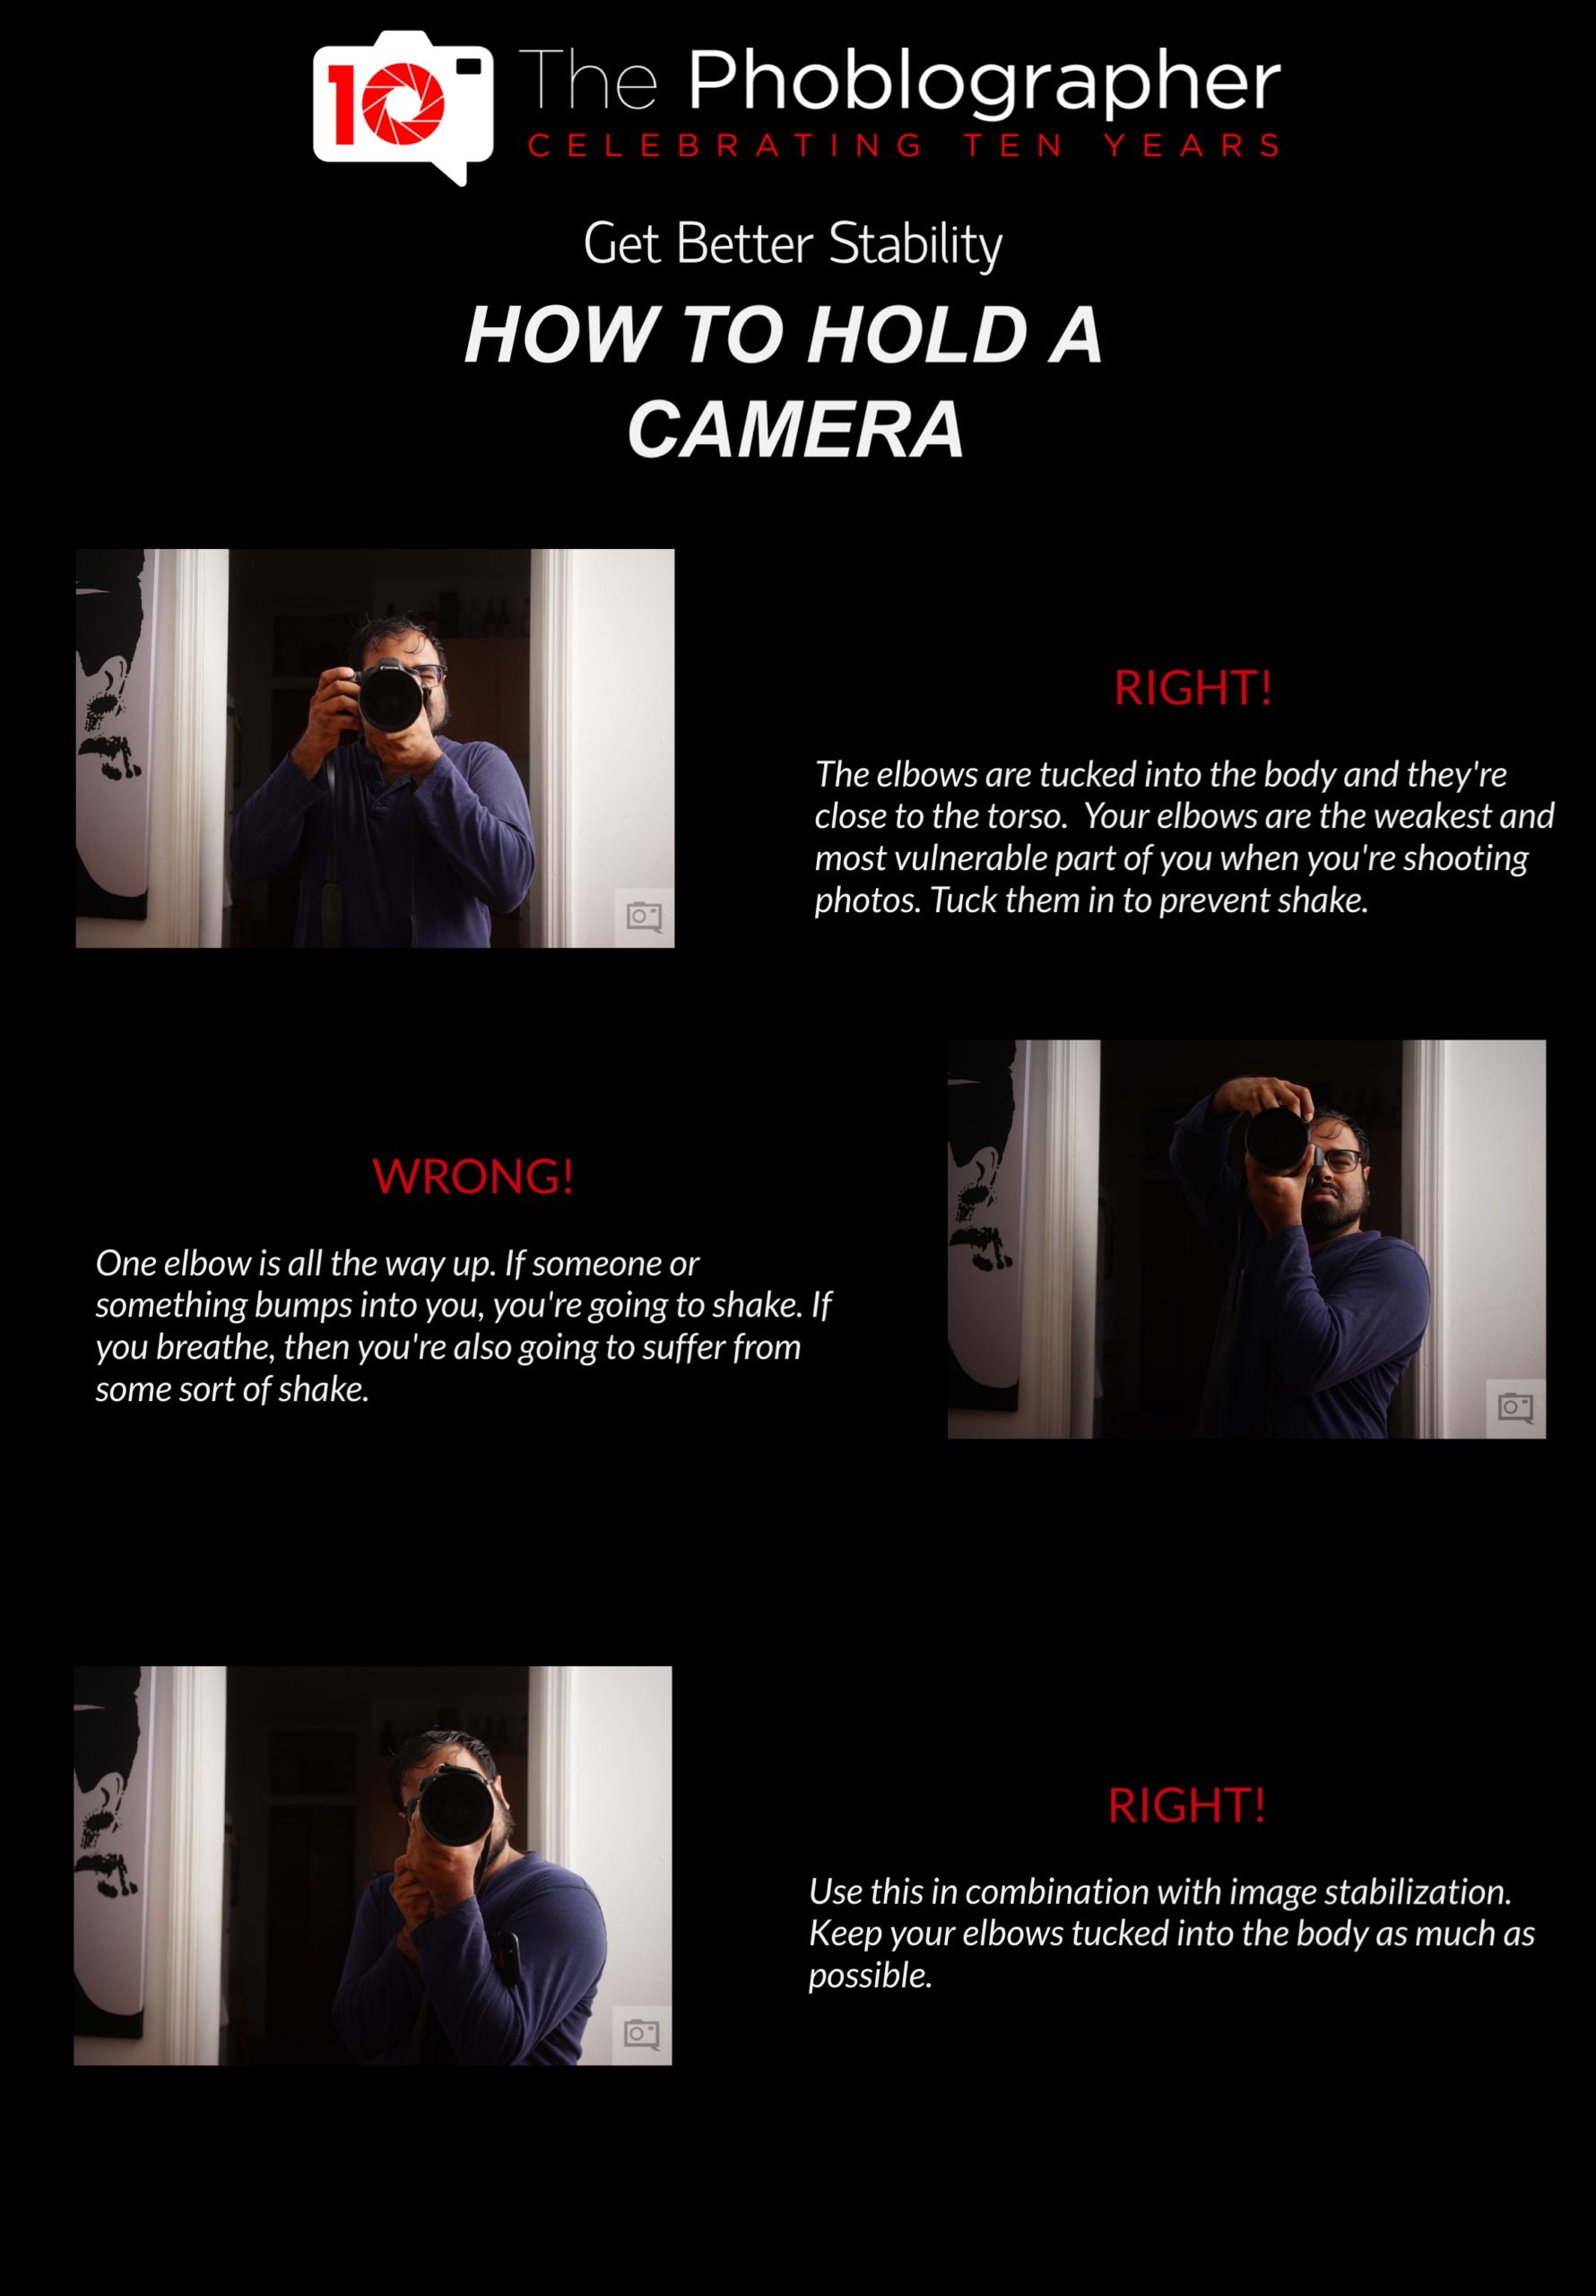
The Elbows
The elbows are critical here. We tell everyone to tuck their elbows all the time. And I can tell you from the experience of shooting in photo pits that your elbows are going to get bumped. Even so, you’re not stabilizing your body. If you tuck your elbows in, they have someplace to rest, and your body is doing less work. When your elbows are relaxed, they shake less. In turn, that means that you shake your camera less. So please, don’t shake your camera :).
Reciprocal Rule of Shutter Speeds
Lastly, we’re going to touch on one big thing: shutter speeds. We summed it up very well in this piece:
The reciprocal rule of shutter speeds states that:
- In order to achieve a stable image that is devoid of camera shake, you must shoot at a shutter speed that is the reciprocal of the minimum of the field of view.
- What does that mean? If you’re using a 100mm lens on a full frame 35mm sensor/film body, then you need to shoot at at least 1/100th to produce an image that contains no camera shake when shooting handheld.
- If you’re shooting with a 100mm lens on an APS-C sensor that has a 1.5x crop factor, then you need to shoot at 1/150th at a minimum. Here, the crop factor is taking into consideration.
- If you’re shooting with a 100mm lens on an APS-C sensor that has a 1.6x crop factor, then you need to shoot at 1/160th at a minimum. Here the crop factor is also taken into consideration.
- Micro Four Thirds shooters need to shoot with a 100mm lens at a minimum of 1/200th because of the crop factor.
The Phoblographer’s Photography Cheat Sheets are made with Visme.
Get rid of the ads!
Did you enjoy reading this article as much as we enjoyed writing it? There's a way to support us and our reporting, getting ad-free navigation and more as a bonus. Subscribe to us for less than a coffee per month —just $3.99— or take advantage of our yearly subscription with a hefty discount for only $25.- An ad-free experience
- A free mystery box for Lightroom or Capture One
- All the books in our store
- 20% discount on Capture One
- 30% discount on Imalume Photo Theft Protection
- 20% off Herbs and Kettle Tea Company.
- 20% off your order from MPIX printing services.
- 5% off Viltrox Products via their eCommerce store.
- 10% off all film developing, printing and scanning services from Blue Moon Camera and Machine
- 15% off 7Artisans products: The lens and accessory maker is offering a sweet discount for Phoblographer's readers.