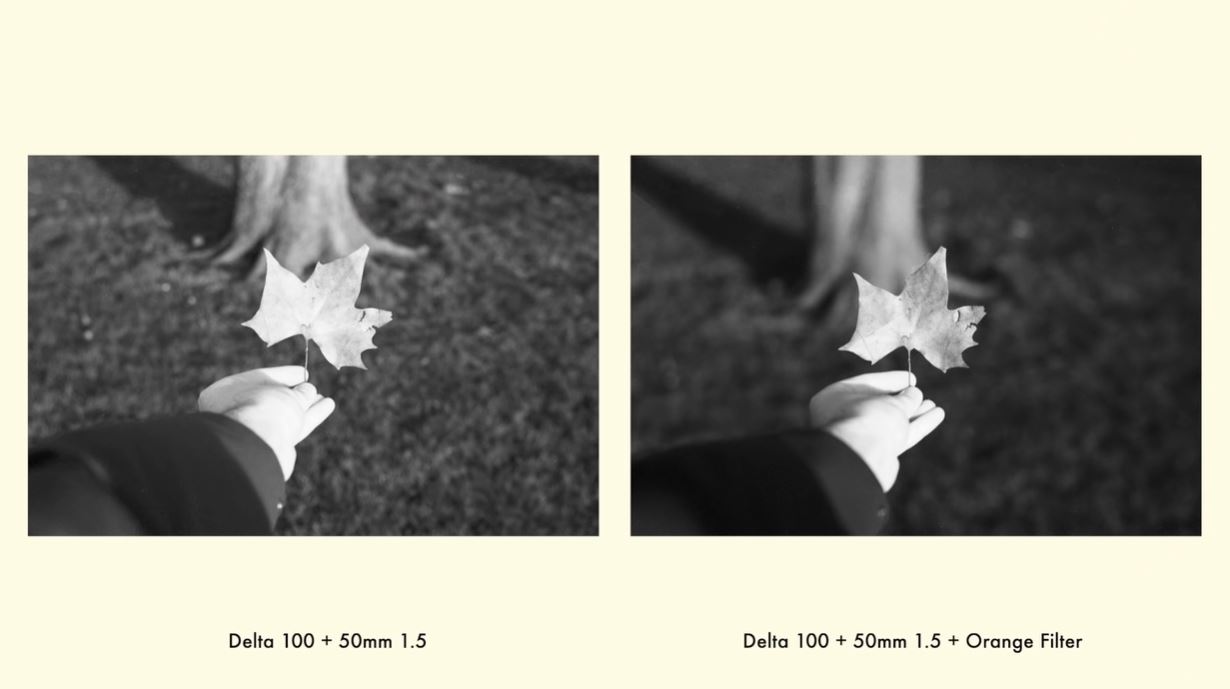
If you’re new to using different color filters for black and white film photography, here’s a quick comparison.
Before the digital days, photographers made use of various filters to produce a big portion of their desired looks in-camera for black and white photography. As we learned in a previous video tutorial, filters allowed them to darken the skies, increase the contrast, or give flowers a more dramatic look against the rest of the foliage. Some may argue that we can simply use our go-to editing software to produce the same effects, since we’re in the digital age. But, if you’re shooting black and white film, filters will still be your best friends and produce the look you want straight from the negatives, potentially minimizing the work you’ll have to do in post. If you’ve yet to use filters for shooting black and white, we have just the video to show what to expect.
Today’s video, by Jonathan Notley, covers some typical situations where you could pop a color filter on your lens when shooting black and white film. For those thinking that color has absolutely no bearing on black and white photography, he says shooting outdoors will prove that idea wrong. If you’ve heard about using color filters for getting monochrome images that pop but haven’t seen in at work in film, Notley’s shoot will provide some ideas.
As he mentioned in his intro, the results you get from a roll of black and white film aren’t completely dependent on how the manufacturer made the film: you can control it using color filters. However, you need to know which color filter to use for which situation or scene. For his video, Notley used a red filter, a yellow filter, an orange filter, and a green filter.

Here are a few reminders before you begin using filters. Make sure you check the filter thread of your camera so you purchase the correct filter size. You also have to account for the camera you’re using; Notley recommends not going for the strongest filter straight away when composing a shot with an SLR camera. You’ll have a hard time, as you’ll be looking through the lens with the filter on. But, if you have a rangefinder you’ll be fine.
Notley explained briefly what the filters do and what kinds of shooting situations each of them is best for. Essentially, they lighten like colors and darken dissimilar colors. This technique is handy in bringing out the color differentiation to the black and white negative, so subjects can stand out more. For example, a red filter is typically used to darken the sky and make the clouds pop in a monochrome shot. Red, orange, and yellow filters lighten warm colors so they appear a brighter shade of gray in black and white. Green filters are typically used to bring out subtle color variations of foliage.
It’s a lot easier to experiment with color filters using digital cameras as you can see the results right away. Hopefully, Notley’s tips and sample photos clearly show how these filters work and how you can use them to create more eye-catching results the next time you shoot with black and white film!
Visit Jonathan Notley’s YouTube channel for more of his photography tips and tutorials.


