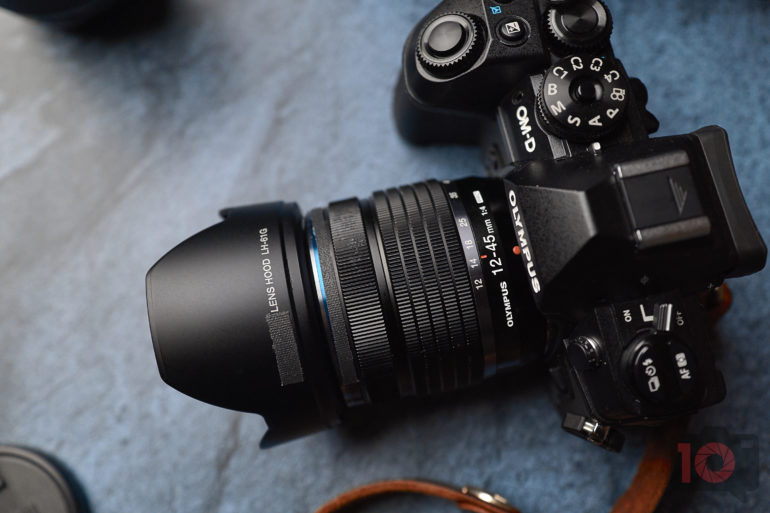
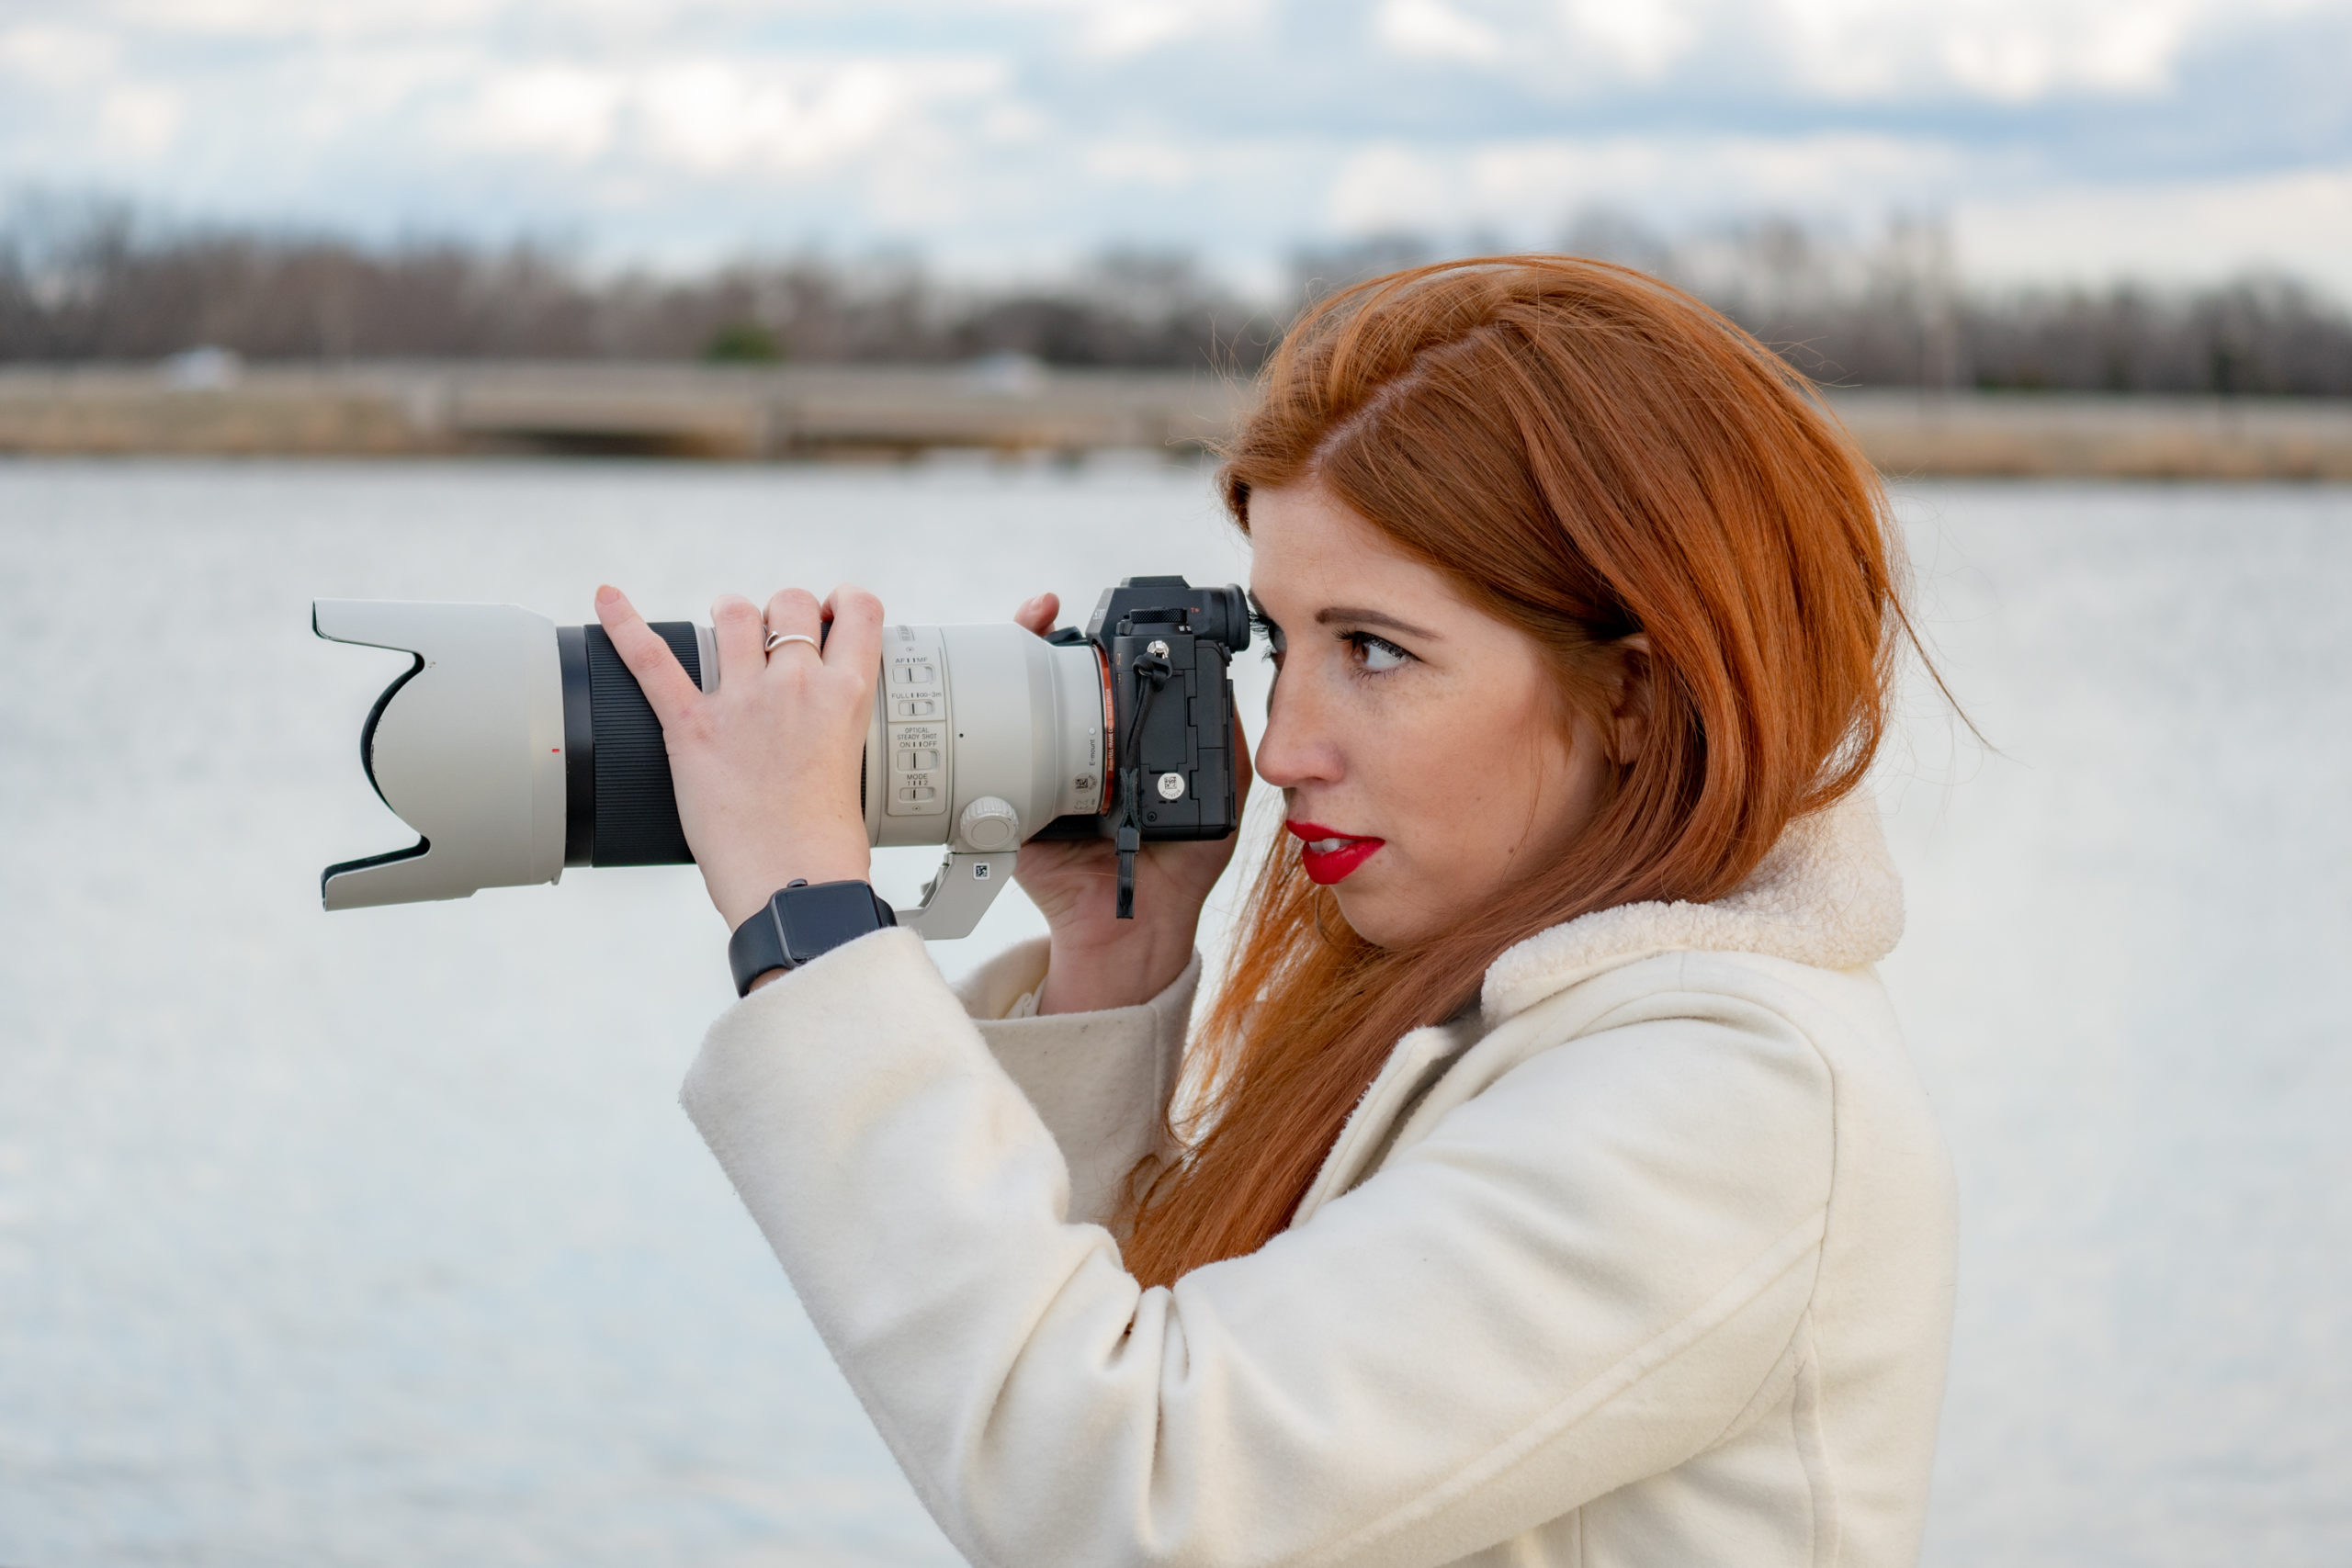
Our latest original infographic covers some handy tips that help you maximize image stabilization capabilities of your cameras and lenses.
Some photographers have incredibly steady hands, which allows them to easily make photographs at slower shutter speeds without tripods. Others aren’t quite so lucky. These photographers need to crank up their shutter speeds in order to compensate for camera shake and to prevent blurriness in their images. Caffeine addicts like myself understand this pain all too well. Luckily, camera manufacturers understand this challenge as well. As a result, we’ve seen significant developments in image stabilization technology in recent years.
Image stabilization helps mitigate camera shake that’s prevalent when shooting handheld at slower shutter speeds. If your camera or lens lacks image stabilization, it’s still possible to eliminate camera shake (check out our guide on How to Eliminate Camera Shake Without Stabilization). The absence of image stabilization in a camera or lens isn’t necessarily a deal-breaker. There’s no denying that it’s become one of the most desirable features photographers look for when purchasing new cameras and lenses though. Helpful as it may be, there are times when image stabilization can be detrimental. In this latest original infographic, we cover everything you need to know about image stabilization.
When it comes to image stabilization, there are three key factors that should be considered:
- Tripods
- Lenses
- Form

Here are a few things to keep in mind when shooting with image-stabilized cameras and/or lenses on a tripod. In general, you’ll want to position your tripod far enough away from your subject so that it is at least half in frame. This gives you some room to adjust, if necessary. Also, you’ll want to disable the stabilization on your camera and/or lens when shooting from a tripod unless you’re photographing from a non-stable surface (i.e. from a boat or on a bridge). Your camera and lens will generally be pretty stable when mounted onto a tripod, so additional image stabilization is usually not required. In fact, image stabilization can compensate for camera shake that isn’t there, which will negatively impact your image quality. You can also use a delayed shutter to further eliminate any potential camera shake that can happen from you depressing the shutter release. A two-second delay is usually sufficient.
When it comes to lenses, you’ll tend to see image-stabilization included with telephotos more than wide-angles: longer focal lengths are generally more susceptible to camera shake than shorter ones. You’ll also have the best success when your subject is positioned near the center of the frame. Image-stabilized telephoto lenses are particularly useful for photographers shooting sports or wildlife, where subjects tend to be fast-moving. Camera shake is less of a problem with wide-angle lenses. You can usually get away with shooting at slower shutter speeds with wide-angle lenses thanks to the way the reciprocal rule works. As such, wide-angle lenses will benefit more from sensor stabilization within the camera body they are paired with.
“In order to achieve a stable image that is devoid of camera shake, you must shoot at a shutter speed that is the reciprocal of the minimum of the field of view.”
excerpt from Do You Know the Reciprocal Rule of Shutter Speeds?
Finally, let’s talk about our form when shooting. We’ve already mentioned the reciprocal rule. If you’re not familiar with it, we highly suggest you check out the accompanying article. The super simplified version of this rule is this: you should shoot at a shutter speed no slower than 1 divided by your focal length (hence reciprocal) in order to guarantee blur-free results. Note that this rule is contingent upon shooting with Full Frame/35mm equivalent cameras. Multiply the appropriate crop-factor if you happen to be shooting with other sensor sizes. Another thing to consider is your breathing. You’ll get the steadiest results when you time your shutter clicks with either the top or bottom of your breath. This is helpful even when shooting with non-image-stabilized cameras and lenses as well, and is a trick snipers in the military have long employed.
Remember these handy tips next time you’re photographing and you’ll be rewarded with sharp and blur-free results.


