
If you want a single photo of a still subject, there is no real good reason why you need to sit there shooting loads of images over and over again. This just results in you going through image after image after image until you find the one that isn’t blurry. Well instead of feeding into and working around the problem, the proper procedure involves eliminating the problem to begin with.
If your camera doesn’t have in sensor stabilization or your lens doesn’t have stabilization built in, then you should consider the techniques used by photographers years and years before the technology existed. No, we’re not talking about tripods–let’s be honest, they aren’t always practical.
Instead, here is how you eliminate camera shake to begin with.
Proper Photography Posture
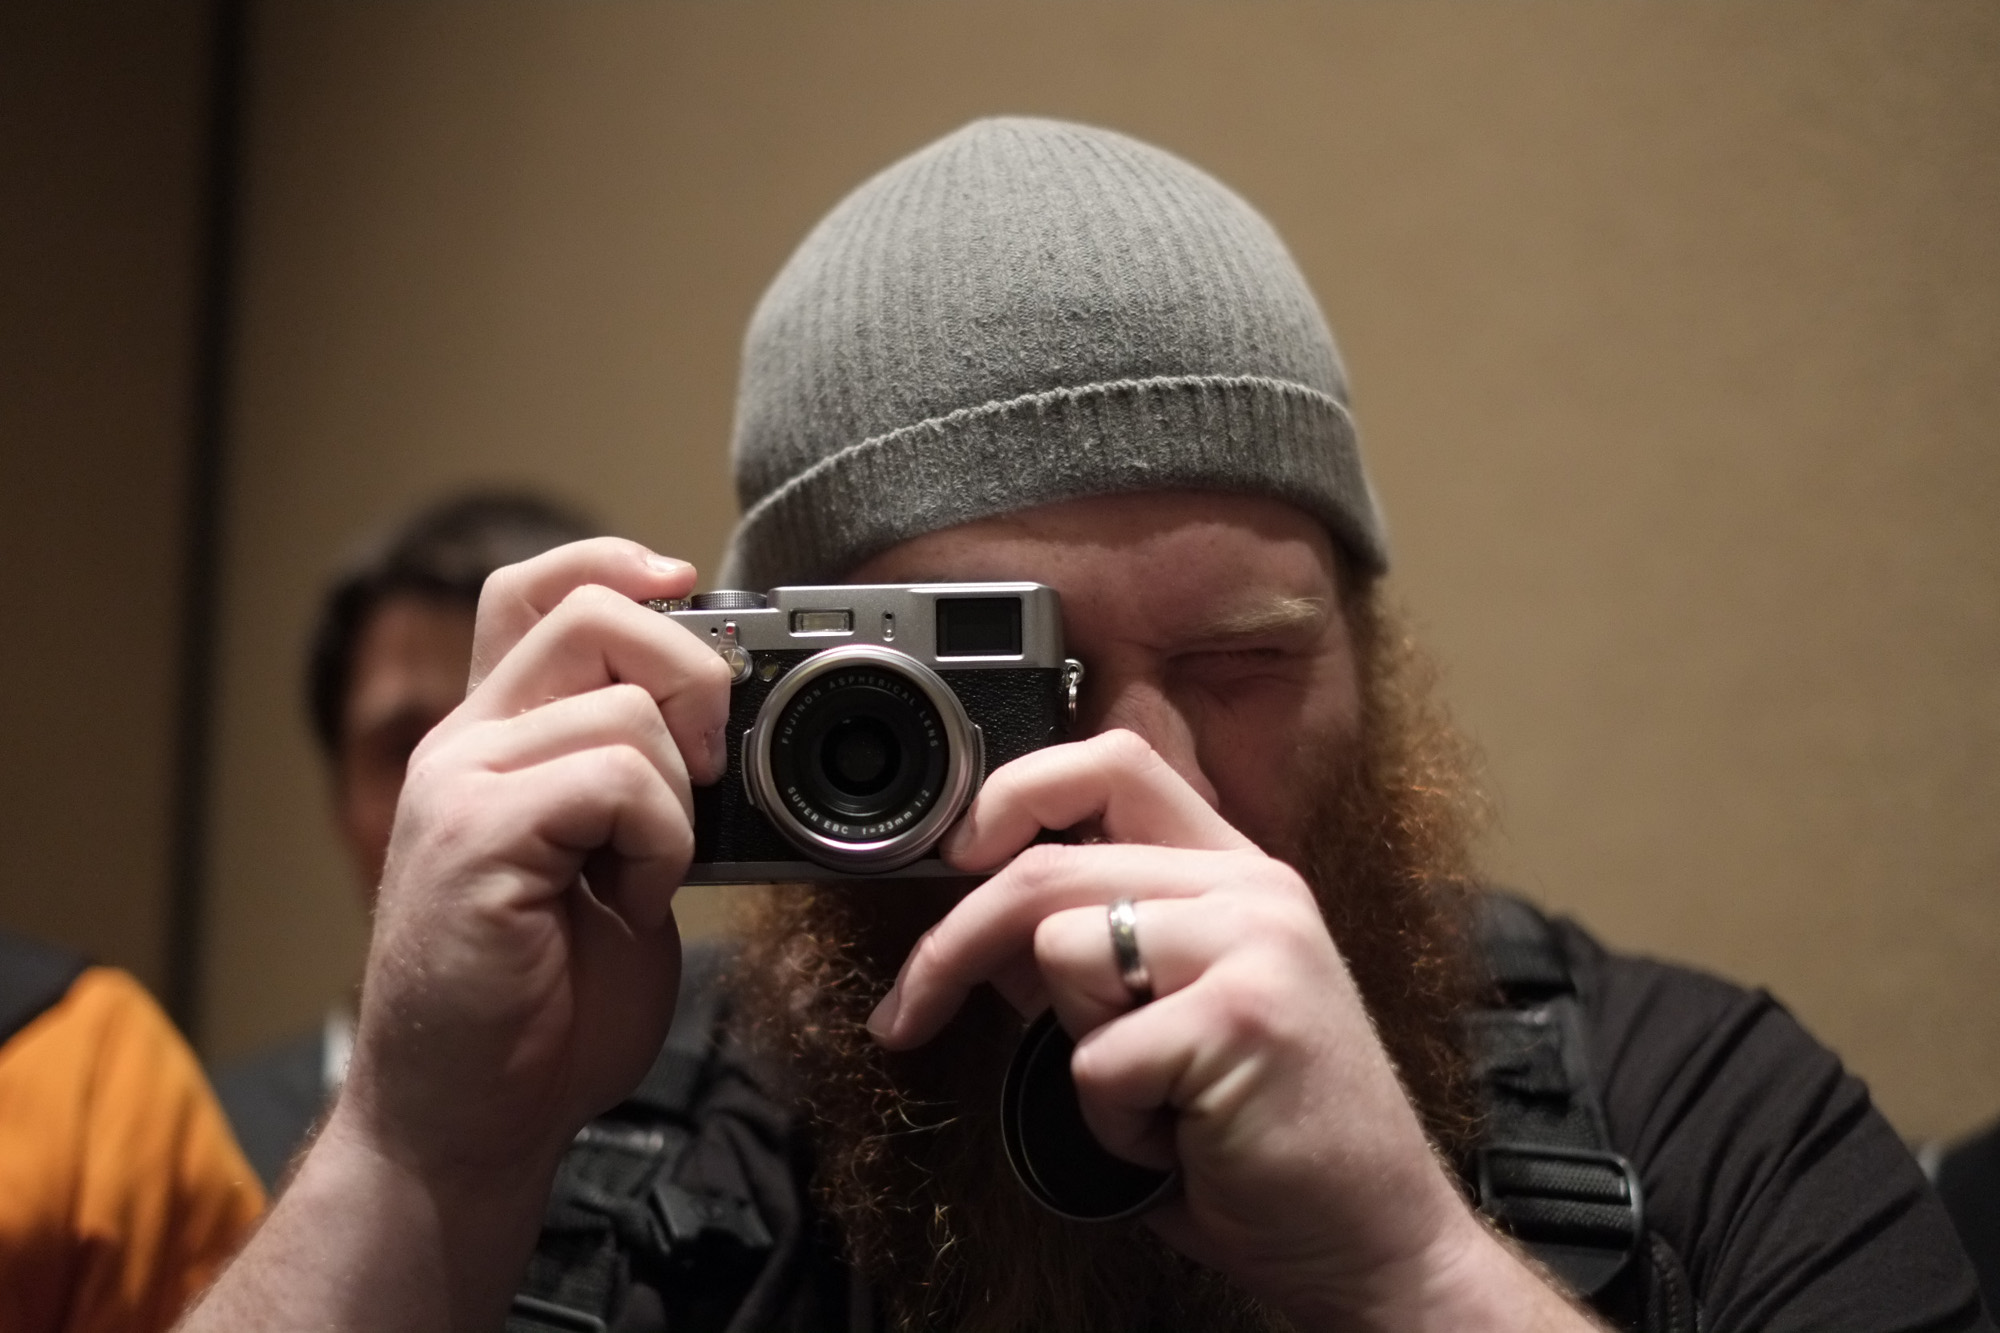
When it comes to holding a camera there are certain things that you should totally do all the time that are also related to your posture. For some basics:
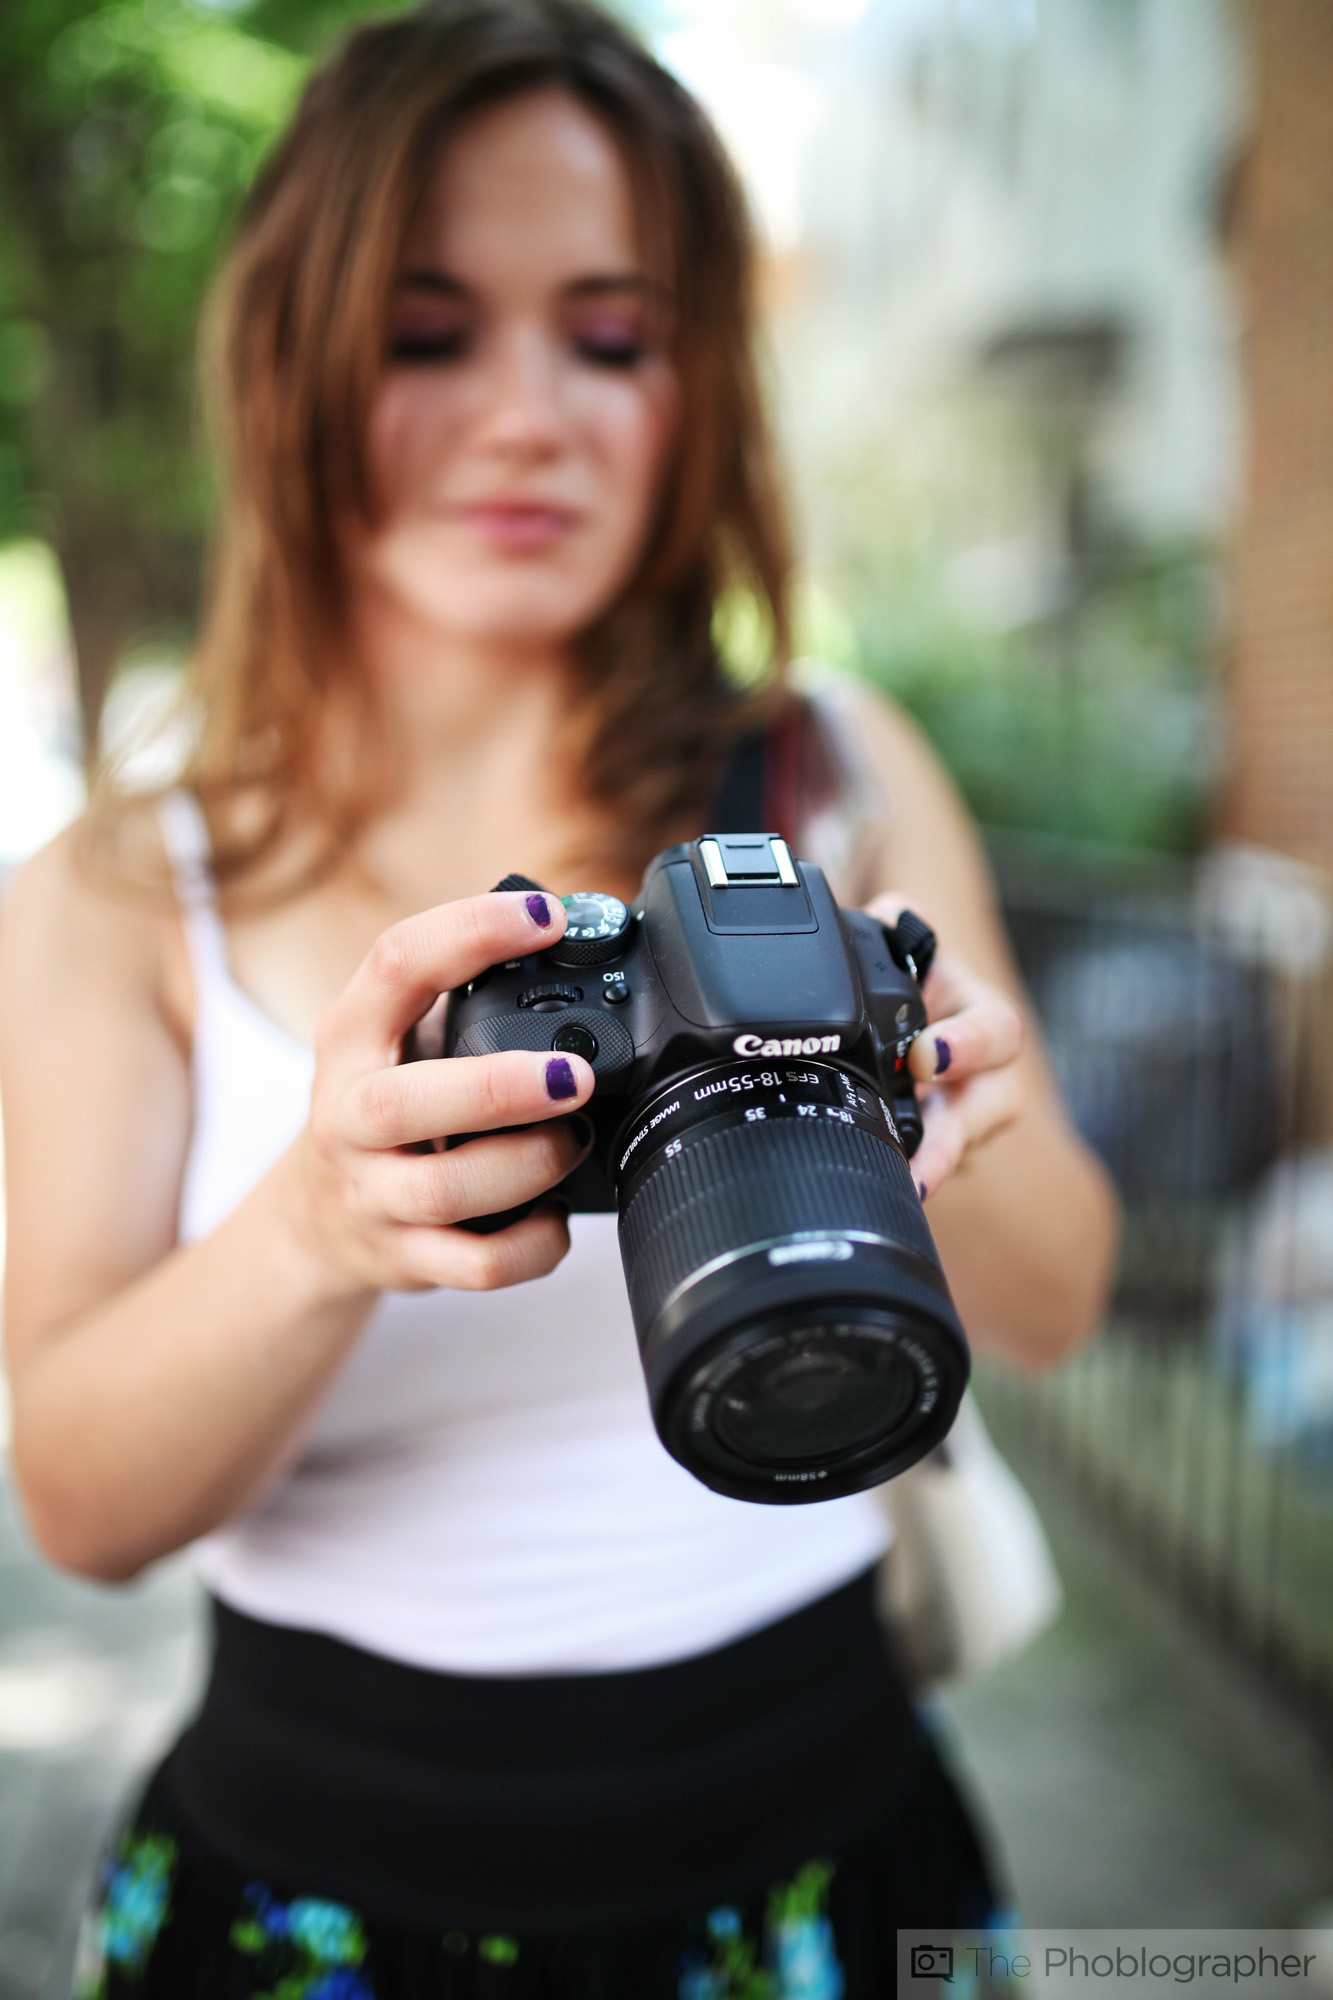
– Get a firm grip on the camera
– Tuck your elbows into your body. The closer they are to your torso, the more stable you’re making the camera.
– If the camera has a large enough lens, cradle it with one hand while the other holds the grip. This isn’t always possible (like in the case of a camera having a pancake lens, but in many situations it surely is.
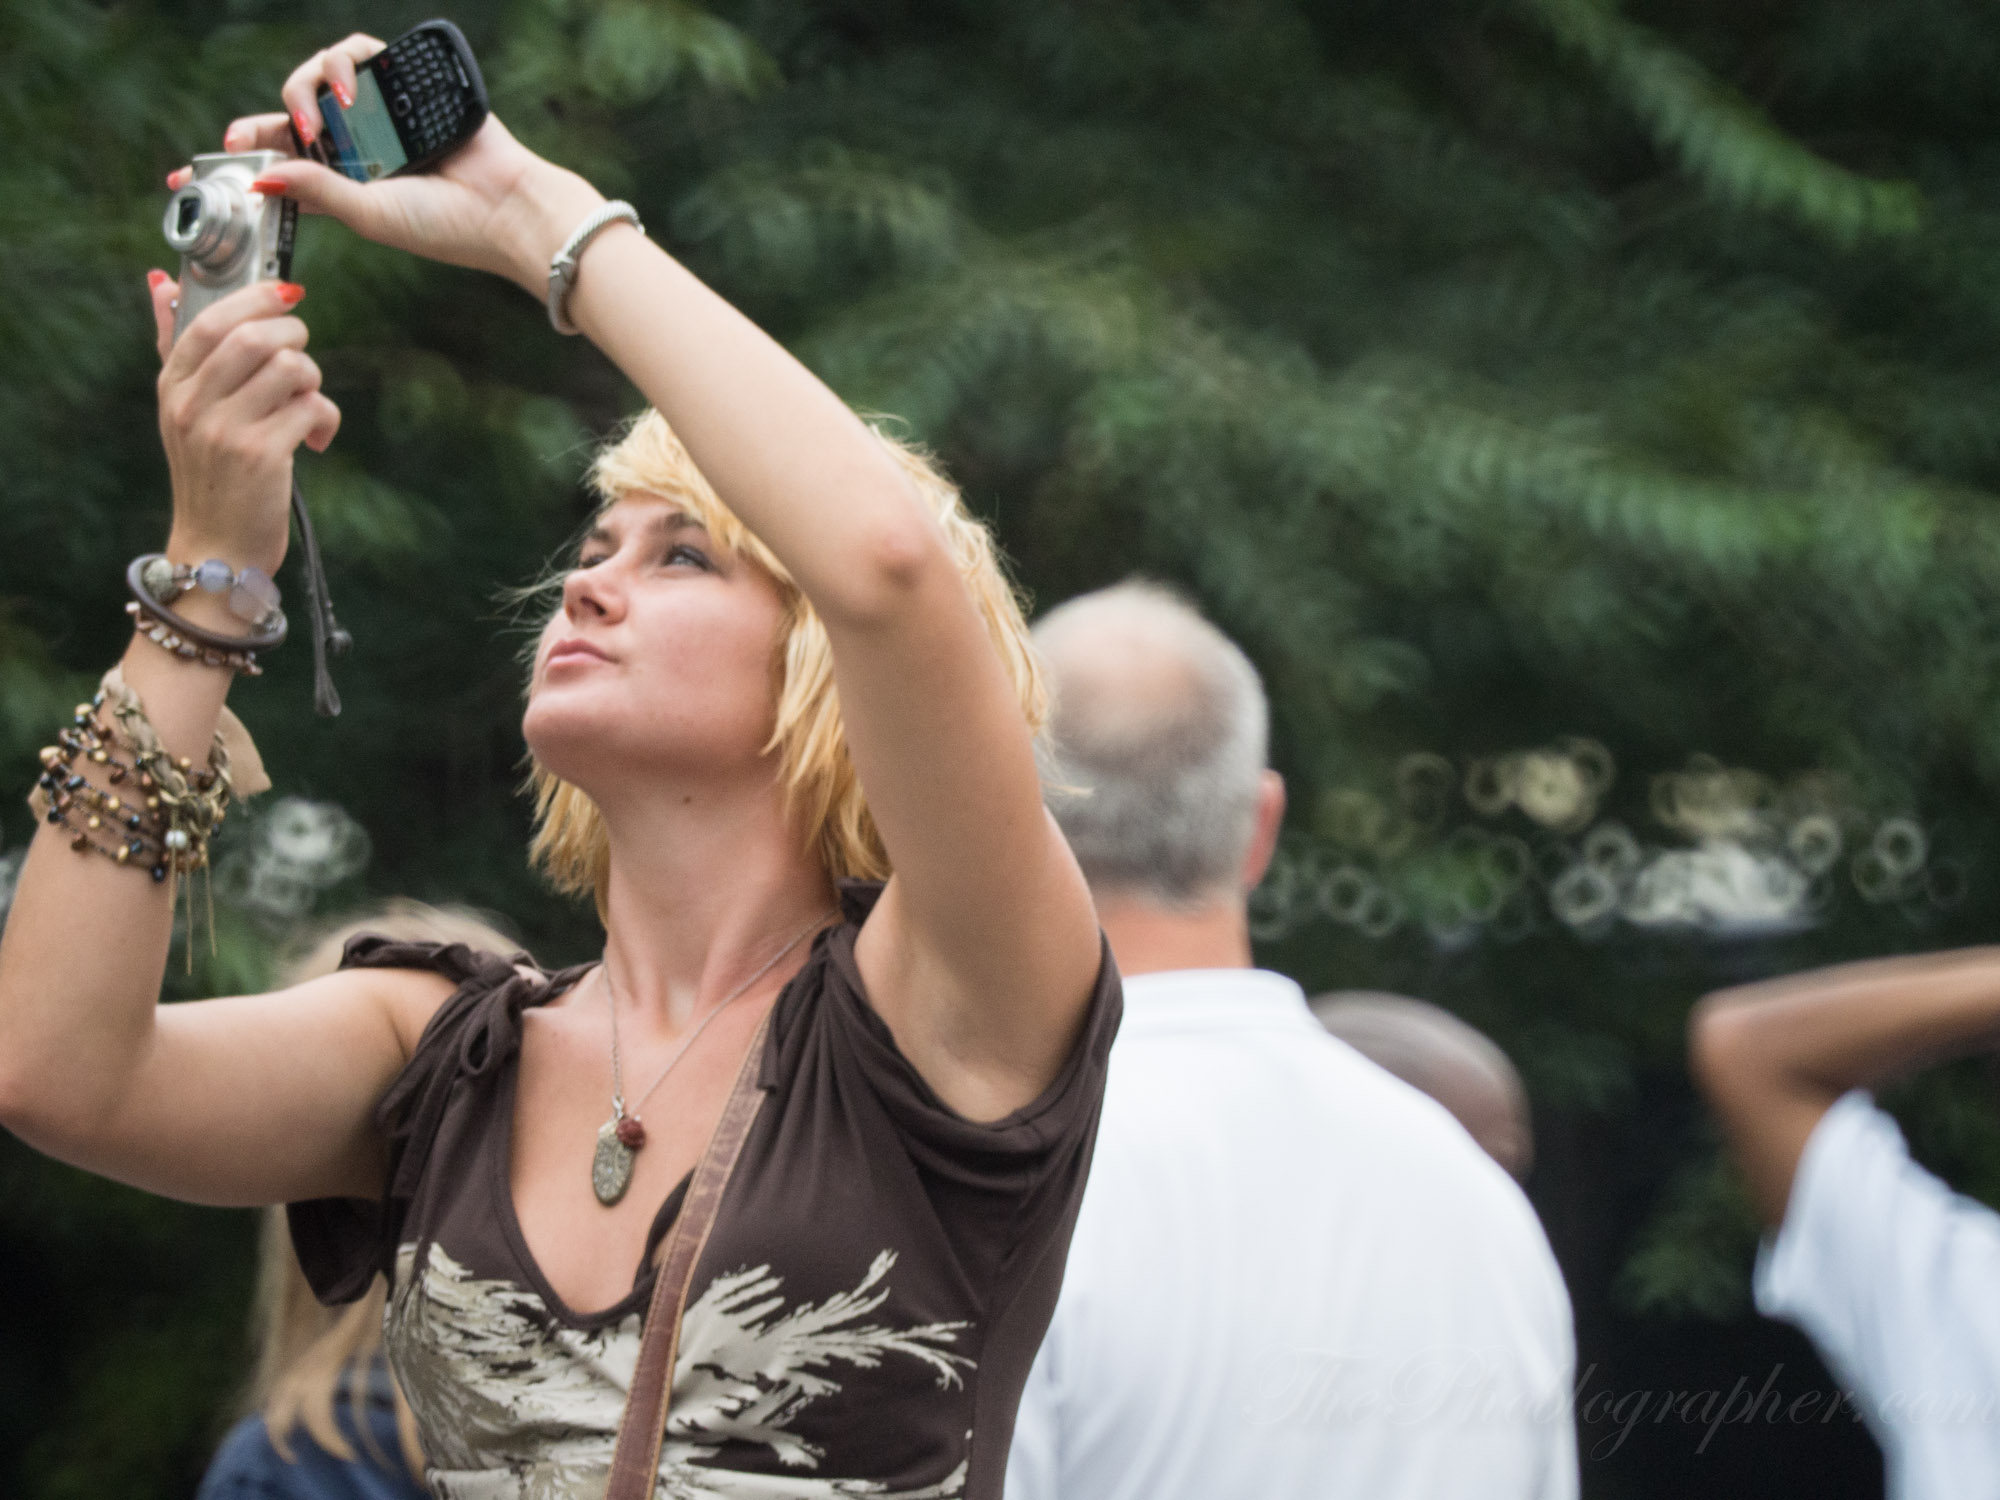
– When shooting with an LCD screen, ensure that your forearms and elbows are tucked into your body and as stable as possible.
– If you can’t exactly see through the viewfinder, the instinct is to pull it away from your eye a bit. Adjust the diopter so that you can hold it as close to your face as possible.
– Try to make your back as straight as possible. If you need to bend down, try locking your knees to stabilize yourself more.
These are only a couple of methods that when combined with the other practices that we’re going to talk about will help you achieve more blur free images.
The Reciprocal Rule of Shutter Speeds

Part of getting an image free of camera shake has to do with your shutter speed, too. The general rule is:
When photographing a subject, your shutter speed should be a minimum of the reciprocal of your focal length in order to get crisp, clear and blur free photos.
So what does that mean in English to those us not so great with numbers? Basically, if you’re shooting with a 100mm lens on a full frame camera, then you should be shooting at 1/100th as a minimum in order to achieve more blur free images when hand holding a camera and lens. Obviously, this means that it will be tougher to get an image with camera shake at a wider focal length because if you’re using a 35mm lens then the minimum shutter speed should be 1/40th.
But then you also need to consider crop factors. If you’re using a 45mm lens on a Micro Four Thirds camera, then you’ll get a 90mm field of view. The closest shutter speed that is greater than 1/90th is 1/100th.
Of course, once again this applies to shooting without image stabilization. But even if you have it added in then it’s still a great practice to have to ensure for images free of camera shake. It may mean opening the aperture or cranking up the ISO levels. But to be honest, modern day camera ISOs are so good that you shouldn’t care too much about this problem.
Controlling Your Breathing
When it comes to taking photos, a great practice to ensure that your body is as stable as possible is to control your breathing. There have been arguments on both sides: half of the photo world states that you need to take a deep breath in and at the bottom of the breath you fire the shutter. The other half states that you need to do it at the top of your breath.
Personally, I fire at the top of my breath and get very stable images even with high megapixel camera bodies. The only downside to this is that it ends up with me slowly letting my breath out and fogging up my glasses during shoots. But this isn’t a major problem and that has more to do with my personal breathing issues. We recommend that you try one of these two methods but we strongly lean towards firing at the top of your breath.
Second Curtain Flash

The last method to ensure that you get more blur free images has to do with adding flash to your image. Second curtain flash (also known as rear curtain sync) will let you shoot down to very slow shutter speeds while keeping a subject very sharp and still. This method is great for photographing light trails and one of our favorites for shooting performers.
In fact, when I first started shooting I used to use second curtain flash with the pop-up flash on the Olympus E-510 DSLR. It saved my butt so many times when working on assignments for the publication I was with. And if needed, I’d totally do it again.
Get rid of the ads!
Did you enjoy reading this article as much as we enjoyed writing it? There's a way to support us and our reporting, getting ad-free navigation and more as a bonus. Subscribe to us for less than a coffee per month —just $3.99— or take advantage of our yearly subscription with a hefty discount for only $25.- An ad-free experience
- A free mystery box for Lightroom or Capture One
- All the books in our store
- 20% discount on Capture One
- 30% discount on Imalume Photo Theft Protection
- 20% off Herbs and Kettle Tea Company.
- 20% off your order from MPIX printing services.
- 5% off Viltrox Products via their eCommerce store.
- 10% off all film developing, printing and scanning services from Blue Moon Camera and Machine
- 15% off 7Artisans products: The lens and accessory maker is offering a sweet discount for Phoblographer's readers.