
There’s a new kid in town – a brand new photo editor for those who love their PC.
There is a lot of editing software to choose from, but PhotoWorks is a photo editor for PC that stands out from the crowd. Professional capabilities combine with an incredibly easy-to-master interface to make this photo editing software the answer for the mass of photographers looking to switch to a less complicated system without compromising quality.
As a photographer, I’ve used many different pieces of software. When I decided to try PhotoWorks, I was interested in what advantages it might have over similar software and, in general, I just wanted to try something different. The most important element in my workflow is quality, so I knew I would be checking for that in my PhotoWorks trial. Speed is also crucial; my clients expect to receive their product quickly! I’ve spent a lot of time trying out automatic features and one-click effects to see if this was something that could make a difference in my work.
I’ve also been on the lookout for a photo editing app for PC. It seems like a lot of the photo editing market is skewed toward Mac users, so I jumped at the chance to see software made specifically for PC users. Read on to see how PhotoWorks did!
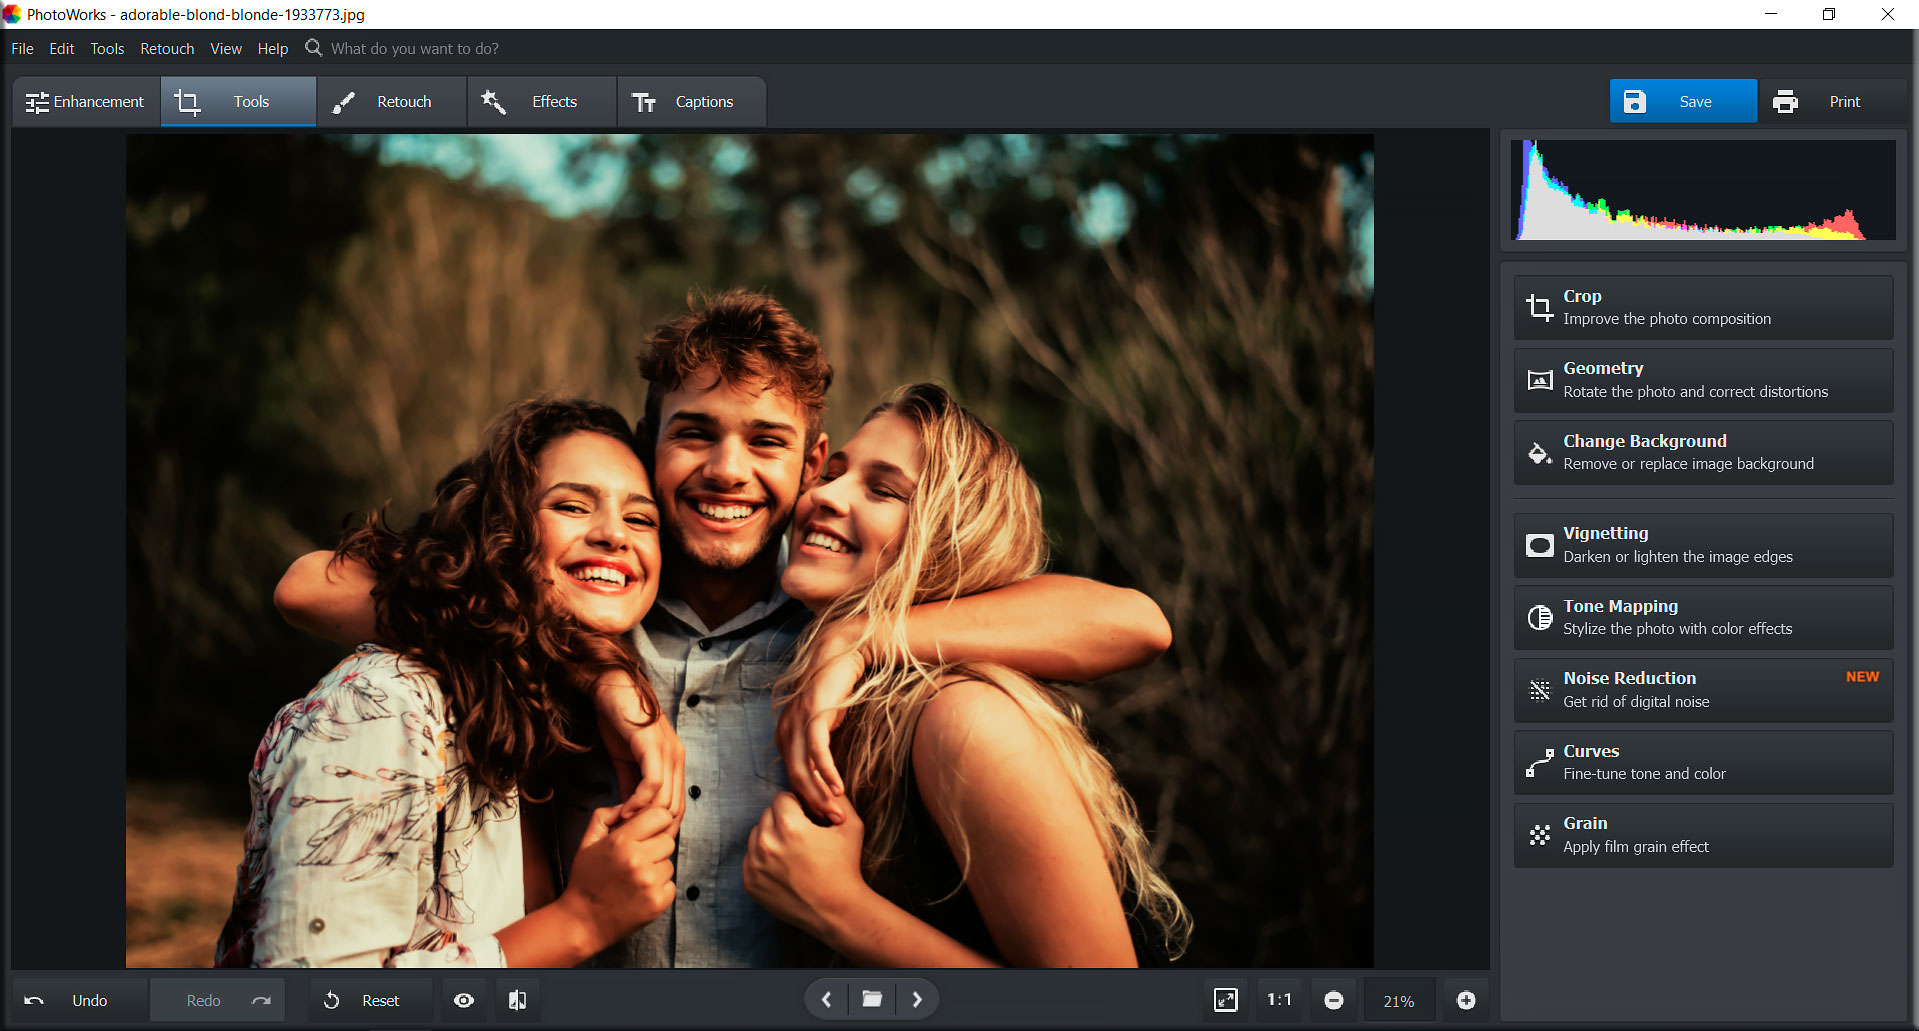
Automatic Photo Editing
There’s a lot of potential for quick edits in this software, which is a massive timesaver for me. The very first tab I tried was the Enhancement tab; it contains most of the initial changes I would make to every image I process. I was pleasantly surprised to see that the Auto Correction button did a decent job of identifying the changes my image needed. After clicking the button, a slider appears that lets you control the amount of correction you see in the picture.
PhotoWorks identified the genres of my images on its own. It knew what images were portraits and what were landscapes, which made it easier to make the right changes in a short amount of time. I like a certain amount of control over my photo editing, so I made a point to also use each of the Enhancement sliders to see what impact they had. There are several to choose from! In the Main menu you see:
- Saturation
- Vibrance
- Clarity
- Temp
- Tint
- Exposure
- Contrast
- Highlights
- Shadows
- Whites
- Blacks
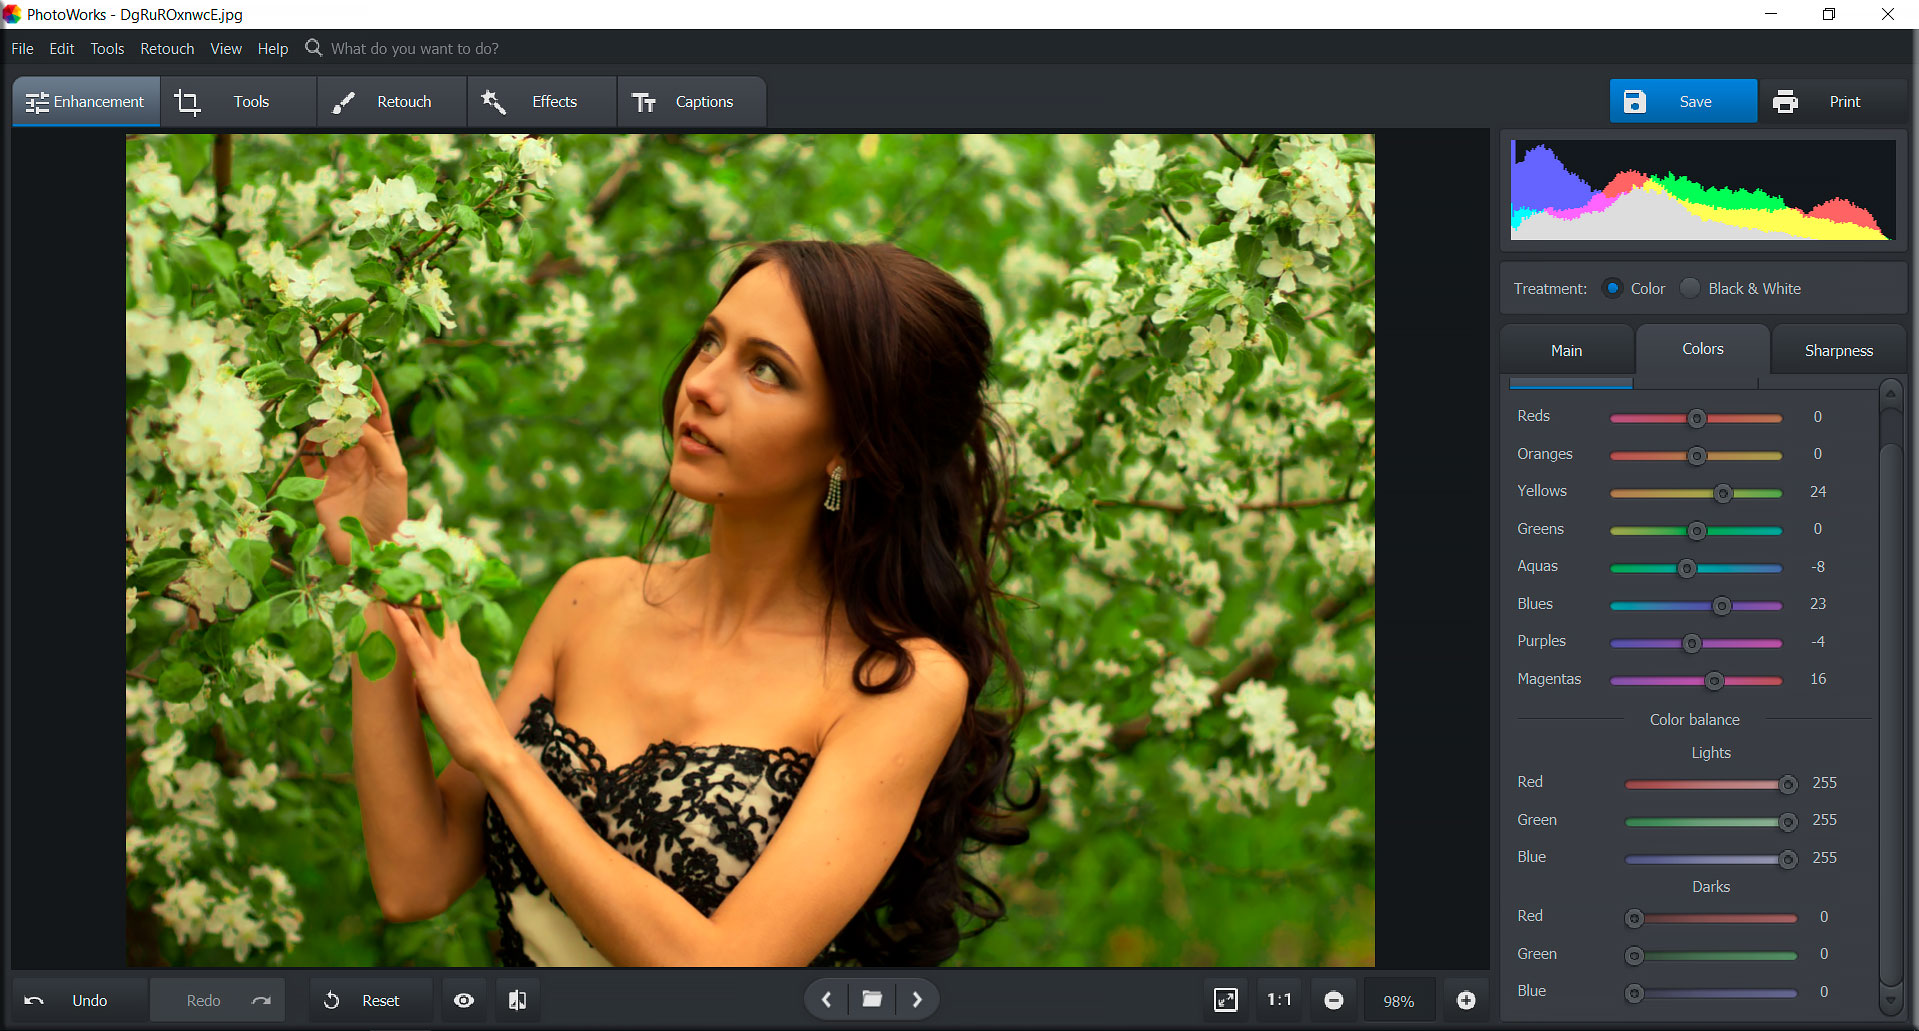
So there’s pretty much everything here that I would expect from the Basic panel in my usual image editor. There’s also a dedicated Colors tab in the Enhancement section that allows me to tweak specific hues and increase or decrease the luminance and saturation of each. Next to that is an entire tab for Sharpness.
PhotoWorks makes all the tough decisions for you in this section of the editor. While I did have a surprising degree of control over the color and tonal ranges, the one-size-fits-all changes applied really well to my work. And of course, PhotoWorks is really good about allowing you to choose the amount of each effect that shows up in your image. For going a step further and making the editing process more manageable, I recommend trying out their Portrait Magic feature. I’ll talk more about that next.
Portrait Magic
Portrait Magic is a special feature under the Retouch tab that allows you to make several edits to your portrait at once. It also introduces powerful facial recognition technology into your workflow. I was very impressed to find that PhotoWorks detected not only individual faces but also facial features like lips and eyes. I was able to add color to one subject’s lips without affecting anyone else in the image! Another subject needed their teeth slightly whitened. Using the Teeth Whiteness slider, I was able to give the smile a little boost without interfering with the other smiles in my image, which were already perfectly white.
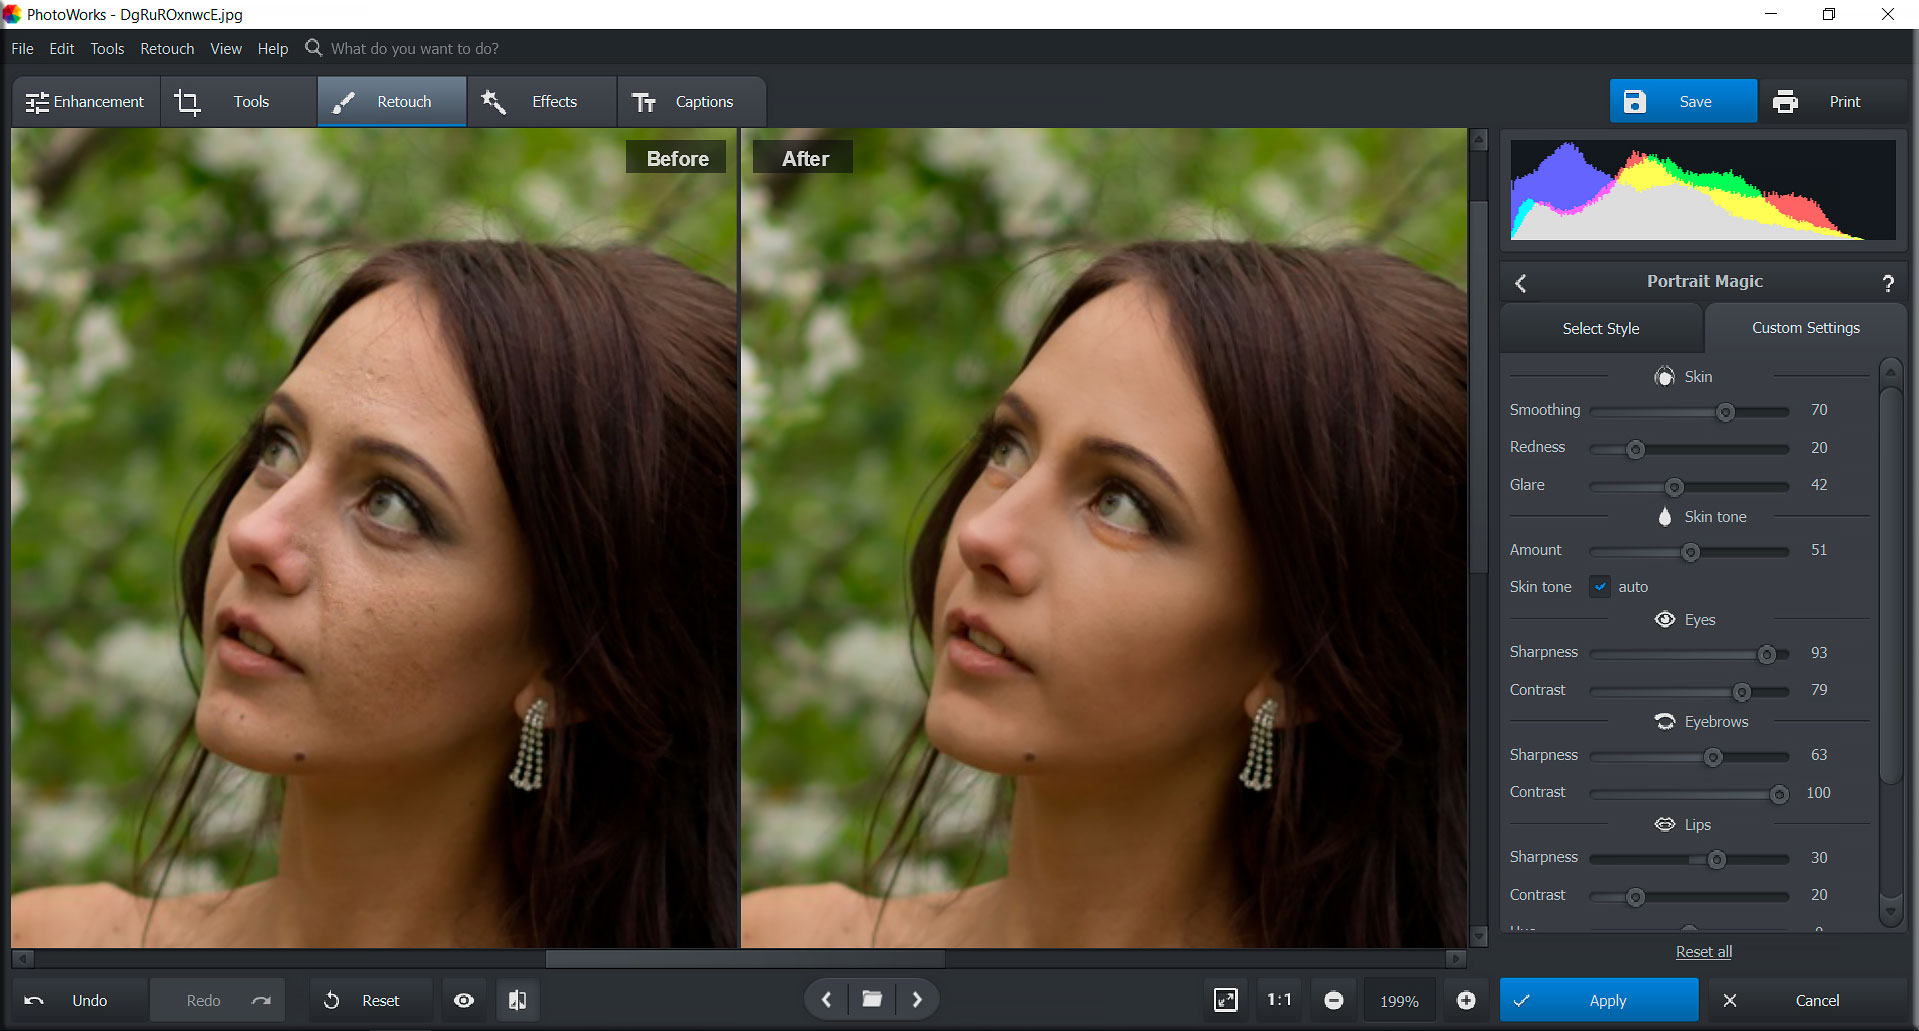
There are several styles to choose from that address different issues you might find in a portrait. You can remove the extra shine on your subject’s face, or smooth their skin, with just one click of the mouse. You can make more detailed changes in the Custom Settings section if desired, but the ability to drastically improve the look of a portrait in less than a minute is a huge selling point to me.
Easy Background Switching
One of my personal hang-ups about a typical photo editor for PC is the selection tools. Although they’re accurate, I find them to be tedious and time-consuming. That means that if I need to change a background in one of my images, it adds a lot of time to my workflow (and sometimes a lot of frustration as well). I was eager to see if PhotoWorks could simplify this process for me.
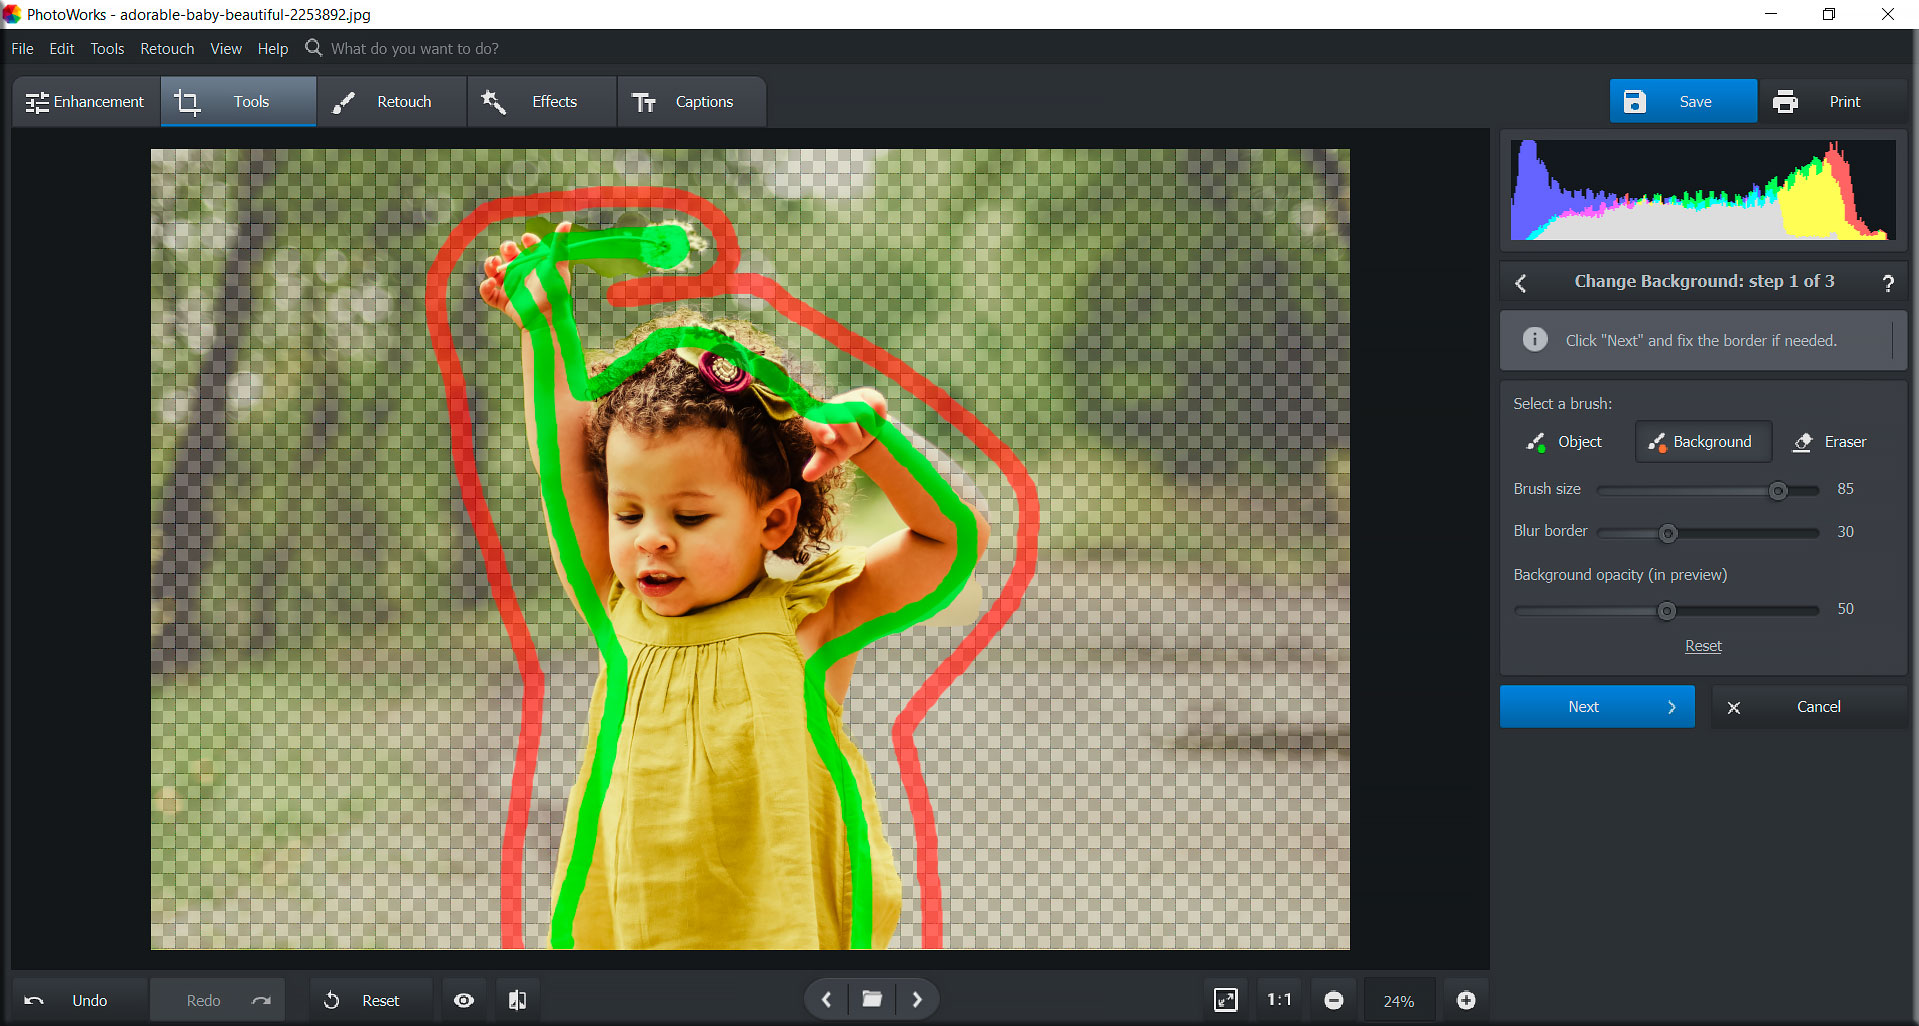
Their approach is a little different than what you’ve probably experienced with your usual photo editor app for PC. Under the Tools tab, you simply select the Change Background tool. From there, you outline the general shape of your subject with the green Object brush, then do the same around the outside of your subject with the red Background brush. Then, PhotoWorks automatically removes the background based on the two outlines you’ve given it. For things like hair and loose clothing, you’ll need to make some adjustments in the next step, but PhotoWorks does a great job of finding the right edges most of the time. For example, I was able to remove the background behind a photo of a cello by merely drawing a line down the center of the cello with the Object brush and drawing an oval around the outside of the cello with the Background brush. Can you imagine how much longer it would have taken to select it click by click?
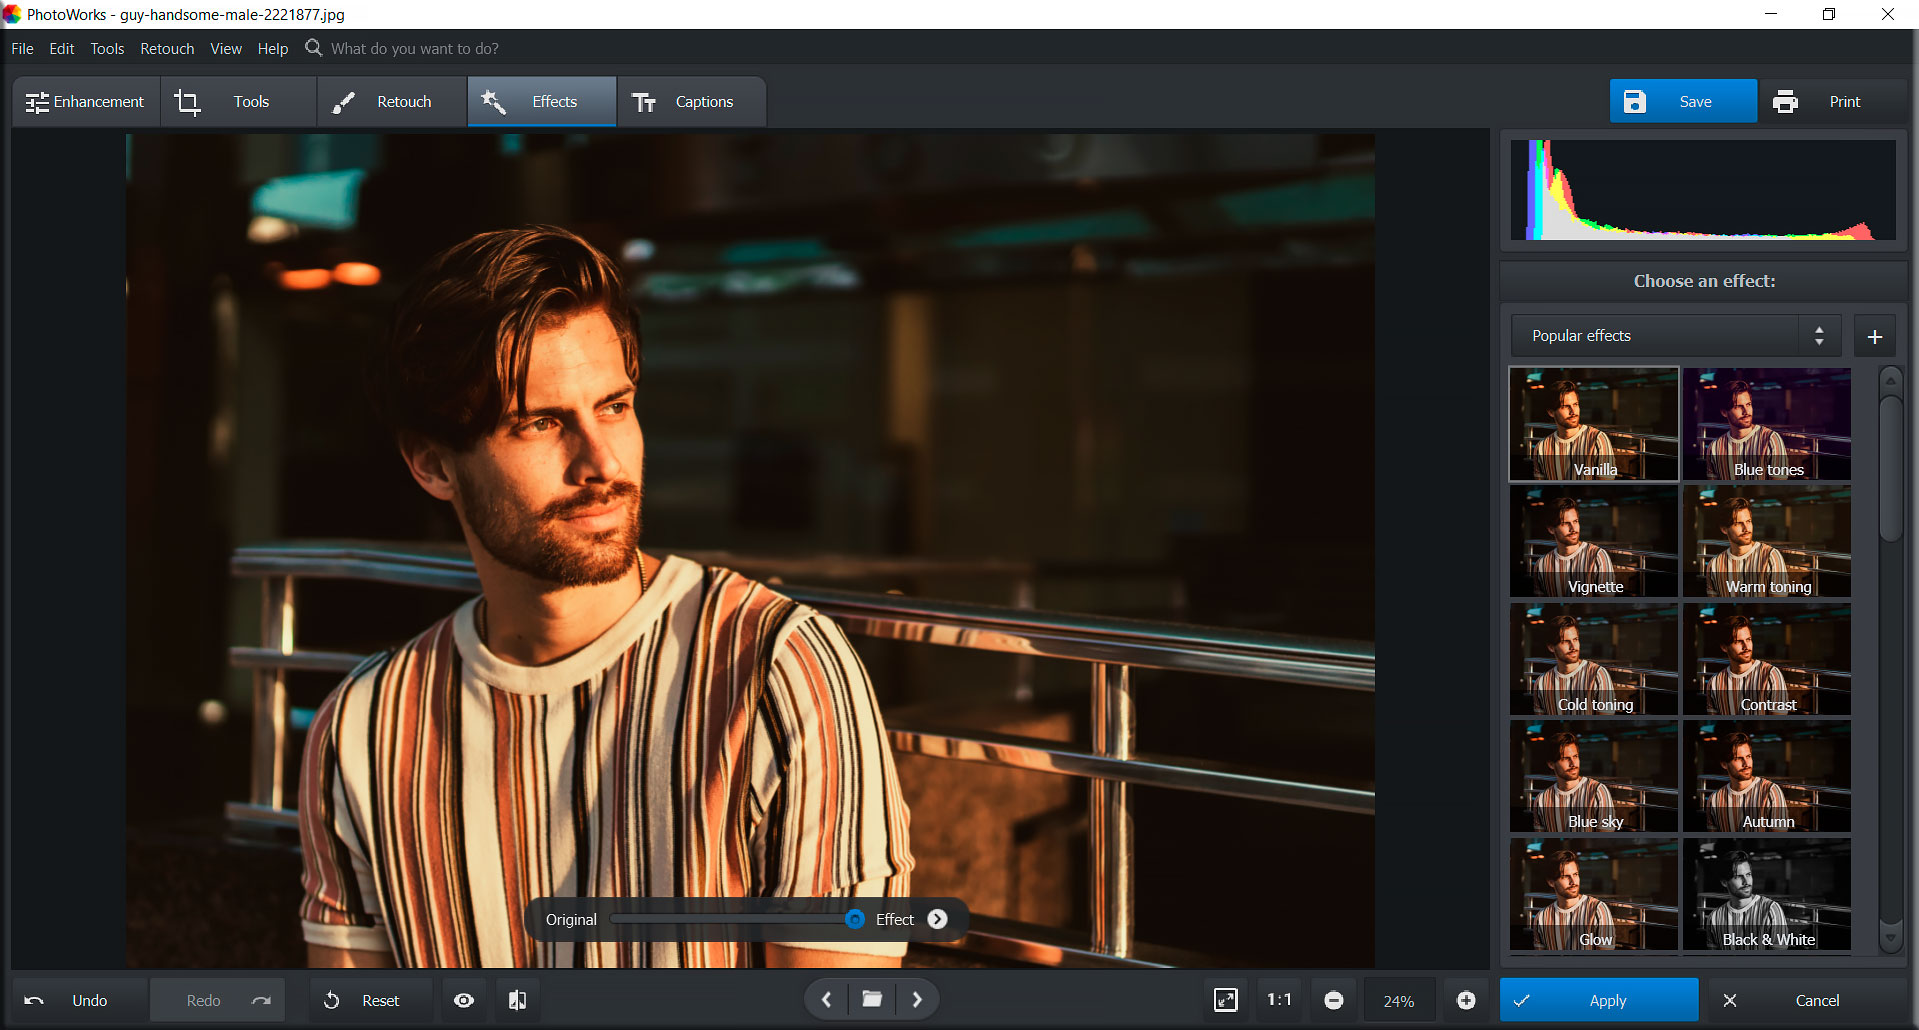
Photo Effects for Days
150+ effects can keep a photographer busy for a long time, and I was very interested in playing around with the different PhotoWorks options to see whether there was anything I could use professionally. There are several categories of effects to toy with, and I tried out a few from each group. Some of them were just plain fun, while others I could see myself using on paid projects. The best part here is, when you select an effect, you immediately see a slider below your image that lets you determine how much of the impact you want to see. I like being able to customize my effects without resorting to intricate layer masks.
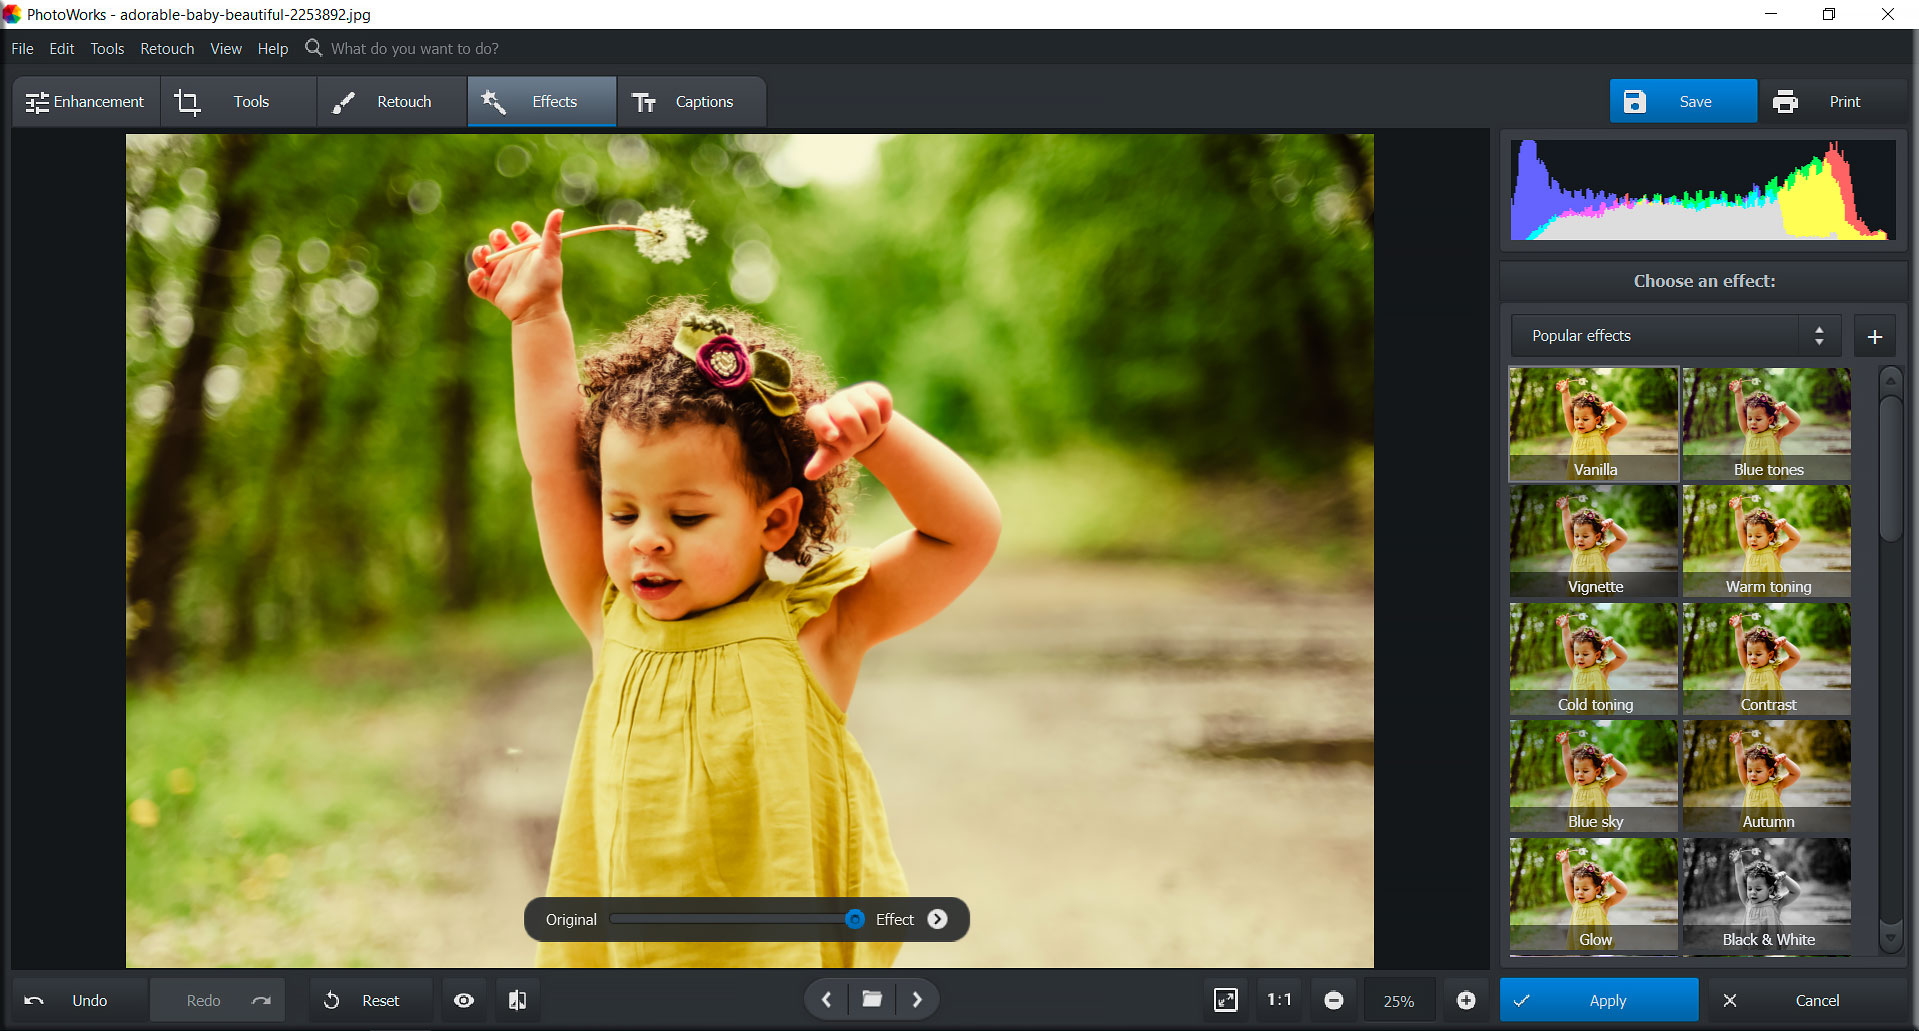
You can view a preview of each effect to give you an idea of what your image will look like with that effect at full intensity before clicking it. That makes it a lot easier to select an effect that will meet my needs without scrolling through a list of effect names on my laptop and guessing which one has a look I want.
Quick Fixes for Lens Distortions
I love my wide angle lenses, but I often run into distortion problems when I use them. PhotoWorks has an excellent, hassle-free system for dealing with distortion and perspective issues. Under the tools tab, look for the Geometry menu. I liked to keep the Show Grid checkbox checked so that I knew when the lines and edges in my image were perfectly straight.
This feature came in very handy for some architectural photography I was editing. I had a “falling building” effect in one of my photos that I was able to remedy using the Vertical and Horizontal sliders. I also had a landscape with a crooked horizon line and slight barrel distortion that I wasn’t happy with. The Rotation slider made short work of my crooked horizon, and I was able to completely fix the barrel effect with a little nudge to the Distortion slider. Thanks to the grid, I didn’t waste any time second-guessing myself. I knew when my images were ready to go because they matched up with my gridlines!
Pro-Level Tools
You might hear “automatic photo editor for PC” and think it must be an editor for amateur photographers. PhotoWorks does have a whole library of amazing easy-to-use features, but it also has some of the features more advanced users like myself will need from a photo editor for the PC.
We’ll get to some of the more advanced features in a minute, but first I want to talk about something every picture editor needs: retouching tools. In PhotoWorks, there’s an entire Retouch tab dedicated to this. Their healing brush is state-of-the-art, and I was able to successfully remove major blemishes in one of my portraits with this brush, using a series of simple clicks. Any spots that didn’t resolve entirely with the Healing Brush, I handled with the Clone Stamp.
The Clone Stamp offers a little more control over spot removal. I was able to select the specific part of the image that would replace a spot. You can also paint over certain parts of a photo with the Adjustment Brush to make targeted changes to your image.
The Graduated and Radial Filters are a fast way to make significant changes to your image. I used the Graduated Filter to add a quick pop of color to the sky in a landscape that was looking a little flat. The Radial Filter helped me draw attention to a unique rock formation in that same landscape. These filters are pretty flexible and don’t take much training to use, which is a big win for those of us who don’t have hours to spend mastering a whole new software.
I use Curves a lot to make adjustments to the balance of light and color in my images. While I love one-click features that save time, I also need a lot of control over tone and value in my work. PhotoWorks’ Curves tool has full functionality, with the option to edit each color channel individually or all of them at once, so I didn’t feel like I was missing out on any fine tuning I would typically make. There are also presets you can use to tweak your contrast if you have something specific in mind.
I was eager to see if PhotoWorks’ tone mapping would measure up, and I’m pleased to say it did. With a vast, long menu of blend modes and several textures to integrate, I spent a lot of time in the Tone Mapping section. Just like with Curves, there’s an Amount slider at the top that allows you to increase or decrease the intensity of your edits.
Intuitive Interface
Easy-to-use tabs and full menus make PhotoWorks a new personal favorite when it comes to user-friendly interfacing. The first time I opened the software, a tutorial walked me through the basics of navigation and got me started with editing. As an advanced user, the start-up tutorial told me most of what I needed to know, but any time I ran into trouble while I was trying out PhotoWorks I just clicked the little question mark at the top of my menu, and a helpful tip or instructional video got me back on track. I would have no problem recommending PhotoWorks to my beginner friends who want to get started with photo editing.
Try for Yourself!
Whether you’ve been a professional image editor for years or you’re just getting started, I would definitely recommend giving PhotoWorks a look. It’s a powerful photo editing tool for users of any skill level. For quick tweaks to a personal pic, it’s now my go-to. And for significant changes like background removal, I had no problem getting the job done. PhotoWorks is a brilliant editing program that might be changing the game for both pro and newbie photographers. Get a free trial today and see what PhotoWorks can do for you!
Editor’s Note: This is a Sponsored Blog post from PhotoWorks.
Get rid of the ads!
Did you enjoy reading this article as much as we enjoyed writing it? There's a way to support us and our reporting, getting ad-free navigation and more as a bonus. Subscribe to us for less than a coffee per month —just $3.99— or take advantage of our yearly subscription with a hefty discount for only $25.- An ad-free experience
- A free mystery box for Lightroom or Capture One
- All the books in our store
- 20% discount on Capture One
- 30% discount on Imalume Photo Theft Protection
- 20% off Herbs and Kettle Tea Company.
- 20% off your order from MPIX printing services.
- 5% off Viltrox Products via their eCommerce store.
- 10% off all film developing, printing and scanning services from Blue Moon Camera and Machine
- 15% off 7Artisans products: The lens and accessory maker is offering a sweet discount for Phoblographer's readers.