
Lots of folks are self-conscious about the way their noses look in portraits; so it’s your job to fix this.
One of the biggest things that photographers shooting portraits need to learn is how to pose. The idea that you can simply just capture things happening isn’t creative and it doesn’t necessarily do your subject any justice. With posing comes paying attention–especially to the nose. Though modern lenses and software technology have helped us all make images that are more flattering to subjects, we as photographers shouldn’t rely on technology alone to create better photos. There needs to be an obvious human element that comes forward. So to make a person’s nose look better, try these tips.
Before we go on, I want to make something incredibly clear. We’re not body shaming. We’re instead trying to communicate to portrait photographers that you should have something very essential to humanity–empathy. Empathy for your subject and being cognisant of all that you do is essential here. We’re not at all saying that any of these models have big noses. In some cases, we screwed up and made them look larger than they really are. In other cases, we did them justice. It’s our intention to bring your attention to this so that you don’t make the same mistakes.
We’re genuinely just trying to make you all into a better photographer: not a better photo editor.
Nose Against the Cheek
When photographing a person, the first thing you should always know is that in order to make their nose more flattering, ensure that from the camera’s perspective that their nose is against their cheek. This is essentially portrait photography 101. The reason for this is a very simple visual trick. When someone’s nose is against another background or color, it stands out. But when it is against the color of their own skin, it doesn’t jut out as much. That’s why everyone said that they have “a good side” and a “bad side.”
To do this: You’ll need to give them instructions on how to move their face. What I typically do is use my finger and ask them to follow it with their nose. Then I move my finger just a bit to the left or right, look at how the scene looks and then tell them to hold it.
Extra Help: How to Pose a Model Without Touching Them
This video is from my personal YouTube Channel and it was shot many years ago. Our current YouTube channel can be found here.
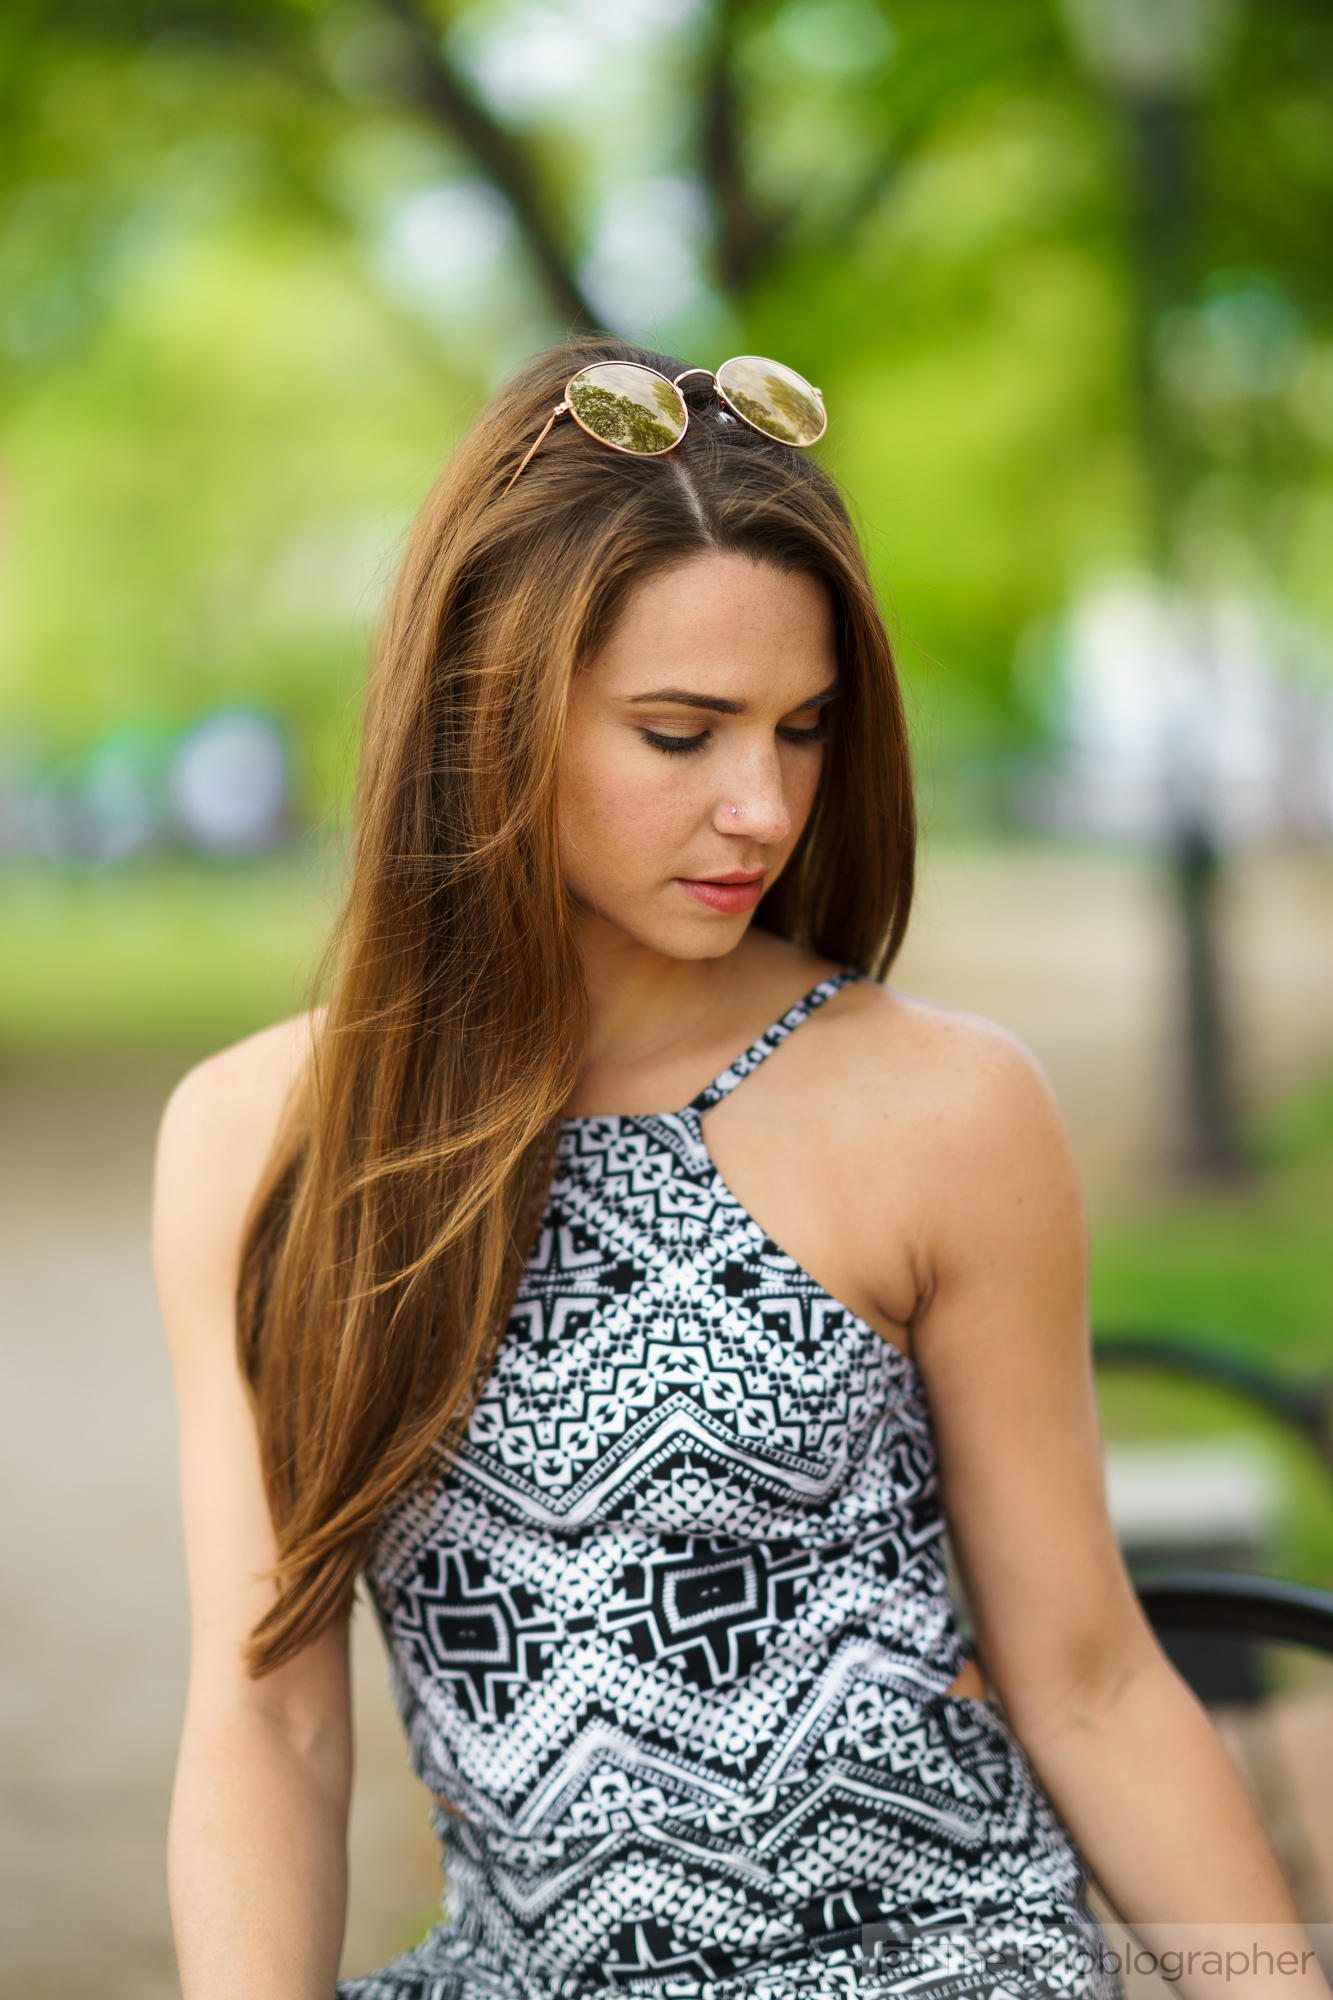
Turn Their Head Towards the Light Source
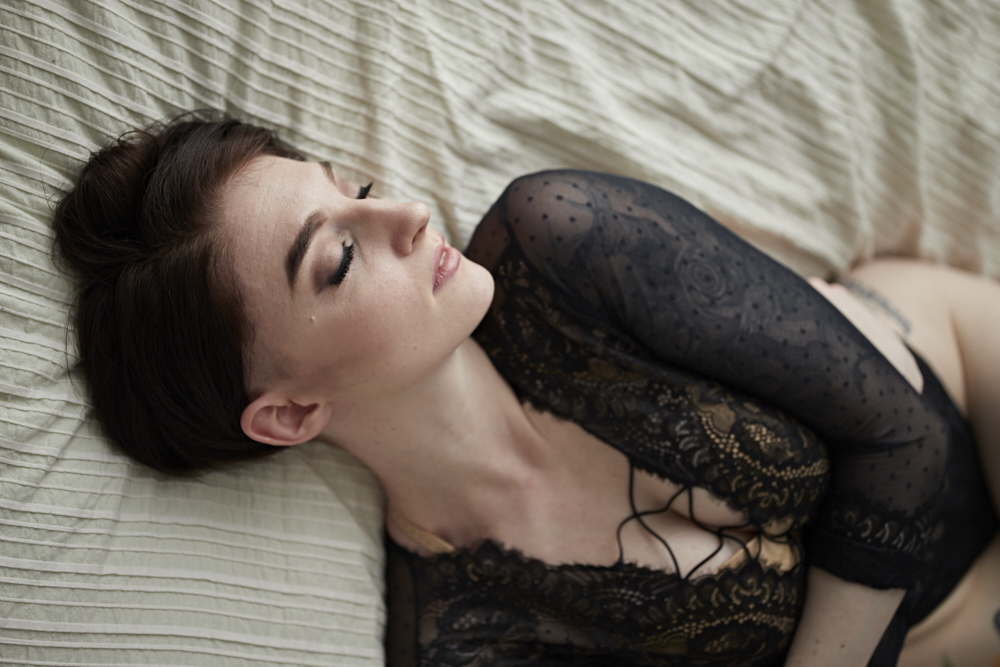
A general great rule is to turn a subject’s face towards the light source. What this implies is generally a window or you gasp make your own lighting. It depends on a number of situations though such as how you pose the subject. But you can see it in these three images within this section.
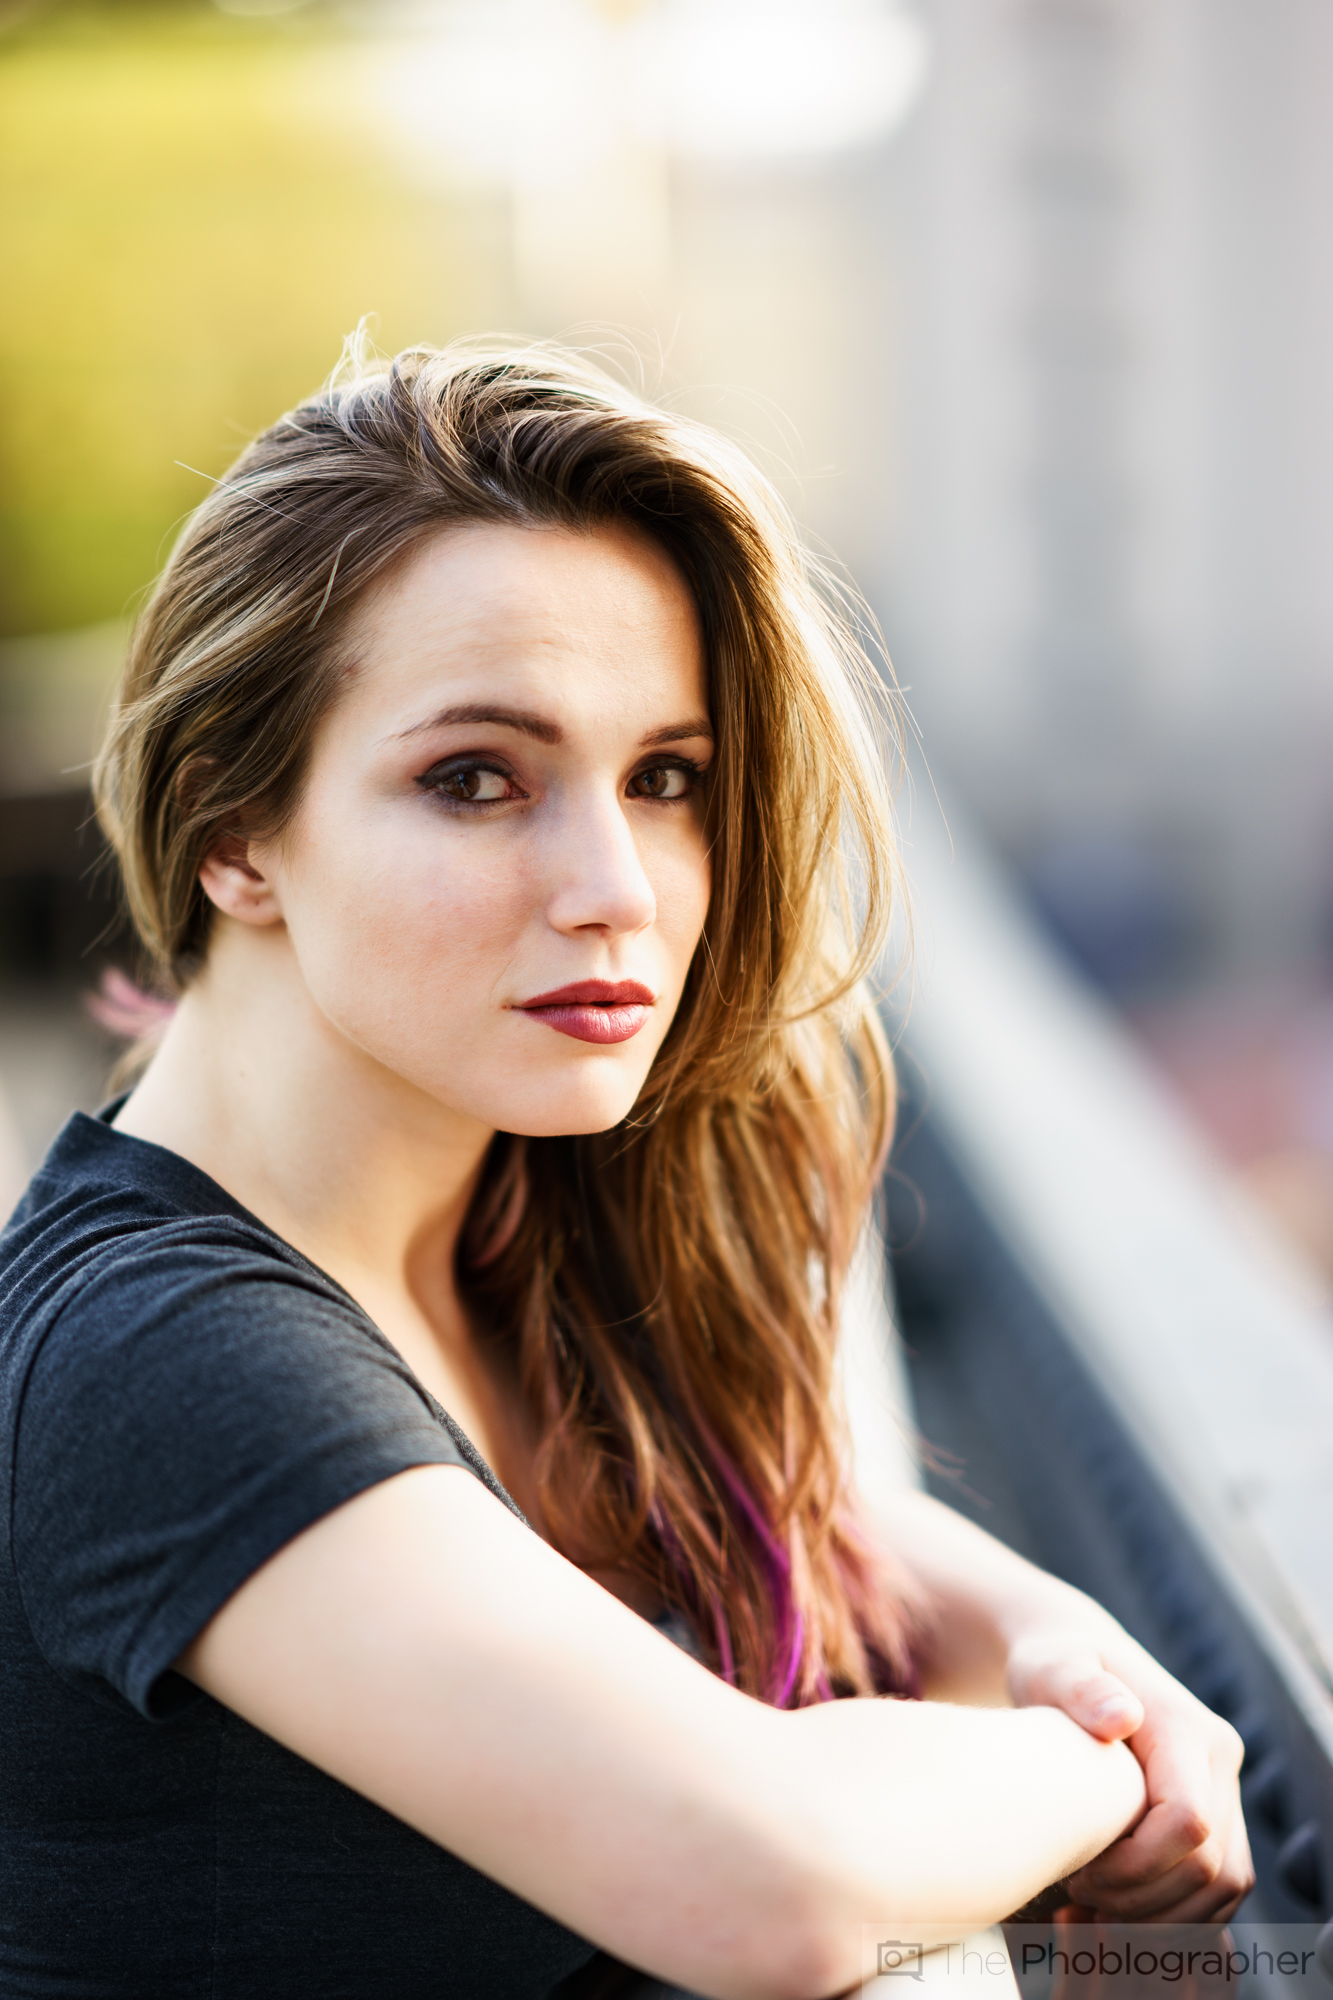
In the image above: Her nose looks good, but it could surely be better.
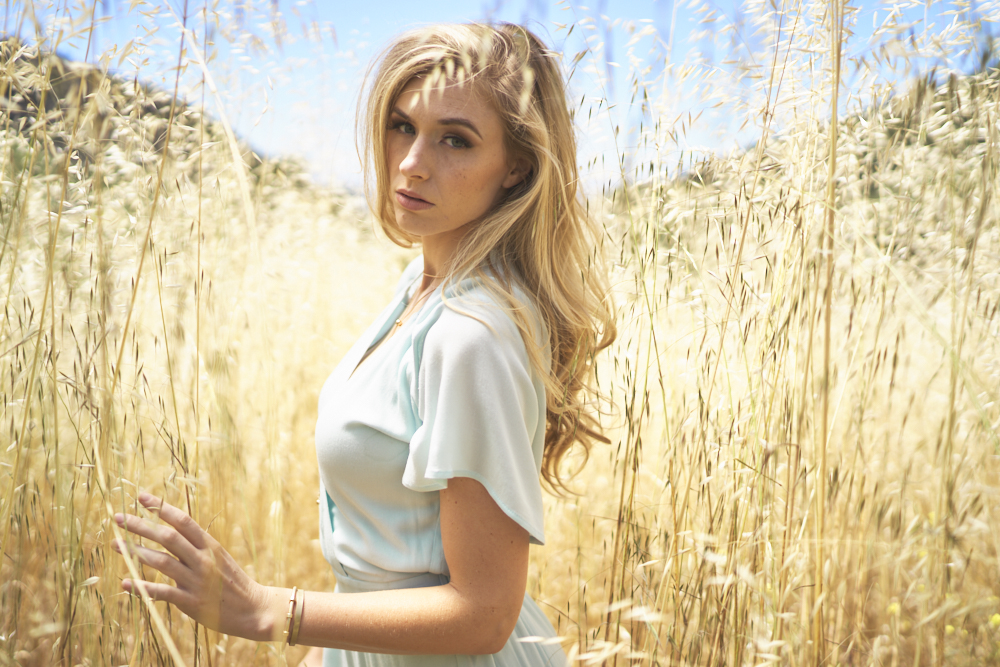
Now her nose is towards the light but it isn’t fully against her cheek and it’s not the most flattering photo.
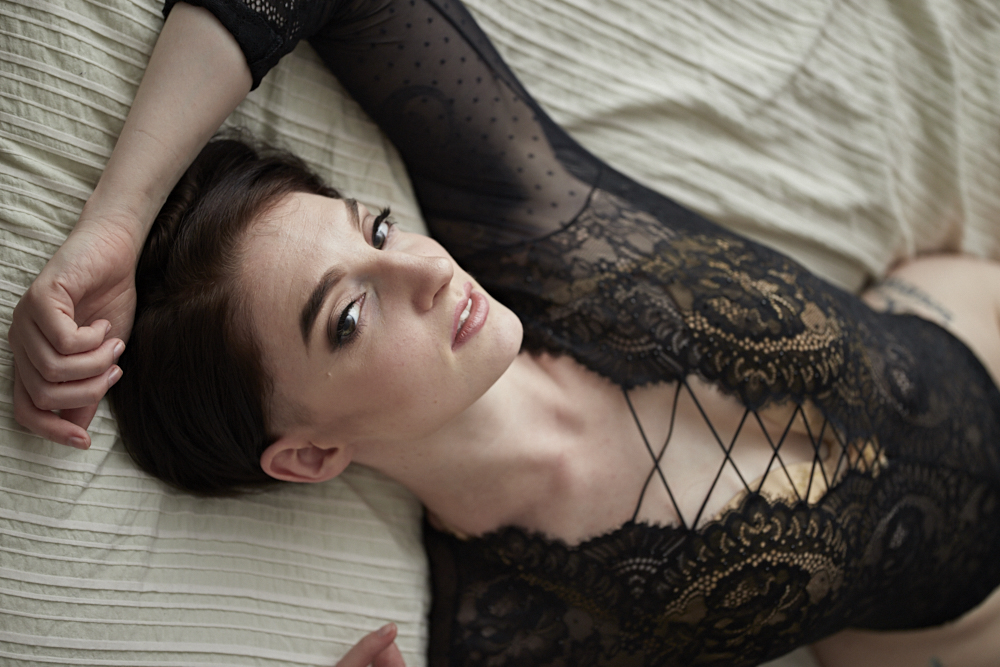
With her head pulled back a tad we get a nice combination of even lighting on the nose and it being against the cheek. Now we’re got a much more flattering image. Of course, there is a lot more that goes into making these photos, but in regards to the nose, this is what we’re ideally aiming for.
Wrap Around Lighting

My other favorite technique is one that I like to call wrap around lighting. In this method, you should essentially imagine light being like a blanket. If it wraps around the subject, then it works well. In order to do that, you generally need a larger light modifier than the subject or the area being photographed.
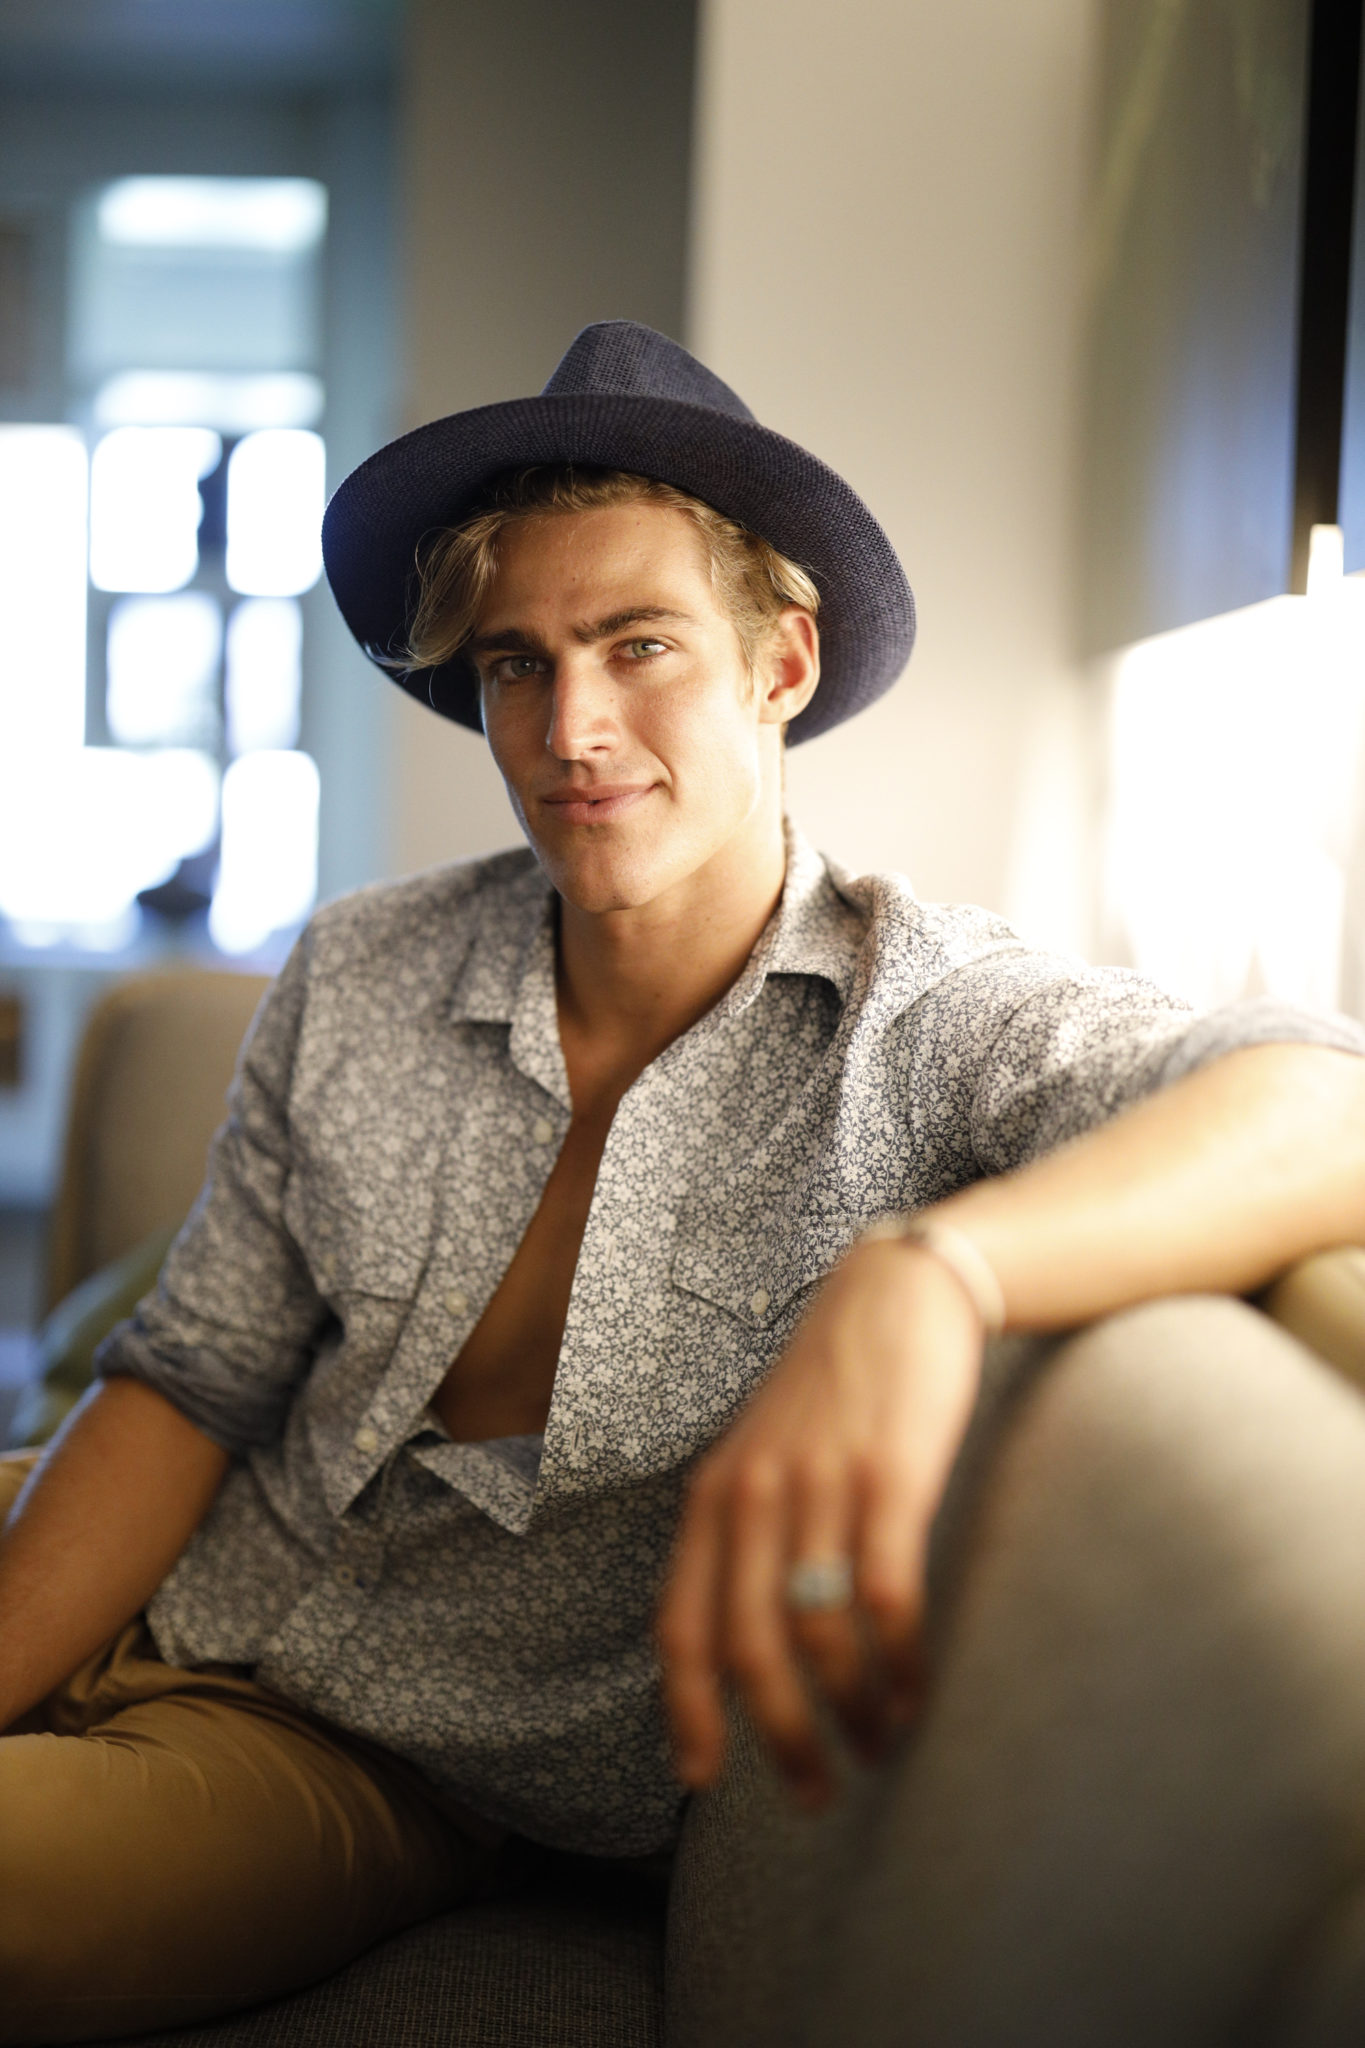
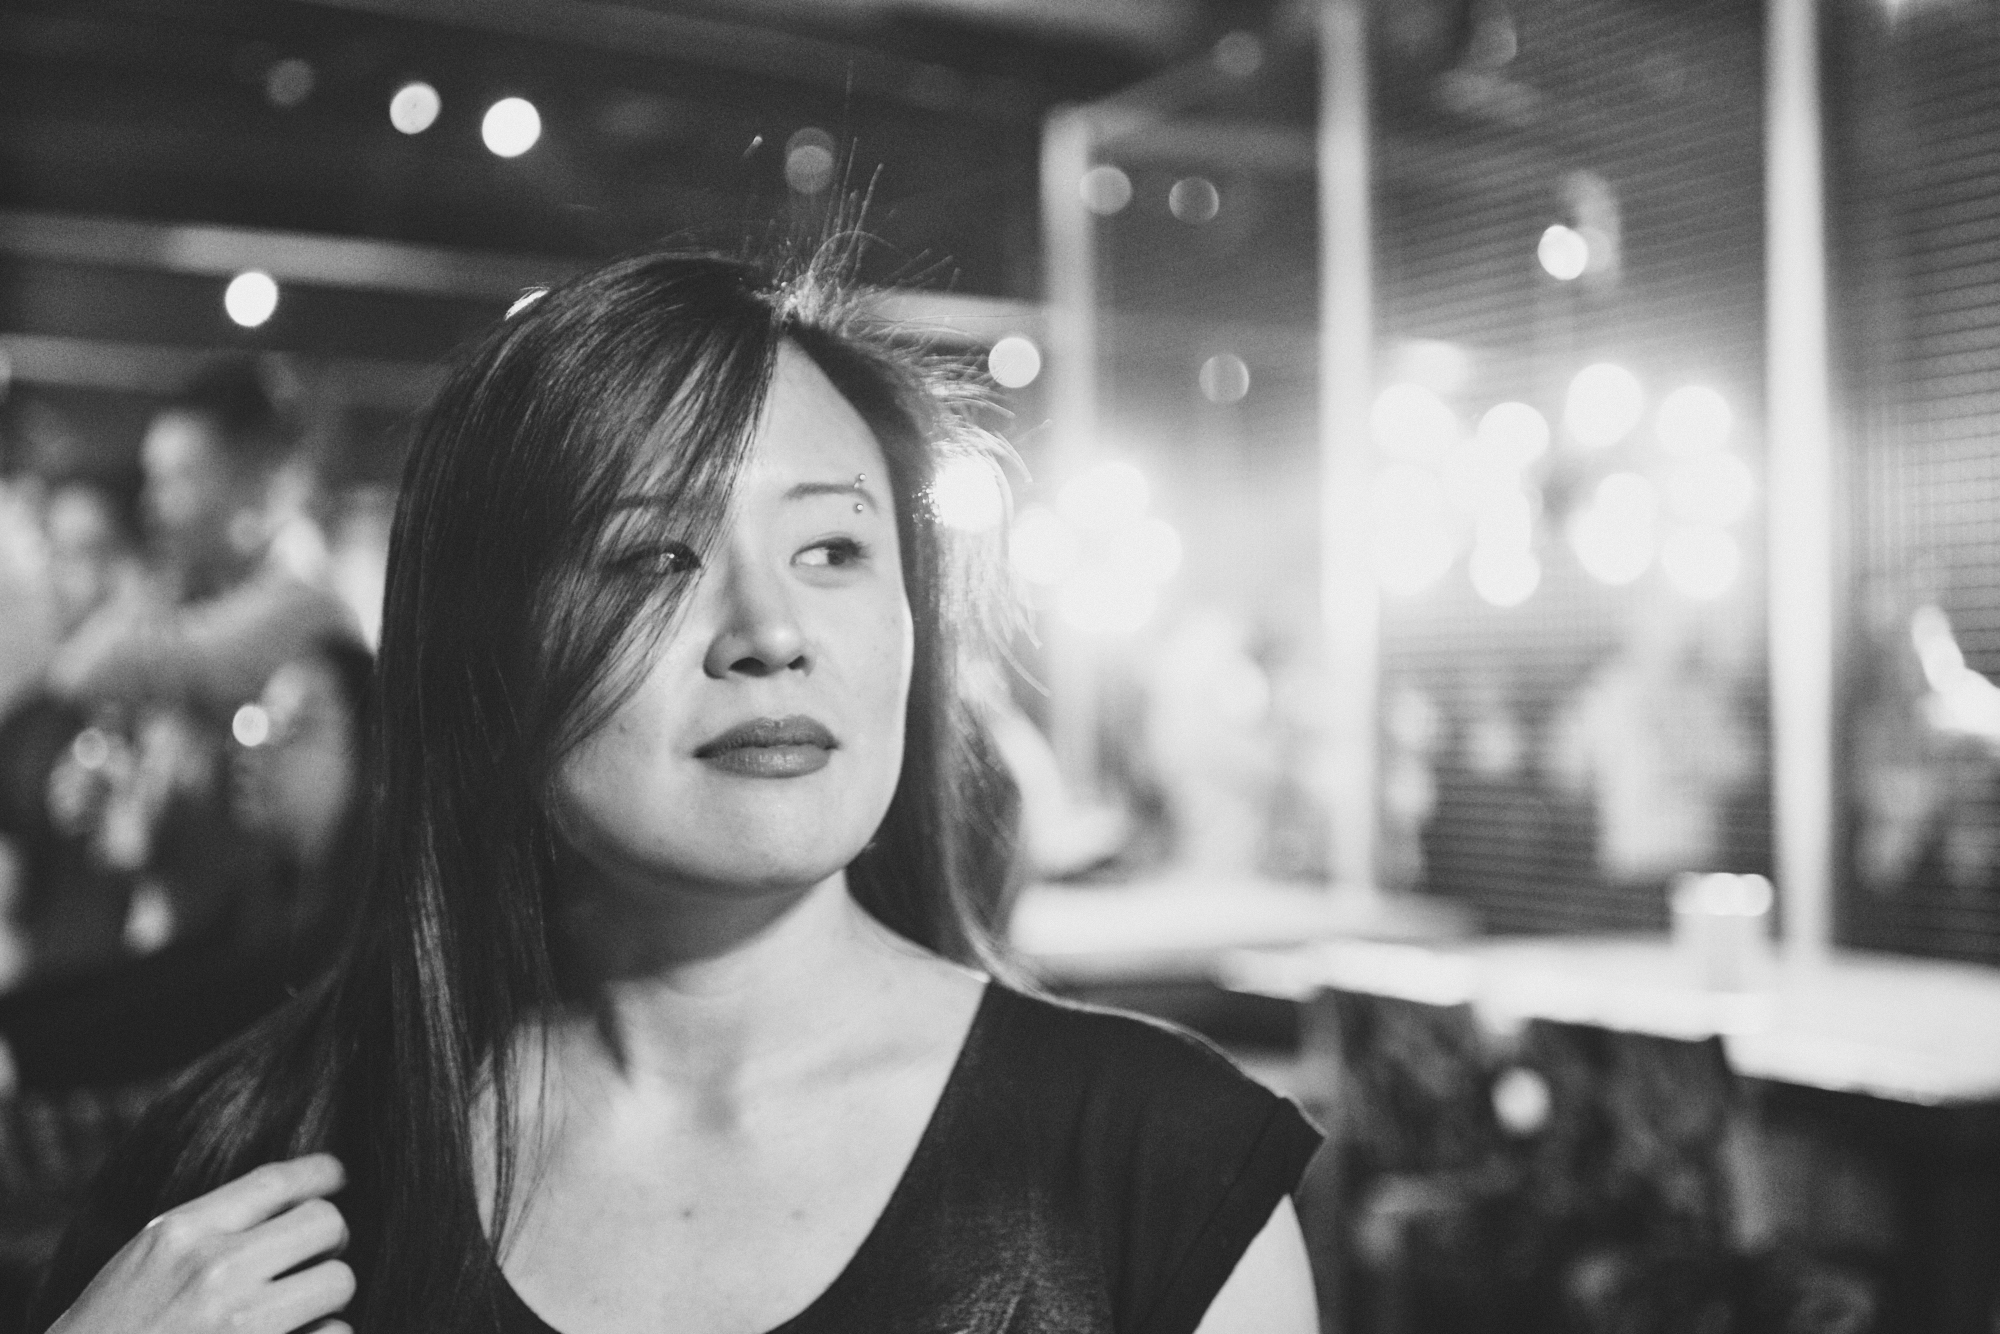
In the image above: We don’t have wrap around lighting even though we’ve got her skin against her cheek. It’s a nice photo overall, but there could have been more done to it.
Wrap around lighting is honestly quite simple to do. There needs to be a few things:
- Your lighting source (or light modifier) needs to be larger than the subject within the frame of your camera. We’re going to very closely dissect this in a bit.
- Your light source should be at approximately a 45 degree angle facing your subject and between both you and your subject. For even more effectiveness, have them look or positioned towards the light.
That’s it, honestly. You can do it with constant light or strobe, but in general this is best done with an umbrella or an octabank. For the absolute best results, you need them to be at least four feet. When I speak about the light source being larger than your subject I’m speaking about what’s in your frame. If you’re doing a headshot, then the area within your frame is generally just a person’s head and shoulders. Your light source needs to be sufficiently larger than a person’s head and shoulders.
– From The Noob Photographer’s Introduction to Wrap Around Lighting
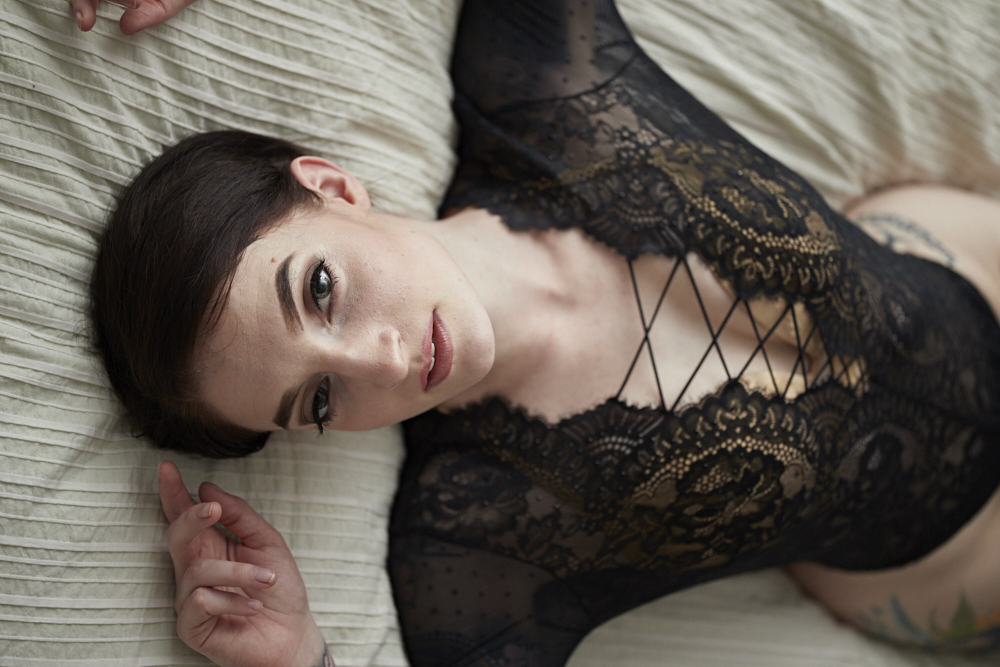
Wrap around lighting can be ambient, in this situation the light is wrapping around Sam and bathing her in a gorgeous glow. In the image below, we’ve created acceptable lighting with the shadows being light instead of very dark.
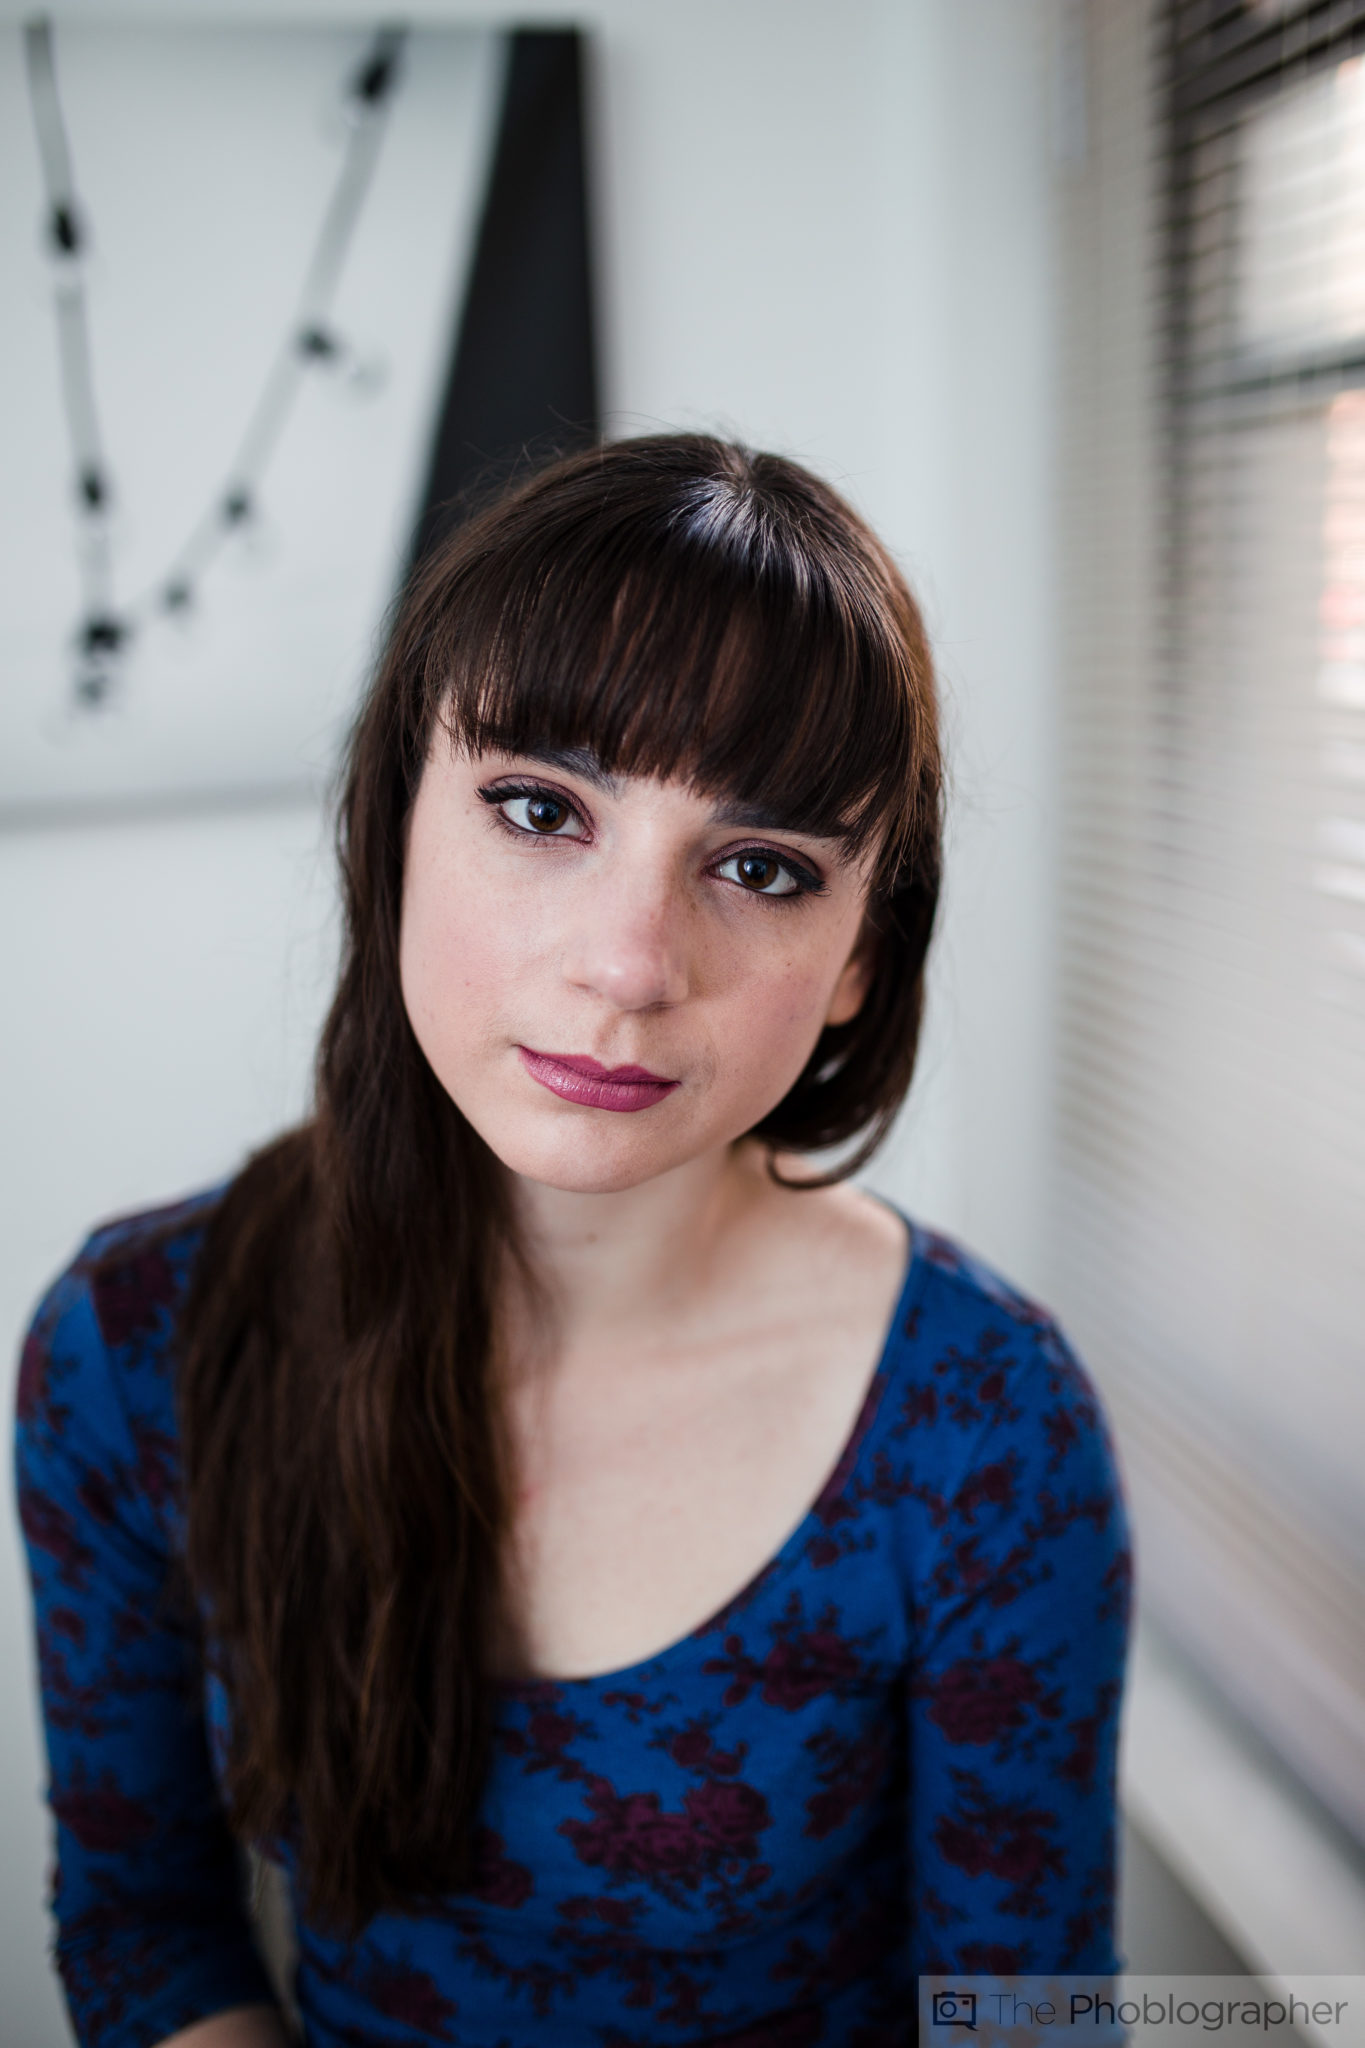
Model: Erica Lourde
Pro Tip: If you’re shooting outside in an overcast day, you’ve generally got all the wrap around lighting you could possibly need in the form of the clouds.
Get on Eye Level
A beginners tip: get on eye level with the subject. That can mean that you stand on an apple box, you squat down a bit, or both of you sit in chairs. If you’re above, you can sometimes make the scene look condescending. If you’re below, at times you can make them look unflattering. The general rule is to get down on eye level. Let’s move on.
Shoot Telephoto to Flatten the Perspective
The last tip: shoot at a telephoto focal length. 35mm and 50mm lenses are great these days, but they’re not a telephoto lens. Anything longer (properly longer and not the equivalent) will do the best job of keeping perspectives down.

Get rid of the ads!
Did you enjoy reading this article as much as we enjoyed writing it? There's a way to support us and our reporting, getting ad-free navigation and more as a bonus. Subscribe to us for less than a coffee per month —just $3.99— or take advantage of our yearly subscription with a hefty discount for only $25.- An ad-free experience
- A free mystery box for Lightroom or Capture One
- All the books in our store
- 20% discount on Capture One
- 30% discount on Imalume Photo Theft Protection
- 20% off Herbs and Kettle Tea Company.
- 20% off your order from MPIX printing services.
- 5% off Viltrox Products via their eCommerce store.
- 10% off all film developing, printing and scanning services from Blue Moon Camera and Machine
- 15% off 7Artisans products: The lens and accessory maker is offering a sweet discount for Phoblographer's readers.