
Last Updated on 08/02/2018 by Mark Beckenbach
Wrap around lighting is one of the best ways to do more with less when it comes to portraiture.
When I first learned about wrap around lighting many years ago, I discovered it by accident. Wrap around lighting is a technique used by many photographers to envelope their subject in a lighting that is both flattering and efficient. Lots of portrait photographers do it, and one of the aims is to try to mimic the look of the sun and clouds in certain situations. So today, we’re giving photographers a bit more of an introduction to how to do it.
What is Wrap Around Lighting?
Wrap around lighting quite literally refers to light wrapping around a subject. To understand this a bit more, let me talk about four different types of lighting:
- Directional lighting: means that the light is very focused and coming from one direction. Directional lighting is often harder, meaning that the shadows are more visible and darker.
- Wrap around lighting: could also mean that the light is coming from one direction, but in relation to the subject it is less focused and often larger. Larger, more wrap around lighting is often softer.
- Efficient light: means that the lighting is also very directional. An example of this is the control a softbox offers.
- Inefficient light: means that the light scatters everywhere. An example of this is how light bounces off of an umbrella’s interior and scatters everywhere.
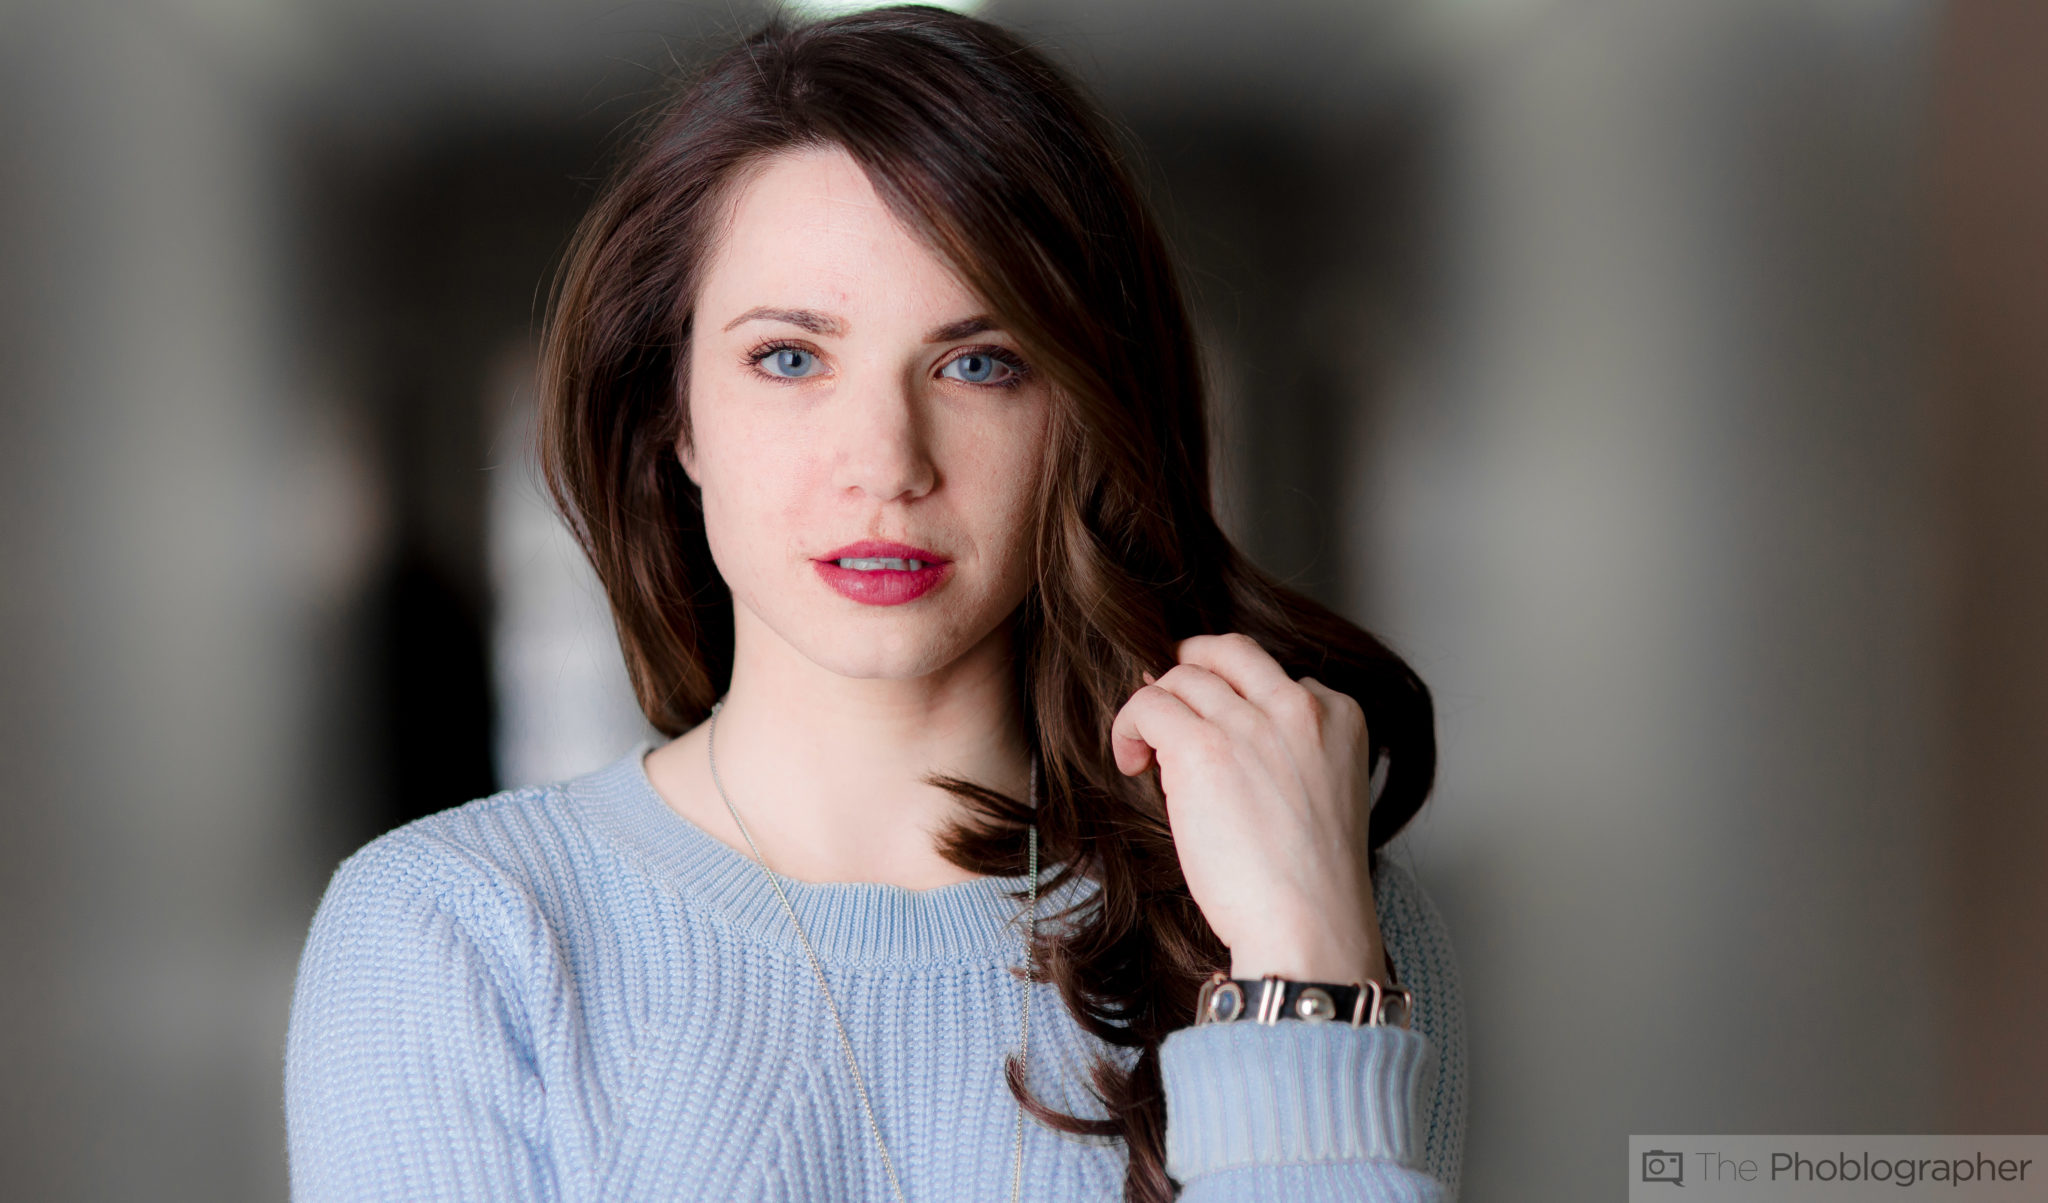
Here’s a shot from a white interior softbox. Notice how soft and beautiful the lighting is.
Think of it this way:
How Do You Do Wrap Around Lighting?
Wrap around lighting is honestly quite simple to do. There needs to be a few things:
- Your lighting source (or light modifier) needs to be larger than the subject within the frame of your camera. We’re going to very closely dissect this in a bit.
- Your light source should be at approximately a 45 degree angle facing your subject and between both you and your subject. For even more effectiveness, have them look or positioned towards the light.
That’s it, honestly. You can do it with constant light or strobe, but in general this is best done with an umbrella or an octabank. For the absolute best results, you need them to be at least four feet. When I speak about the light source being larger than your subject I’m speaking about what’s in your frame. If you’re doing a headshot, then the area within your frame is generally just a person’s head and shoulders. Your light source needs to be sufficiently larger than a person’s head and shoulders.
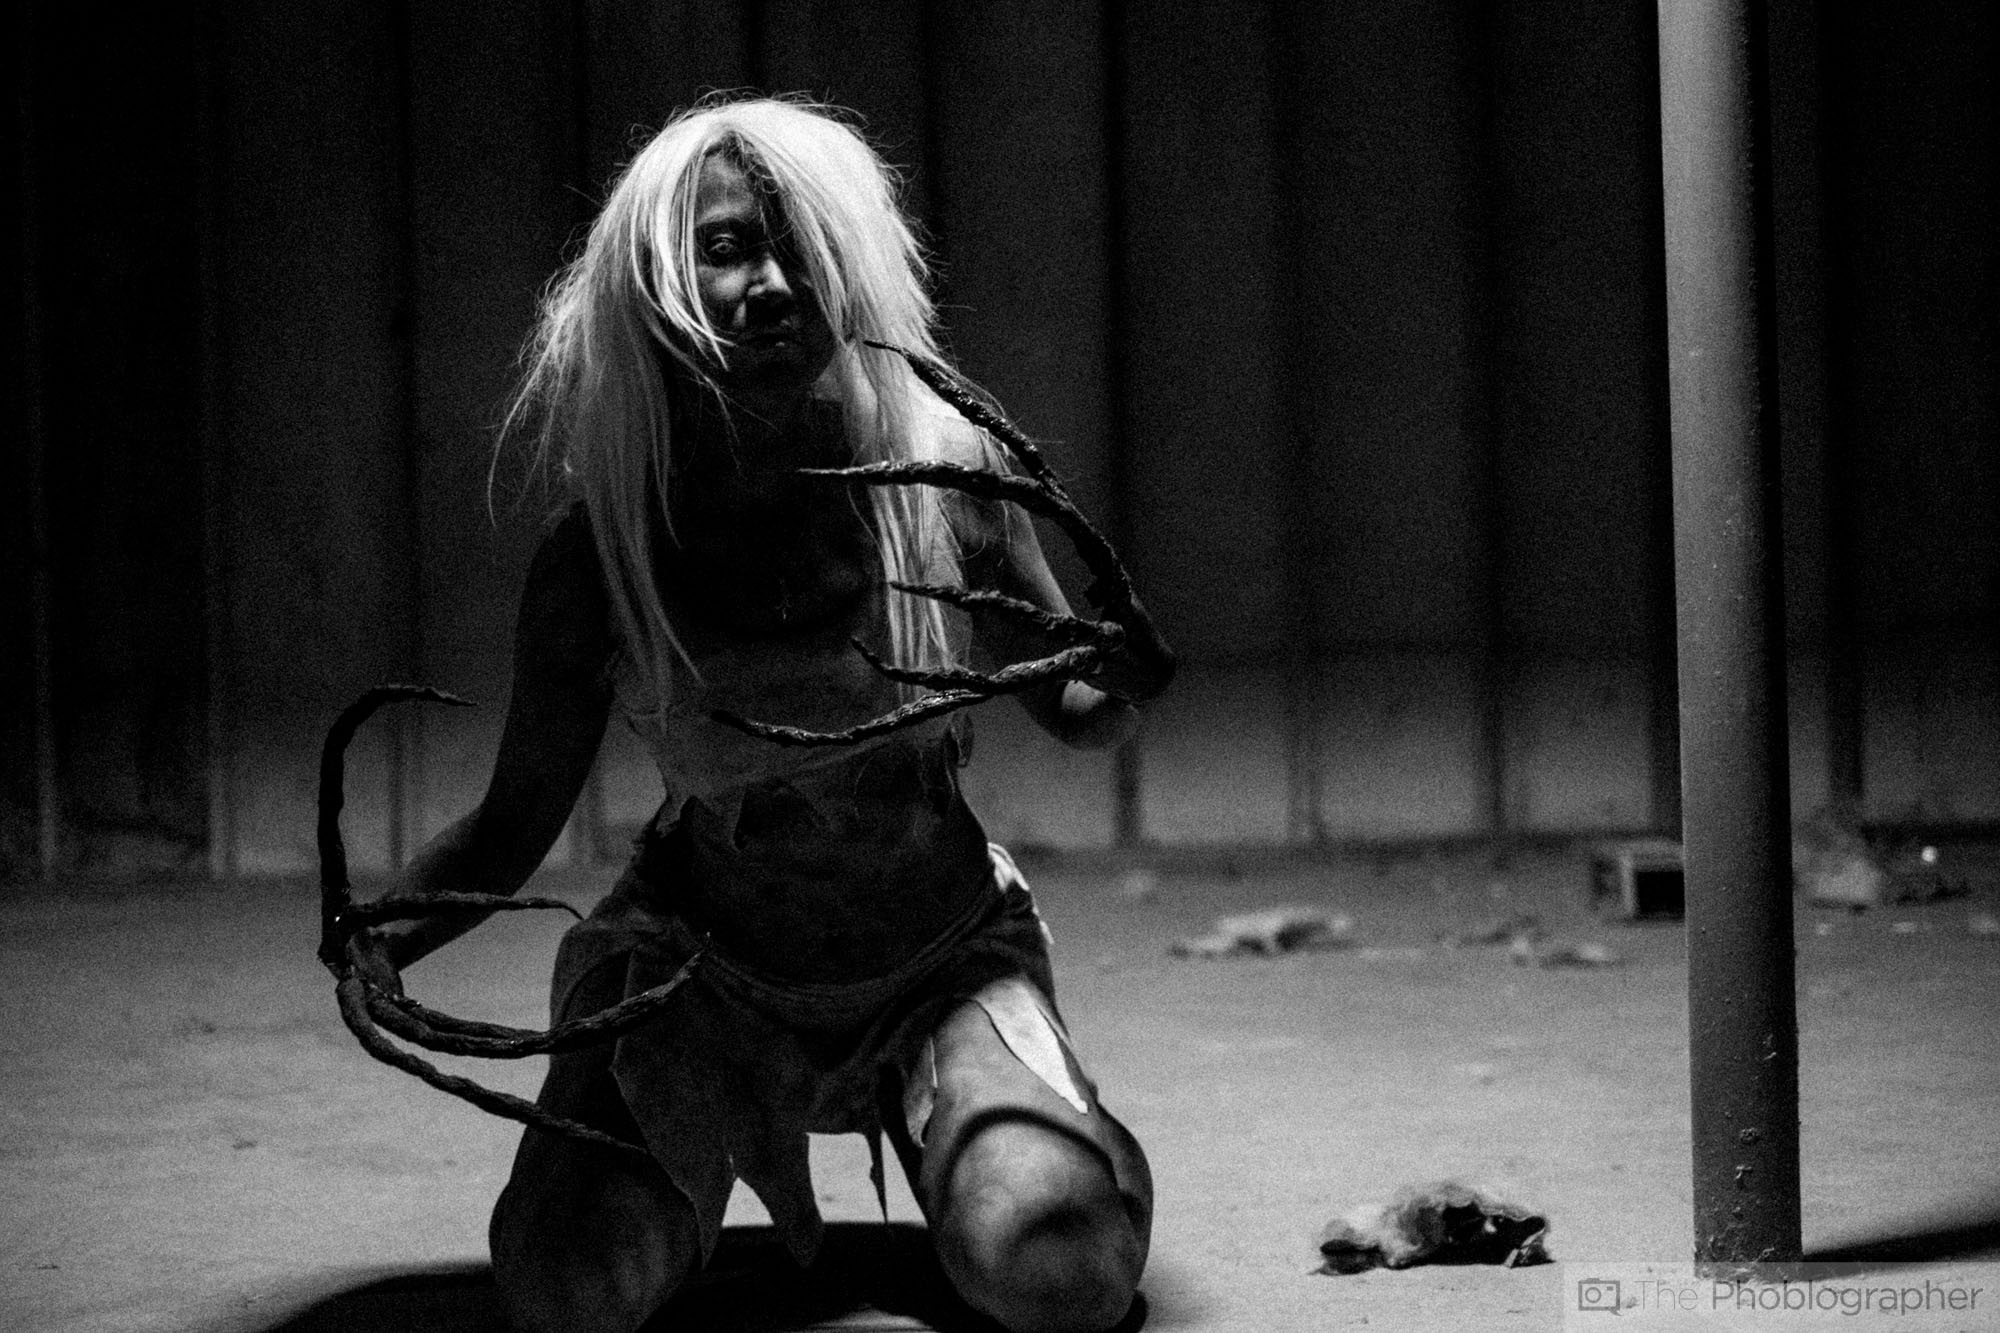
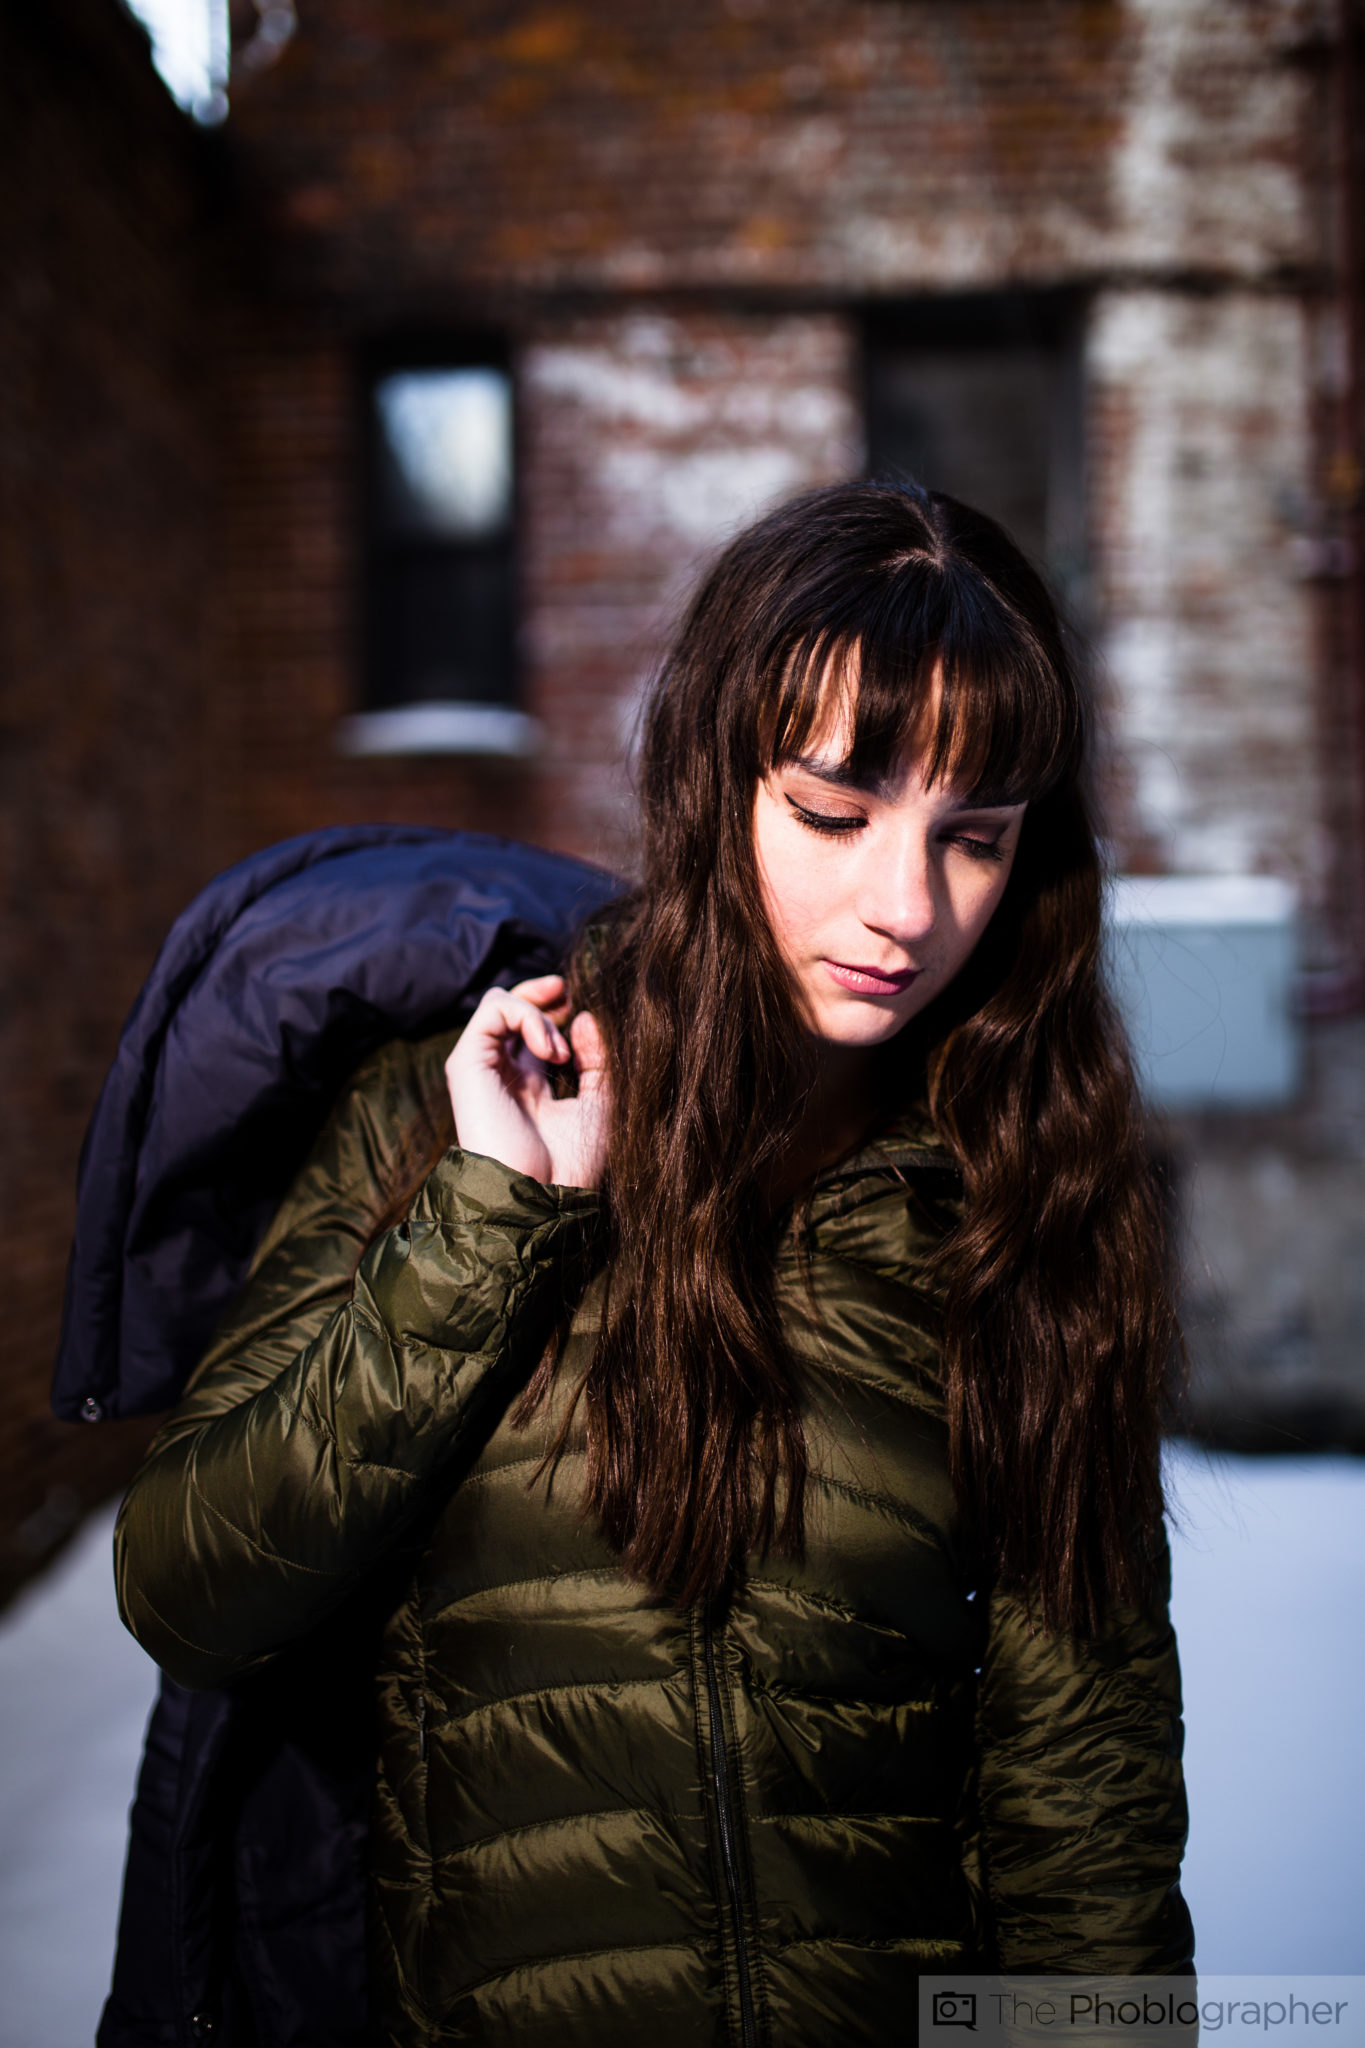
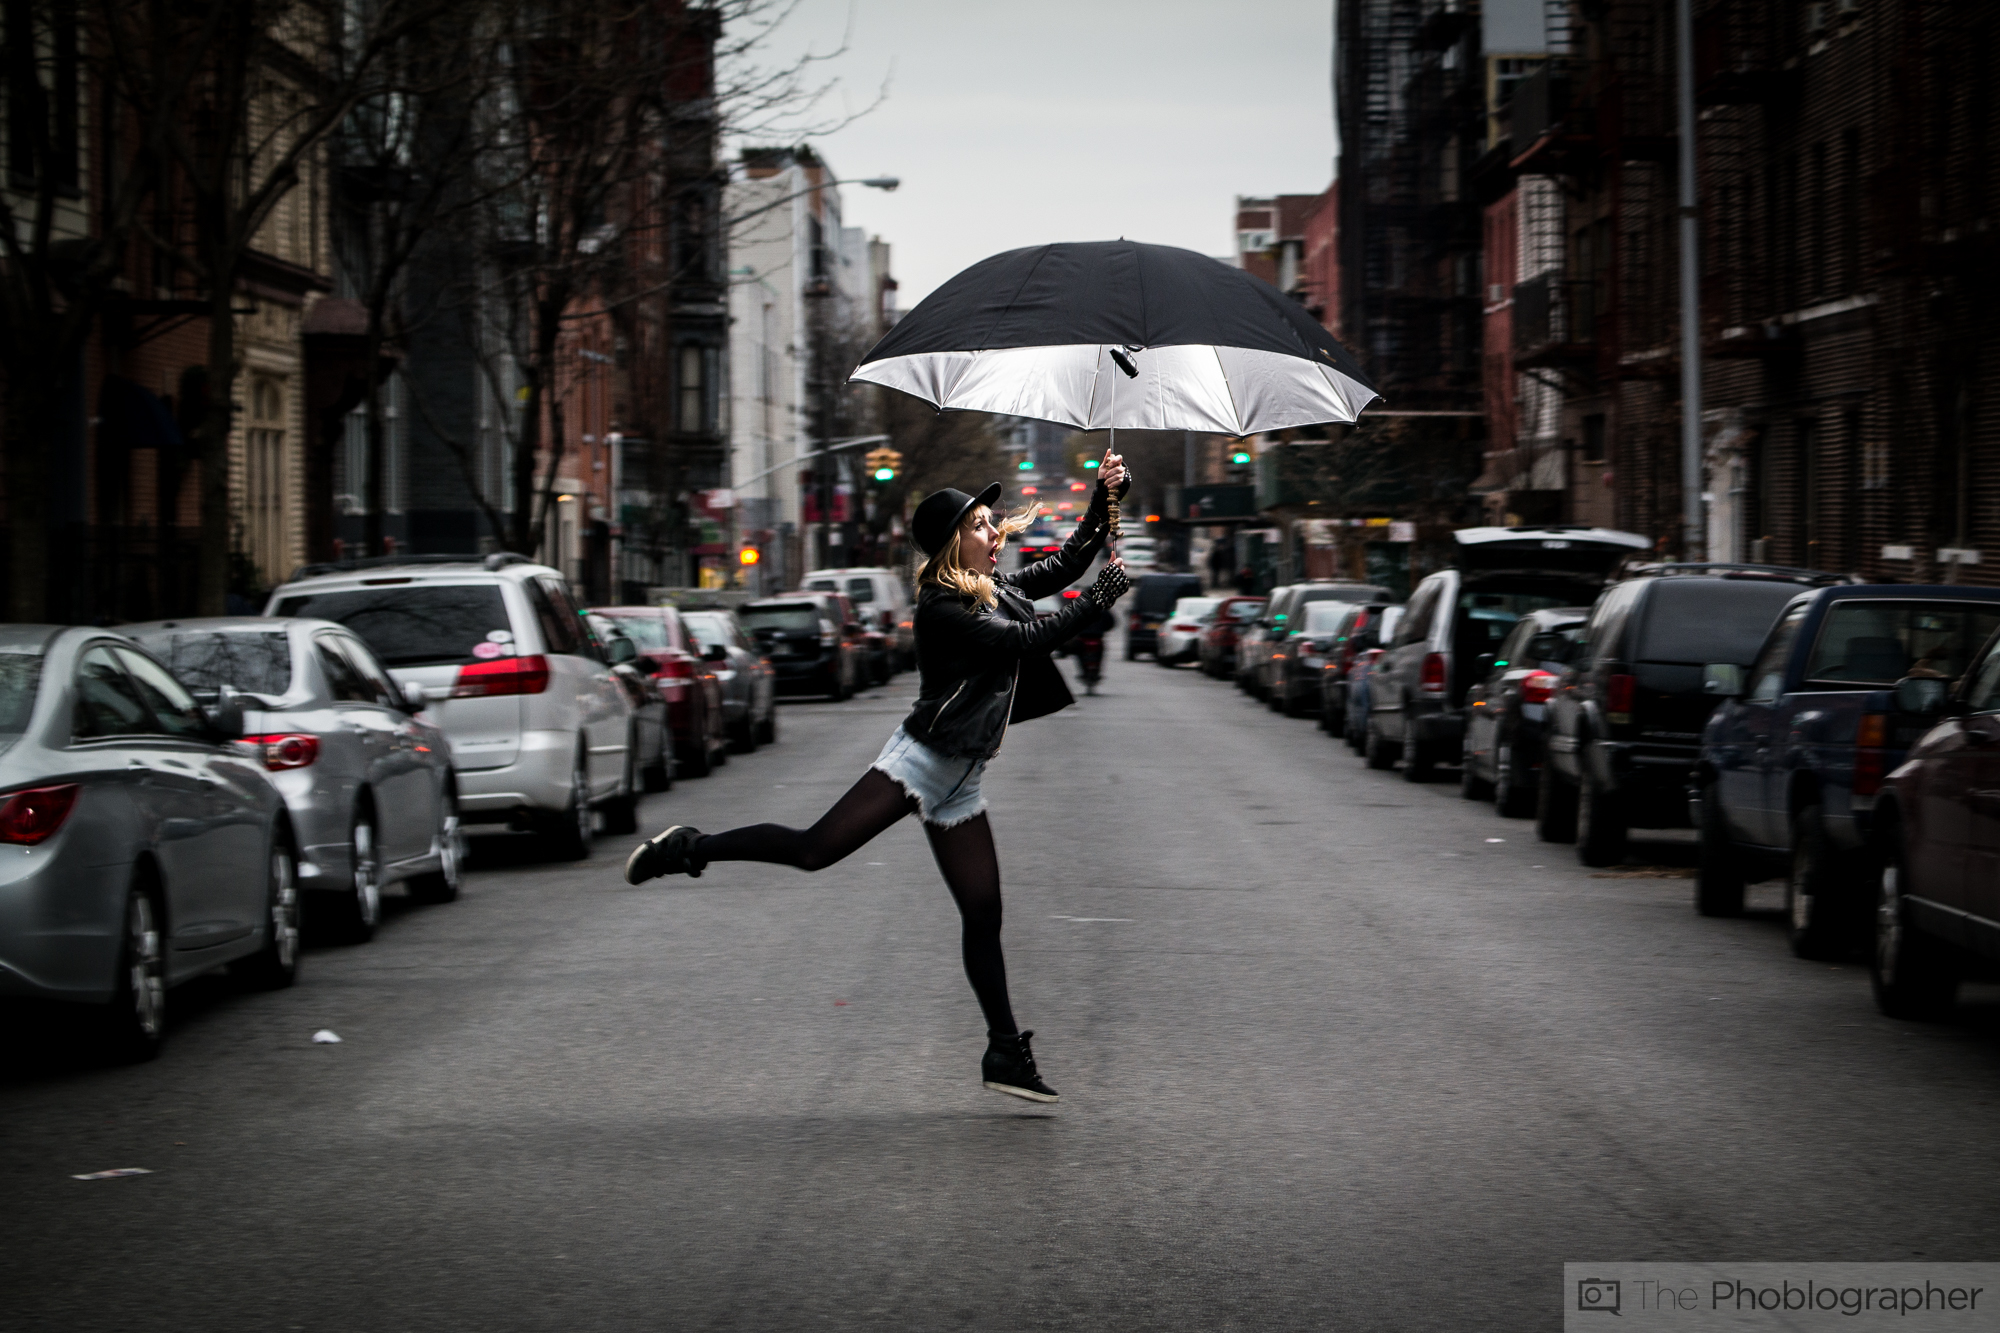
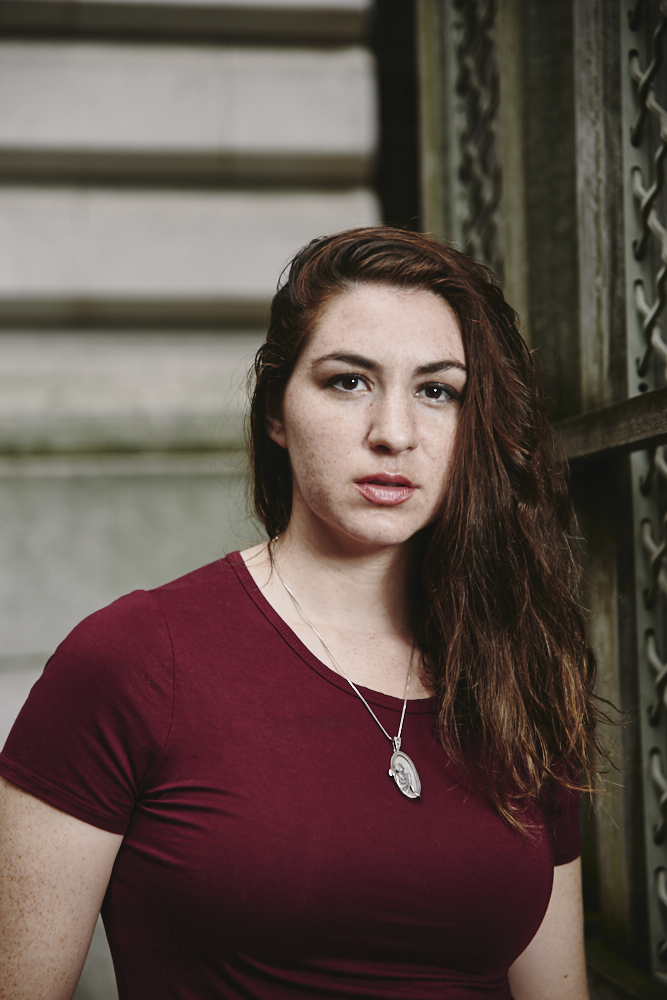
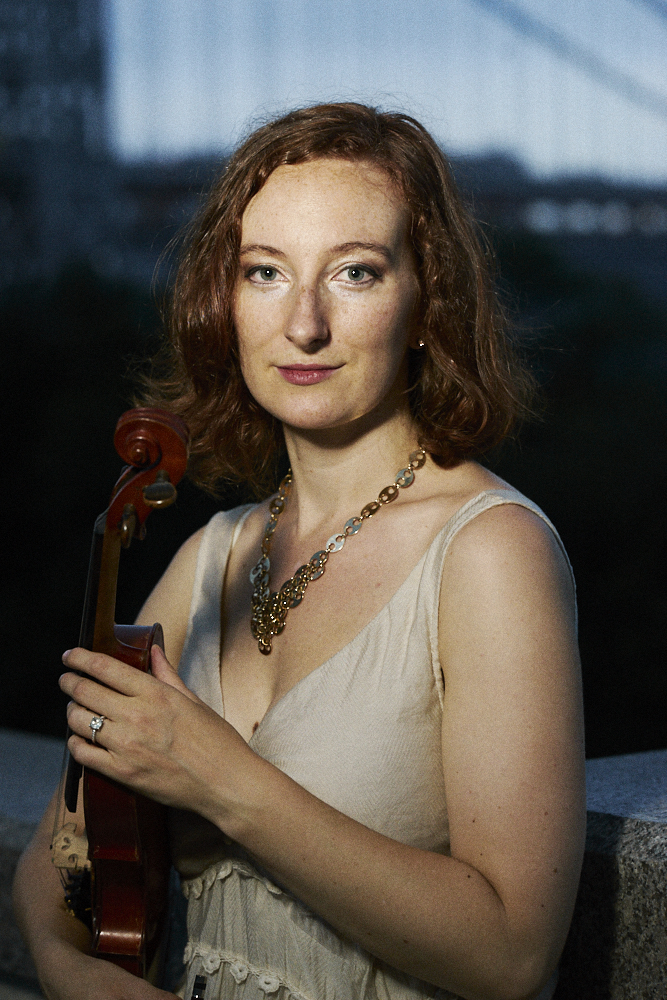
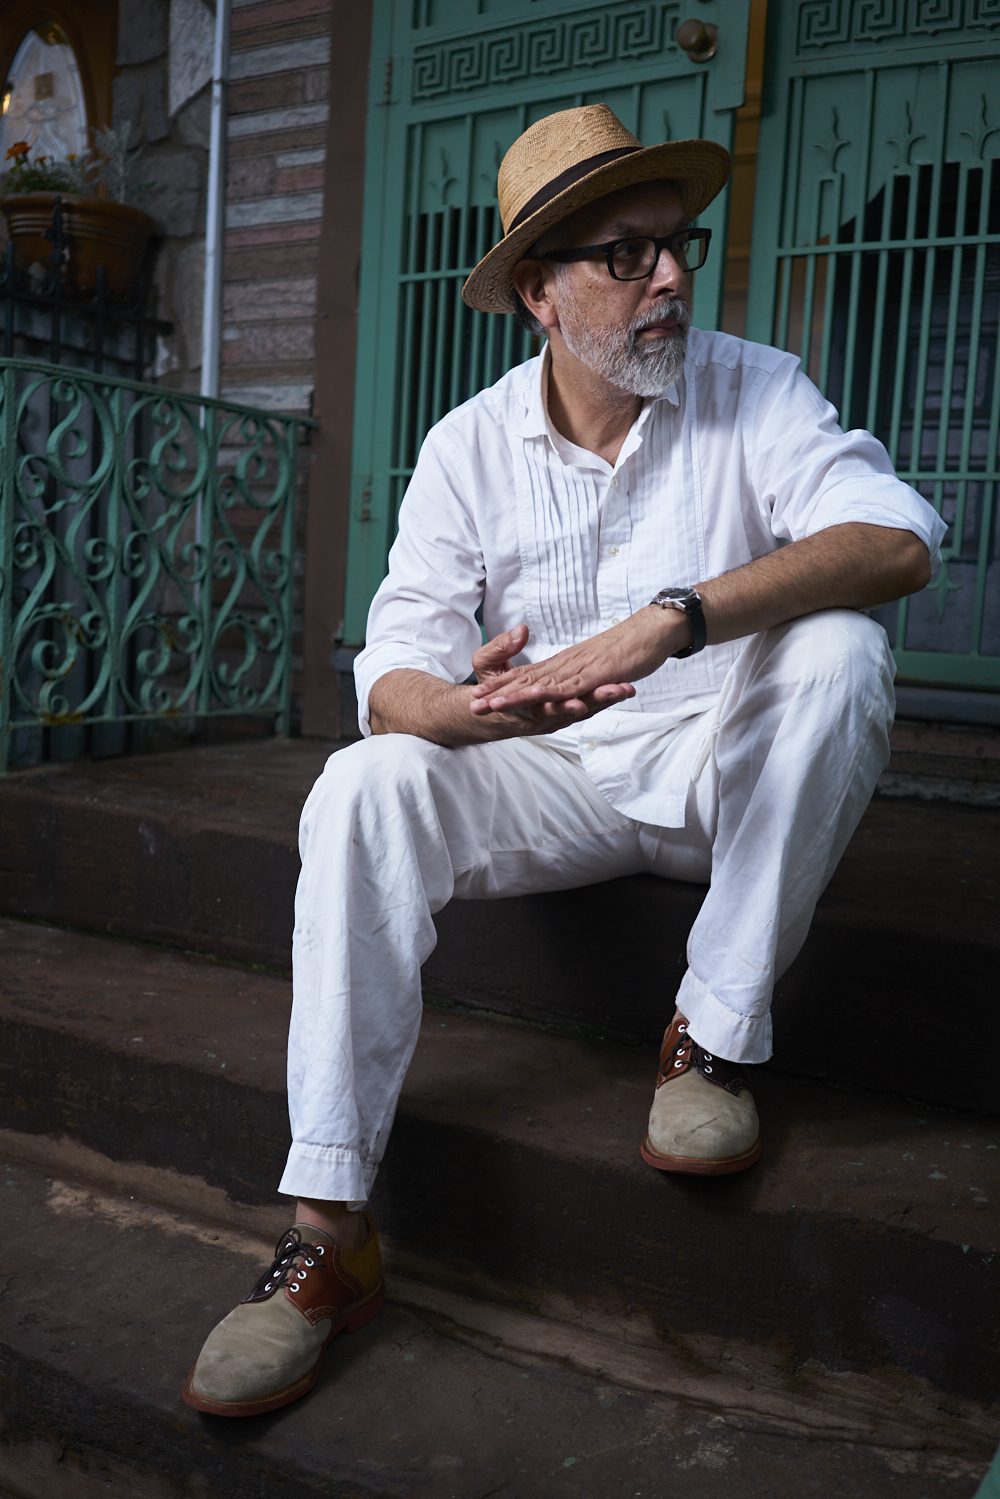
More Examples
Here are a few examples. We’re not going to go further into this in order to avoid confusing photographers.


Get rid of the ads!
Did you enjoy reading this article as much as we enjoyed writing it? There's a way to support us and our reporting, getting ad-free navigation and more as a bonus. Subscribe to us for less than a coffee per month —just $3.99— or take advantage of our yearly subscription with a hefty discount for only $25.- An ad-free experience
- A free mystery box for Lightroom or Capture One
- All the books in our store
- 20% discount on Capture One
- 30% discount on Imalume Photo Theft Protection
- 20% off Herbs and Kettle Tea Company.
- 20% off your order from MPIX printing services.
- 5% off Viltrox Products via their eCommerce store.
- 10% off all film developing, printing and scanning services from Blue Moon Camera and Machine
- 15% off 7Artisans products: The lens and accessory maker is offering a sweet discount for Phoblographer's readers.