
While you don’t need the golden hour to get the best portraits, it surely does help.
For the uninitiated, Golden Hour describes the short, fleeting period of time just after the sun had risen or immediately before it is about to set. During this momentary window, the sun appears very close to the horizon and produces a quality of available light that tends to be beautifully diffused and typically embodies a warmer tone than usual. Portrait photographers, particularly those that rely heavily on natural light, often prefer to photograph their subjects during these ephemeral minutes because of the beautiful quality the light imparts onto their subjects. We have a wealth of tutorials here on The Phoblographer that cover topics such as portrait subject posing as well as how to best interact with your subjects to bring out the expressions you’re looking for, but for the purposes of this particular tutorial, we are going to focus specifically on the challenges that you will likely come across when photographing portraits during Golden Hour and what you can do to combat them.
Understanding How to Use the Golden Hour
The Sun is really low in the sky during Golden Hour, and the closer the Sun is to the horizon, the more direct its light becomes. More direct light means more squinting. Having your subject put sunglasses or a hat on is one way to keep squinting to a minimum, but depending on the look you’re going for, sunglasses and hats may not always be the right fit. If your subject is facing the sun, a good tip to remember is to have your subject keep their eyes closed while you’re posing them, and do a countdown so that they open their eyes just as you press the shutter. This will help keep your subject from squinting and give your subject a more natural expression in their portraits. Alternatively, you can also have your subject look slightly away or down rather than looking directly at the camera, which can produce some excellent results as well. If you absolutely need your subject to look directly at the camera, such as when you’re taking a headshot, another helpful tip is to use a scrim to diffuse the light so that your subjects don’t get blinded by the Sun. A scrim is any type of diffusion material that you can use to diffuse light, and while Golden Hour light tends to be quite diffused already, the Sun is so powerful that a scrim will definitely help soften the light further. Most 5-in-1 reflectors usually include a scrim in the center and are one of the cheapest light modifiers you can purchase.
“The Sun is really low in the sky during Golden Hour, and the closer the Sun is to the horizon, the more direct its light becomes.”
Front Lighting
When photographing your subject(s) during Golden Hour, particularly if you’re a natural light shooter, you are most likely going to be using the Golden Hour light as either your key light or your back light. A key light is the primary light source illuminating your subject and is generally in front of your subject, while a back light is a light source that is placed somewhere behind your subject and helps separate your subject from the background. Anyone that’s stared at the Sun knows how blindingly bright the light is, so be mindful of that when you’re using Golden Hour light as your key light to light your subject and remember to give them breaks in between each shot so that they can give their retinas a rest and to prevent any damage from happening. Our eyes are very sensitive to light, and we have a tendency to squint when they get hit with really bright light.
Backlighting
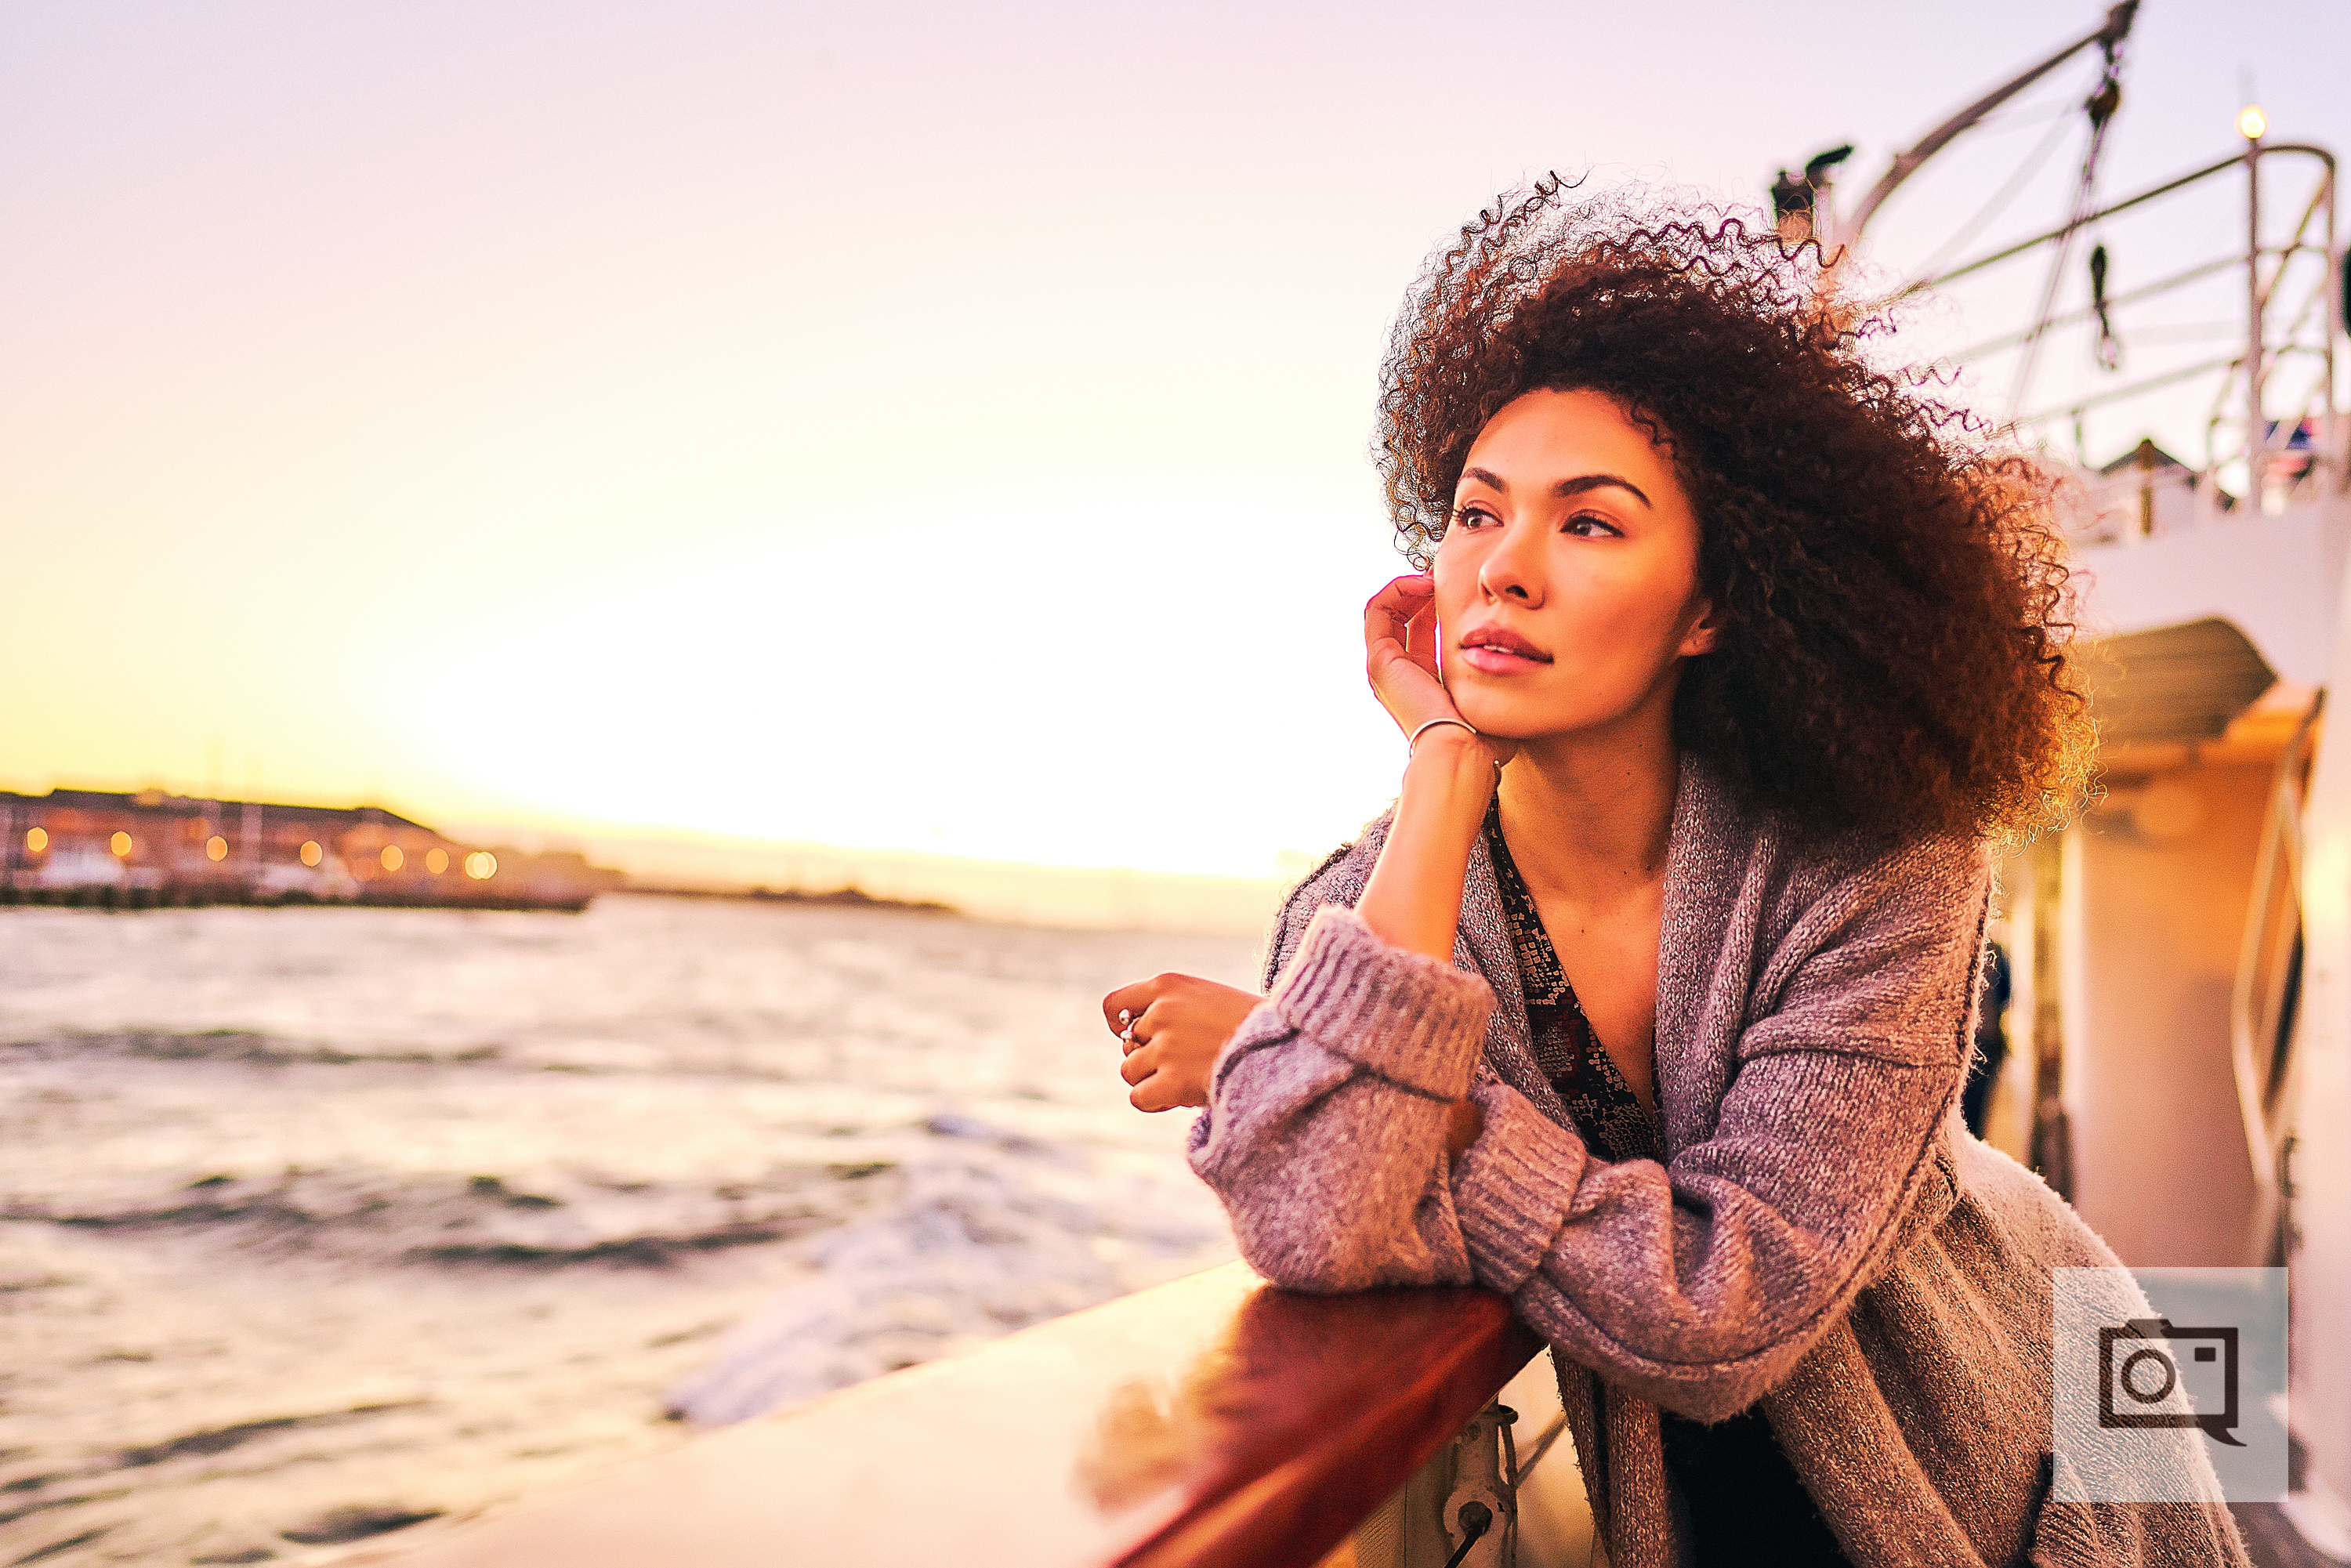
Things get a little easier when you’re using Golden Hour light as your back light since you don’t have to constantly worry about your subject squinting (although you will want to be careful since the light is now facing you and you’re now squint-prone). You can create some truly stunning portraits when you’re backlighting your subject with Golden Hour light. Since the sun is behind your subject, you can either position your subject directly between your camera and the sun or place your subject off-axis from the Sun and bring some directionality to the light that hits your subject. You will want to pay attention to your exposure when the Sun is directly behind your subject.
While the Golden Hour Sun will create gorgeous rim light that helps separate your subject from the rest of the image, you run the risk of blowing out the background or your subject appearing like a silhouette if your image isn’t exposed properly. Being able to actually see your subject is at the core of creating a portrait, so unless you’re purposefully trying to create a silhouette, you will want to expose for your subject so that they are actually visible within your image. The Golden Hour Sun is going to appear progressively brighter the closer it gets to the horizon, and as you try to expose for your backlit subject, the background will become increasingly blown out. Obviously, there will be times when this is the desired look that you’re going for, but if you’re creating portraits of your subject on location, being able to identify the location in the background of your image as opposed to the background be nothing but blown out highlights makes a big difference.
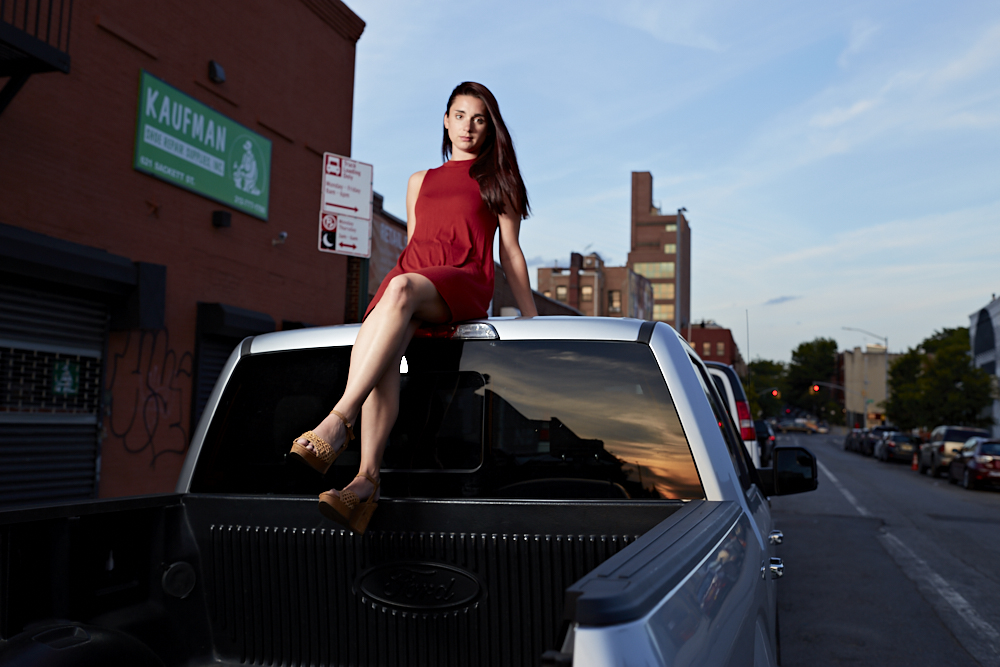
Using a Flash During the Golden Hour

Having a hard time balancing between blowing out your background or risk underexposing your subject? This can be easily remedied if you’ve got a flash on hand. Simply adjust your exposure so that the background isn’t blown out, and use your flash as the key light to illuminating your subject. For photographers out there that are allergic to using strobes, there are still solutions that can help you create a pleasing image when you’re using Golden Hour light to back light your subject.
Remember what Ra’s al Ghul taught Bruce Wayne in Batman Begins? “Always mind your surroundings.”
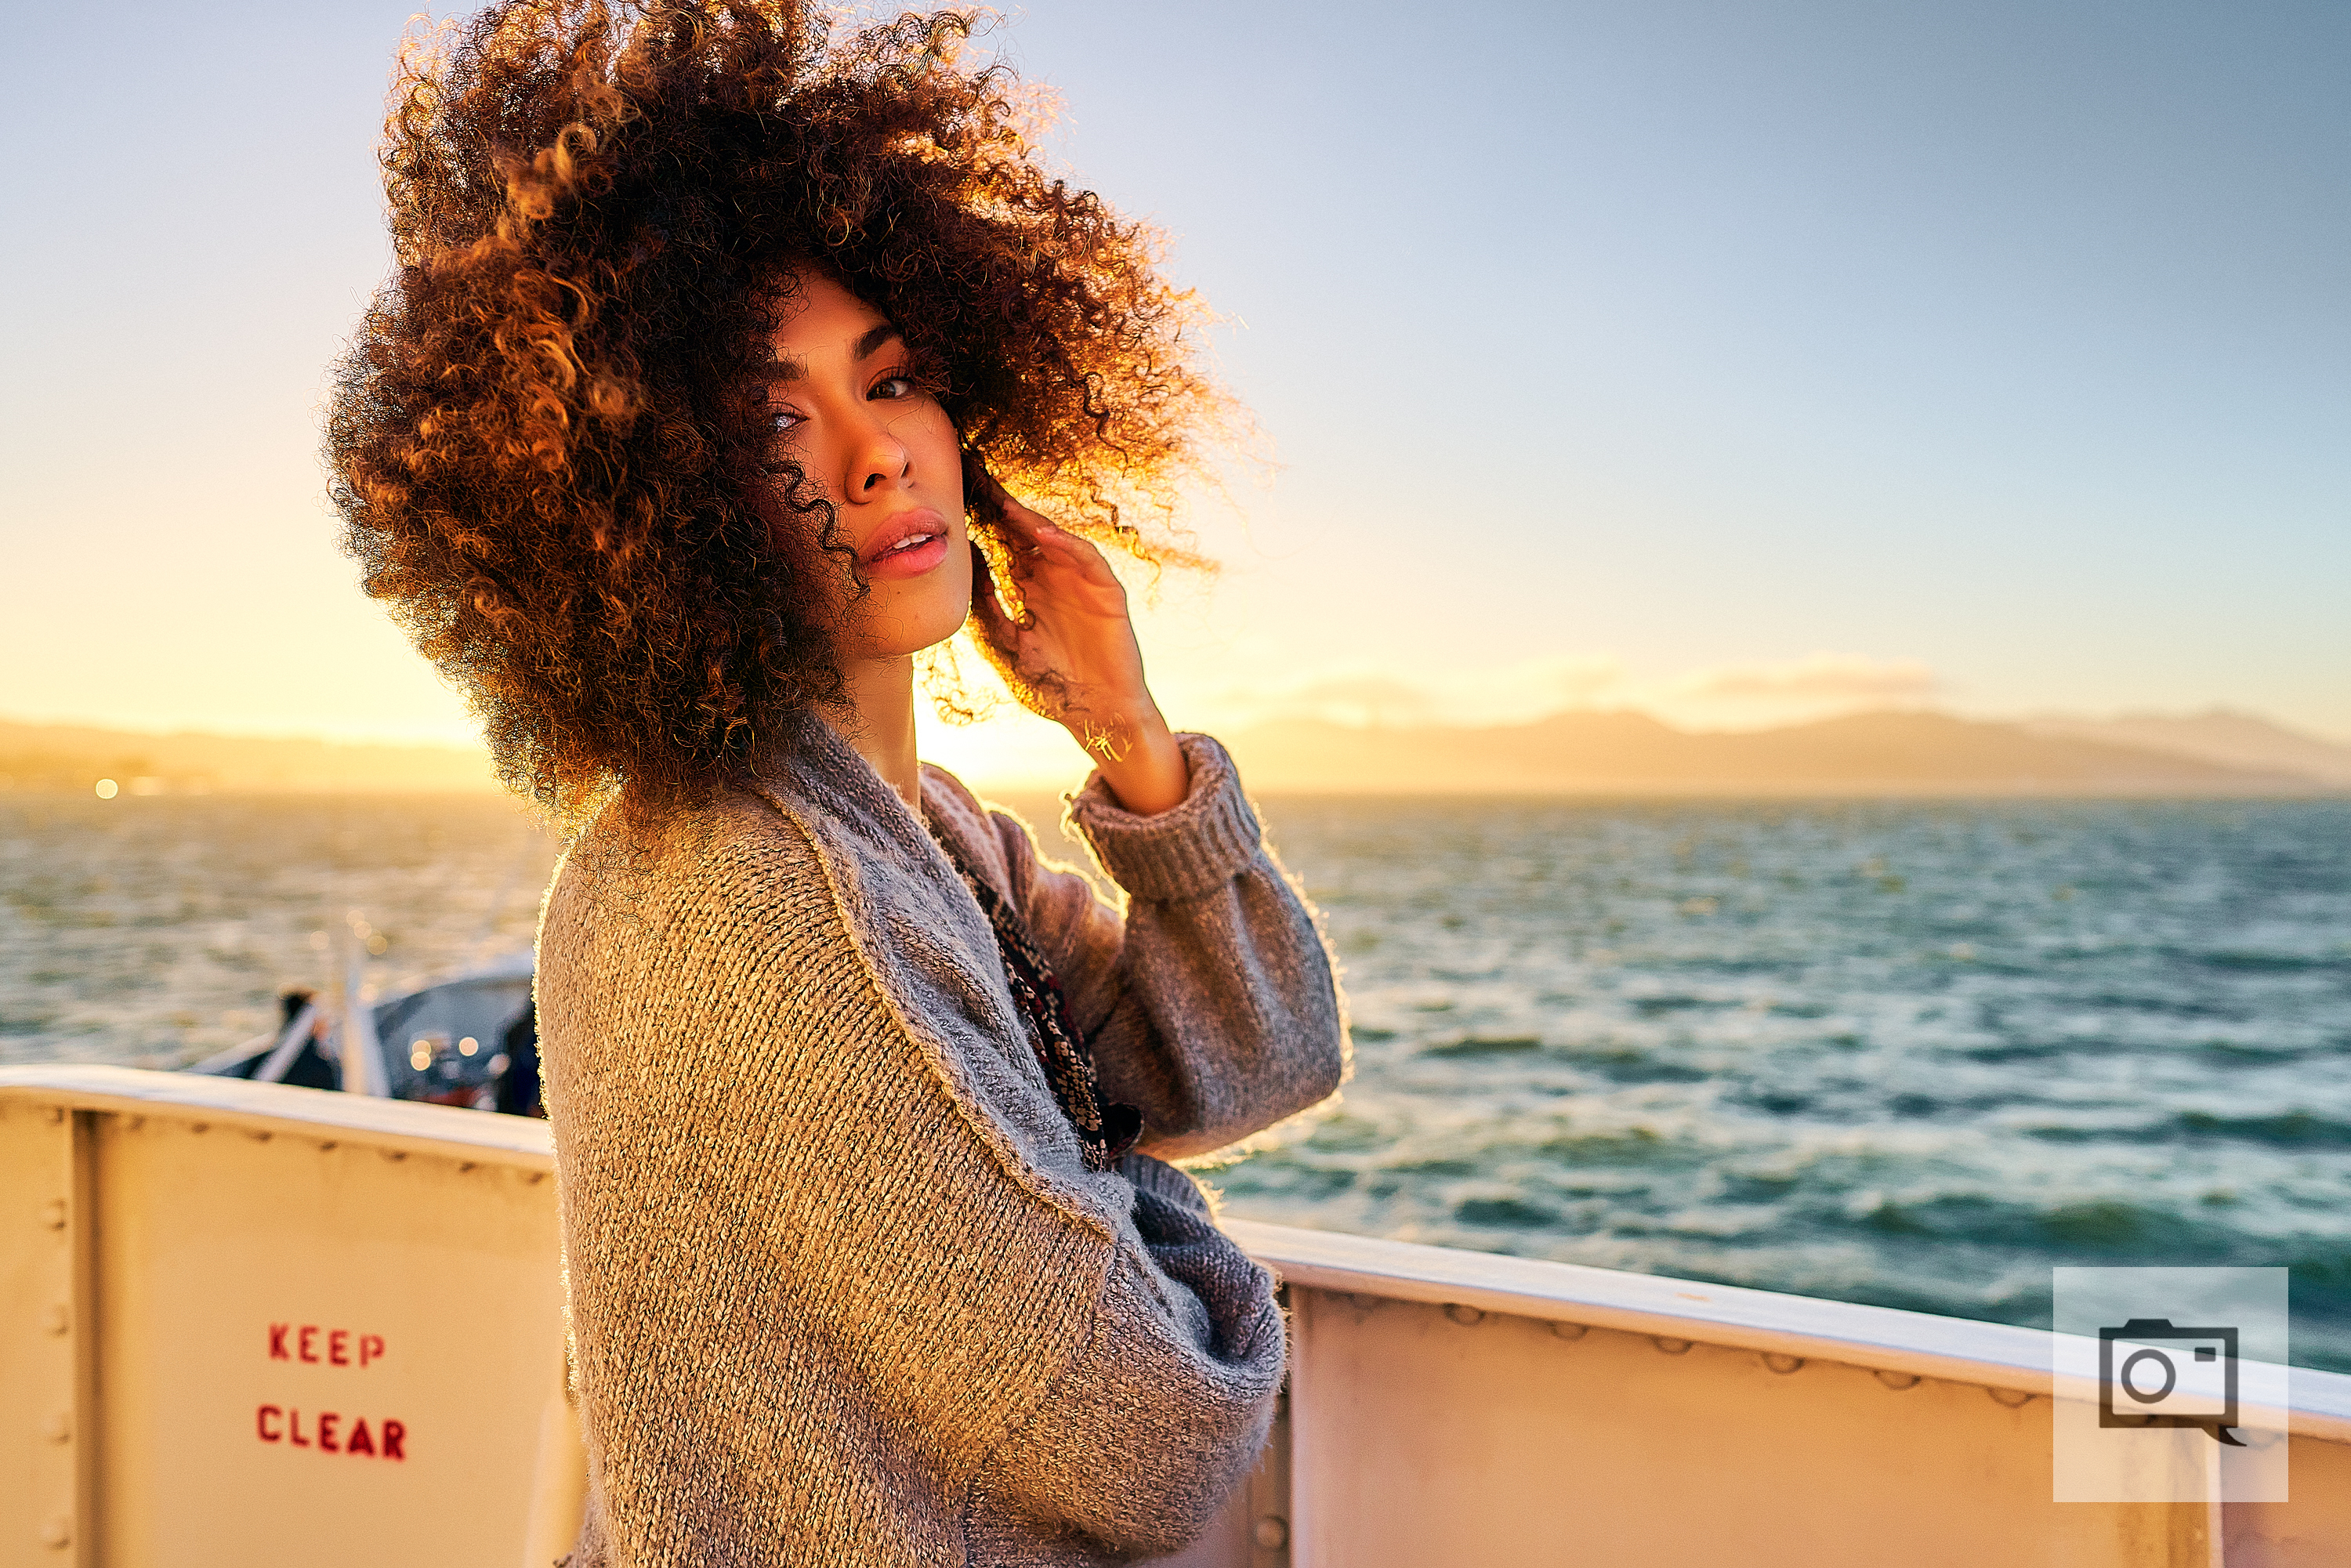
Look for reflective surfaces like windows or walls near you and utilize them as reflectors to bounce the Golden Hour light back at your subject. You’ll want to be careful when utilizing these environmental reflectors though because any light that gets reflected will have a color cast that matches the color of the surface, so stick to light or neutral colored surfaces. A white wall is your best friend in this scenario, in fact, I captured the images featured in this tutorial on a sunset cruise around the San Francisco Bay aboard a ship that had predominantly white walls (Lucky me!). What happens if you’re in the middle of a field with nary a wall in sight?
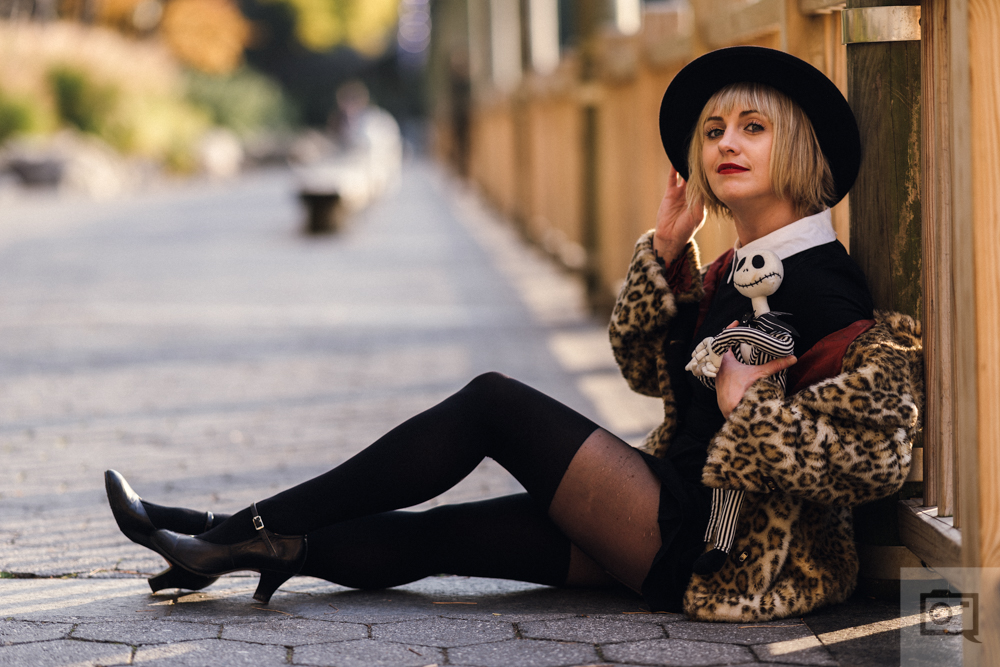
Remember that 5-in-1 reflector I mentioned earlier? They are honestly one of the best bangs for the buck light modifiers any portrait photographer can have in their kit. Use that reflector to bounce some of that gorgeous Golden Hour light at your subject and you don’t have to worry about your subject showing up as a silhouette (unless that’s the effect you’re going for). Just be careful you don’t blind your subject with the reflector! Another thing you’ll want to keep in mind when you’re back lighting your subject with Golden Hour light, particularly when they are positioned off axis between your camera and the sun, is that you will inevitably notice flares beginning to appear in your image. I personally find controlled flaring to be beautiful and don’t mind them appearing in my portraiture work, provided that they don’t appear distracting over my subject’s face. In fact, I find flares to make images more interesting, but if you’re decidedly anti-flare, attaching the lens hood that came with your lens will certainly help cut down on flares from appearing in your image. Since the Sun is so low in the sky during Golden Hour, however, you may still notice some flares in your image, so try a different angle until they no longer pop up in your image.
Remember these handy tips the next time you’re photographing someone during Golden Hour, and go create some stunning portraits of your very own using beautiful Golden Hour light!
Get rid of the ads!
Did you enjoy reading this article as much as we enjoyed writing it? There's a way to support us and our reporting, getting ad-free navigation and more as a bonus. Subscribe to us for less than a coffee per month —just $3.99— or take advantage of our yearly subscription with a hefty discount for only $25.- An ad-free experience
- A free mystery box for Lightroom or Capture One
- All the books in our store
- 20% discount on Capture One
- 30% discount on Imalume Photo Theft Protection
- 20% off Herbs and Kettle Tea Company.
- 20% off your order from MPIX printing services.
- 5% off Viltrox Products via their eCommerce store.
- 10% off all film developing, printing and scanning services from Blue Moon Camera and Machine
- 15% off 7Artisans products: The lens and accessory maker is offering a sweet discount for Phoblographer's readers.