
This is a syndicated blog post from Digital Photo Pro Magazine. It is being republished here with permission.
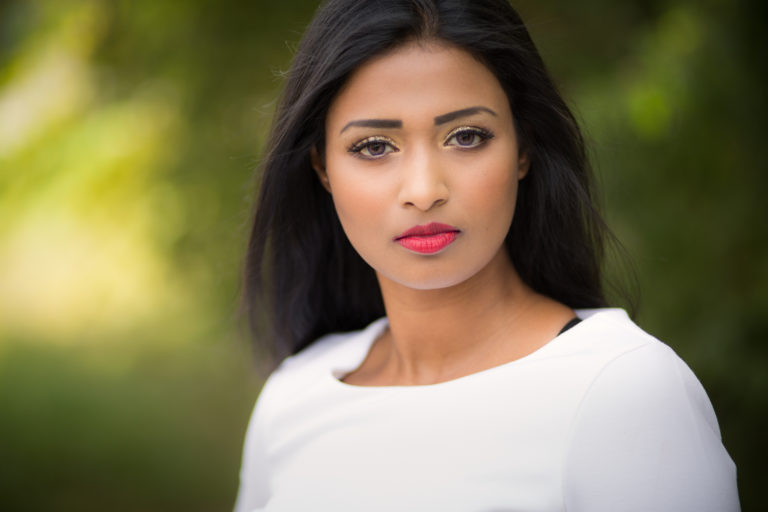
There are lots of reasons to make portraits outdoors. First and foremost, you avoid the expense and space requirements of setting up a studio. And since most studios are equipped with artificial lighting and modifiers, there’s a lot of gear to buy, too. Outdoors, however, you’re given the gift of one of the most powerful and beautiful light sources around: the sun. And with the simplest tools—a white card as a reflector, for instance—you can learn to manipulate sunlight to gain studio-style lighting control outdoors.
Some folks think any sunlight is sufficient for portraits or that setting up a seamless constitutes an outdoor studio. But until you start to take control of the quality of light as modified by your position and the subject’s position relative to the sun, to scene elements and to your lighting modifiers, you won’t truly understand what it means to have a professional’s control over outdoor lighting. Simply being outside isn’t enough. Understanding how to work with sunlight, how to modify it with the right equipment and technique, is what the outdoor studio is really all about.
Scrim
If you can only have one outdoor lighting modifier, make it a scrim. This translucent piece of fabric stretched on a frame is sometimes called diffusion or simply a silk. The more opaque the material, the more diffuse the light will be—and the more light will be eliminated. Available in many sizes, from small pop-up designs like the Manfrotto 24-inch circular collapsible diffuser to large 6×6, 8×8 and even larger designs, the larger a scrim, the more versatile it is. But with size comes increased demand for stands, supports and assistance. The Westcott 48×72-inch Illuminator diffuser is big enough to easily cover most portrait subjects, while compact and light enough to be manageable by a photographer working solo. The whole point of a scrim is to place it between the subject and the sun in order to soften harsh light and create a beautiful, diffuse illumination that’s perfect for portraits. At minimum, it decreases contrast and avoids the pitfalls of hot spots and uneven lighting, while at best it looks like the most beautiful studio light you can imagine. Better still, in situations where the natural sunlight is already diffused, the scrim can instantly turn into a reflector. Since it can do this double duty, it’s easily the first piece in the outdoor studio equipment puzzle.
I have a 6-foot scrim that’s plenty big for photographing individuals, and I can even use it when photographing small groups of two or three. Simply place the silk between the sun and your subject, in approximately the same position you might place a softbox in the studio. You can even angle the scrim horizontally or vertically to help shape the light further. Without getting that particular, though, simply placing the scrim above the subject in order to cast a shadow from the sun will go a long way toward creating much prettier portrait lighting.
Reflector
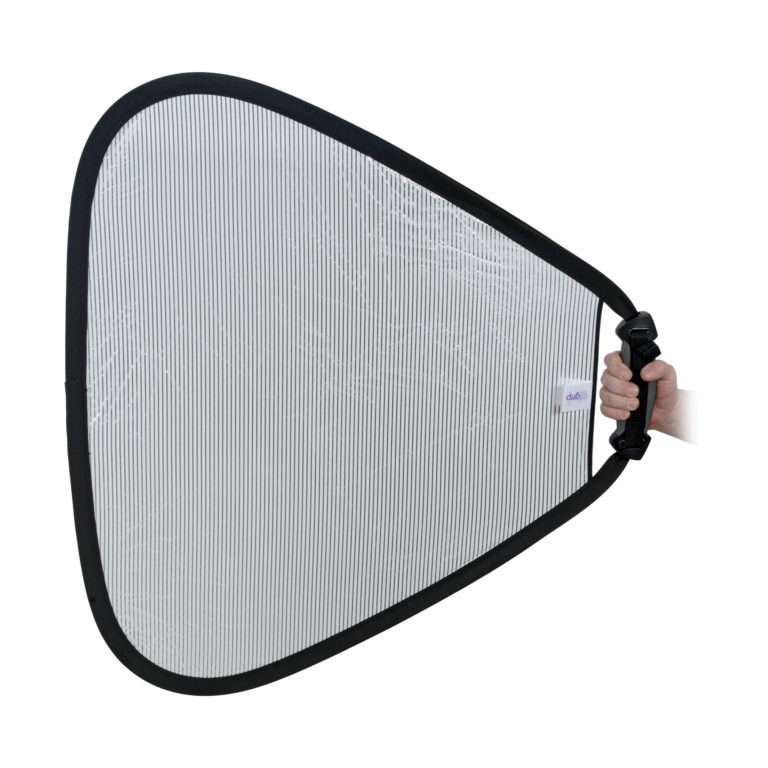
Frequently when you see people working outdoors, they have a helping hand holding a reflector. In some cases, this reflector is actually turned into a key light source, while in others it’s just providing a bit of fill. In any case, a reflector should be one of the primary purchases when outfitting an outdoor studio. These reflectors can be compact, collapsible units like the many offerings from Lastolite and Westcott. The best thing about these collapsible reflectors is not only do they break down small enough to fit in a shoulder bag, but they also frequently come in three-in-one and five-in-one designs. These multi-format reflectors may start with a diffusion scrim on a frame with a zip-off reversible reflector that’s white on one side and silver on the other; then, when reversed inside out, it’s gold on one side and perhaps a black flag on the other. The Lastolite Tri Flip Reflector Kit is one such versatile reflector, with the nice bonus of a grip handle that makes it easy for a photographer or an assistant to handhold the reflector in the perfect position.
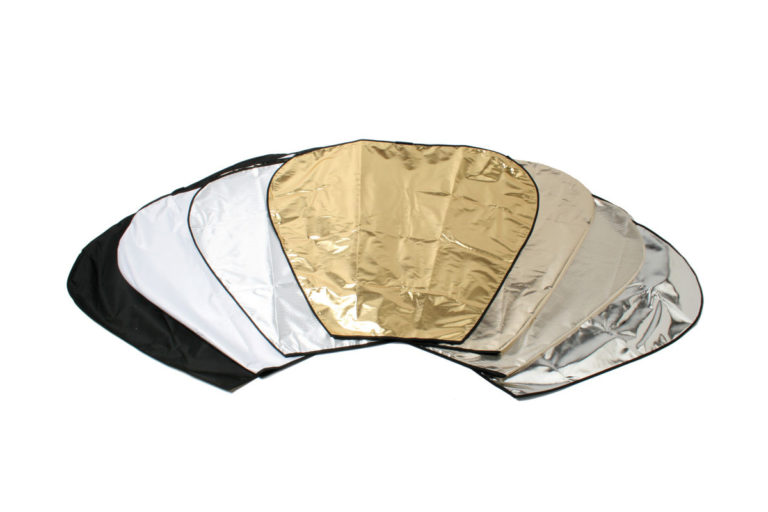
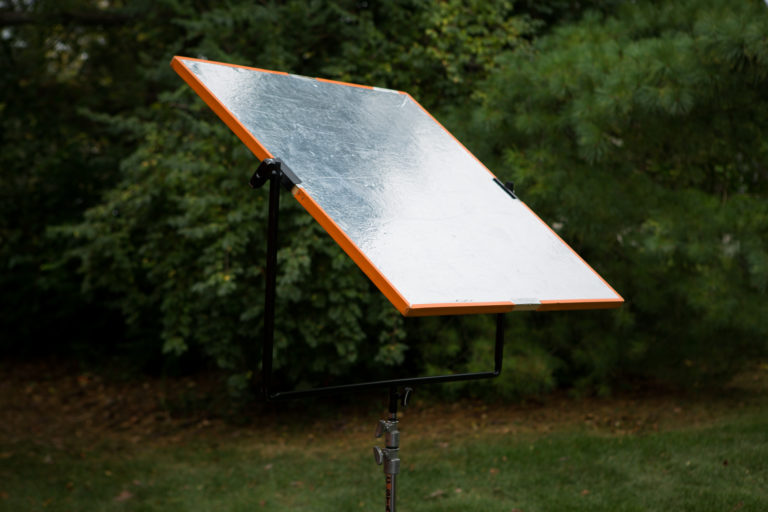
Different surfaces reflect light differently. White is the most diffuse, least-powerful reflector. Matte silver is still neutral in color but with more reflective power than white. Shiny silver can be practically mirrorlike in its power. A gold reflector warms up the light, and it’s great for portraits, especially in the late evening when the sun is near the horizon and the light glows gold already. (Under normal conditions, the warm gold reflector must be used sparingly to prevent the over-warming of the subject, thanks to the gold reflector.) Some folks use an actual mirror when they want to reflect a ton of sunlight onto a subject, but this is generally for use as a background light, backlight or hair light. A true mirrored surface will maintain the specular nature of the sunlight that’s hitting it, making it impractically harsh for most typical key and fill uses. In the film production world, a “shiny board” is a very nice reflector, perfect for throwing light over long distances. These boards come in sizes such as 2×2 feet and 4×4 feet with a mounting yoke that makes it easy to position the board on a stand and angle it to deliver its reflection precisely where you want it. These, too, come in various surface finishes such as shiny silver and matte silver.
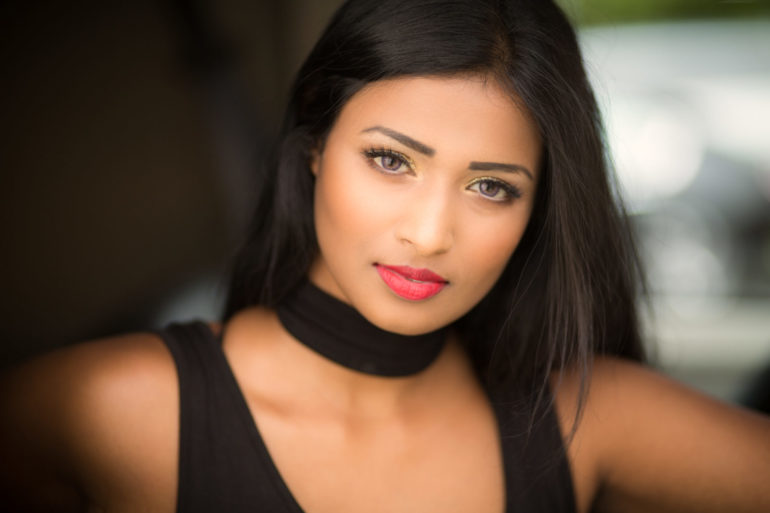
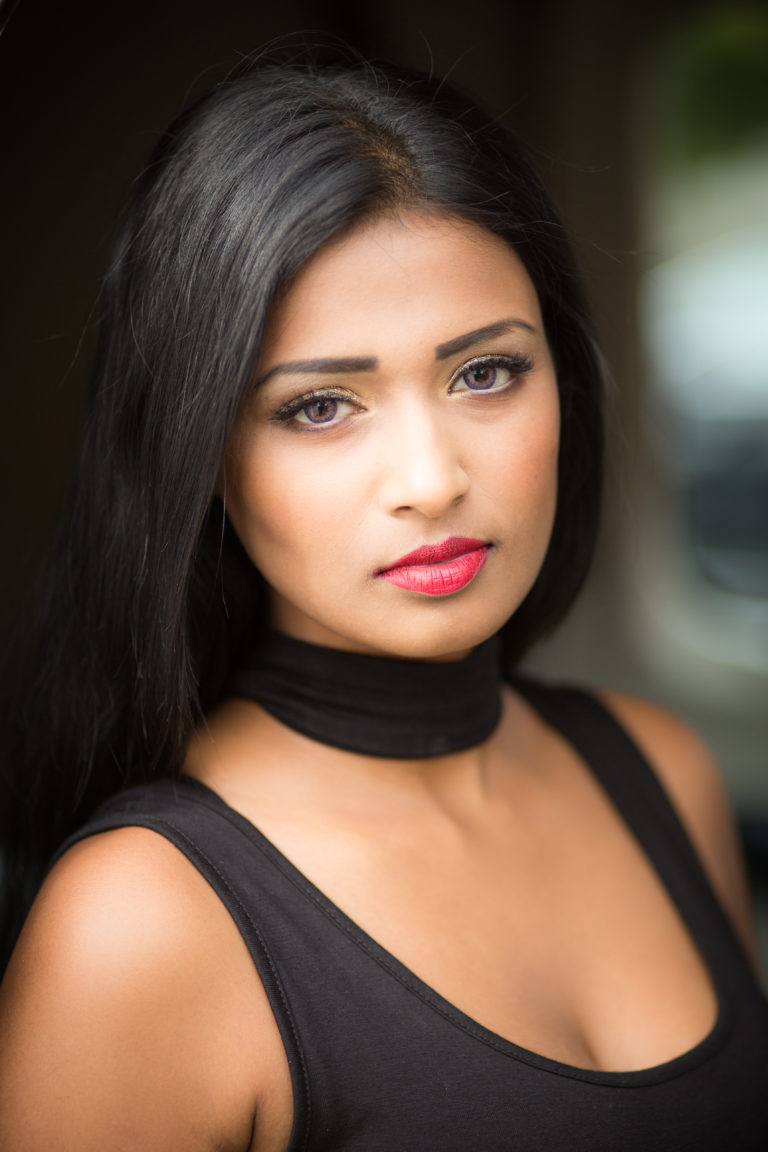
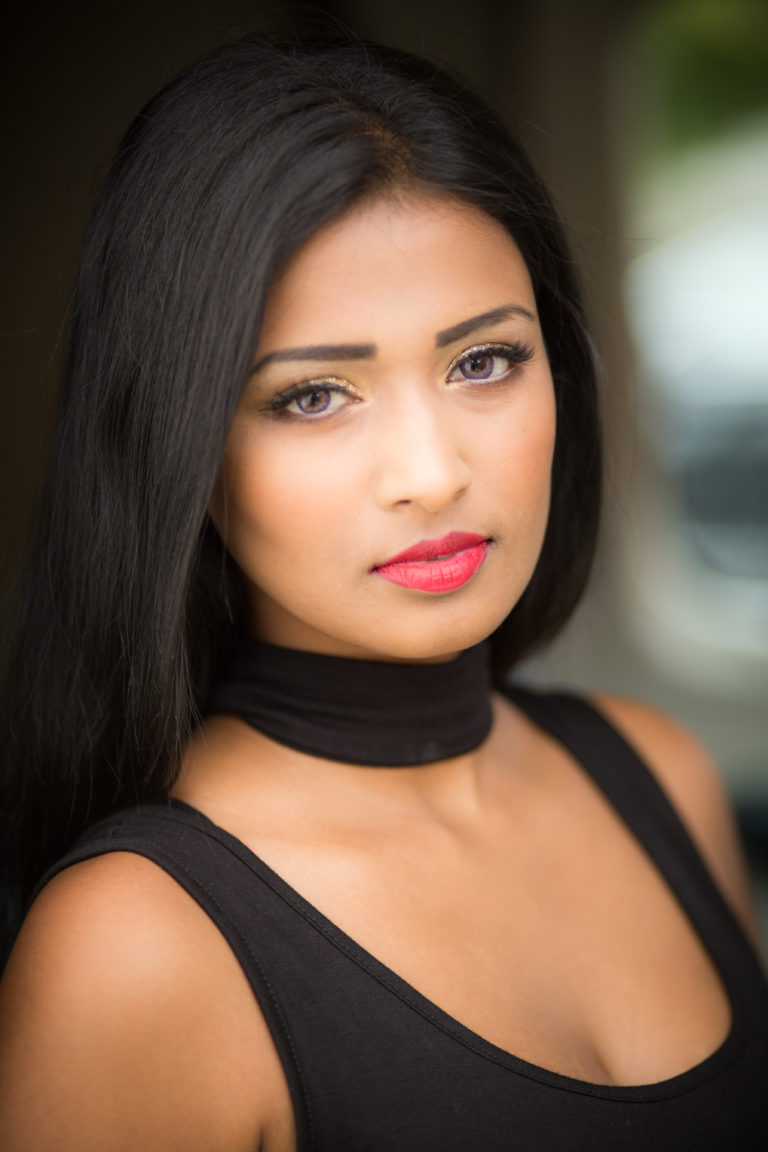
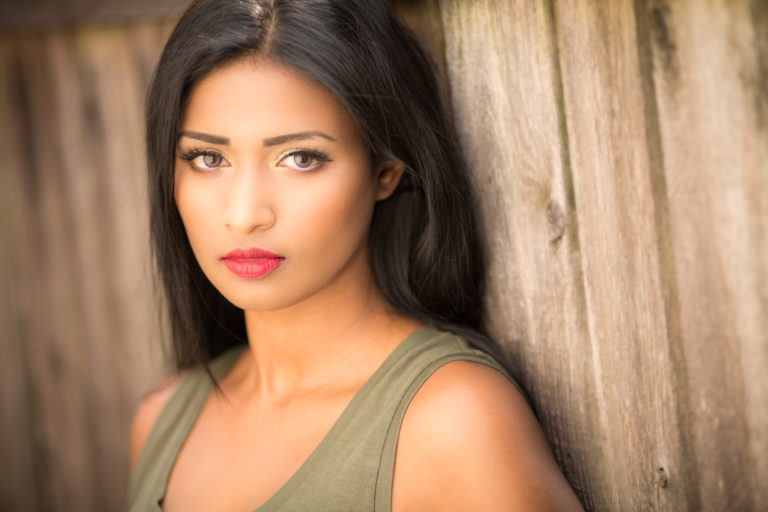
The first thing to look for when working outdoors and making portraits is open shade. These are areas where direct sunlight doesn’t illuminate but rather the reflected light from open sky is able to illuminate the subject with diffuse yet directional light. Ideal examples of open shade are just inside doorways, under overhangs or beneath the canopy of tall trees. To be clear, you’re not looking for dense shade but rather an area where there’s plenty of light reflected from open sky, but where direct sunlight isn’t striking. In these situations, even the unmodified light is appealing on faces. With a bit of fill from a white card, however, you’ve really got some world-class beautiful light on your hands. You can use a white card for subtle fill or a silver card to kick in even more light. A gold reflector does a nice job of adding warmth, much like a hint of magic-hour lighting, which looks great as long as it’s not overdone.
Depending on where your subject is standing, you can place the reflector in direct sunlight in order to create a strong new key. With a large white reflector, this works well, though with a silver or mirrored reflector it’s likely too much light to use for reflecting direct sun. Instead, the shiny board can be positioned such that its intense directional reflection creates a hair light, or even a light on the background, in order to add to the illusion of depth. However you’re using your reflector, bear in mind that for portraits it’s almost always best to have the reflector above the subject’s eye level. Sure, you’ll pick up a lot more light by positioning it just below the frame to bounce light back up into their face, but if this light is too strong you just end up creating monster lighting. I’ll take a more subtle, positionally appropriate fill light to bring up a hint of detail in the shadows over too much reflected light from below any day.
If you really want to get fancy with reflected light, you can build a system of long-throwing reflectors (like a mirror or shiny board) to send bright, specular sunlight from a sunny spot to your set. Then, close to the subject (who’s presumably positioned out of direct sunlight), you can then use a scrim to diffuse the harsh reflected light and turn it into an ideal soft key or fill. This sort of modifier combination is a great way to get more light where you need it, without sacrificing quality. Do bear in mind this will require more equipment and, most of all, more assistance.
Flag
A black fabric flag—or even a piece of black foamcore—can come in tremendously handy for shaping light outdoors. If your key light is omnidirectional, for instance, and you’d like to help give it some directionality, placing a negative fill from a flag on one side of the subject helps create a shadow there and gives shape and direction to the lighting. Flags are also ideal when shooting toward the sun, particularly when it’s near the horizon. You can place a flag on a stand just above the frame of your composition to prevent flare, or you can use flags to physically create shadows and shape the light on the subject just as you would in studio. These, too, typically require a stand and/or a helping hand.
The most obvious use of a black flag when working outdoors is to fight lens flare—just as you would in the studio. Place it just out of frame between your lens and the sun, and you’ll keep flare from sapping sharpness, color and contrast. But while this is one of the most obvious uses, it’s not the only use—or even the best. I love to use a black flag outdoors as negative fill—a light modifier that prevents light from striking the subject from every direction. Simply positioning a black flag just out of frame and close to one side of the subject does wonders for the dimensionality of the lighting. Now, instead of coming from everywhere, the light is coming from a distinct position. This allows you to pose and reposition your subject in order to create attractive lighting patterns on their face. It’s a great way to step up your game compared to normal, everyday “cloudy sky” lighting that isn’t very nuanced at all. Oh, and instead of investing in black flags on frames, you can always use sheets of black foamcore for a light, durable and functional flag, which is particularly helpful when working outdoors. I frequently take 4×8 black V-flats outside for this very purpose.
Speedlight Flash
Although it makes the most sense to work with beautiful natural light whenever possible, a handheld flash such as the Nikon SB-5000 AF Speedlight or the Canon 600EX II-RT opens up a whole world of outdoor portrait lighting techniques. For instance, the flash mounted atop the camera can provide the perfect frontal fill in bright sunlight when the sun is positioned at the subject’s back. Or, with the flash off-camera and mounted to a stand positioned above and behind the subject, you can create depth with a hair light or edge light separating the subject from a dark background. You can also make that little strobe a big, beautiful key light by bouncing it off of a reflector or simulate sunset light by positioning it at a low angle and gelling it orange to emulate the warm glow of magic hour light. For the relatively small amount of real estate a strobe occupies in a camera bag, it delivers exceptional bang for its buck in an outdoor studio.
When photographing a portrait subject on a sunny day, your first choice is to determine which direction they should face. Put the sun at your back, and the subjects will be squinting uncomfortably. Put the sun at their back, and you’ll be shooting into it, increasing the chances of underexposing the subject, overexposing the background, and generally producing an uninteresting, low-contrast and low-saturation shot. Instead, with the sun behind your subject, you can use an on-camera flash as a new key light. I frequently use this technique by starting with a slightly underexposed ambiance (instead of 1/125th and ƒ/11 at ISO 100, for instance, I might start at 1/250th or by stopping down to ƒ/16) and then using my flash to illuminate the underexposed face. This way, I’m assured a rich, vibrant background without the blown-out overexposure that might come from a normal daylight exposure, and I can control that ratio simply by powering my flash up or down. The frontal flash won’t be particularly attractive in this setup as described, however, so consider bouncing the flash to a large white reflector or shooting it through a scrim in order to create the type of diffused, soft key light that an umbrella or softbox would accomplish in studio.
A slightly more specialized use of an off-camera flash is to use it to emulate beautiful warm sunset light by positioning it on a stand at the subject’s eye level. This is, after all, where the sun is positioned at the golden hour of sunset. With a CTO (color temperature orange) gel on the flash, you’ll get warm sunset light from an otherwise unmodified flash. Try to position the subject out of direct sunlight in order to ensure you’re not dealing with competing shadows, and underexpose the ambient by a half stop or so. Then position the gelled strobe as far as possible from the subject so the light doesn’t fall off so fast.
Stands And Sandbags
When working outdoors, a light stand is absolutely no good if you’re not going to weigh it down with sandbags. On even the calmest days, a hint of wind can send your rig sailing. So instead of risking injury to yourself, your crew or your subject, thoughtful photographers weigh down their stands with heavy sandbags to keep them from moving. An ideal amount of sandbags is two more than you think are necessary. In the studio, a single sandbag may be plenty to help lower the center of gravity on a light stand, but outdoors each stand deserves at least three sandbags. If the stand and/or the lights are particularly big, more sandbags are necessary. Better still is to recruit some human help along with the stands in order to maintain the status quo of safety on your set. As for the stands themselves, American Grip and Matthews Studio C-stands are, of course, a great choice for holding lights as well as booming scrims and other modifiers outdoors. You can also consider something like Manfrotto’s 13-foot tall Combi-Boom Stand. These stands are perfect for getting the light out over the scene whether you’re using a light, a reflector or a diffuser.
I’ll say it again: When working outdoors, a stand-alone is no good. I find that while a single 15-pound sandbag might be enough in studio, outdoors I prefer at least three for a stand holding a light, and four, five or even more sandbags for a stand that’s holding a large modifier that the slightest breeze is more likely to turn into a sail. A film production crew member once told me this is the biggest difference he sees between photo shoots and television or movie productions: The photographers rarely use enough sandbags outdoors. These things can be quite dangerous, so don’t mess around. Use more sandbags than you think you need.
Human Help
I know you can’t run to the photo store and just buy your next assistant like any other piece of equipment, but there’s probably nothing more helpful when working outside than an extra helping hand. In fact, I’d take a warm body holding my scrim over stands and sandbags any day. So if there’s anything you can do to find an assistant or friend to “Hollywood” your modifiers, make it happen. If you’re just working with a subject and a reflector, your helping hand can hold the reflector for you. But if you’re working with modifiers on stands, the best use of assistance is to have your helper man the stand, making sure a sudden gust of wind doesn’t destroy your setup or, much worse, hurt someone.
Post syndicated by Joy Asto
Get rid of the ads!
Did you enjoy reading this article as much as we enjoyed writing it? There's a way to support us and our reporting, getting ad-free navigation and more as a bonus. Subscribe to us for less than a coffee per month —just $3.99— or take advantage of our yearly subscription with a hefty discount for only $25.- An ad-free experience
- A free mystery box for Lightroom or Capture One
- All the books in our store
- 20% discount on Capture One
- 30% discount on Imalume Photo Theft Protection
- 20% off Herbs and Kettle Tea Company.
- 20% off your order from MPIX printing services.
- 5% off Viltrox Products via their eCommerce store.
- 10% off all film developing, printing and scanning services from Blue Moon Camera and Machine
- 15% off 7Artisans products: The lens and accessory maker is offering a sweet discount for Phoblographer's readers.