Last Updated on 01/25/2018 by Mark Beckenbach
A glass prism can make night portrait sessions extra fun, especially if you like the quirky results.
Looking into shaking up your night portraits? Imogen of the WeeklyImogen channel recently talked about road testing the popular glass prism technique for night photography. If the effect that it makes is something you’ve been curious about, this quick video is worth a watch.
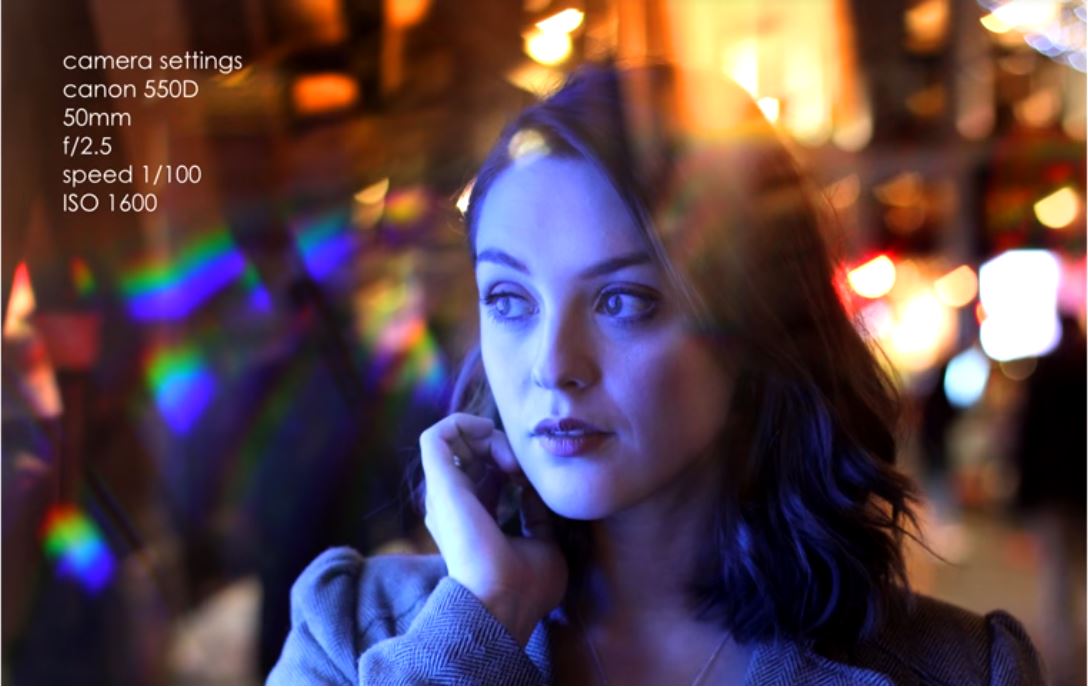
After a night workshop, Mark and Imogen began experimenting with a triangular optical glass prism for a night portrait session. Glass prisms come in different sizes, but they employ a slightly longer one because it’s easier to hold and maneuver. To use it, you basically just hold the prism over your lens or at the sides as you focus on your subject. Feel free to move it around your lens to get the light streaks and flares that you want on your photos.
Imogen explains it briefly in the video below:
https://www.youtube.com/watch?v=ok5PjSdEI-4
What Imogen and Mark found is the effect it creates is rather hit and miss; sometimes the refracted light can create harsh lights or a “shoddy” look. This means you have to take a ton of shots to get a bunch of decent-looking ones. Admittedly, Imogen said it could just be because they’ve just road tested it and haven’t found the right way to work with it yet. The results from their shoot show their preference for subtle effects, mostly hazy reflections, mild distortions, and rainbow light streaks.
Now, you can also cheat the look by adding a “rainbow effect” on your existing portraits using Photoshop. But then, where’s the fun in that?
We’ve observed that this method is one of the techniques that comprise the trinity of today’s trendy night photography, alongside neon lights and bokeh. To see this trinity in action, you might want to check out this tutorial.
Check out and subscribe to the WeeklyImogen channel for more of Mark and Imogen’s photography videos.
Screenshot taken from the video.


