
Last Updated on 11/17/2017 by Chris Gampat
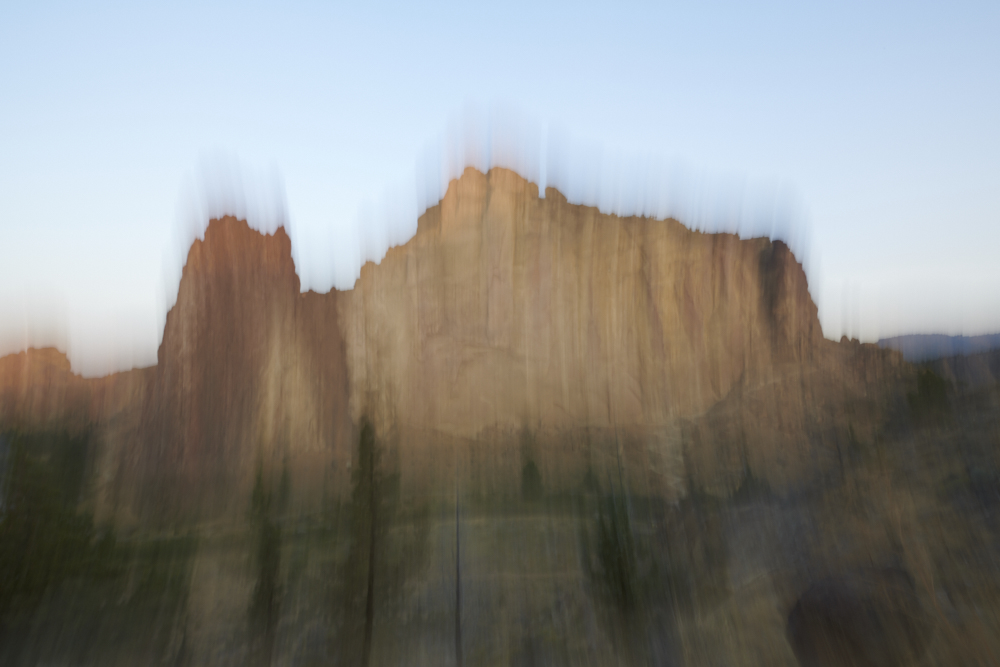
One of the artistic ways you can make your landscape photography stand out from the rest is to find a way to turn them into paintings. Not literally, but a method to get that look in camera is one fantastic way of doing things. You may ask yourself, “Why not just do this in post?” Well, the reason why is because everyone can find a way to do it in post, but not everyone has the specific talent to do things in camera and not everyone really wants that “photoshopped look”.
So let’s take a deeper delve into this amazingly simple tutorial.
The Easy Way: Lens Filter with Oil or Vaseline
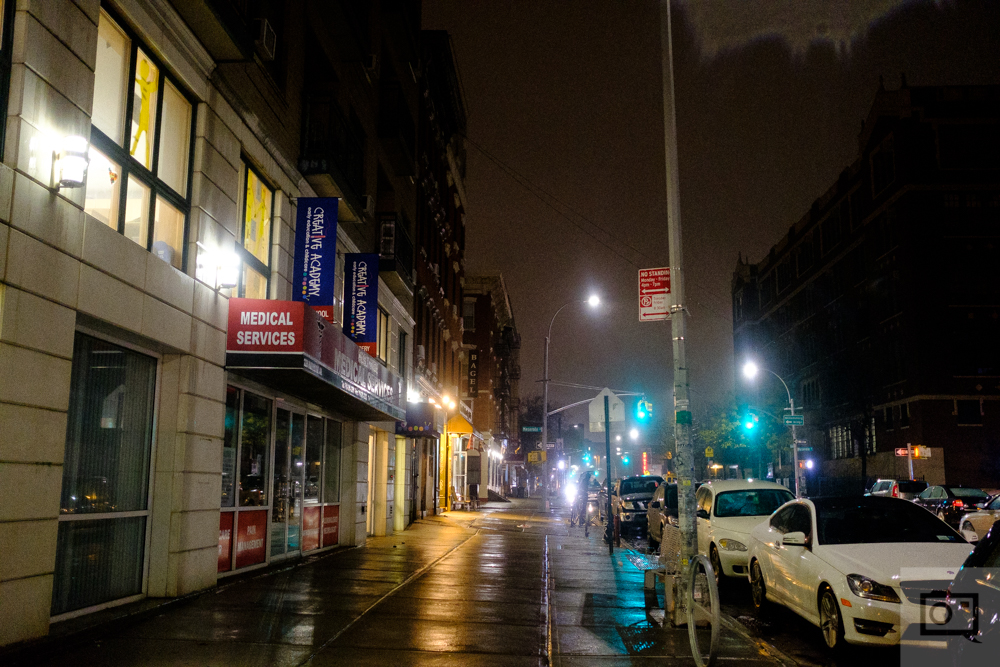
Now, the image above wasn’t taken with a lens filter or with vaseline on it, but it simulates the effect to a degree. It was shot during a rainy day and the water was hitting the front of the lens. It created this sort of blurry, almost watercolor look. Photographers have been doing this method for years. To do something like this, I recommend focusing on your subject first and then putting the lens filter on the front of the lens. Lock the focus in by switching the lens to manual focus if you can, and then just shoot. You’ll get the look; and it’s much different from a whole lot of other processes out there.
Otherwise, you can bring your images into Photoshop and apply something like a gaussian blur on the photos. But that can be boring.
Camera Color Profiles
No matter what camera you’re working with, I strongly recommend working with the vivid color profile of some sort when shooting landscape photography. The reason why is because the colors are bound to be punchier and more saturated. Then when you go about doing the process, the colors will look deeper and blend into one another due to the specific camera movements. Of course, you can always change this in the post-production phase if you’re shooting in RAW, but this is the method I typically go for because I really enjoy the look.
Quick tip: think of Fujifilm Velvia. It’s a super saturated film.
Your Settings and Creative Landscape Photography
The settings here are pretty simple, well, sort of.:
- Go for a slow shutter speed that is bound to create the effect of camera shake in the hands of a person absolutely wired on coffee. At this point, it may also be a great idea to mention you should take off image stabilization. My personal recommendations are to use the reciprocal rule of shutter speeds and go even lower. So if you’re shooting with a 14mm lens on a full frame camera, then your shutter speed should be below 1/15th. If you’re shooting with a 7.5mm lens on a Micro Four Thirds camera, you should aim to also go lower than 1/15th and turn off image stabilization. Generally speaking, I wouldn’t go any slower than one second.
- You’ll need a deep aperture. Painting are often sort of two-dimensional and so you should aspire to get the entire scene as much in focus as you can. To do this, focus out to around the middle range of the lens or focus out to infinity. A shallow depth of field isn’t going to give you as much of the effect because so much is already out of focus to begin with. Besides, you’re shooting landscape photography.
- Choose the lowest ISO you can possibly work with. If you’re shooting in manual, work with an ISO that lets you get the details in the scene. That doesn’t mean shoot at ISO Auto, but work with it in some way or another.
Shoot Handheld
All those settings are important because this is one of the biggest tips here! Shoot handheld. Oftentimes a tripod can give you too much control. The beauty here is to not have a whole lot of control and just let things happen. It’s about embracing perfection in imperfections.
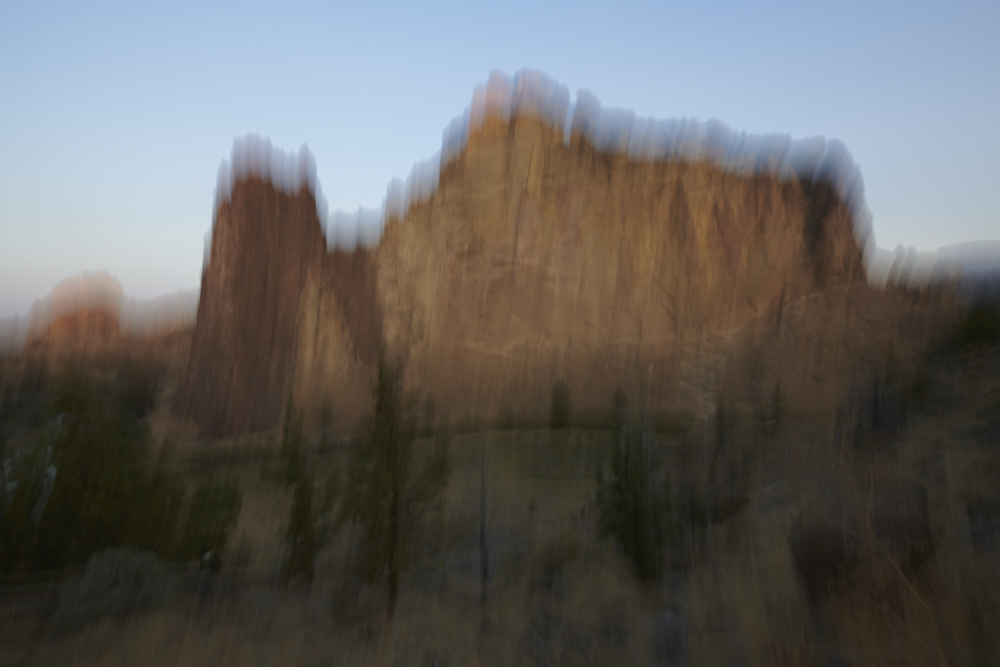
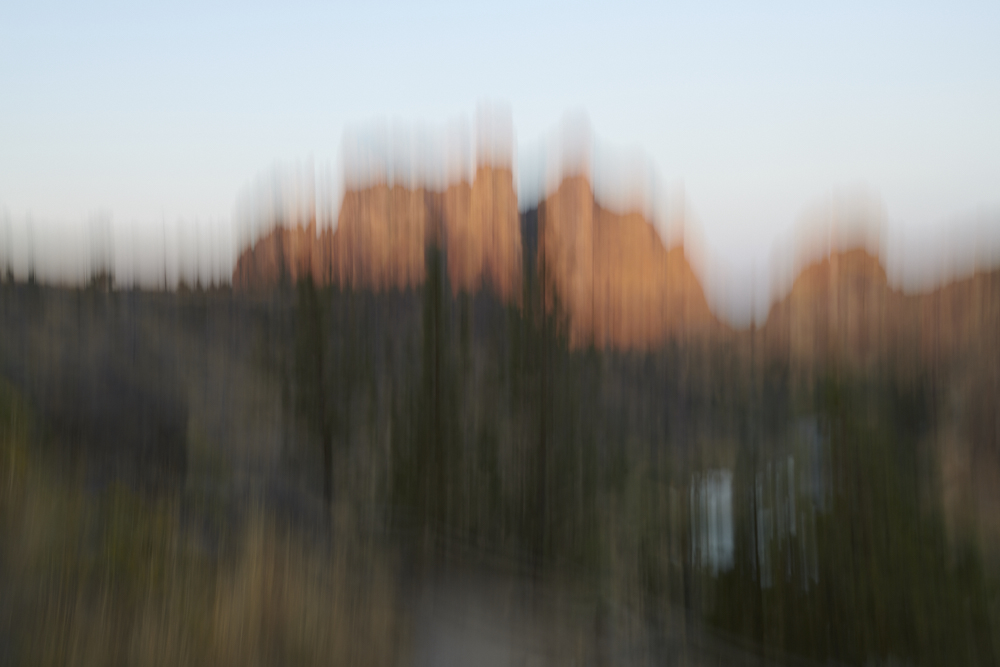
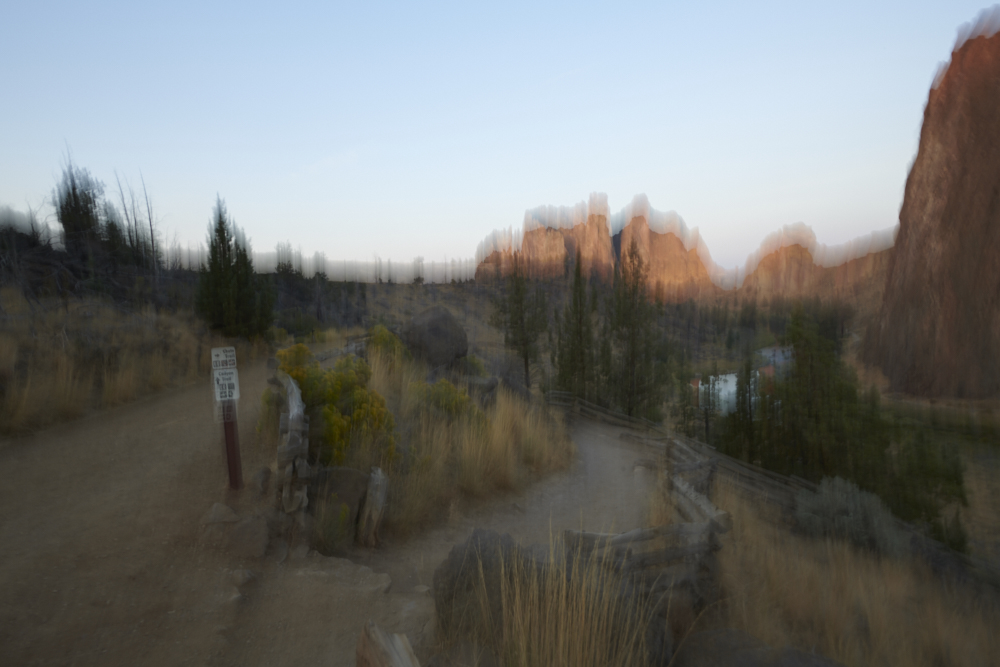
Controlling the Blur
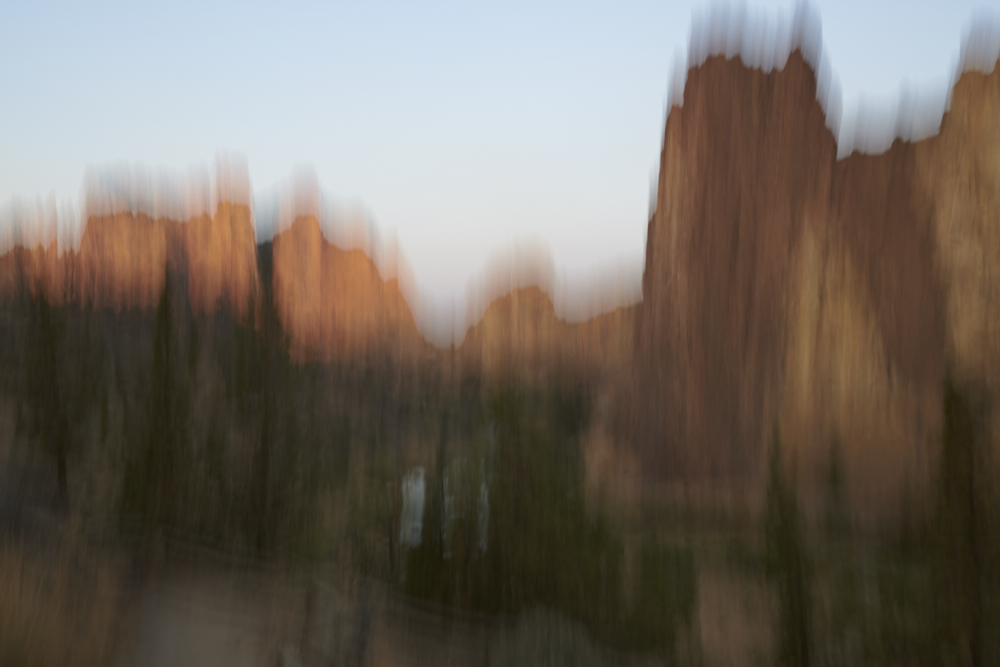
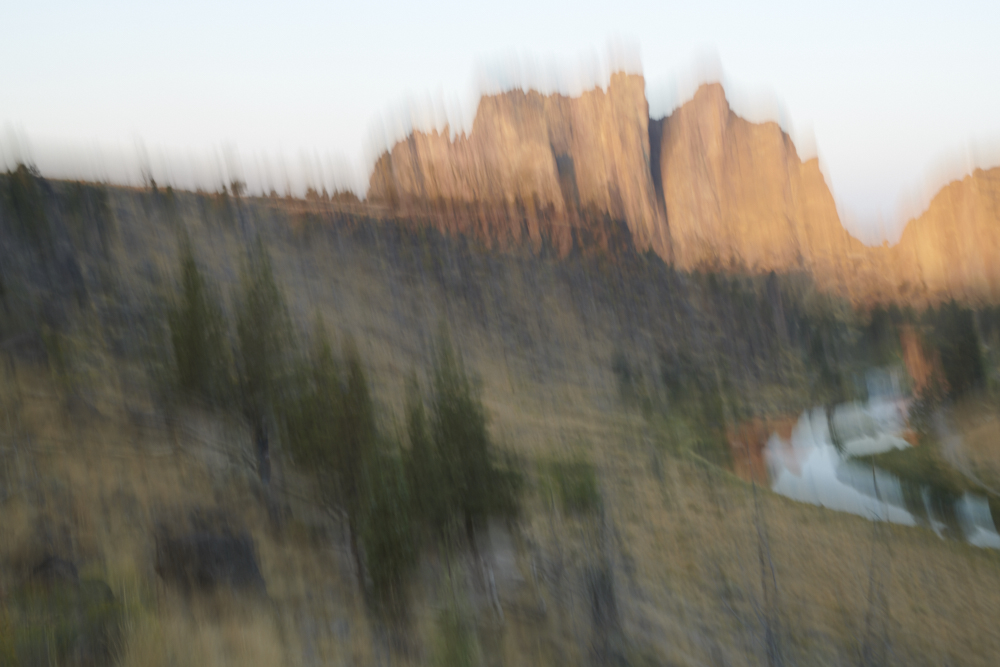
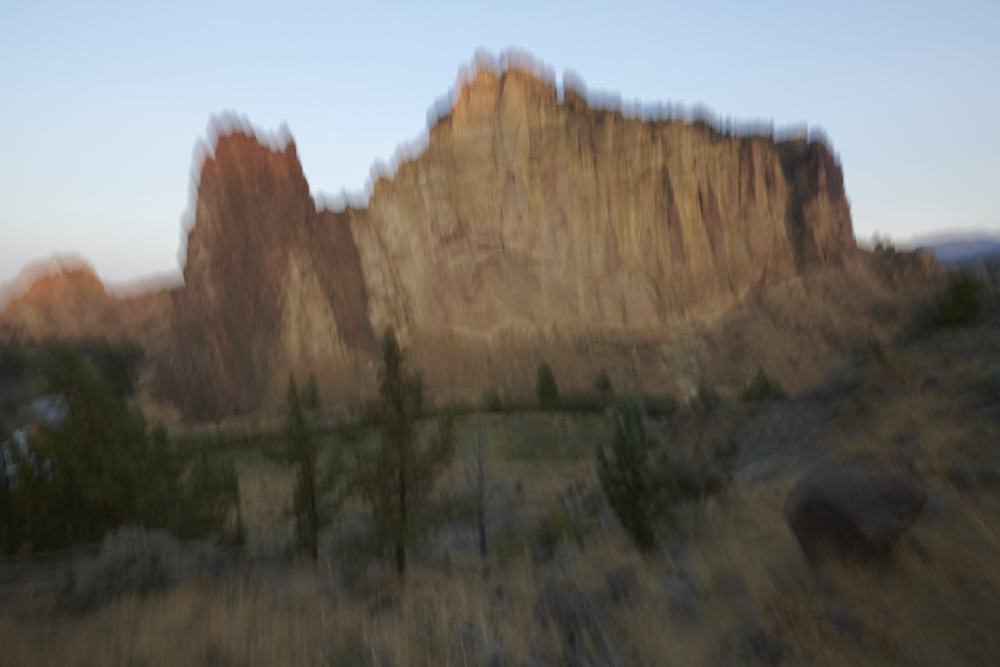
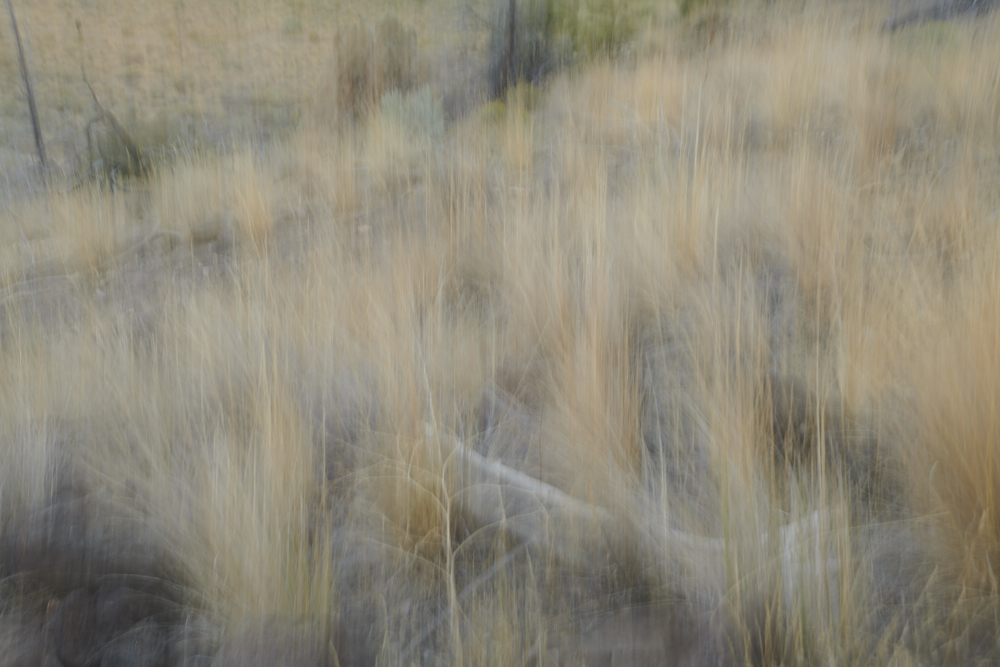
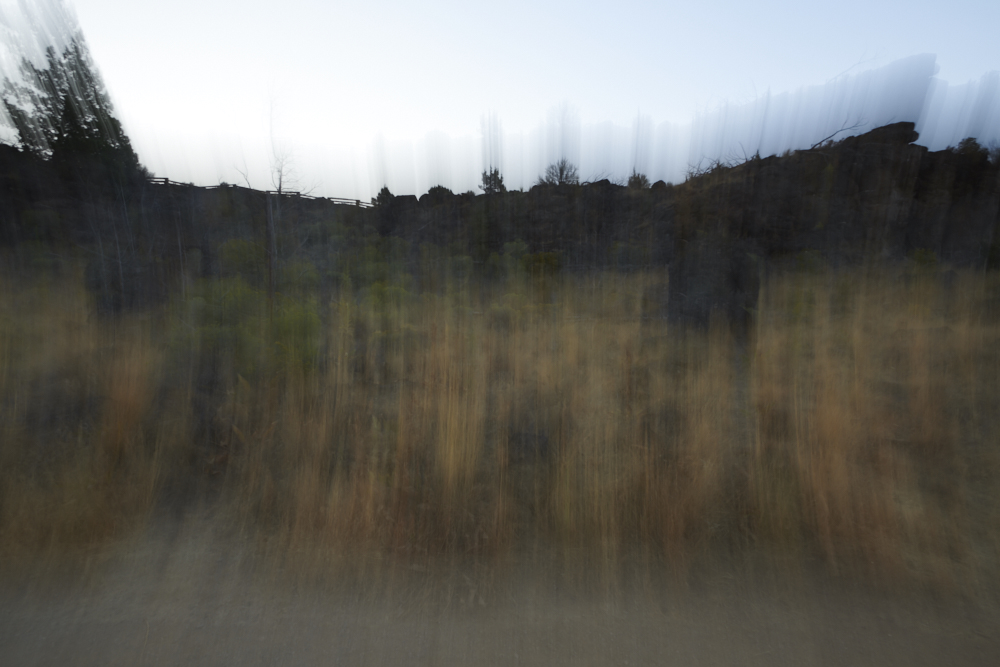
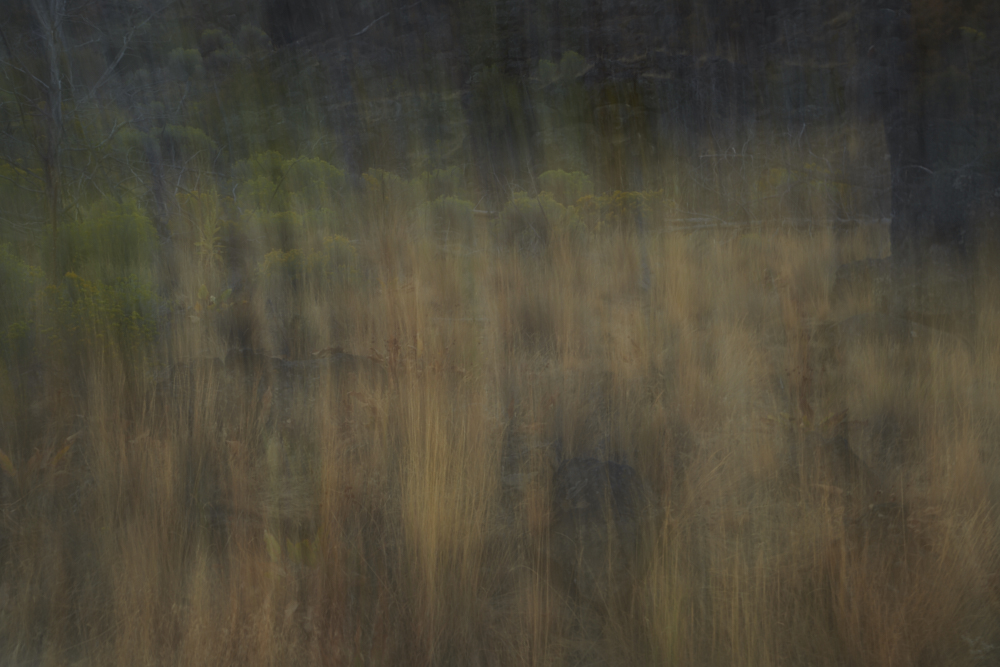
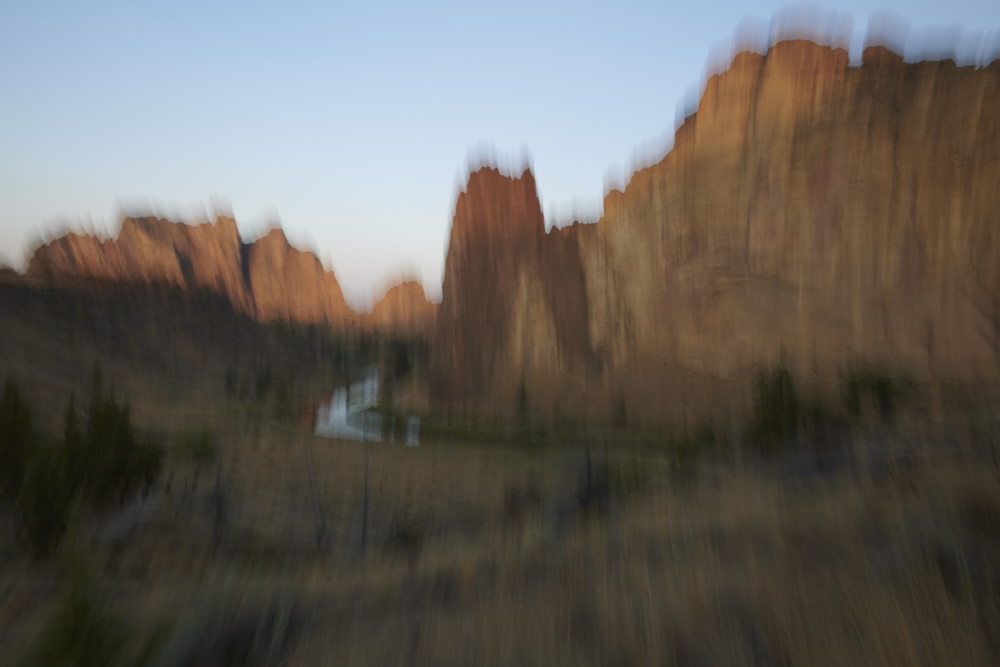
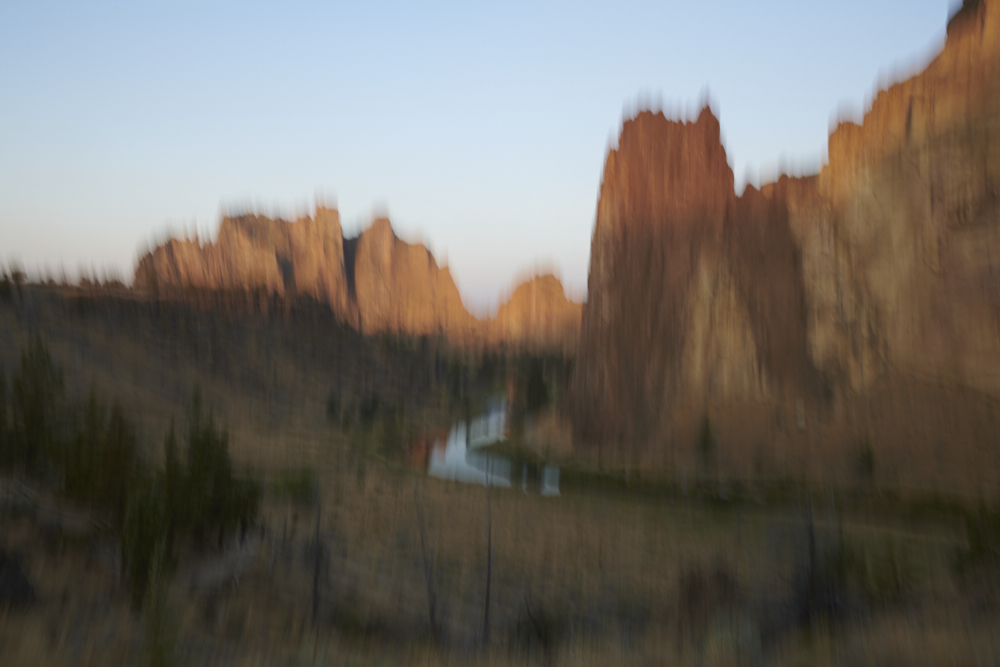
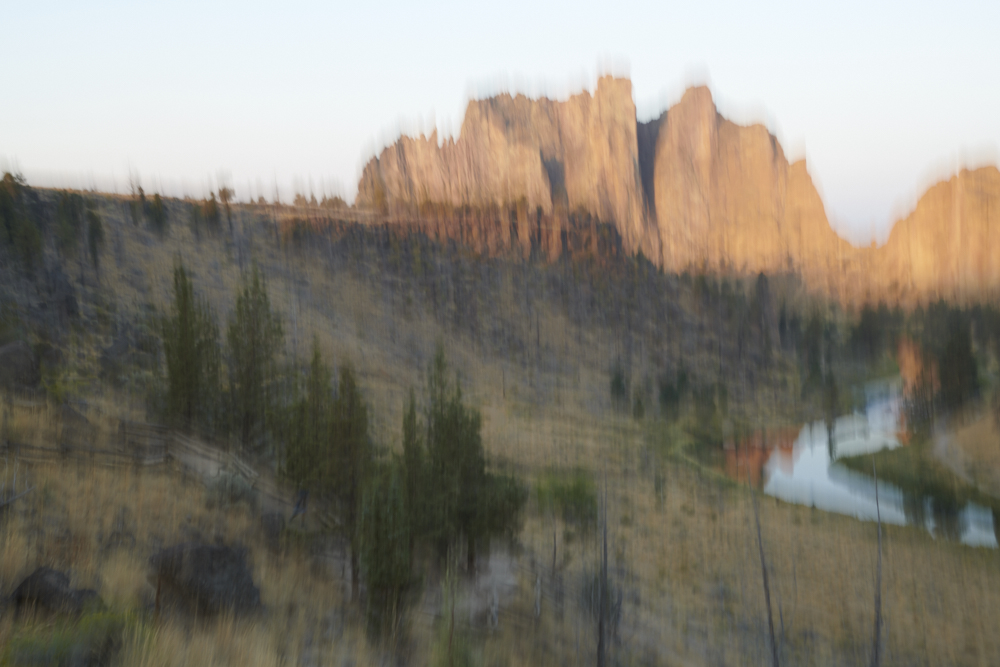
Typically what I like to do is press the shutter button and slightly tilt the camera and lens upward. Within a short amount of time the exposure is over and I get nice blur. If you tend to pull down, you don’t always get such great results but that’s very subjective. Here are more samples.
Go give it a try this weekend!
Get rid of the ads!
Did you enjoy reading this article as much as we enjoyed writing it? There's a way to support us and our reporting, getting ad-free navigation and more as a bonus. Subscribe to us for less than a coffee per month —just $3.99— or take advantage of our yearly subscription with a hefty discount for only $25.- An ad-free experience
- A free mystery box for Lightroom or Capture One
- All the books in our store
- 20% discount on Capture One
- 30% discount on Imalume Photo Theft Protection
- 20% off Herbs and Kettle Tea Company.
- 20% off your order from MPIX printing services.
- 5% off Viltrox Products via their eCommerce store.
- 10% off all film developing, printing and scanning services from Blue Moon Camera and Machine
- 15% off 7Artisans products: The lens and accessory maker is offering a sweet discount for Phoblographer's readers.