
Last Updated on 10/07/2017 by Chris Gampat
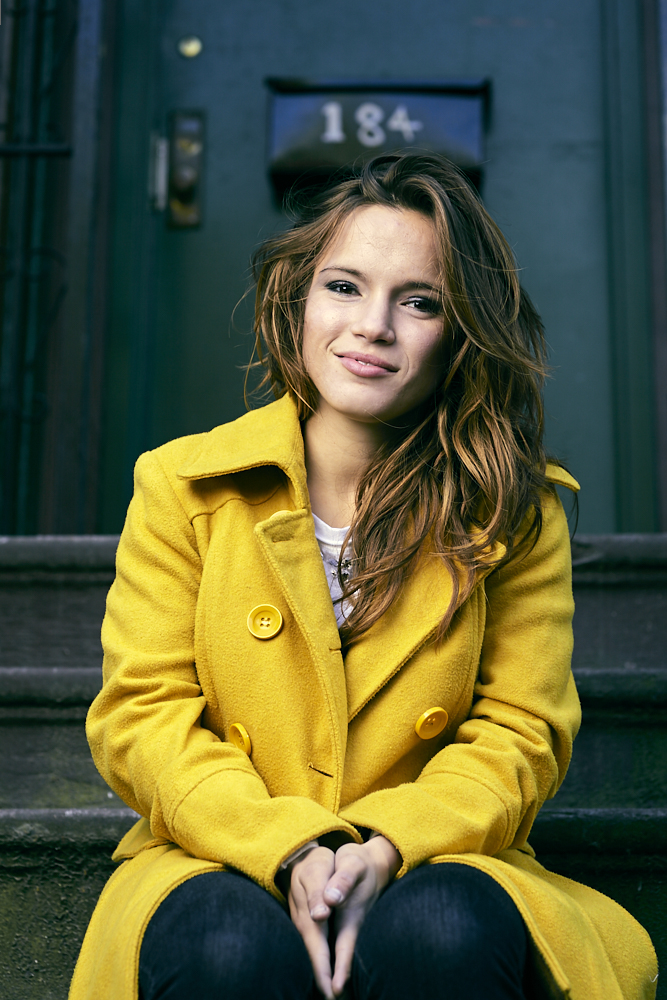
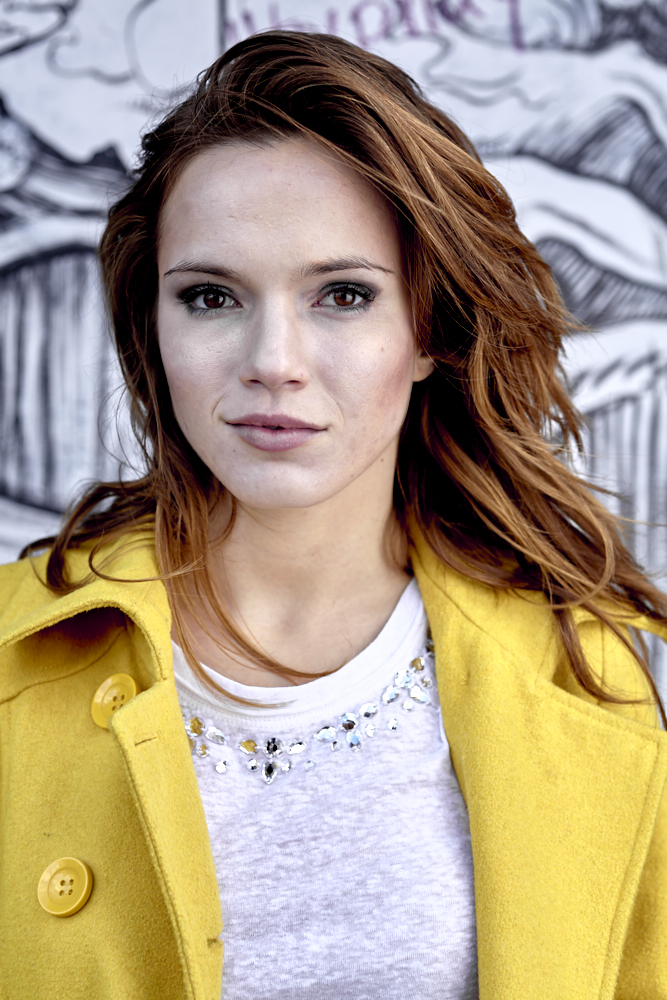
In today’s episode of The ReEdit, I decided to go back into my portfolio of hard drives to a shoot from 2013. This session was done with a fan favorite: Grace. I was reviewing a Profoto light and the images, even today, hold up. First off, it was done with what’s an old camera by today’s standards, the Canon 5D Mk II. However, when using it with the Sigma 35mm f1.4 Art lens combined with the Profoto light I’m able to get sharpness that rivals modern cameras and lenses. This proves more than anything that your lighting is really what matters. Then I go into the editing process.
The ReEdit
This episode focuses on how to get distracting elements of a photo out of there through cropping. Sometimes masking, cloning and healing work but in Capture One they’re not as effective as it is in Lightroom. That’s where Lightroom still really has a leg up on Capture One. However, I’m sticking with Capture One due to reader requests here. The same ideas and concepts will apply to Capture One and Lightroom, but Capture One is still a much better RAW editor.
On top of cropping, you’ll see what I’m talking about with the RAW processing algorithms, especially when it comes to working with colors. In many of these situations, it was a bit difficult to work with the color channels accordingly, so the other approaches to manipulate the colors in the images are used. This comes with working with colors in the shadows and highlights. Lots of photographers will simply set one to warm colors and the other to cool–but that doesn’t always work. It’s a process of moving things about and figuring how you want to color the midtones, the shadows, the highlights, etc. And sometimes that just requires a bit of playing around.
Photos Featured in the Video


Get rid of the ads!
Did you enjoy reading this article as much as we enjoyed writing it? There's a way to support us and our reporting, getting ad-free navigation and more as a bonus. Subscribe to us for less than a coffee per month —just $3.99— or take advantage of our yearly subscription with a hefty discount for only $25.- An ad-free experience
- A free mystery box for Lightroom or Capture One
- All the books in our store
- 20% discount on Capture One
- 30% discount on Imalume Photo Theft Protection
- 20% off Herbs and Kettle Tea Company.
- 20% off your order from MPIX printing services.
- 5% off Viltrox Products via their eCommerce store.
- 10% off all film developing, printing and scanning services from Blue Moon Camera and Machine
- 15% off 7Artisans products: The lens and accessory maker is offering a sweet discount for Phoblographer's readers.