")
Last Updated on 09/17/2017 by Chris Gampat
The BenQ SW320 PRO is one of the monitors on the market currently drooled over and dreamt about by many a photographer. It offers a whole lot for photographers who need to edit often in addition to printing, managing tasks like email, blogging, etc, and for general designing needs. If you aren’t aware of why this 32 inch monitor that has a whole lot of resolution can do such a great job, then consider the fact that BenQ claims it can cover over 99% of the Adobe RGB spectrum. Then add in facts like its ease of calibration with tools like those from Datacolor, the ability to switch between AdobeRGB, sRGB and black and white, and an SD card reader built right in alongside three USB ports and an HDMI out cable.
Pretty insane, huh?
And we haven’t even begun to talk about the monitor hood yet.
Pros and Cons
Pros
- Ease of calibration
- Large and easy on the eyes
- Can hook up easily to computers of all sorts, and at that point it’s dependant on the hardware
- Really easy to change the settings with clearly labelled keys
- Adobe RGB screen that can be calibrated and extremely easily matched to printers.
- MATTE SCREEN!!!!!!!
Cons
- Price tag
Gear Used
I tested the BenQ SW320 PRO with a Macbook Pro and a Mac Mini.
Tech Specs
Tech specs taken from our news post
- 4K UHD screen has 4 times the resolution of full HD
- Fully rotatable to 90 degrees, allowing easier editing of portrait images
- Comes with BenQ’s Palette Master Elements software for hardware calibration (14-bit LUT) with a compatible device
- The Hotkey Puck allows ease of switching between Adobe RGB/sRGB/B&W
- HDR (High Dynamic Range) mode offers higher contrast, vivid colors, and brighter images
- Built in SD card reader and USB 3 ports for ease of access
- Technicolor Colour Certified
- Monitor hood included
- 99% of the Adobe RGB Spectrum
But these specs are taken from the BenQ page.
Product Color |
|
| Product Color | Gray |
| Panel |
|
| LCD Size (inch) | 31.5 “ |
| Aspect Ratio | 16:9 |
| Resolution (max.) | 3840×2160 |
| Display Area(mm) | 697.92×392.58 |
| Pixel Pitch (mm) | 0.182 |
| Brightness (Typical) | 350 |
| Native Contrast ( typ. ) | 1000:1 |
| Panel Type | IPS |
| Viewing Angle (L/R;U/D) (CR>=10) | 178/178 |
| Vertical Refresh Rate | 60Hz |
| Response time | 5ms (GtG) |
| Display Colors | 1.07B |
| Color Gamut | 100% Rec. 709/ sRGB, 99% AdobeRGB, DCI-P3 |
| Color Bit | 10 bits |
| Software |
|
| Palette Master Element | Support OS: Win 7 32/64bit or above , Mac OS X 10.6.8 or above Support Calibrator: X-Rtie i1 Display Pro / i1 Pro /i1 Pro 2 , Datacolor Spyder 4/5 |
| Color Display Clone | Support OS: Windows OS required and only works under Calibration mode |
| Audio/Video Inputs/Outputs |
|
| Hor. Frequency (KHz) | 30-140Khz |
| Ver. Frequency (Hz) | 48-76Hz |
| Video Bandwidth (MHZ) | 600MHz |
| Dimensions & Weight |
|
| Dimensions with Wall Mount (HxWxD mm) (w/o Base) | 448.15×747.2×72.12 |
| Net Weight (kg) (without stand) | H:10 Pivot:10.3 |
| Net Weight (kg) (with shading hood) | H: 14.2 Pivot:14.5 |
| Gross Weight (kg) | 20.3 |
| Height Adjustment (mm) | 150mm |
| Dimensions(HxWxD mm) (with shading hood) | 663.65 x 759.4 x 340.53 (Pivot) 811.5.4 x 460.35 x 340.53 |
| Dimensions(HxWxD mm) (without shading hood) | (High): 652.25×747.2×223.61 (Low): 502.25×747.2×223.61 |
| Dimensions with Wall Mount (HxWxD mm) (w/o Base) (with shading hood) | 448.15 x 759.4 x 257.89 |
| Special Features |
|
| Gamut Duo | Yes |
| Hardware Calibration | Yes |
| PIP/PBP | Yes |
| AMA | Yes |
| HDCP | 2.2 |
| Black Level | Yes |
| Flicker-free Technology | Yes |
| Color Temperature | 5000°K / 6500°K/ 9300°K / User Mode |
| Video Format Support | Yes |
| 3D-LUT | Yes (14 bits 3D LUT) |
| Delta E | ≦2 ( avg) |
| Color Temperature Sensor | Yes |
| VESA Wall Mounting | Yes |
| Tilt (down/up) | -5/20 |
| Swivel (left/right) | 45/45 |
| Pivot | 90 |
| OSD Controller / Hotkey Puck | Yes |
| Card Reader | Yes |
| K Locker | Yes |
| OSD Language | 17 languages |
| Included Accessories |
|
| Other Accessories | Shading hood, CD, QSG, Individual Calibration Report ,Hotkey Pucks |
| Signal Cable | miniDP to DP calbe (1.8m) , HDMI cable (1.8m) , USB 3.0 cable (1.8m ) |
| I/O |
|
| USB | 3.0 ( 2* downstream , 1 * upstream), 2.0 x1 (only for Hotkey Puck) |
| HDMI | 2.0 x1 |
| DP Input | 1.4x 1 |
| Mini DP Input | 1.4 x 1 |
| Headphone Jack | Yes |
| Power |
|
| Power Supply (90~264 AC) | Built in |
| Power Consumption (Power saving mode) | 0.7W |
| Power Consumption (Off mode) | 0.5W |
| Power Consumption (Base on Energy star ) | 50W |
| Voltage Rating | 96-240V |
| Certification |
|
| Mac Compatible | Yes |
| Windows® 7 Compatible | Yes |
| Windows® 8 Compatible | Yes |
| Windows® 8.1 Compatible | Yes |
| Windows® 10 Compatible | Yes |
| Technicolor® | Yes |
Ergonomics
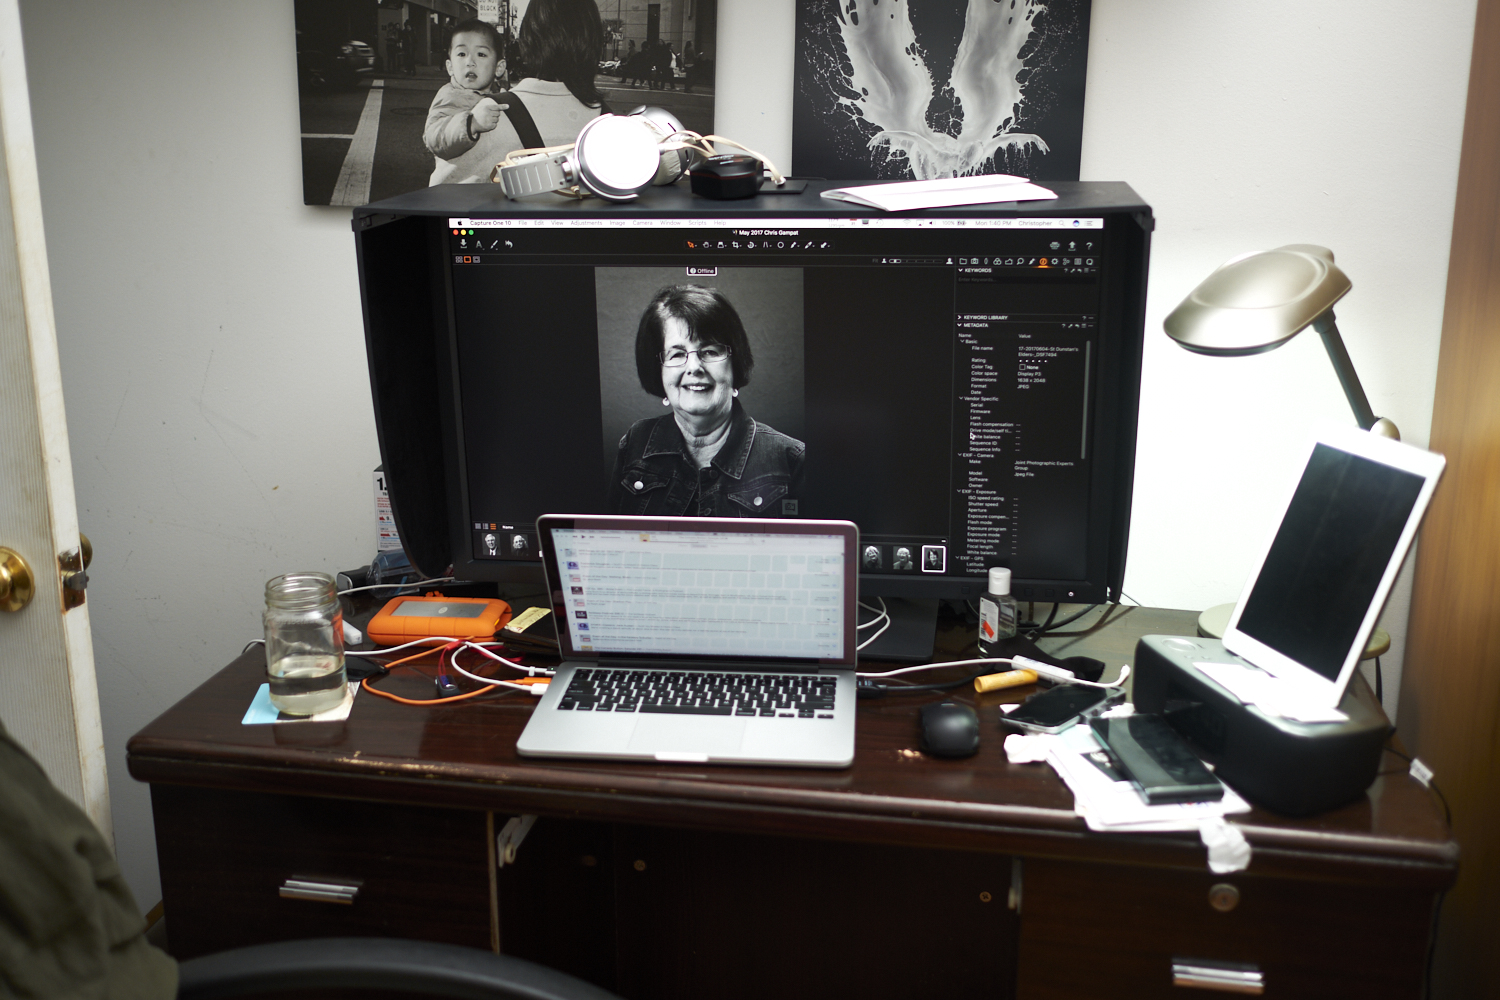
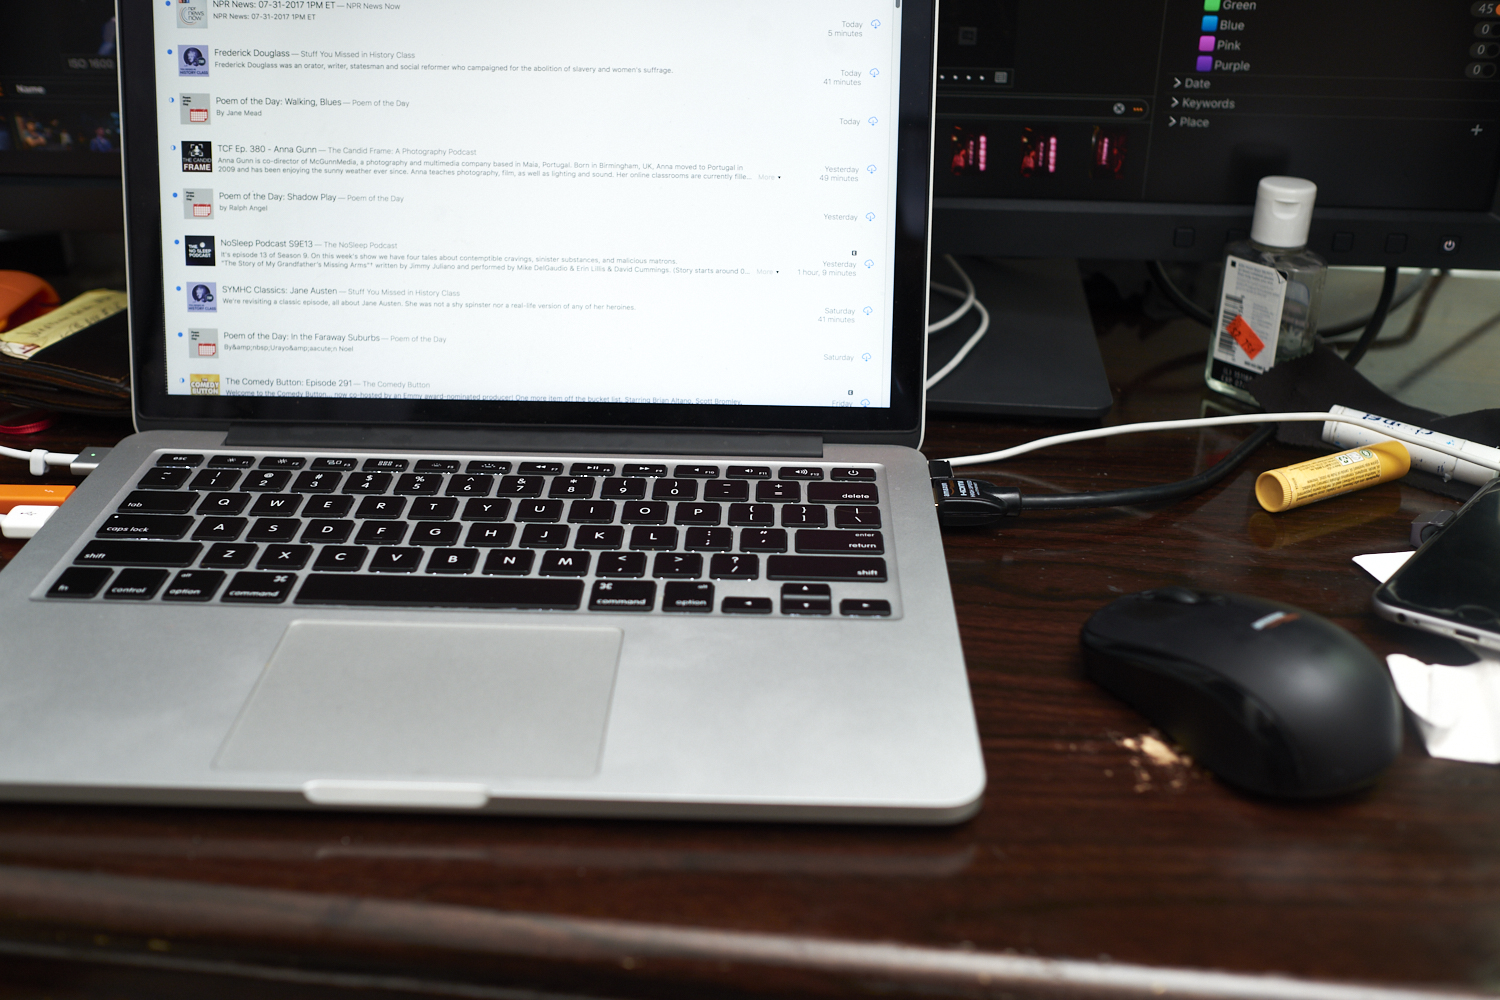
As you can see the BenQ SW320 PRO is a huge monitor. It takes up 32 inches of space and more since it’s also fairly bigger when you consider the hood and the stand it’s on. Yes, this is my desk on a typical day to day basis. I try to keep it clean and it has been far messier before.
On the front of the BenQ SW320 PRO you’ll spot a few buttons on the bottom right. These buttons help you control various parameters of the screen.
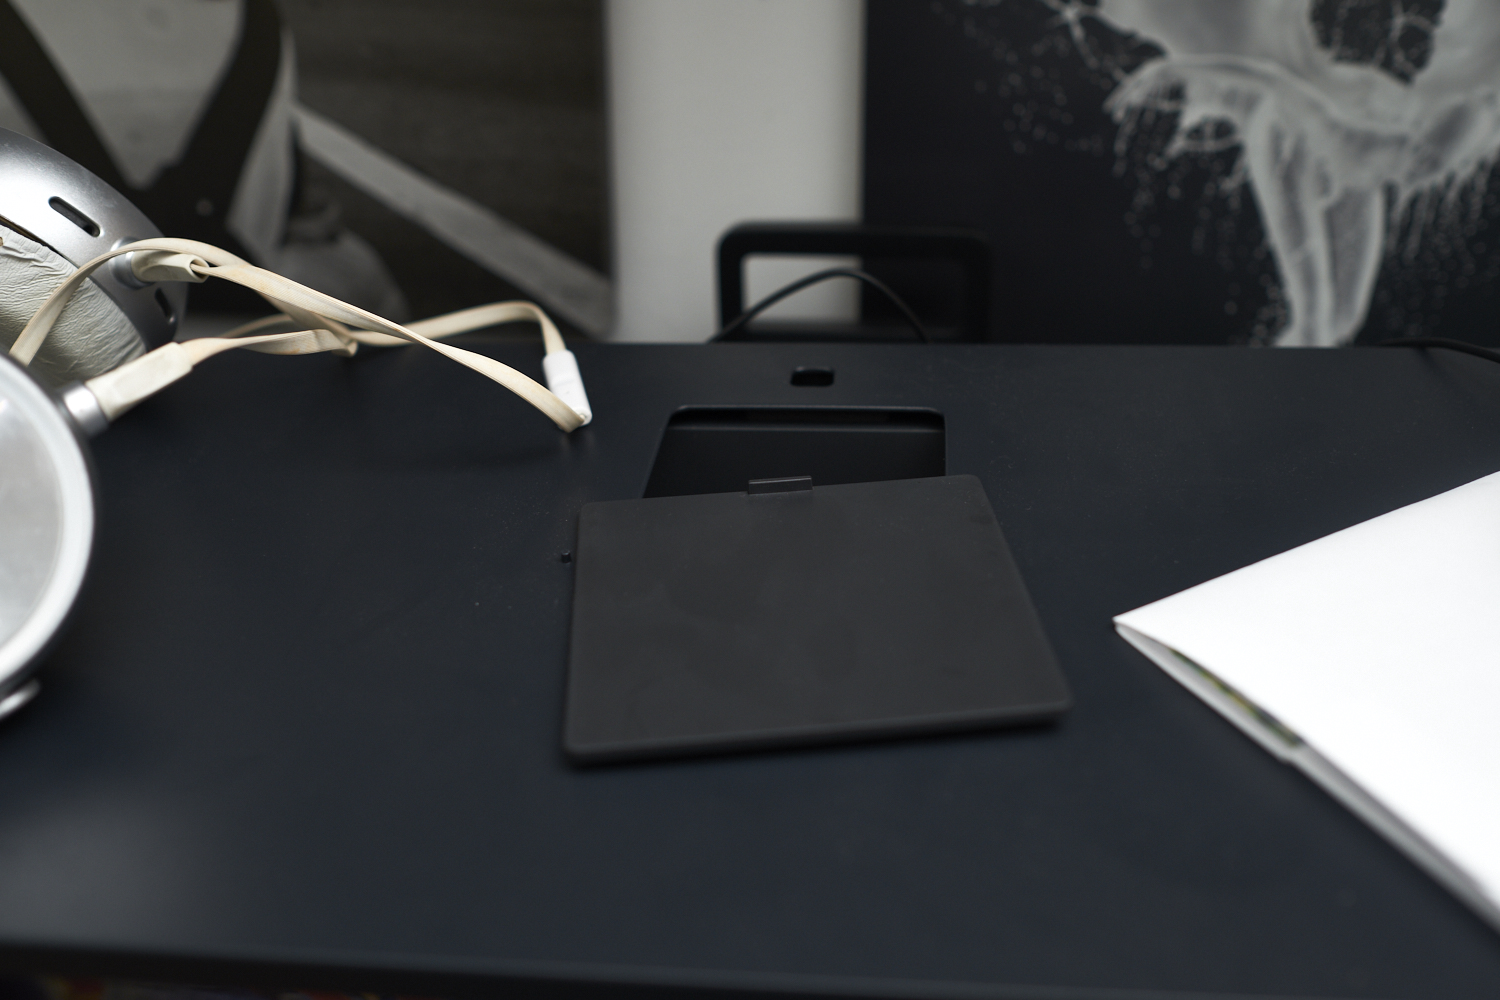
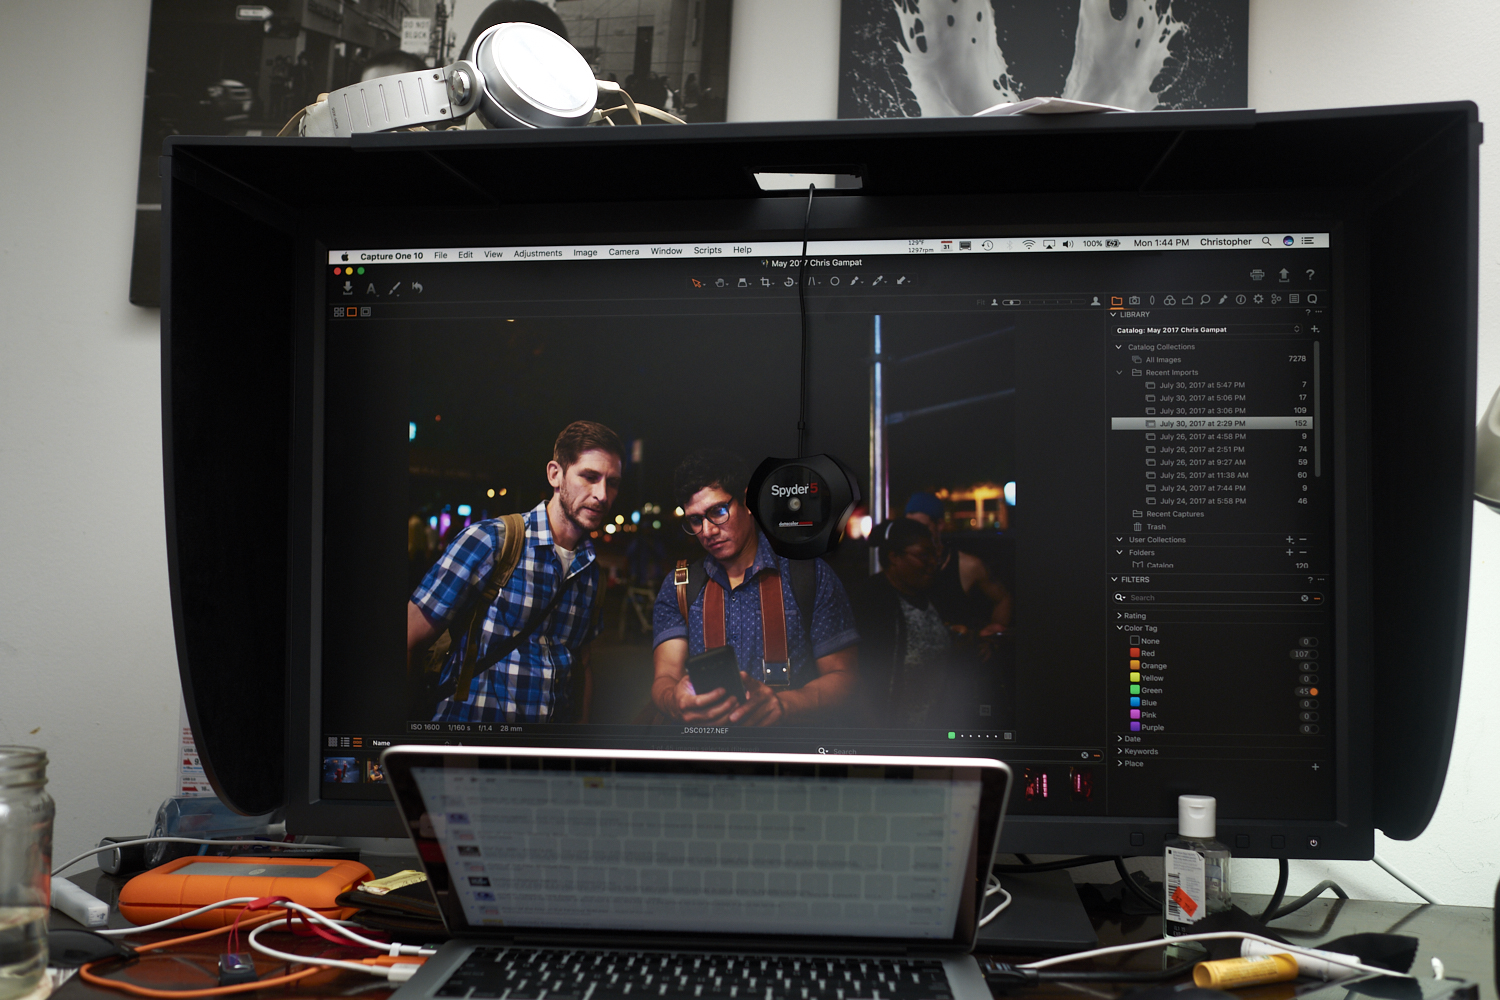
One of the coolest things about the big giant matte box is that up on top there is this little slidable window. From here, you can drop a calibration unit down onto it while keeping the matte box on. If you’re getting a monitor like the BenQ SW320 PRO, you’d be doing yourself a great injustice if you didn’t calibrate it at least once a month. In fact, if you’ve got the USB port space on your computer then I recommend that you keep it around to constantly monitor the ambient room light temperature to keep your monitor consistent.
Or, you know, you can just install black curtains in your office.
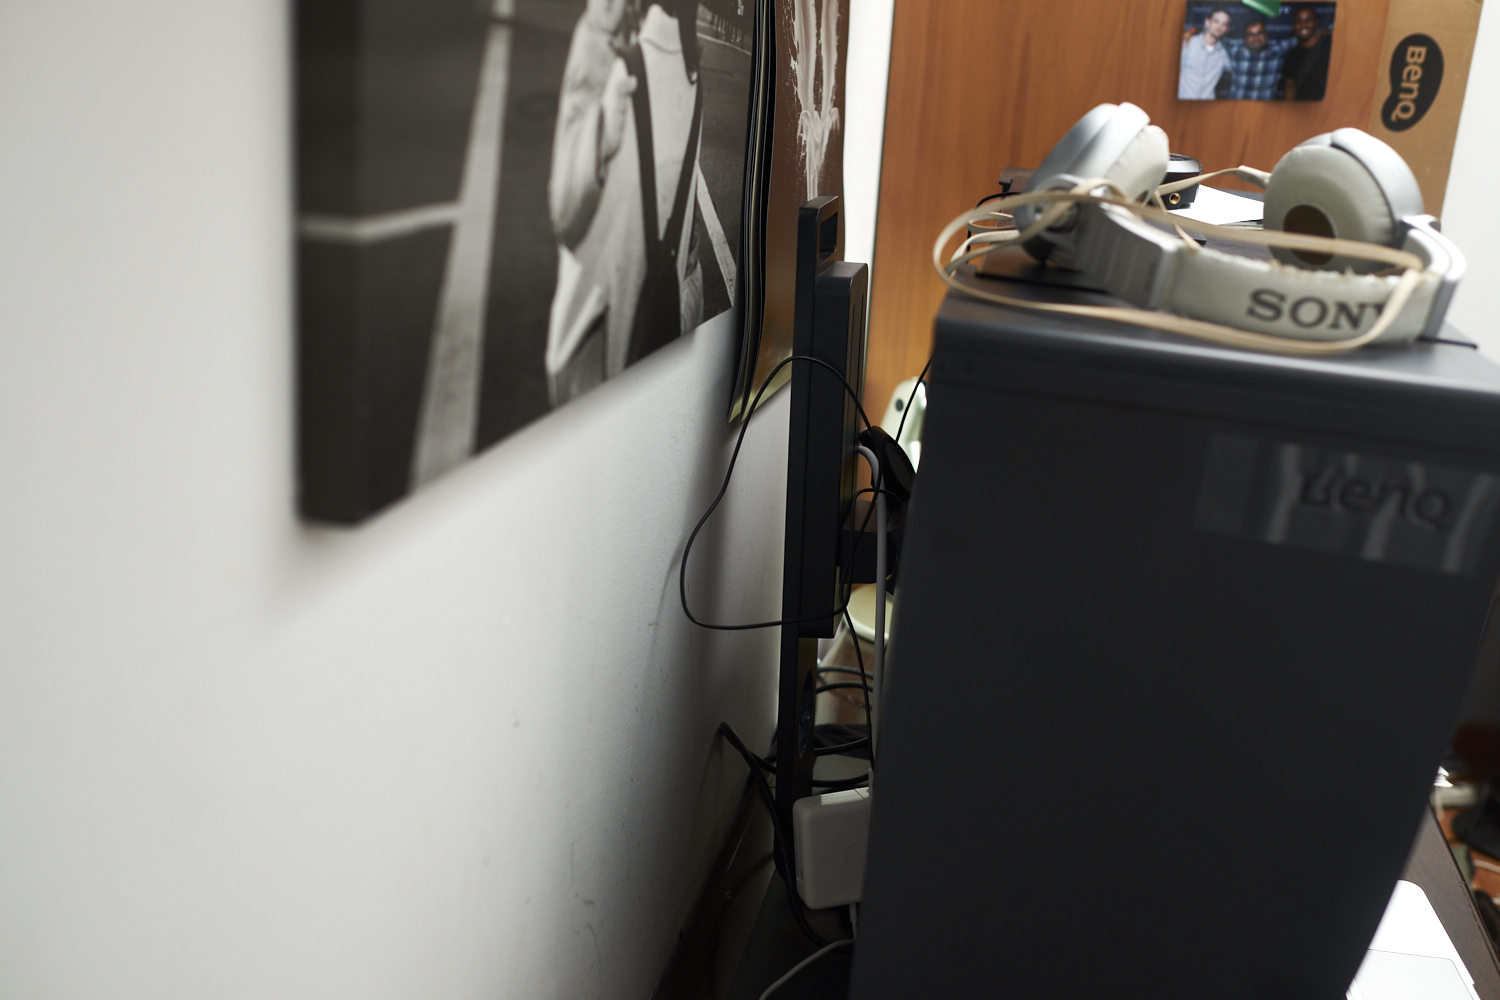
At the back is the very heavy stand for the BenQ SW320 PRO. It’s adjustable and more or less also just works by weight. The cords are all controlled via the back of the monitor for the most part. Setting it up isn’t that difficult once you understand it and out of the box, it’s very straightforward.
Build Quality
The BenQ SW320 PRO is a big, heavy, and well built monitor. Part of this comes from the insanely well built stand it attaches to. Additionally, it was designed with ease of use in mind. Other monitors I’ve used, like those from Asus, don’t have simple buttons on the front. But this one does and it’s really easy for you to figure out how to use it just by looking at the display instructions when they come up.
Additionally, the Matte box is very well built. Over here, you can see that I’ve got Sony headphones, prints, and my Datacolor Spyder on here. The pieces snap into each other and provide a fair bit of support in addition to light blocking abilities.
For most photographers, you won’t really have any sort of issues with build quality considering that you’re setting it on a table and not moving it at all.
What I really like is the fact that this screen is a matte screen. For any photographer that hasn’t used one, it’s a godsend when it comes to editing and detail rendition. Looking at a glossy screen can be difficult due to reflections, but a matte screen has a lot of consistency. When you combine this with the matte box, you’re getting the ultimate option. For the best results, place light sources off to the sides.
Ease of Use
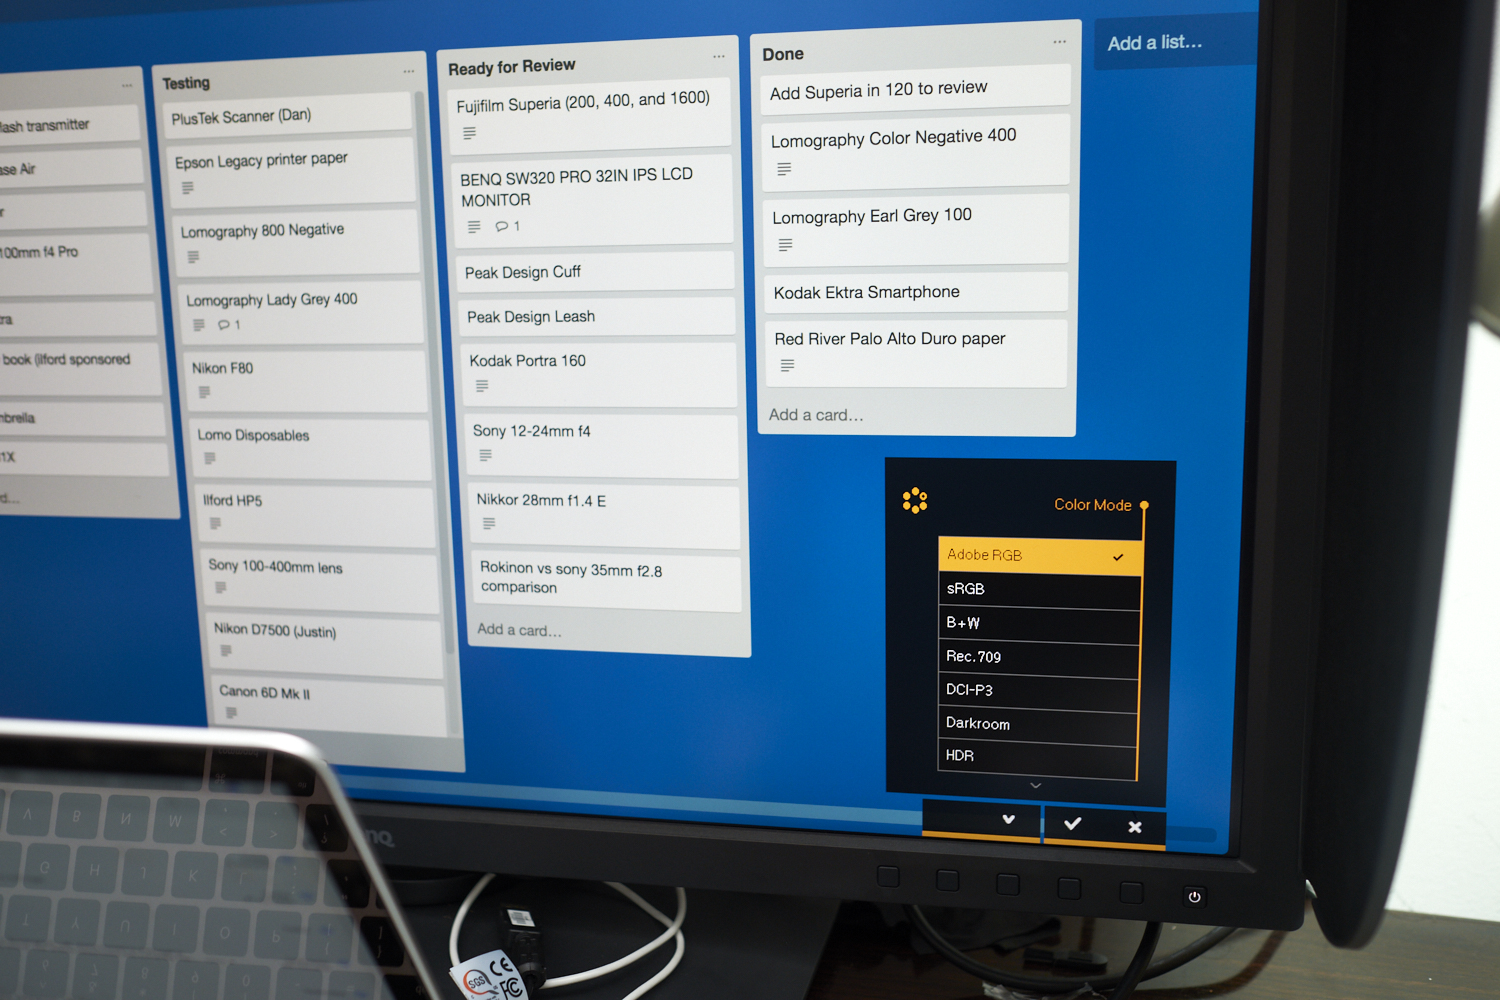
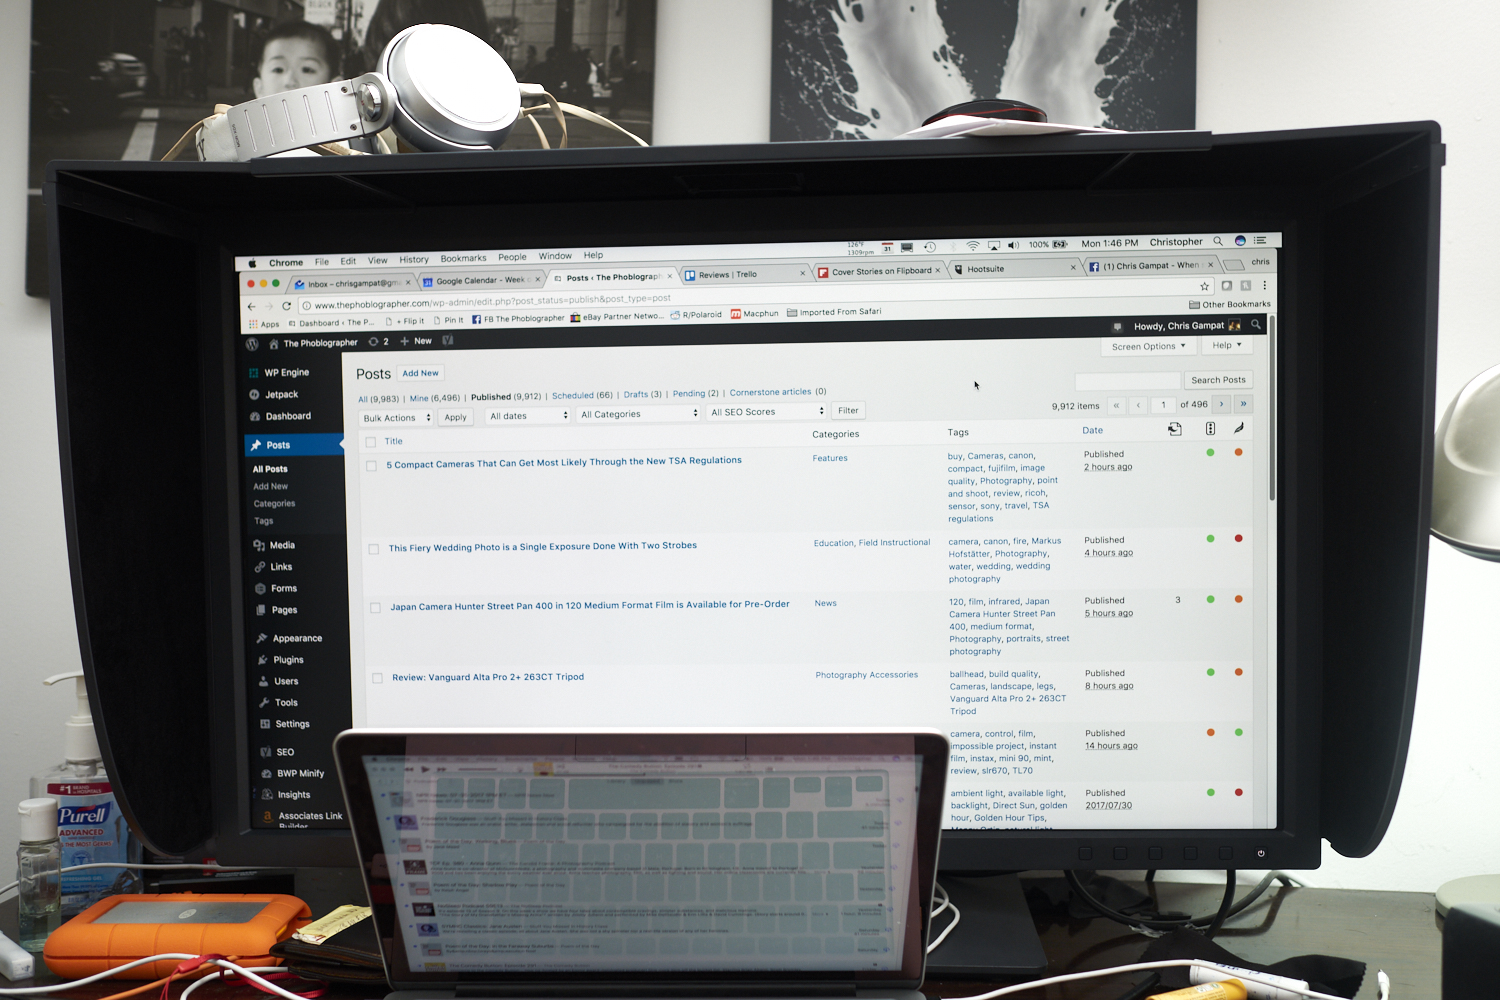
Earlier on in this review, I talked about the menu set up for the BenQ SW320 PRO. Here you can see that there are buttons you can press one after another to get to one setting or another. Unfortunately, it doesn’t interact with the computer and can’t be controlled via the computer with the exception of selecting which calibration profile you want to use. To be fair, lots of monitors operate like this.
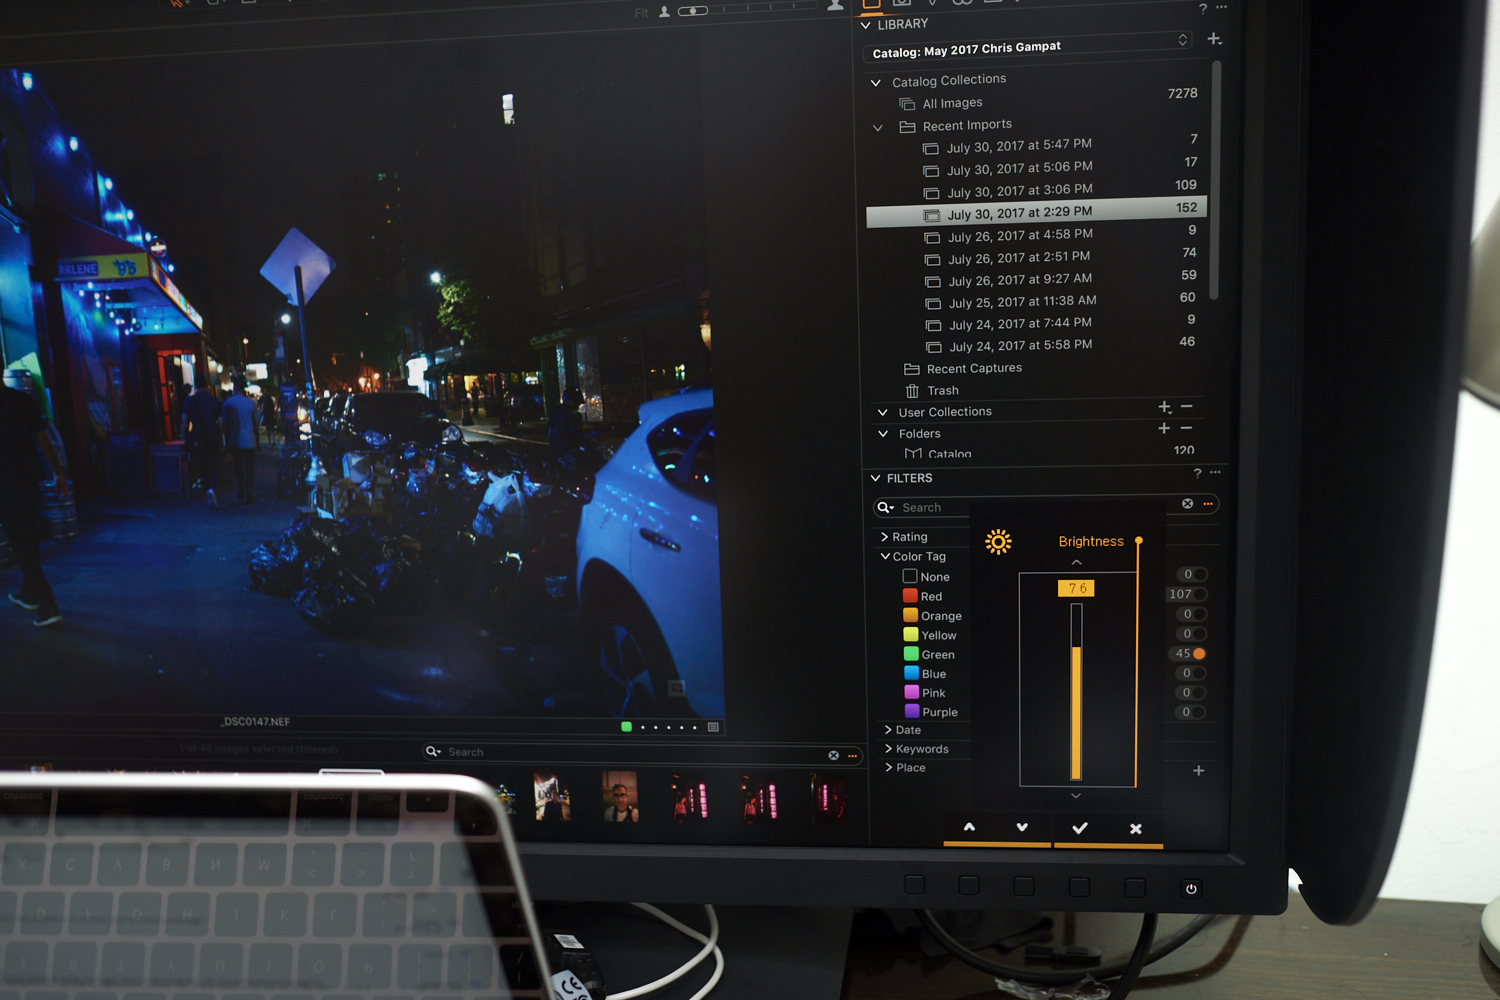
The BenQ SW320 PRO lets you control a number of things including the white balance, but it has its own presets. Controlling and making manual fine tuning adjustments isn’t so simple to do. Luckily, when you’re calibrating, you can also do things like adjust the brightness, contrast, etc. You can also tweak things to work exactly how you’d want.

Here’s what Datacolor gives for its brightness and contrast results at each setting. Obviously, as the brightness increases, your white point will also change.
To connect the BenQ SW320 PRO you’ll be using an HDMI out cable or something else. It has the option for other outputs too; but this is by far the one you’ll care about the most.
Something that I really felt was great about the BenQ SW320 PRO is the fact that it calibrates so incredibly easily. That, more than anything else, may be one of the big factors lots of photographers consider. Using Datacolor’s built-in software you can easily switch to Apple’s calibrations, Adobe RGB calibrations, sRGB calibrations, black and white, etc. I typically like to keep the calibration on my Macbook a bit different than the other monitor so that I can figure out what kind of colors someone else’s screen may have. In addition to all of this, BenQ gave the SW320 Pro its own calibrations for Adobe RGB, sRGB, and black and white. Plus it has options for animation, custom calibrations, animation, the darkroom and more.
When calibrating with the Datacolor Spyder Pro5, you’ll typically want to do something like wear all black and sit very still. The matte box gives you a bit of extra help by cutting down all the available light around you; but of course you’re going to need to sit in front of the computer screen and be as absolutely still as possible.
I worked with both Capture One Pro 10 and Lightroom for printing when using the Epson P-800 and the Canon Prograf-1000 printers. Of course, Epson’s paper is the best, but Red River’s is a close second for matte, and Canon takes the cake with Luster. Canon’s printer is more or less on par with the Epson but slightly more color accurate. When you’re printing, you’ll want to set the BenQ SW320 PRO monitor to the Adobe RGB spectrum. Then you’ll want to calibrate the screen and set Lightroom or Capture One to the according ICC profile your screen is set to. After this, you edit and print.
On Luster paper, the image will be perfectly just like the monitor. On more matte paper, it will appear cooler and more muted. But that’s not really a problem with the BenQ SW320 PRO–though it could be an absolutely fantastic addition to the monitor. The ability to have it mimic the look of matte paper vs luster and glossy paper would help photographers a bit more. I genuinely think it’s capable of doing it.
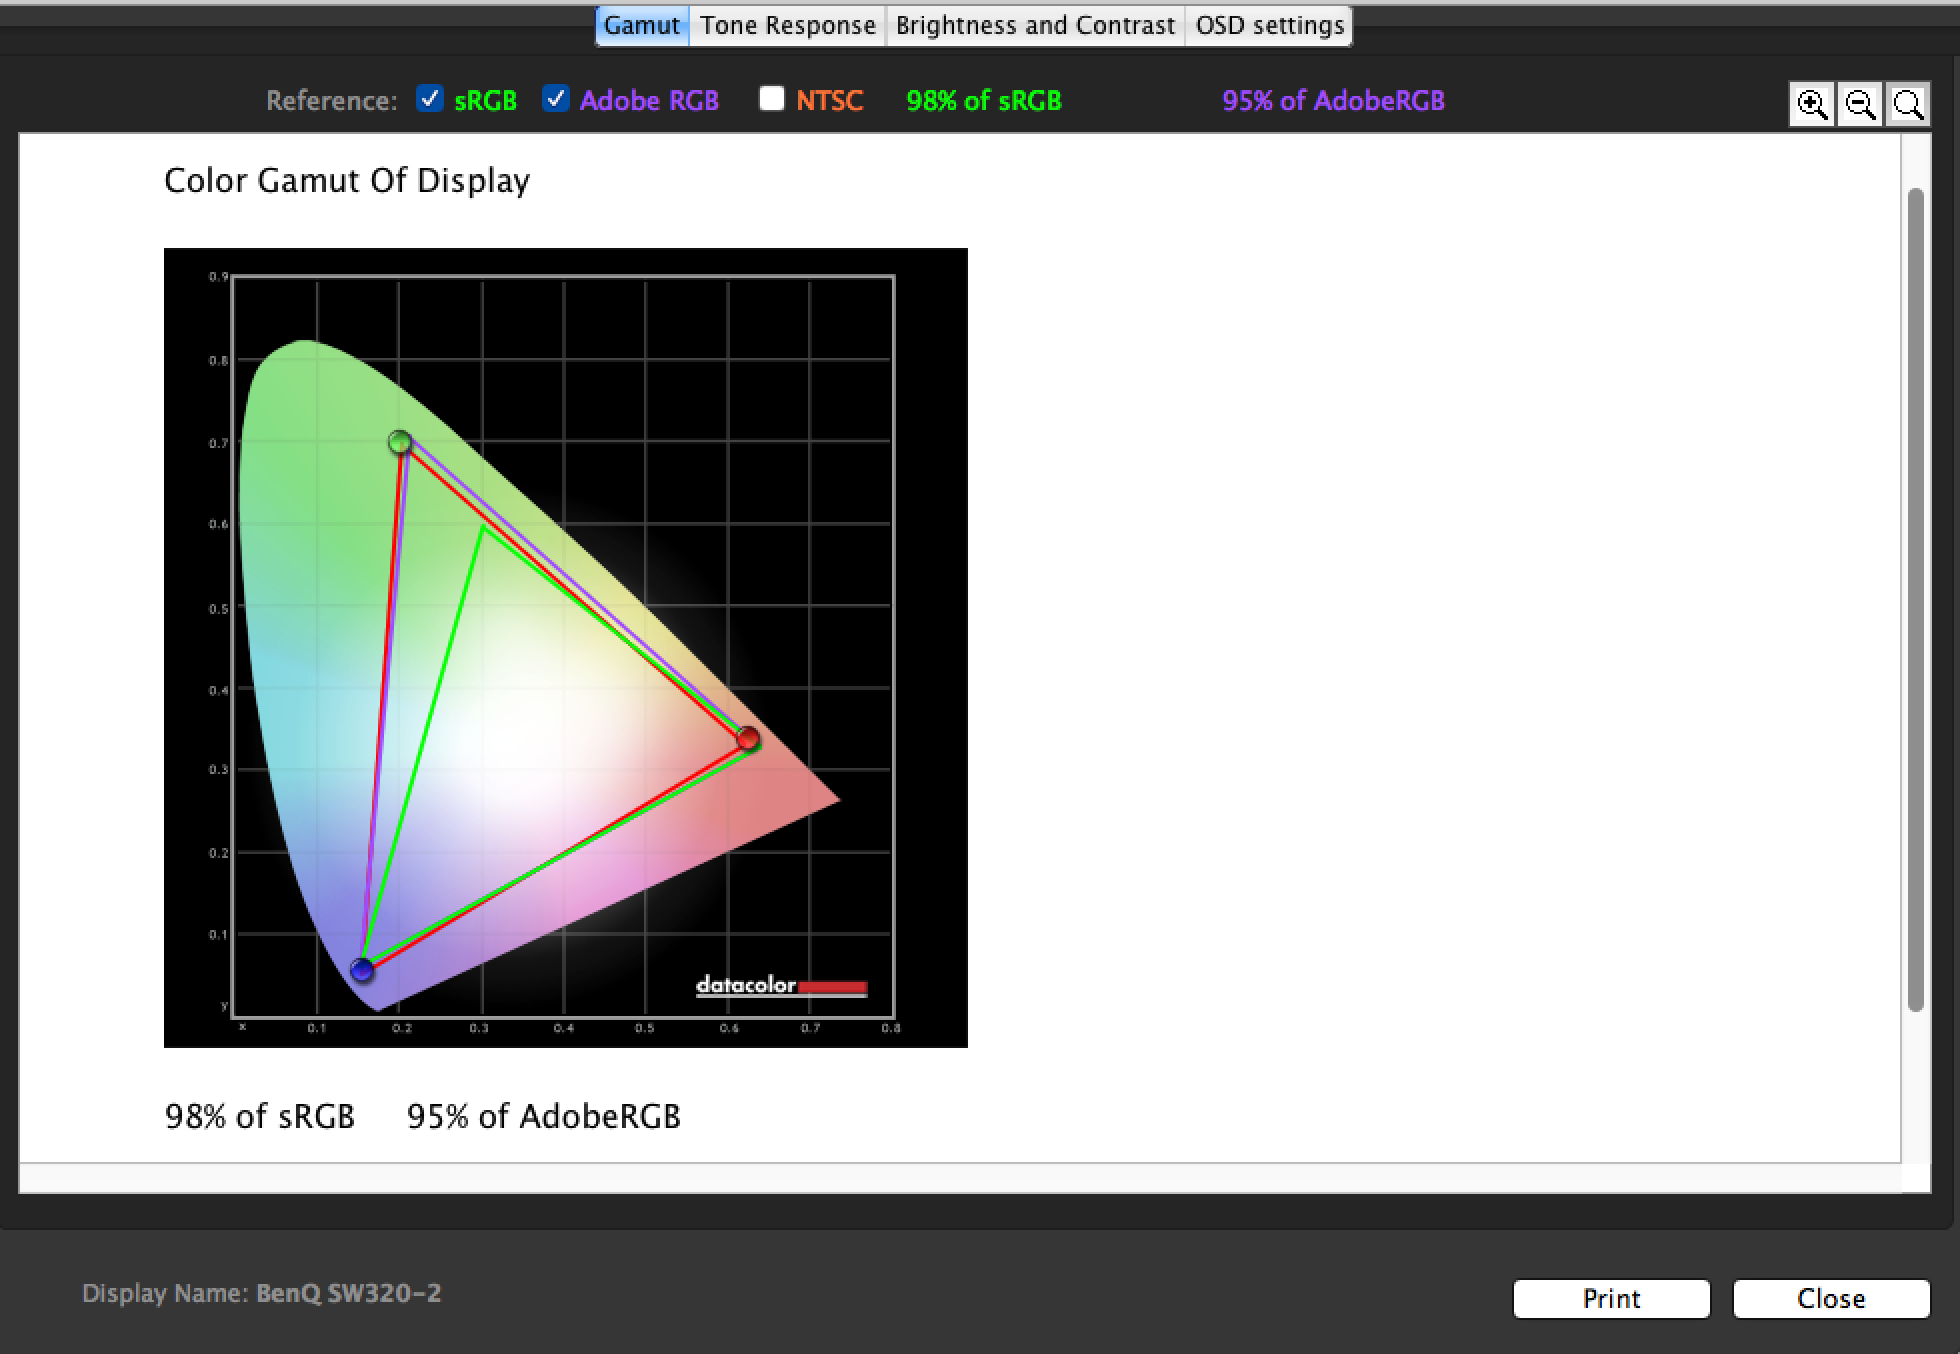
After multiple tests with the Datacolor Spyder Pro 5, I found the BenQ SW320 PRO to cover 98% of sRGB and 95% of the Adobe RGB spectrum. It isn’t the 99% that BenQ claims but it still isn’t bad. However, there are many other monitors that do the same thing. In my editing RAW files from Fujifilm, Leica, Sony, Nikon and Canon, I set the cameras to output images into the Adobe RGB spectrum. It is with this that I was able to clearly see how color gradation happens with lots of files and various images in different situations–especially in the case of skin tones and manual white balances. If you’re shooting in the sRGB spectrum you probably won’t see or care much about these finer details.
Conclusions
![]()
For $1,450 you can get a fantastic monitor with a lot of versatility for you as a photographer. So why do you need this monitor? If you print a lot, it’s going to help a ton. You can easily switch between calibrations from the Adobe RGB spectrum, sRGB spectrum, black and white, and a variety of other settings. Plus you can use their little puck to switch easily between one or the other. There’s a big difference between Adobe and the sRGB spectrum that is super apparent. However, the human eye can’t even see everything the Adobe spectrum allows you to. Additionally, to make the most of it, you’ll need to have set your camera to output to the Adobe RGB spectrum to begin with. Most cameras just do sRGB unless you set it to do otherwise.
Essentially, if you’re a stickler for color and dynamic range the way that I can be (more so for the former) and you need a bigger monitor (as I’m legally blind so it genuinely helps) then the BenQ SW320 PRO is totally for you.

For the price point, I really have to give the BenQ SW320 PRO an Editor’s Choice award and five out of five stars. Is it expensive? Not for the photographer that needs it.
Get rid of the ads!
Did you enjoy reading this article as much as we enjoyed writing it? There's a way to support us and our reporting, getting ad-free navigation and more as a bonus. Subscribe to us for less than a coffee per month —just $3.99— or take advantage of our yearly subscription with a hefty discount for only $25.- An ad-free experience
- A free mystery box for Lightroom or Capture One
- All the books in our store
- 20% discount on Capture One
- 30% discount on Imalume Photo Theft Protection
- 20% off Herbs and Kettle Tea Company.