")
Last Updated on 08/08/2017 by Chris Gampat
There’s been a big personal void in my life when it comes to slide film since the first death of Kodak Ektachrome, and I haven’t been able to fill for a while. But perhaps the closest thing to filling that gap is Fujifilm Provia 100f. Lots of folks love negative film; but I’ve always been more partial to slide film. Slide film is sort of like a badge of honor: you have to get the exposure perfectly right and most of the time the camera doesn’t really do it. With negative film and the development process, you’ve got a lot more versatility. But with slide film, you have maybe one stop extra in either direction. Perhaps this is one of the trademarks of what makes film so fun–you have to get the image right and the editing process isn’t as simple as it is in digital.
But either way, I’m genuinely in love with Fujifilm Provia 100. Like any other film though, I adore it in medium format much more than in 35mm.
Gear Used
We’ve tested Fujifilm Provia 100f with the following combinations:
- Canon EOS 33 and Sigma 35mm f1.4 Art
- Pentacon Six TL and Zeiss 80mm f2.8
- Fujifilm GW 690 III with the 90mm f3.5
- Minolta a7 with the Sony 35mm f1.4
- Pentax Spotmatic with 28mm f2.5
- Mamiya RB67 Pros S with 80mm f3.5
Tech Specs

Fujifilm themselves has loads of data sheets and specs on their website. You’re honestly best off going there instead.
Ease of Use
When working with Fujifilm Provia 100f, I strongly suggest using either a camera with great evaluative scene metering or a handheld light meter. The film is a typical slide film–very saturated, slow, and will give you some absolutely incredible colors and character otherwise difficult to get from digital. Photographing buildings and other things including landscapes is pretty straightforward. With that said, landscape and architecture photographers will greatly appreciate everything they can get with this film. It isn’t as saturated as Fujifilm Velvia 100 or Fujifilm Velvia 50 but has its own look that I’d like to believe lends itself well to carefully created documentary images.
Fujifilm Provia 100f’s color palette seems to resemble a previous version of Kodak Ektar 100. So if you’re the type that loves using Ektar for portraiture, then you may really like this film and what it can do.
In many situations, I found Fujifilm Provia 100f to benefit from a bit more overexposure. The film really likes a lot of light and in some situations where I overexposed by around a stop, I sometimes wished I overexposed even more. This is one of the reasons why I’d opt for a handheld light meter–it makes spot metering for a scene so much better.
With all this said, Fujifilm Provia 100f is a film that likes a lot of light. Many photographers will try to shoot with it and expose the scene as evenly as they possibly can. In most situations, that works just fine. In portrait situations though, I genuinely feel like that changes. For example, the golden hour is bound to make the scene very warm. Your best results will come when you try to expose for the shadows of a scene. Of course, this all has to do with your own creative vision too, but in many cases, I found that Fujifilm Provia 100f worked best when it was given a bit more light. In fact, I’ve found the same to be true with Kodak Ektachrome 100 years ago. The key is to find a scene and to make it as low contrast as you possibly can. That means that many scenes shot in overcast lighting should work just fine.
Essentially, find some consistent, diffused light and expose for the skin tones. If there’s a whole lot of sunlight though then move to more diffused lit areas.

Perhaps more so than other films, you’ll need to be very careful about the scene you’re photographing. What do I mean by that? Well, reflections and the way that light reflects off of a surface deserve more attention. For example, be extra careful about bricks and how the light that they bounce reflects onto the subject. Fujifilm Provia 100f can surely be difficult to work with at times, but it’s very fun and you’re rewarded with images that look quite unlike much of the other stuff out there.
Big thanks to Lomography NYC for developing the film for us.
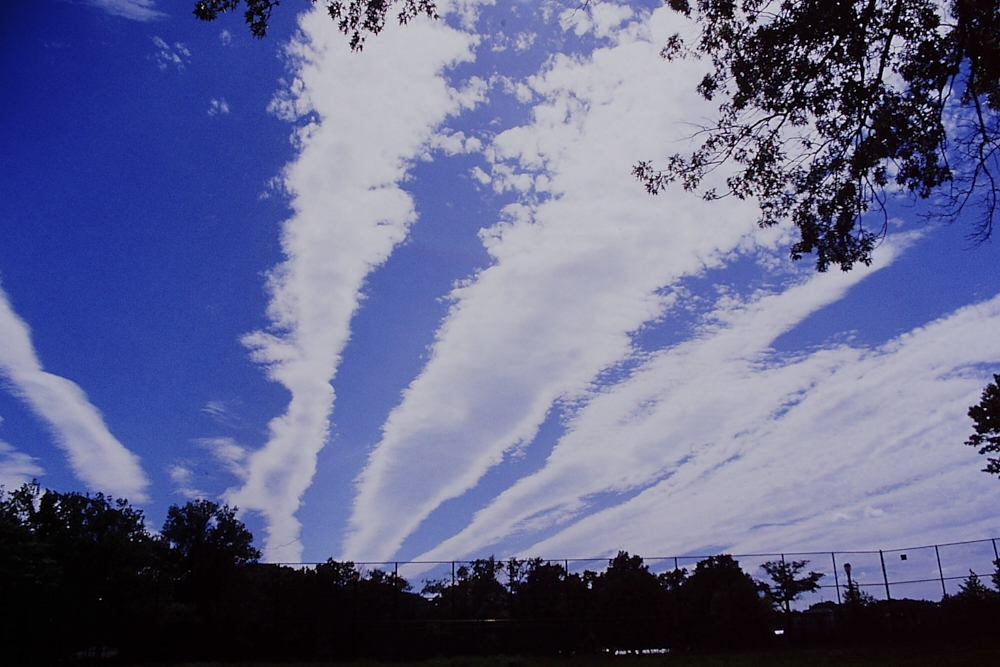
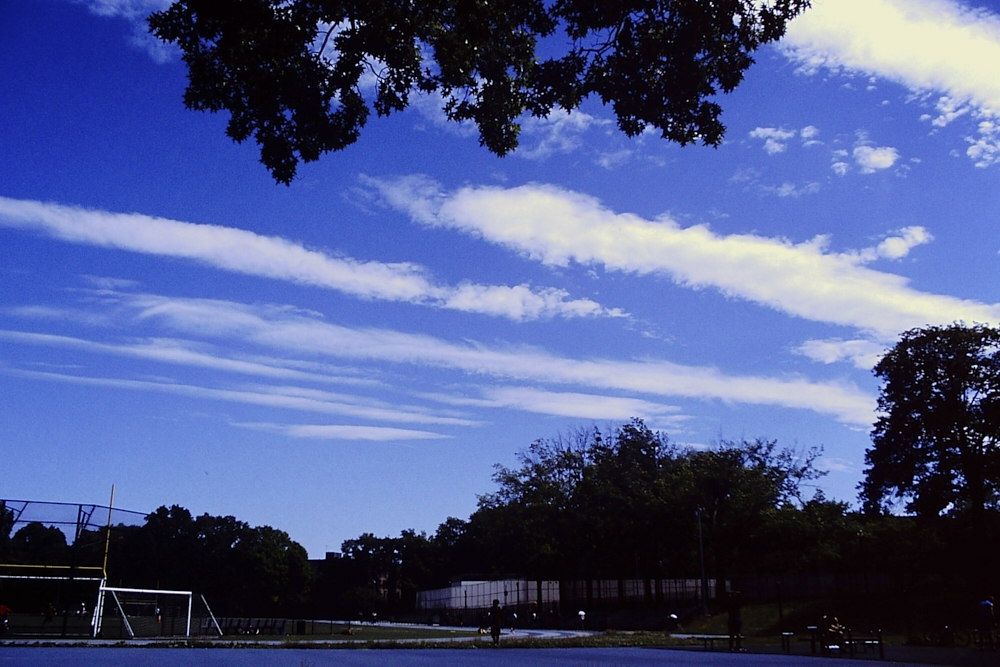
Sample Images

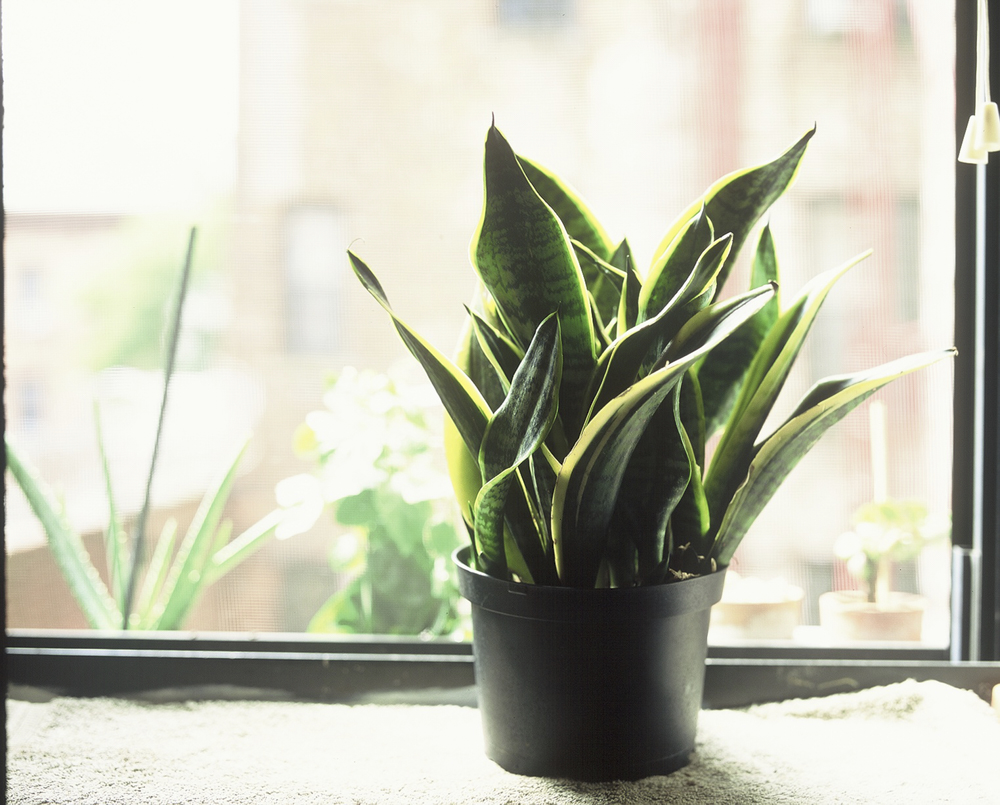
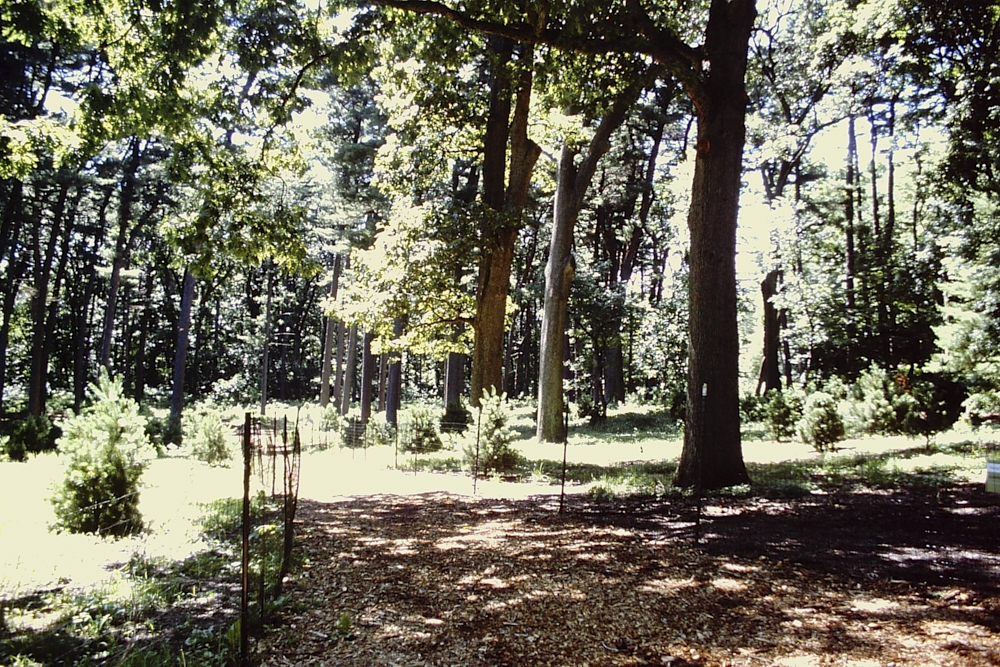
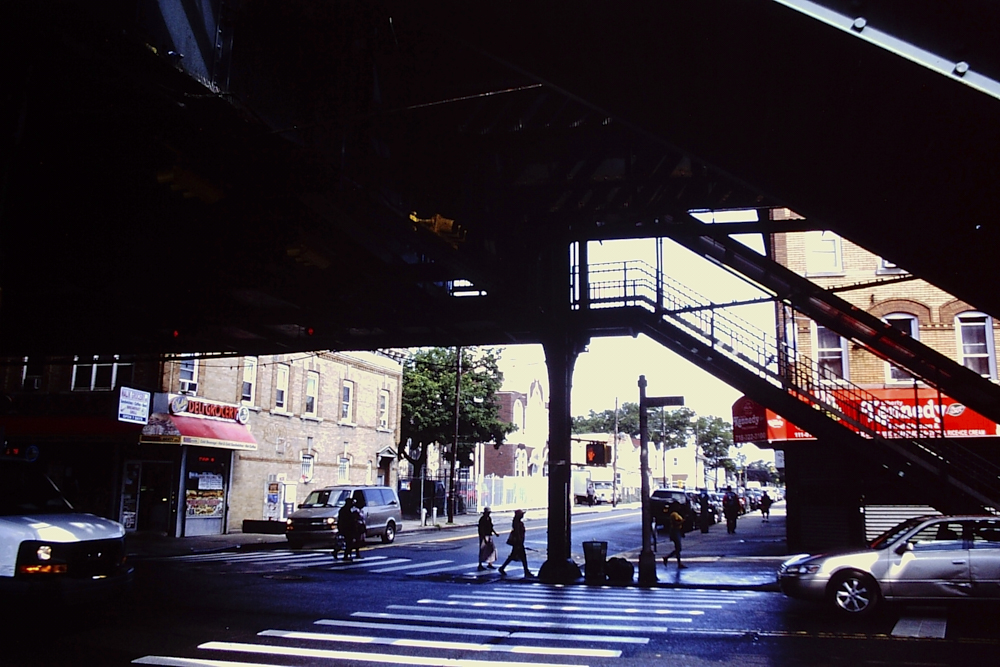
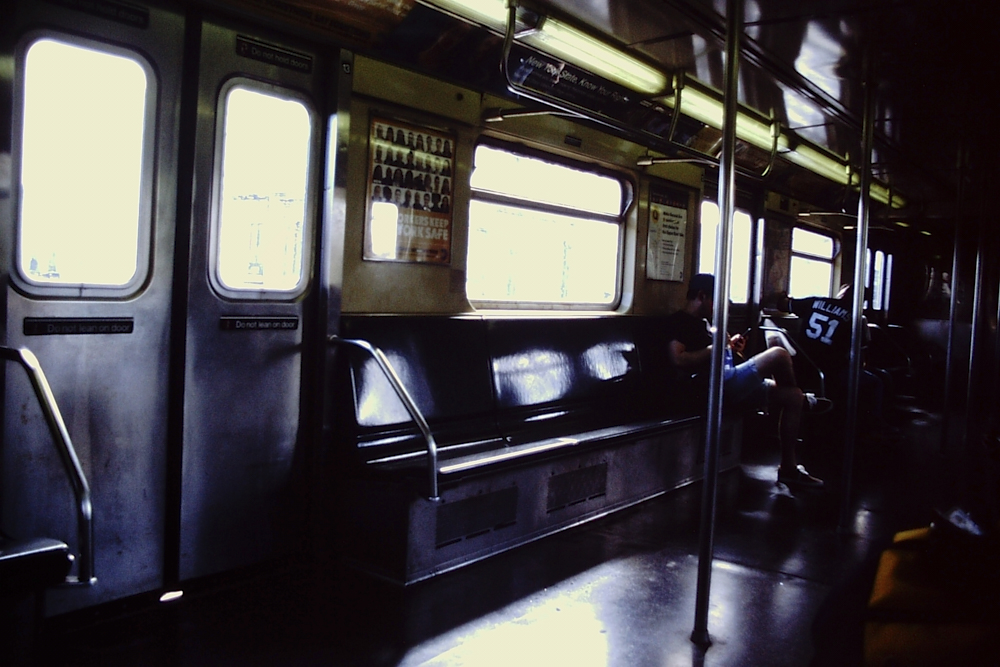
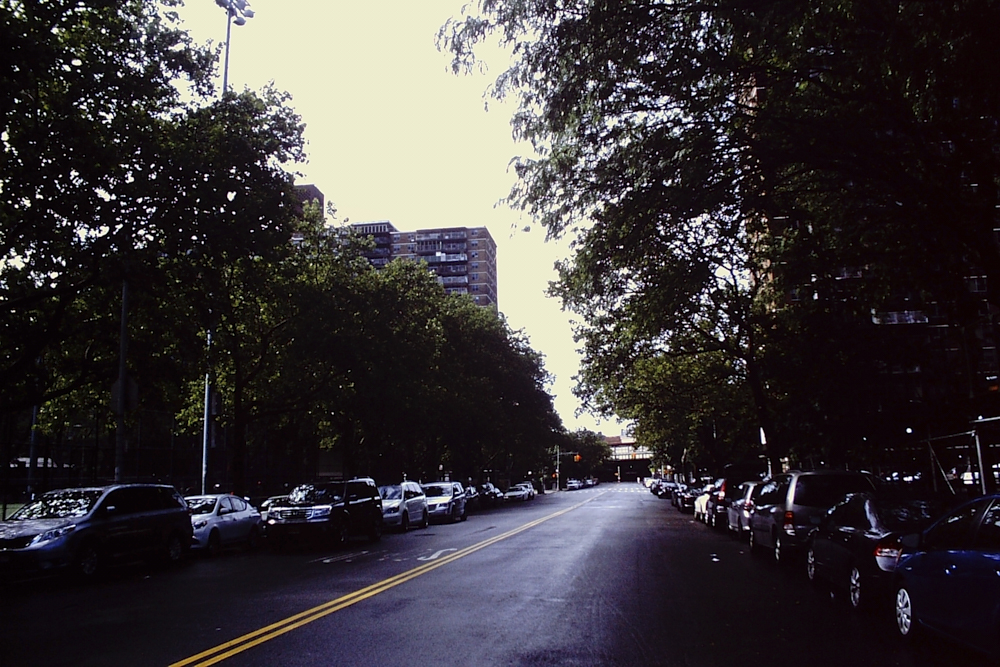
Like all other film emulsions, the bigger it is the better the image quality will typically be. Of course, I also like considering the lenses used. For example, the newer Sigma 35mm f1.4 Art is very contrasty. With film, that creates super saturated colors–especially with Fujifilm Provia 100f.
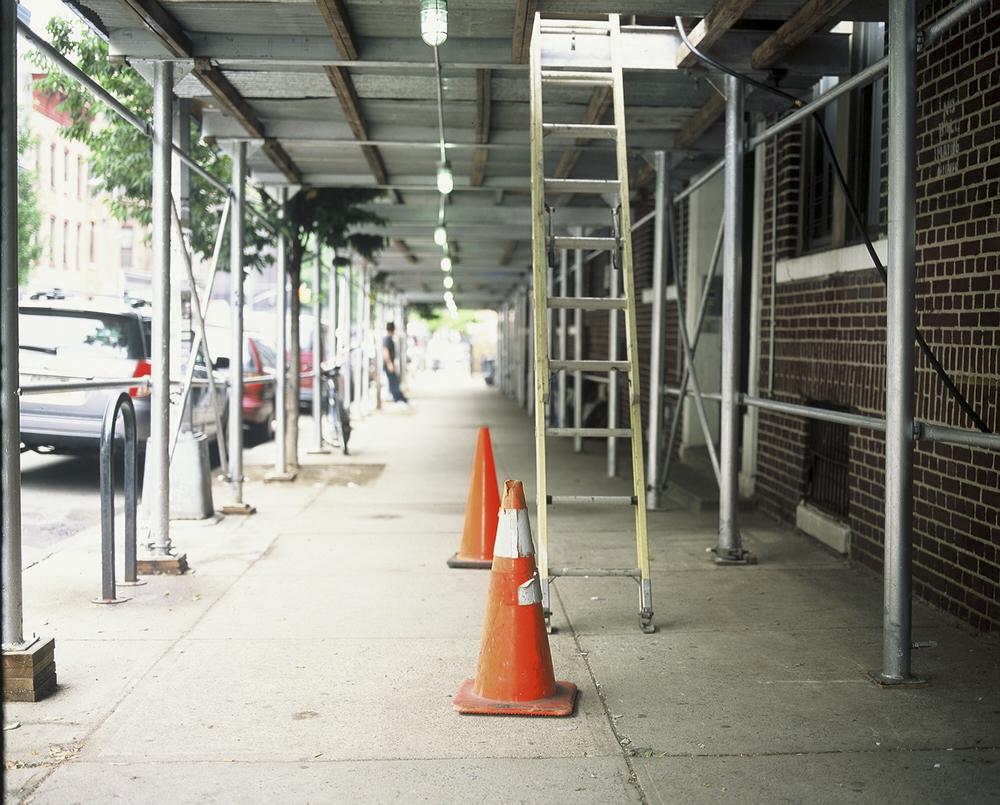
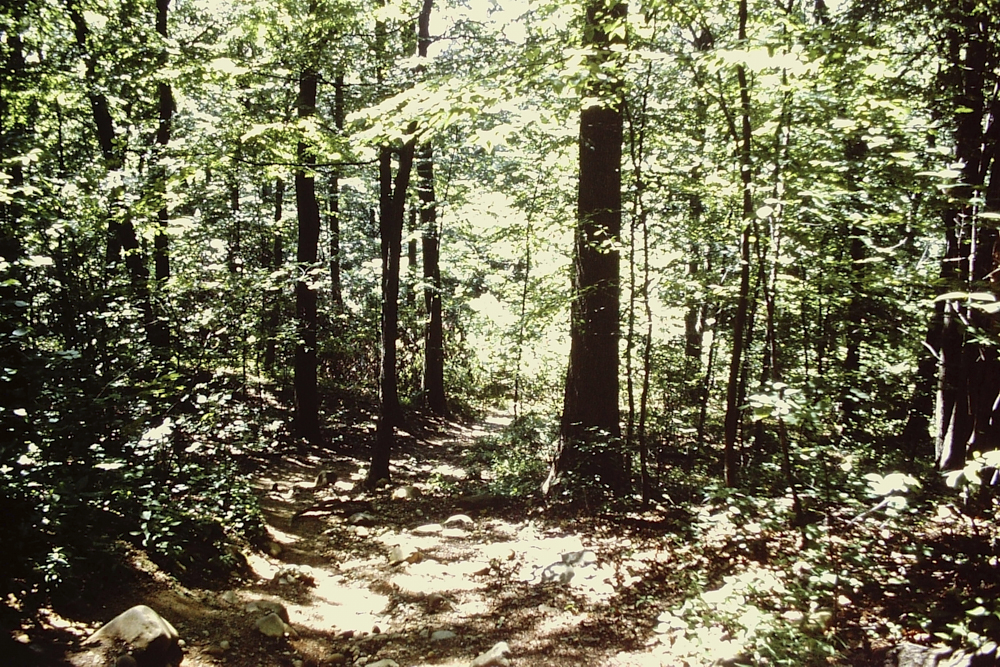
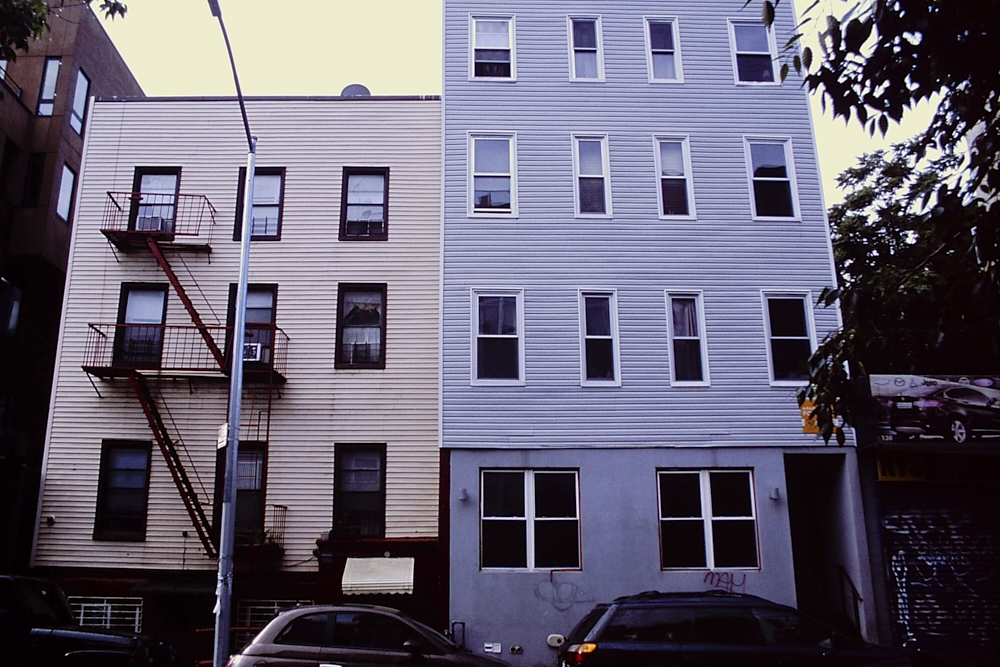
Mamiya RB67 Pro S with 80mm f3.5
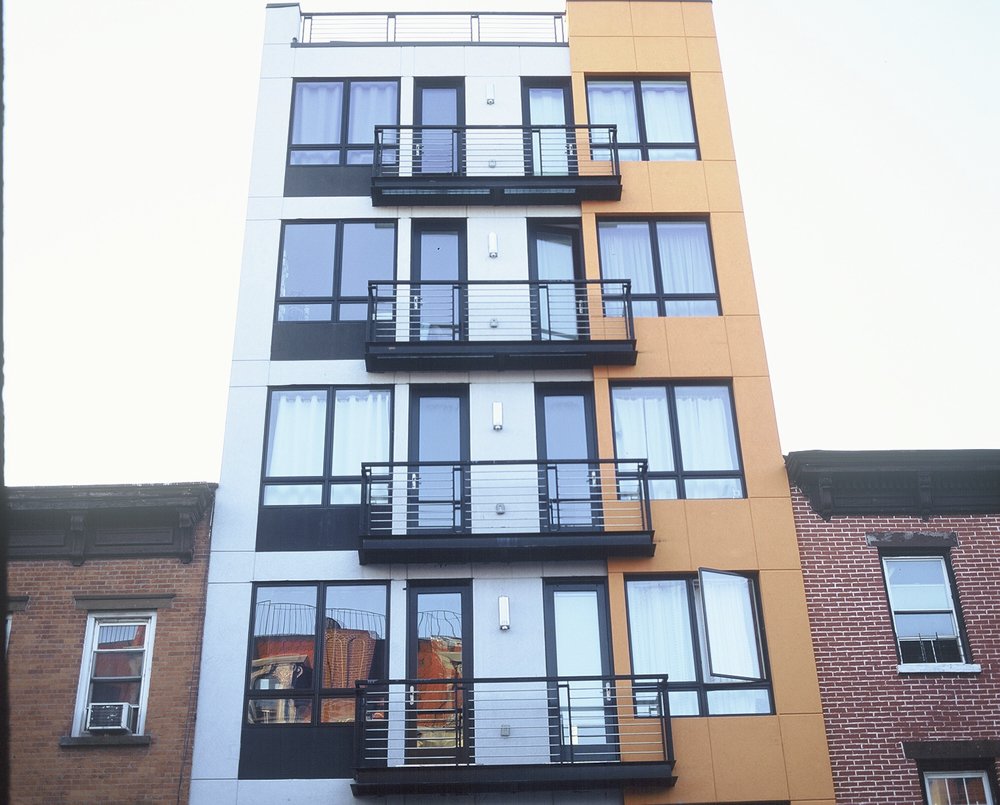

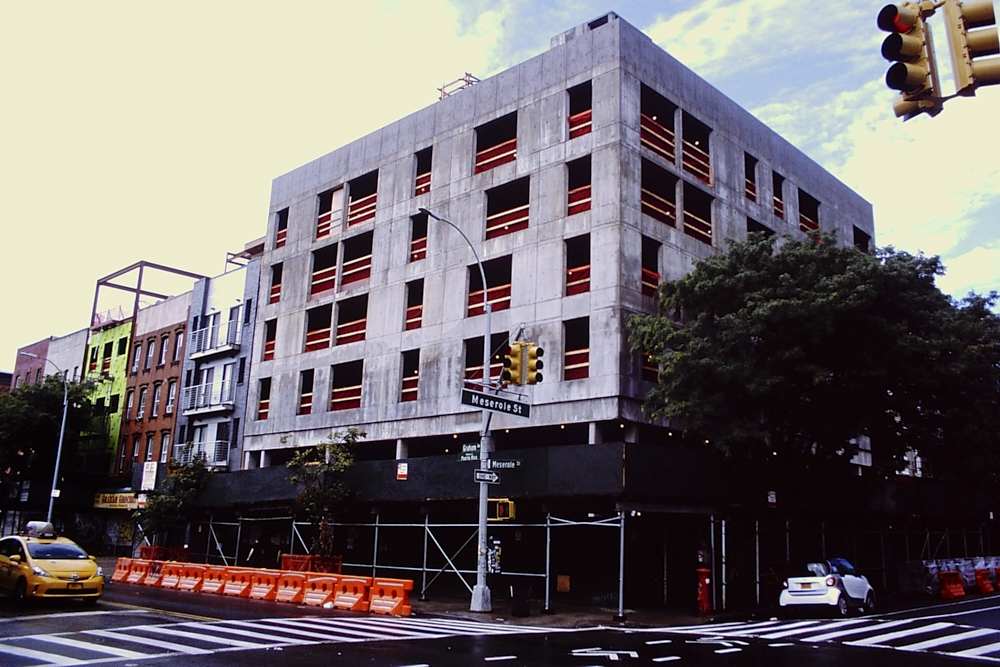
Fujifilm GW690 III with 90mm f3.5
If you’re going to use medium format, why not go big? Well, as you can see the effort pays off a whole lot here. The 6×9 format has a lot of emulsion space to it and when metered properly the images come out gorgeous.


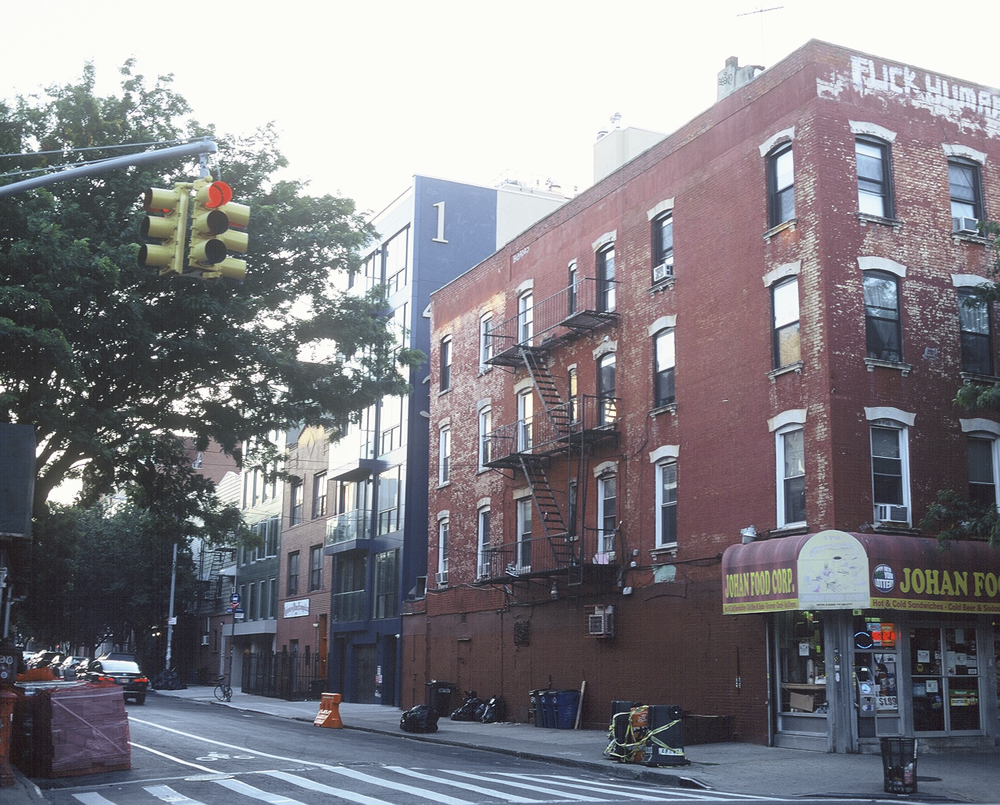
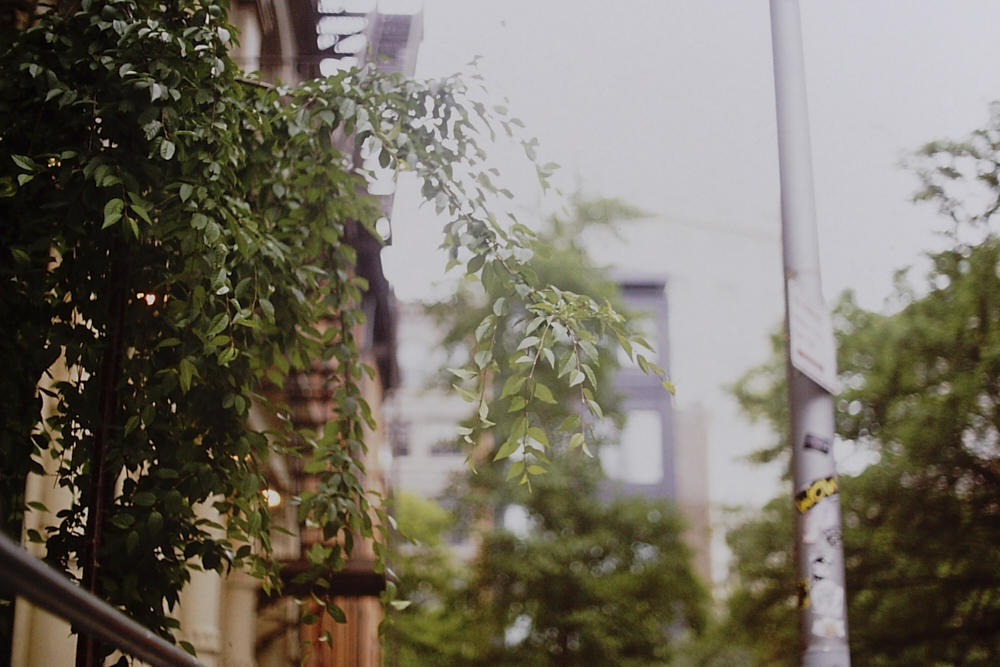
Pentax Spotmatic with Vivitar 28mm f2.5
The Vivitar 28mm f2.5 is a pretty saturated and sharp lens. But it isn’t very high contrast. Instead, consider that a characteristic of the 35mm lens format.

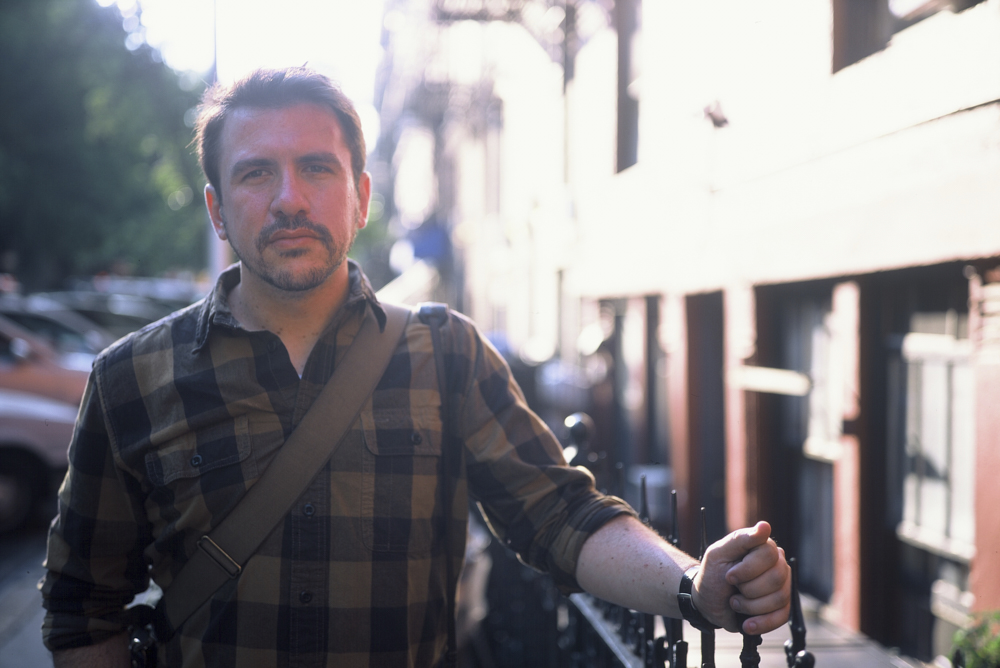
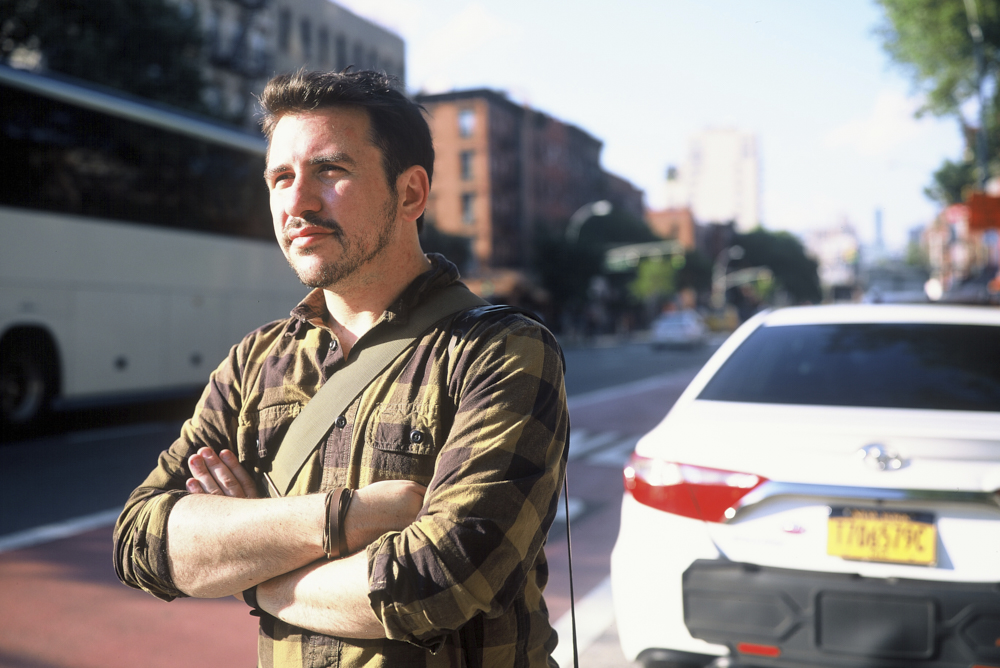
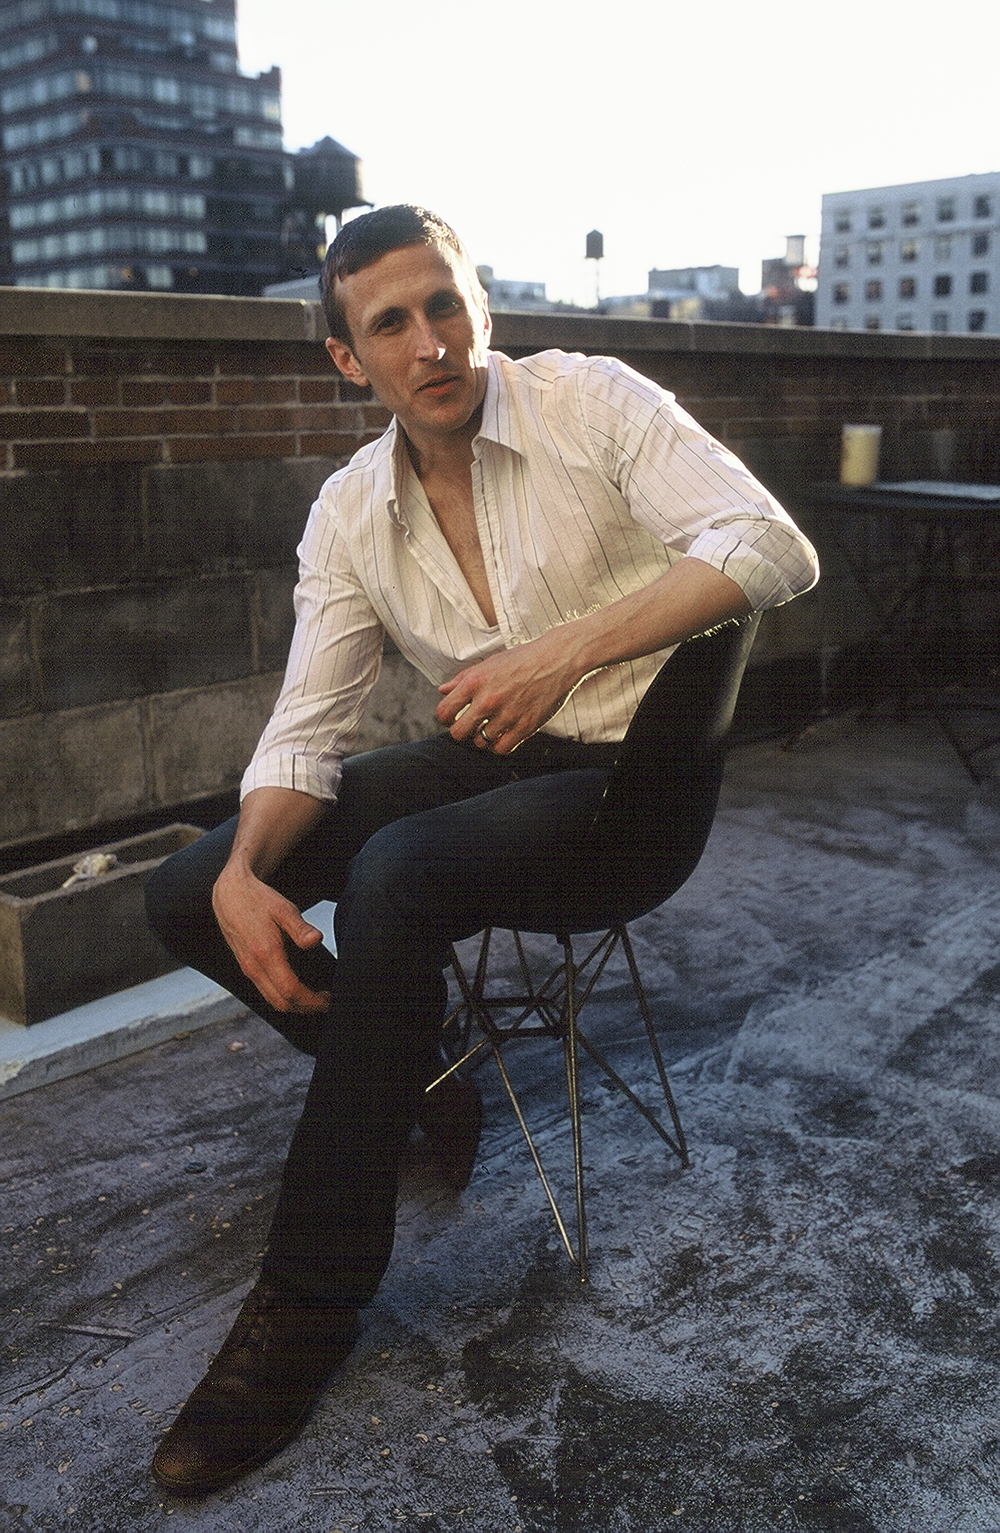
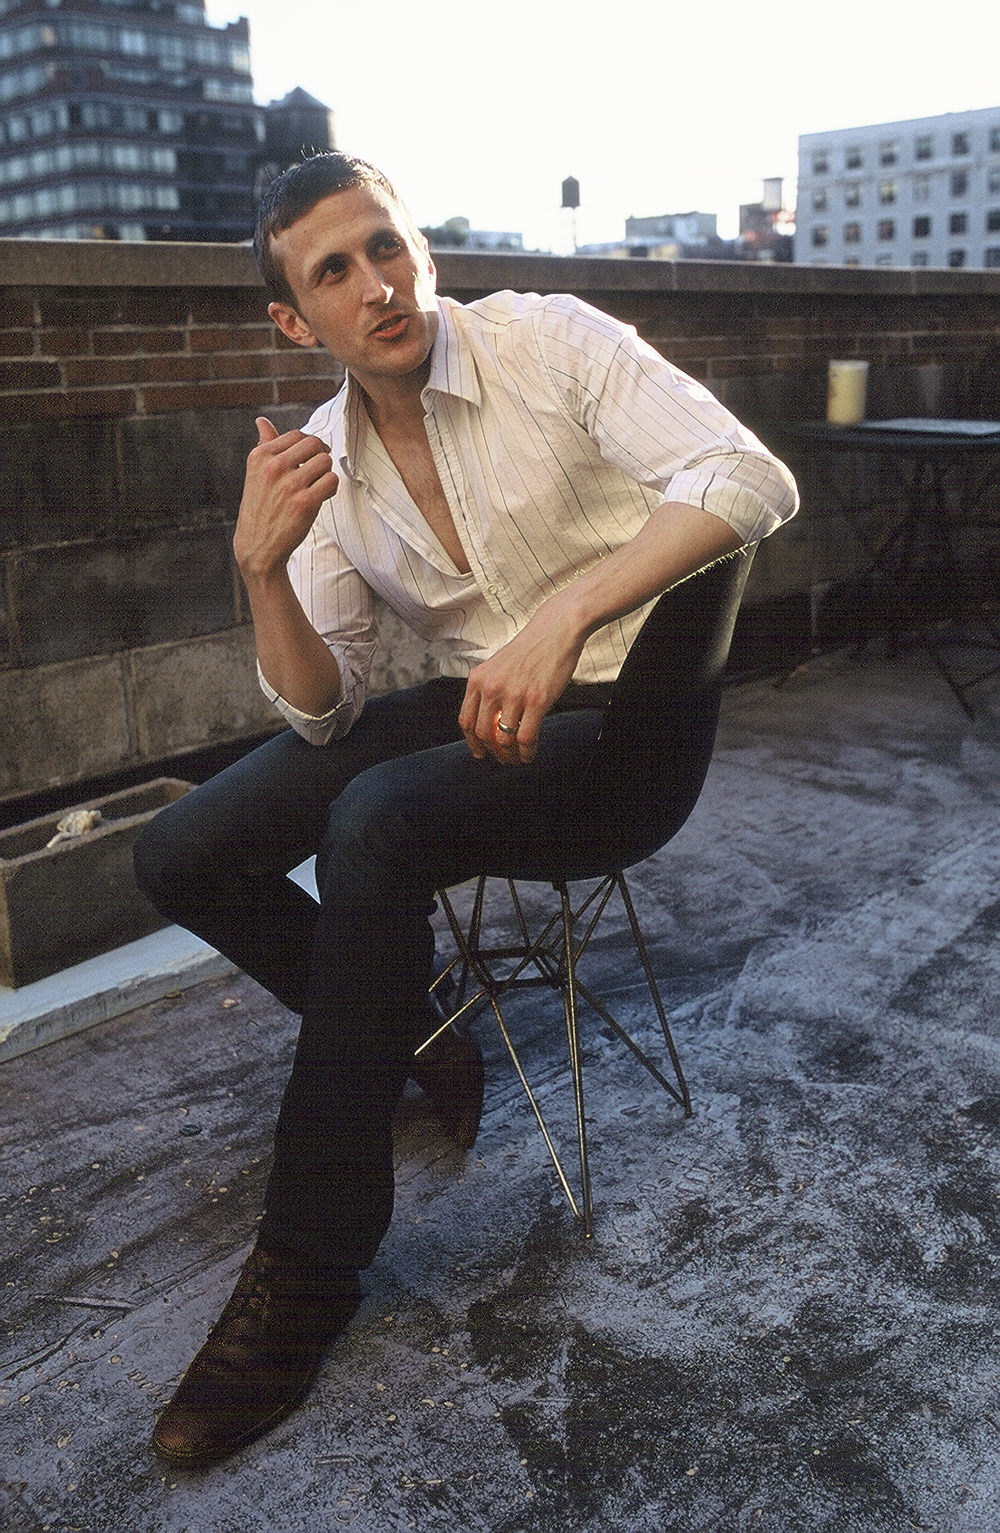
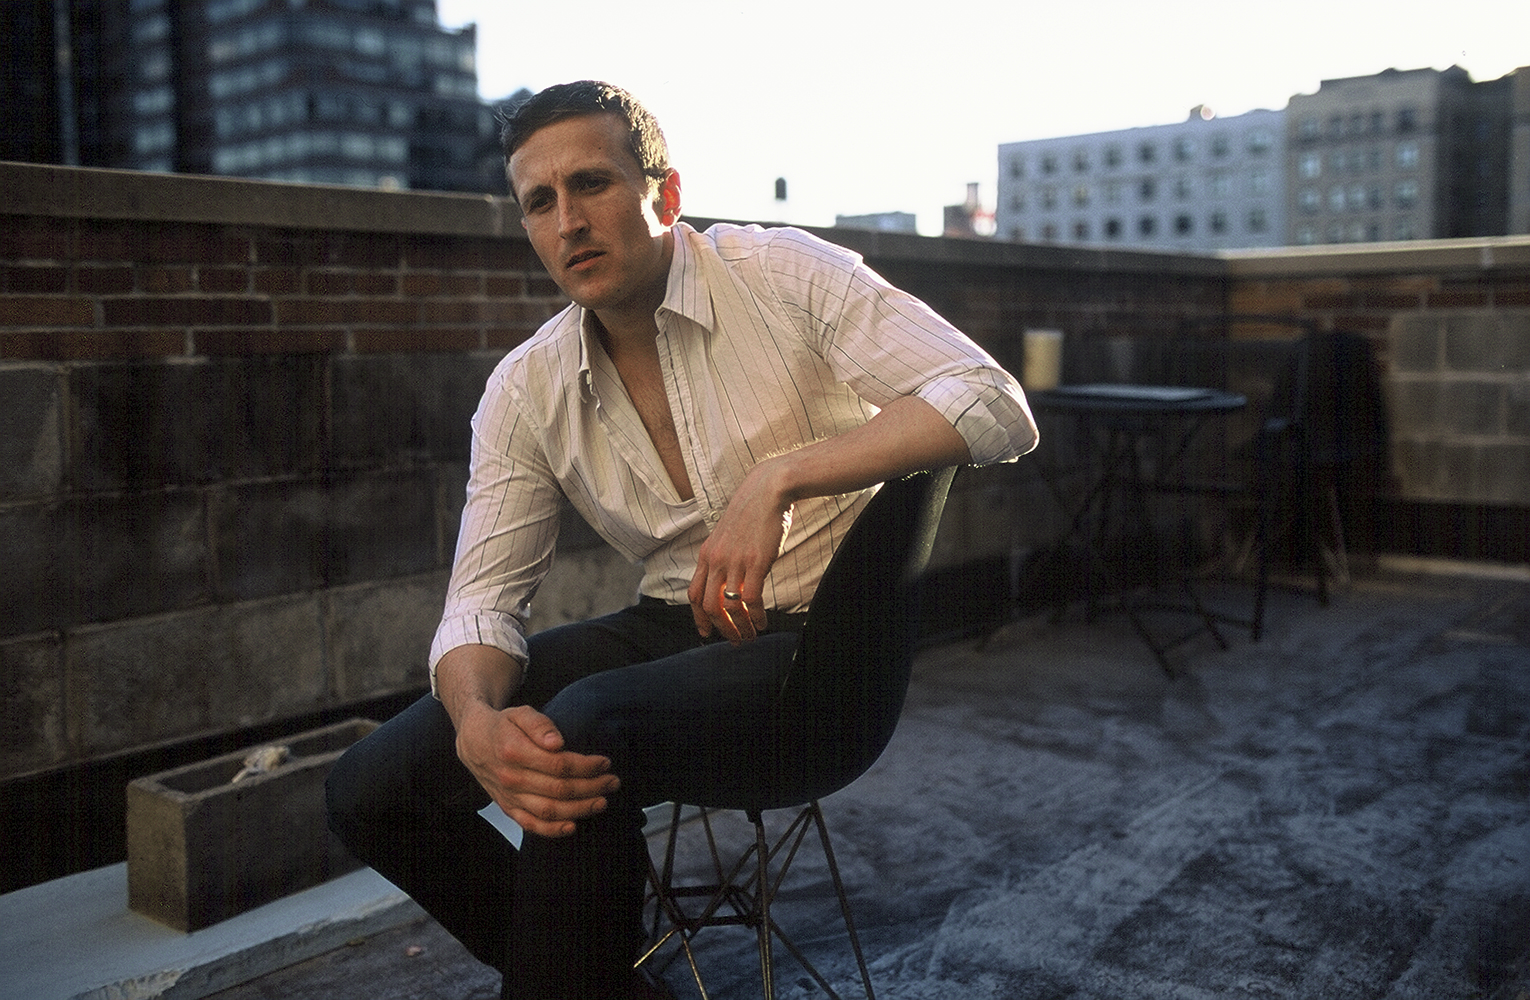
Canon EOS 33 with Sigma 35mm f1.4 Art

Man, look at that contrast and saturation.


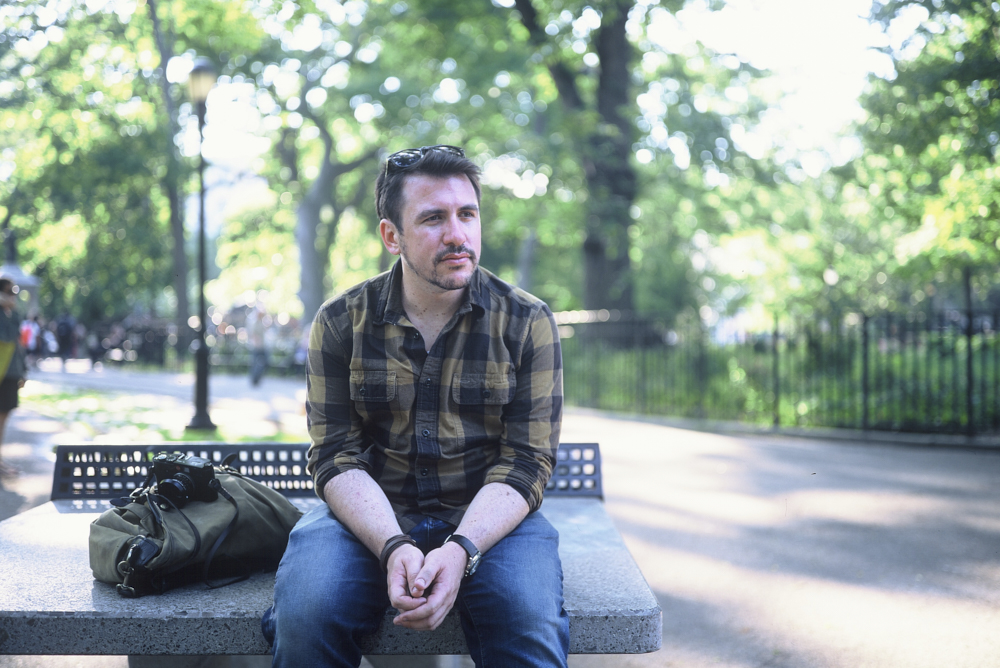
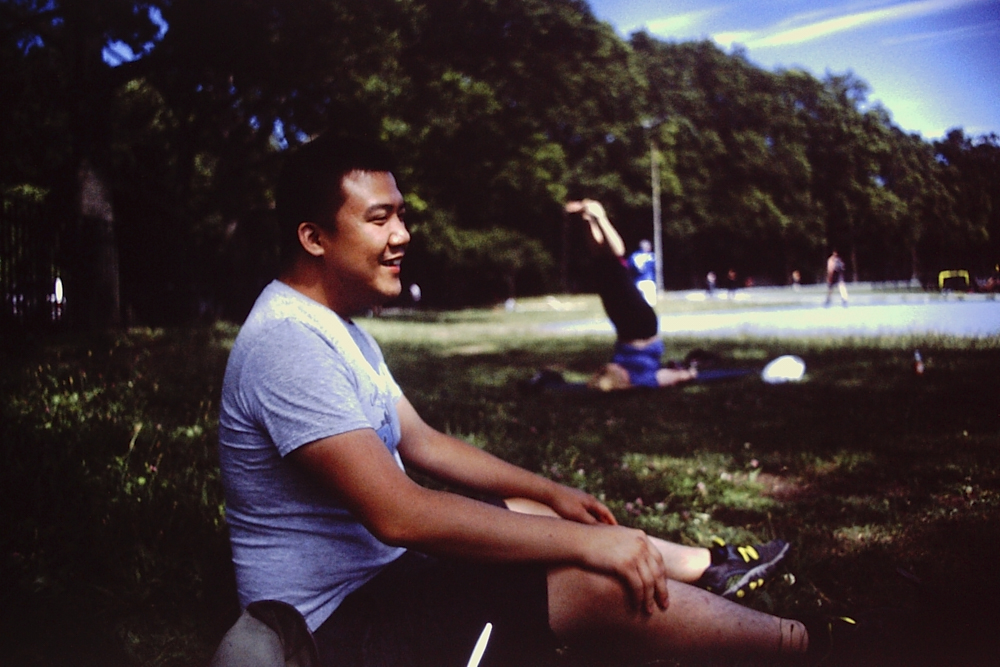
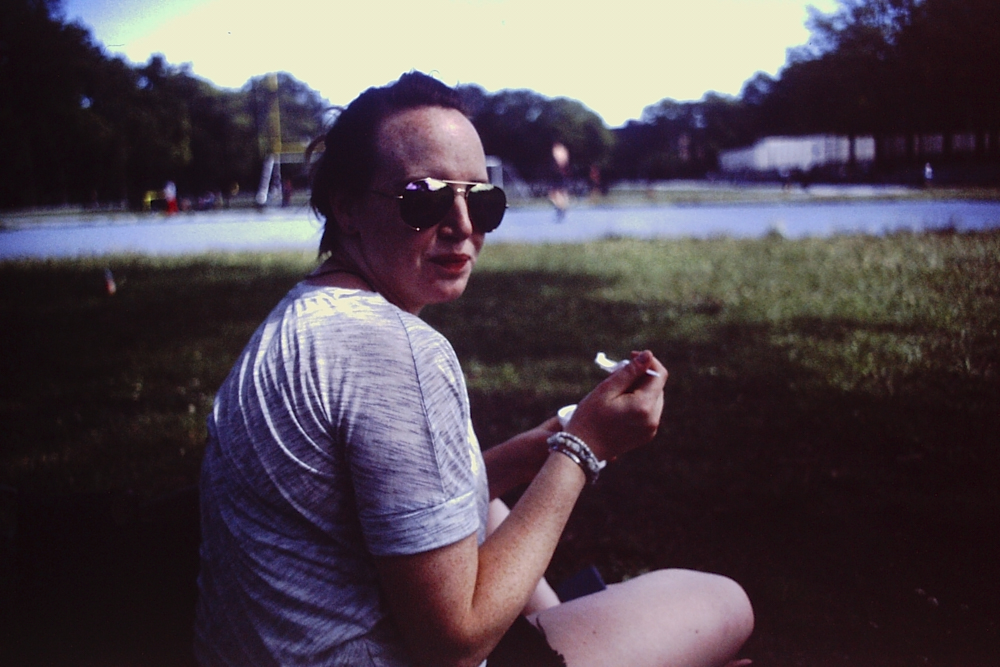
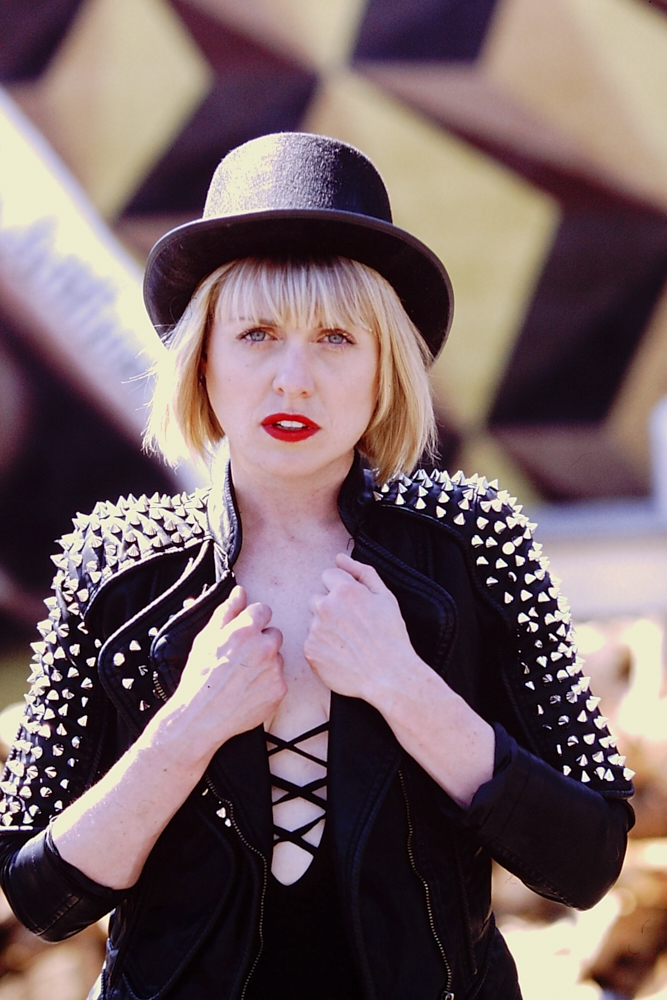
Minolta a7 with Sony 35mm f1.4

Fujifilm Provia 100f surely brings out someone’s undertones. The red in a person’s skin is absolutely going to come out in the same way we should predict the same for using Kodak Ektar 100.


Conclusions
I’m personally a big fan of how Fujifilm Provia 100f renders scenes. I’m not quite sure I’d use it for dedicated portraiture as much, unless I’m shooting medium format, and if anything, I’d use it in combination with negative film. Using it in both formats allows you to have a bit more versatility though–35mm for travel and lightweight stuff and 120 for careful, painstaking work. Fujifilm Provia 100f is very nice, but every photo you shoot needs to be very carefully shot and thought through.
With that said, don’t tackle Fujifilm Provia 100f unless you’re very confident about your skills. But once you are, then go for it! Want some? Check out Amazon for some of the best prices.
Get rid of the ads!
Did you enjoy reading this article as much as we enjoyed writing it? There's a way to support us and our reporting, getting ad-free navigation and more as a bonus. Subscribe to us for less than a coffee per month —just $3.99— or take advantage of our yearly subscription with a hefty discount for only $25.- An ad-free experience
- A free mystery box for Lightroom or Capture One
- All the books in our store
- 20% discount on Capture One
- 30% discount on Imalume Photo Theft Protection
- 20% off Herbs and Kettle Tea Company.