Creating the Photograph is an original series where photographers teach you about how they concepted an image, shot it, and edited it. The series has a heavy emphasis on teaching readers how to light. Want to be featured? Email chrisgampat[at]thephoblographer[dot]com.
I’ve done a number of posts for our Creating the Photograph series partially because they help me to show off a different way or thinking about a problem that needs to be solved on a set. So recently when working with the Fujifilm GFX 50s on a shoot, I tried to find a way to deliver that “club” type of look that’s becoming so popular again in photography. I’ve written about it before, but not a whole lot and not in terms of practical application.
So here’s my story.
The Concept
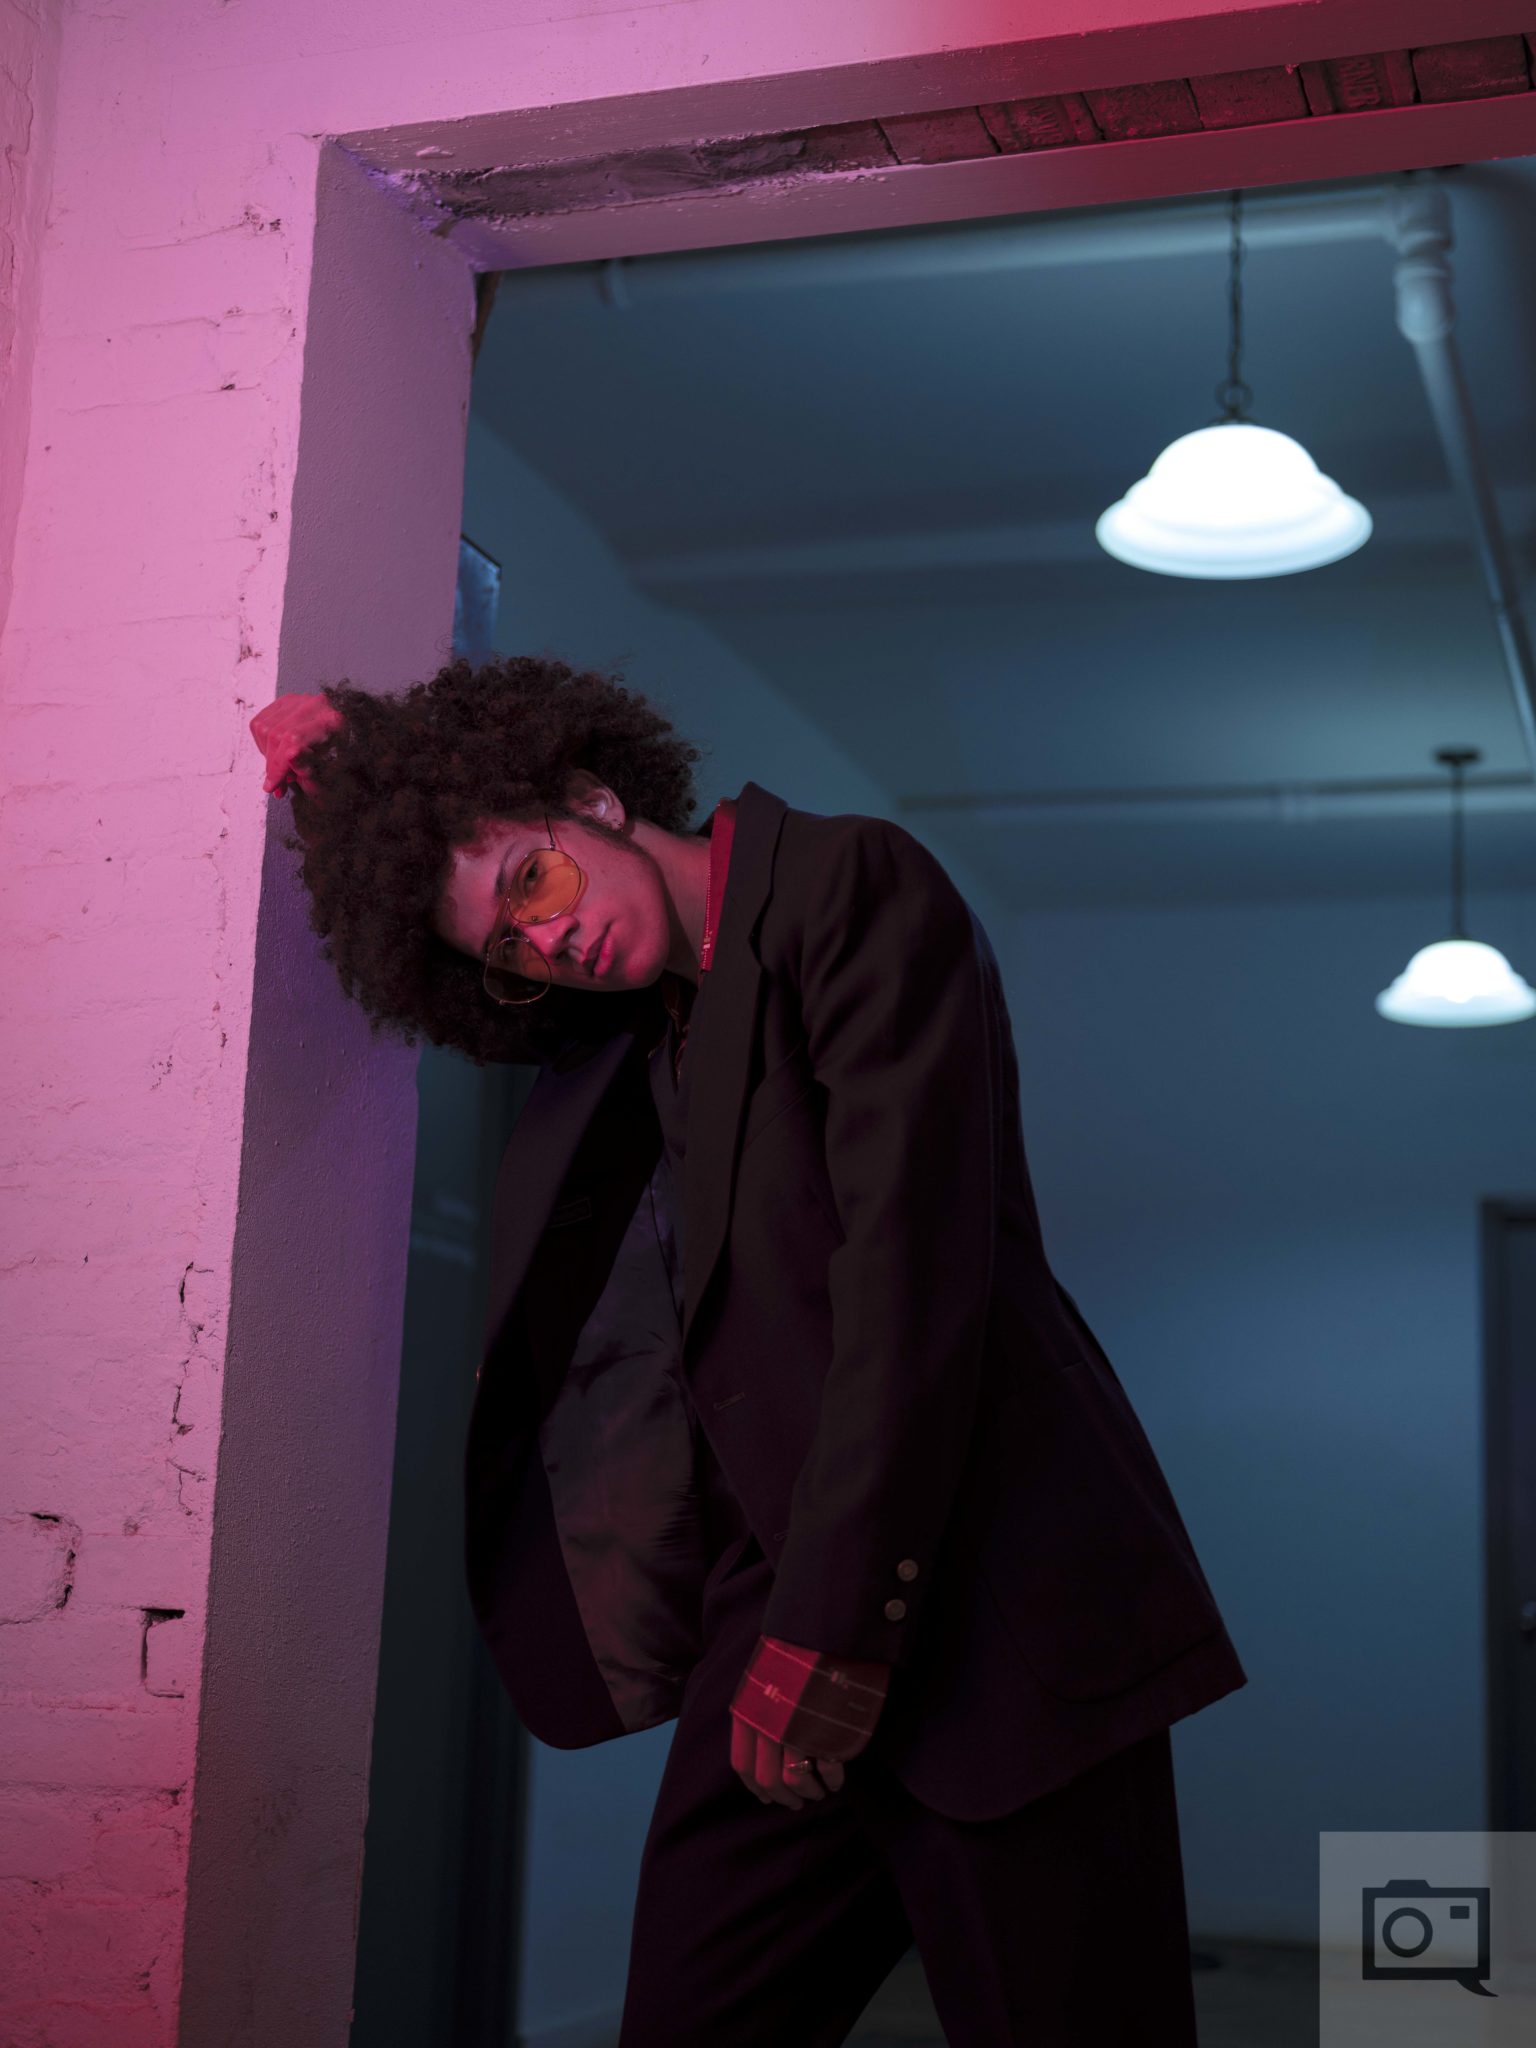
Every now and again, I get invited to try out new products. So when Lomography and Pursuit of Portraits teamed up to do something, I decided to shoot both Instax film and Digital. One of the models was Ramon Nunez, and not only did I love his outfit but he was also just a genuinely nice guy to work with. Ramon had this outfit that harkened back to the 70’s in so many ways. There was a lot of natural light around to work with in the Gowanus studio we were at. But there just wasn’t that special something to match with his outfit.
Gowanus, for the uninitiated, is one of the many gentrifying neighborhoods in Brooklyn. It has its own art scene and for a while was one of the major DIY art neighborhoods due to it being so close to one of NY’s most polluted waterways. But now, it’s cool–and there are high rises going up like nobody’s business.
Gentrification doesn’t exactly make for a great background to what Ramon’s outfit elicited. And so with that said, I needed to make my own light.
The Gear
- Fujifilm GFX 50s
- Fujifilm 63mm f2.8
- Frank Dautant as the Human Light Stand
- Adorama Flashpoint Zoom Lion Flash
- ExpoImaging Rogue Gels and Holder
The Shoot
So while looking around the lofthouse, I tried to find something that I could use to create a really cool, fun look with Ramon’s outfit. But there wasn’t really a whole lot that could do that. My mind has been trained as of recent to work in a film shooter’s mentality–purposefully as legal blindness makes me want to get something as perfect in camera as possible and not spending more time at a computer than I absolutely need to.
When I was walking around though, I realized that I had been thinking and shooting in Daylight balanced film. So when it came to working in Tungsten, which is what I should’ve been doing to start, things would be much different.
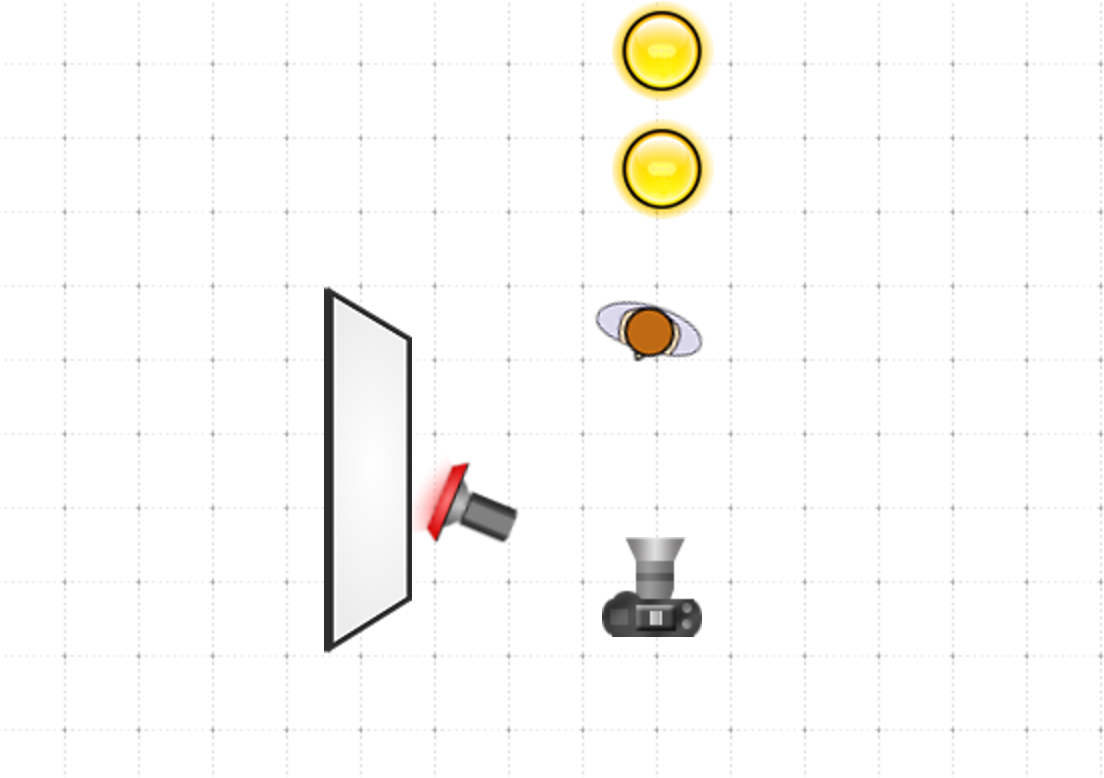
Thanks to Lighting Diagram creator.
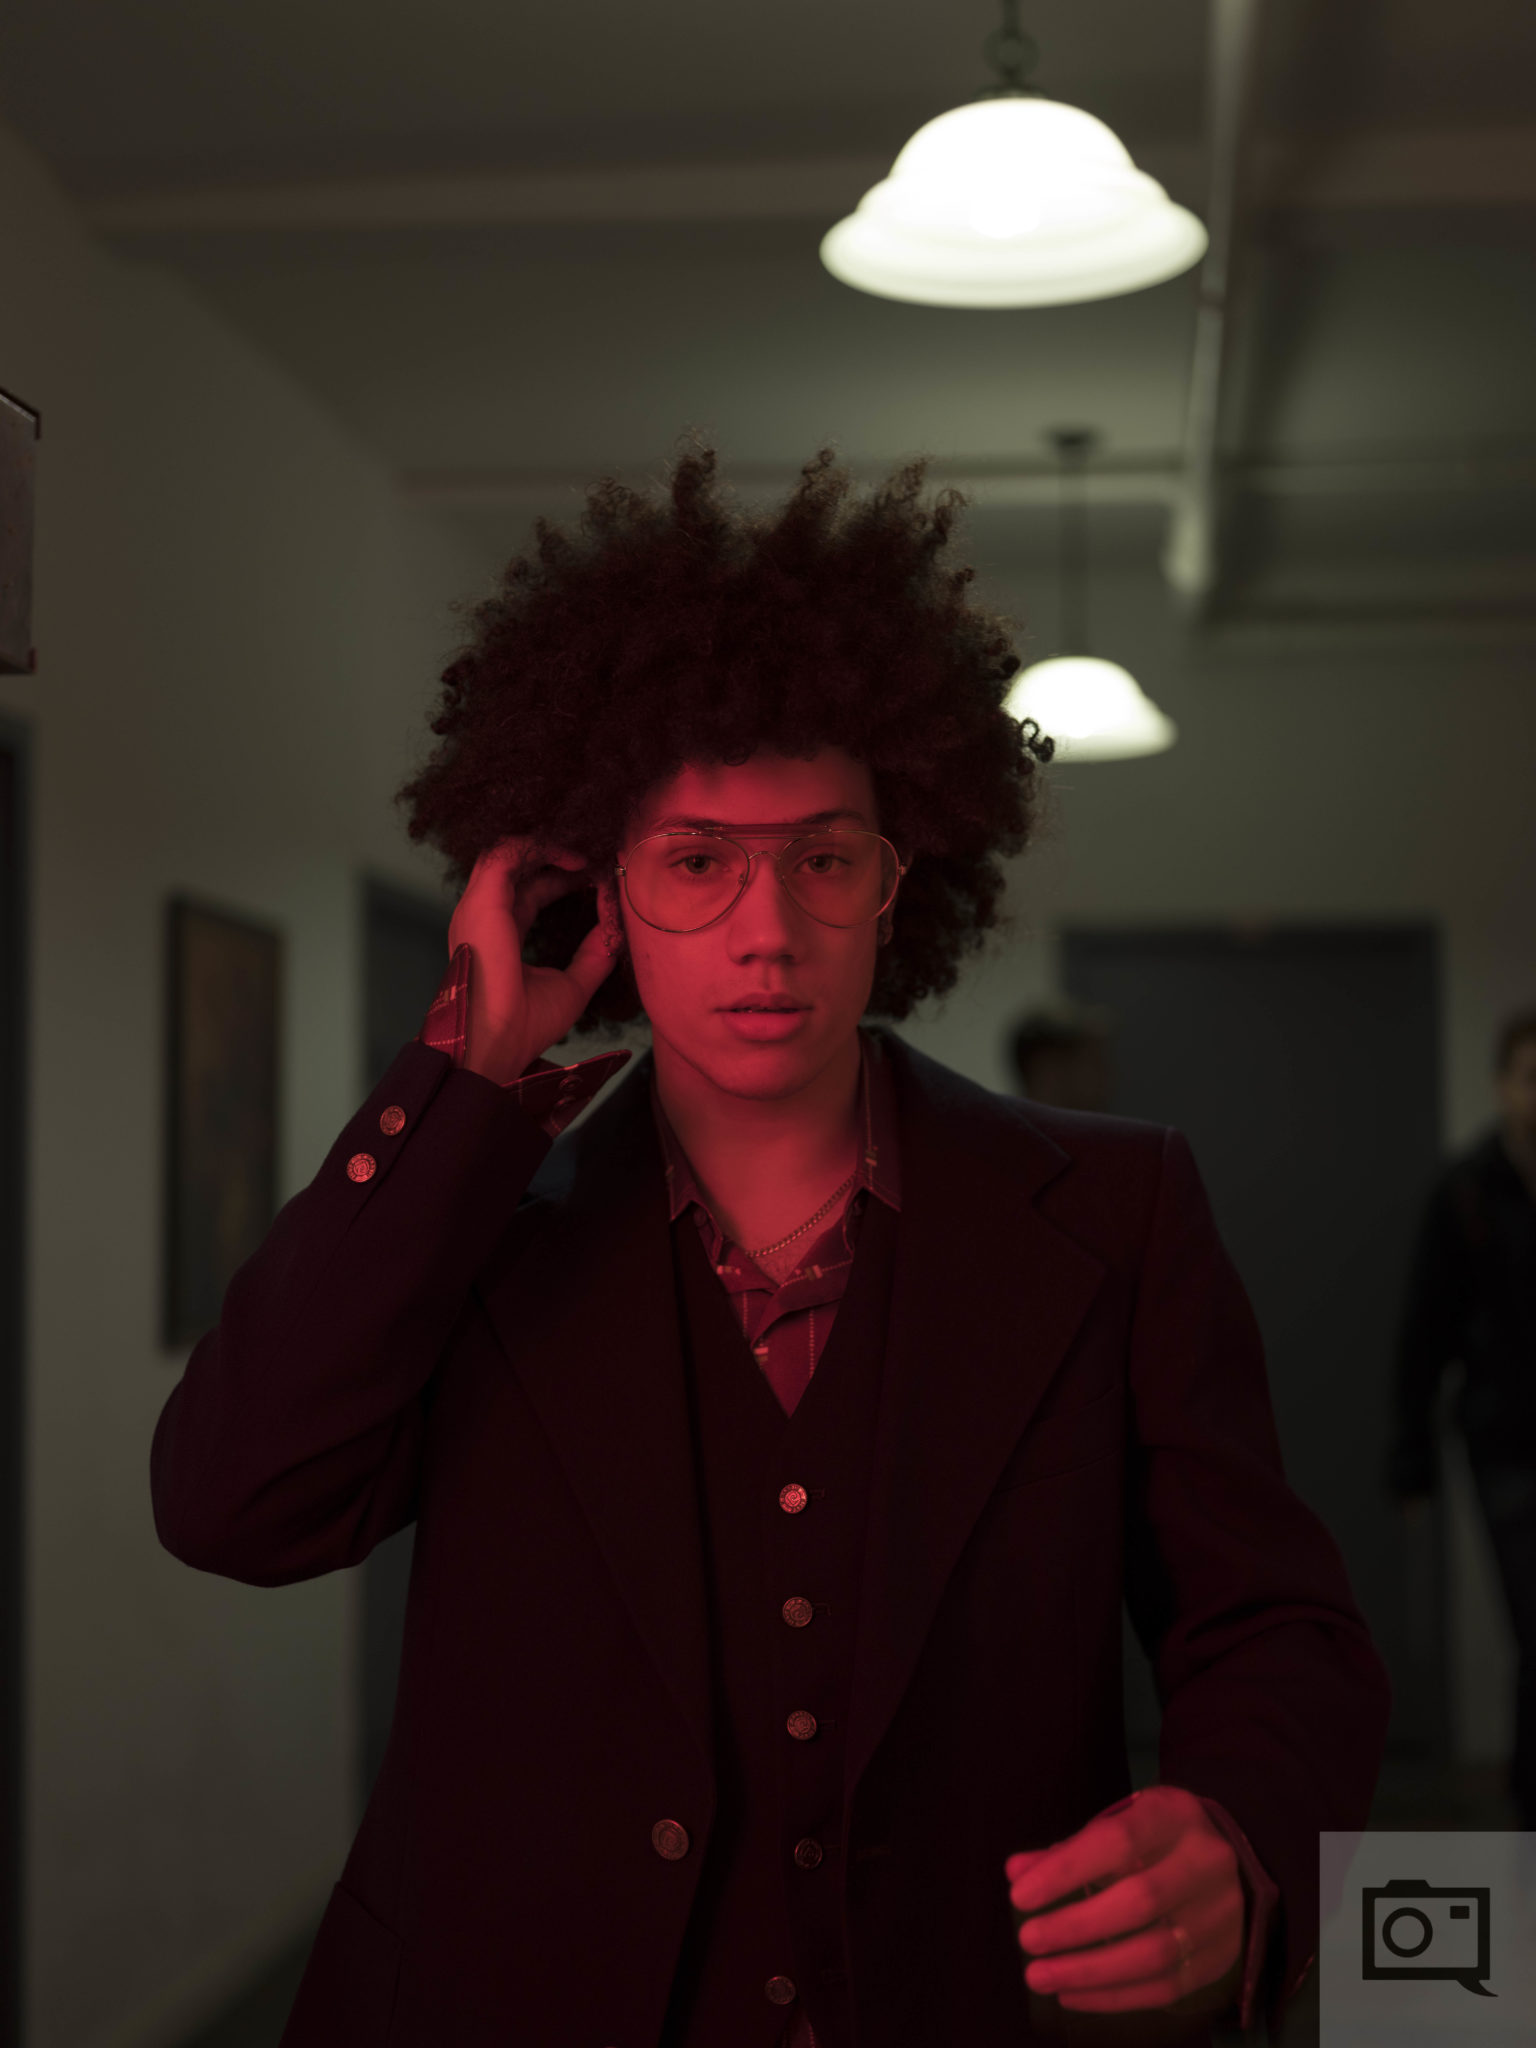
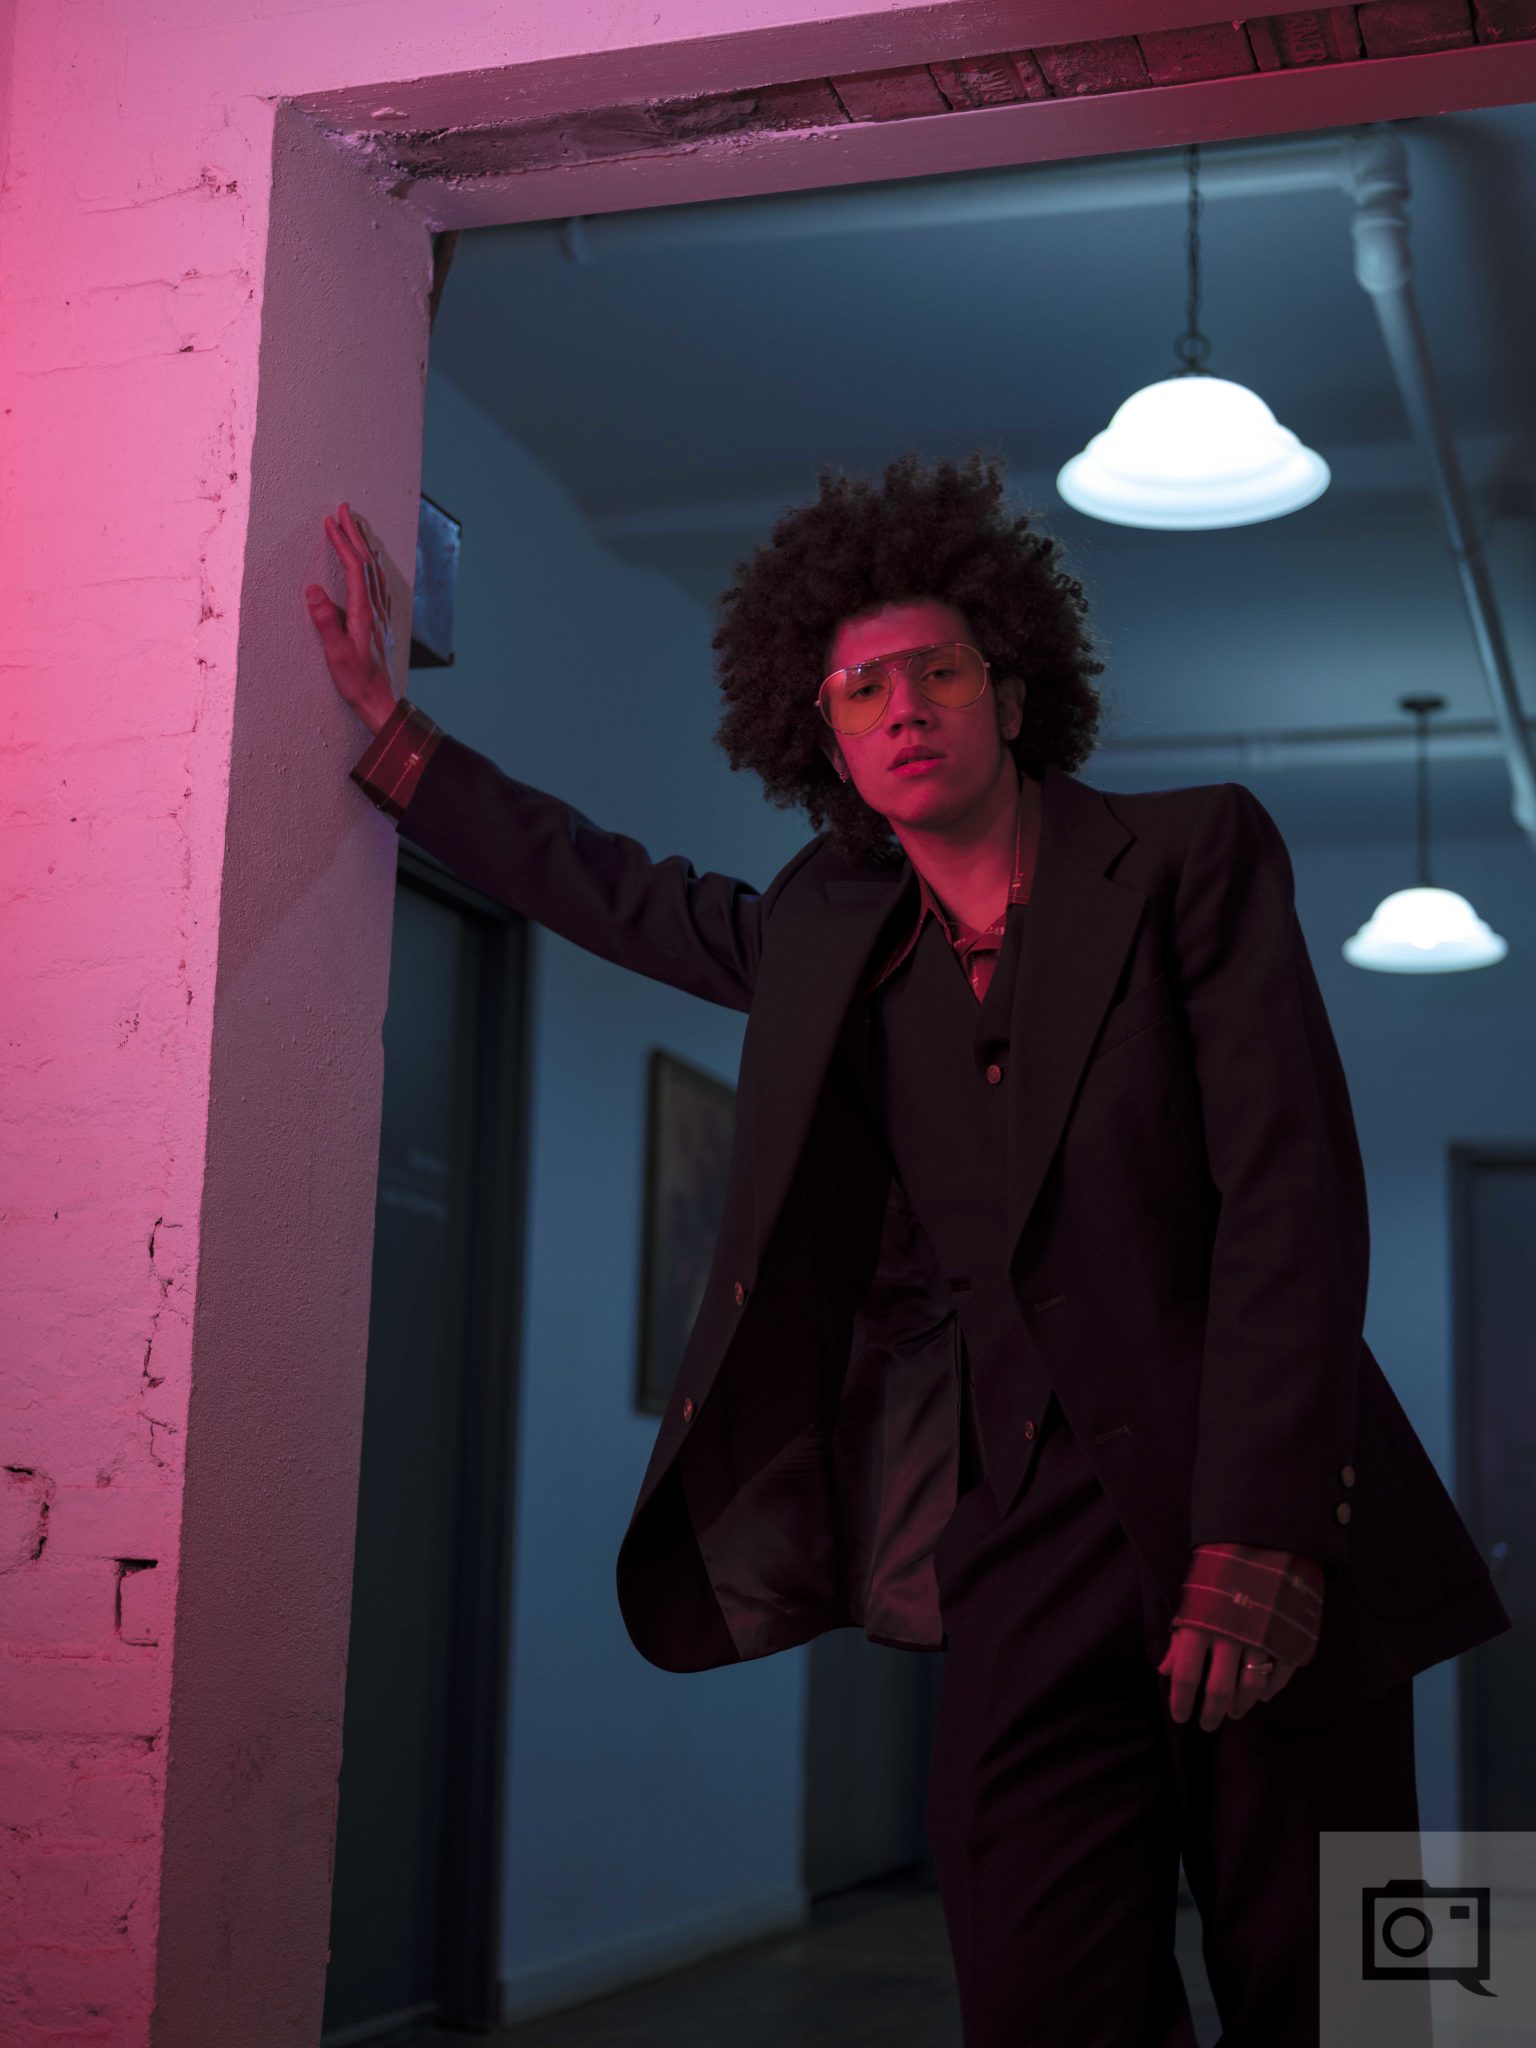
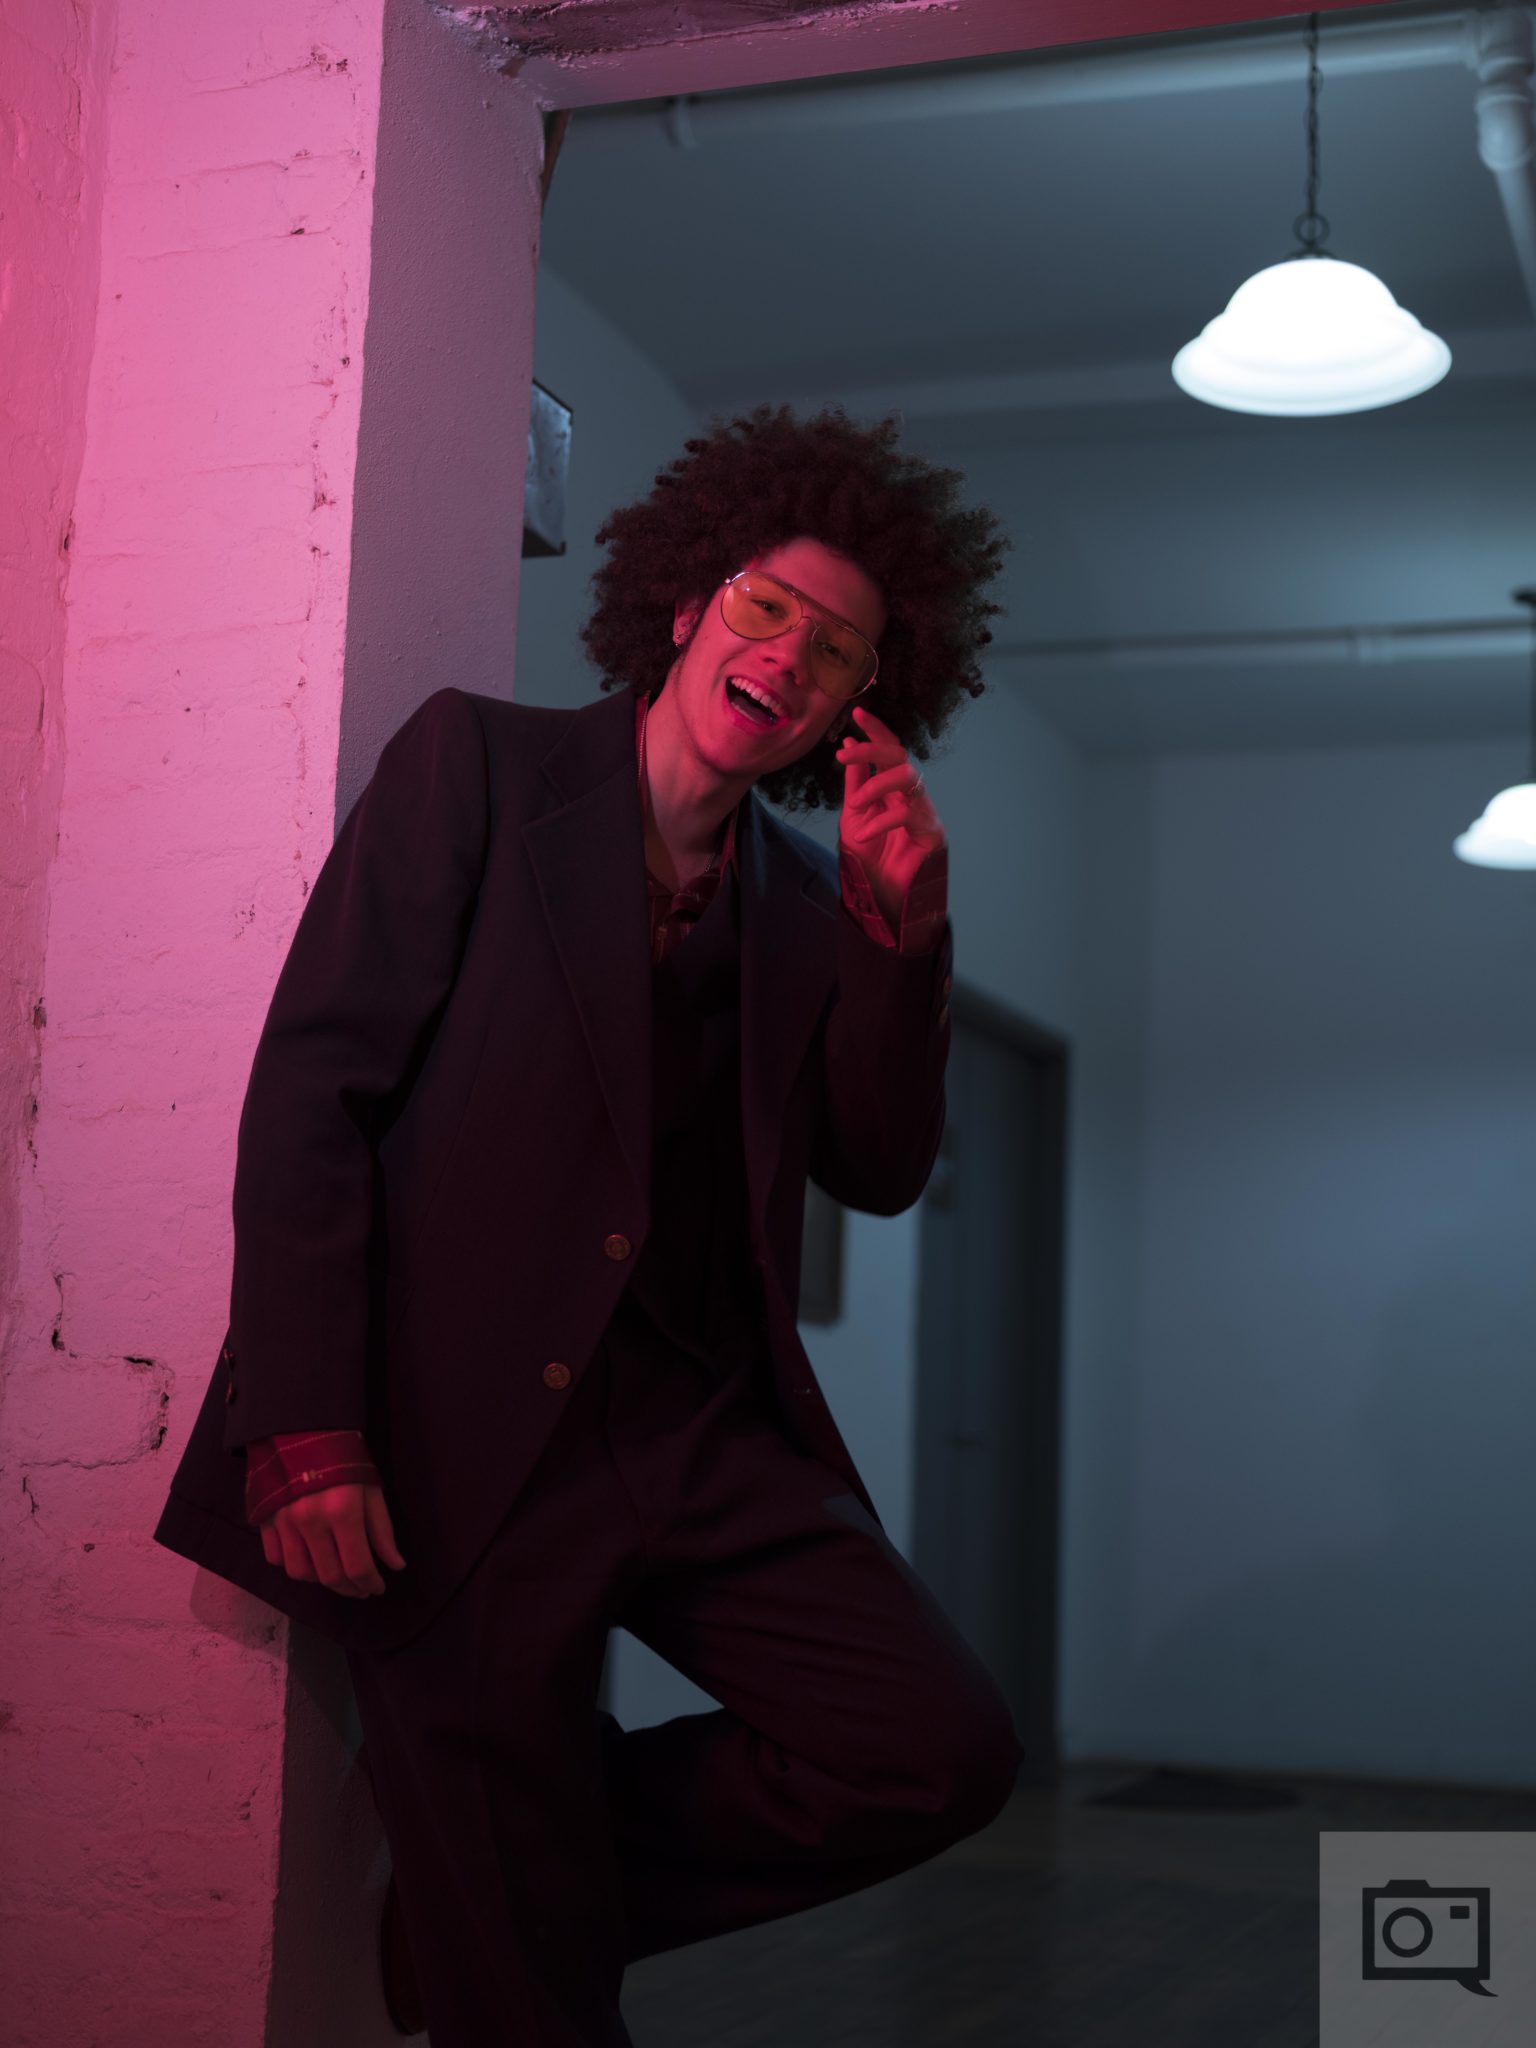
I asked Ramon to come out into the hallway with me and we didn’t have a light stand. But Frank over at Lomography graciously volunteered to be my stand. I gelled my flash with the reddest gel I had, cranked the power up because Gels tend to really nerf flash output, and went to work. The lead photo for this section was shot in Daylight white balance. The photos below are shot in Tungsten white balance. That’s where things really started to take off.

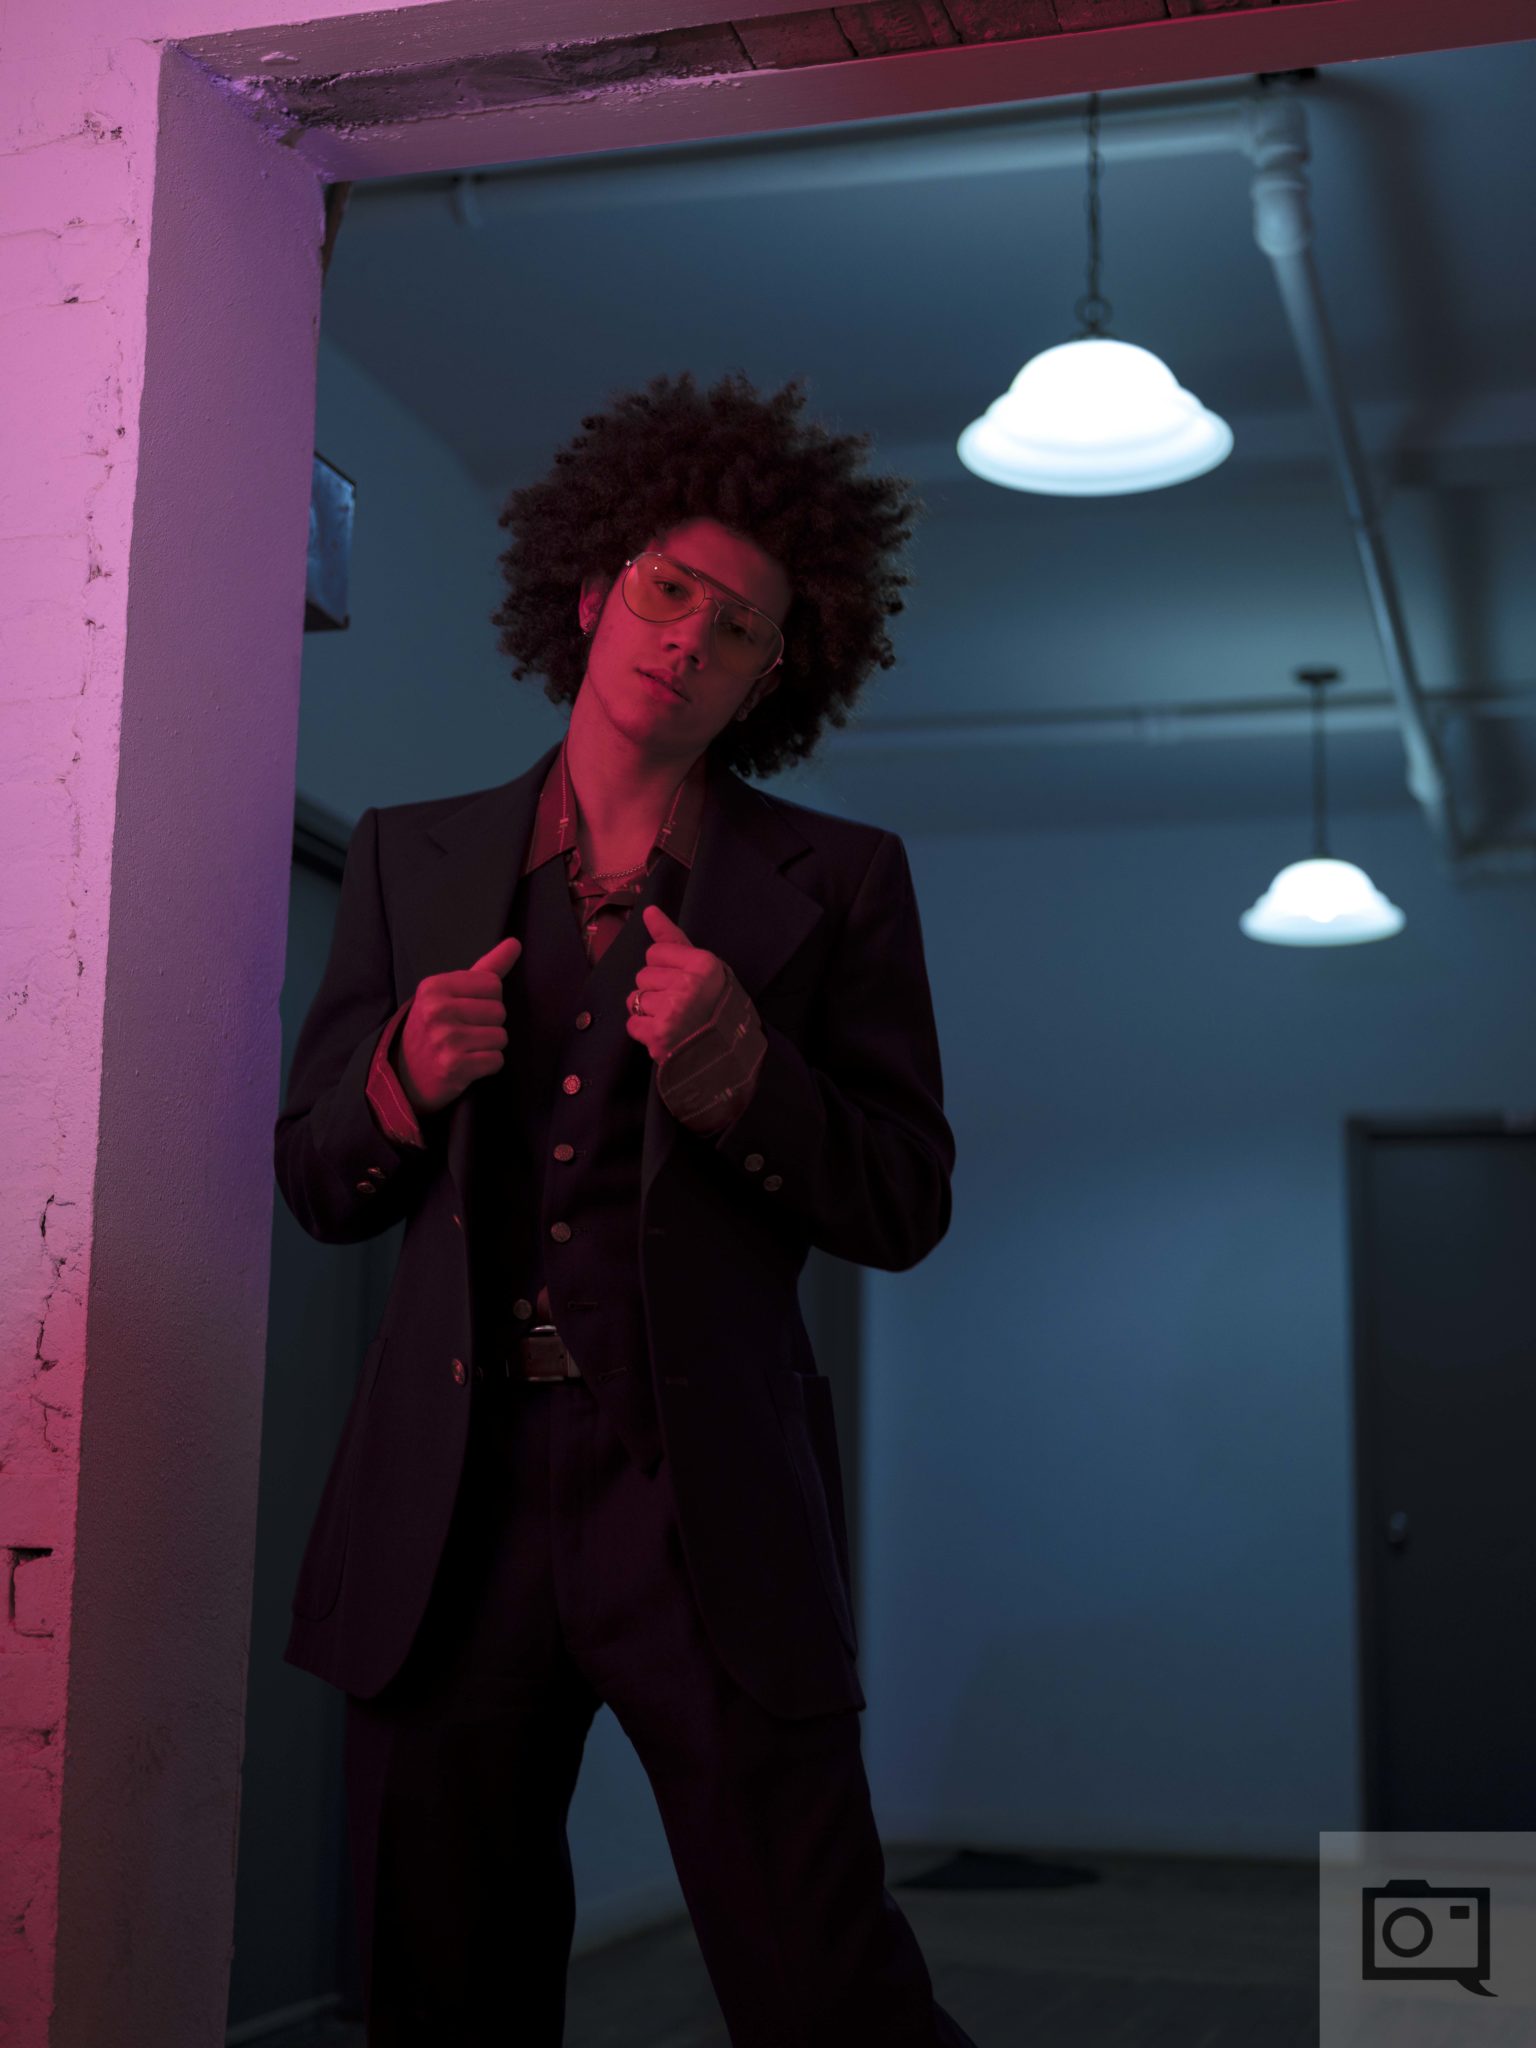
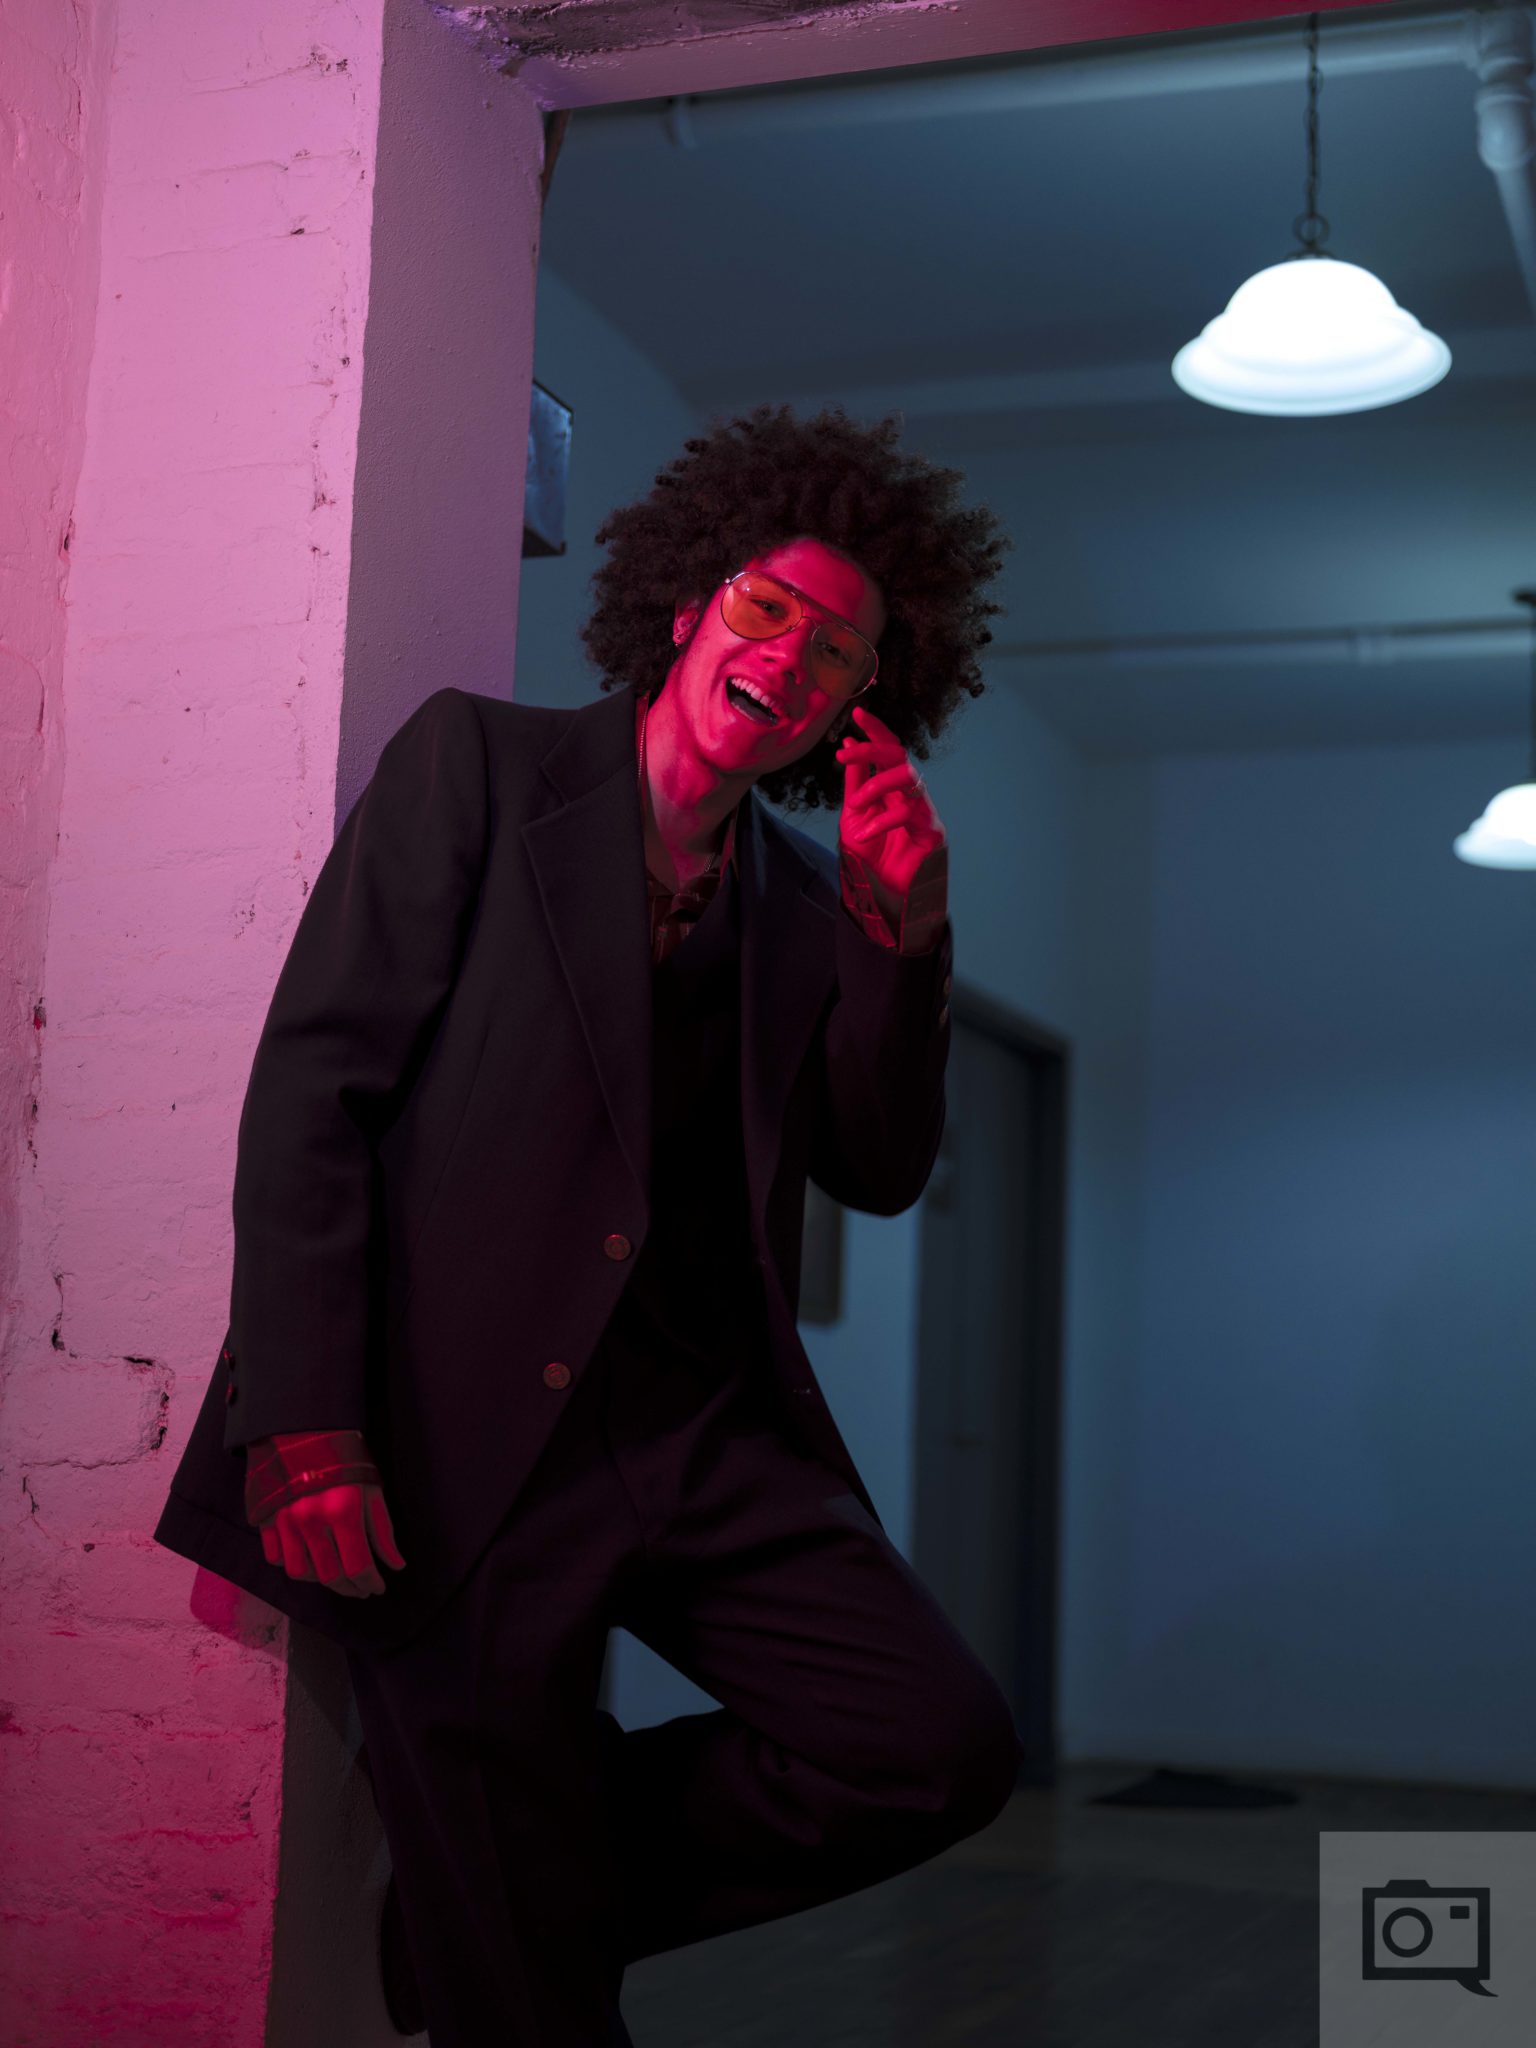
Here’s the same lighting situation with Tungsten white balance. A big difference, right? We got a slightly lightened output because the flash was being bounced off of a white wall. The daylight balanced lights behind Ramon created the blue light that you see in the background while my flash overpowered the ambient lighting.

Post-Production
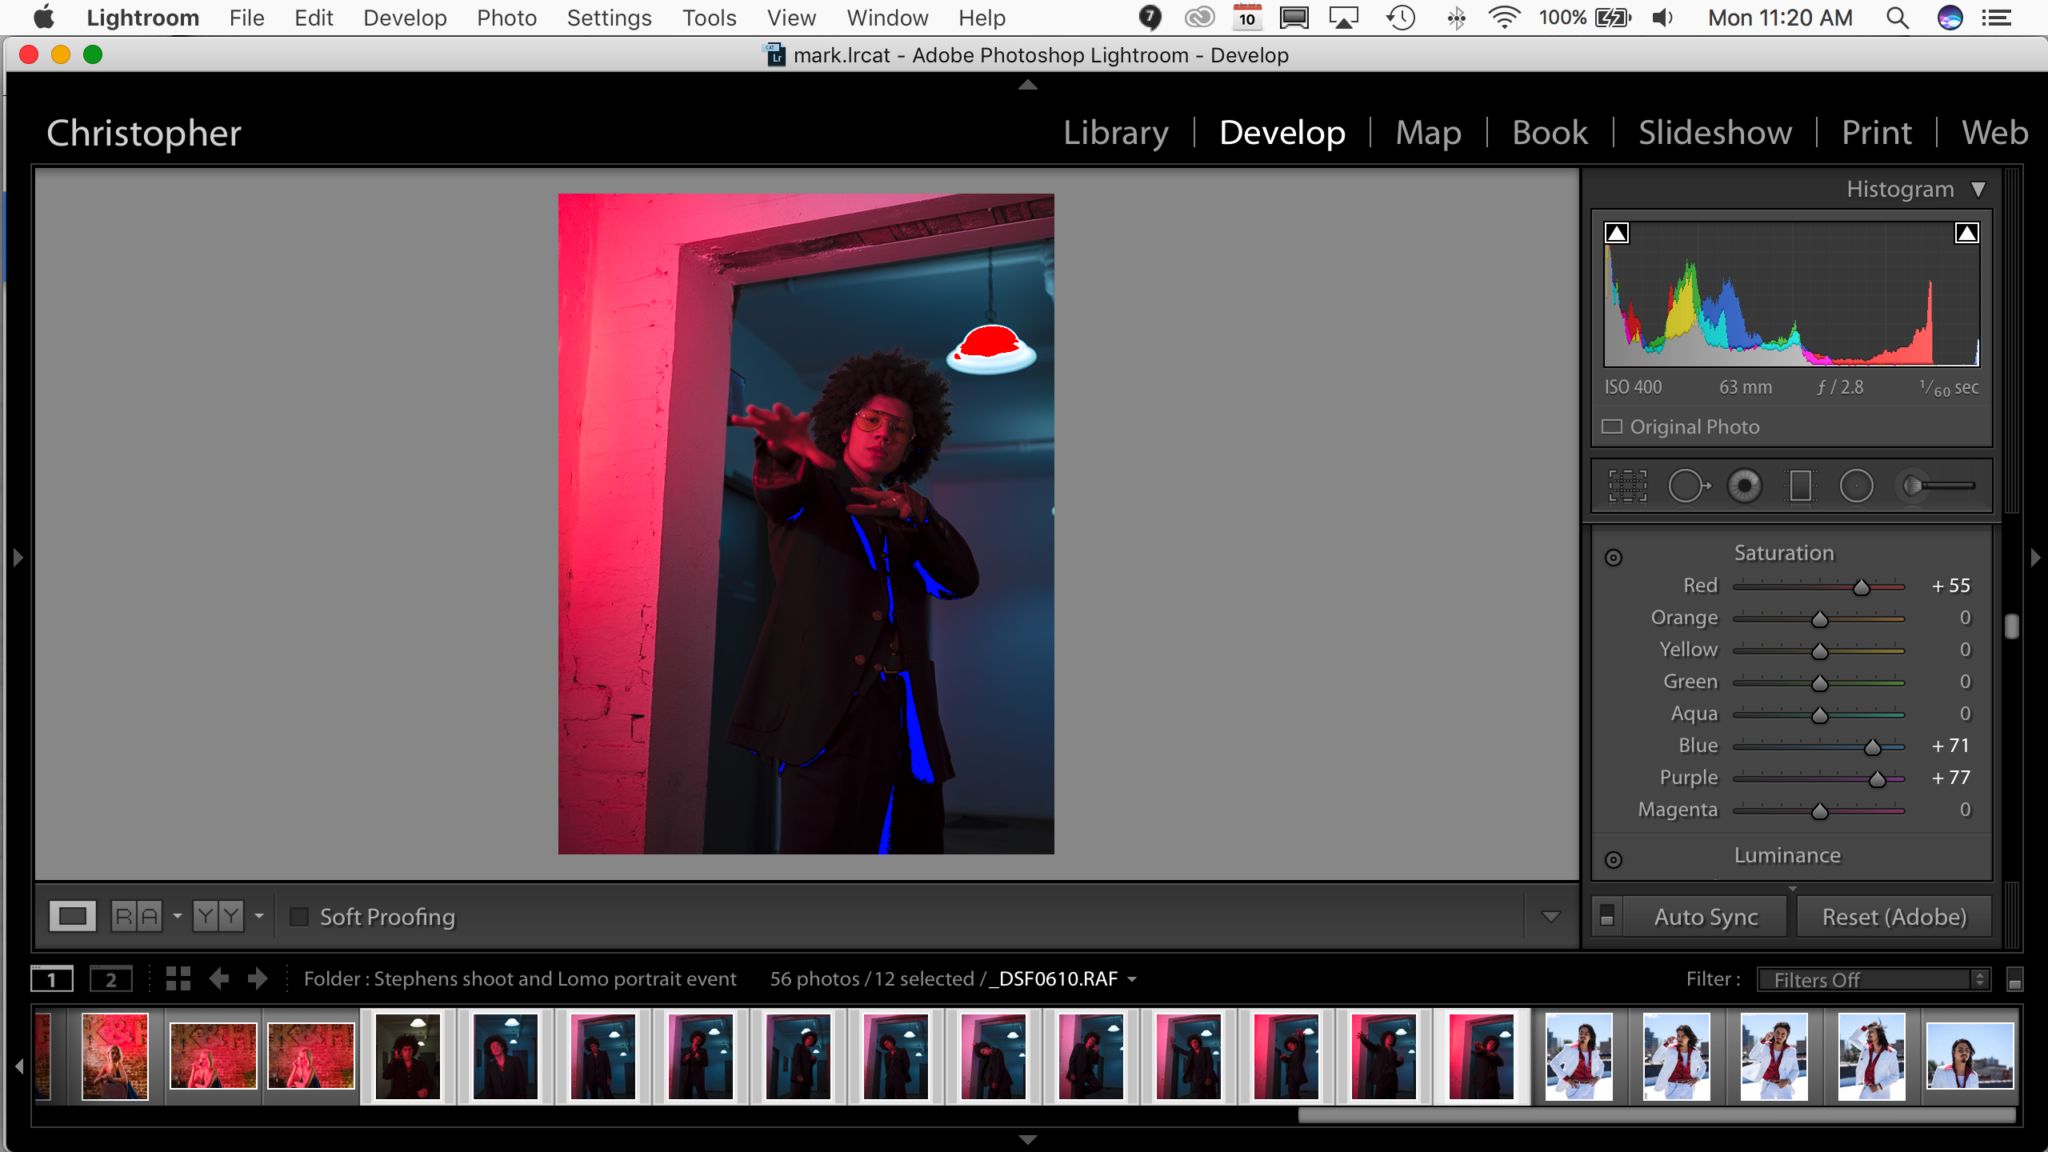
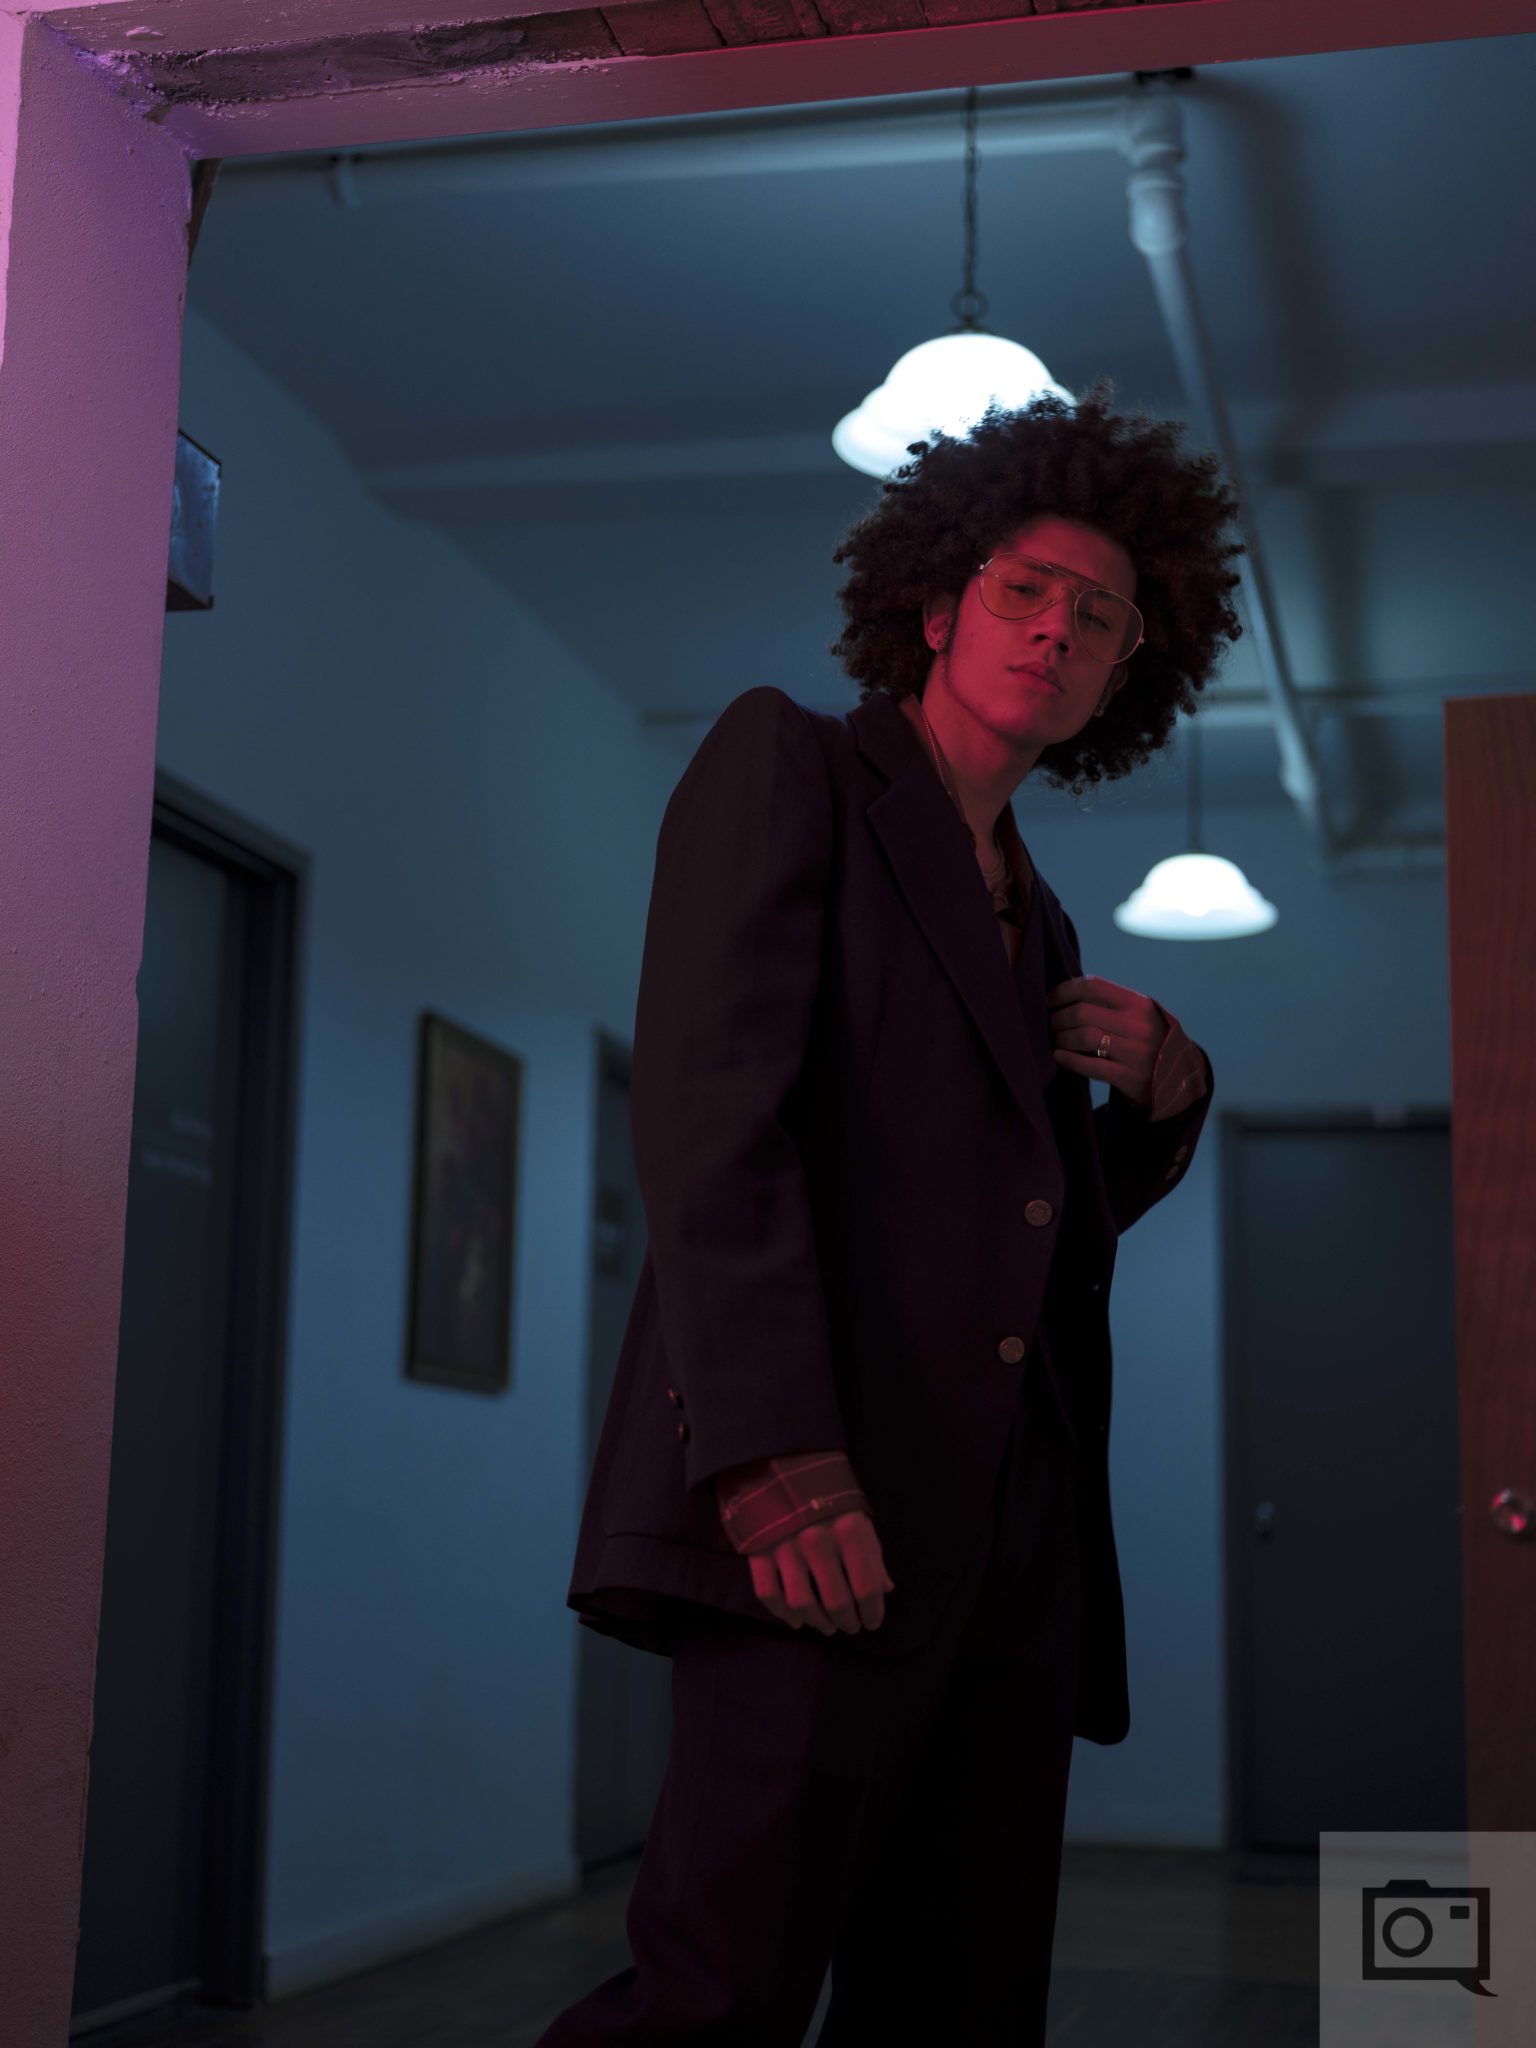
As I’ve stated before, I really tried to get everything perfect in-camera the best I could. So essentially I set the Fujifilm Camera profile up in Lightroom (uggghhhhh, I typically work in Capture One Pro instead) and then did some fairly minor tweaks. Many of those tweaks came with color channel editing and only a few basic adjustments. As you’ll see in the before and after though, this image was pretty much ready and baked from the start.
Before/After
PS: we’ve got an incredible package for you where you can experiment with and edit some of our photos that we’ve shot in similar situations. Check it out!
Get rid of the ads!
Did you enjoy reading this article as much as we enjoyed writing it? There's a way to support us and our reporting, getting ad-free navigation and more as a bonus. Subscribe to us for less than a coffee per month —just $3.99— or take advantage of our yearly subscription with a hefty discount for only $25.- An ad-free experience
- A free mystery box for Lightroom or Capture One
- All the books in our store
- 20% discount on Capture One
- 30% discount on Imalume Photo Theft Protection
- 20% off Herbs and Kettle Tea Company.
- 20% off your order from MPIX printing services.
- 5% off Viltrox Products via their eCommerce store.
- 10% off all film developing, printing and scanning services from Blue Moon Camera and Machine
- 15% off 7Artisans products: The lens and accessory maker is offering a sweet discount for Phoblographer's readers.