
Last Updated on 03/21/2017 by Chris Gampat
Spring is here; it’s a time for golden hour portraits and photographers to get excited about chasing the light in the creation of the killer photo. Many photographers love shooting during the Golden Hour especially due to its ability to deliver soft, golden light and to make a person’s skin tones look fantastic. When it comes to photographing people in traditional portrait settings, there’s something much more appealing about warmer lighting situations than cooler lighting. While cooler lighting surely has its place, warmer lighting is often more flattering.
So if you want to go out there and create better golden hour photos, here’s how to do it while also spending less time in Lightroom or Capture One.
Using a Lens Hood: Yes or No?
I know, you’re probably looking at this tip and saying, “Really?” When it comes to Golden Hour Portraiture though, your lens hood can mean a whole lot. You see, modern lenses arguably don’t need a lens hood when it comes to image creation. The coatings on the lens elements are enough to negate most effects from UV light and flare. But that’s if you want it negated.
Something else you can also do: try to angle your lens directly into the sun; but don’t do it for long though.
Variable NDs

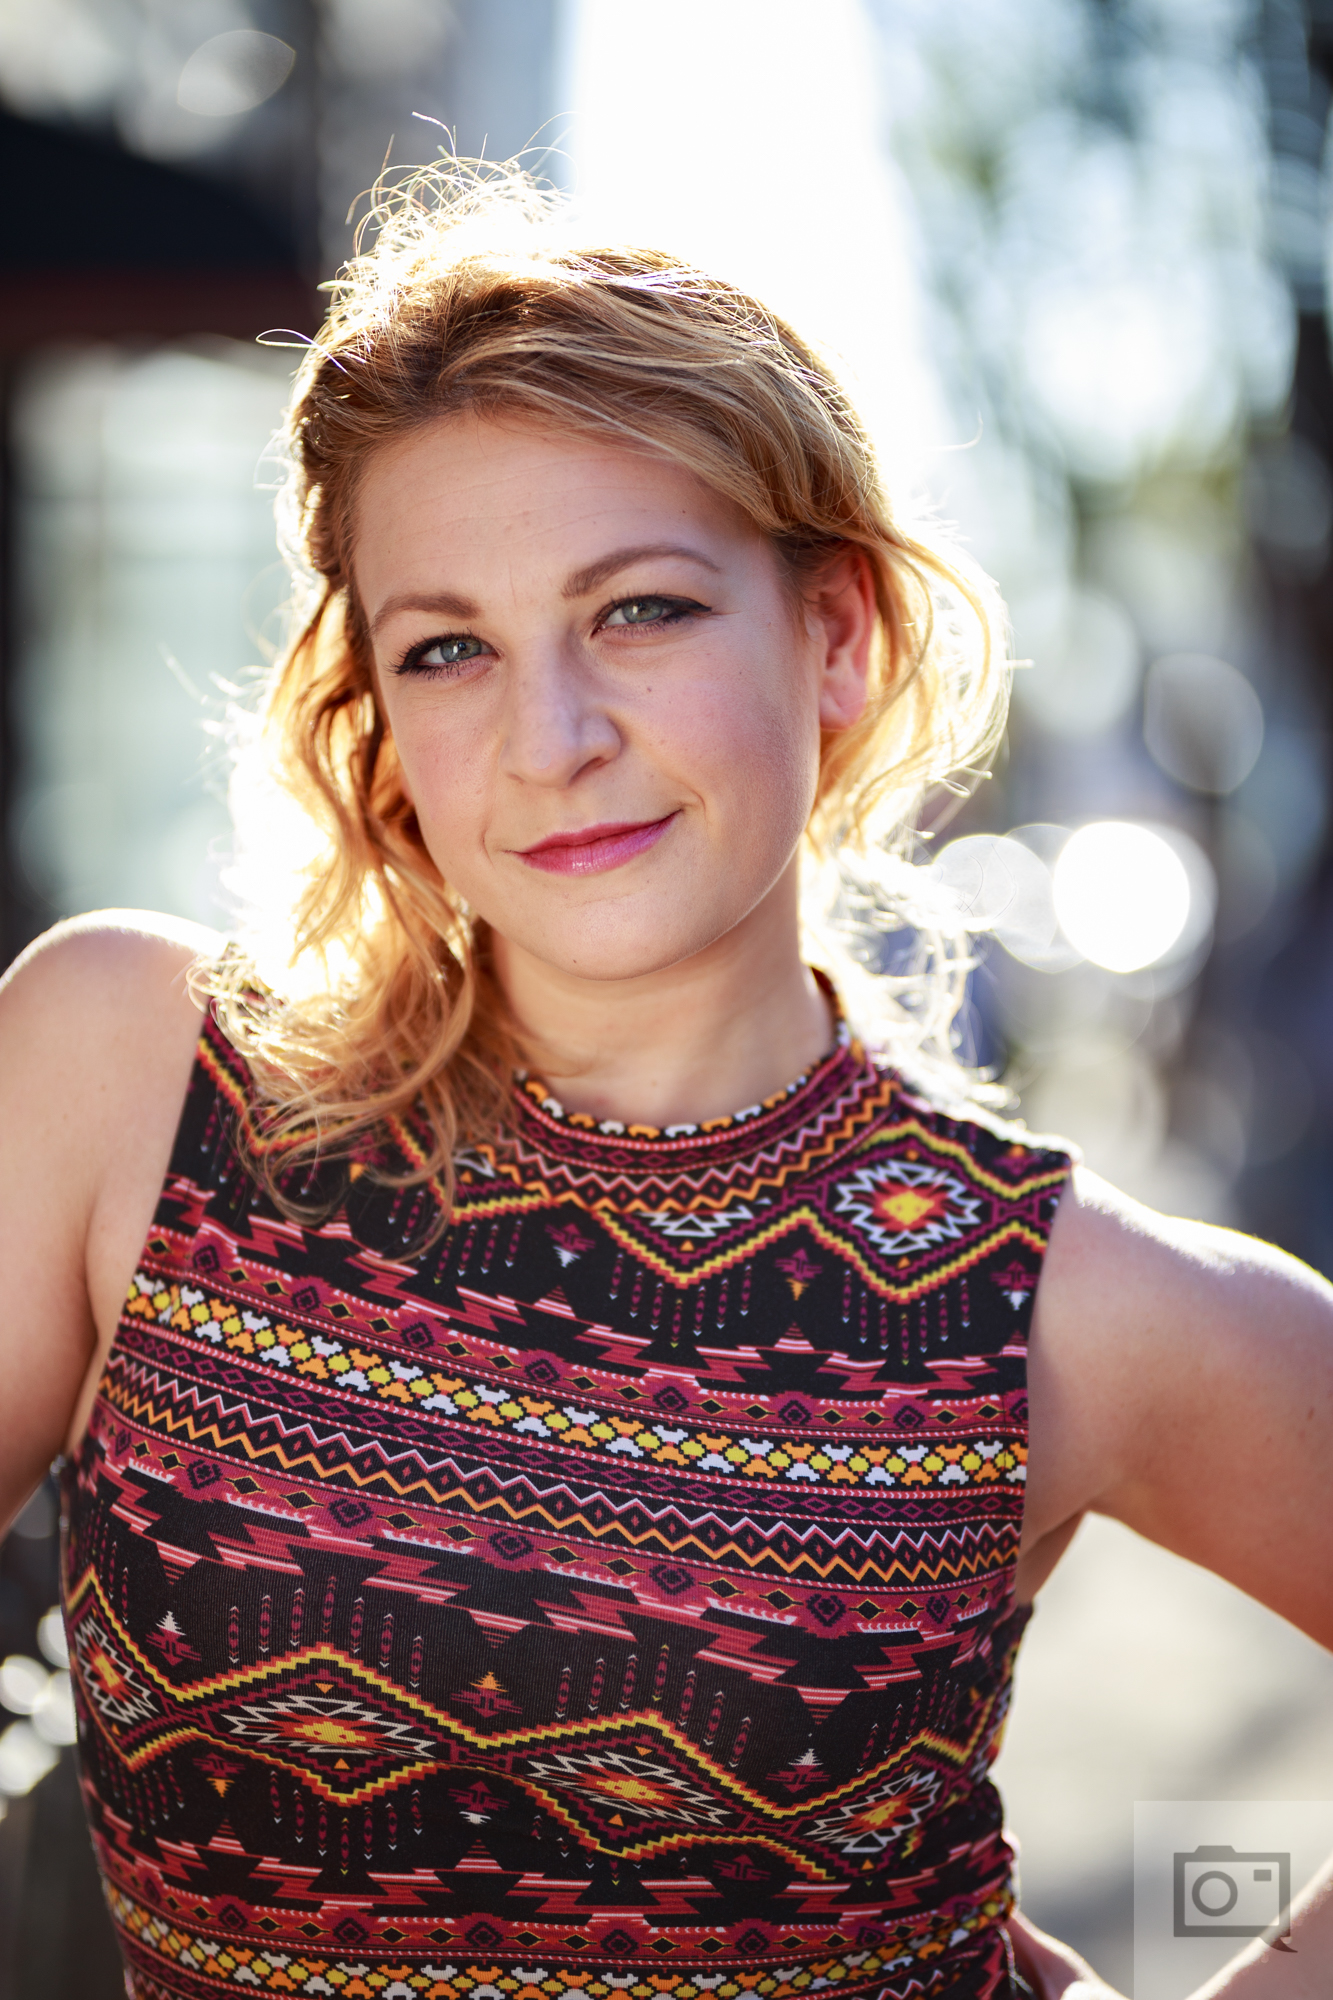
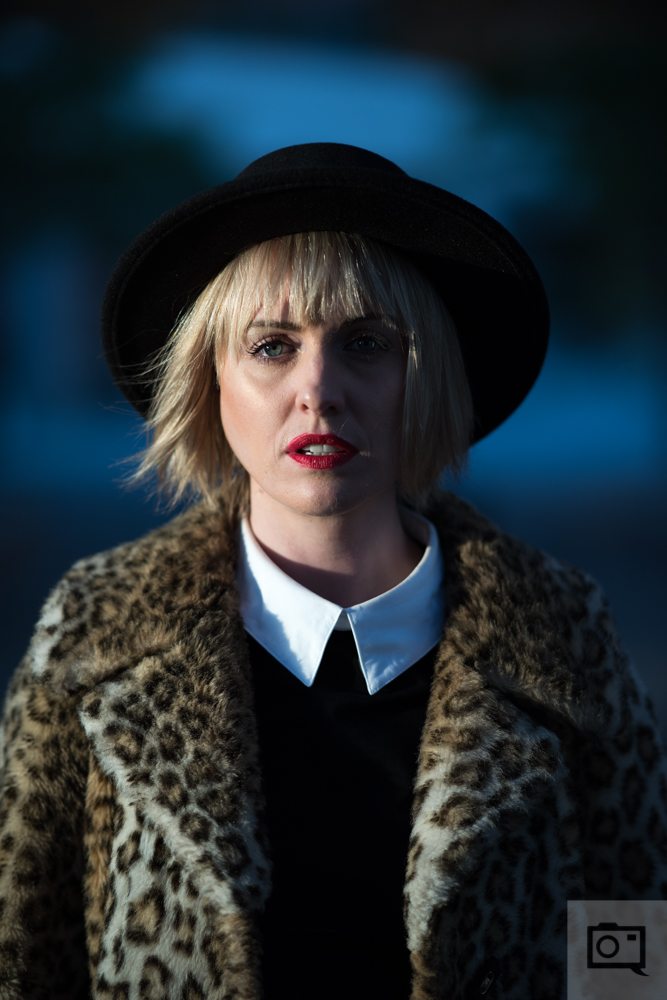
Sometimes it can be a fantastic idea to use some sort of lens filter when shooting golden hour portraits. The reason for this is because certain filters like a variable ND filter or a polarizing filter can help with a variety of things. For example, this image above was shot with an STF lens–a smooth trans focus lens with what’s more or less an ND filter inside of it that makes the bokeh pop a bit more.
In certain situations if you’re trying to shoot with your lens wide open and at a lower ISO setting, your shutter speed still might not be able to kill all the ambient light in the scene. So Variable ND filters come into play. These filters let you cut down on excess light. Think of them as another exposure parameter.
Pay Attention to Colors: Keep it to Three Primaries
One of the most basic tips that I tell everyone who wants to shoot golden hour portraits is to watch your colors during the golden hour. To begin with, portraits should really be limited to three major colors as a very general rule. Those colors are:
- Skin tone
- Wardrobe color (simple colors are sometimes best)
- Background color (try to keep it as much into one tonality as possible.)
The reason why this makes shooting golden hour portraits easier is because the light changes and so sometimes what’s warm one second may be really cool another second. That brings us to our next big tip.
Where Exactly Are You Shooting?
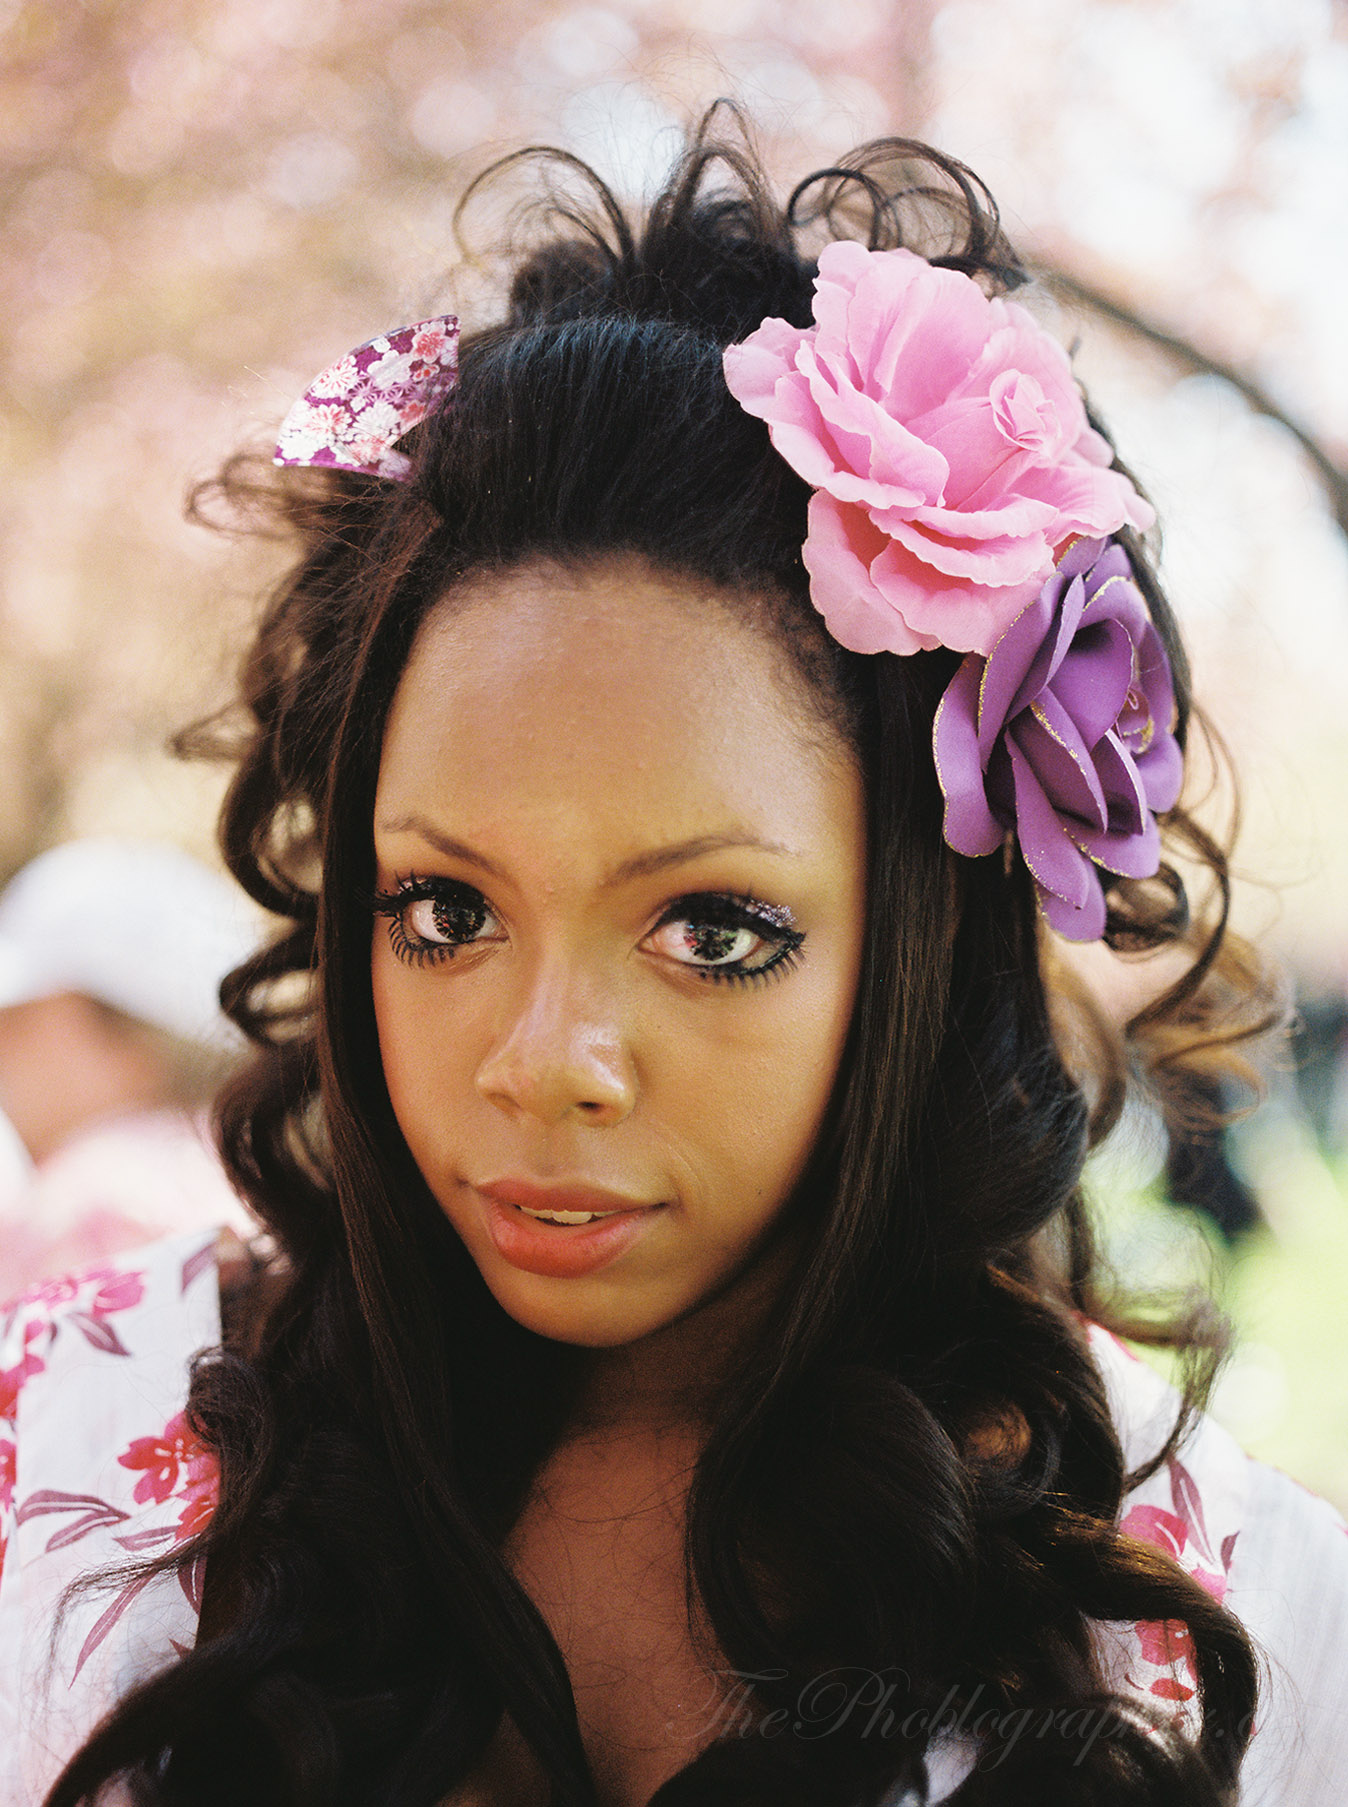
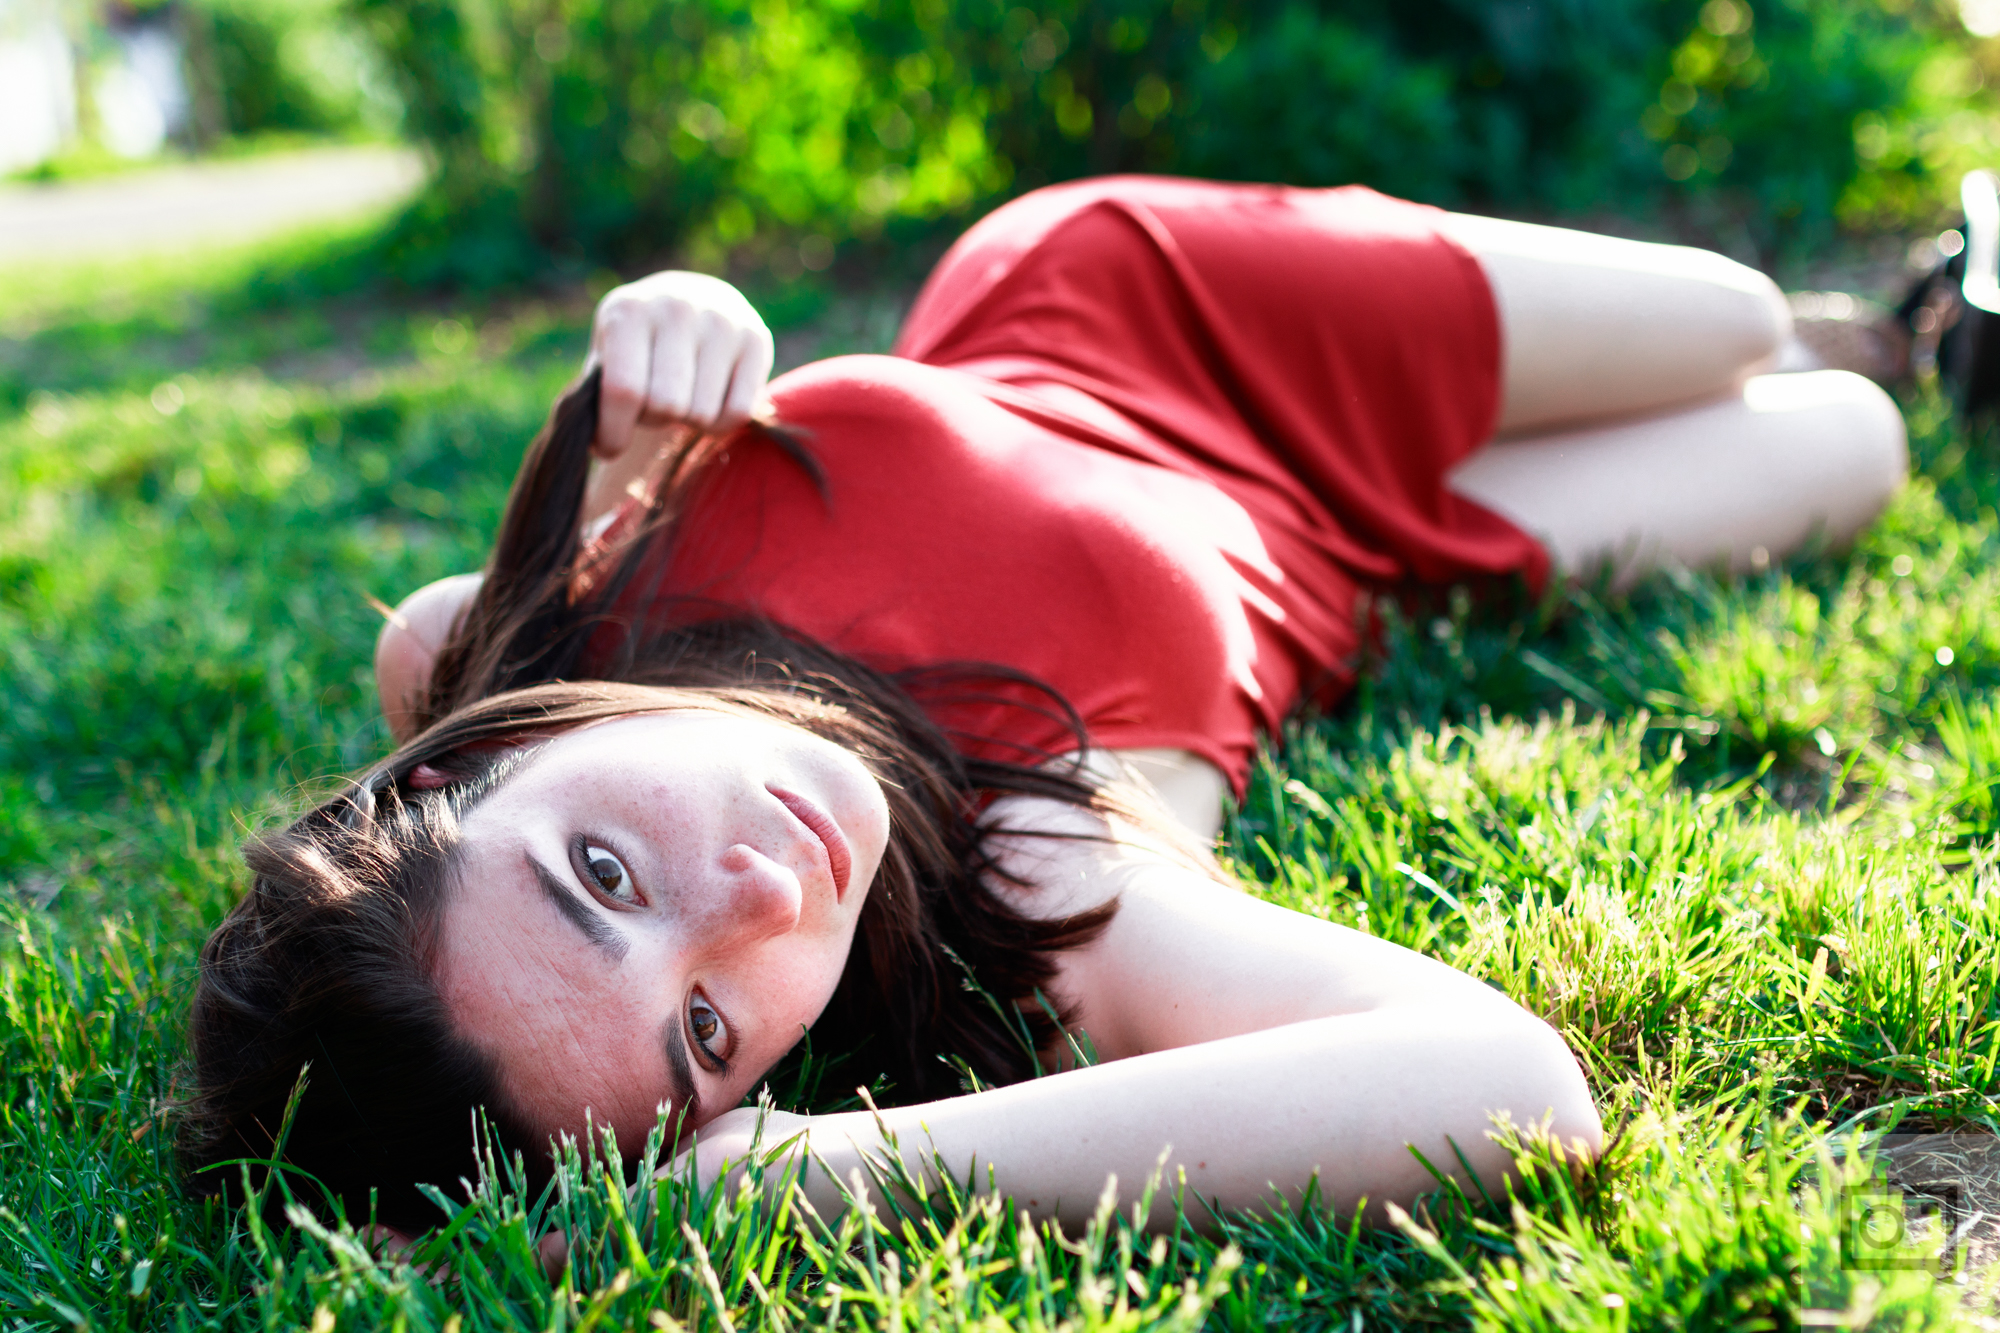
ALWAYS ALWAYS ALWAYS be aware of where you’re shooting and what you’re shooting. During the Golden Hour, some photographers may be more obliged to shoot in the shadows of a tree, building etc. But those shadows cast a certain color–they’re often much cooler in color tones. See how the tones on Bec (above) are warmer and the tones in the background are very cool overall?

That’s much different than shooting out in the actual sunlight where the warmer tones are more dominant in the scene overall. Let there be enough color contrast in your scene to help your subject stand out from the rest of the photo. Consider this in conjunction with various compositional techniques based on the lens type that you’re using.
Daylight or Shade White Balance
Lots and lots of photographers opt for auto white balance settings and then go about tweaking the images in post-production. Personally, I’ve never been too attached to the auto setting but I’m also very opposed to always manually white balancing for each scene because the camera will balance for what it thinks I want and not what I actually want.
So instead, I typically go about my day working in two white balance modes: daylight and tungsten. But during Golden Hour, I’ll stick with daylight or shade. Daylight and Tungsten are the traditional film white balances and shade is a very digital photo creation.

Daylight, as you may guess, is designed to be used in actual daylight. By nature, it’s a very cool white balance. Shade is a bit warmer overall and can bring that warmth back to the skin tones if you’re shooting in a more shadowy area.
In an effort to stay away from major amounts of post production, or more than is really necessary, I lock my white balance into one of these settings when doing golden hour portraits. Try it!
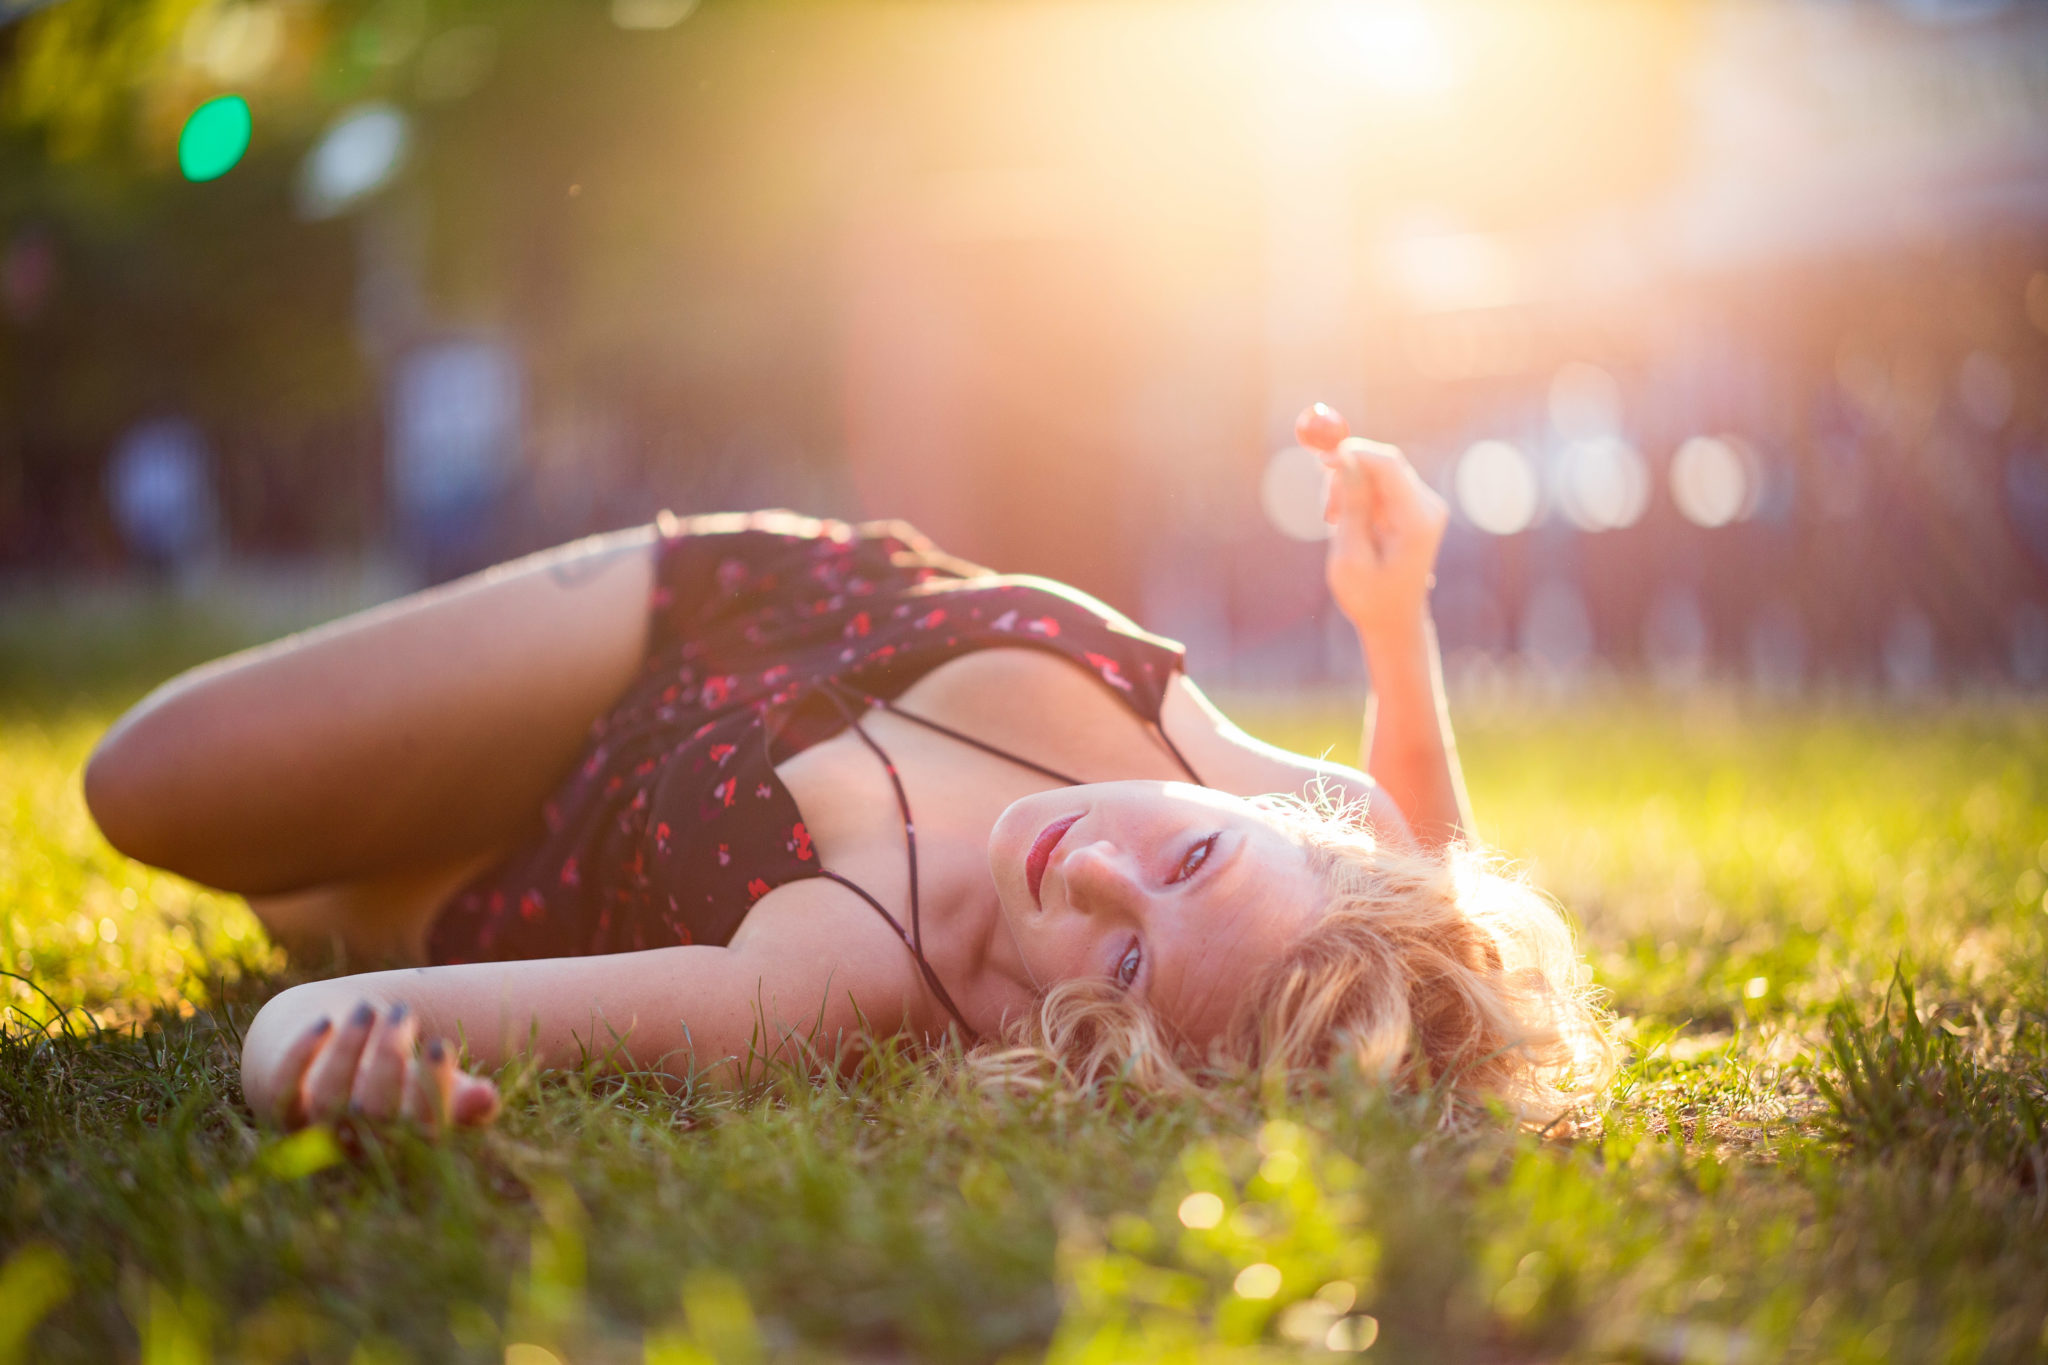
Backlighting a Subject, and Spot Metering
Lastly, I’m going to recommend something that’s inevitable with shooting golden hour portraits: backlighting a subject. When your camera looks at the scene in evaluative metering modes, it’s going to want to compensate for the very strong sunlight. Don’t let your camera do that. Instead, backlight your subject and lock the exposure.
Otherwise, you can just shoot in manual mode, focus on your subject and call it a day.
Try these out and you’ll see that you’ll spend much less time editing.
Get rid of the ads!
Did you enjoy reading this article as much as we enjoyed writing it? There's a way to support us and our reporting, getting ad-free navigation and more as a bonus. Subscribe to us for less than a coffee per month —just $3.99— or take advantage of our yearly subscription with a hefty discount for only $25.- An ad-free experience
- A free mystery box for Lightroom or Capture One
- All the books in our store
- 20% discount on Capture One
- 30% discount on Imalume Photo Theft Protection
- 20% off Herbs and Kettle Tea Company.
- 20% off your order from MPIX printing services.
- 5% off Viltrox Products via their eCommerce store.
- 10% off all film developing, printing and scanning services from Blue Moon Camera and Machine
- 15% off 7Artisans products: The lens and accessory maker is offering a sweet discount for Phoblographer's readers.