
Last Updated on 02/08/2017 by Chris Gampat
One of the best things that you can do as a portrait photographer is find a way to really make your subject look like they’re popping off of the screen at your viewer (technically speaking of course!). With modern lenses it’s very simple to do, but even if you don’t have those, or the latest and greatest software, it’s still also quite possible if you just take a few careful steps.
And don’t worry, you don’t need to wait until golden hour.
Make Your Subject Take Up a Key Part of the Frame

The first tip should be very obvious to a lot of people, though amazingly it isn’t. If your subject isn’t taking up at least 25% of the photo, then there isn’t any sort of chance they’re going to stand out. Of course, there needs to be some sort of balance. You need to see them in a scene, and there needs to be something there that they can be separated from.
This goes hand in hand with lens choices and that’s a good reason why medium telephoto focal lengths are very popular with a number of portrait photographers–because they can focus on just their subject and blur the rest of the scene out.
Of course, this also has to do with the laws of physics and how lenses render a scene.
How does this work? Well, what you’re doing here is first off placing your subject in the frame for them to take up enough space. This makes them a key part of the frame. The less of the frame they take up, the tougher it can be to get them to stand out with that 3D look.
Bokeh/Depth of Field

If you’re reading this site, we’re positive that you know what bokeh is. Photographers who do headshots often utilize shallow depth of field so that their subject is able to simply pop out more from the background overall. These effects are easier to do with fast aperture lenses and when physically working closer to the subject. But of course, you’ll need to balance this with personal preference.
How does this work? Consider that, when you have nothing in focus and it isn’t clear to see anything, you have no depth in your scene. You can surely just guess, but that’s all you’re doing. Imagine driving in a very heavy rainstorm without windshield wipers on. There’s no way that you’re going to be able to tell any sort of depth or see anything. Lenses work in a similar way, they focus a scene enough so that you can tell someone where to look.
To make this cumulative: Notice how Raiyan takes up most of the frame and he’s the only thing in focus.
Lighting Effects
If you were to use a flash, well, I honestly strongly recommend you use a flash for this type of shooting. You don’t have to use one but it makes things a whole lot easier. With a flash, you can find a way to use separation through lighting–which we’re going to really talk about here and in the next section.
This is absolutely one of the biggest key factors in getting this look.
How does this work? When shooting a scene with a flash, there is something that happens called a flash duration. The faster it is, the more ambient light it tends to cut out of the scene when combined with a faster shutter speed within the flash sync range. What this ends up doing is killing the amount of ambient light in the scene while letting your flash do its job to illuminate a subject.
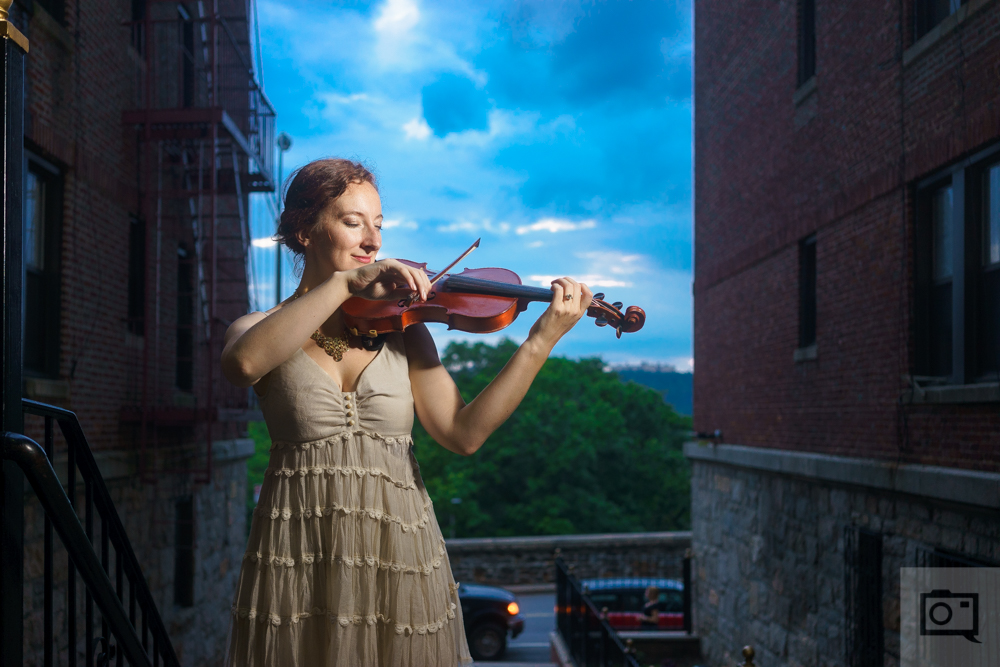
In this photo above, Anna has the light pretty much coming directly down on her. It’s a smaller light modifier so it isn’t wrapping around to cover her.
To make this cumulative: Also notice how she’s taking up a fair amount of space in the scene, she’s in focus with the rest of the scene blurred, and she’s well lit.
In contrast, take a look at this image of Jenn. Yes, the light is creating a significantly brighter area of the scene for us to look at. But it’s also just not wrapping around her enough to make her really stand out from the background. However, most of her is taking up a lot of the frame; so this is passable though not as much as it could be.
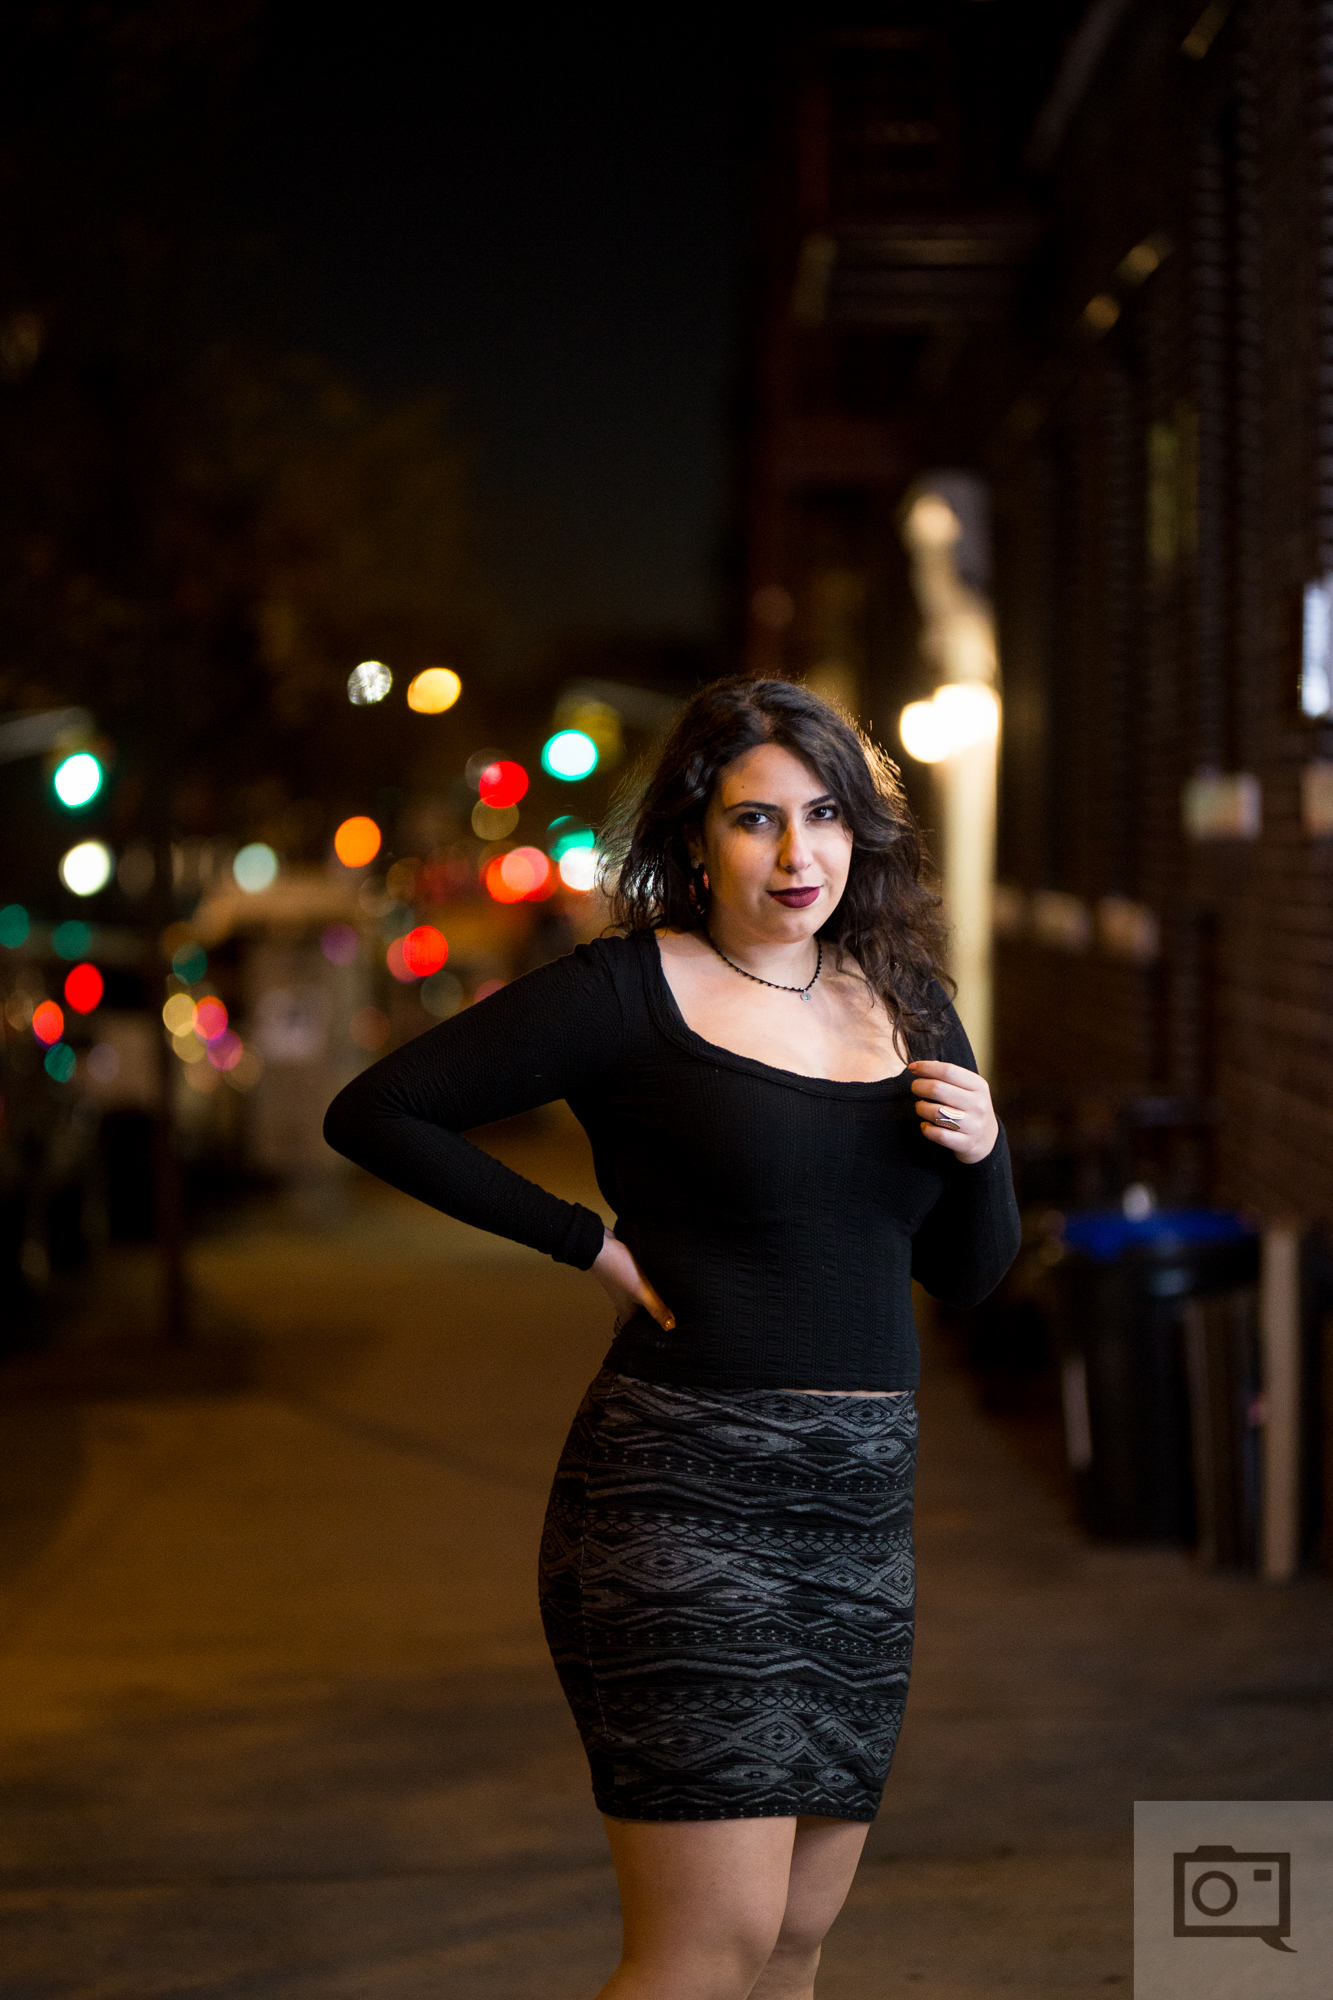
But in this photo, there’s enough light to really make her stand out. Plus there’s depth of field and she’s taking up a large part of the frame.
See the big difference?
Contrast and Colors
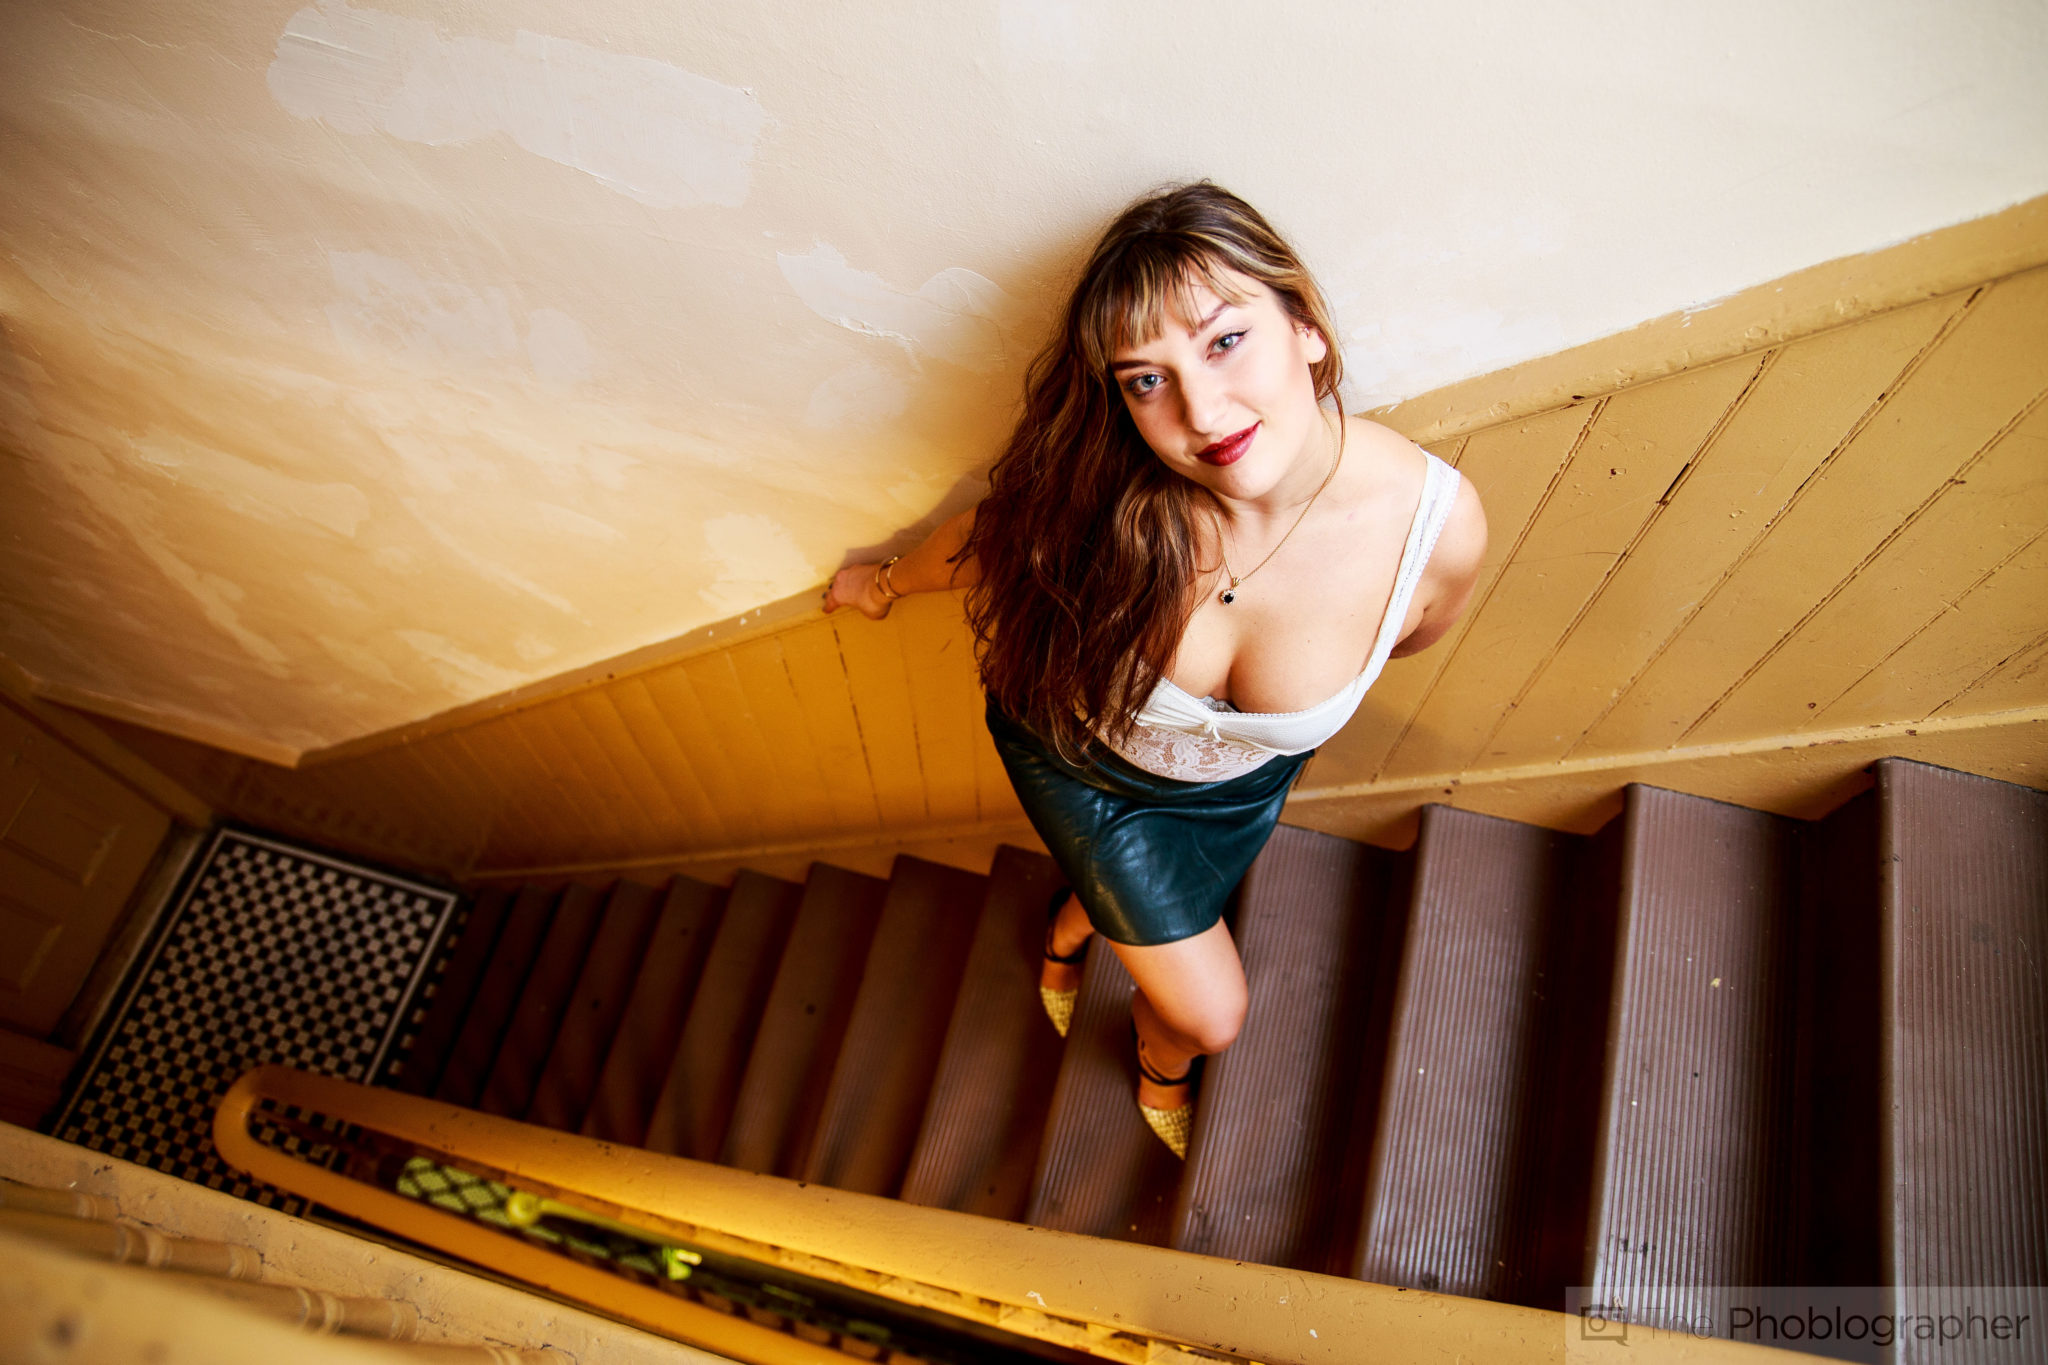
Now here’s an even more interesting part of it all: it has to do with not only the contrast in the scene but also with the colors. See how Julie above has a color tonality that really almost blends in with the scene? Her skin is normal toned and becomes warmer through the scene. The most contrast here is with the stairs, the red lips and the blue skirt. But there can surely be more.
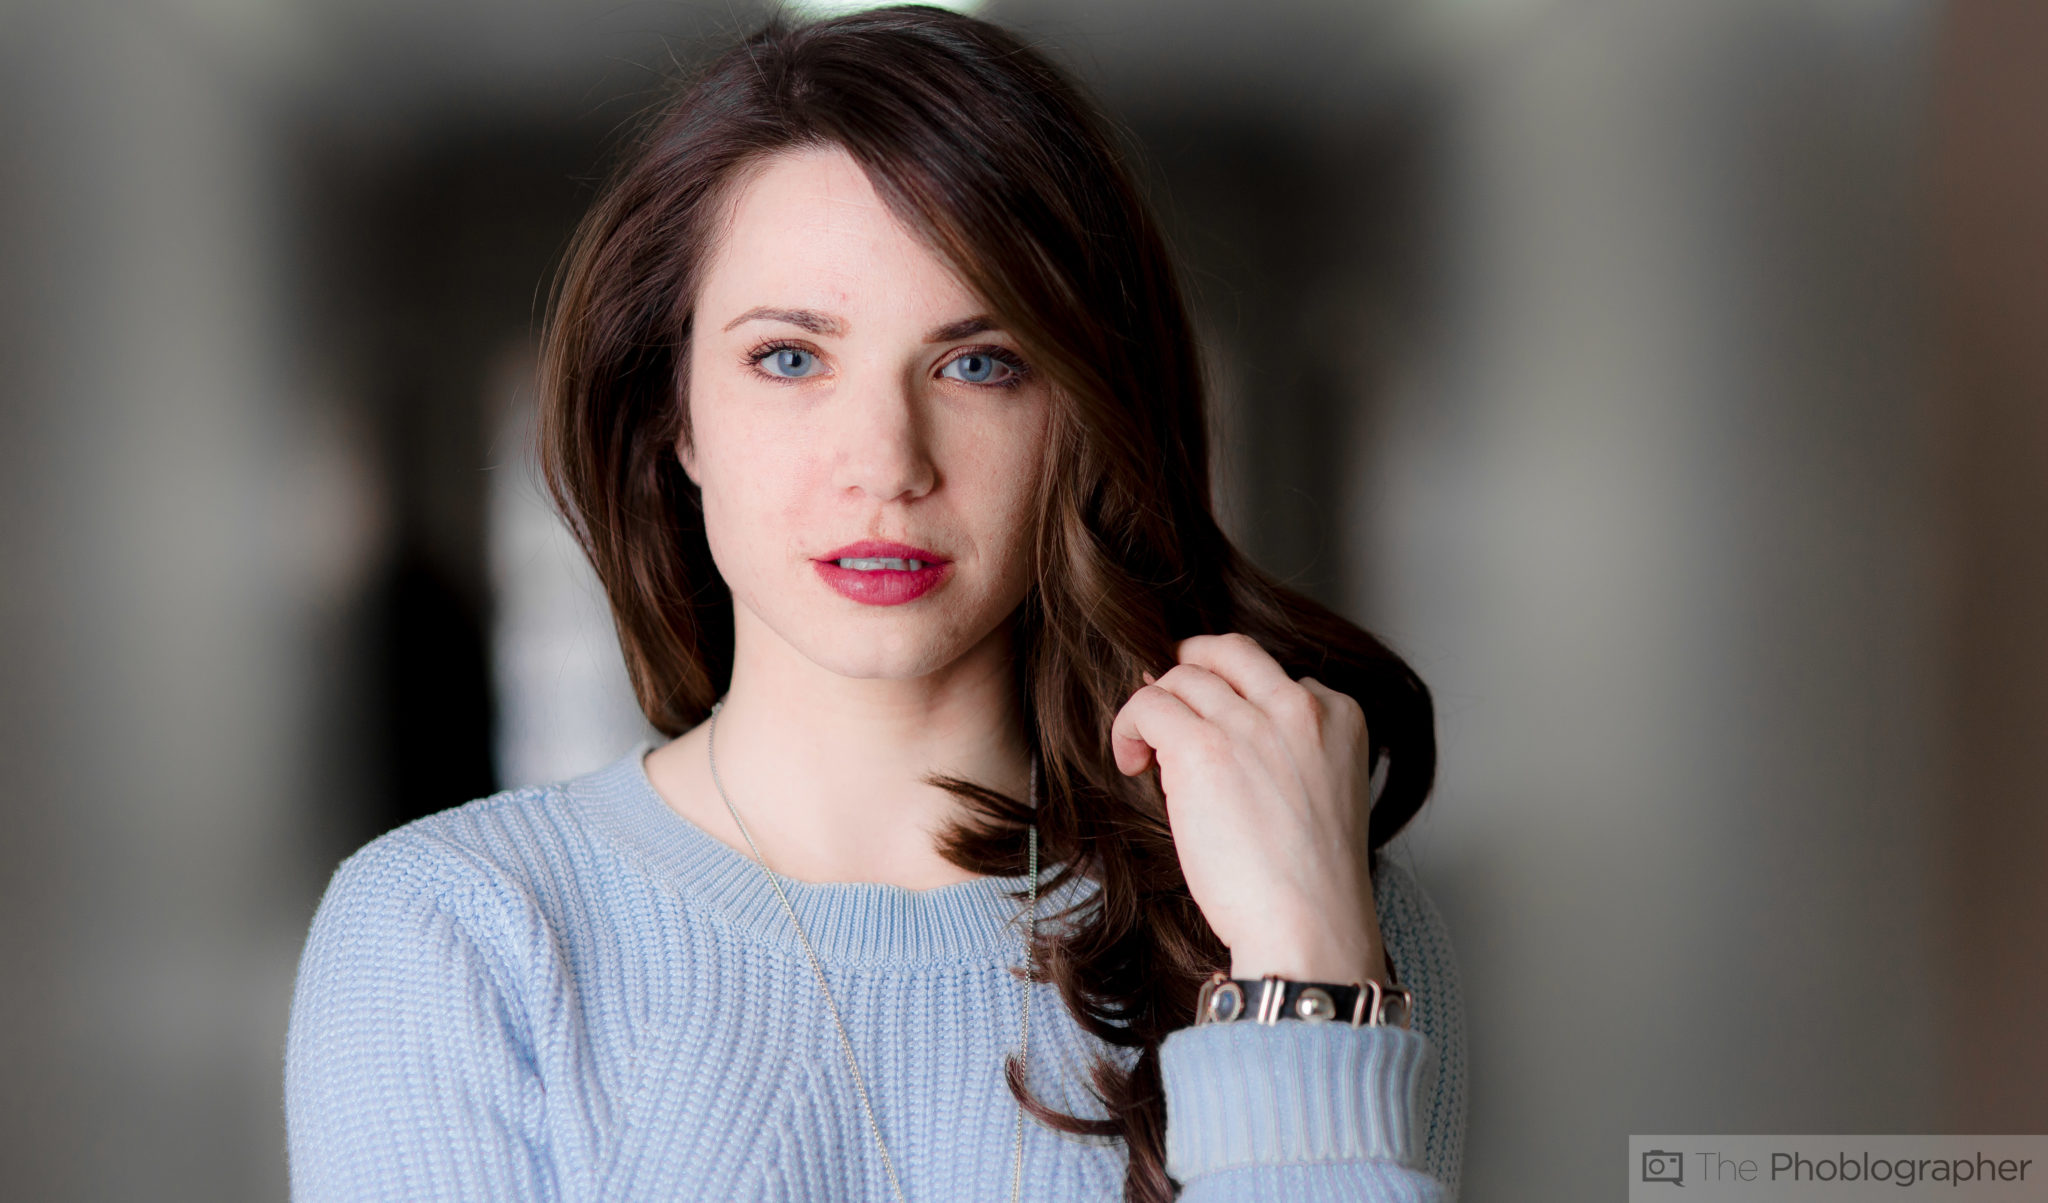
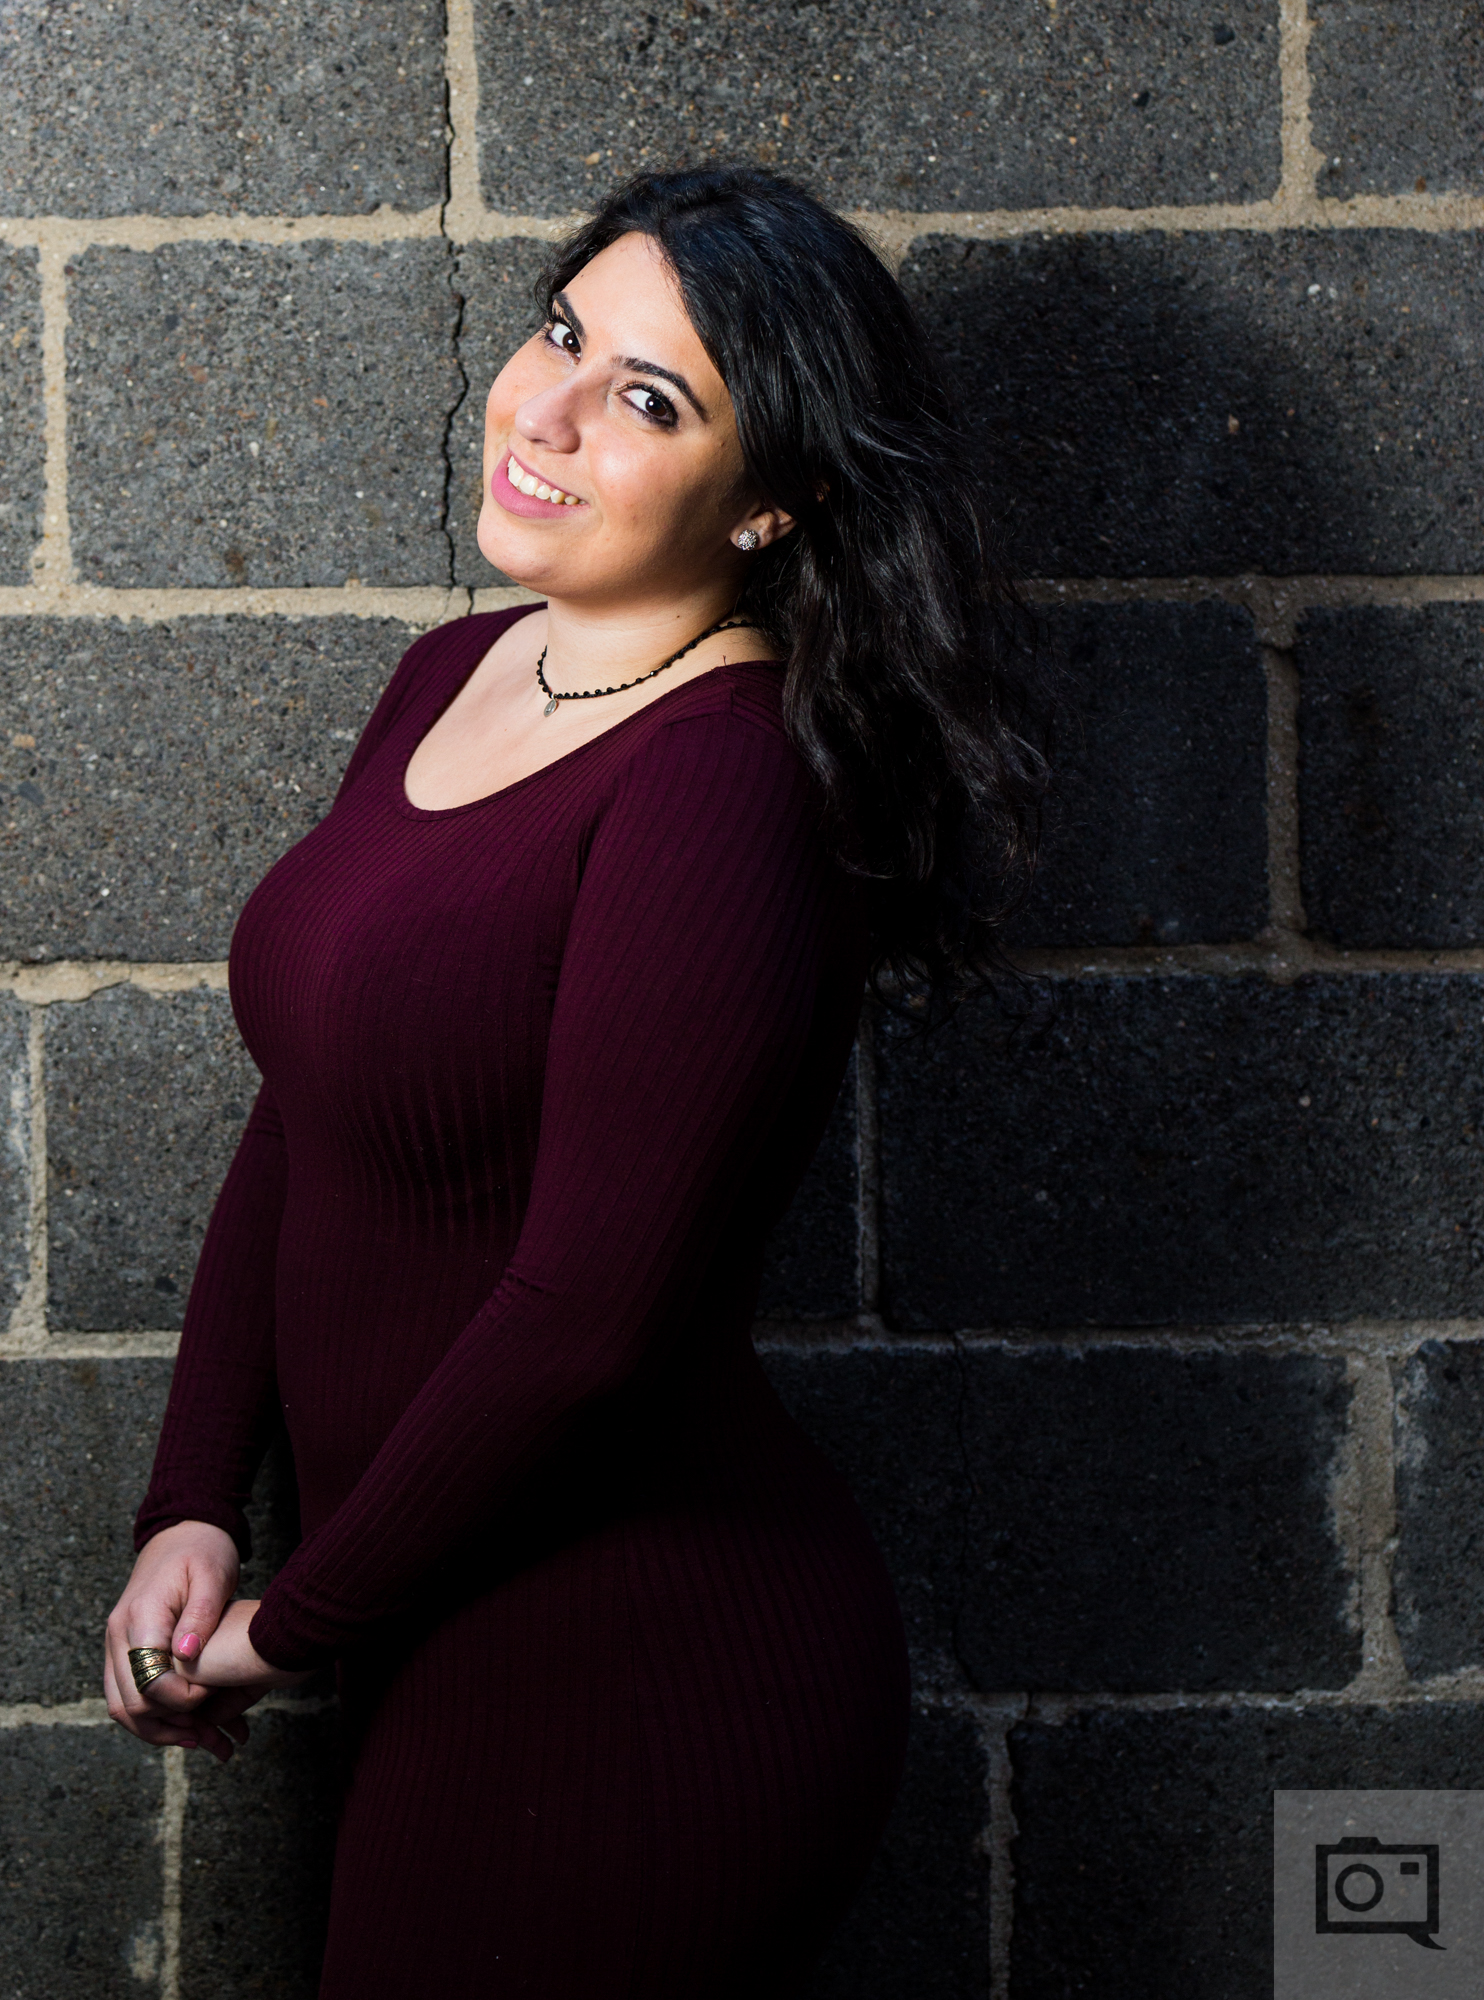
In contrast (pun intended) this photo of Meagan shows much different colors. The background is mostly grey and black while she is brown, blue, red and caucasian skin toned.
To make this cumulative: The light from camera left is creating contrast on her, plus the bokeh, plus she’s taking up a large part of the scene.
Different Background Color From Your Subject
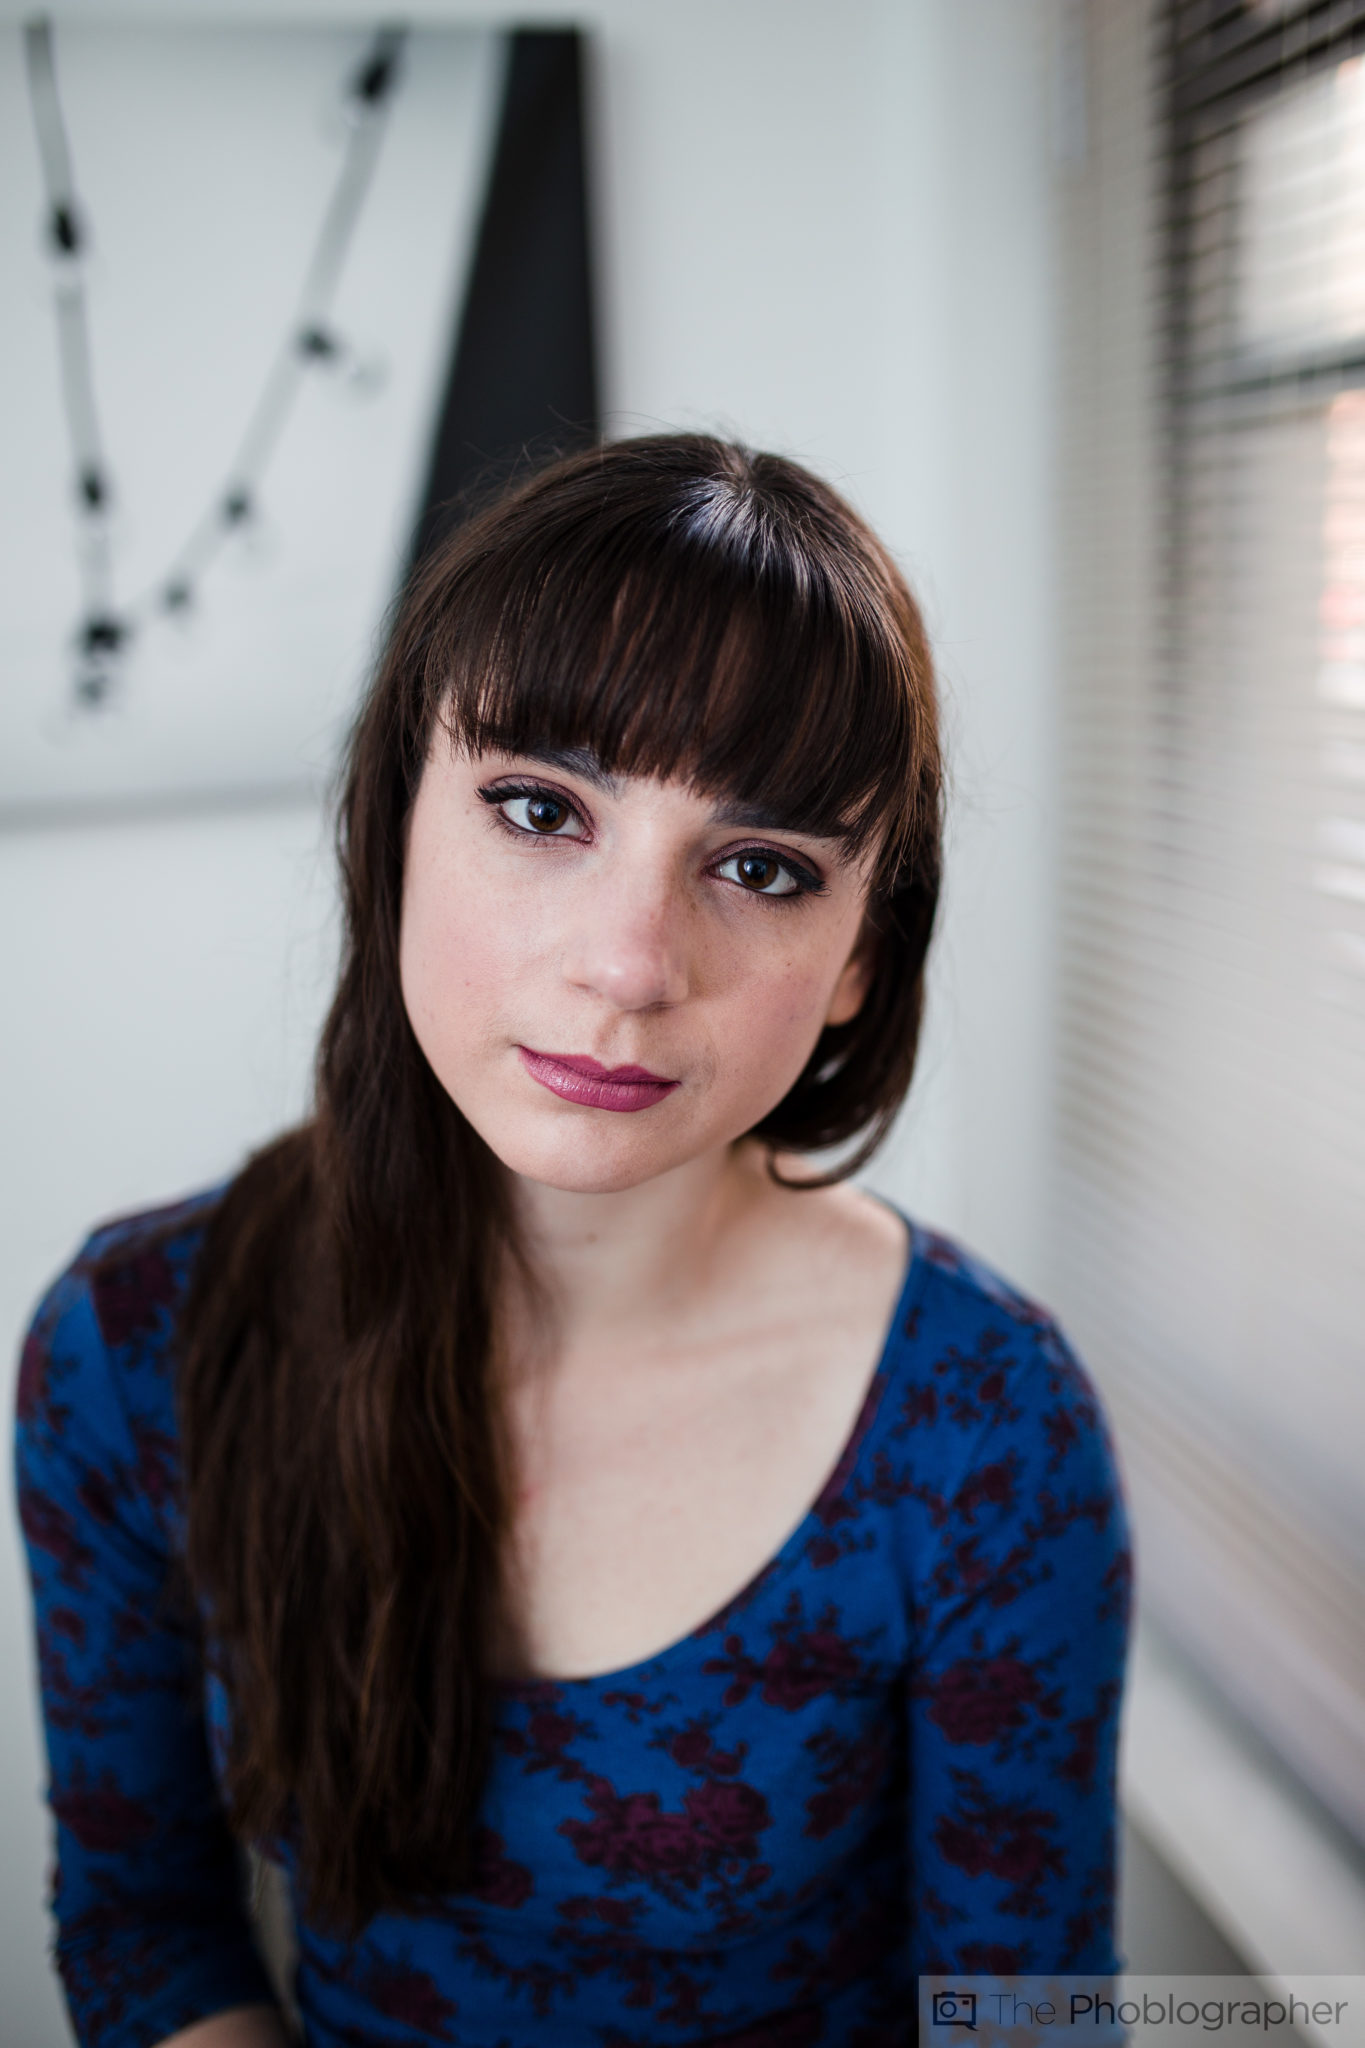
Model: Erica Lourde
Now to step this up even more: shoot in just daylight or tungsten white balance. Those are traditional film white balances and if you can nail it with those, you can nail it with anything.
Get rid of the ads!
Did you enjoy reading this article as much as we enjoyed writing it? There's a way to support us and our reporting, getting ad-free navigation and more as a bonus. Subscribe to us for less than a coffee per month —just $3.99— or take advantage of our yearly subscription with a hefty discount for only $25.- An ad-free experience
- A free mystery box for Lightroom or Capture One
- All the books in our store
- 20% discount on Capture One
- 30% discount on Imalume Photo Theft Protection
- 20% off Herbs and Kettle Tea Company.
- 20% off your order from MPIX printing services.
- 5% off Viltrox Products via their eCommerce store.
- 10% off all film developing, printing and scanning services from Blue Moon Camera and Machine
- 15% off 7Artisans products: The lens and accessory maker is offering a sweet discount for Phoblographer's readers.