
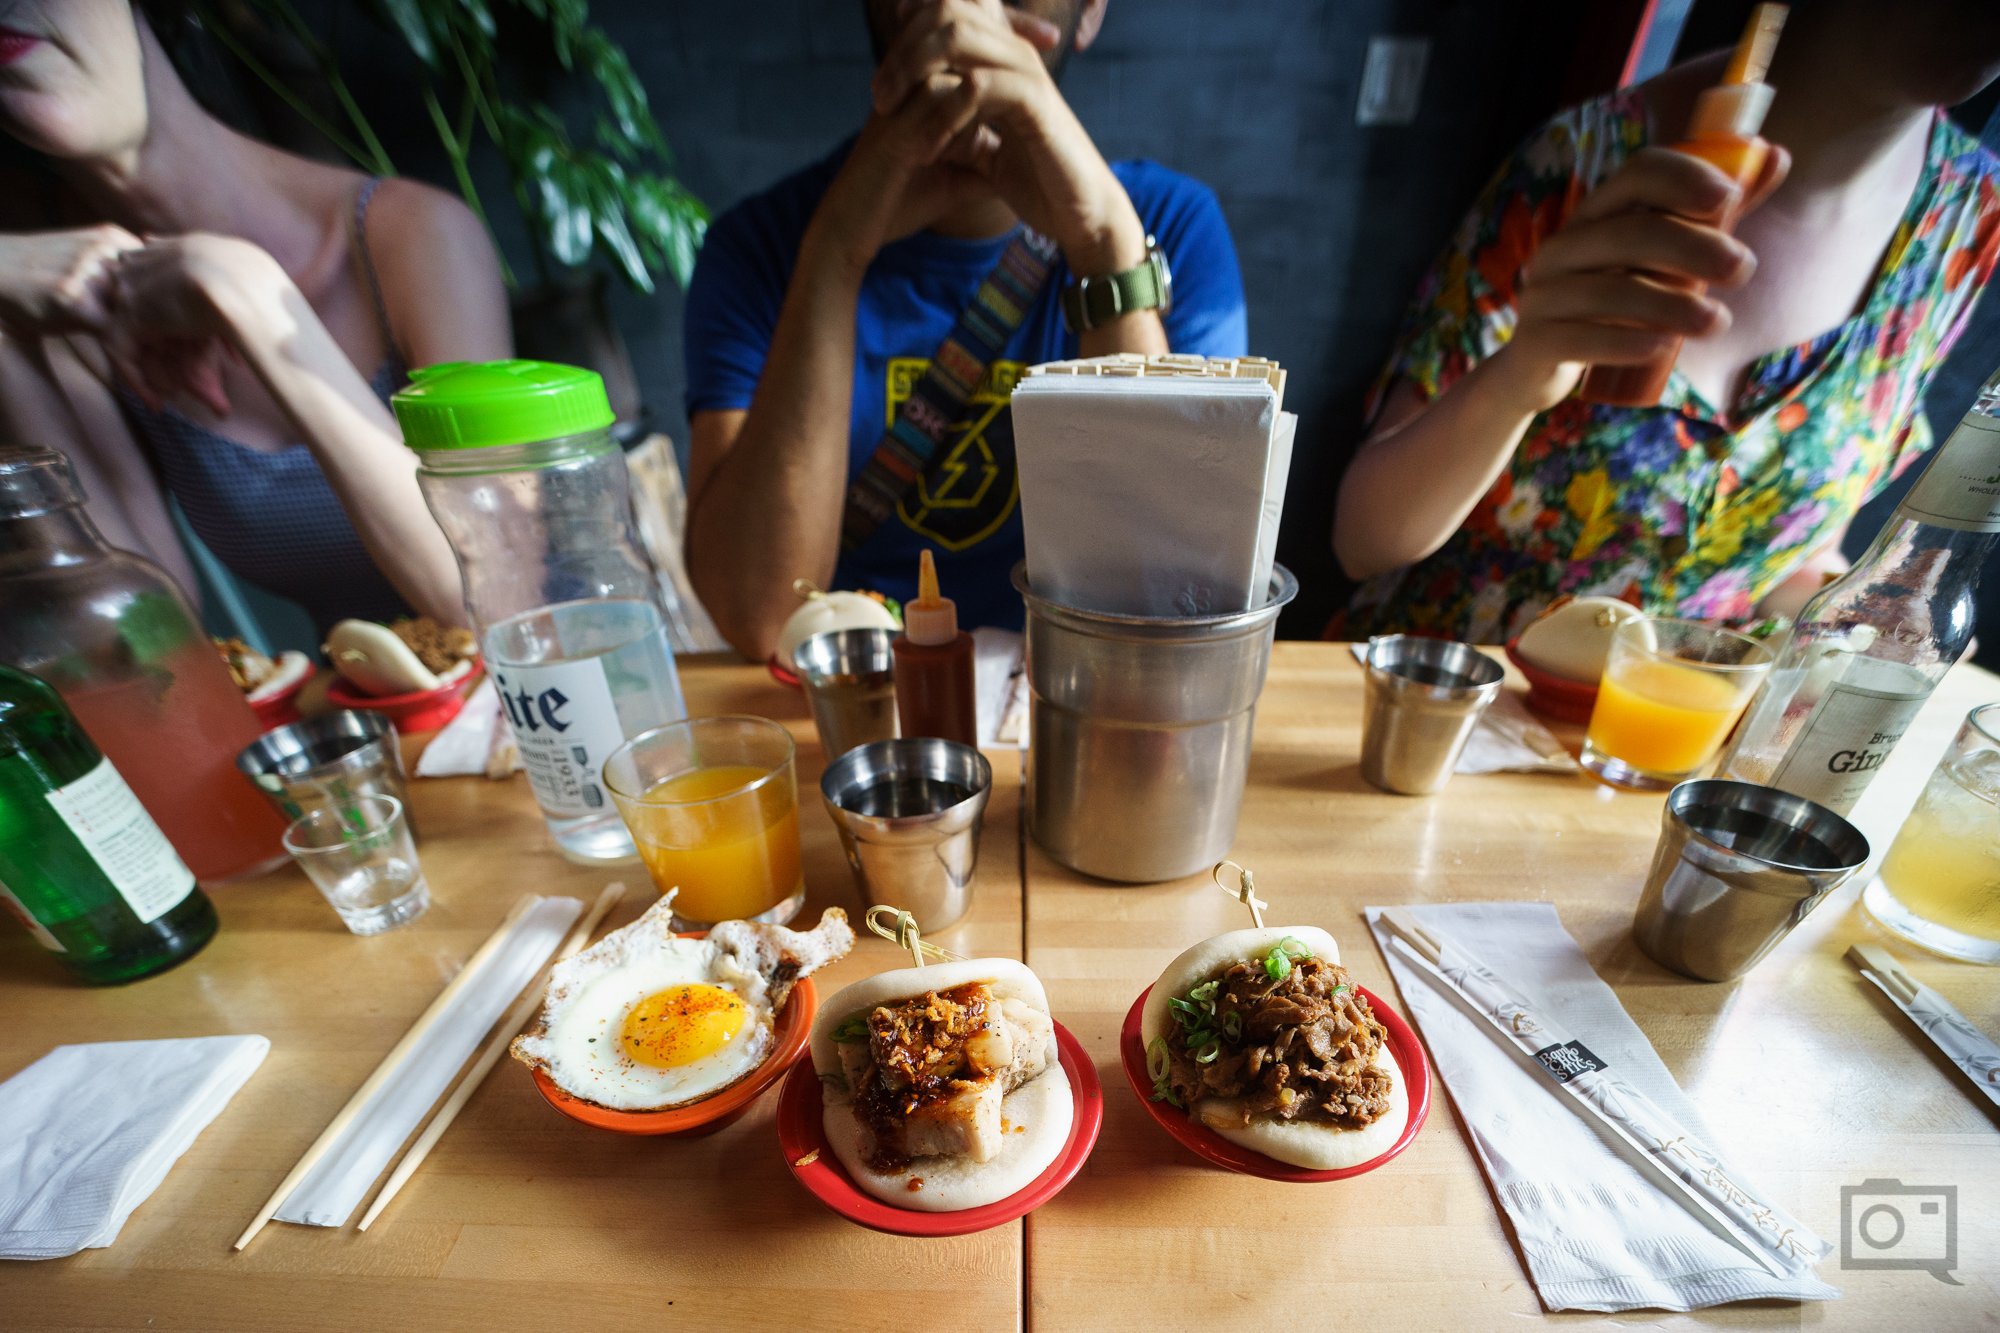
Take a look at the lead image for this story: what do you think it was shot with? It’s a photo I use often here on the site. That photograph was shot with Kodak Portra with a Bronica ETRS. No editing was done. It looks like it could have been done with a modern full frame camera or some other digital camera, right? To be honest, I could have done it with 35mm, Micro Four Thirds, APS-C, etc. What really mattered was the lighting and the situation because the further truth is that the laws of exposure don’t change.
Here’s the absolute truth about sensor sizes and image quality: in the hands of a photographer that sits there and uses a camera for what it is, the camera will produce fantastic images. All dedicated cameras these days produce more than good enough image quality, but they all require you to do certain things to make their peak image quality really come out. The results from an APS-C sensor or a Four Thirds sensor can all product jaw dropping images.
The secret: it’s in you. The laws of exposure don’t change; but you should have an understanding of how the rules of depth of field, contrast, and colors interact with one another.
Longer, Faster Lenses
The image above was shot with an APS-C sensor: specifically the 35mm f1.4 and Fujifilm X Pro 2. But it looks like it could have been taken with a full frame sensor. Part of getting that “full frame look” has to do with working with longer lenses. The full frame look is similar to the medium format look and involves a crop factor.
Let me explain.
In 645 medium format, an 80mm f2.8 is the equivalent of around a 50mm f1.8 or so in 35mm full frame standards. Then when you translate that down even more, a 50mm f1.8 in full frame 35mm is the equivalent of around a 35mm lens in APS-C. But to get the depth of field equivalence of f1.8 on APS-C, you need a very fast aperture. Honestly though, that isn’t possible unless you get a manual focus optic.
So to emulate that look, it’s sometimes best to just go for longer lenses and, as you’ll see and we’ll explain, get closer to your subject.
The Depth of Field Effect: Get Closer Up to Your Subject

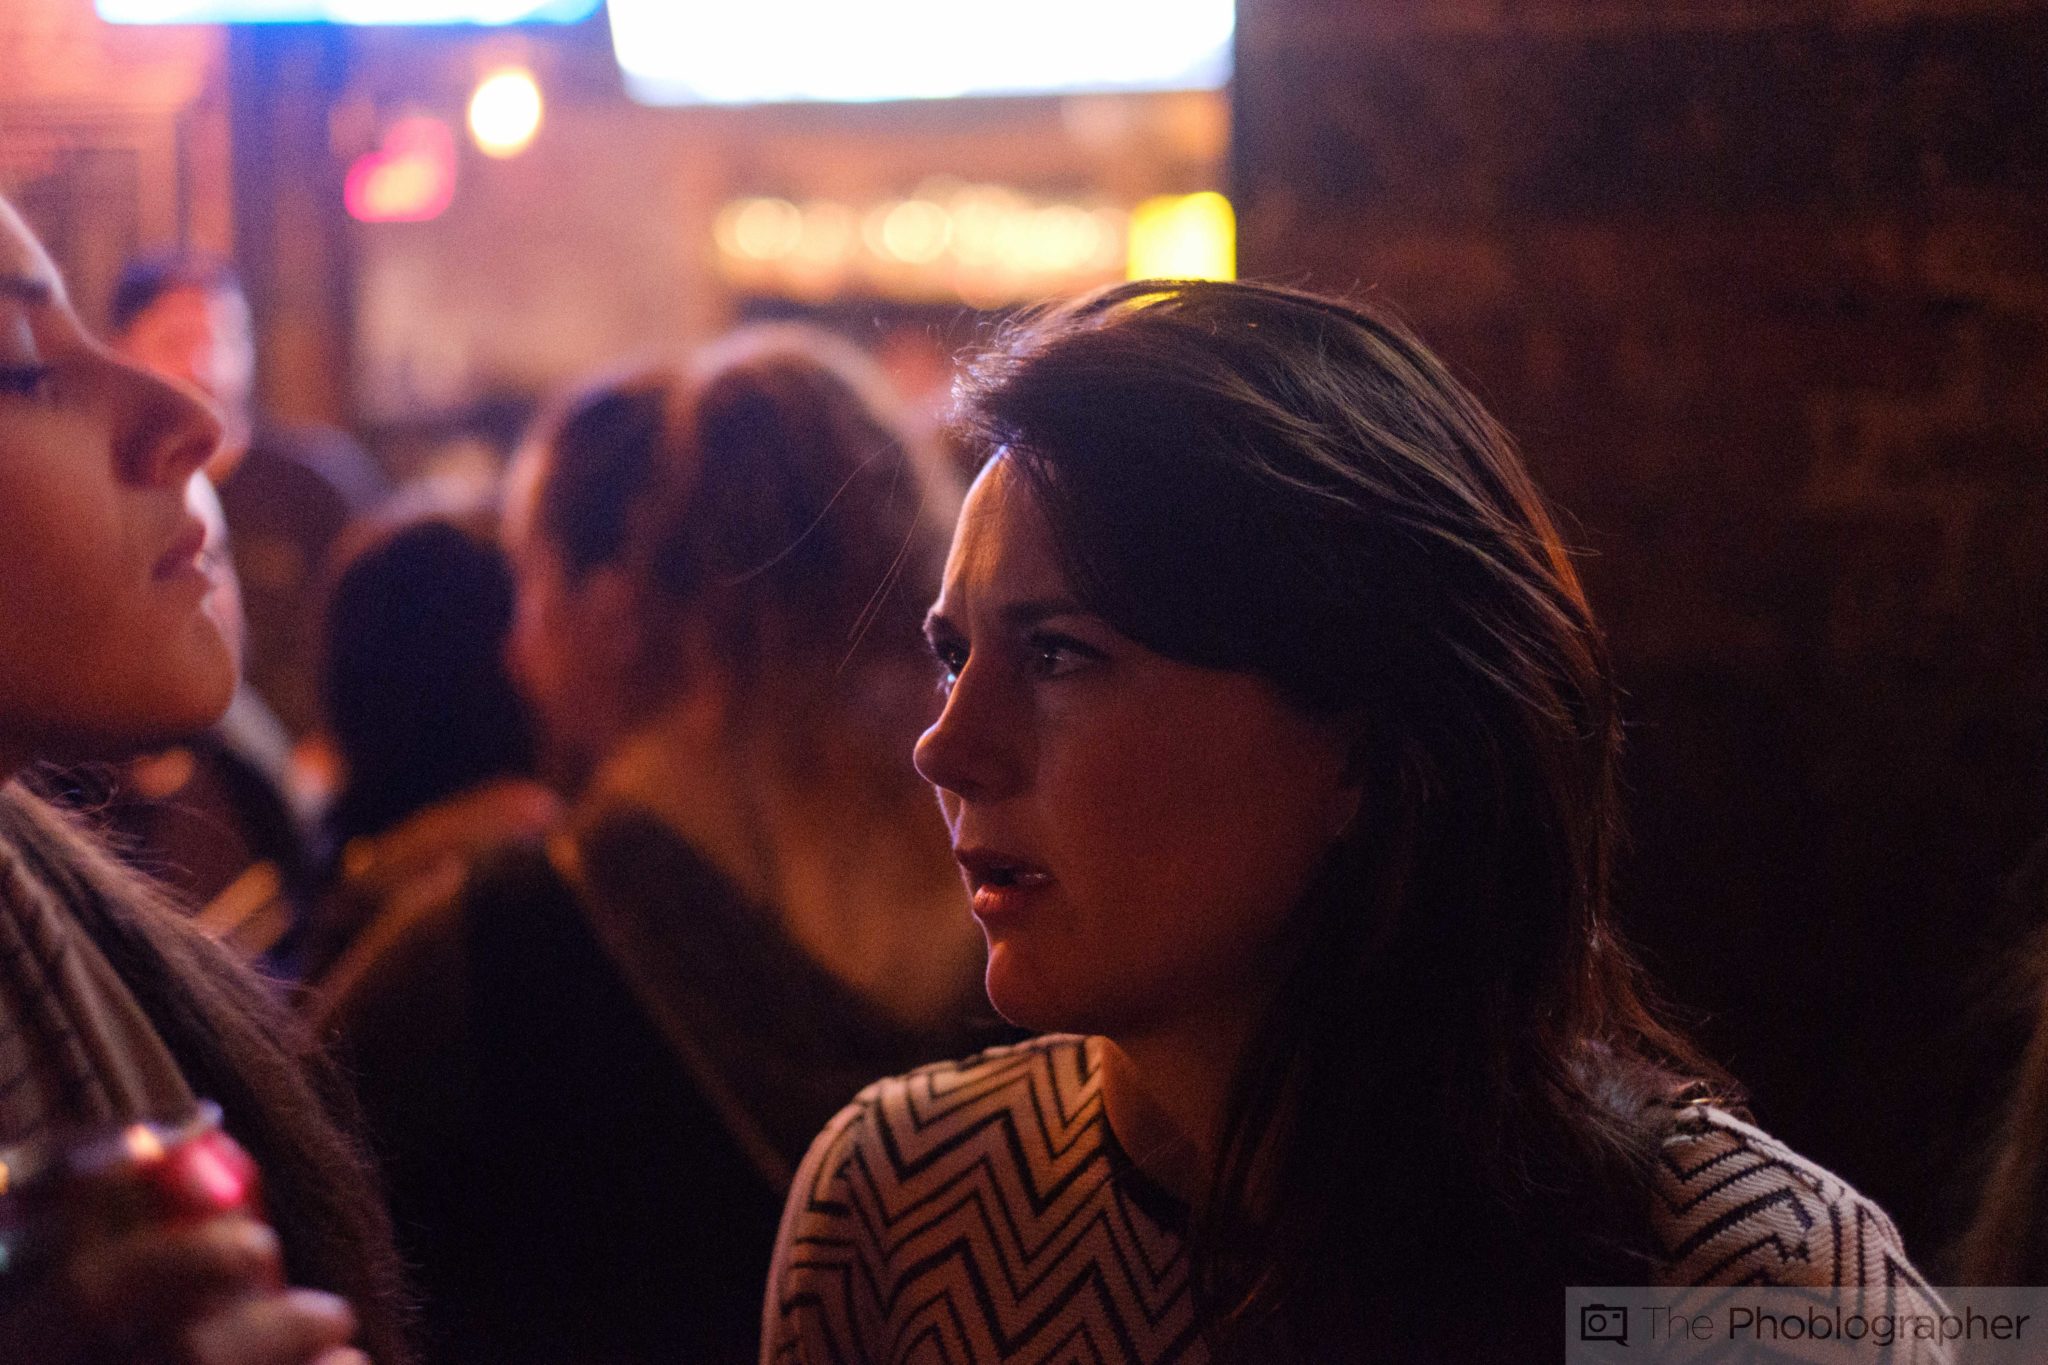
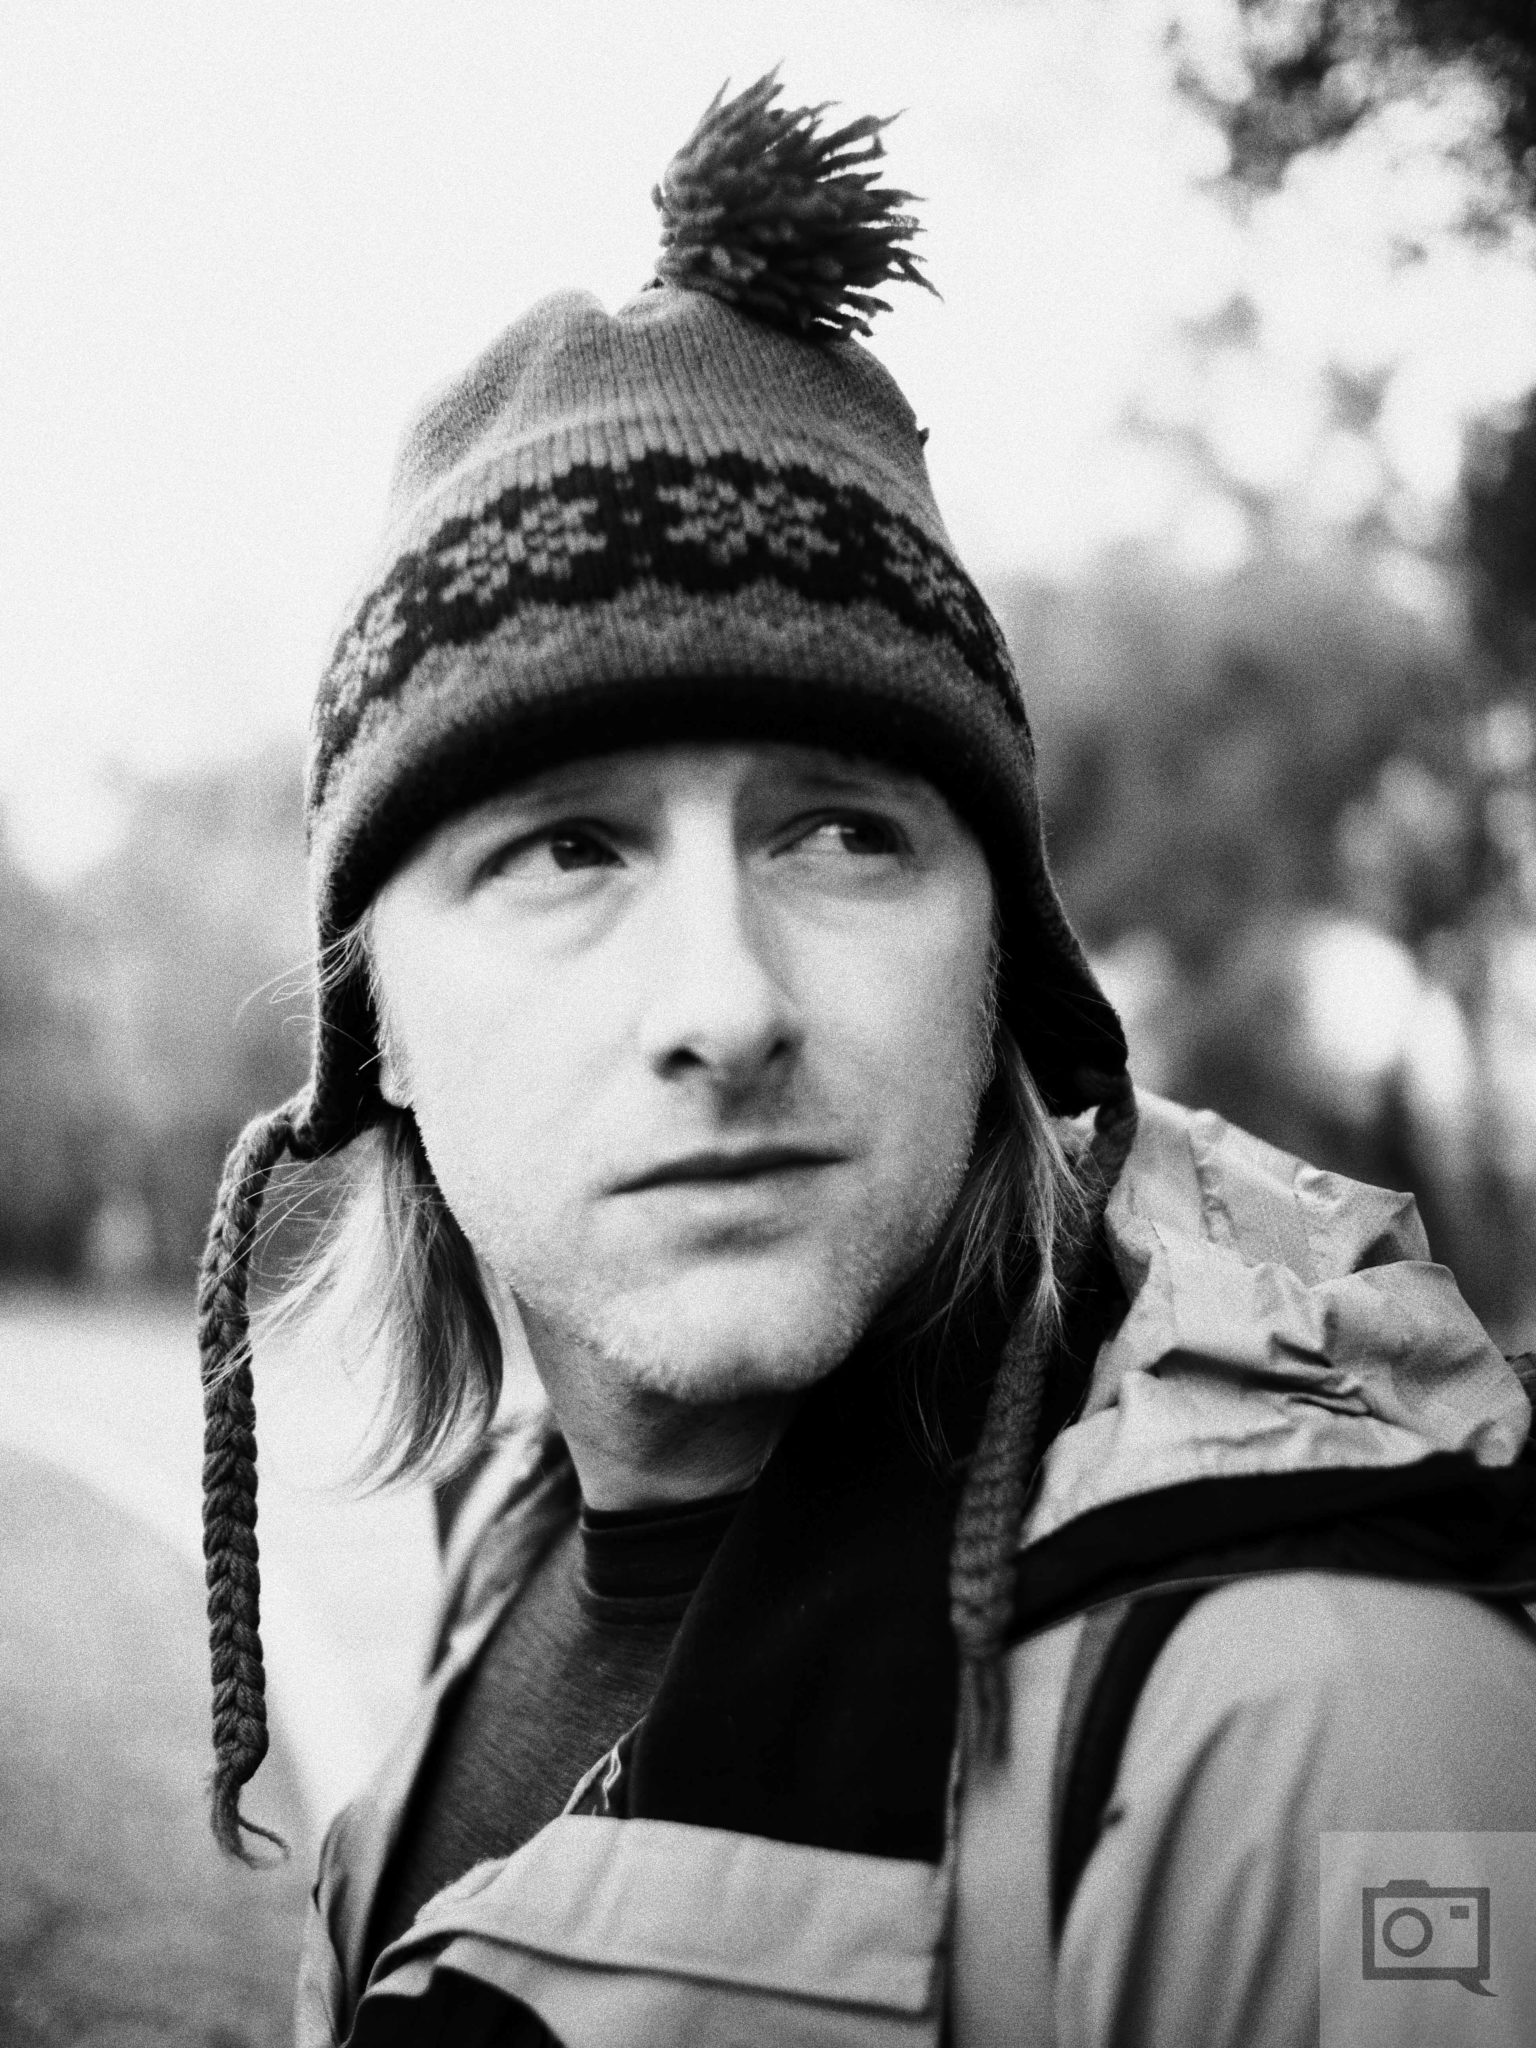
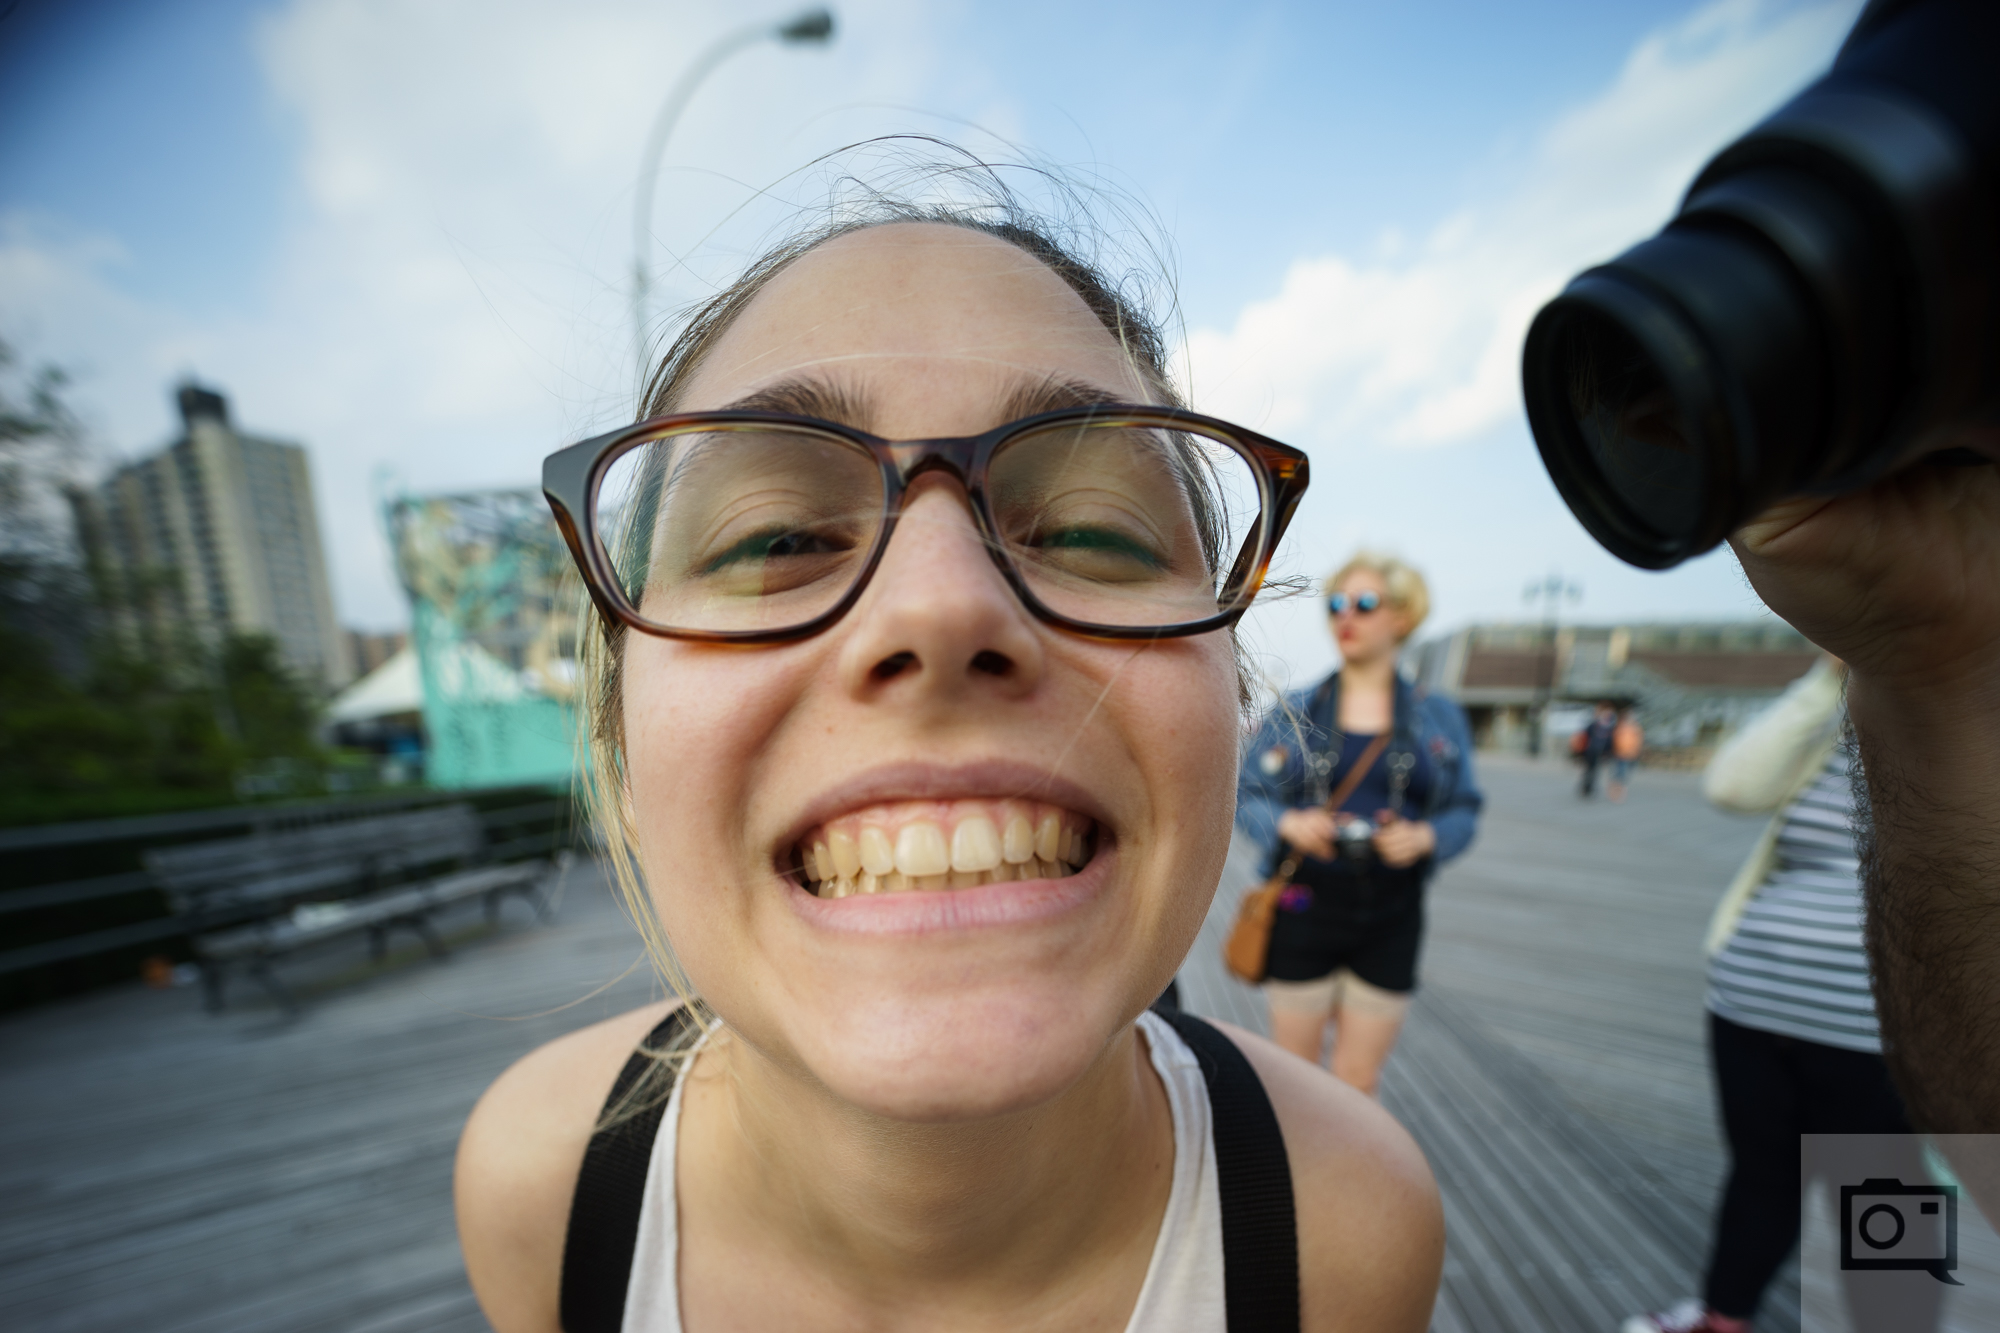
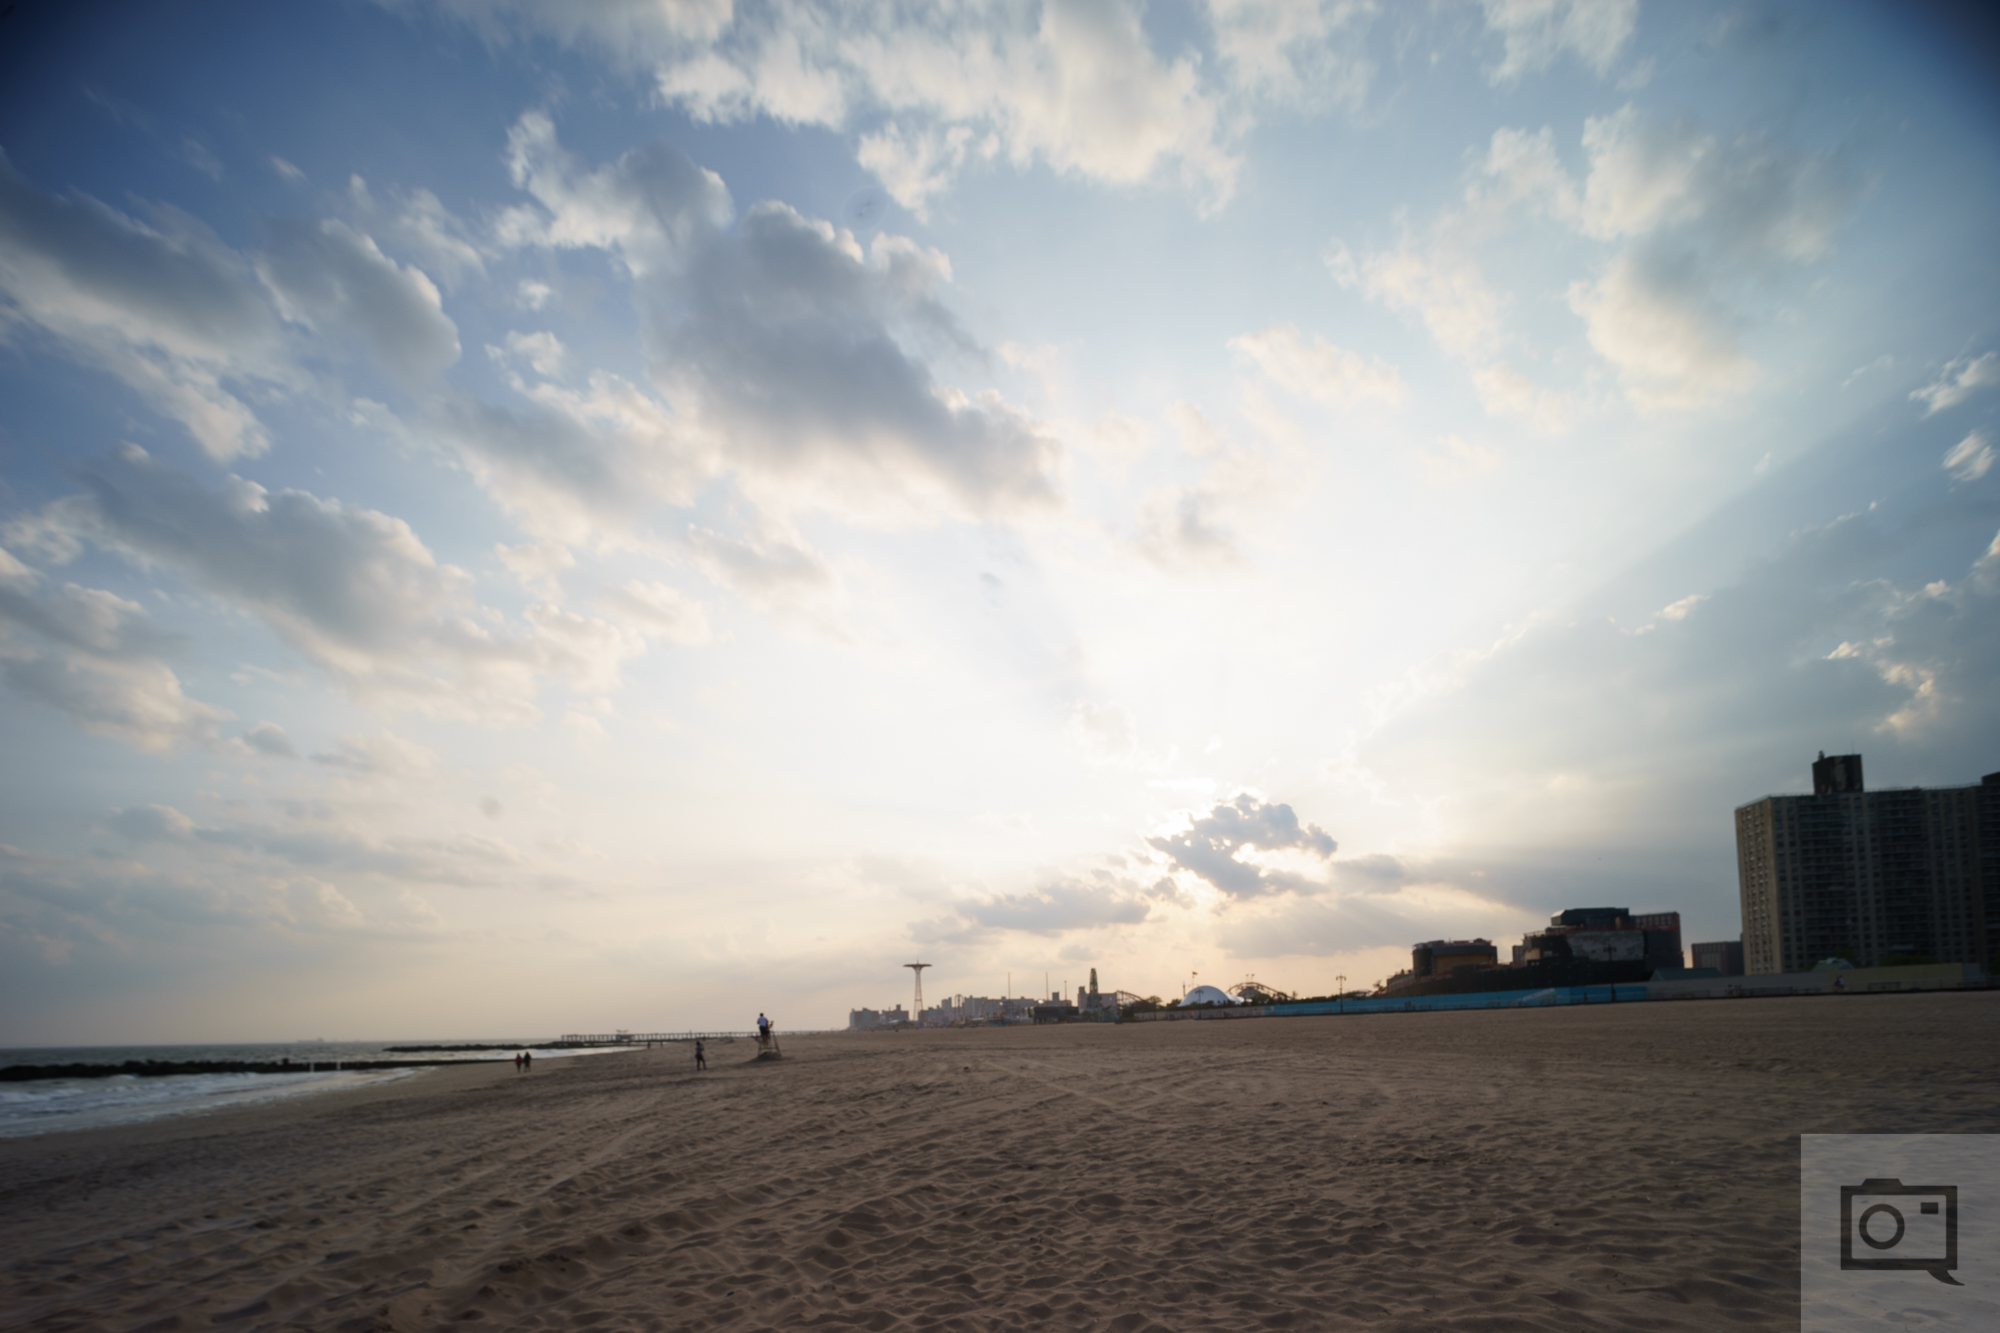
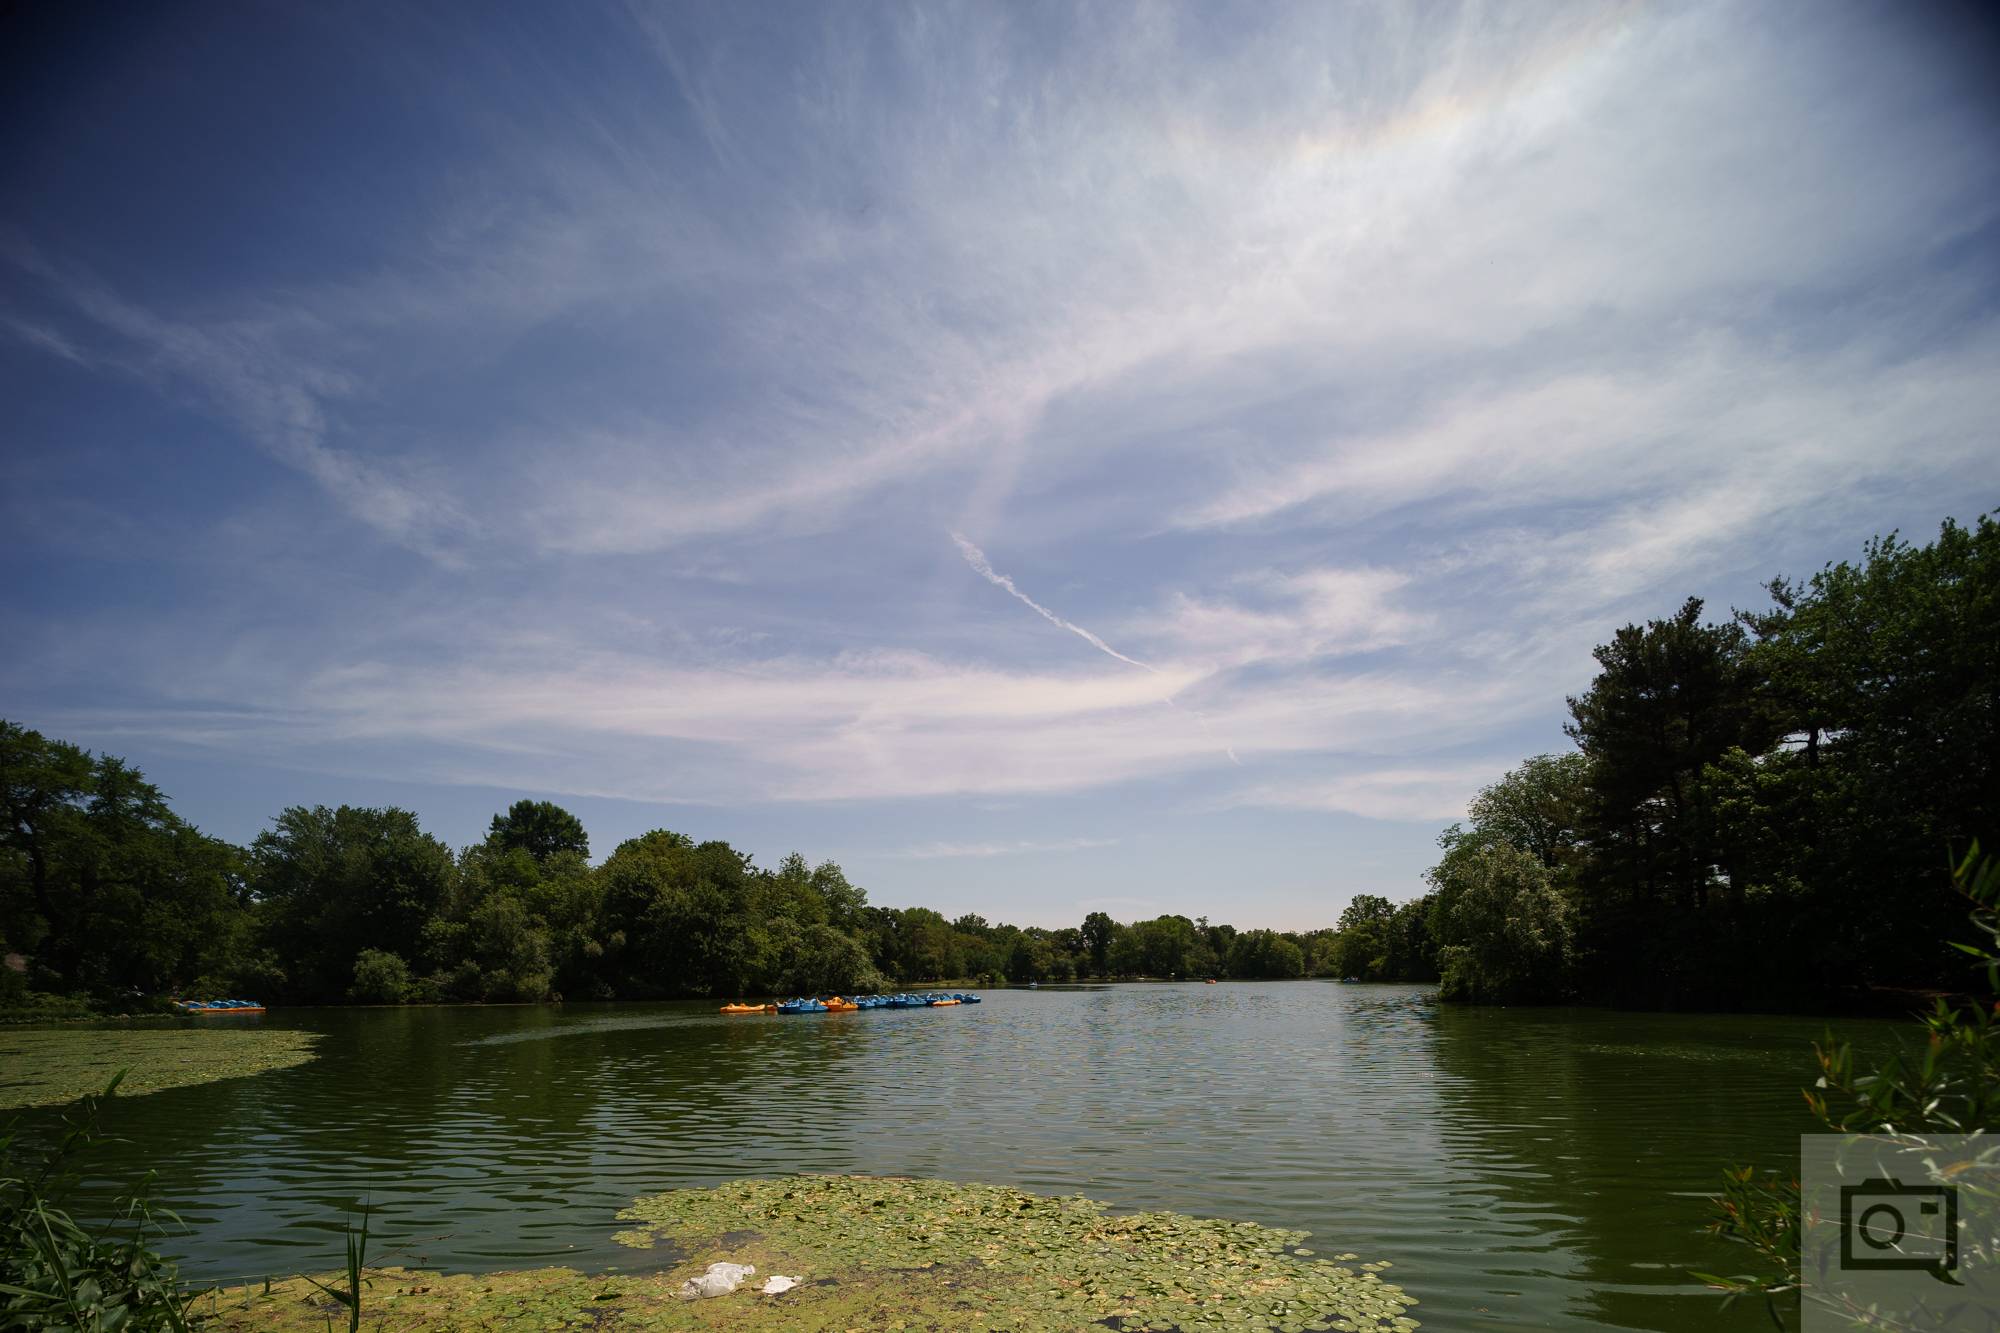
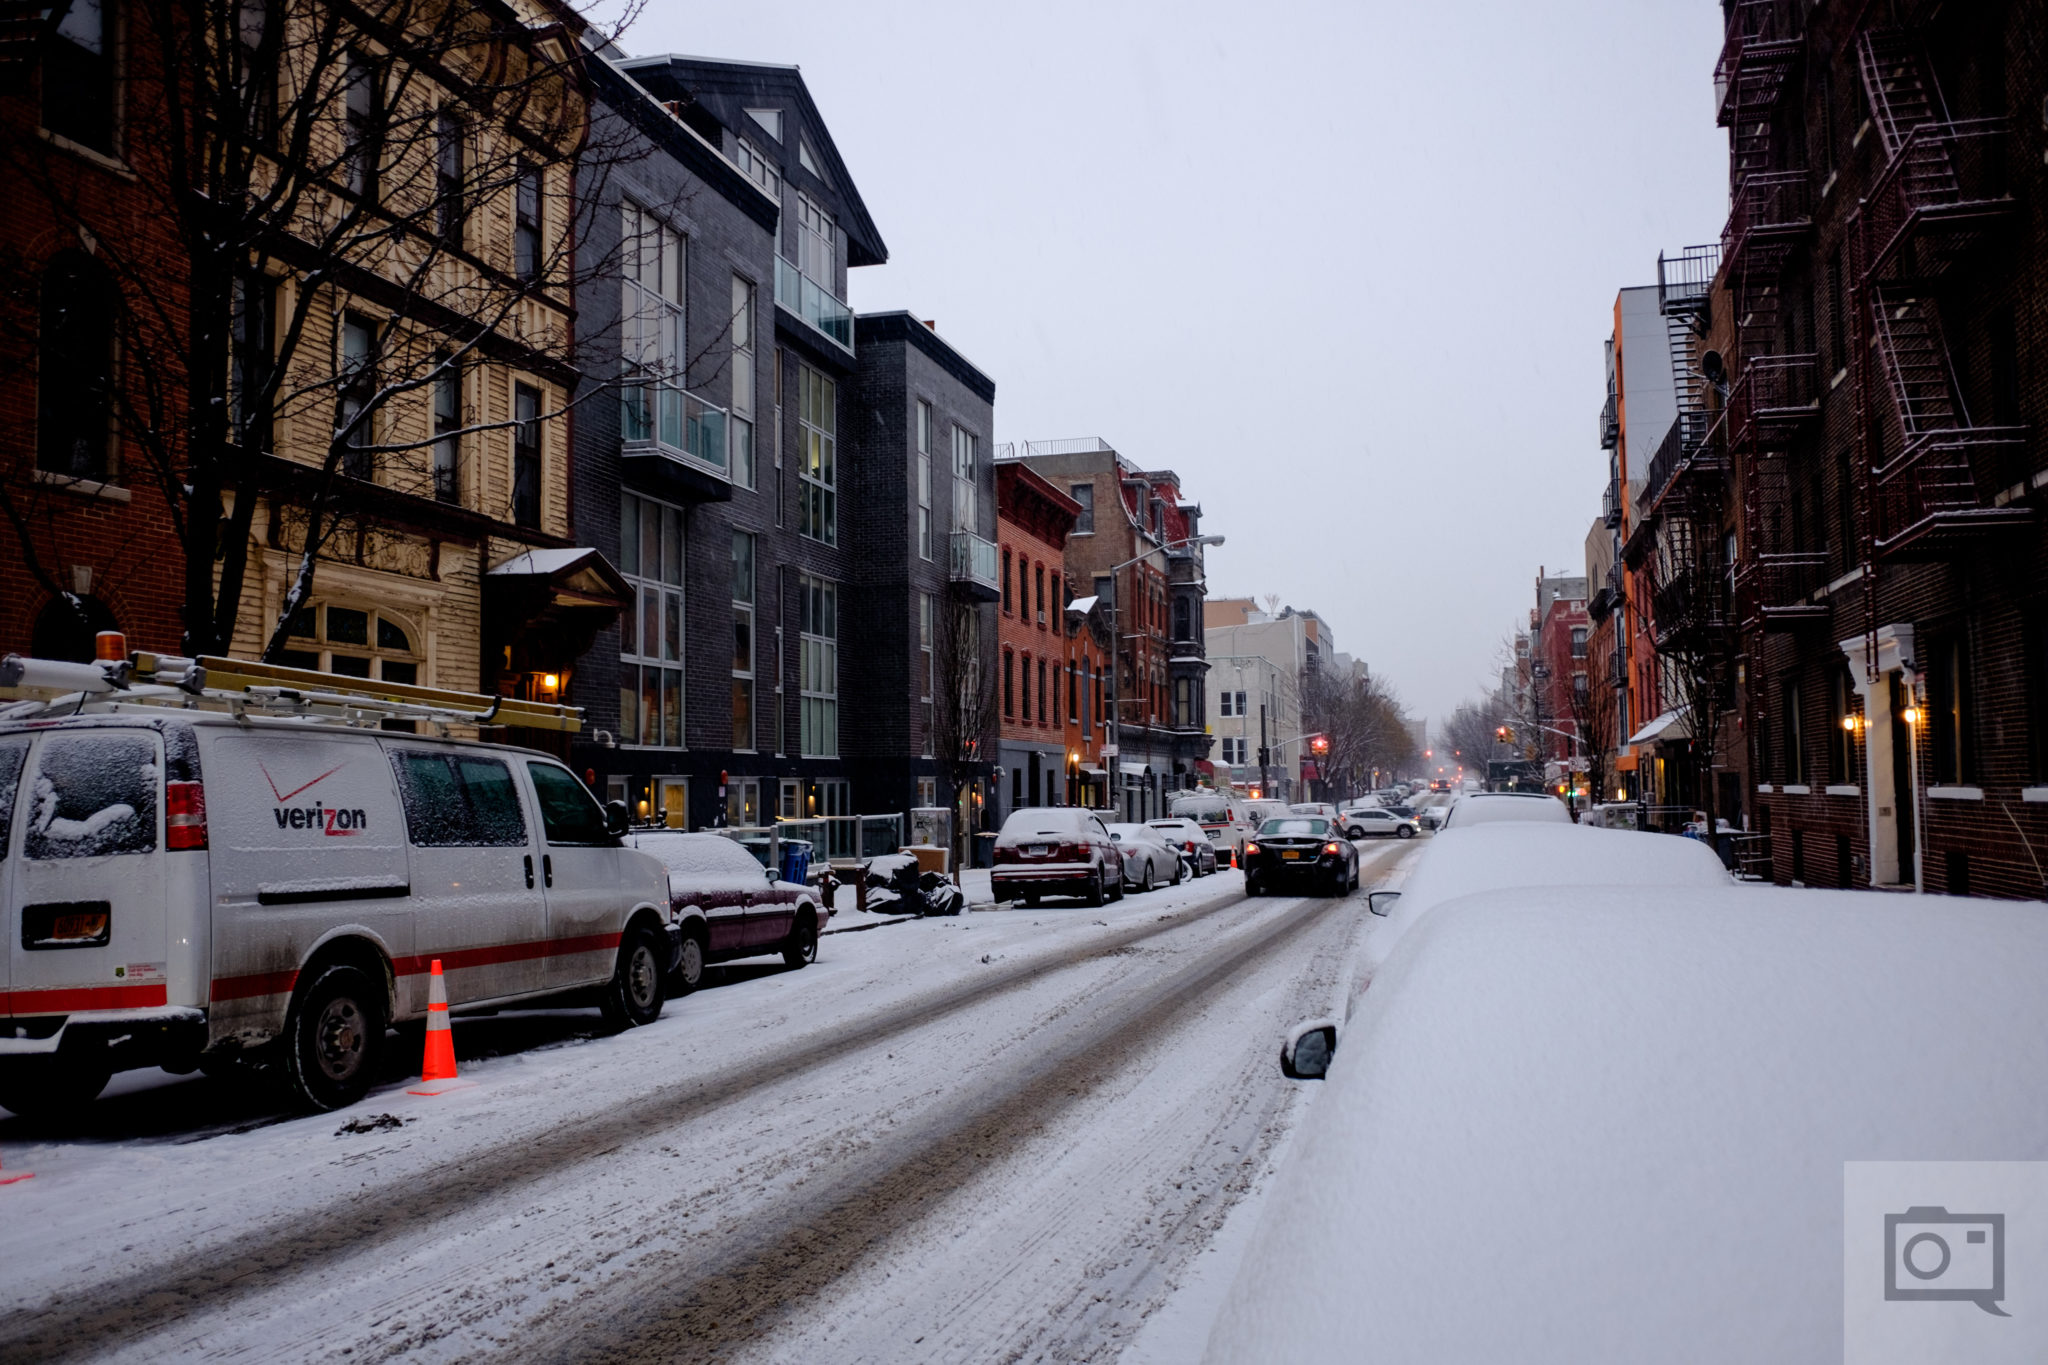
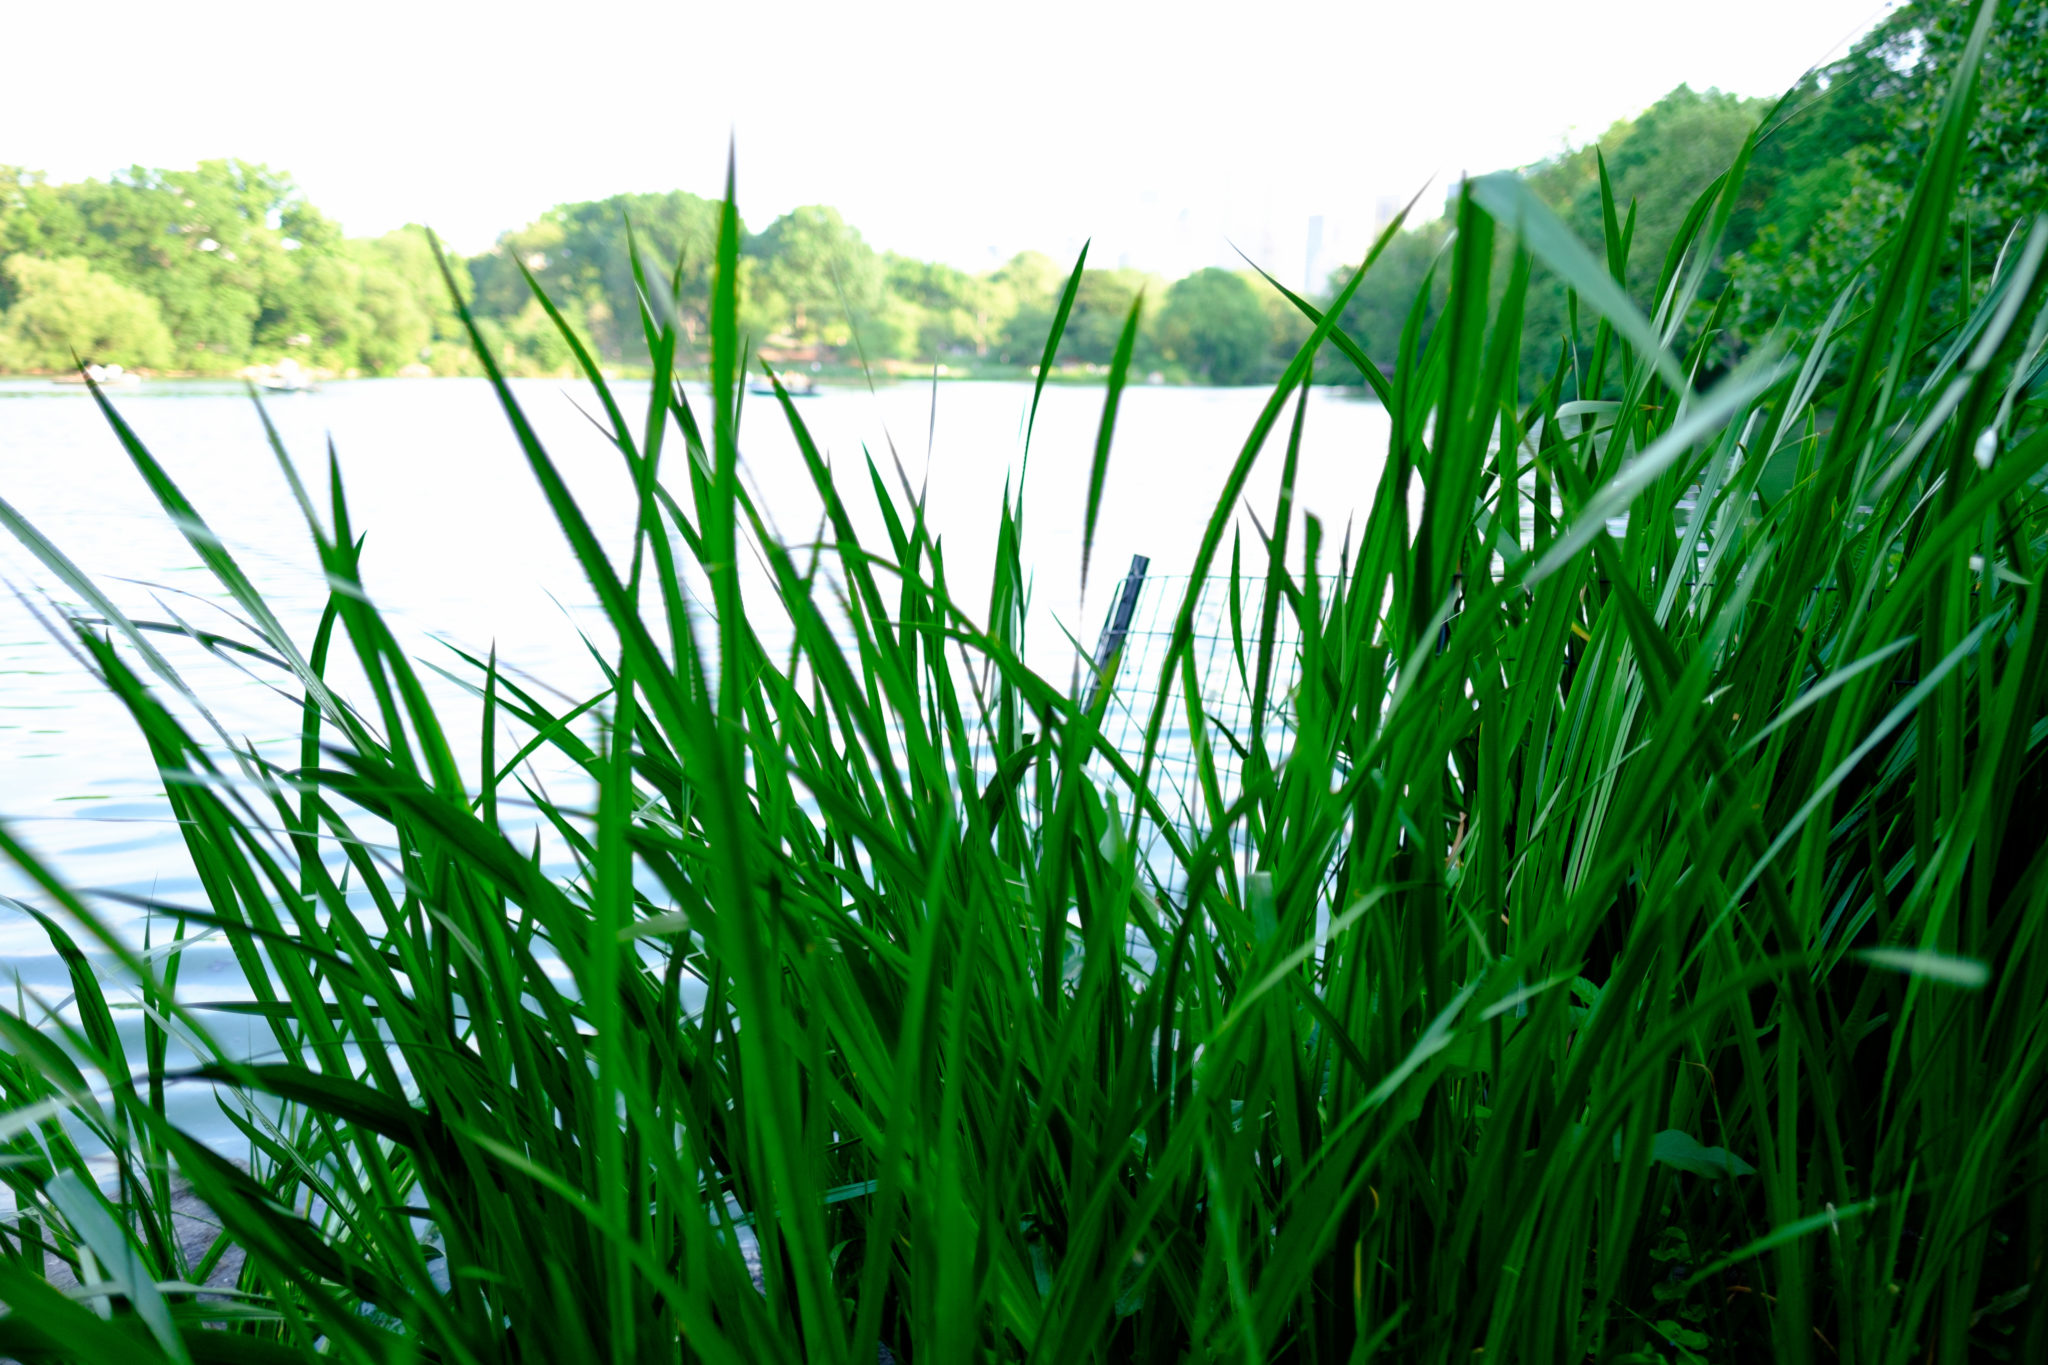
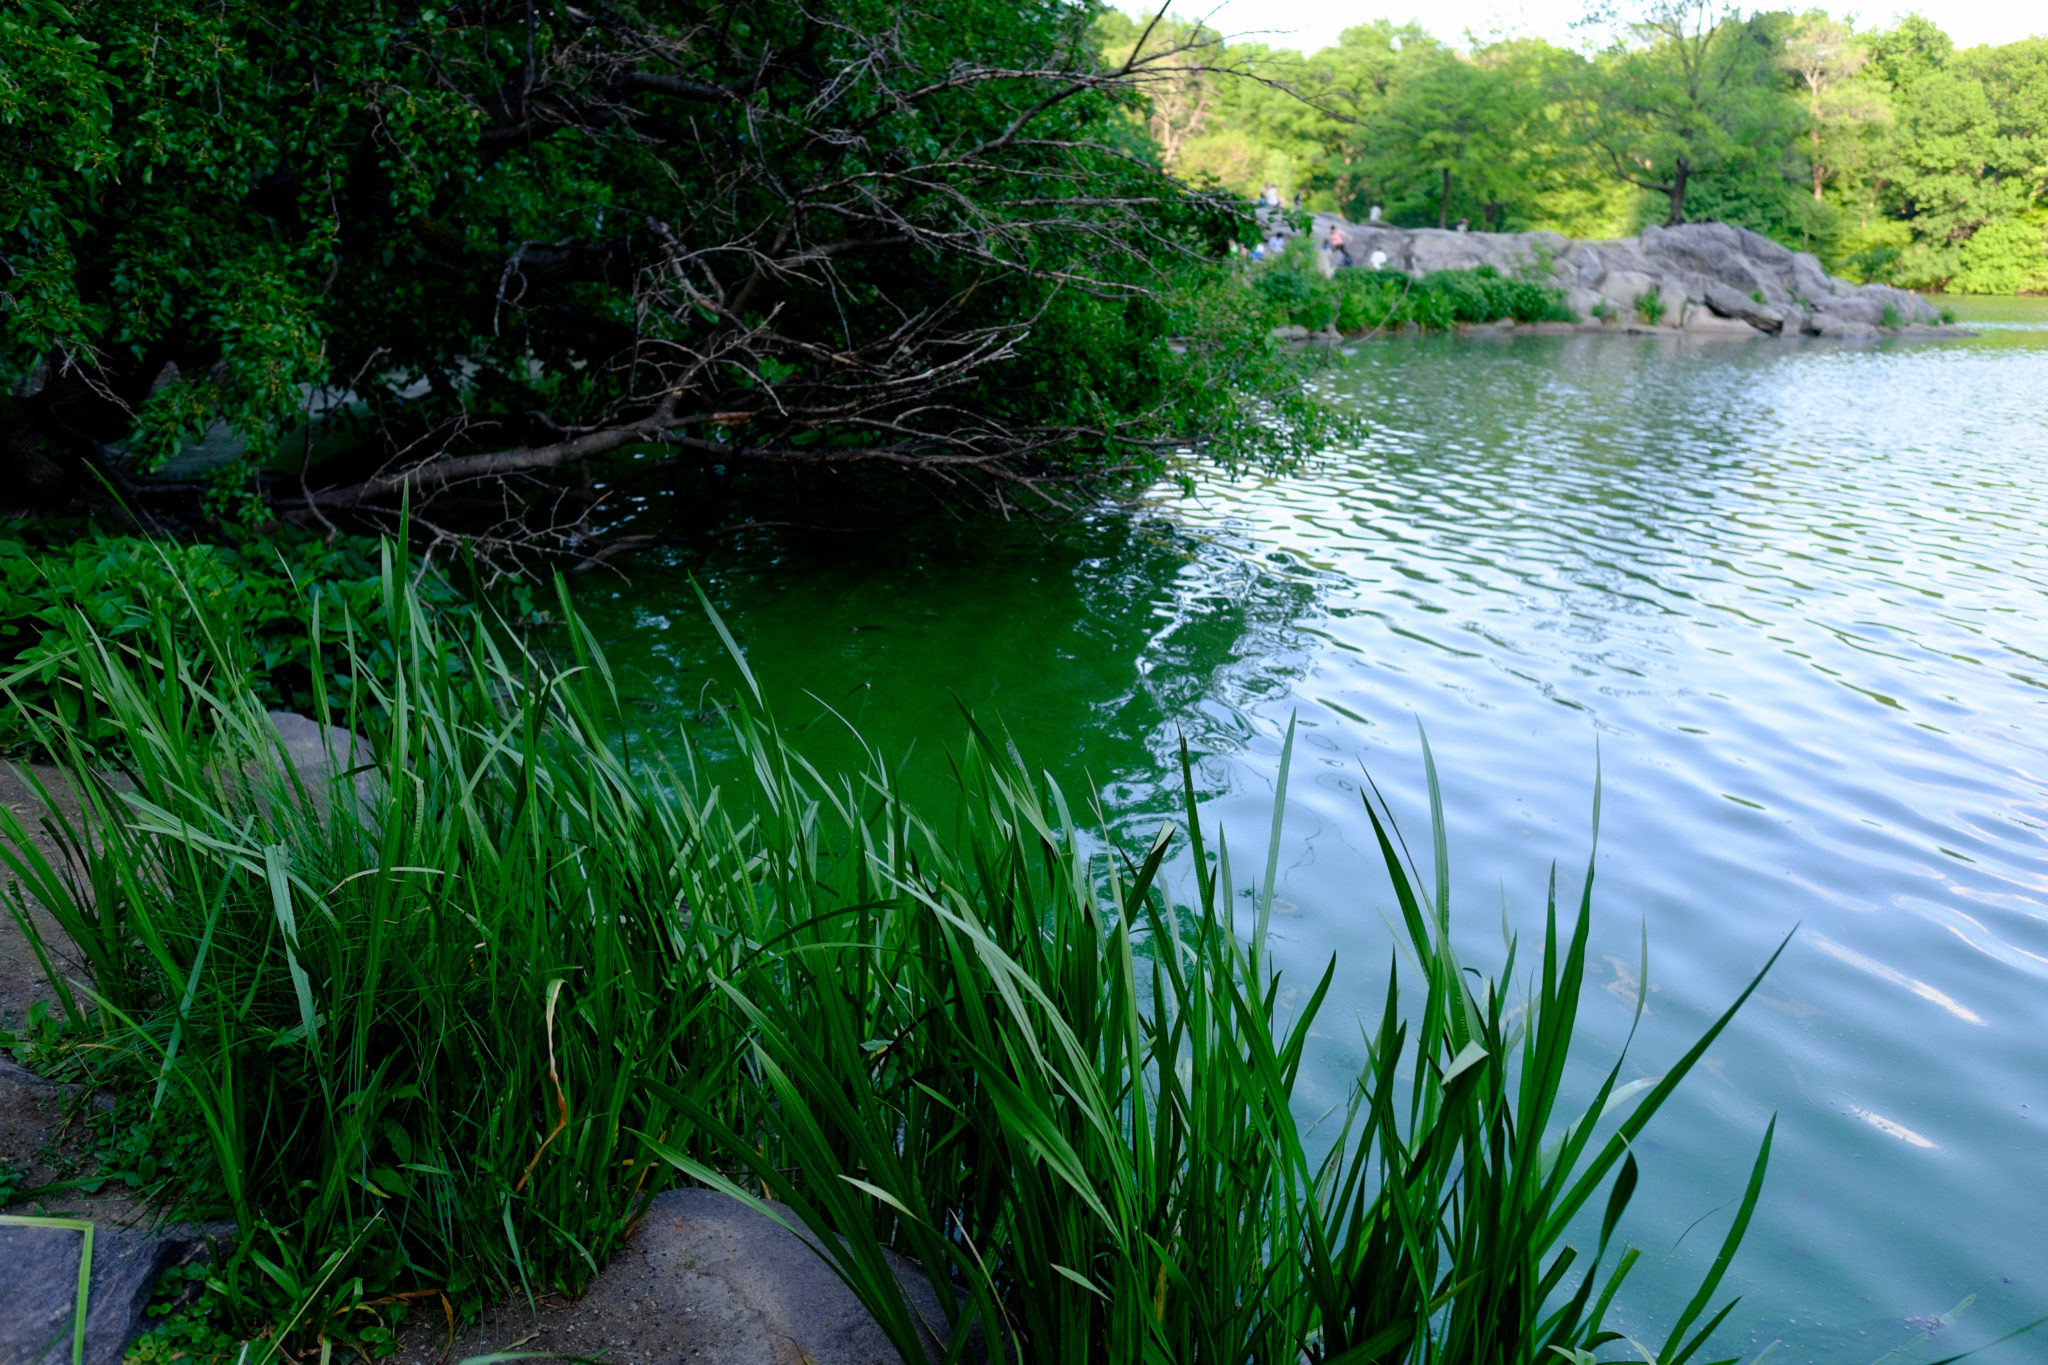
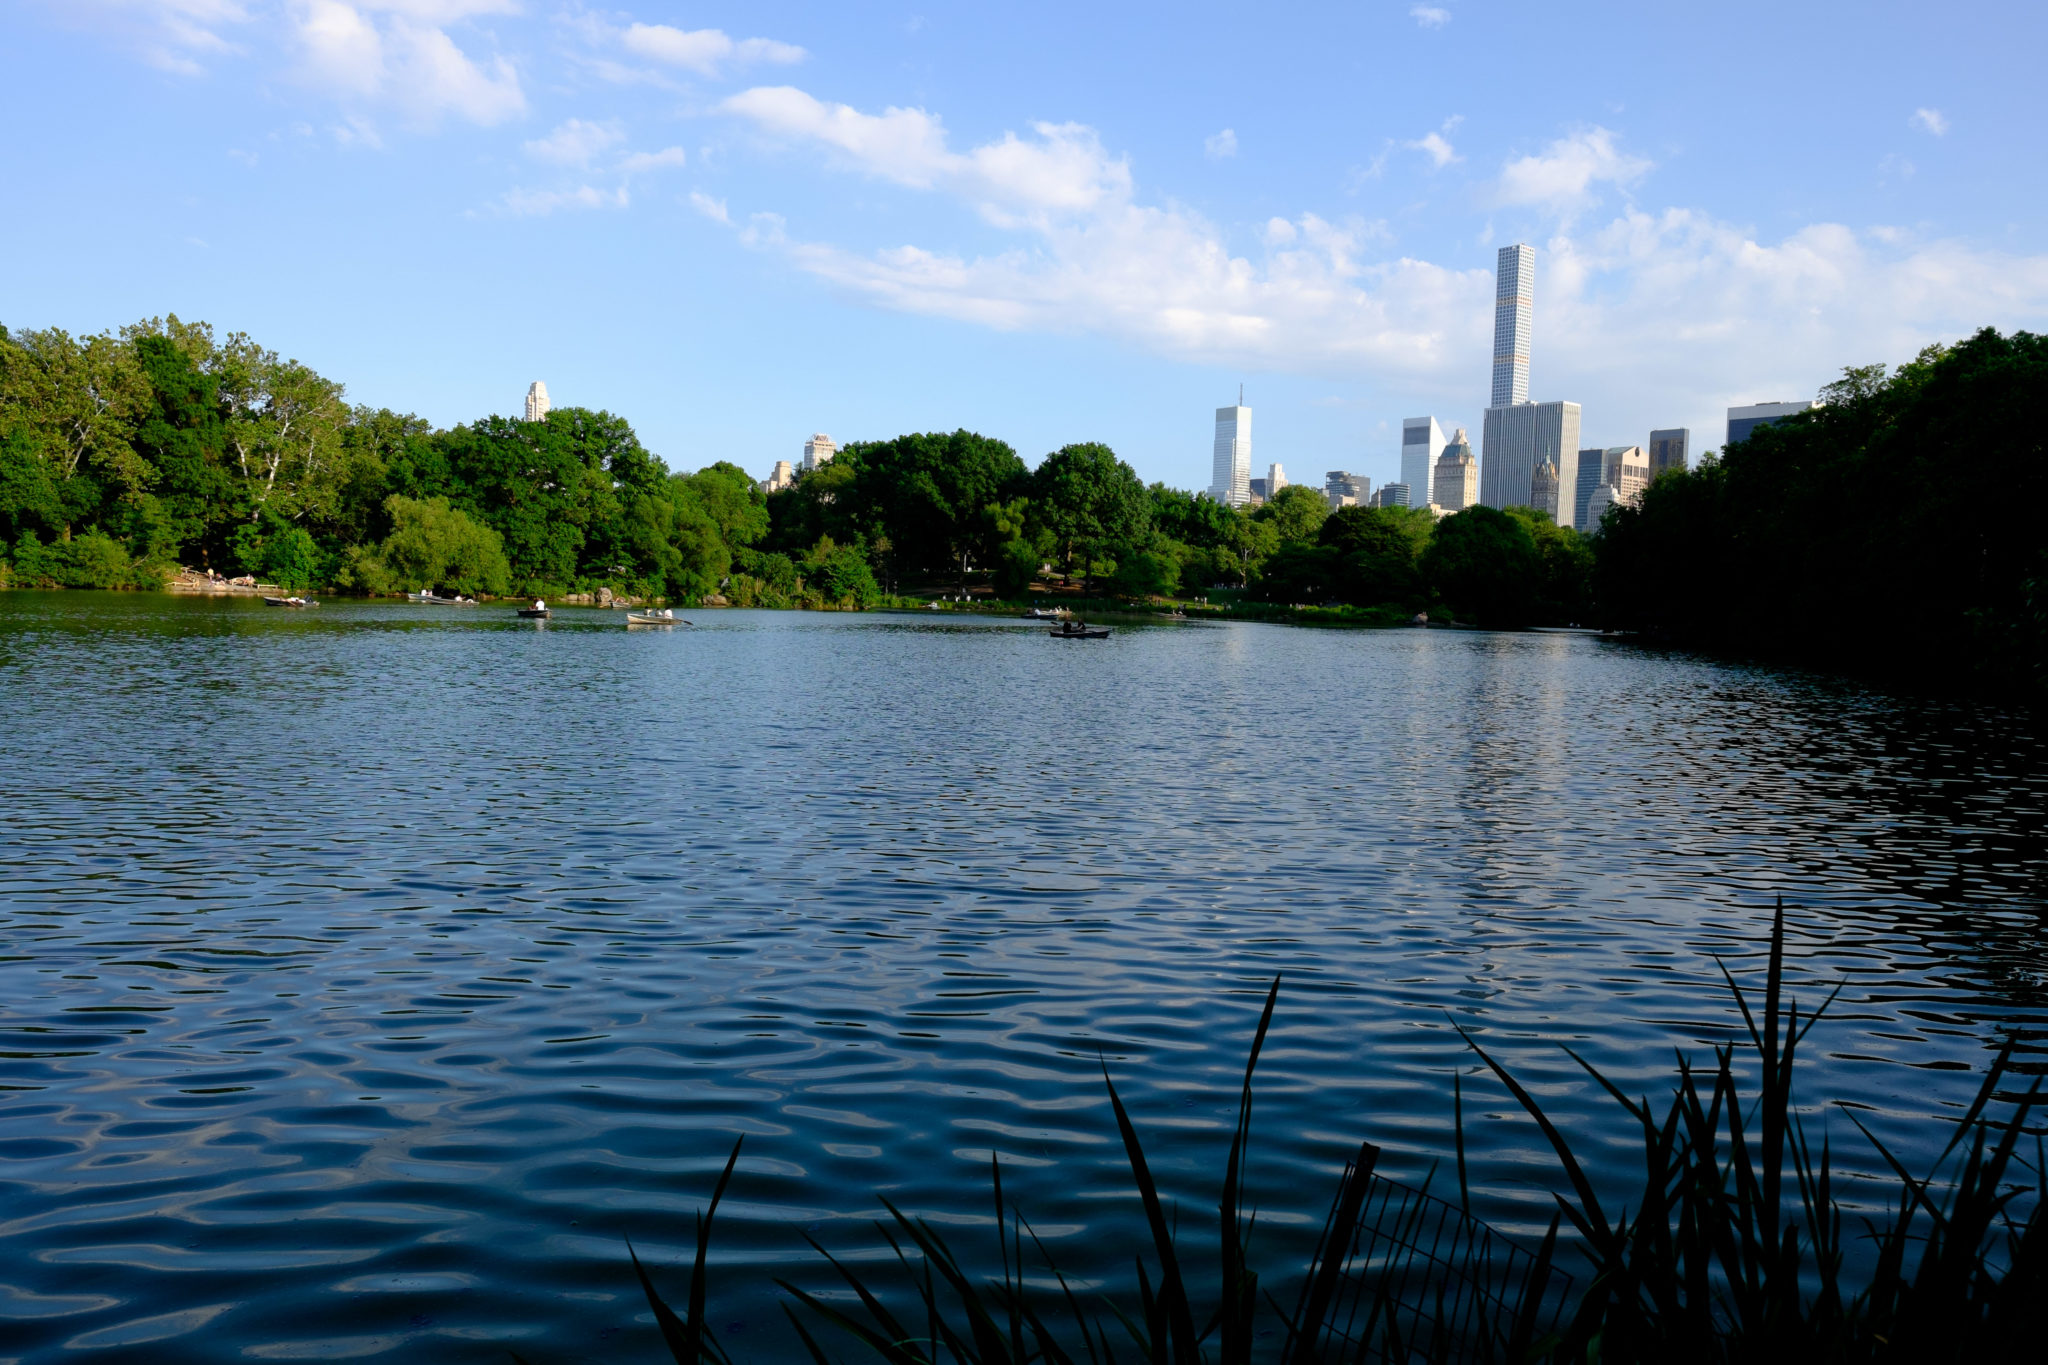
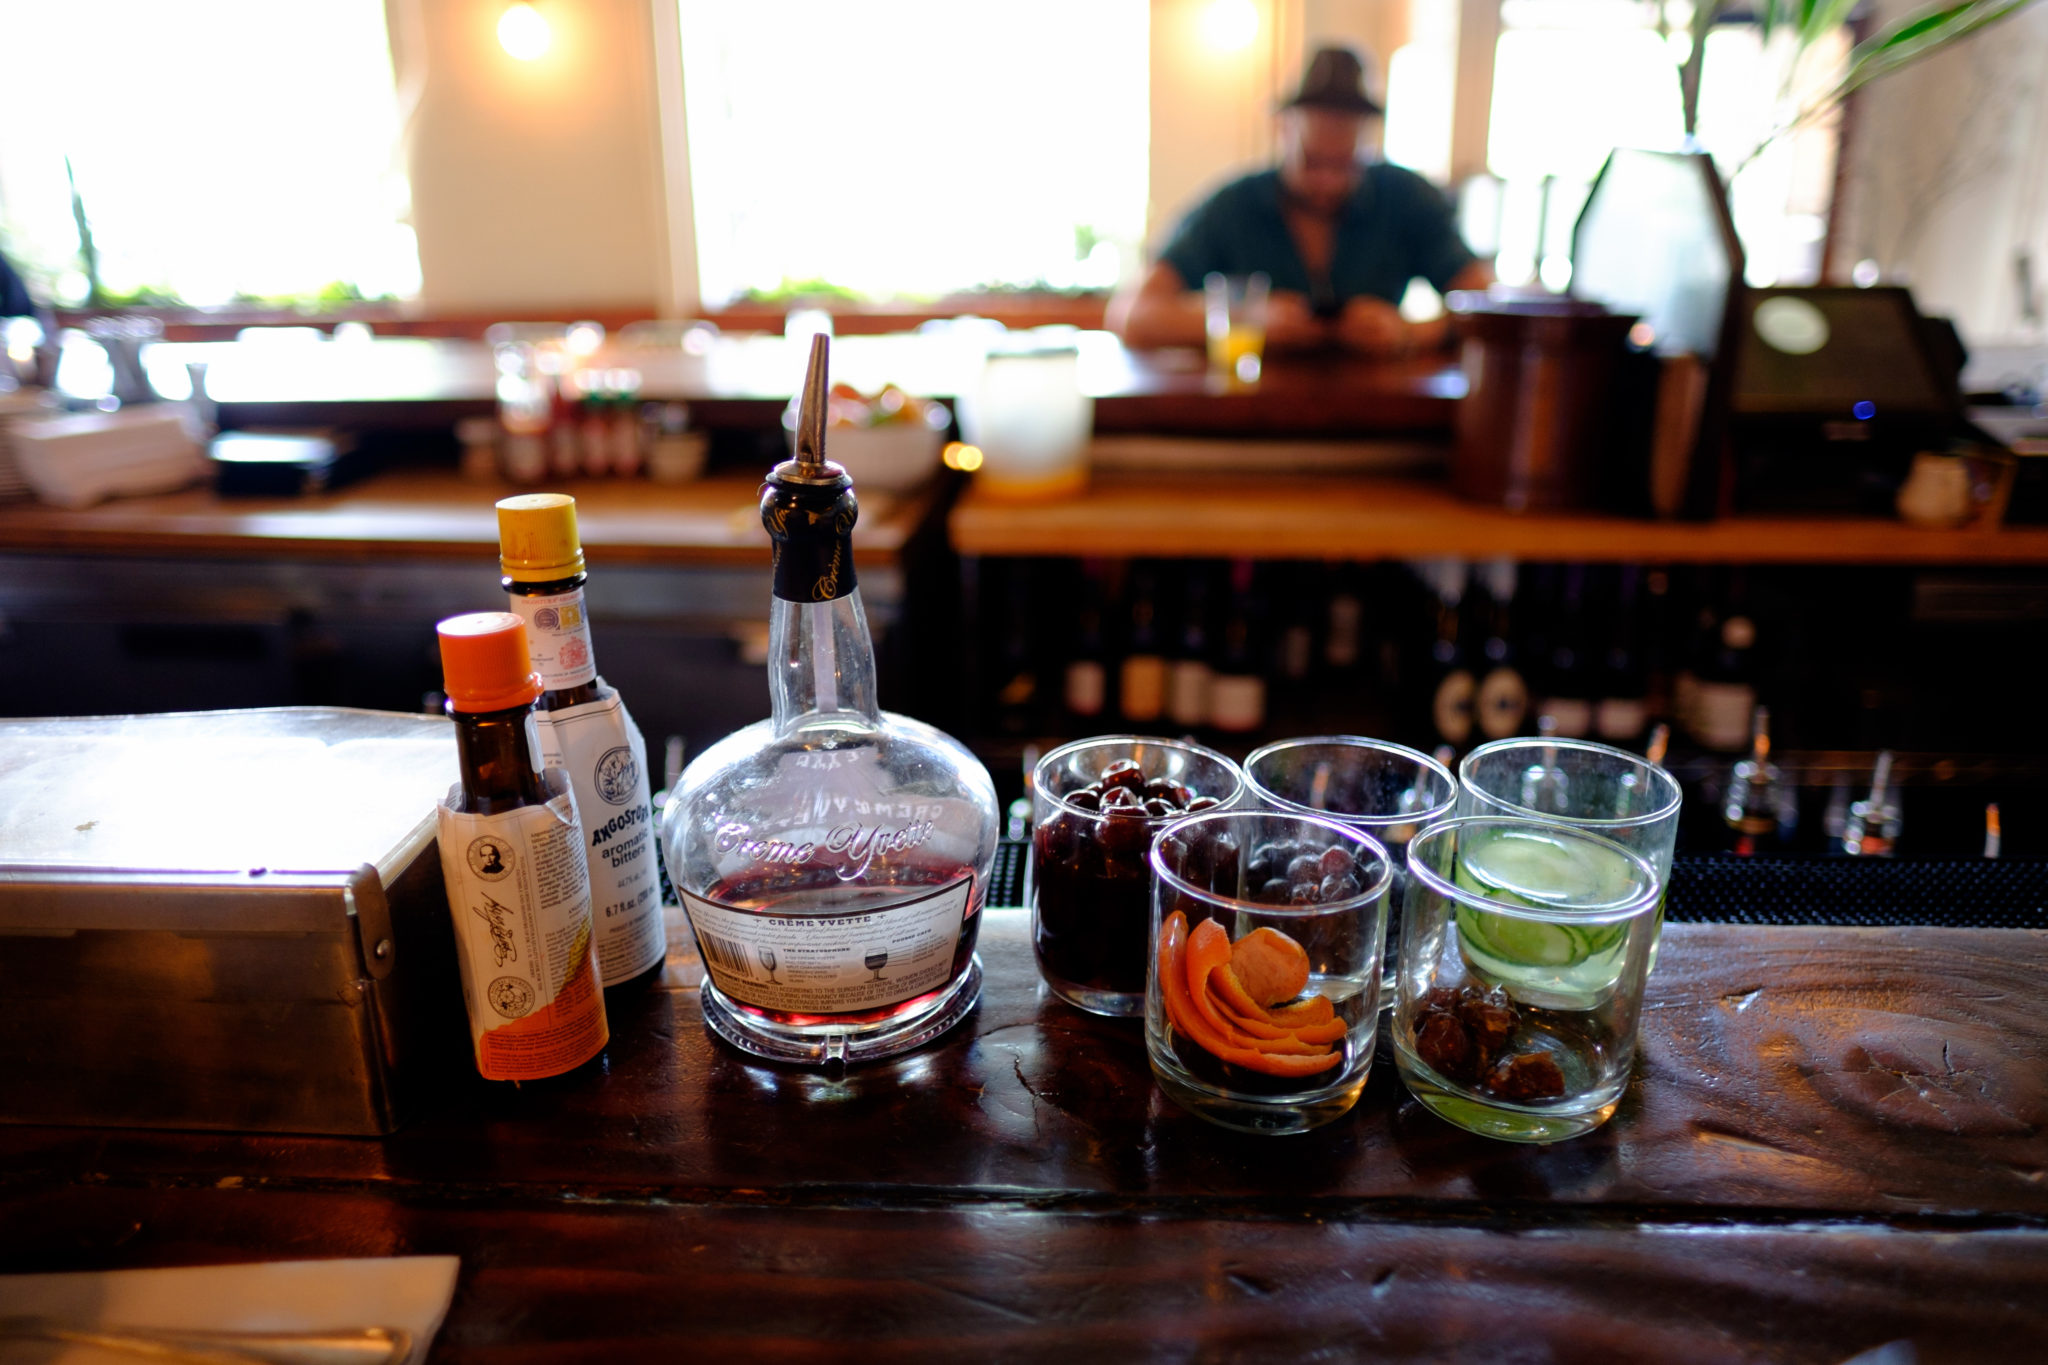
The image above and the two below completely negate the depth of field effects and instead use lighting to get the most from a scene. What do you think was used to shoot them?

Well if you look at the scene, it looks like there is a shallow depth of field because there is bokeh in the background, right? And a Four Thirds sensor can’t do that, right?
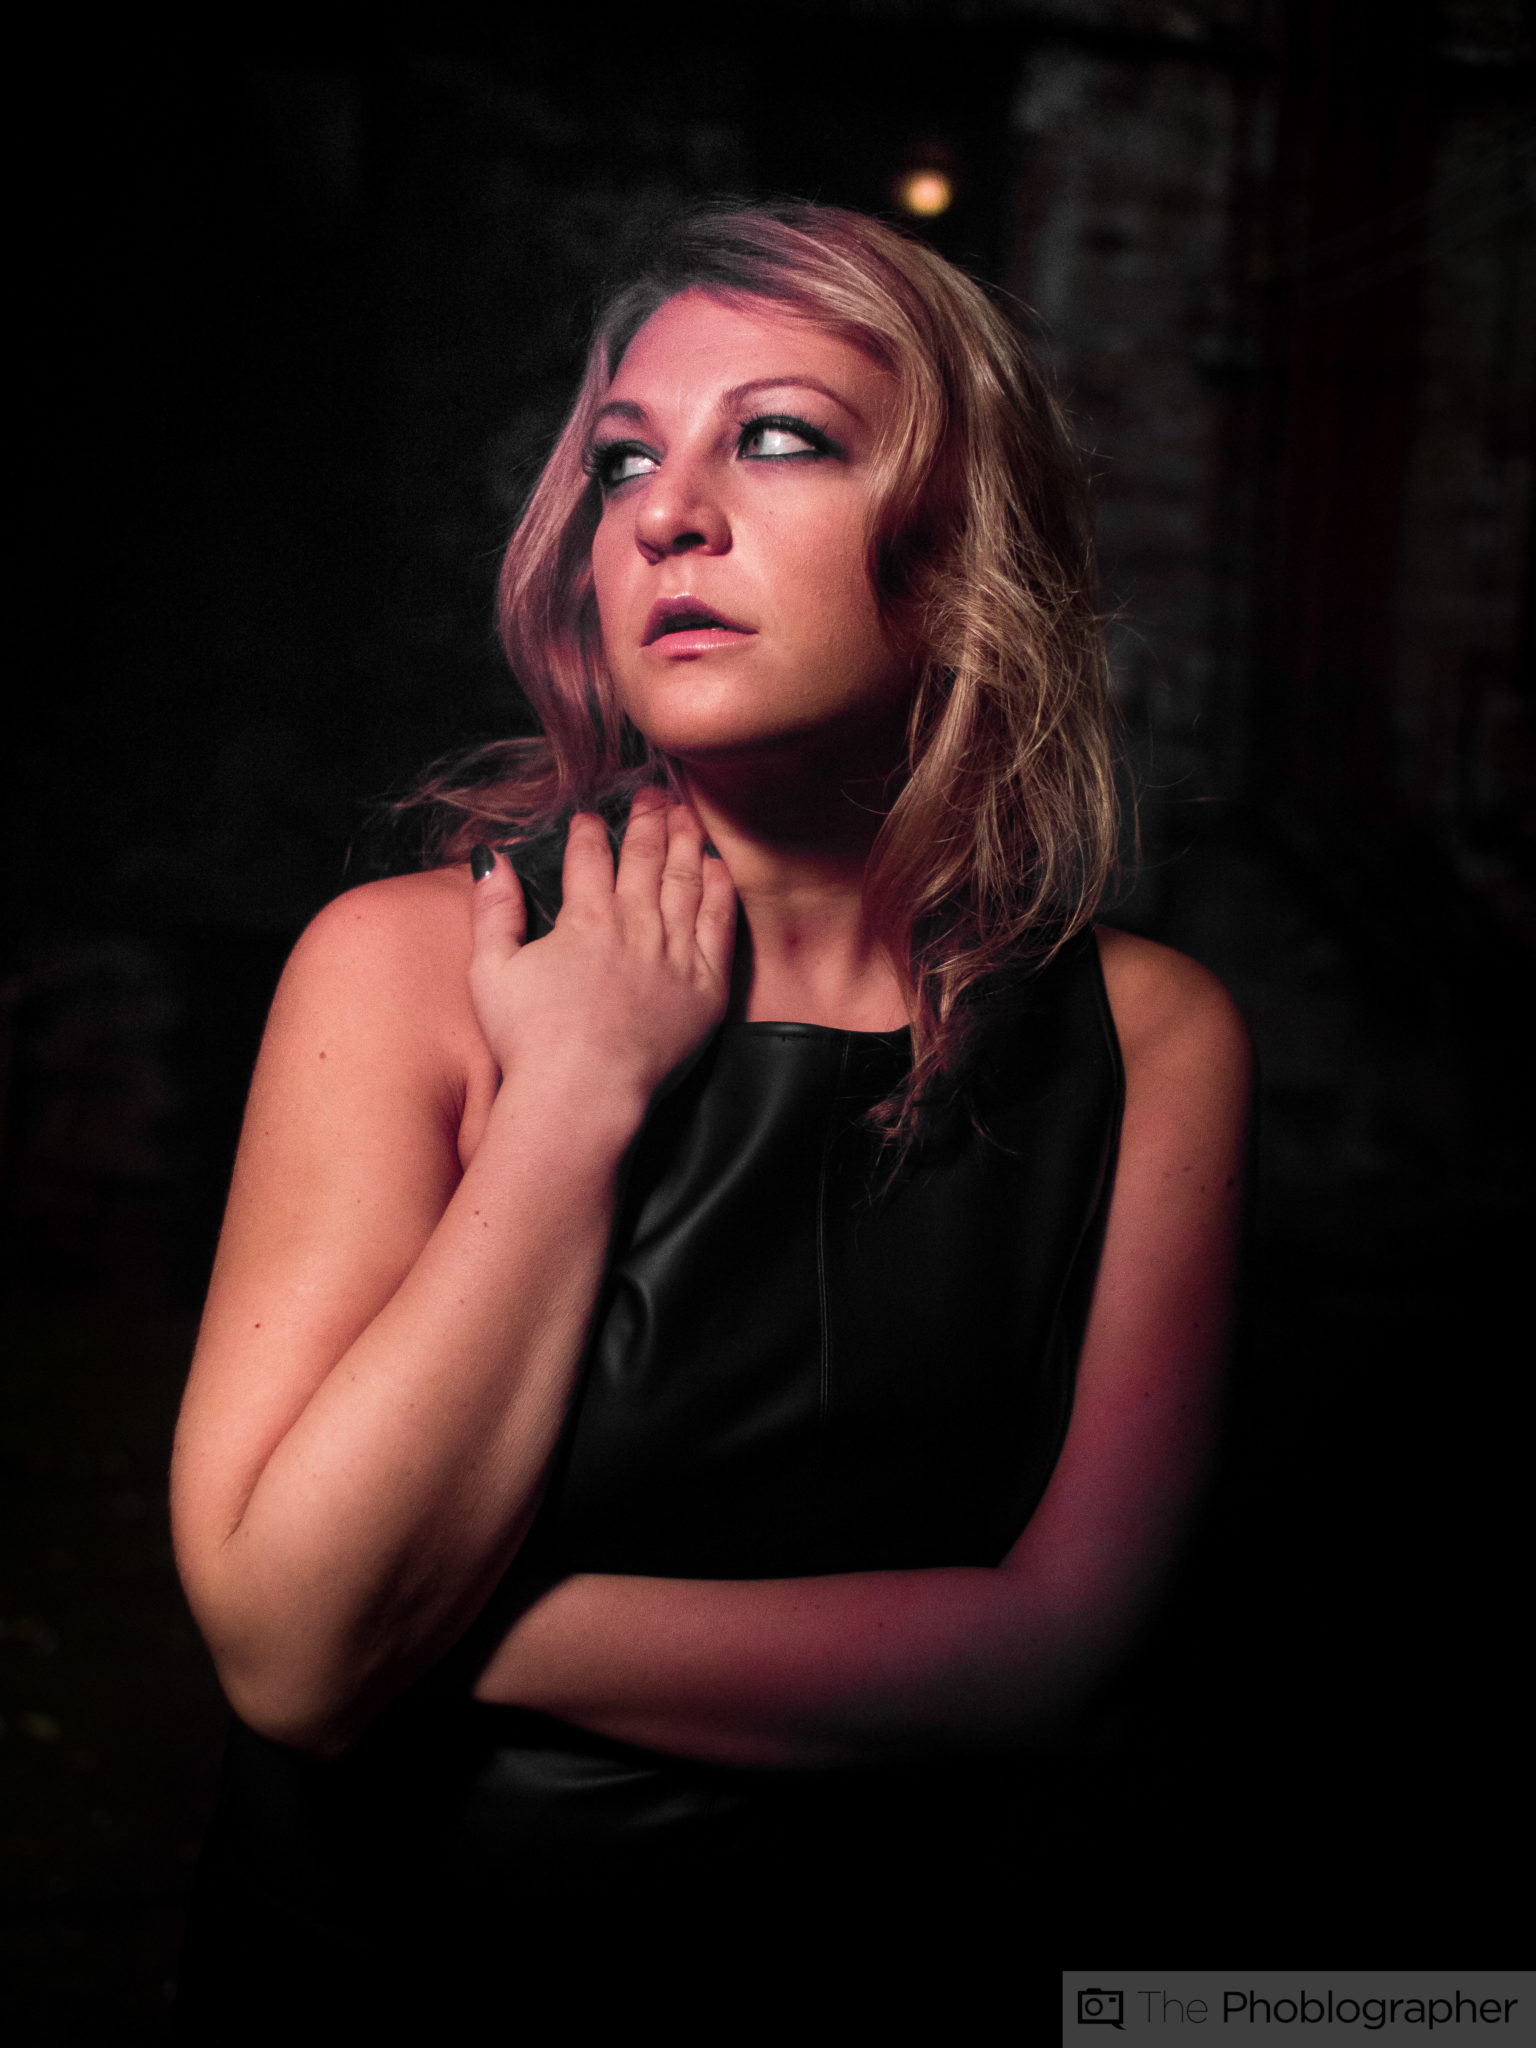
- Get closer to your subject
- Shoot with a shallower aperture
- Shoot with a longer lens to reduce possible distortion
Let me show you more examples.

Flash, The Outdoors, and Understanding Lighting
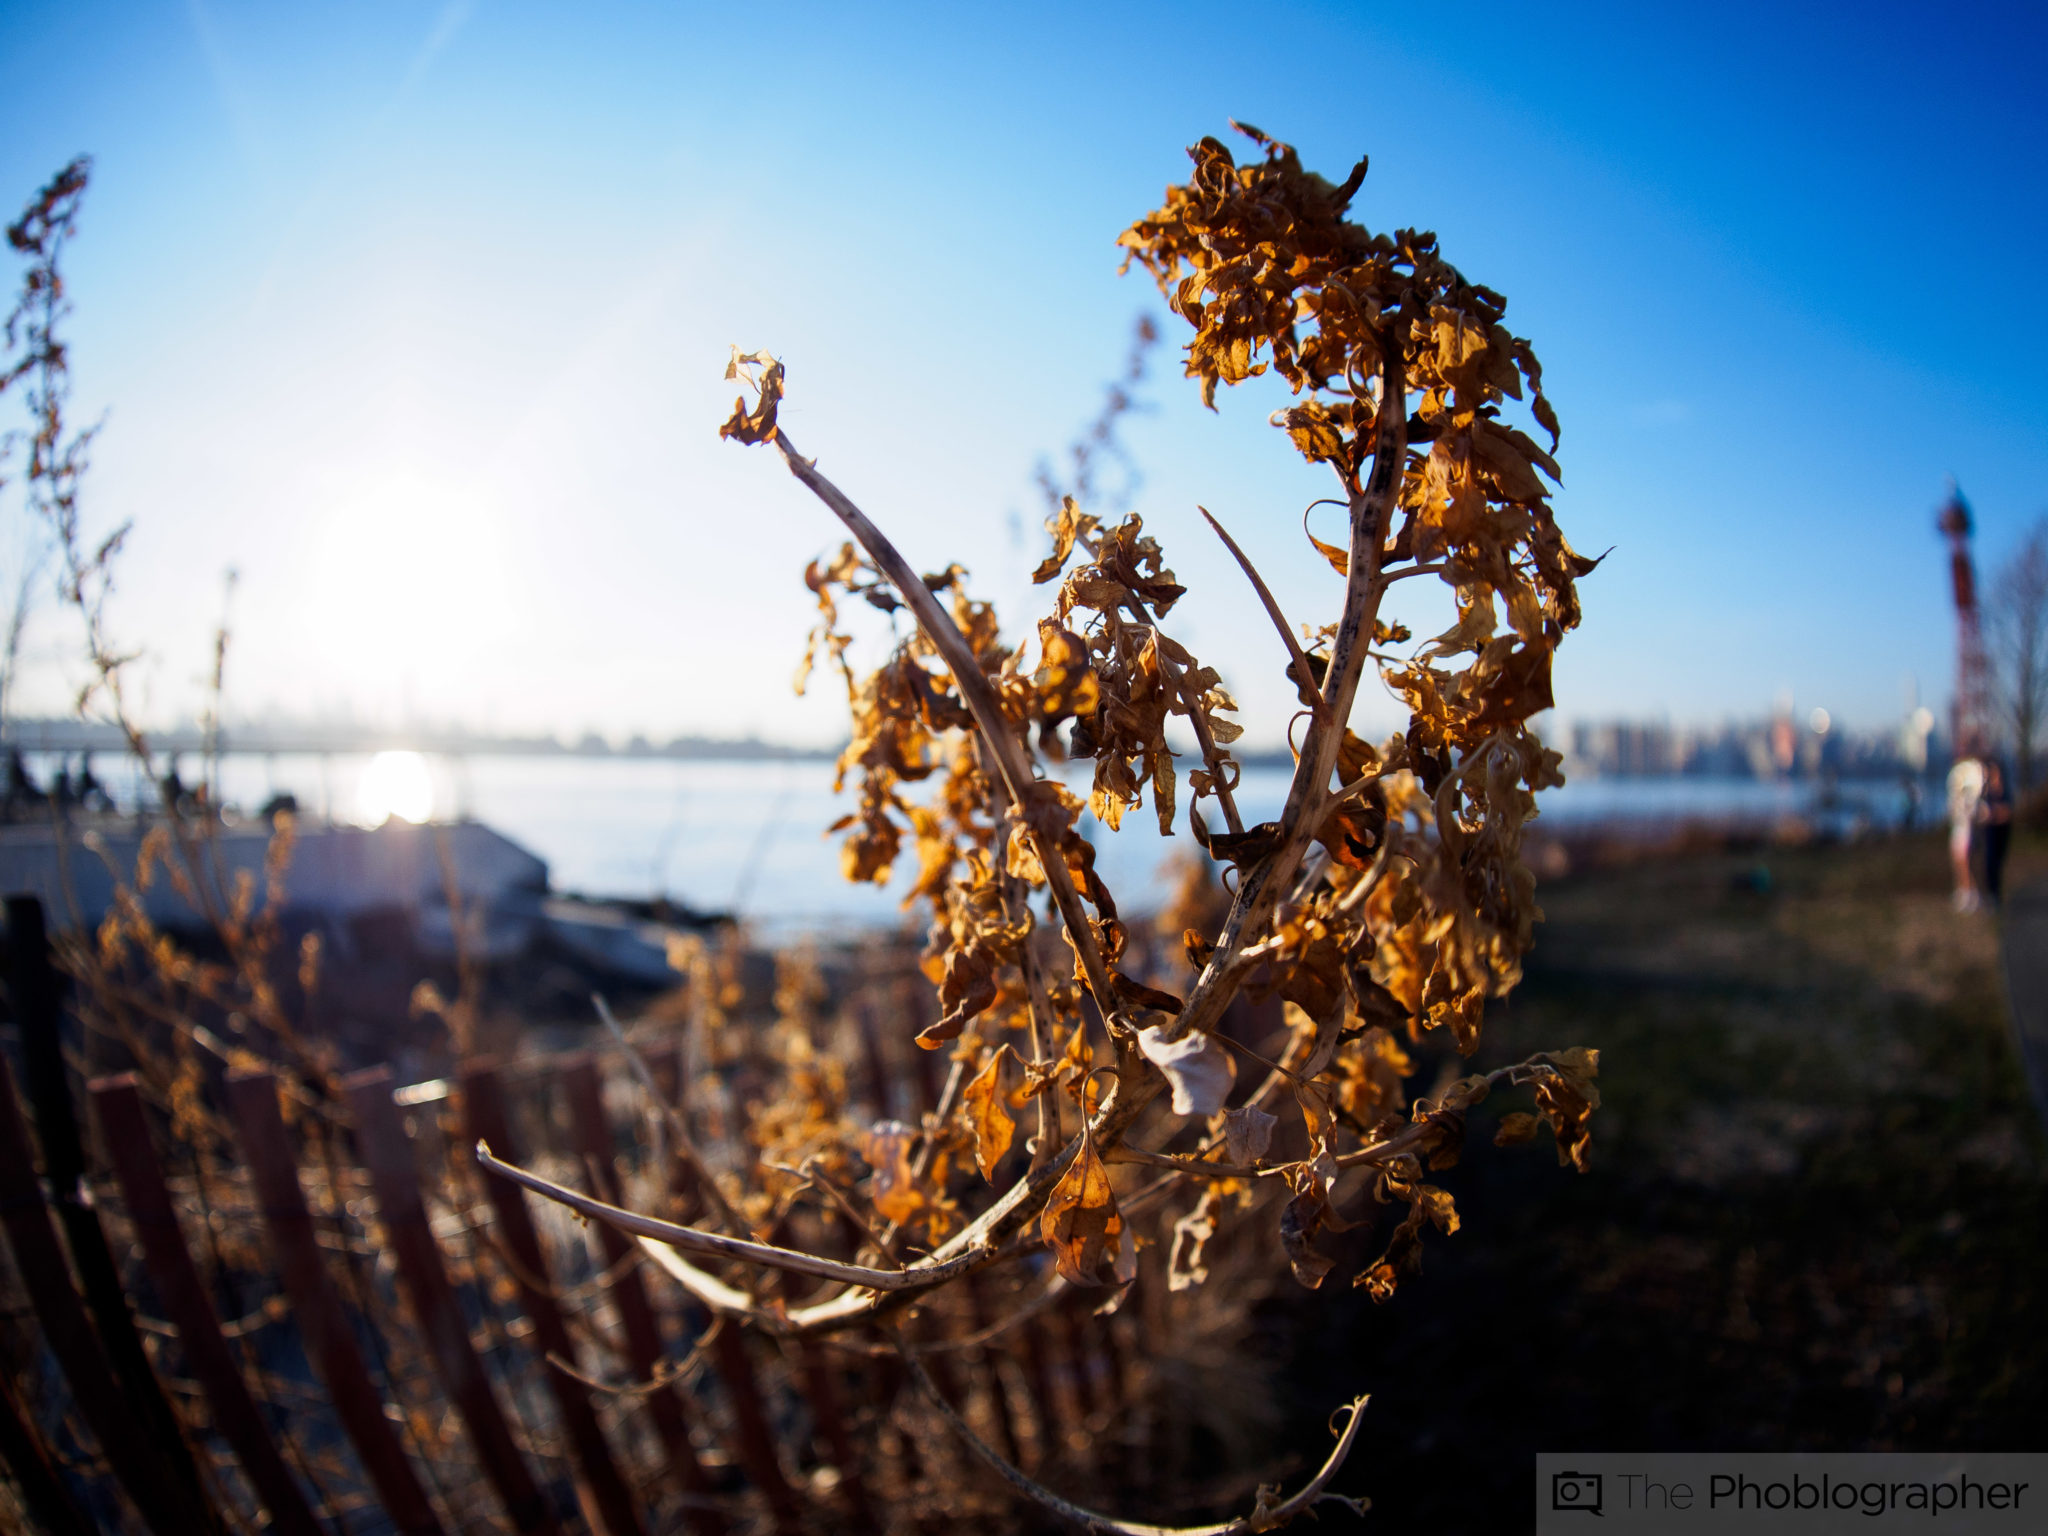
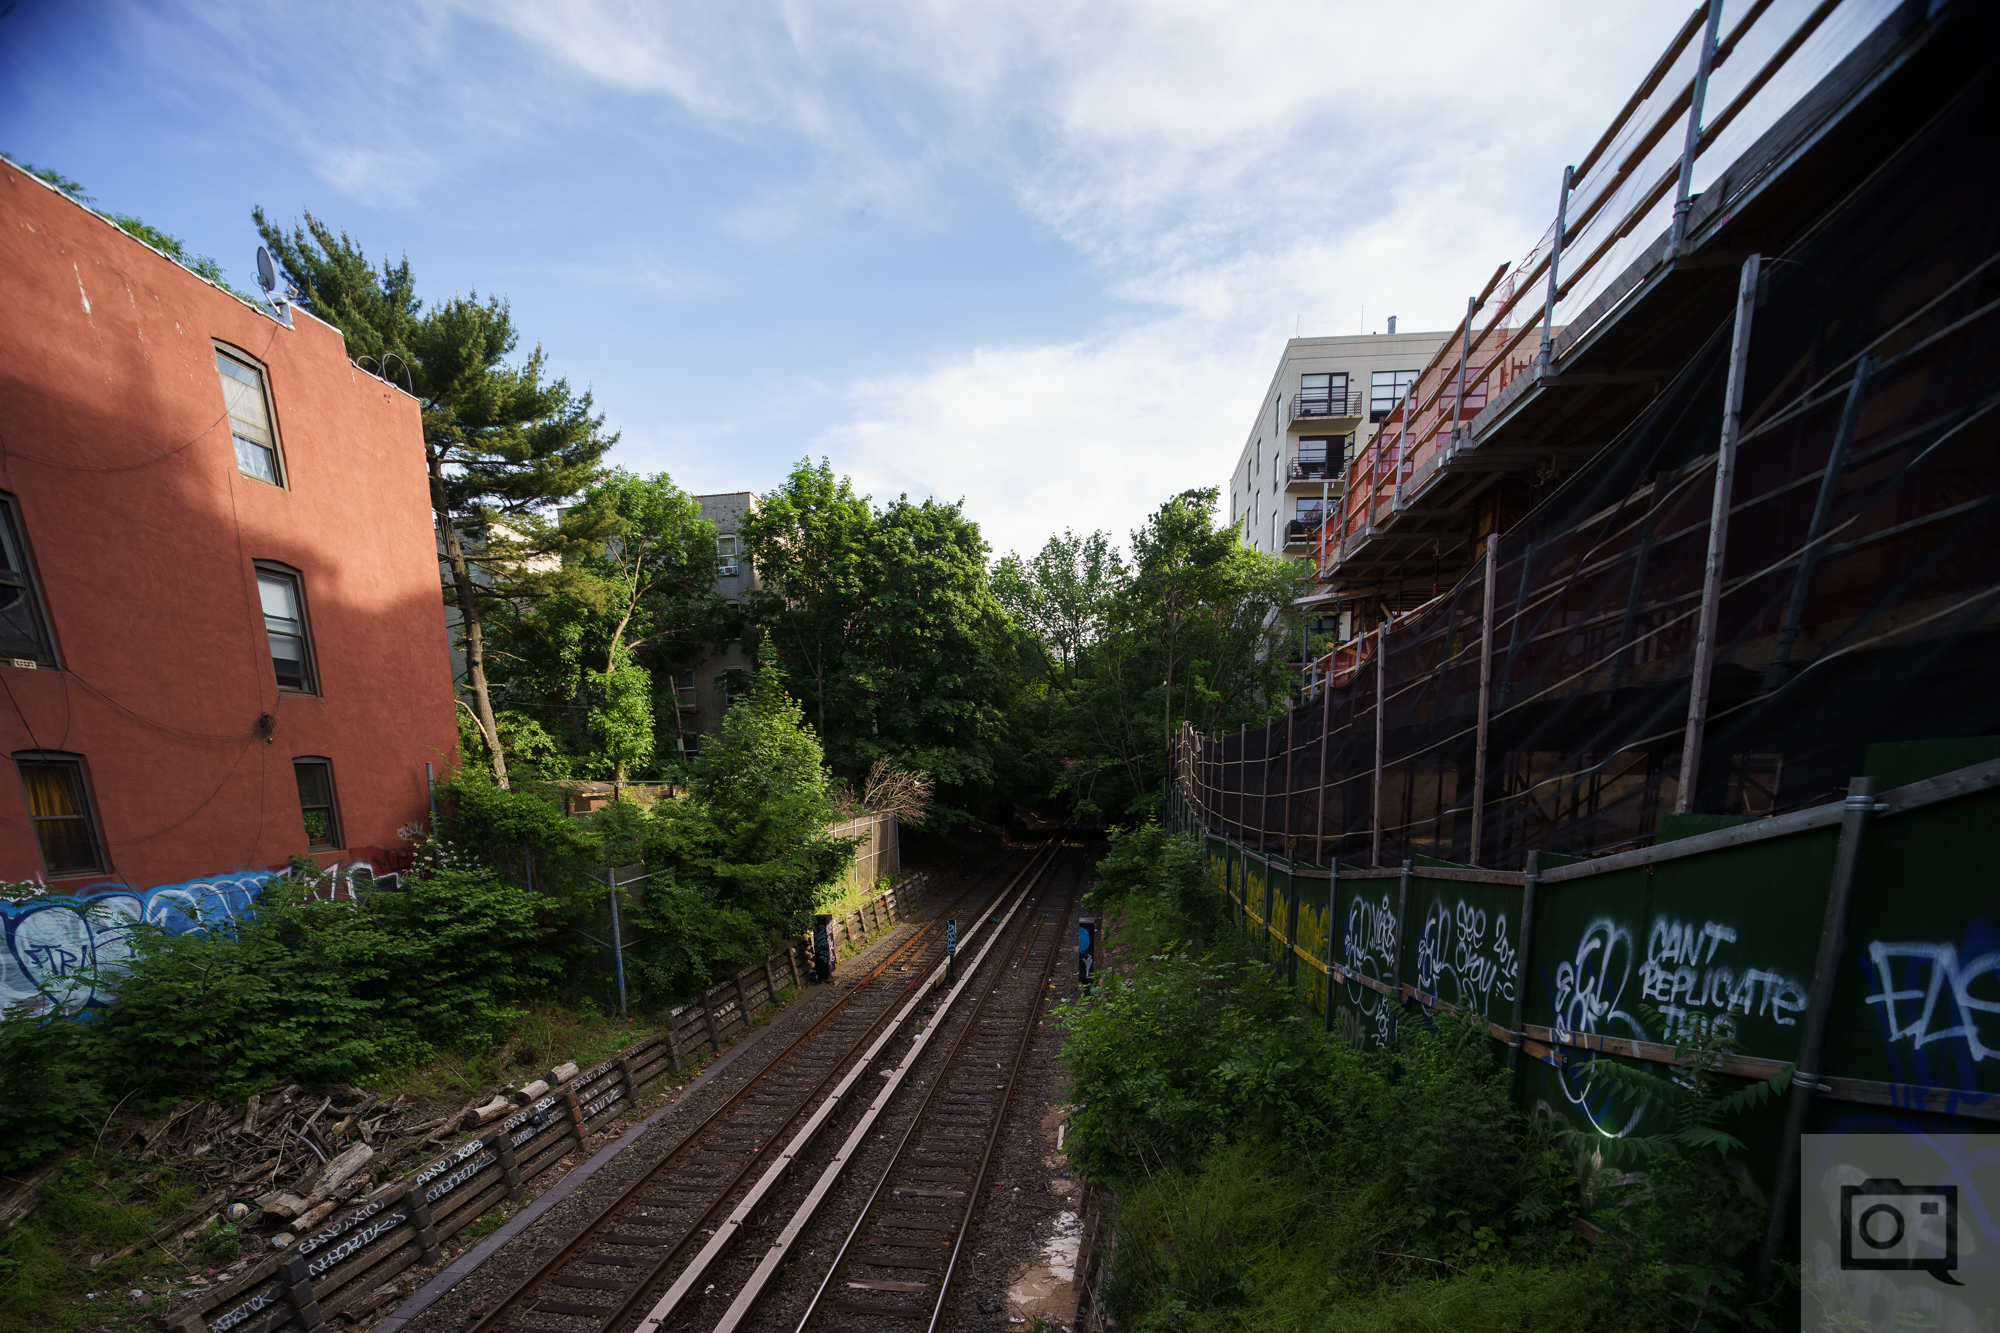
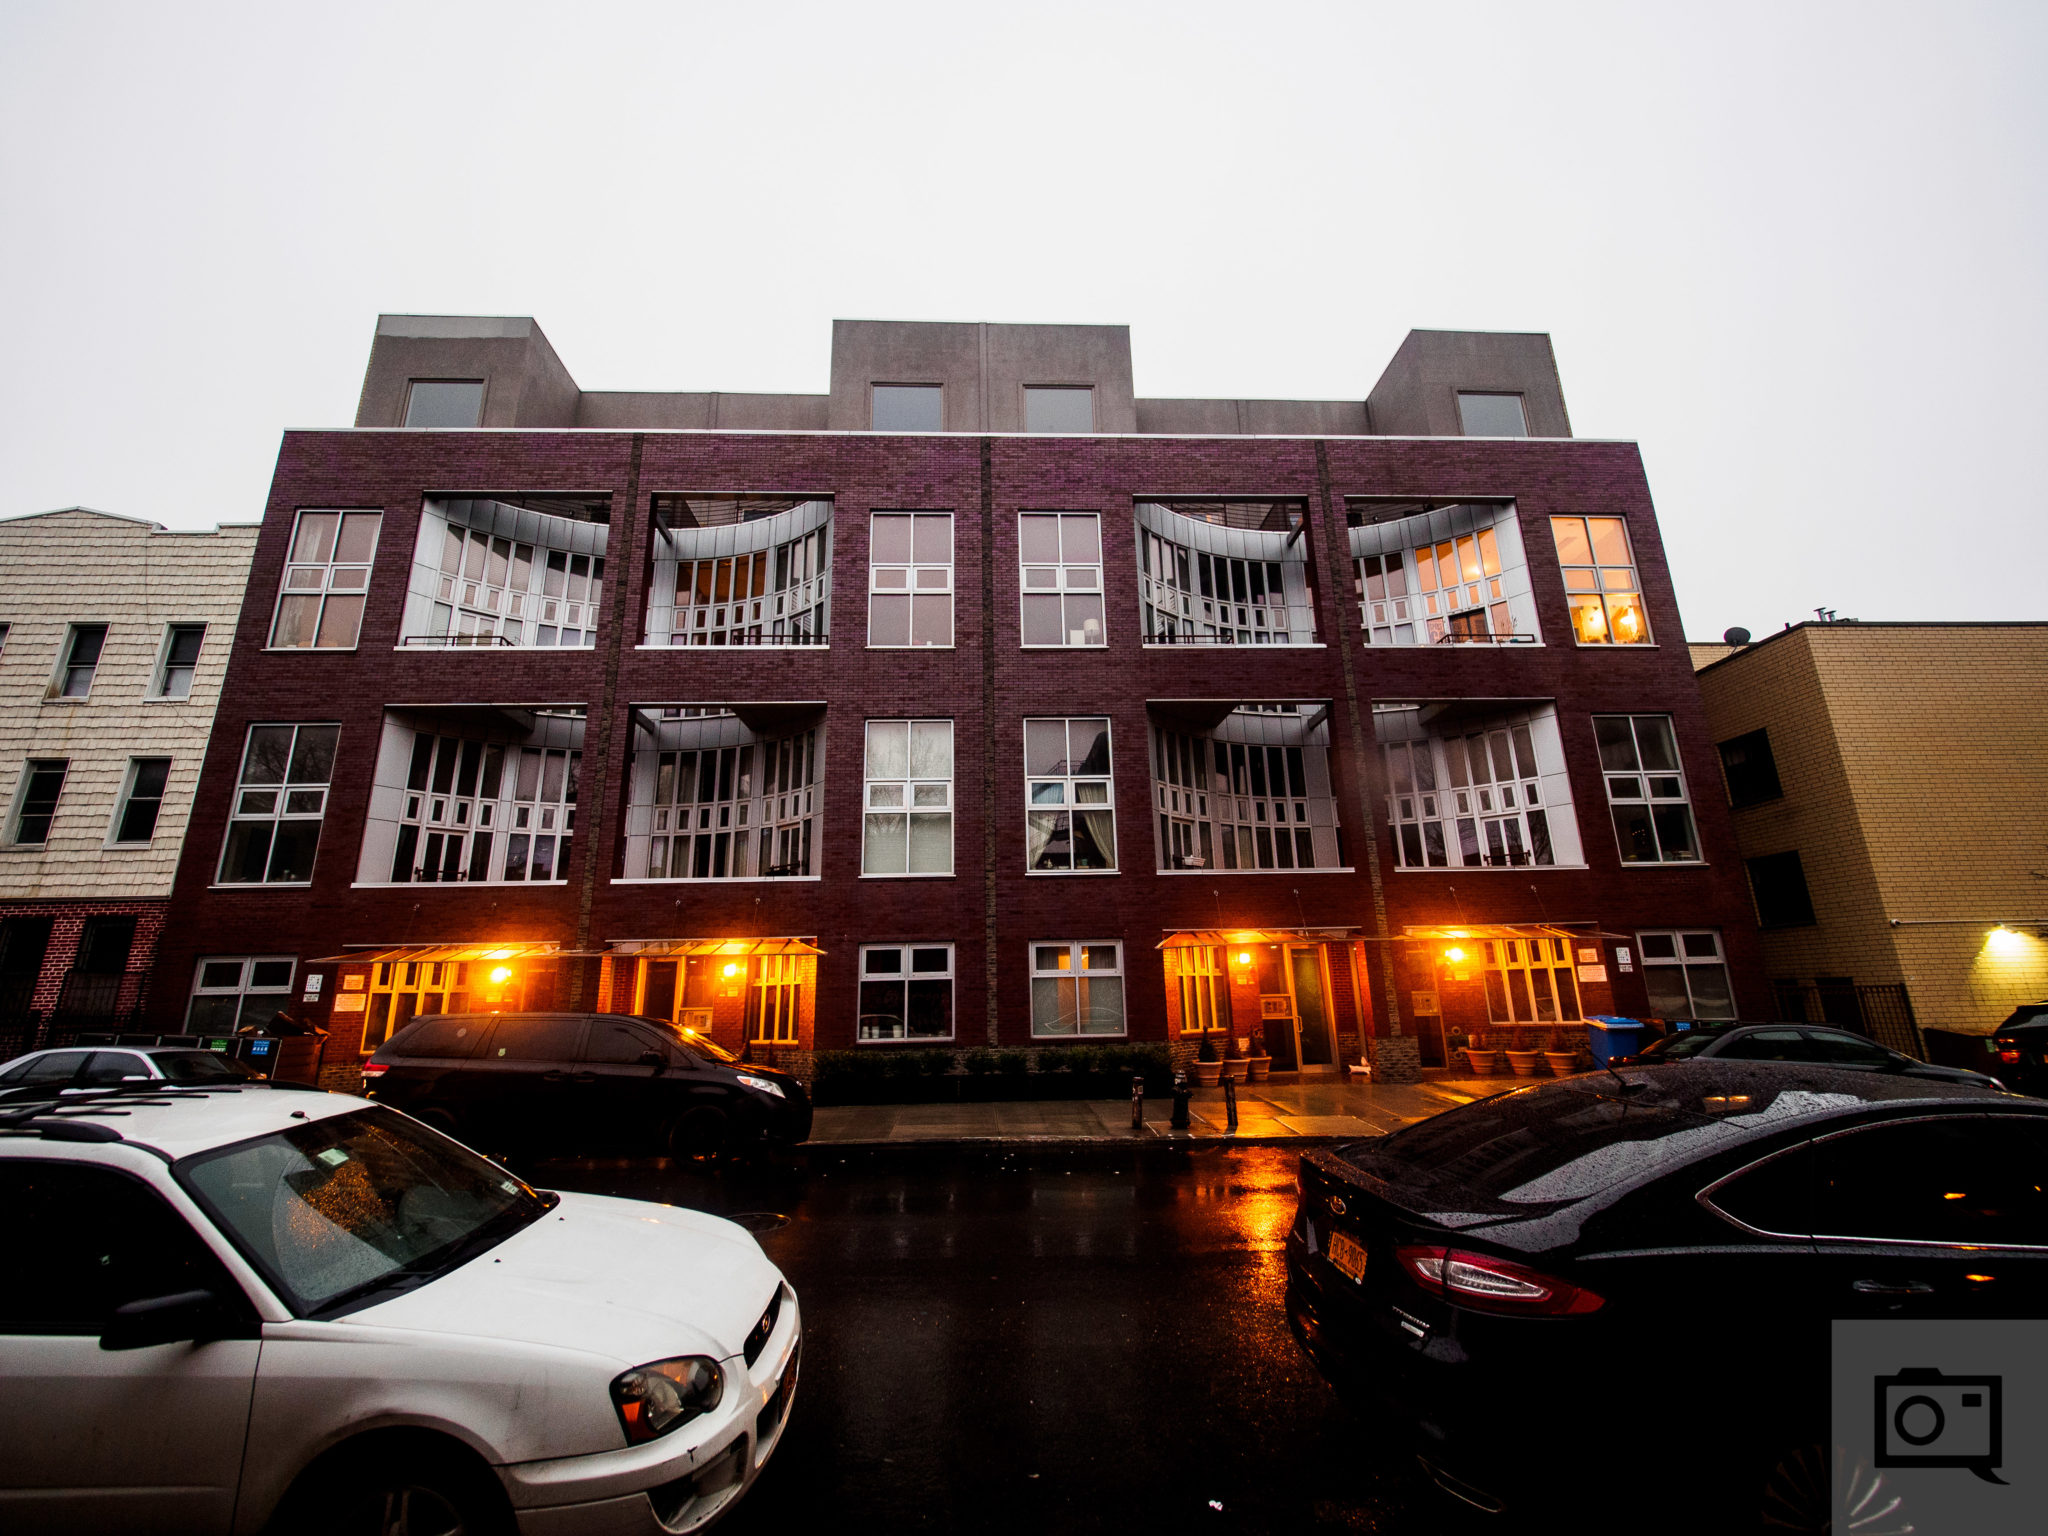
There’s a lot more than just bokeh to the full frame look though. It has to do with beautiful colors, a crisp image, and overall gorgeous looks. With an image like this you can kind of tell it’s done with a Micro Four Thirds camera because of the distortion from the 7-14mm lens.
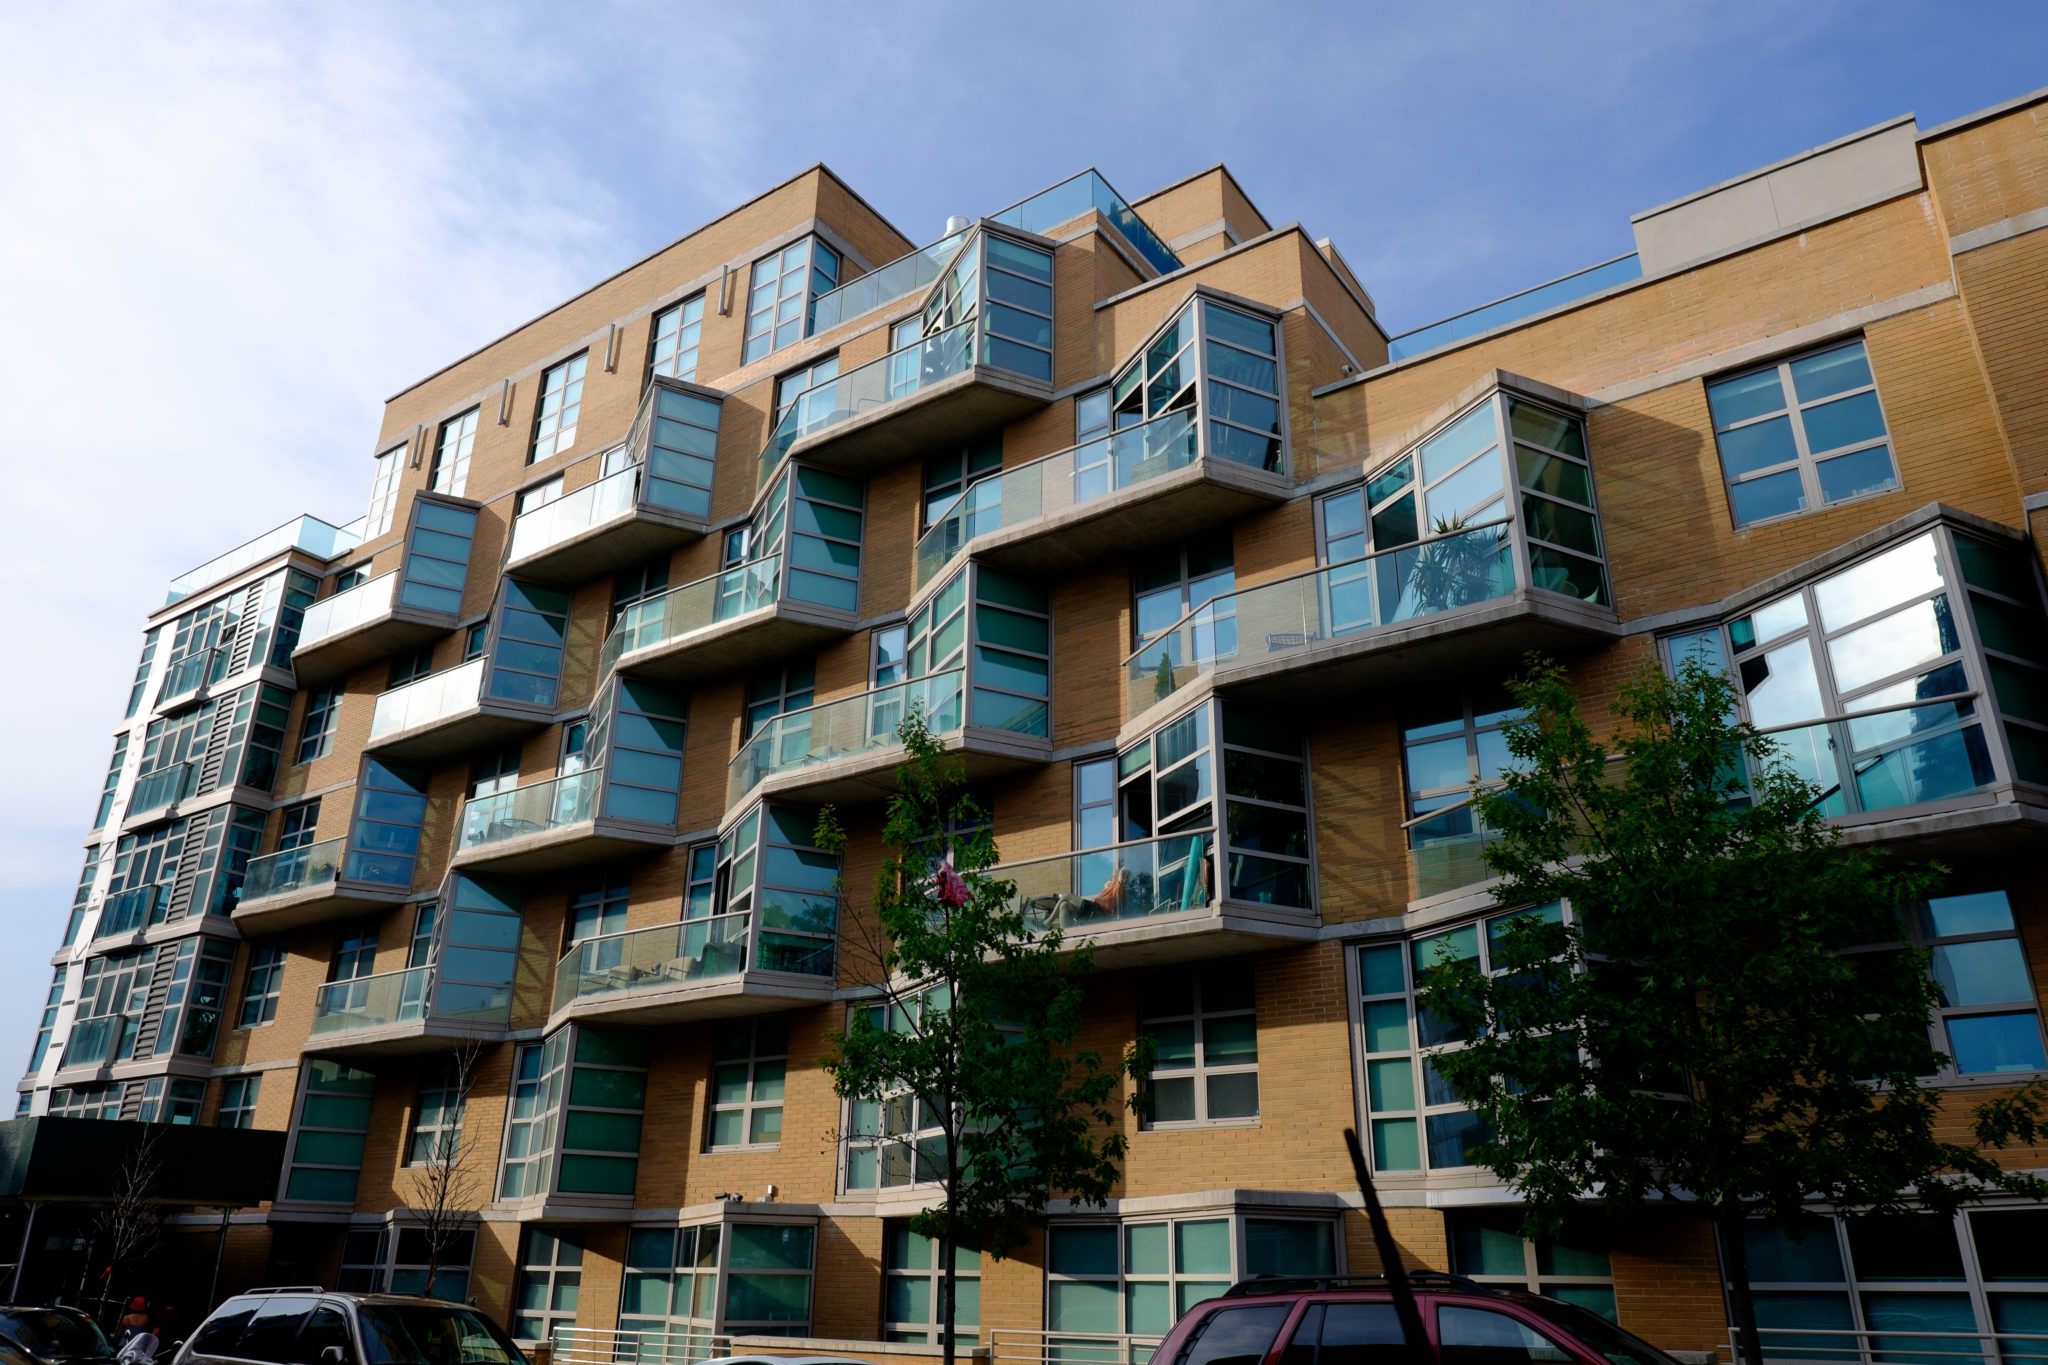
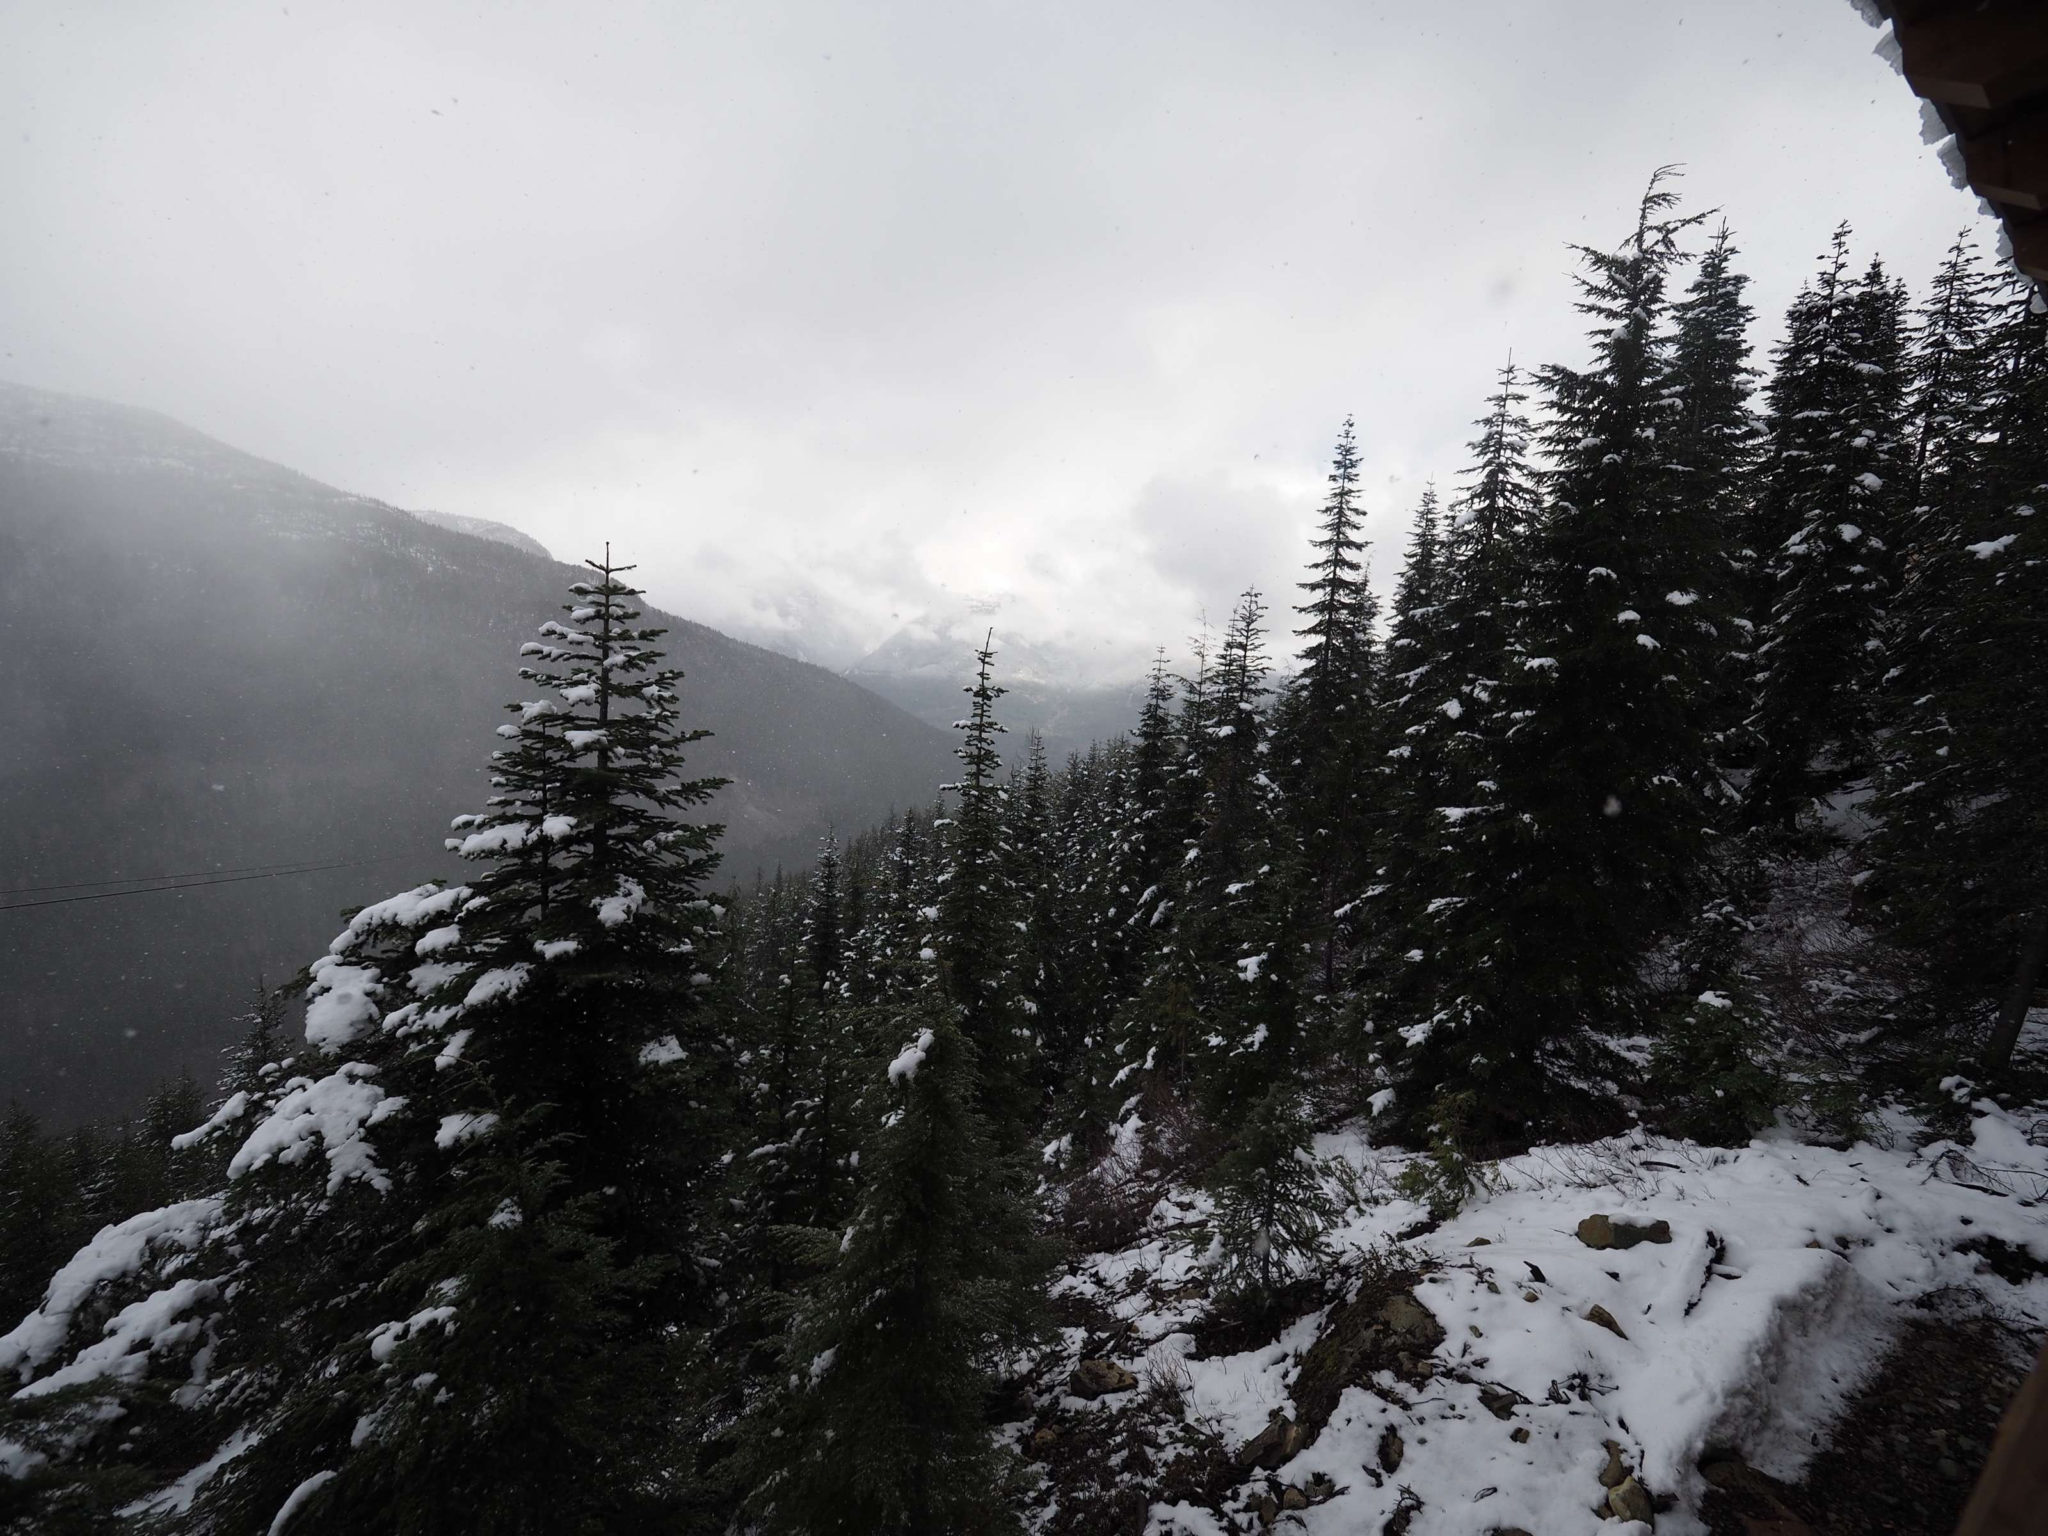
This image above and the ones below is are very clearly from a full frame sensor though, right? Yes. They indeed are! This is what 15mm looks like on full frame when very up close to a subject–lots less distortion right? That’s because a 7mm lens will still act like and be a 7mm lens overall. But that doesn’t meant that Olympus, Fujifilm, and others won’t still try to over-engineer their lenses.
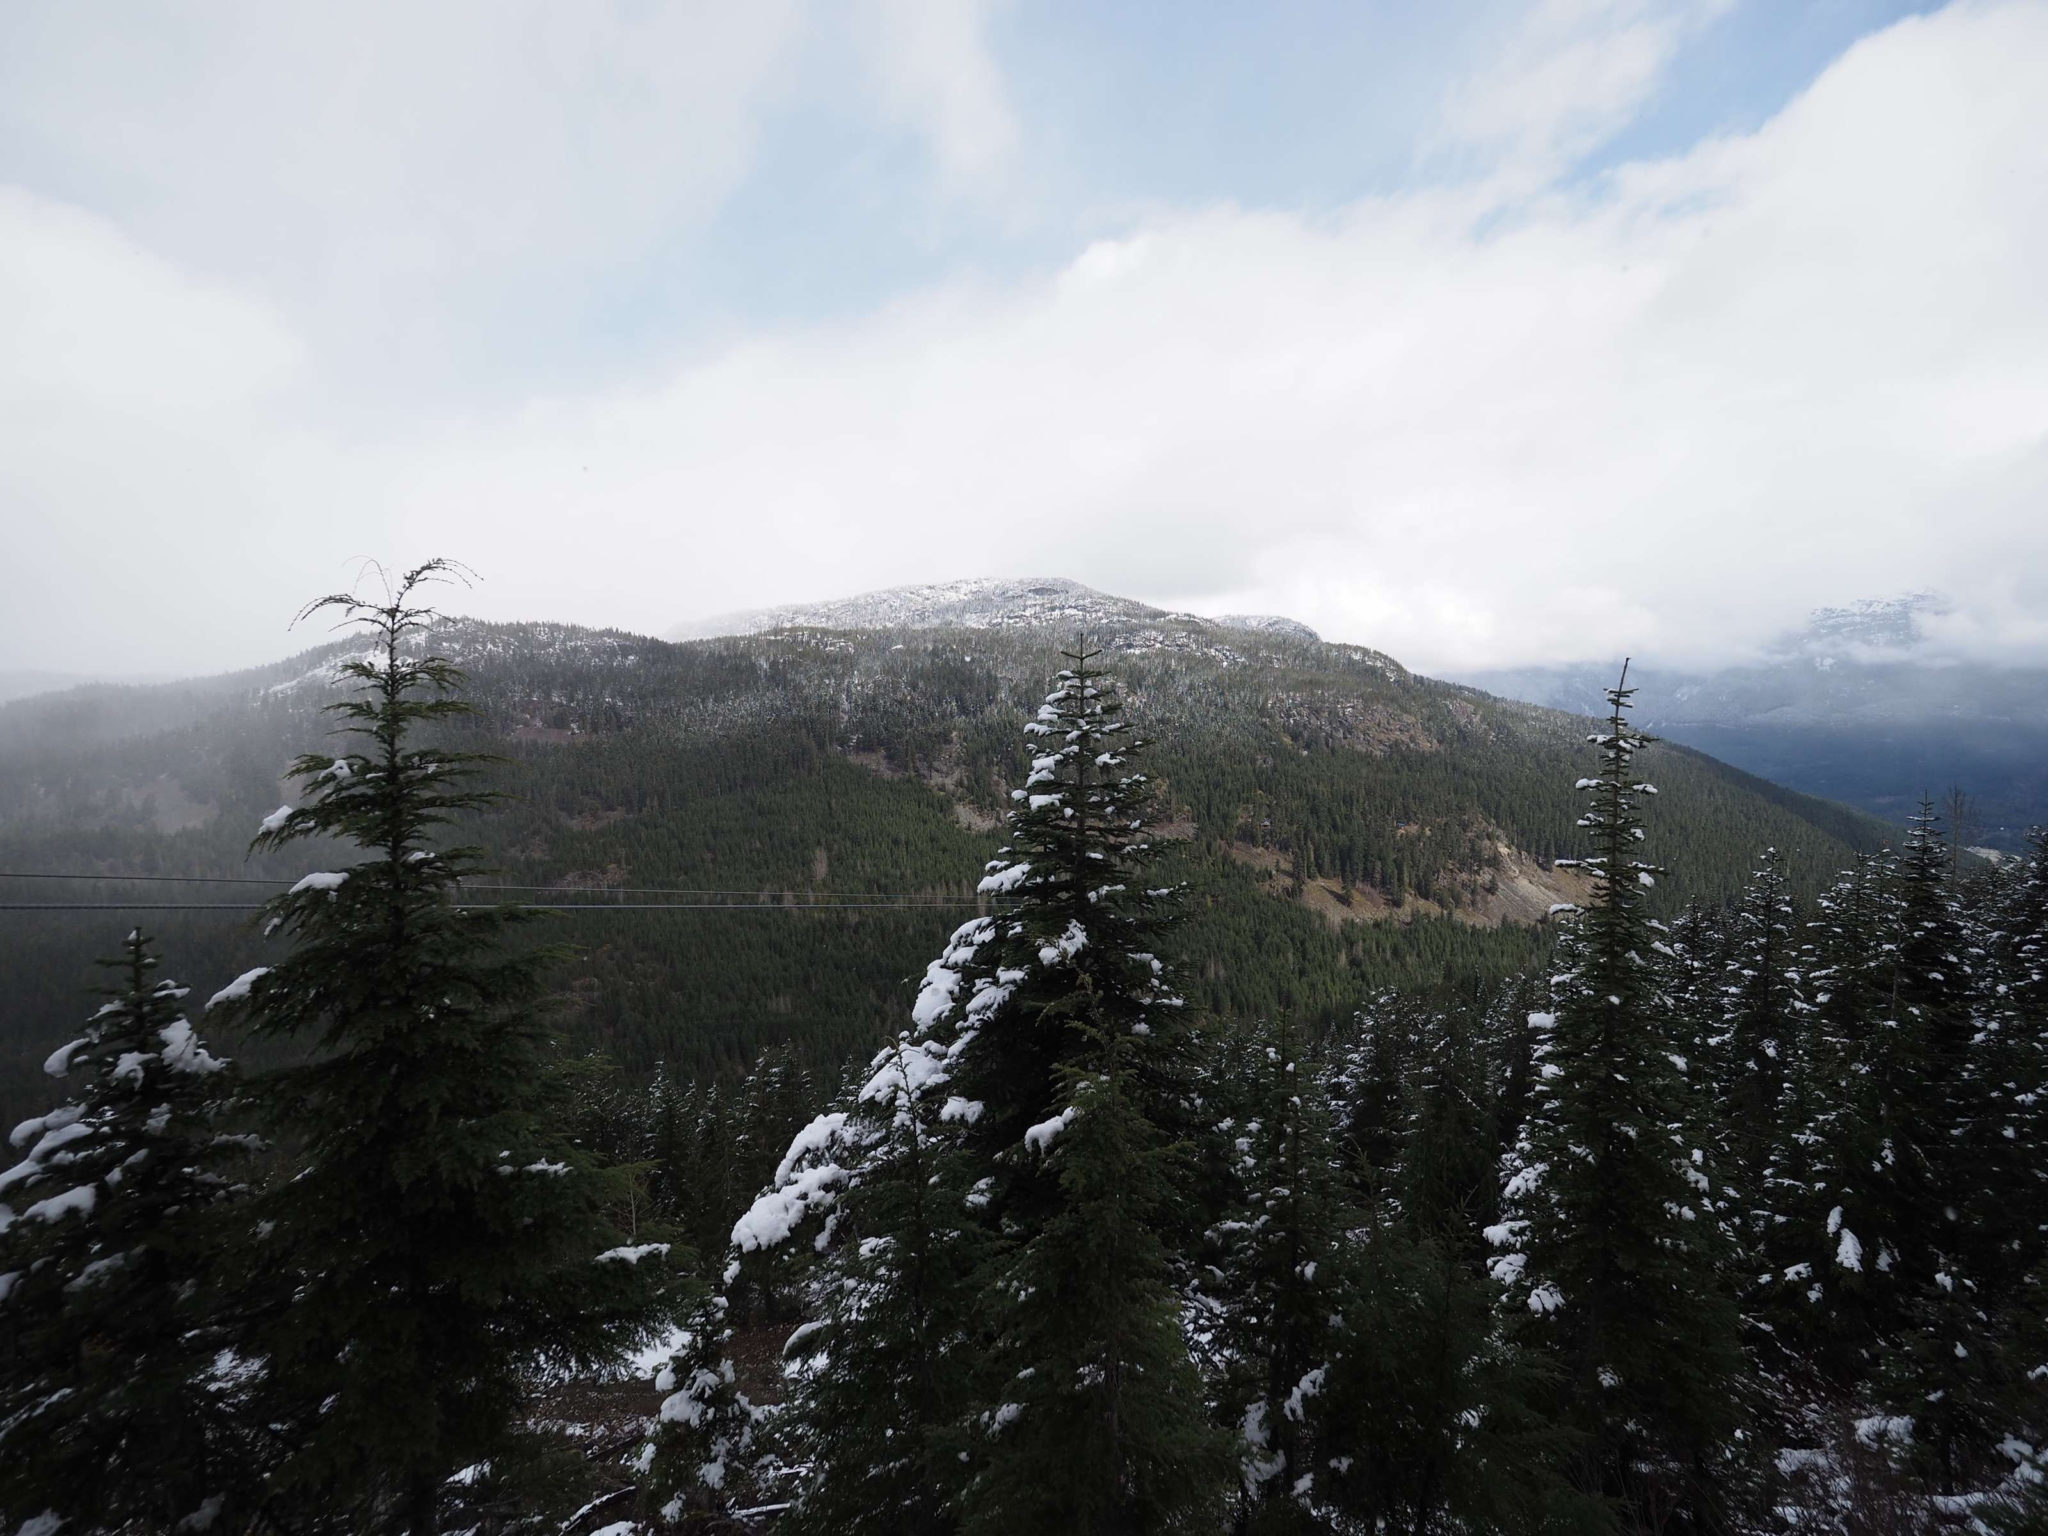
This is full frame too. But if you saw a similar image with a really wide angle lens with a smaller sensor and shooting out with infinite depth of field, you also wouldn’t be able to tell.
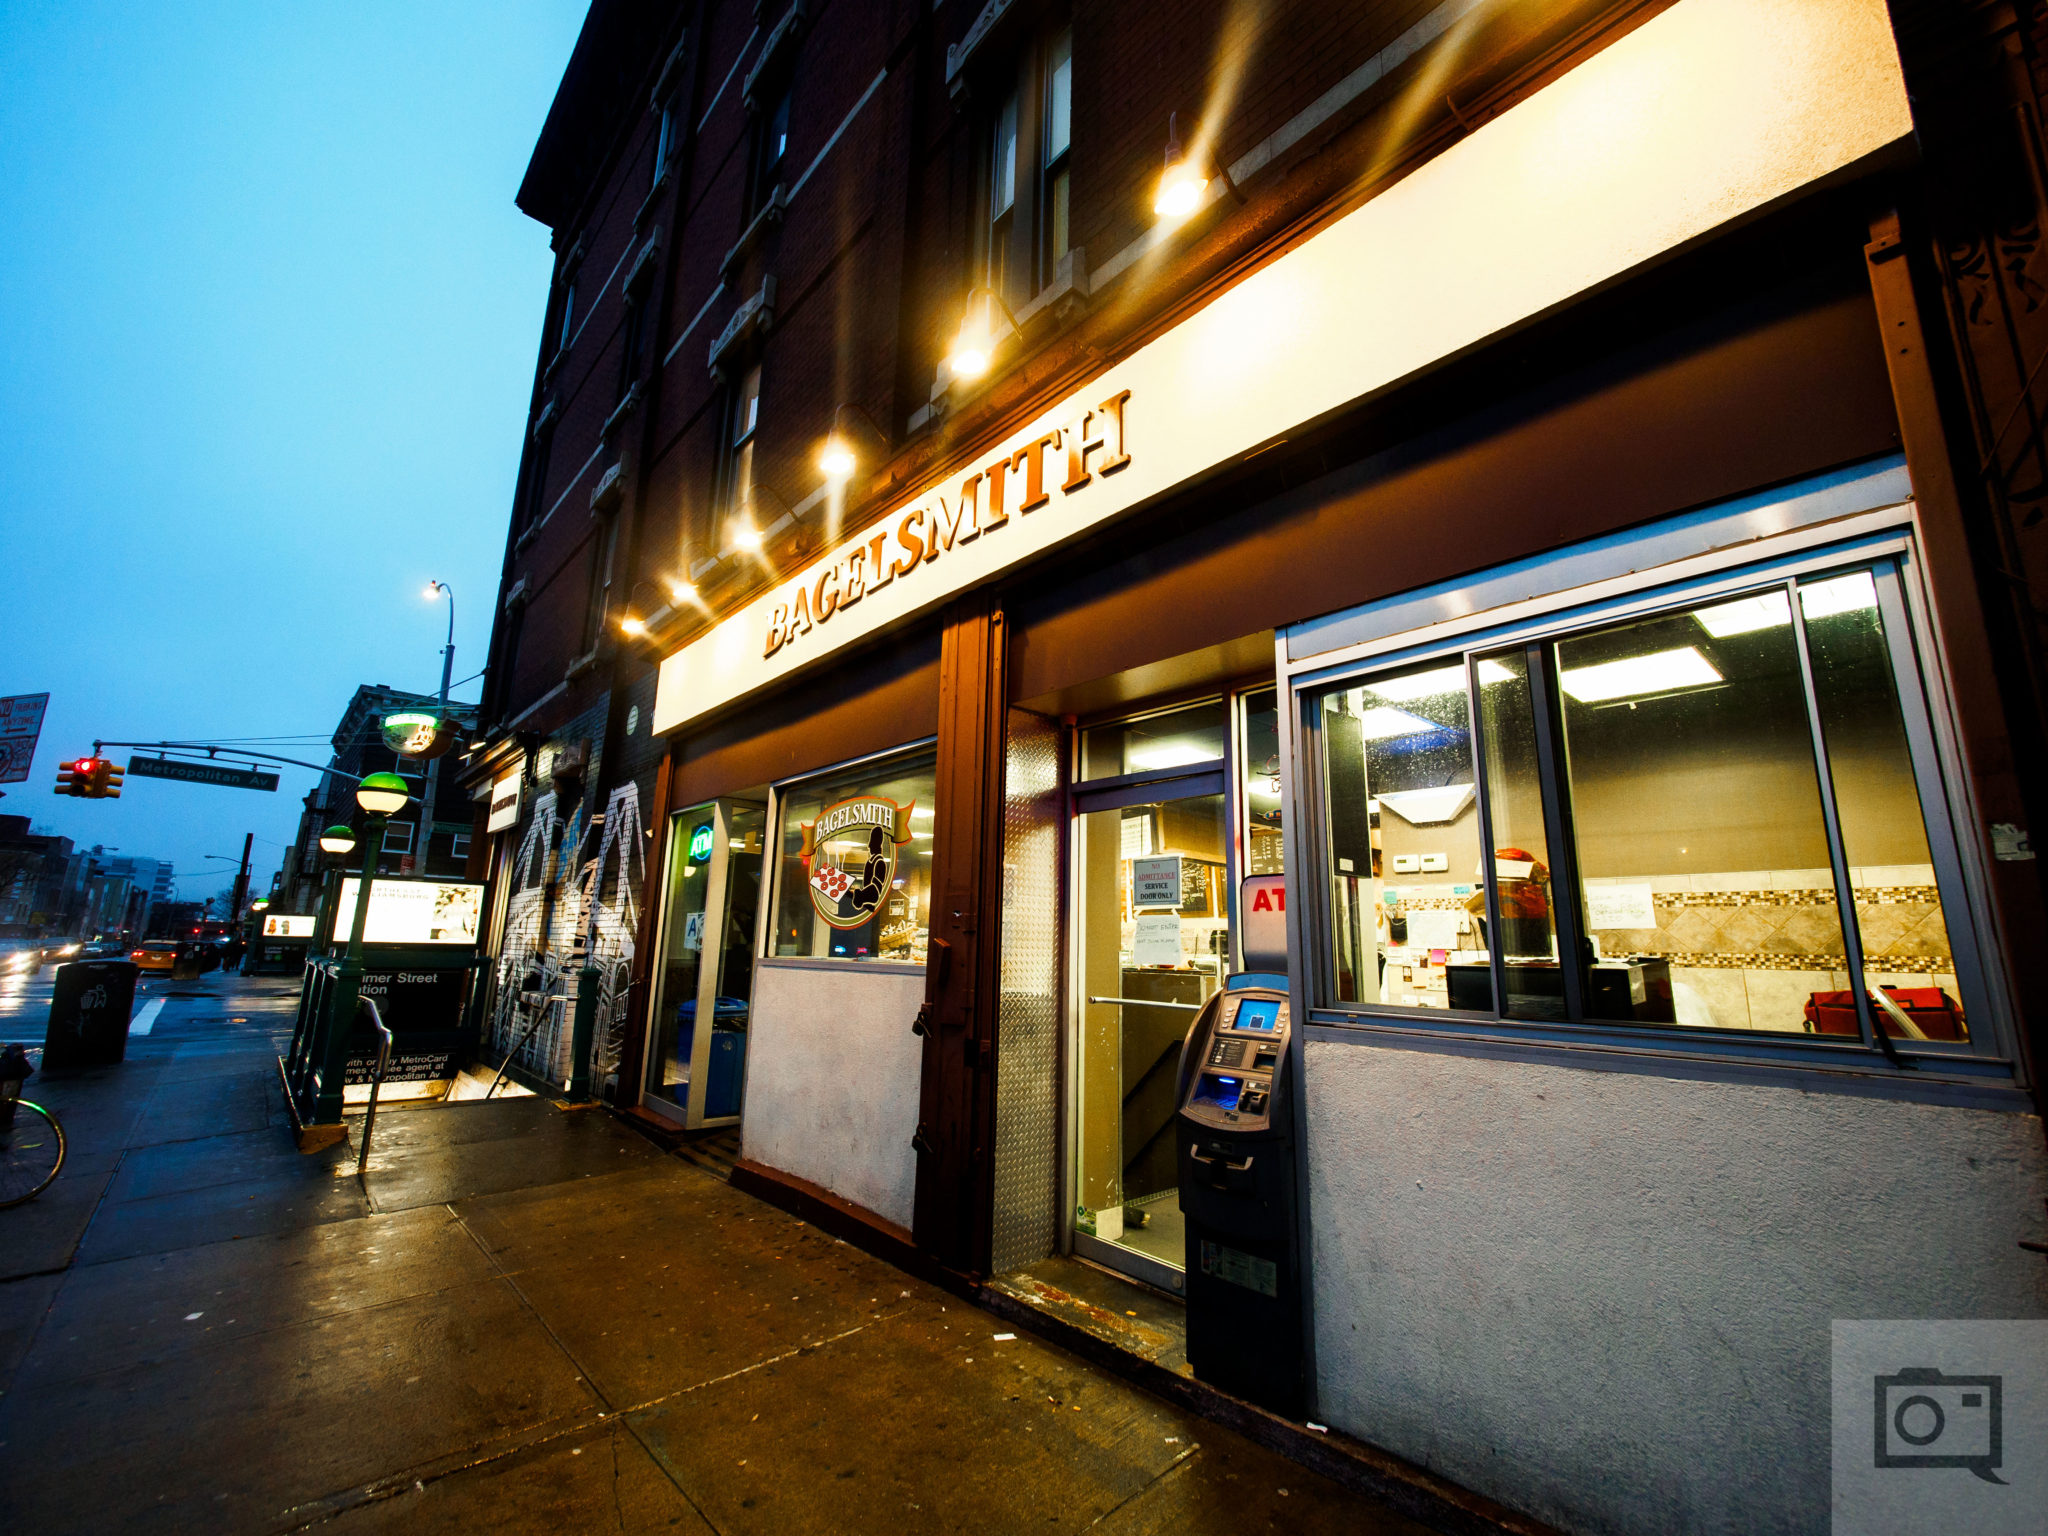
Those three previous images are all full frame. So let’s look at something from Fujifilm and APS-C. The following images were shot with the Fujifilm 16mm f1.4 and the X70 with its 28mm f2.8 equivalent lens.


Again, you can’t really tell that these were shot without a full frame sensor. Most people wouldn’t be able to. In fact, I argue that modern phones could have created some of these images.
The other images in this section are all done with Micro Four Thirds.
Once again, you can’t really tell.
Clarity, Contrast, Highlights, Shadows, Color Channel Edits
Here’s where I get to the big part of all this: the post-production. Everyone knows about Contrast and Clarity when editing with Lightroom, but what about shadows, highlights, and the color channels. Here are some tips; they’re very simple but very effective and NEED to be tried in order to see what we’re talking about.
- In the basic slider, don’t adjust the highlights or shadow slider until you’ve done so in the curve panel. Curves does the fine tuning and basic does global adjustments. Instead, work with the whites and blacks in the basic section of the Develop panel.
- The color channels: work with them individually when it comes to luminance and saturation.
Here’s an example video:
Get rid of the ads!
Did you enjoy reading this article as much as we enjoyed writing it? There's a way to support us and our reporting, getting ad-free navigation and more as a bonus. Subscribe to us for less than a coffee per month —just $3.99— or take advantage of our yearly subscription with a hefty discount for only $25.- An ad-free experience
- A free mystery box for Lightroom or Capture One
- All the books in our store
- 20% discount on Capture One
- 30% discount on Imalume Photo Theft Protection
- 20% off Herbs and Kettle Tea Company.
- 20% off your order from MPIX printing services.
- 5% off Viltrox Products via their eCommerce store.
- 10% off all film developing, printing and scanning services from Blue Moon Camera and Machine
- 15% off 7Artisans products: The lens and accessory maker is offering a sweet discount for Phoblographer's readers.