
Anyone can take a portrait photo, but making your image stand out from all the rest of the #instafamous photographers requires a bit more effort on your part that will eventually become common and a part of your routine portrait efforts. Most experienced portrait photographers know this already and chances are that if you are one of those people, you already have the necessary people skills to do this. But whether you’re a new photographer or one that’s been shooting for a while, none of us can ignore how important lenses are for us. Take for example the Zeiss Milvus 135mm f2 lens–arguably the best portrait lens on the market right now. It’s difficult to take a bad photo with it, but if you’re going to make the long term investment into the incredible Zeiss glass, we recommend knowing how to make the most of it.
Here’s how.
Editor’s Note: This is a sponsored post from Zeiss.
Your Lenses

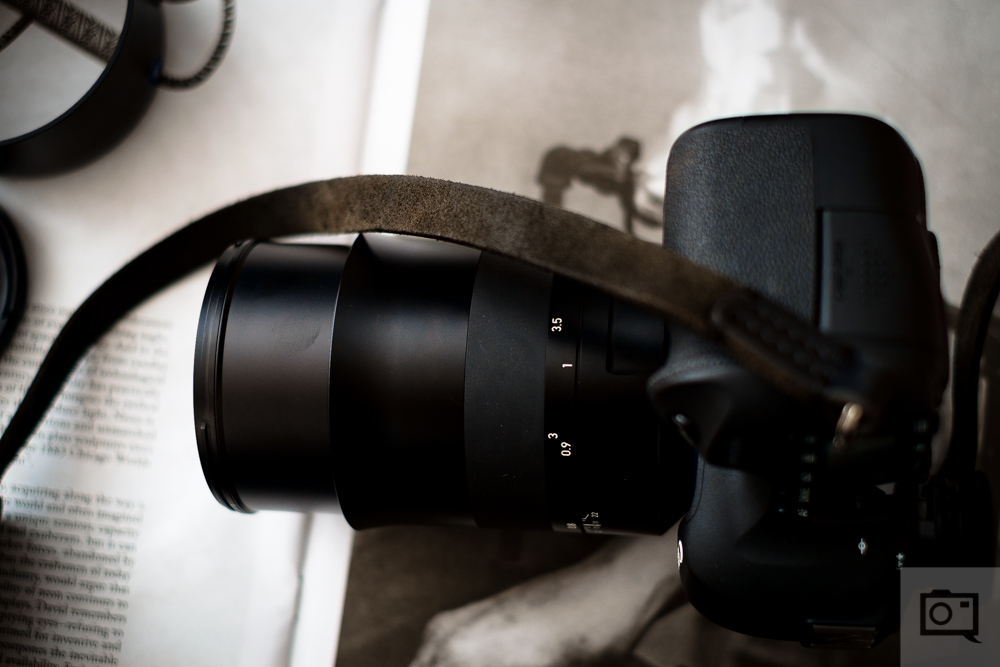
In the past couple of years, camera lens manufacturing has improved immensely. The glass is fantastic, the build quality is wonderful, and when you combine the lenses with newer sensors the image taking process becomes very simple. Modern lenses like the Zeiss 135mm f2 Milvus lens are designed to deliver more contrast in a scene with more vivid colors. Combine this with sharp optics and the precision manual focusing allows you to get, and you’ve got one of the best lenses on the market.
So why can’t you get this with older lenses? Older lenses aren’t exactly designed to give off the contrast that most lenses made after 2011 have. They’re designed to cut down on glare, haze, etc. That essentially means more details in the scene and gives almost the same effects that the Dehaze slider in Lightroom will render…almost.
Then there is the depth of field effect: a fast lens and bokeh can obviously work to separate a subject from the background with ease, but we’re going to focus on other methods to augment this feature.
Lenses and cameras alone though aren’t the key to creating a sharper photo though.
The Essential Gear
You’ve got your lens and your camera–what more could you possibly need? The absolute best portrait photographers create their own light and find a way to make it work for them. So the first thing you need besides top quality optics are your own lights. These lights can be various types that work for your own creative vision.
Oh right, you need that too! A Creative Vision!
If you want a little bit of light in various places in the scene, you can use off-camera flashes. But if you want to work with a lot of light from one light source, you’ll most likely reach for a monolight of some sort.
What a flash does is work with the camera in a special way that adds extra light in just the right spots. This brings out more details in the scene, called specular highlights. Combine this with a lens like the Zeiss 135mm f2 Milvus offering and you’ll get one of the sharpest images you’ve ever shot.
Flashes also have something called a flash duration–which will do things like overpowering the sun (more on that later) and as long as you’re at a fast enough shutter speed you can get better motion stopping effects that can also negate probable camera shake. Negating camera shake is very essential when shooting handheld with a longer focal length.
Because of the specific energy involved twisting a manual focus lens’ focusing ring like the Zeiss Milvus 135mm f2 you’ll be greatly aided by either a tripod or a follow focus. As you focus on a scene or subject, you’ll most likely move the plane of focus due to the twisting energy and motion involved with manually focusing the lens. Even if you’re using an autofocus optic, this can be really difficult.
Start With Scene Construction/Wardrobes

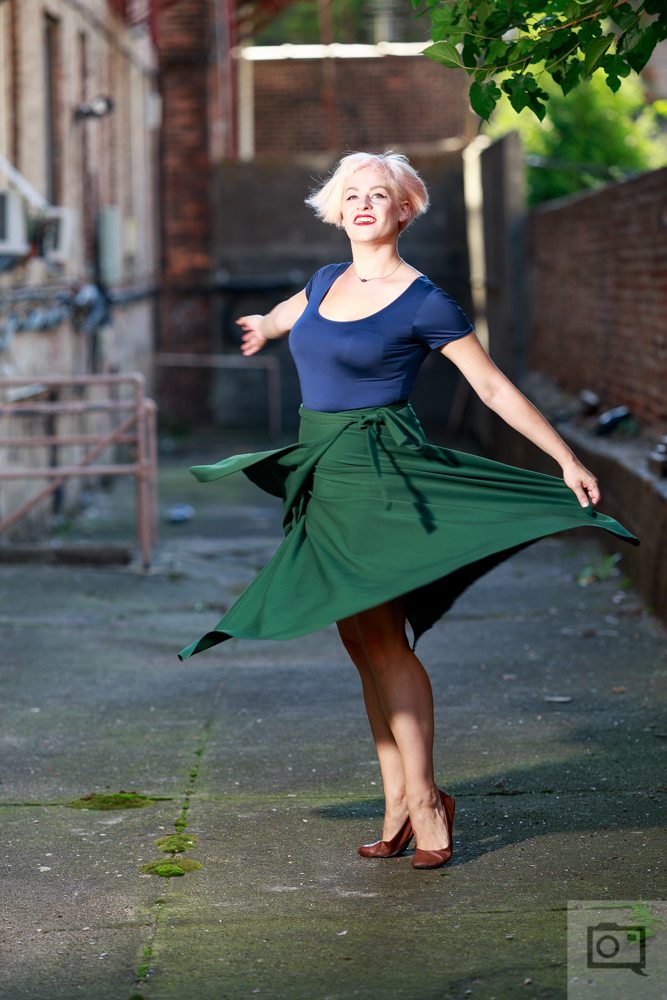
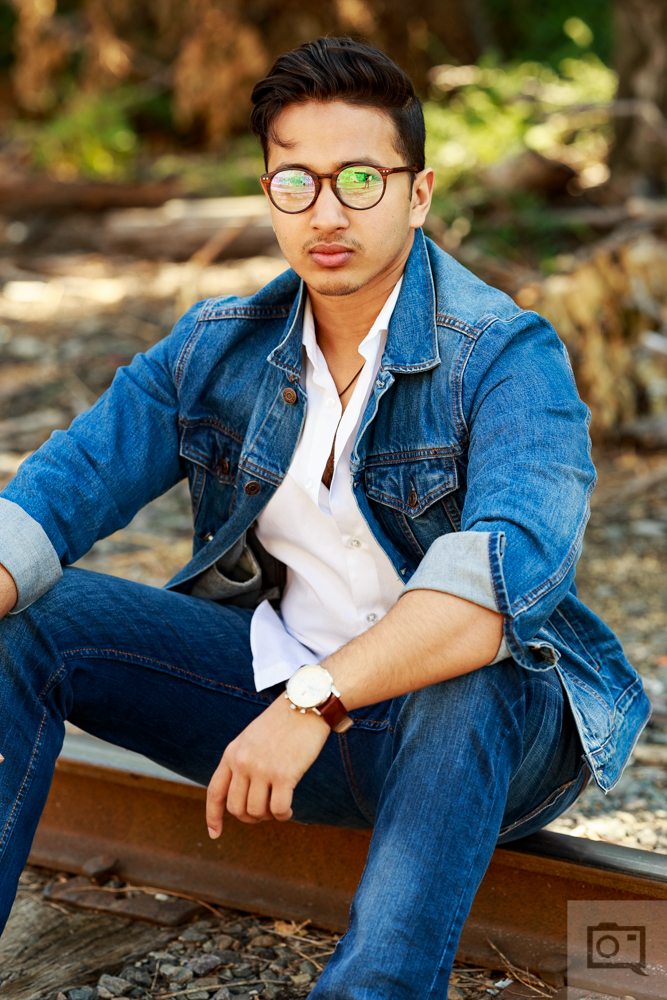
Fact: the lens, flash, and the camera shouldn’t be doing all the work here! You can help it out by working with the scene to create more contrast. Look at the work of some of the most famous portrait photographers. To prove a point, we’re going to focus on Steve McCurry for the moment. His portraits focus on three main colors overall: the skin tones, the wardrobe, and some sort of stagnant background found around him. These colors all end up contrasting with one another in the ROYGBIV scale quite a bit. For example, orange skin (sort of), a blue outfit, and a green background (grass) tend to create some sort of crazy contrast.
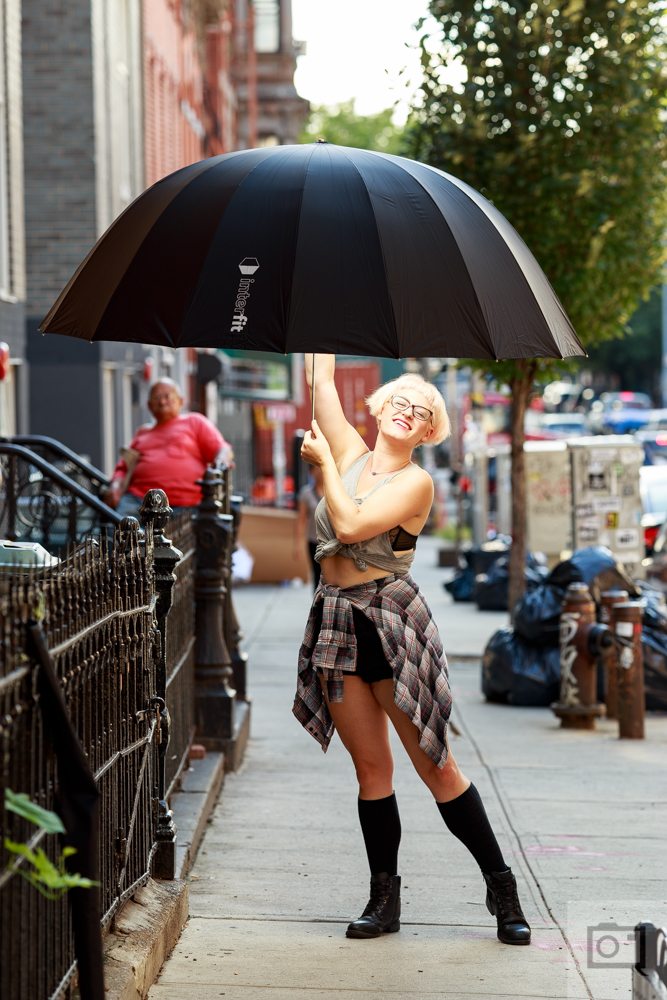
Now let’s take another photographer like Jeremy Cowart who uses a lot of flash. He does similar setups where the colors contrast but where he also works to create even more contrast with his lighting. Combine this with lenses that already have sharp optics and contrast, and you’ve got an image that can potentially pop even more!
Overpowering Ambient/Natural Light and Creating Contrast in the Scene
One of the most common tactics used by photographers who shoot on a location with flashes involves overpowering the sun or ambient lighting. This is typically done with a low ISO, high shutter speed, and a flash. As we’ve talked about through this entire piece, getting sharper images has to do with creating contrast in a scene. What it ultimately requires though is contrasting colors and deeper black levels–which lenses like the Zeiss 135mm f2 Milvus naturally do and that you can get by overpowering the ambient light.
This isn’t always simple to do though; but what we recommend you do in general is work in an area covered by shadows or on a cloudy day. What you’re looking for is consistent light in your scene. When there are beads of sunlight on a person, it can make exposing the scene overall tougher to do.
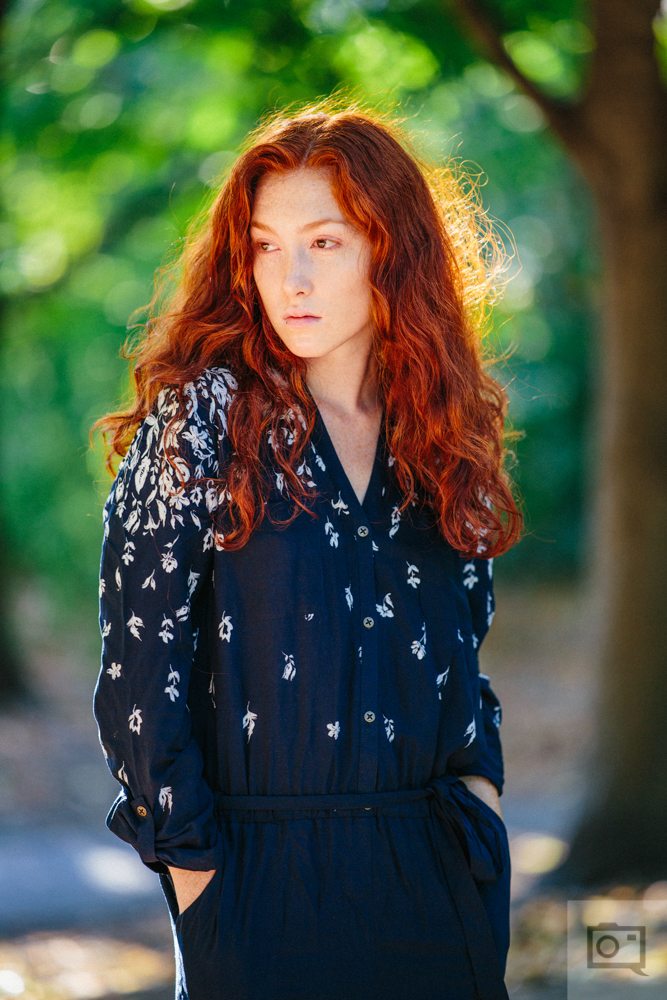
Of course, one of the biggest advantages of working with a longer lens that has a fast aperture like the Zeiss 135mm f2 Milvus is the shallow depth of field–which acts to also make the subject pop from the background and scene even more.
But when all of these factors are combined together, you’ll get an image that really pops.
So let’s review and elaborate in short:
- Good lenses: add contrast to a scene by design. Then shoot at a shallow depth of field to separate your subject from the background.
- Off-camera lighting: can overpower the ambient lighting, add even more contrast, create specular highlights that bring out details not visible otherwise.
- Contrasting colors: When you look at the scene, dominant colors should be standing out pretty far from one another on the ROYGBIV scale.
Combine these elements and you’re bound to take the most advantage of a lens like the Zeiss 135mm f2 Milvus.
Get rid of the ads!
Did you enjoy reading this article as much as we enjoyed writing it? There's a way to support us and our reporting, getting ad-free navigation and more as a bonus. Subscribe to us for less than a coffee per month —just $3.99— or take advantage of our yearly subscription with a hefty discount for only $25.- An ad-free experience
- A free mystery box for Lightroom or Capture One
- All the books in our store
- 20% discount on Capture One
- 30% discount on Imalume Photo Theft Protection
- 20% off Herbs and Kettle Tea Company.