
Last Updated on 08/07/2016 by Chris Gampat
Studio lighting is part of an element that can set you apart from many other photographers out there. Don’t get us wrong, there’s nothing wrong with being a “Natural Light Photographer” as long as you really genuinely are one that’s experimented with and understands lighting–including shaping it. The amount of stuff that you can do with a photo when you start to take control of elements like adding your own lighting and creating your own scenes opens yourself to more potential with what’s possible.
We’re sure that you understand that though; so here’s how to figure out what light modifiers are right for you.
Figure Out What You Want
In order to figure out what you want to do, consider the field of view that may typically be in your creative vision. Now, here are some questions to ask yourself:
- Do you want to do headshots?
- Do you want to do tight headshots?
- Do you have the space available to do tight headshots?
- Do you want to do wider headshots (upper half)
- Do you have the space available to do wider headshots?
- What types of people will you be photographing? Executives? Business owners? Actors? Social media portraiture?
- How do you want these people conveyed?
- How do you think they’ll want to be conveyed?
- Will they be seated?
- What are you going to do for backgrounds?
That’s just a start! All of these will be in relation to your gear–but you need to begin with your creative vision. It’s important that you start with your creative vision and figure out the look that you want to convey because that will be directly associated with the type of gear that you get.
For example: you may want to shoot with a 135mm lens, but may not have the room to do so in your studio. You may also want to create the Peter Hurley look (please don’t, we don’t need the same thing being done over and over again, we need creativity and Peter Hurley does a great job as it is) and so you’ll need either his exact same gear or a lighting setup that can give you similar results.
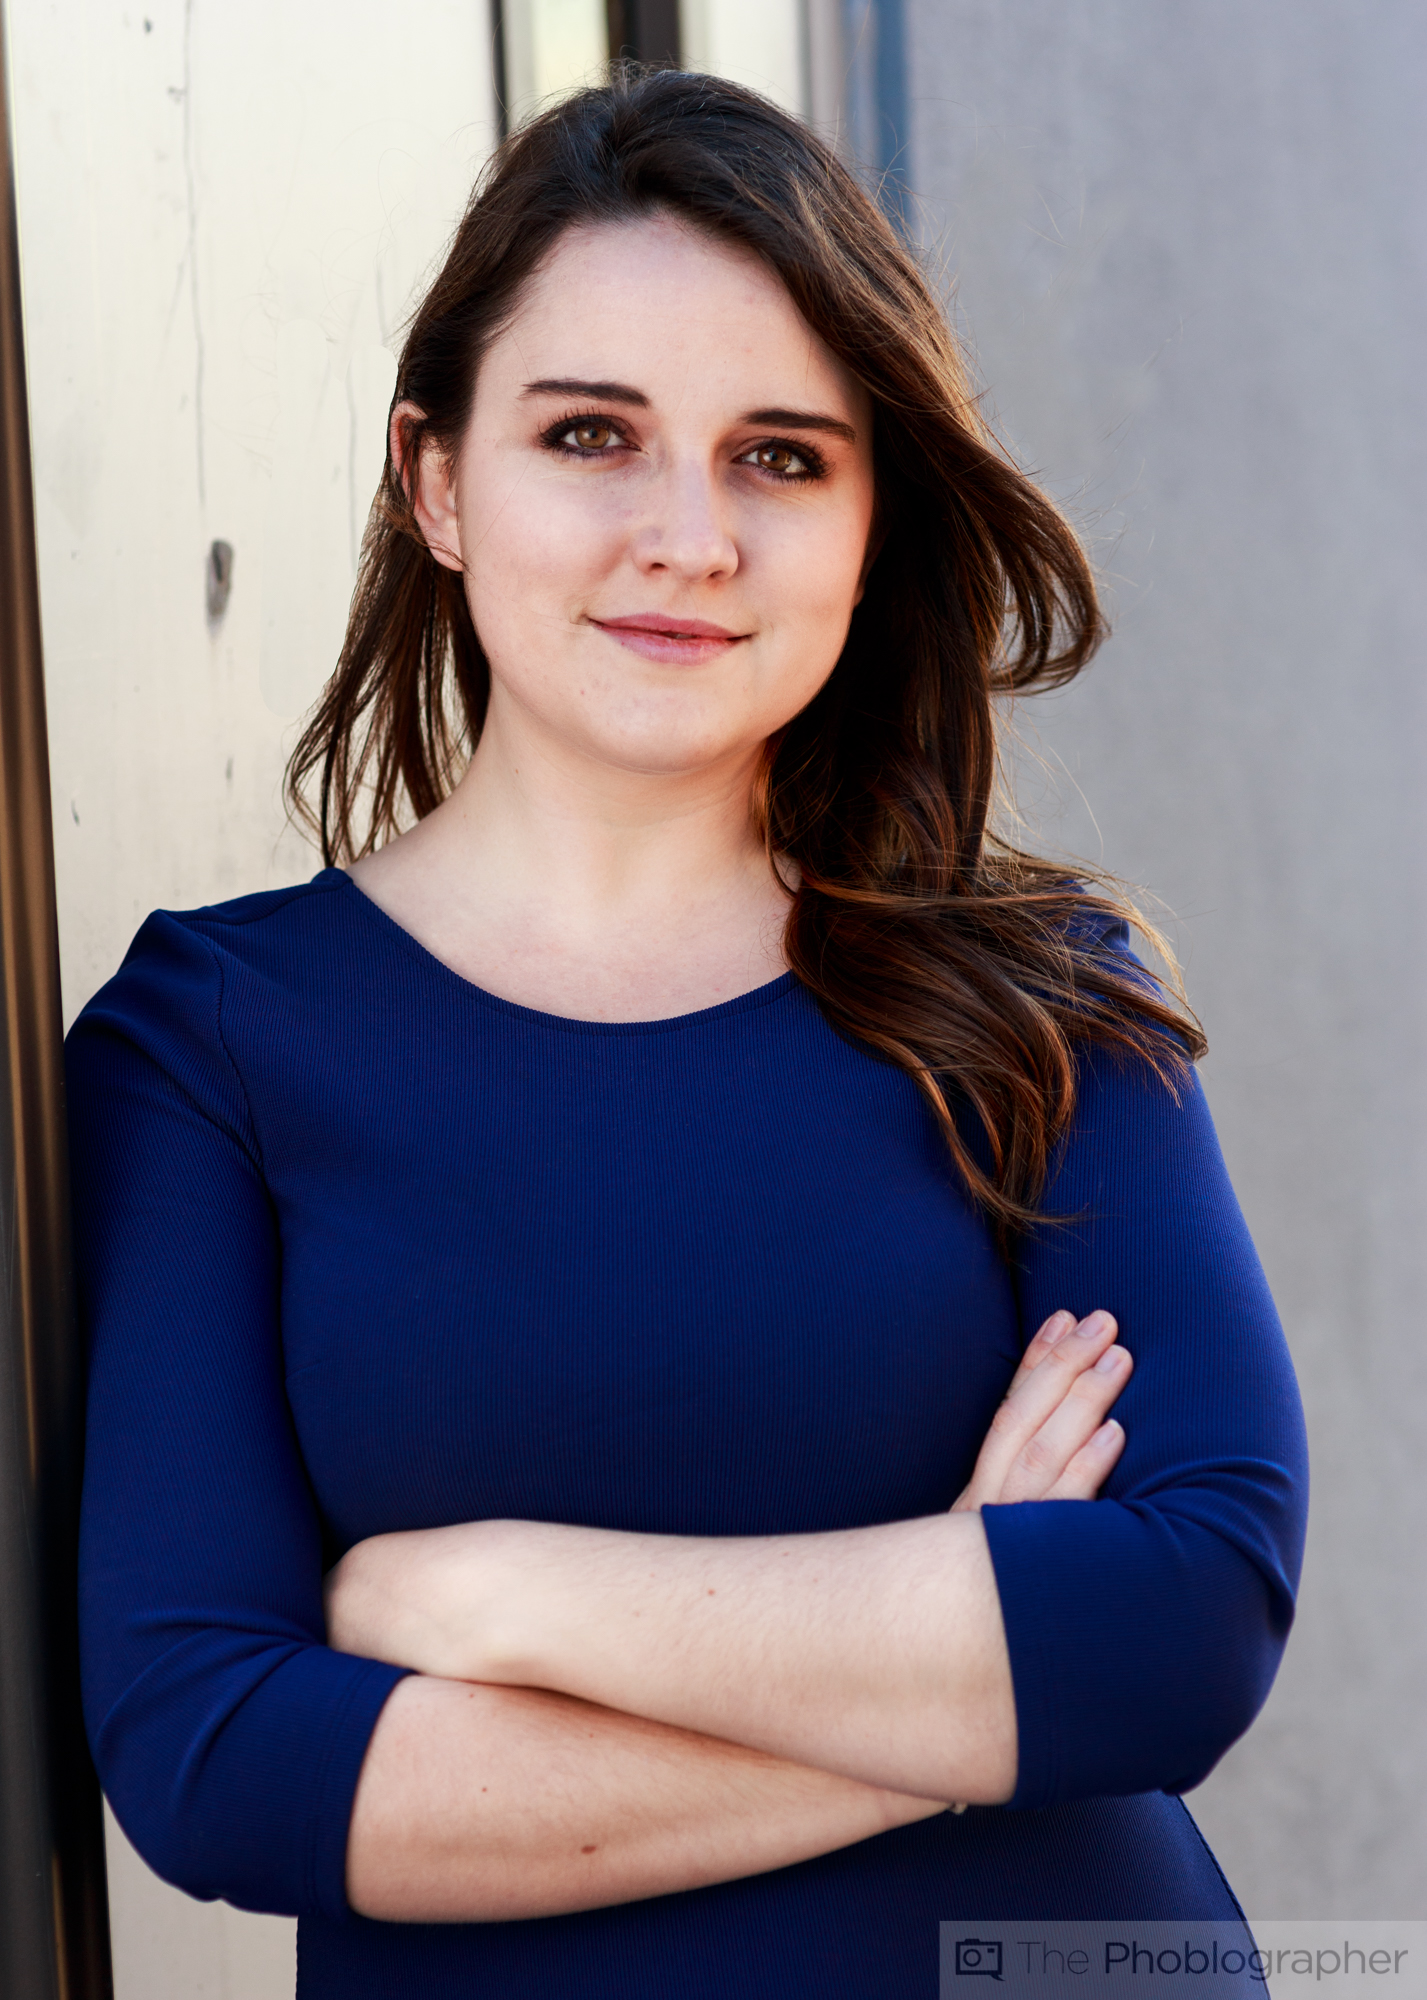
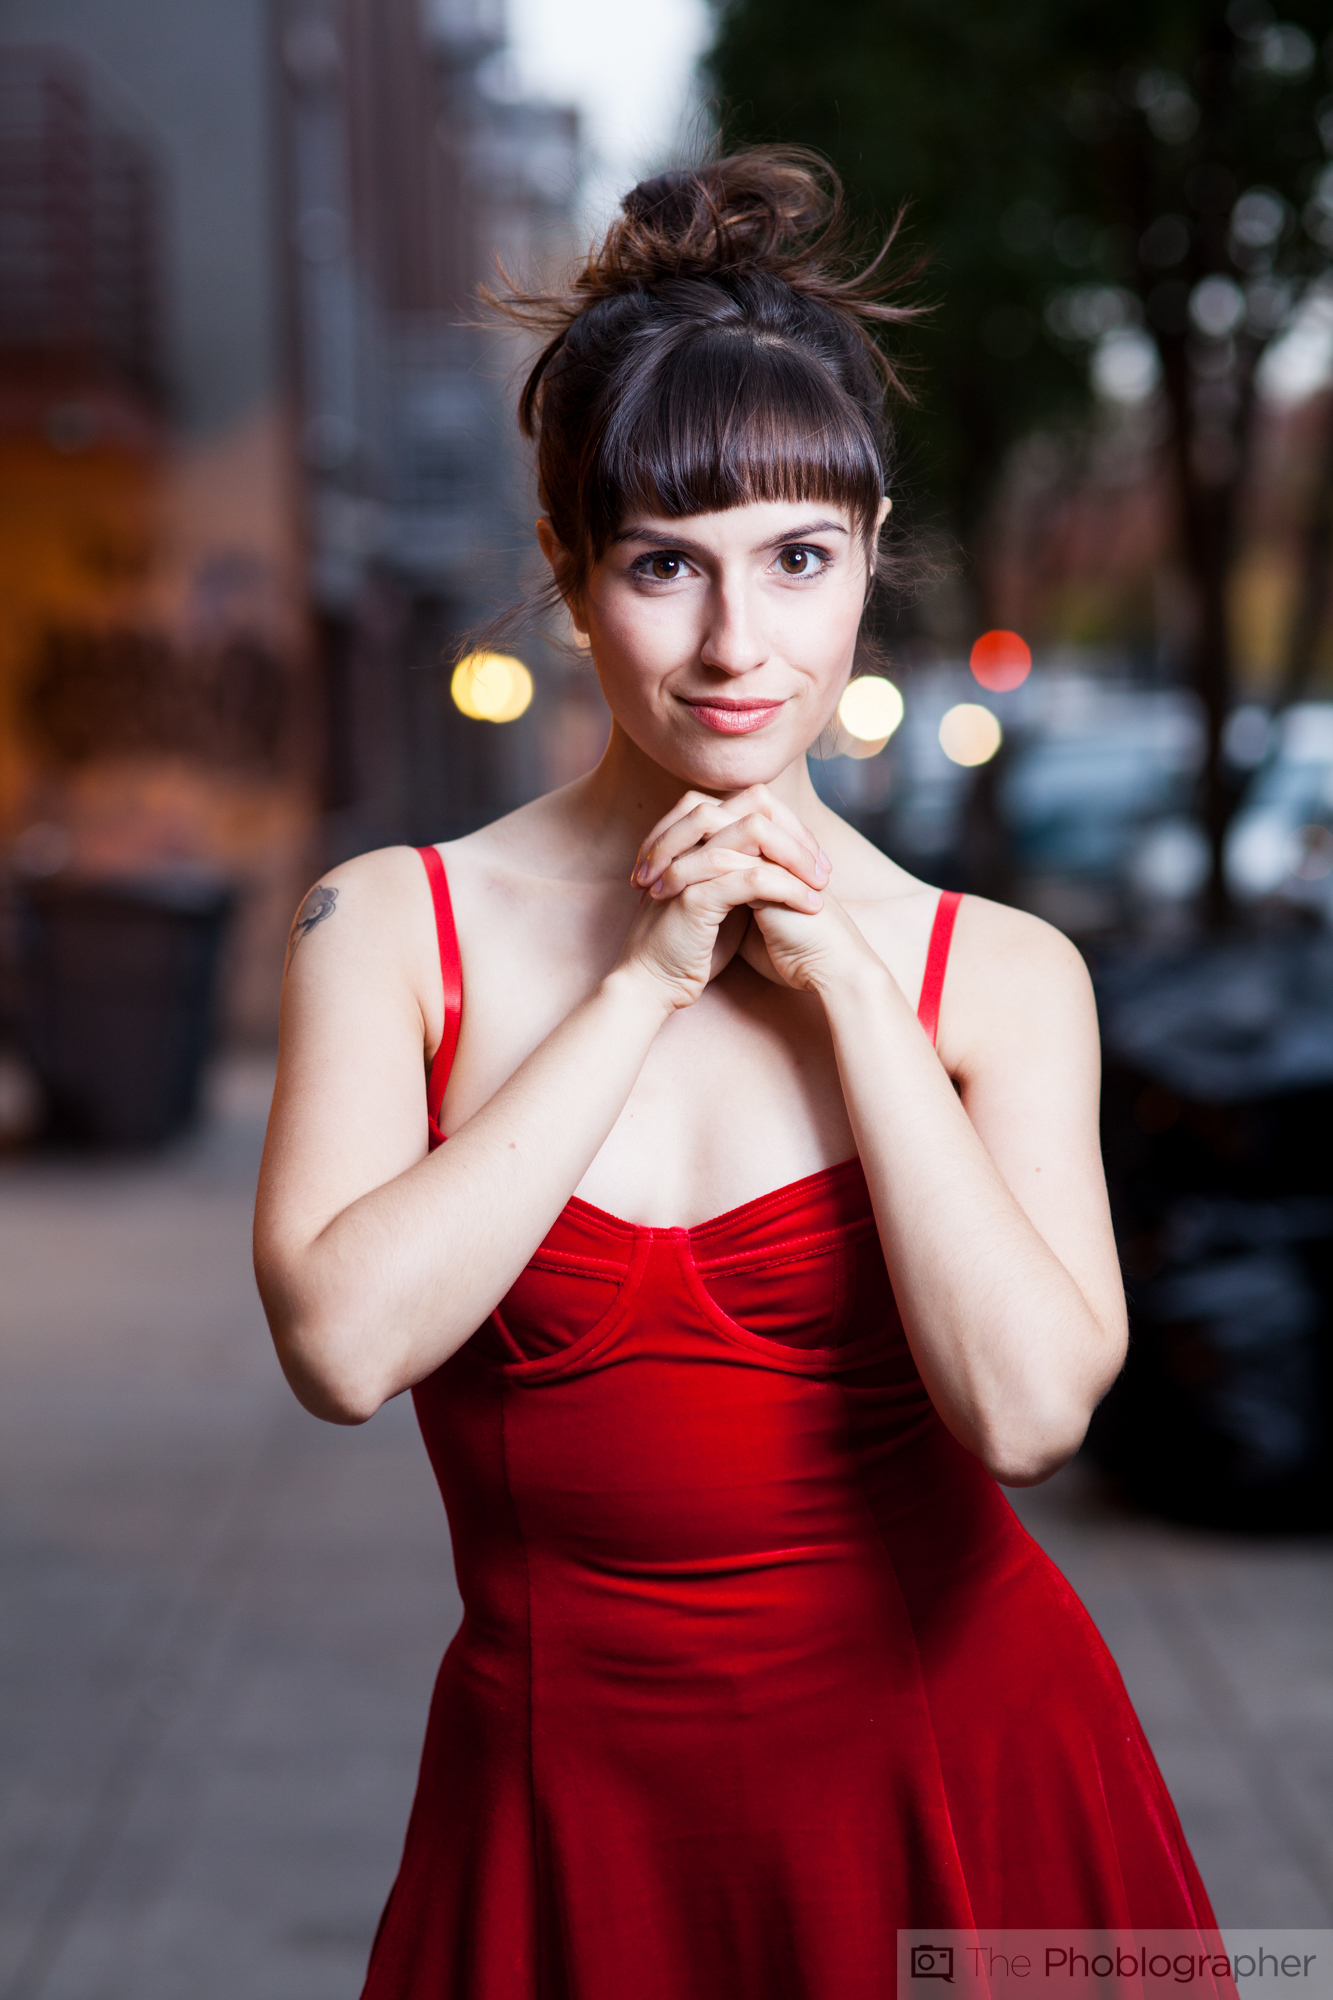
Model: Erica Lourde
Gear Working in Conjunction
I know I just said that gear helps you create what you want, but you should also know that it’s very simple to get the look of what thousands of dollars of gear can do with less money. The idea of doing more with less is something that will keep expenses down for you and profits higher.
So let’s put it this way:

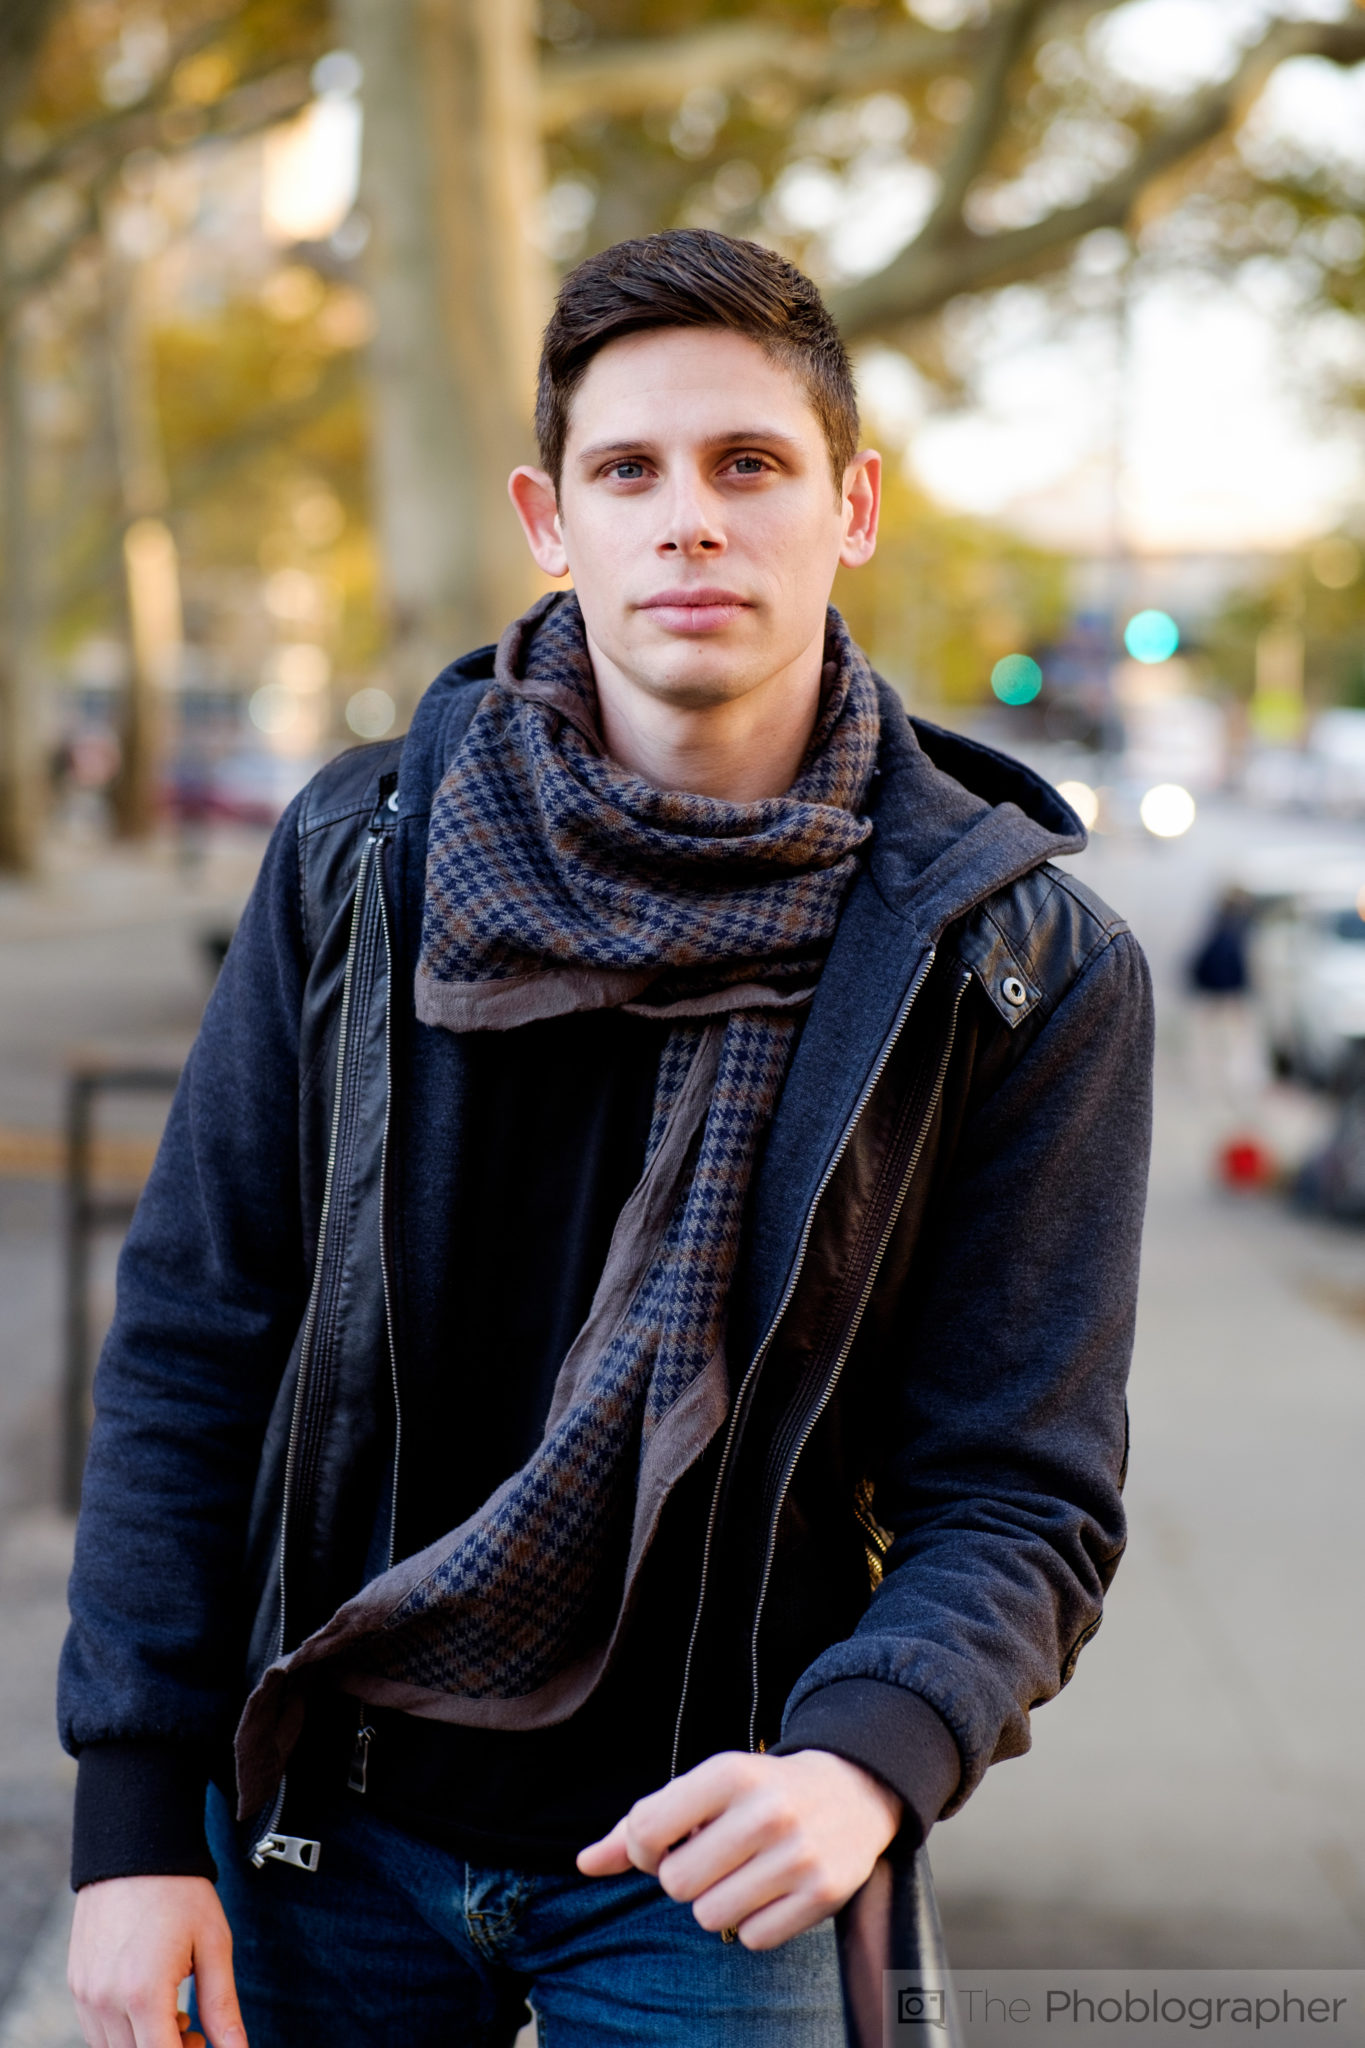
Want to shoot tight? Okay, then you’re probably going for an 85mm-135mm field of view. So that’s the lens that you need.
But what about lighting. You’re only lighting an area that’s smaller on the body. So in that case, you don’t need a super large light modifier. A smaller one will suffice.
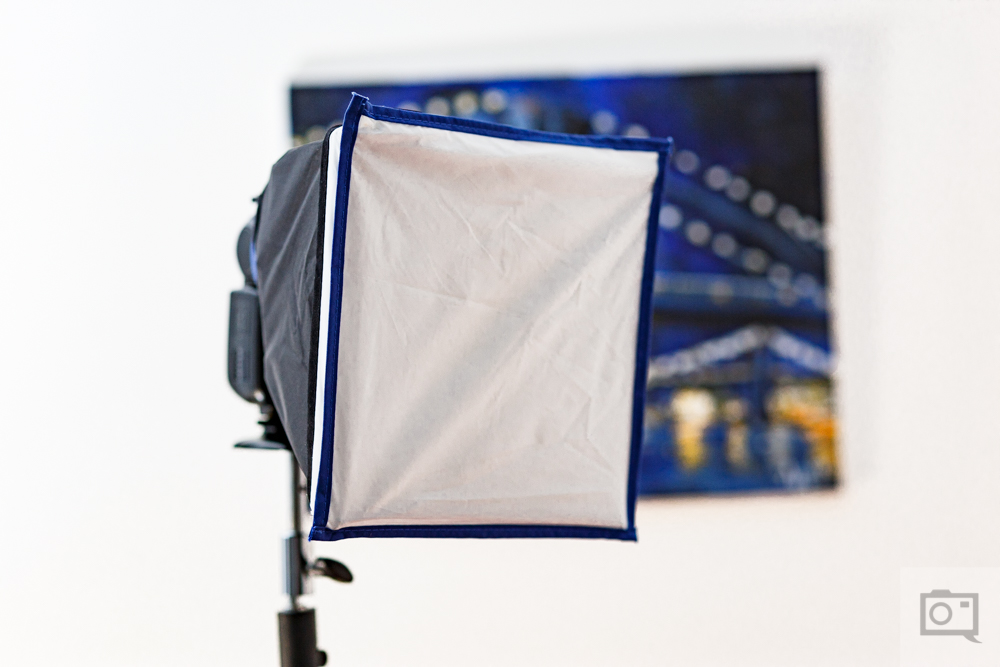
In that case, the standard small softboxes will suffice. But what if you want to shoot a bit wider, let’s say from 35mm to 85mm.

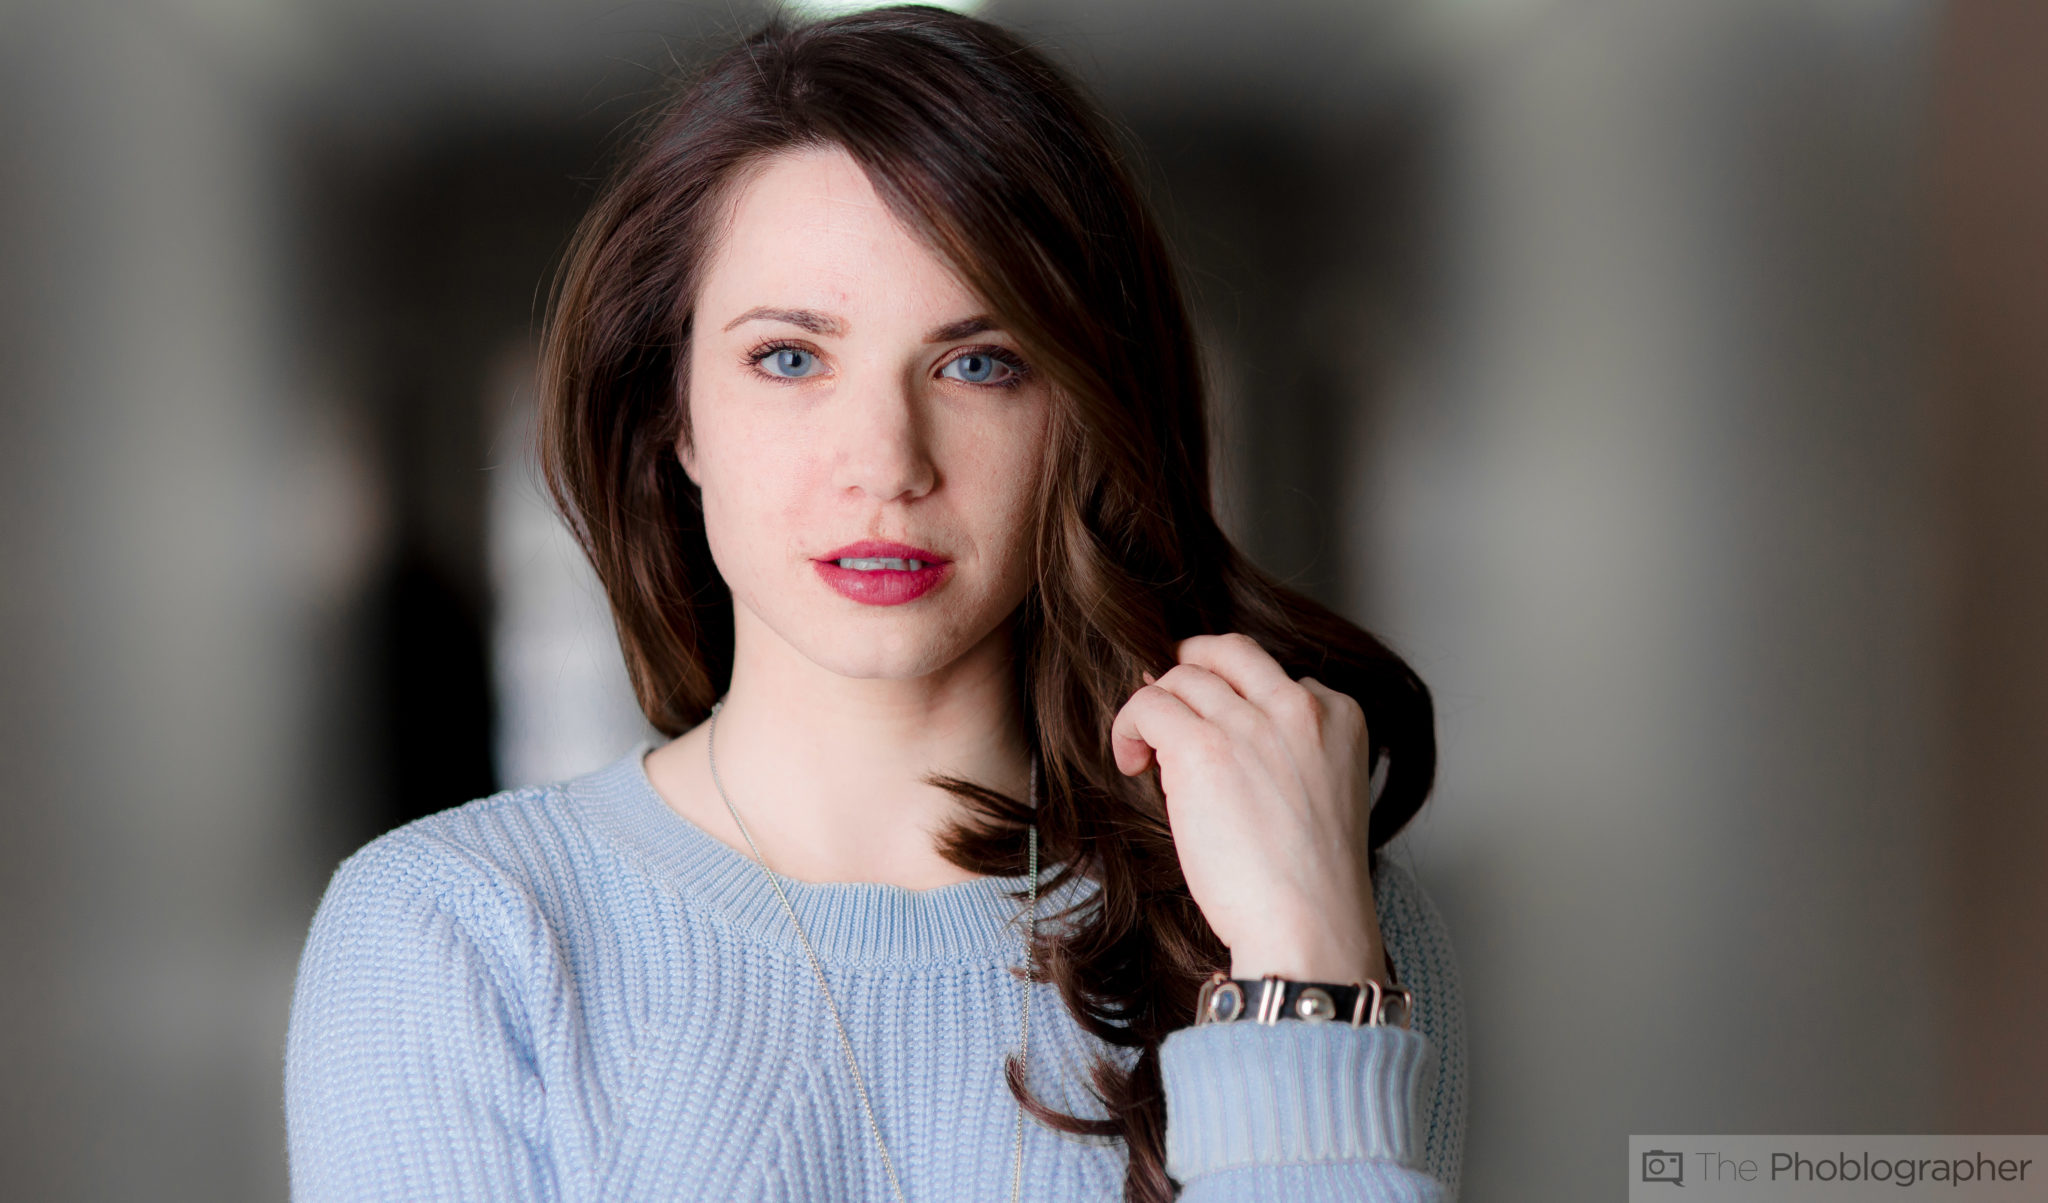
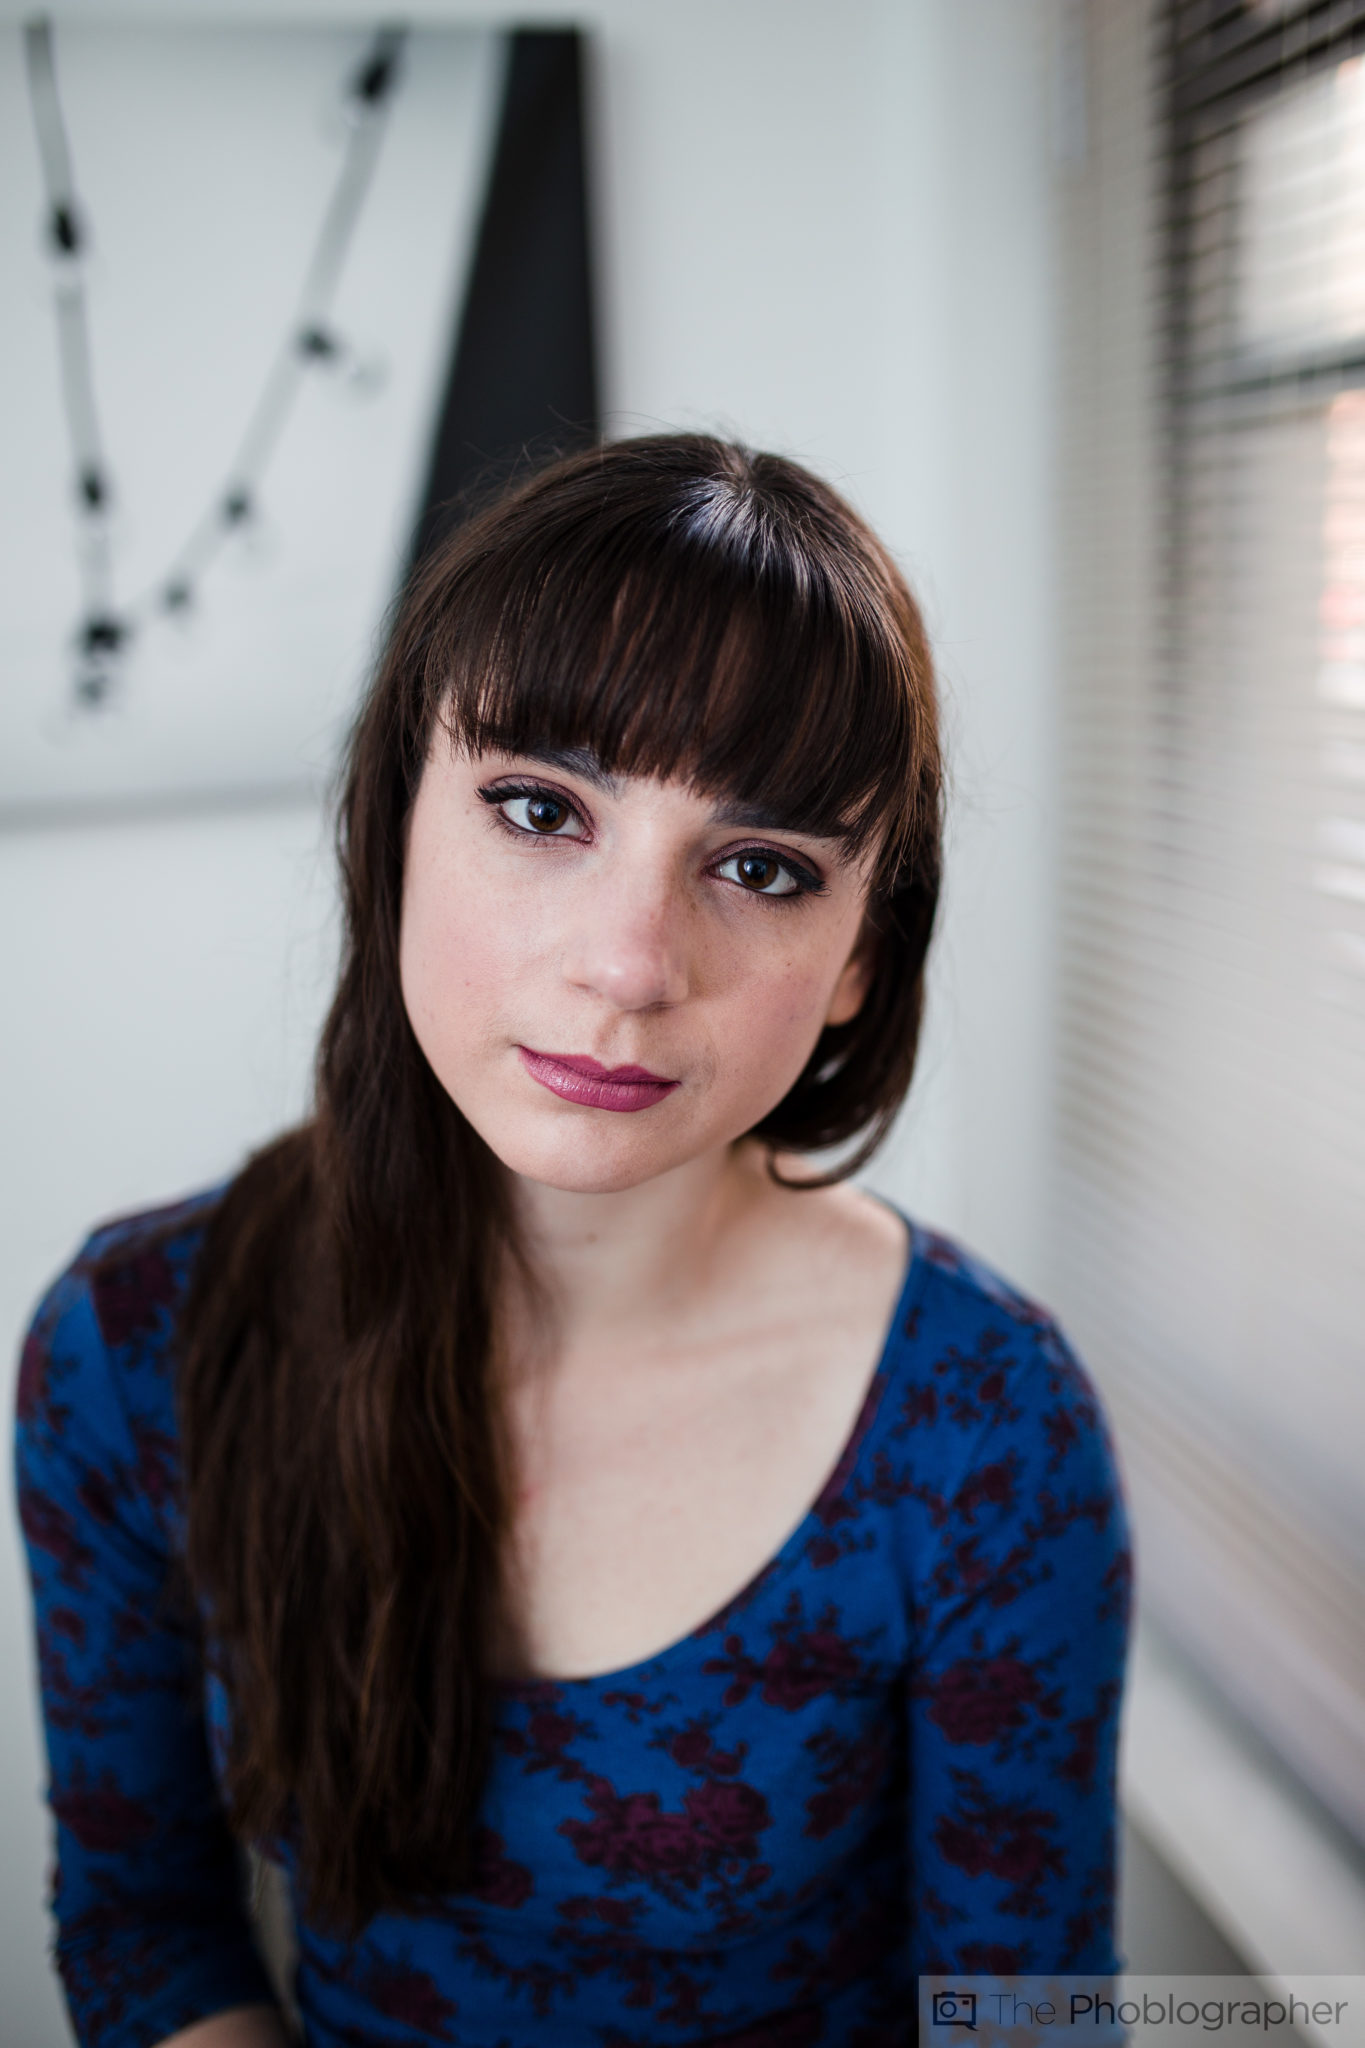
This image was shot with an 85mm lens a lit with one light in a softbox that was around 24×24 inches. That’s larger than the area that we’re seeing here–so it delivered softer light.
So the rules:
- Figure out your field of view
- Figure out how much of the area of the person will be in the shot
- Get a light modifier that covers an area larger than that
- Profit!
Types of Light Modifiers
Everyone will tell you to possibly go with a softbox. Why? Because they’re the standard. Yes, they indeed are the standard, but the three main light modifiers used for headshots and studio portraiture are the octabank, softbox and umbrellas.
- Octabanks work like a combination of a beauty dish and a softbox. They’re very popular with fashion shooters
- Softboxes are general use
- Umbrellas are great for a more moody feeling due to how they let light go everywhere.
ISO 100, 1/160th at f5.6 with the light set to +0.7
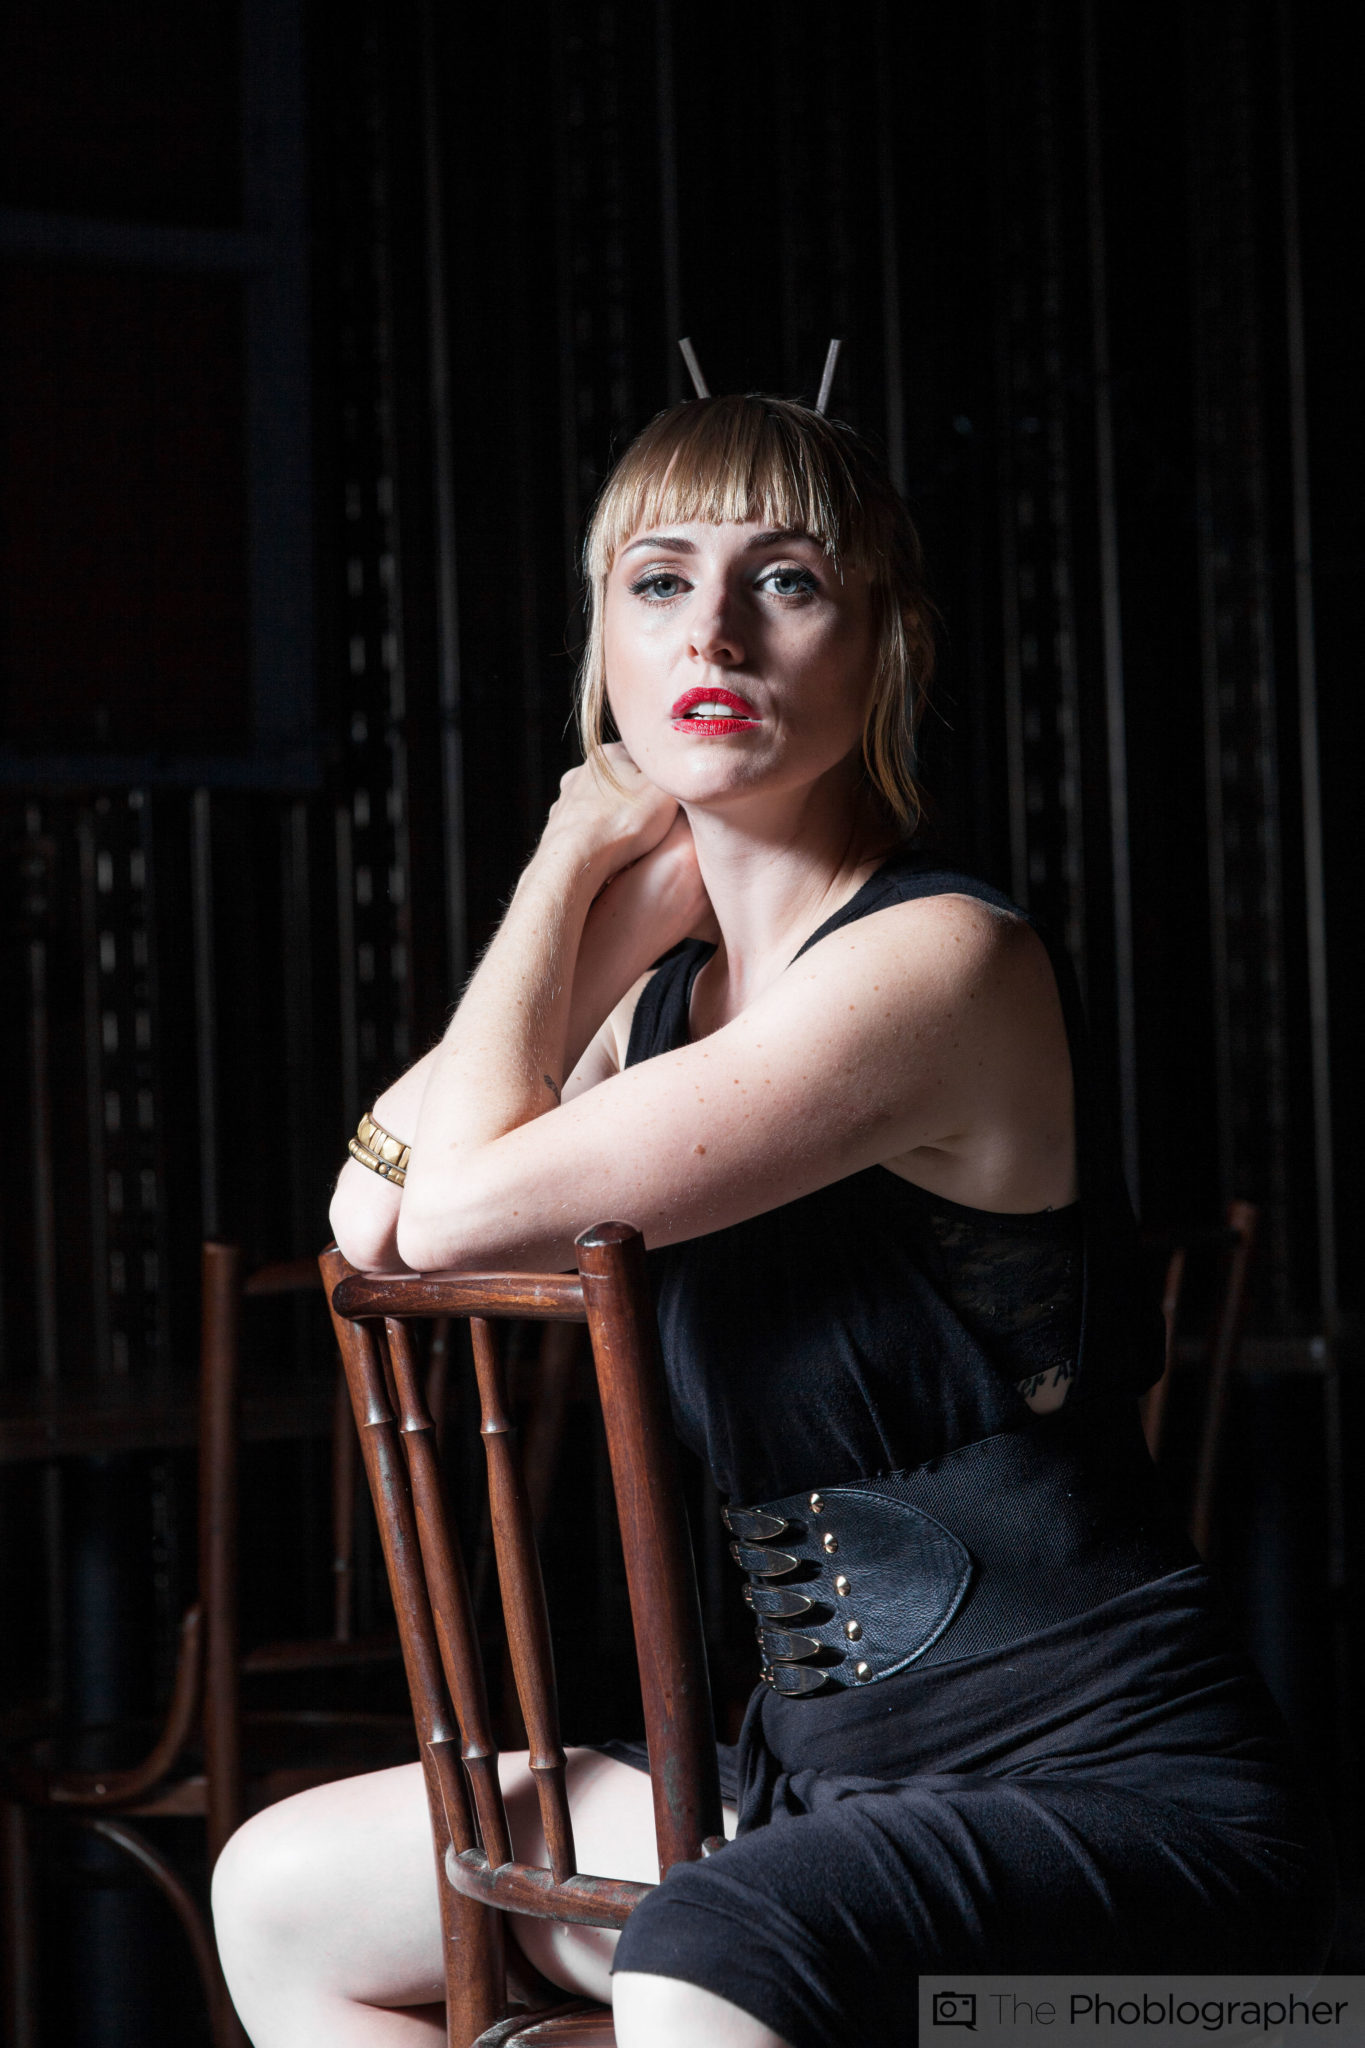
Oh and let me show you how a beauty dish can render photos:
Get rid of the ads!
Did you enjoy reading this article as much as we enjoyed writing it? There's a way to support us and our reporting, getting ad-free navigation and more as a bonus. Subscribe to us for less than a coffee per month —just $3.99— or take advantage of our yearly subscription with a hefty discount for only $25.- An ad-free experience
- A free mystery box for Lightroom or Capture One
- All the books in our store
- 20% discount on Capture One
- 30% discount on Imalume Photo Theft Protection
- 20% off Herbs and Kettle Tea Company.
- 20% off your order from MPIX printing services.
- 5% off Viltrox Products via their eCommerce store.
- 10% off all film developing, printing and scanning services from Blue Moon Camera and Machine
- 15% off 7Artisans products: The lens and accessory maker is offering a sweet discount for Phoblographer's readers.