
Last Updated on 08/07/2016 by Chris Gampat
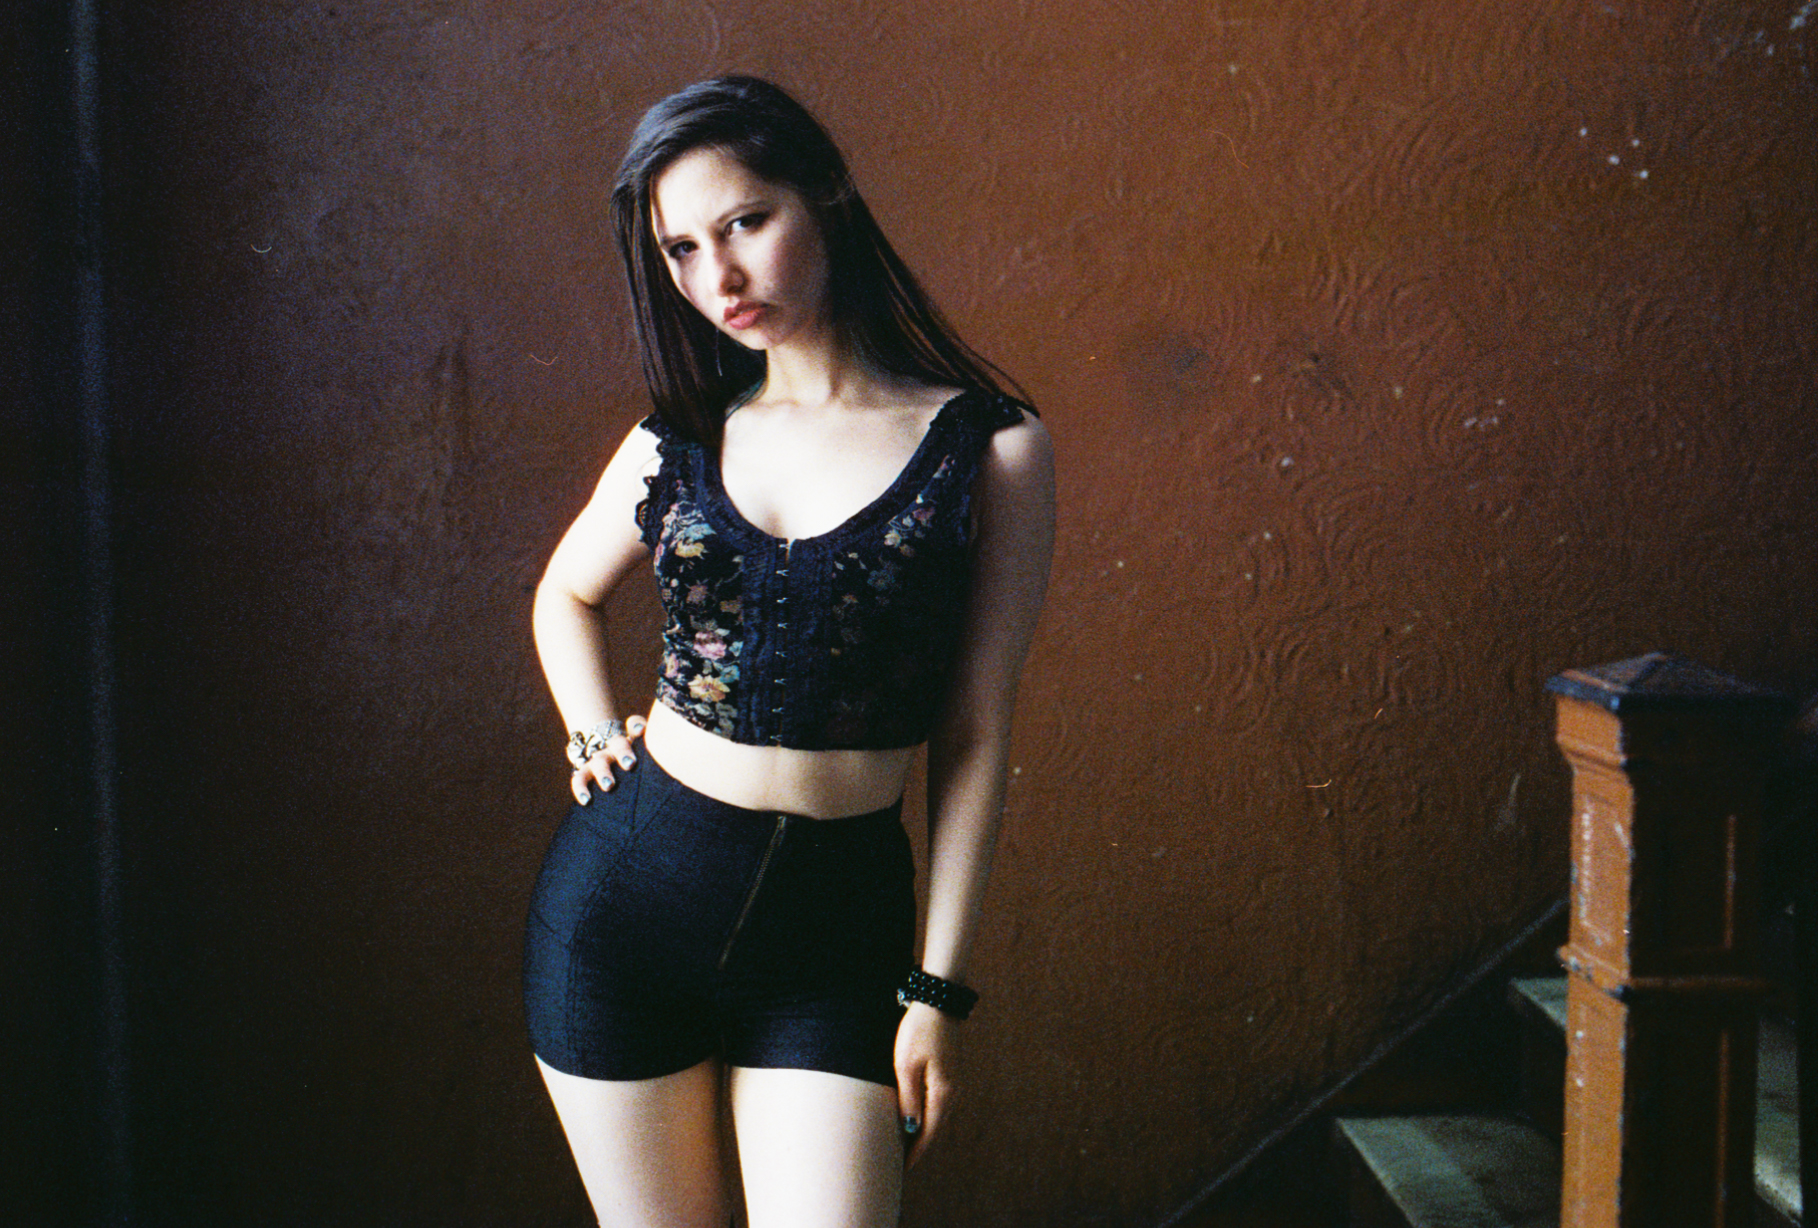
Lead image by Joe Valtierra
Portraiture is a process–and in today’s digital photography world it’s always wonderful to embrace the slower and more methodical process of film photography. Yes, it’s difficult and it’s nowhere as forgiving as digital photography. But that’s what makes you a better photographer.
After years of screwing up with film over and over again, I learned a lot when it comes to shooting. There are a number of labs around the country that will develop film for you.
Recommended Films
Before you go trying to shoot with film, some were designed to be better than others when it comes to shooting portraits. For example, Fujifilm Velvia was designed to have very vivid, saturated colors that work well with landscapes. When you try to photograph a person that way, you’ll find the skin tones to be not as pleasant. So here are some of our favorites.
Kodak Portra 400

Get the bigger stuff (like large format and medium format) if you want the better color.
The key with Portra is to shoot at 200 and develop for 320.
Kodak Ektar 100

Ektar 100 is designed to have very vivid colors but is generally also considered these days to be good enough for portraits. The look of it is very classic and when combined with the look of the golden hour, you’ll render some beautiful sunkissed tones to your images.
CineStill 800T

What’s easily my favorite film on this list is CineStill 800T. This isn’t a standard daylight balanced film though–it’s Tungsten balanced. That means that if you go outside during the daytime with bright sun and try to shoot it, you’ll get very blue images. But if you go out during a cloudy day or shoot inside, you’ll have better luck.
Very Soft, Diffused Lighting
Hard lighting (meaning very dark shadows) can look cool on film, but it’s generally not the look that takes the full advantage of what film is capable of doing and rendering. Soft, diffused lighting does the best job here. It’s a standard in digital photography too but goes double for film due to it being tougher to recover details in a photo or produce the look that you want which can come easy with digital in post-production.
Natural Light

When shooting with film in natural light, know that daylight film is best used during sunny days and with a flash while tungsten film is best for the night, indoors and with a gelled flash. If you’re outside on a cloudy day, then just shoot the tungsten film straight as is. You’ll get fantastic results.

An alternative is a diffusion umbrella–which can simply soften the light. This is really the only way you can tame the light otherwise. The tricks that digital does (like using shadowy areas and a wall) can give you results that can be tougher to work with due to color hues in the area.
Strobe
When you’re working with strobe lighting. follow all the rules of natural light and then consider the following. Put a light modifier on a strobe and then look at how much of an area that strobe will cover. If the strobe area is bigger than your subject, then it can deliver very soft, diffused light. If it isn’t, then the light will be hard.
Color Balance and Color Filters For Your Lens
Unlike camera sensors, film is white balanced to only one setting. So you’ll need to shoot accordingly with each and carry what are called color filters. They’re very popular with black and white photographers because of the cool effects they produce.
Daylight film needs a blue filter in cloudy and nighttime situations while Tungsten film needs an orange filter when shooting in the sun. Additionally, when you put a filter on the lens of your camera, you’ll need to shoot at a lower ISO to compensate for the light cutting that these filters will do.
Variable ND Filters
Get rid of the ads!
Did you enjoy reading this article as much as we enjoyed writing it? There's a way to support us and our reporting, getting ad-free navigation and more as a bonus. Subscribe to us for less than a coffee per month —just $3.99— or take advantage of our yearly subscription with a hefty discount for only $25.- An ad-free experience
- A free mystery box for Lightroom or Capture One
- All the books in our store
- 20% discount on Capture One
- 30% discount on Imalume Photo Theft Protection
- 20% off Herbs and Kettle Tea Company.
- 20% off your order from MPIX printing services.
- 5% off Viltrox Products via their eCommerce store.
- 10% off all film developing, printing and scanning services from Blue Moon Camera and Machine
- 15% off 7Artisans products: The lens and accessory maker is offering a sweet discount for Phoblographer's readers.