
It’s a known fact that the backlit look is very favorable for natural light portrait shooters. It reminds us of warmer and more happy times–in addition to making all types of skin tones look fantastic. It’s why the Golden Hour is looked at with such favor. But if you don’t have Golden Hour light, then it’s simple enough to create it in Adobe Lightroom. We touched on this a while ago, and these are some more advanced techniques.
Main Light Need to be From Behind (Or Look That Way)
First off, the main light in your scene will always need to be behind the person. So yes, you’re starting with backlight to begin with but then you just need to enhance it. Typically, having sky in the photo really makes a lot of sense in order to make it look natural.
The Essential Adjustment Used Many Ways

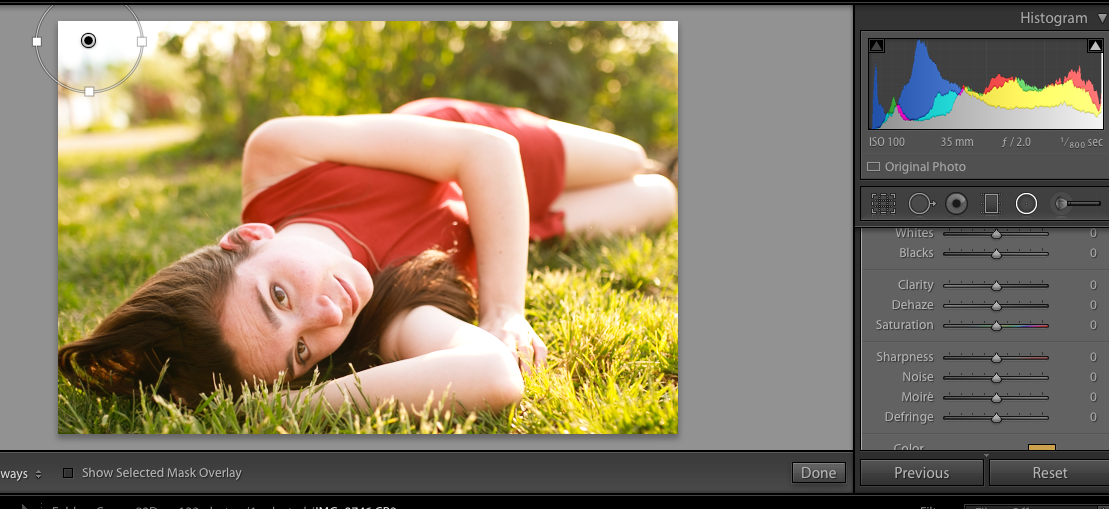
Next what you’re going to want to do is select either the gradient, radial or adjustment brush, scroll down on the develop panel for that mask and choose color. Make it a warm color that mimics the look of sunlight and then add white balance warmth, exposure brightening, dehaze, and clarity.
Now you’re ready to edit.
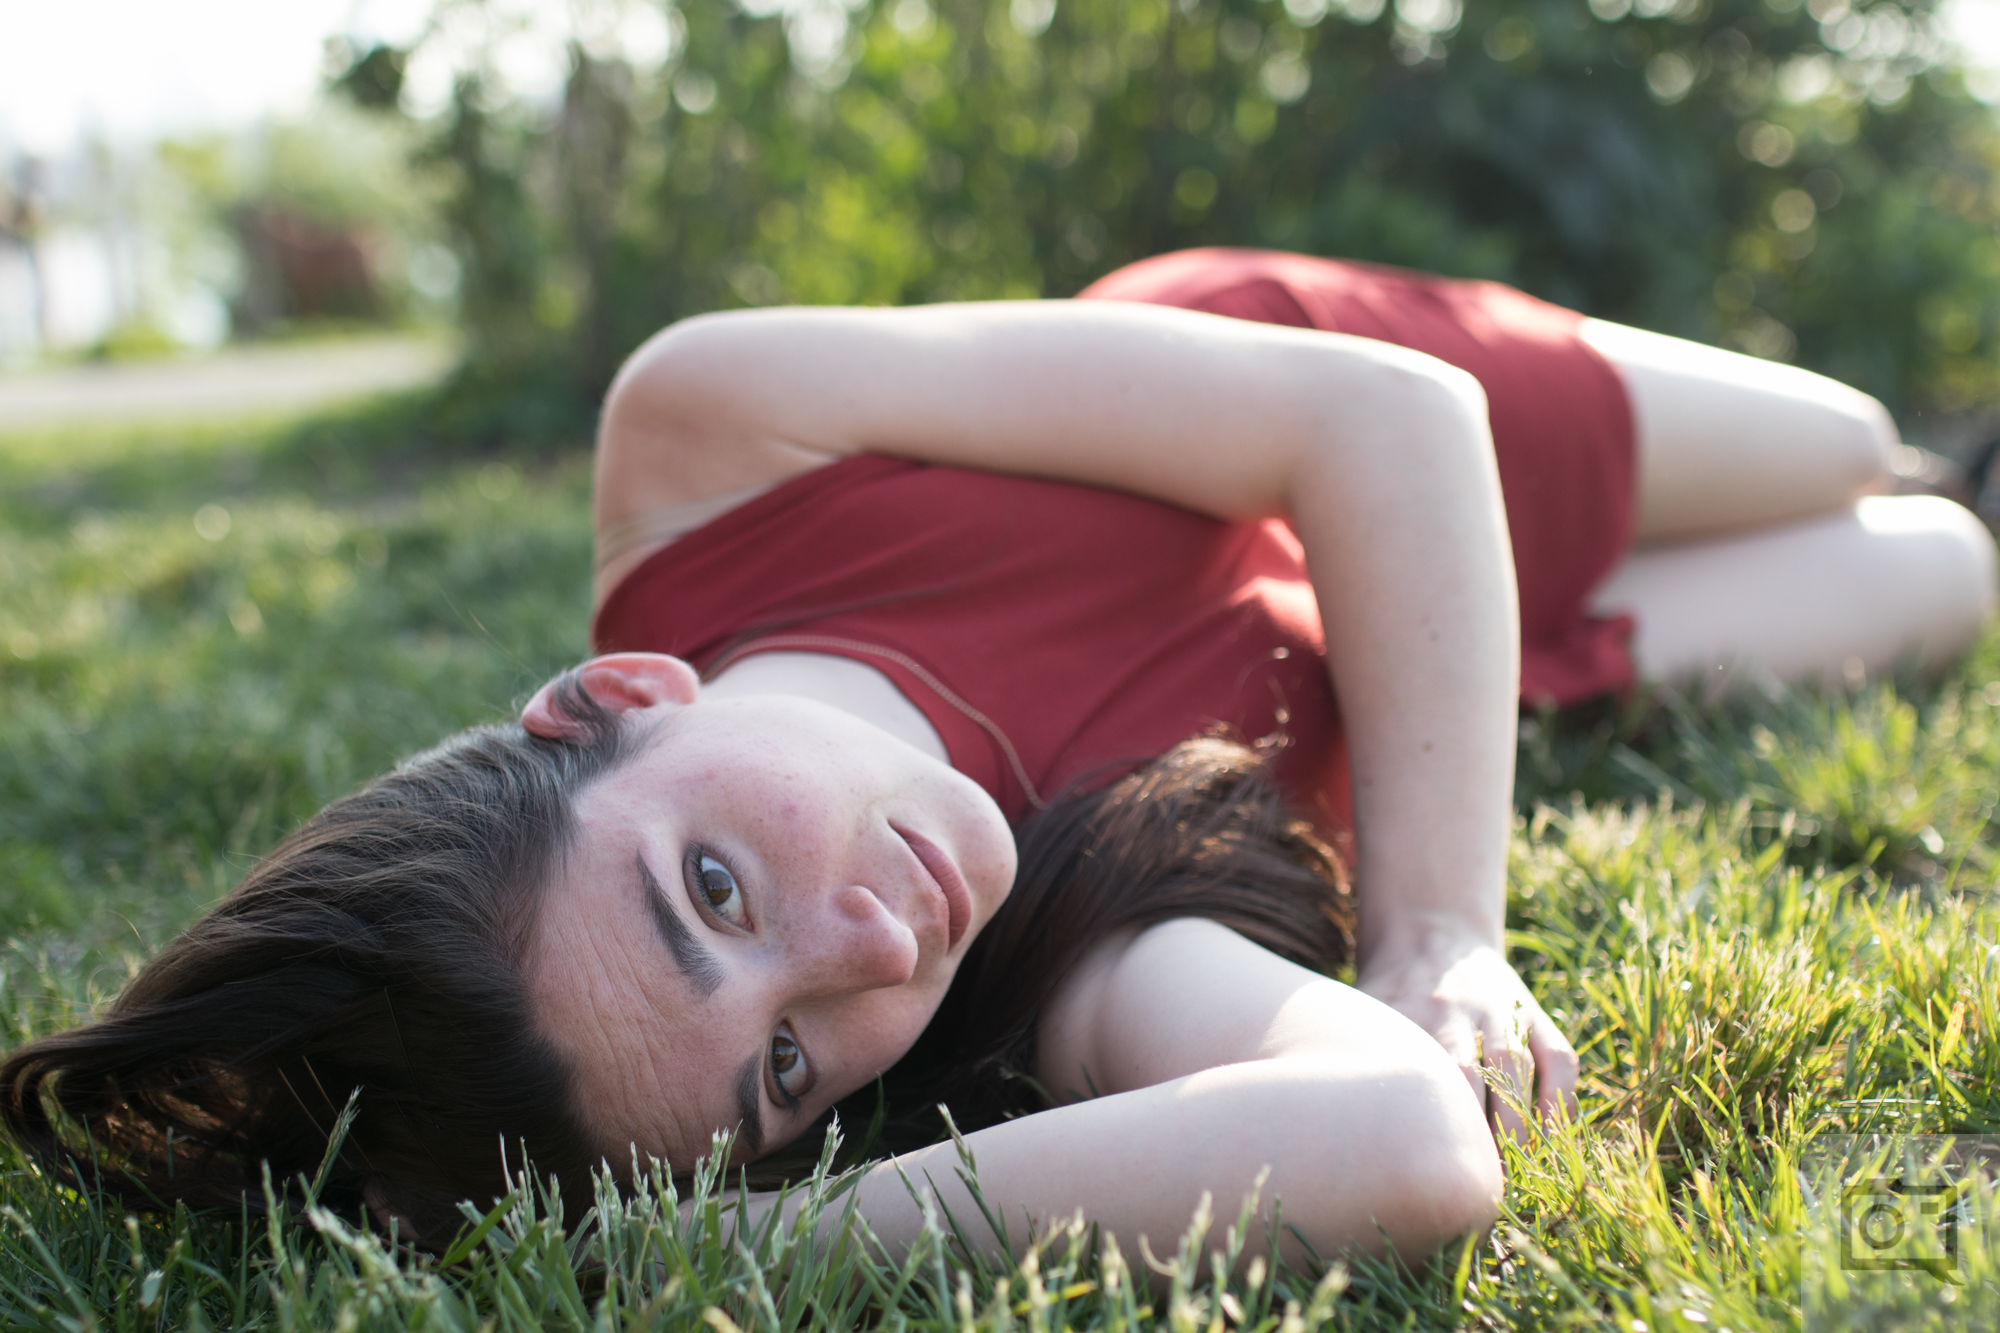
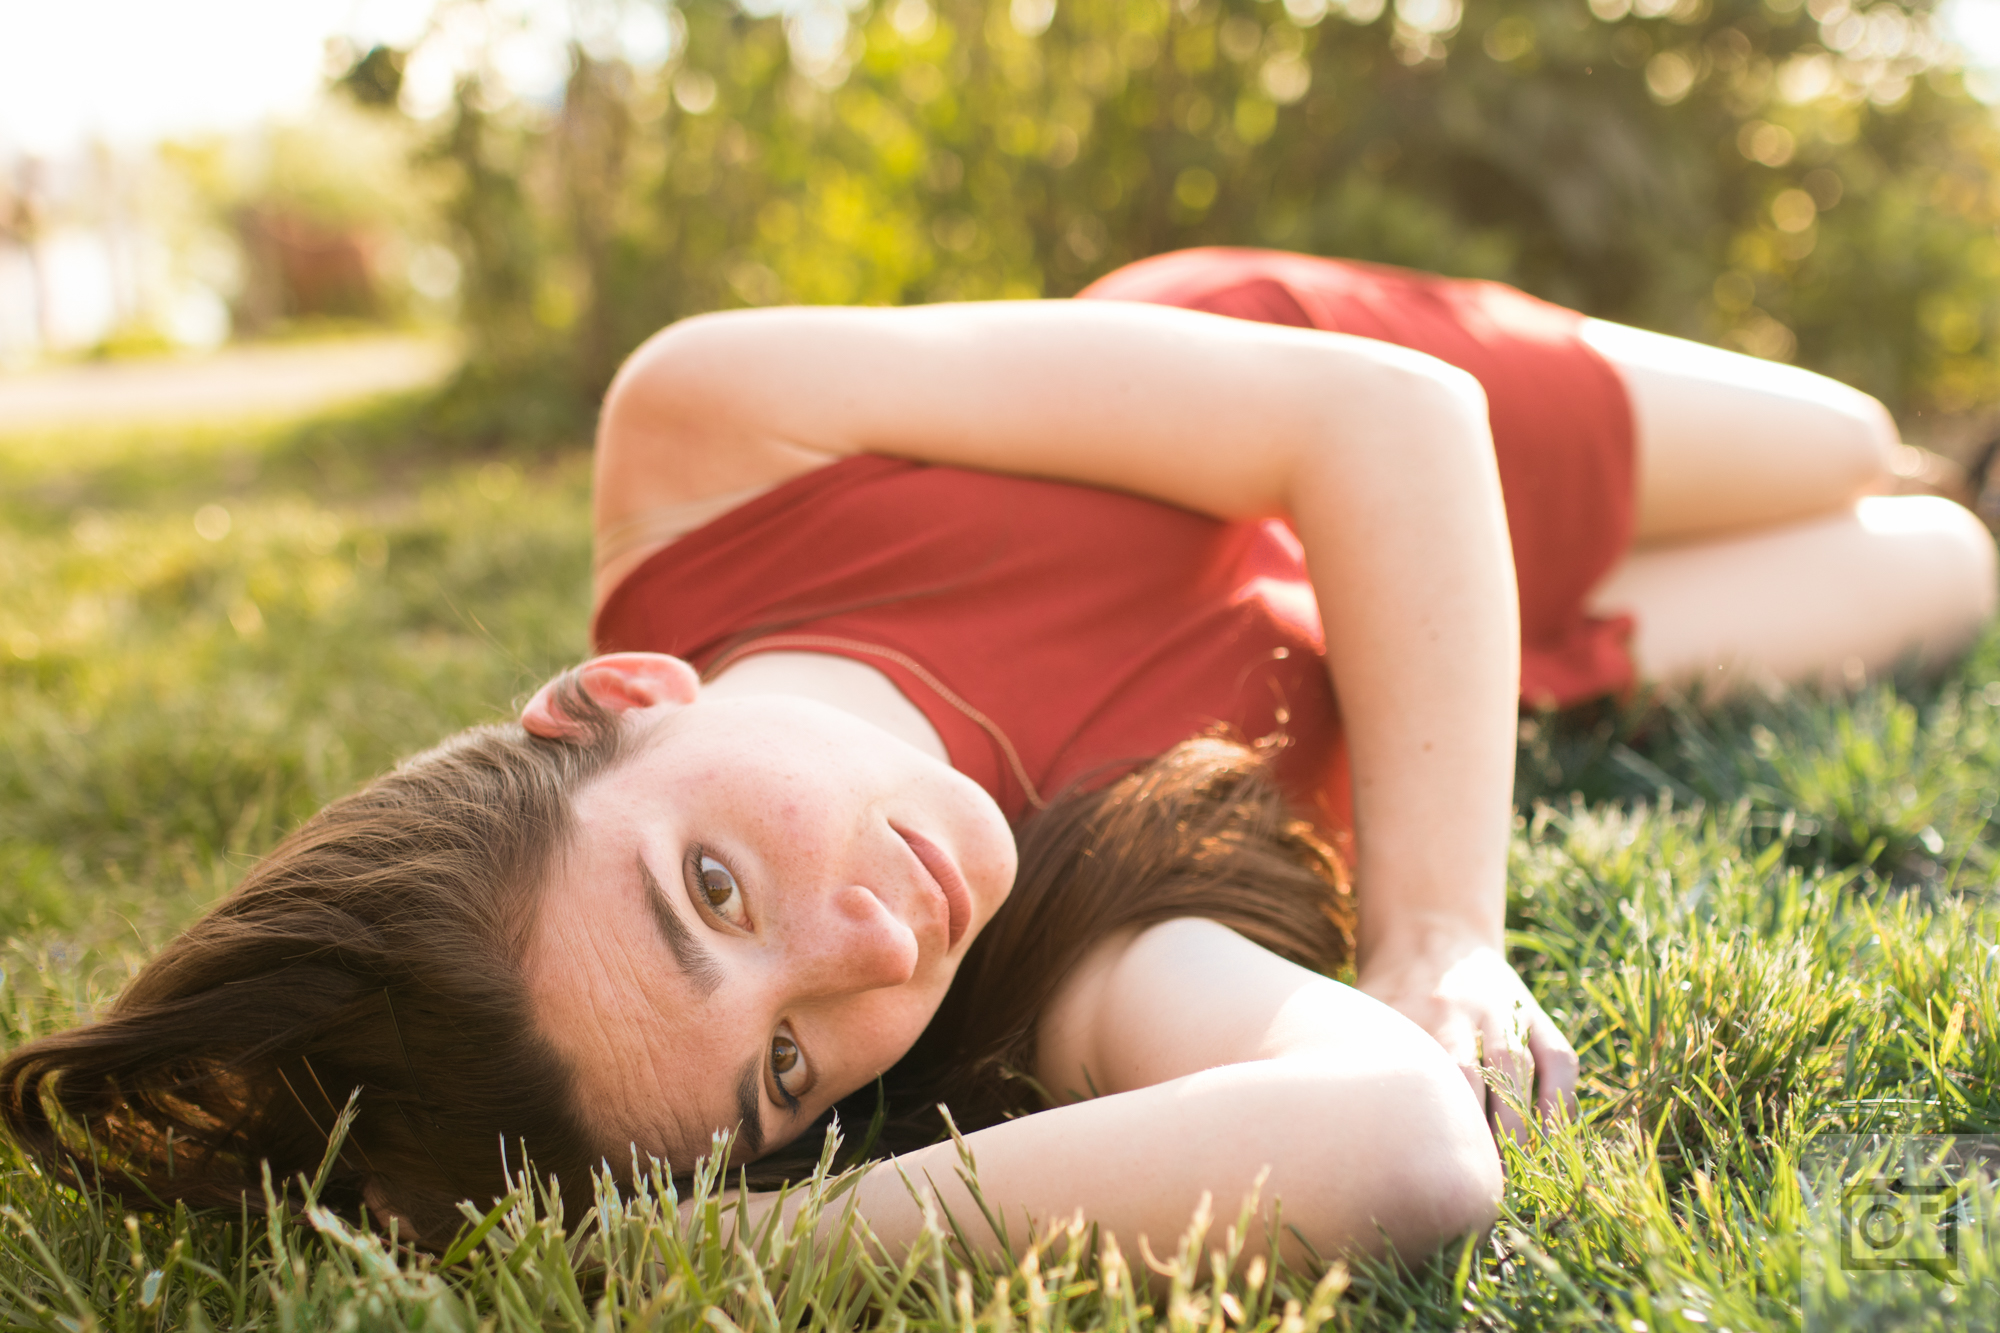
For much of this tutorial, I’ll use the image of Erica as the base and adjust it accordingly per section. Above you’ll spot our original image. What I always do to start out is choose a color camera profile. Since this image was done with the Canon 80D, I’ll use Portrait.
Gradient Tool

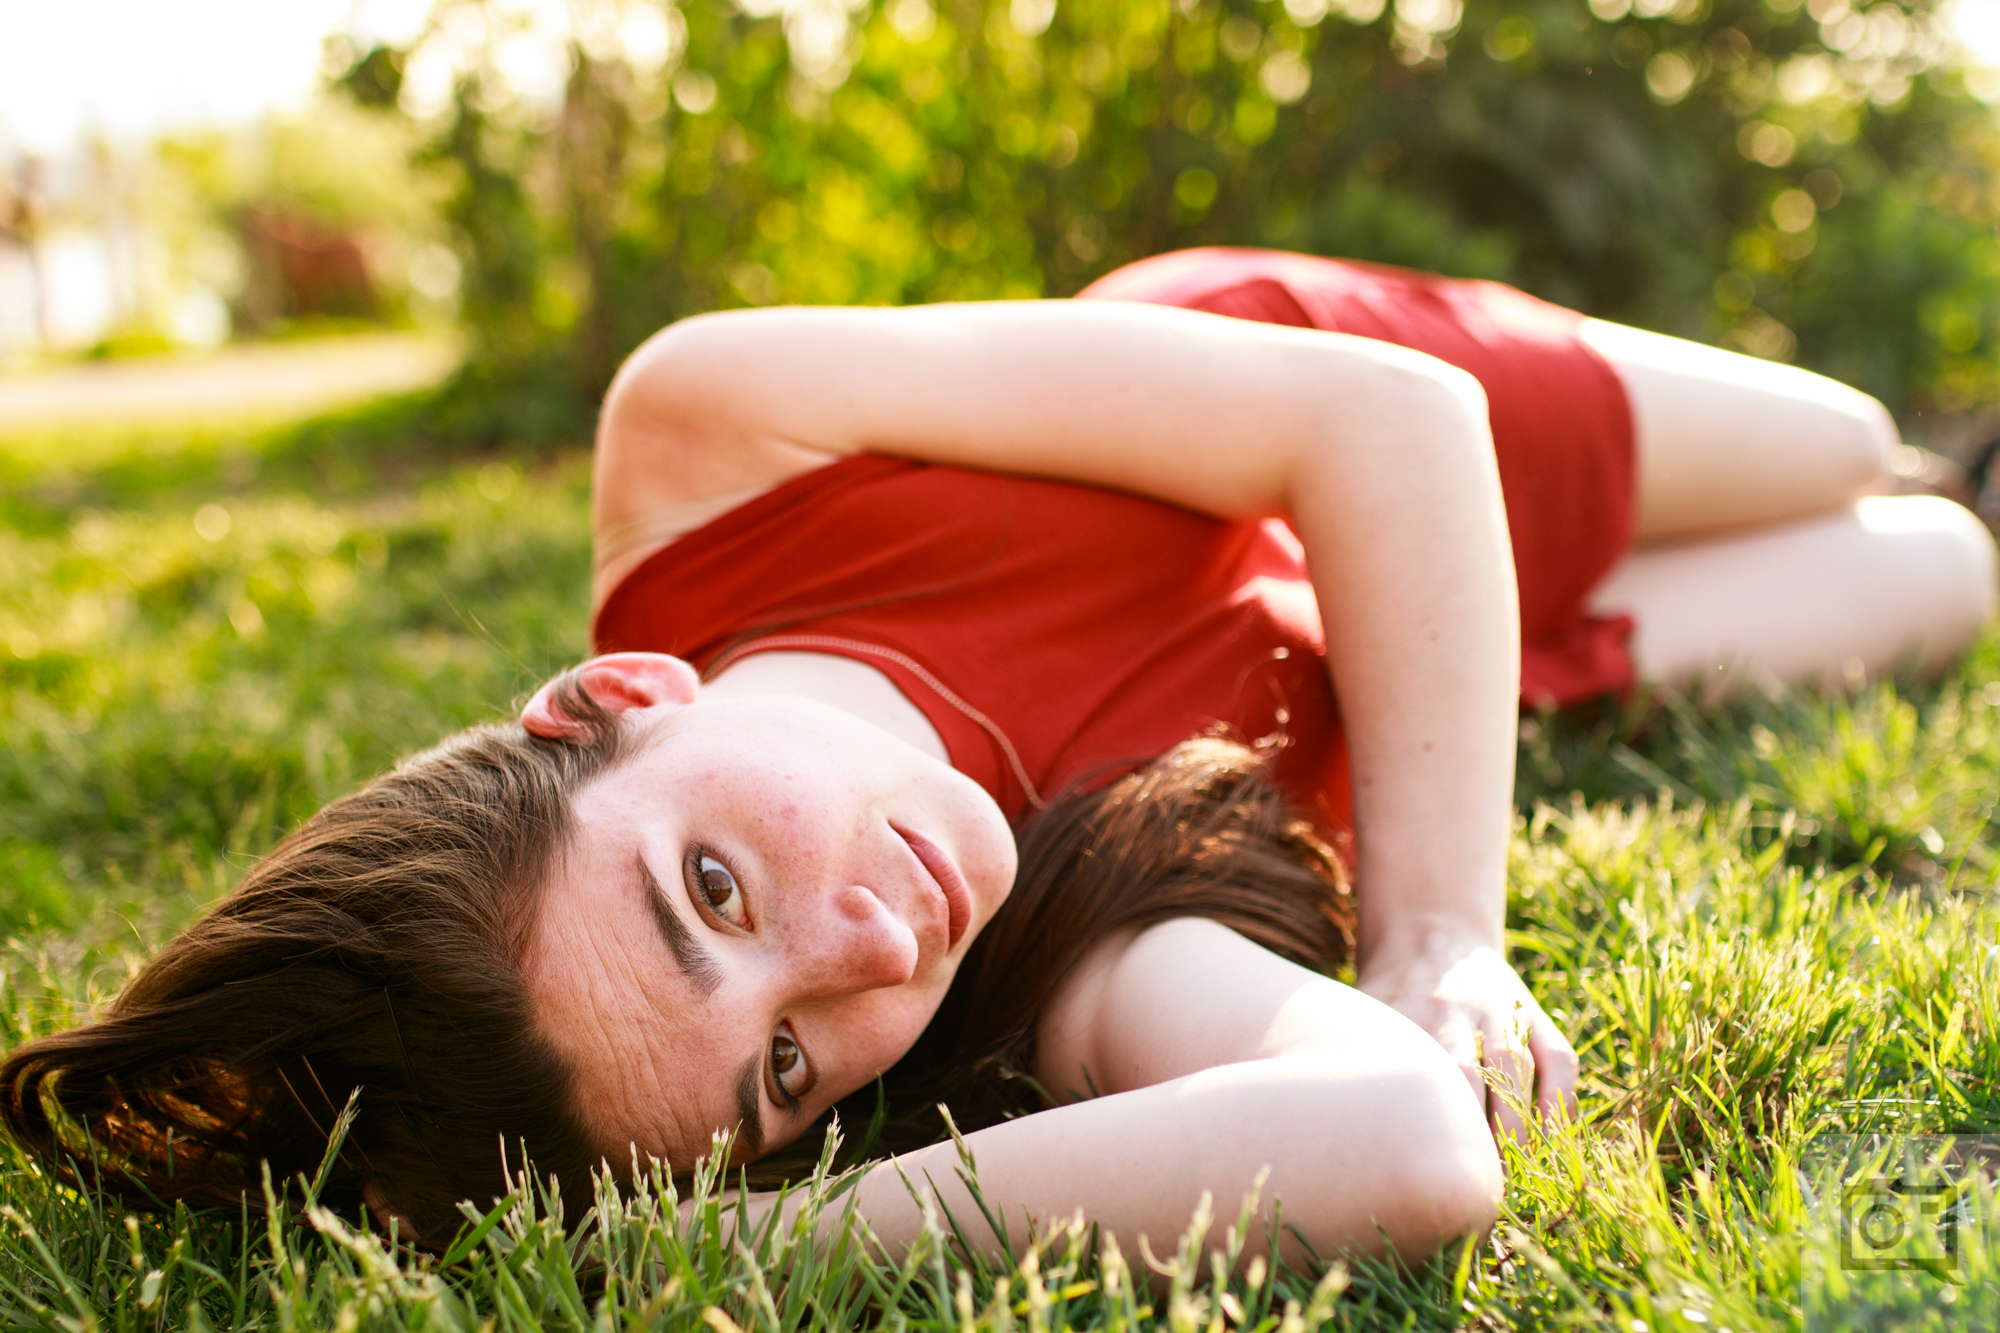
So for this photo, I chose to look at it very carefully. The right side is already pretty warm as you can see in the original, but then it can be equalized to look warmer on the other side. With that in mind, my personal creative decision was to add it in from the top left.
So I started with te gradient from all the way from the top left and pulled it around to cover most of the top part of Erica. Then I brought it down and evened it out until it blended in with the light already on the right side.
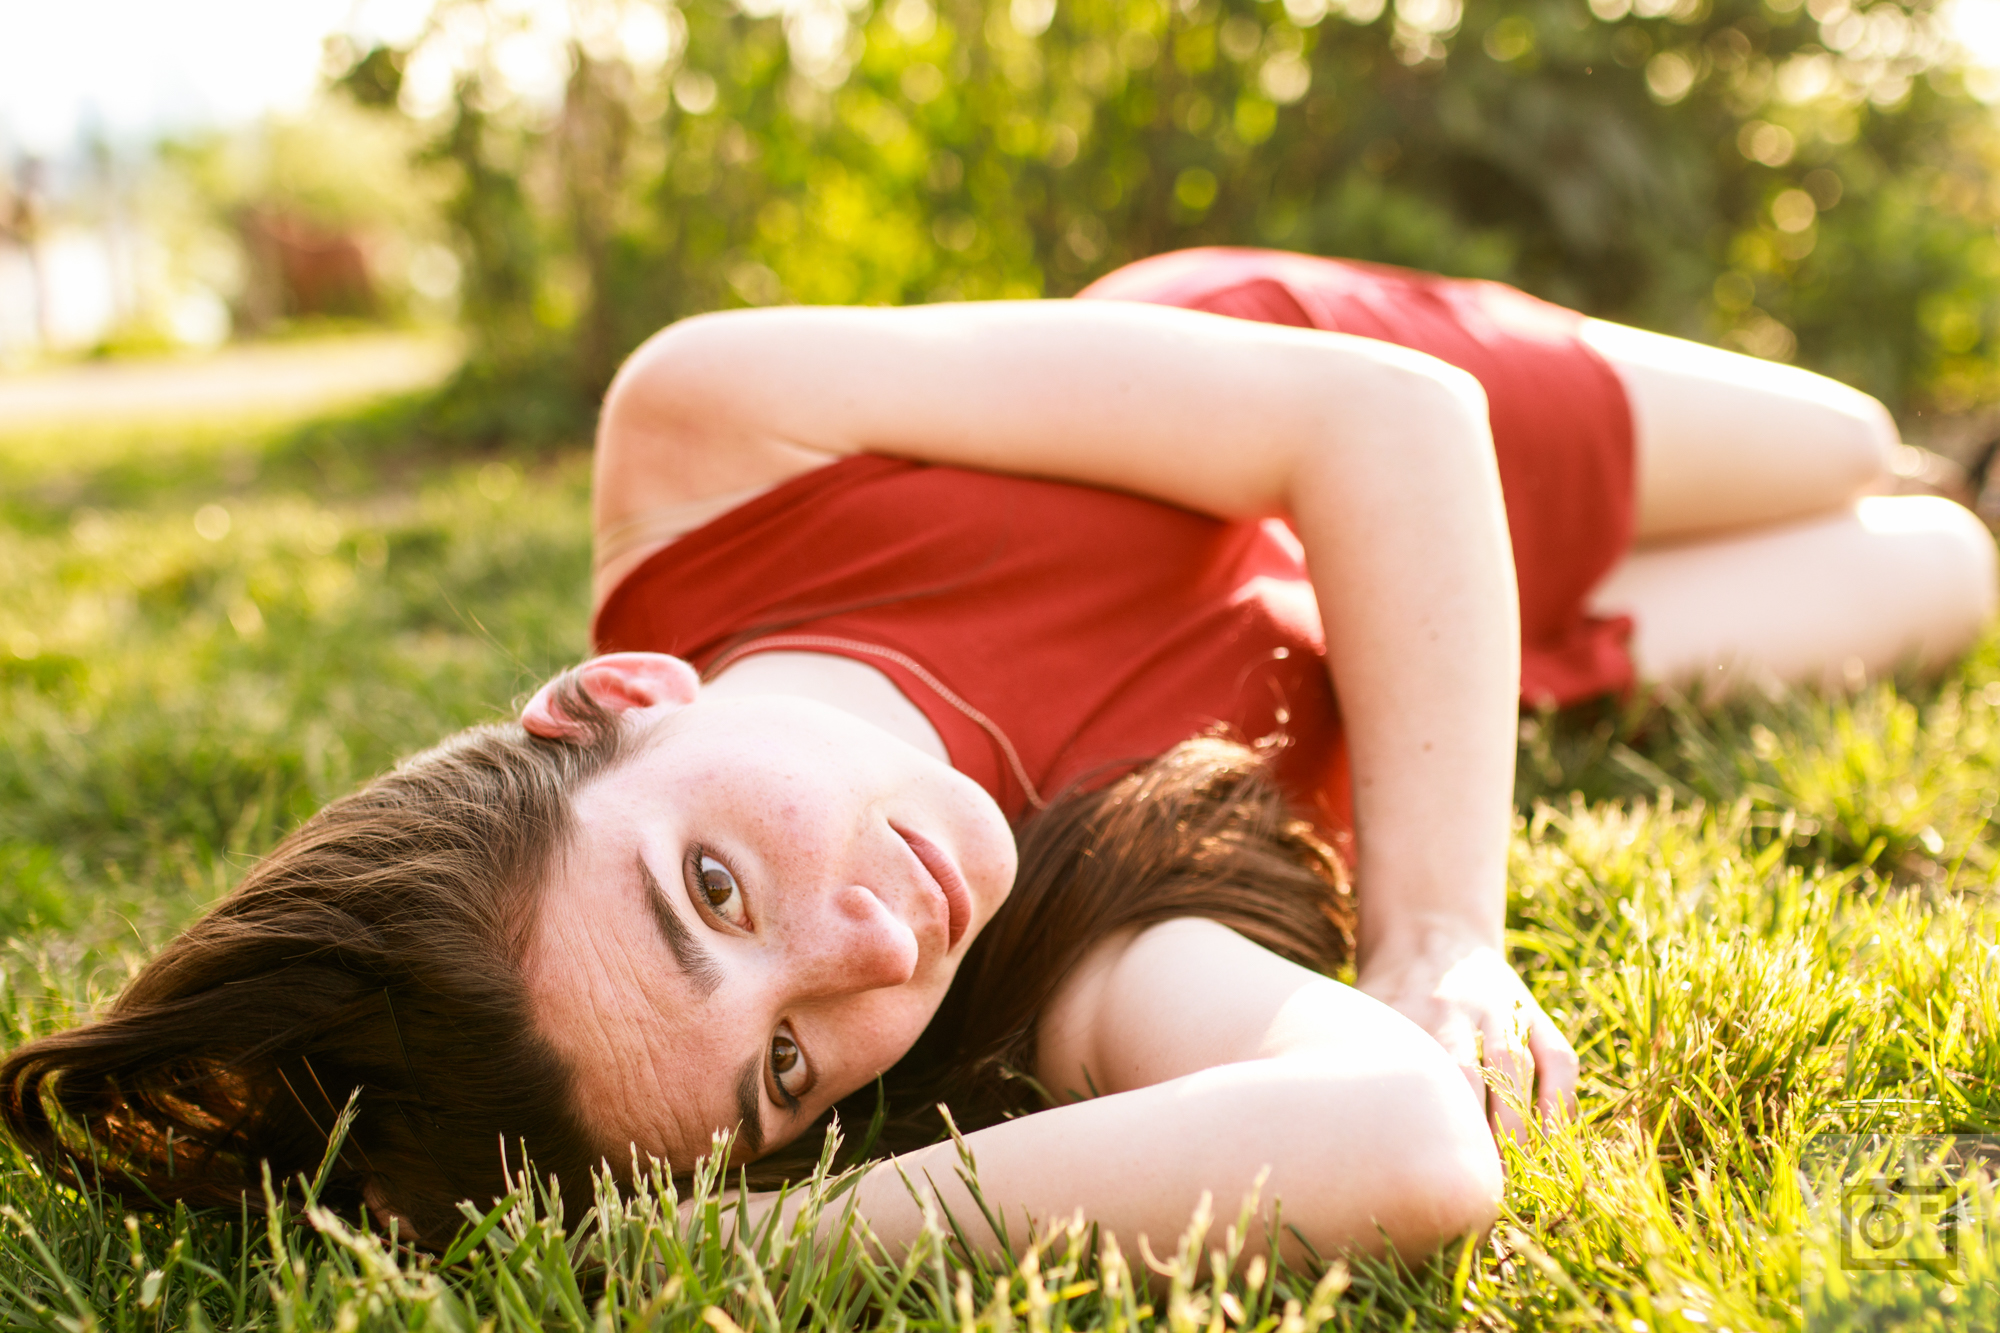
Now this honestly the easiest and one of the most effective ways of doing it. But it can be fine tuned even more.
Radial Tool
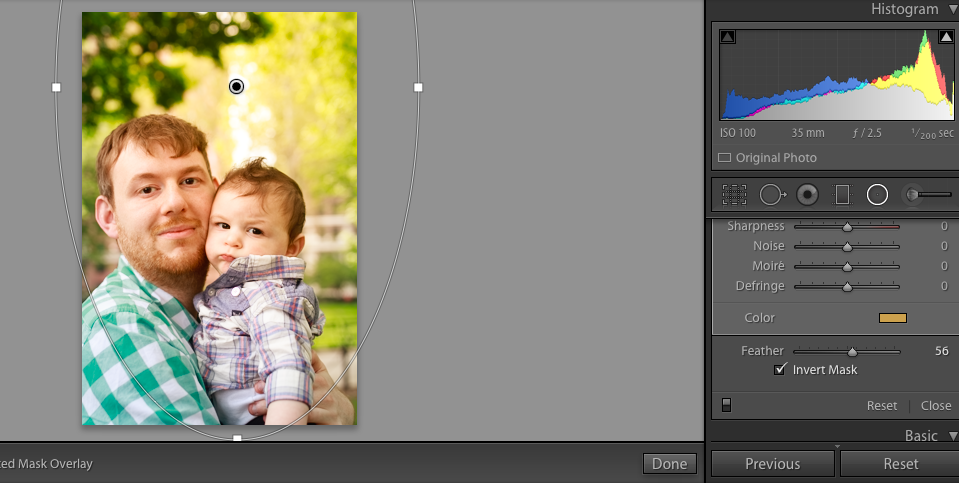
The really cool thing about the radial tool in Adobe Lightroom is that it can either emit all the warmth or it can contain all the warmth accordingly. When it emits the warmth, it acts just like the actual sun. For that reason is can easily become the favorite of many photographers.
Here’s what the image looks like when it’s emitting the warmth; but let me show you another image where it’s containing the warmth.

This image is the original. It’s both front lit and backlit. But with the careful expansion of the warmth it can look even better.

Look very carefully: notice how where the green/aqua in Michael’s shirt is? Notice how it isn’t really affected by the warmth we’re spreading but the rest of the photo is. This is because of the careful use of the contained warmth and spreading it through the image accordingly along with precise feathering.
Here’s another example of what that can look like accordingly.

Adjustment Brush Tool
The last tool is the most specific: this one tends to vary accordingly with its effectiveness. If you will, simply imagine a scene: you’ve got a paint brush and you can paint over it to look exactly the way you want. For some of us, this will be easiest. For others, it will be the least effective. What I really recommend here is starting with the brush and just applying the white balance warmth, color, and exposure brightening. The rest (clarity and dehaze) you should apply to the whole image using the sliders to make the image look more natural.
Get rid of the ads!
Did you enjoy reading this article as much as we enjoyed writing it? There's a way to support us and our reporting, getting ad-free navigation and more as a bonus. Subscribe to us for less than a coffee per month —just $3.99— or take advantage of our yearly subscription with a hefty discount for only $25.- An ad-free experience
- A free mystery box for Lightroom or Capture One
- All the books in our store
- 20% discount on Capture One
- 30% discount on Imalume Photo Theft Protection
- 20% off Herbs and Kettle Tea Company.
- 20% off your order from MPIX printing services.
- 5% off Viltrox Products via their eCommerce store.
- 10% off all film developing, printing and scanning services from Blue Moon Camera and Machine
- 15% off 7Artisans products: The lens and accessory maker is offering a sweet discount for Phoblographer's readers.