
Last Updated on 04/24/2016 by Chris Gampat
All images by Daniel Singer. Used with permission.
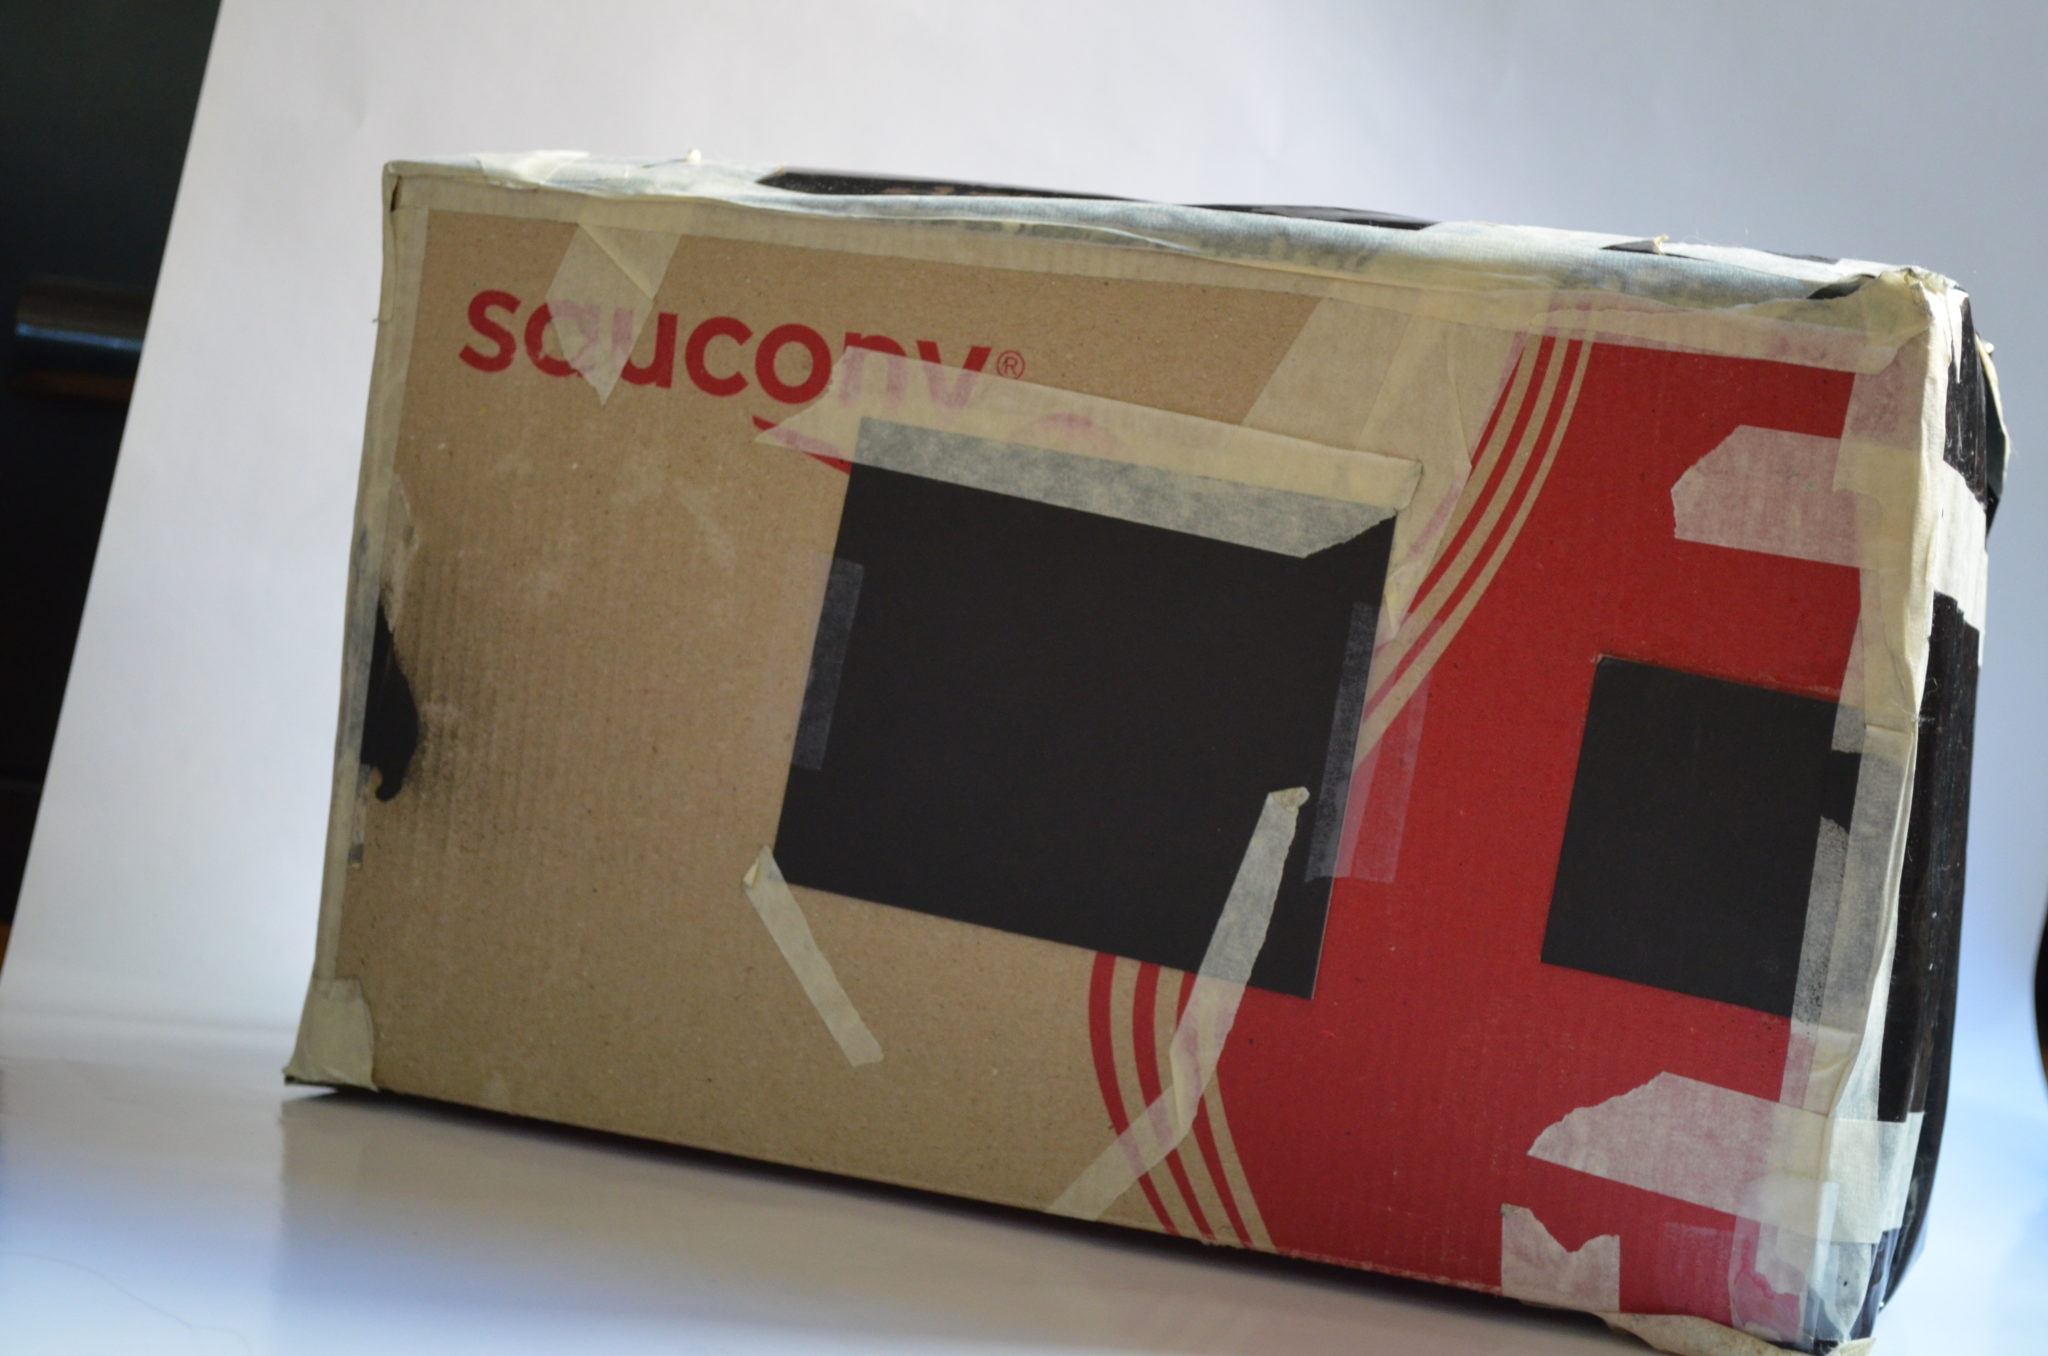
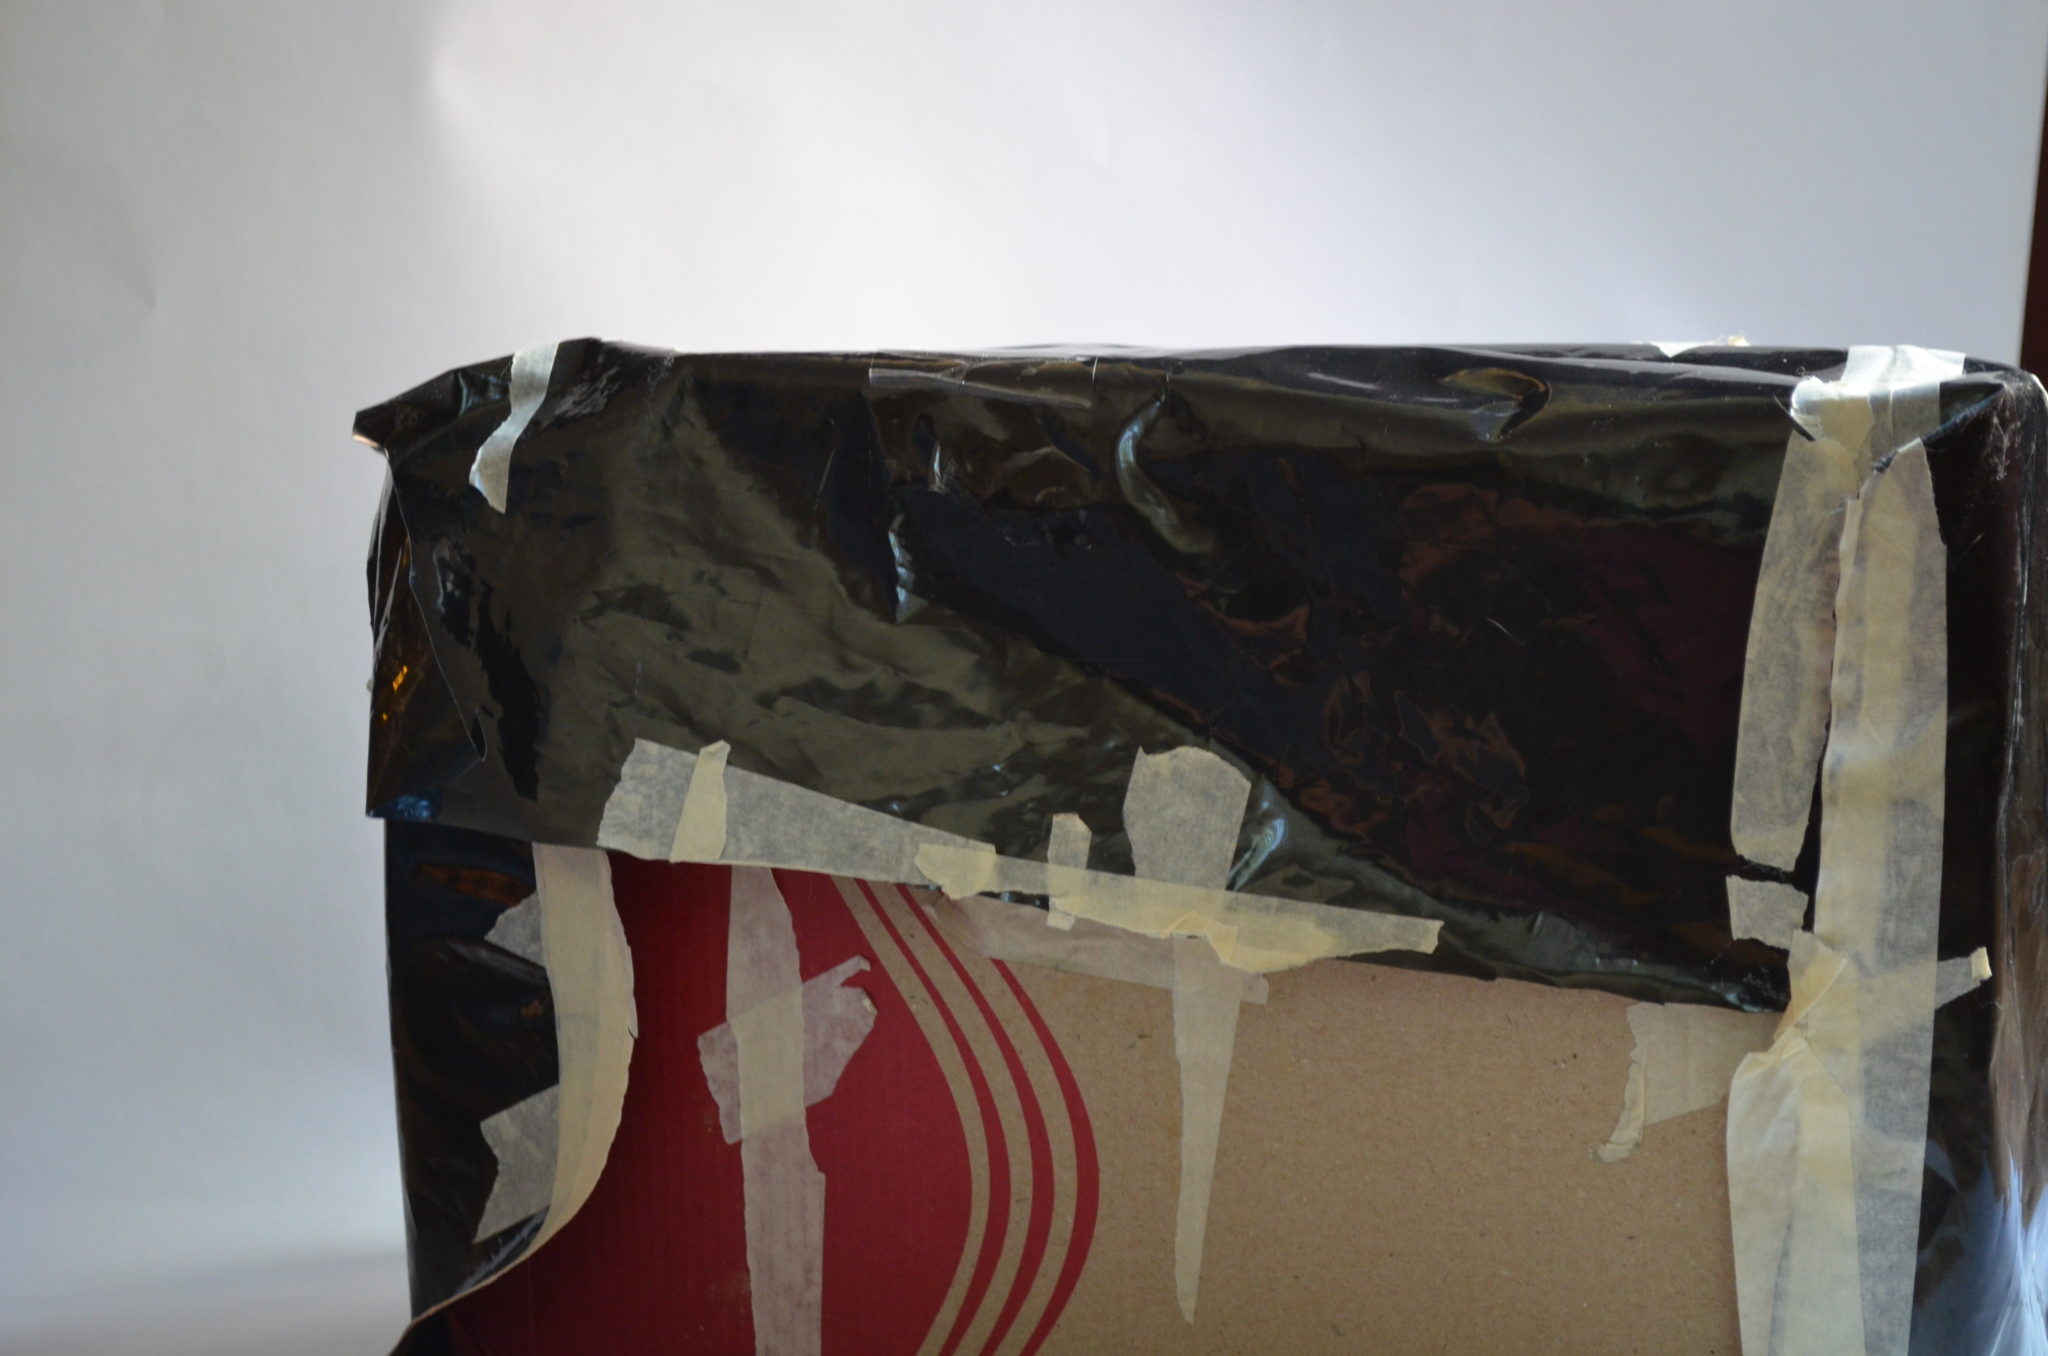
“I originally used the shoe box because it was a good size to start with, I had one laying around and it was easy to use.” says photographer Daniel Singer about a pinhole camera he made with a shoe box. “Also it allows for a good size piece of ‘film’ easily fitting an 8×10 piece of photo paper.” Daniel’s idea isn’t necessarily as revolutionary as it is cool; but doing pinhole photography with a large format camera isn’t exactly simple either.
Daniel is an amateur artist who has lived in California and Nigeria but is currently residing around northern DC. He wants to attend formal art school in the future, and first got into photography by taking a bunch of digital art and design classes in school. “I realized any photography I did for projects in those class were just me borrowing a DSLR and putting it in auto mode and pointing at stuff and taking a picture.” says Daniel. “I decided I wanted to learn how to use a camera and signed up for the introductory photography class at my school.” Lucky for him, his teacher believes in learning analog photography.
“…so we spent the first three quarters of the class in the darkroom and with film cameras. I quickly came to love it and began to shoot in my spare time.”
For Dan, the analog process is enjoyable for its raw nature. In general, he likes analog images better than digital ones. This analog experience combined with Daniel seeing upper level students making pinhole cmaeras increased his love for the medium. Eventually, he made his own pinhole camera.
This isn’t the only pinhole camera Dan’s made though; he also has one made of a cookie tin that delivers a warping effect. He’s also considering making out of a refrigerator box to take life size portraits or landscapes. He’s also working with his teacher on making a 360 degree camera made of altoid tins. “We’ve slowly been stock piling old altoid tins but if anyone has you know 300 more, shoot me an email and I’ll happily take them.”
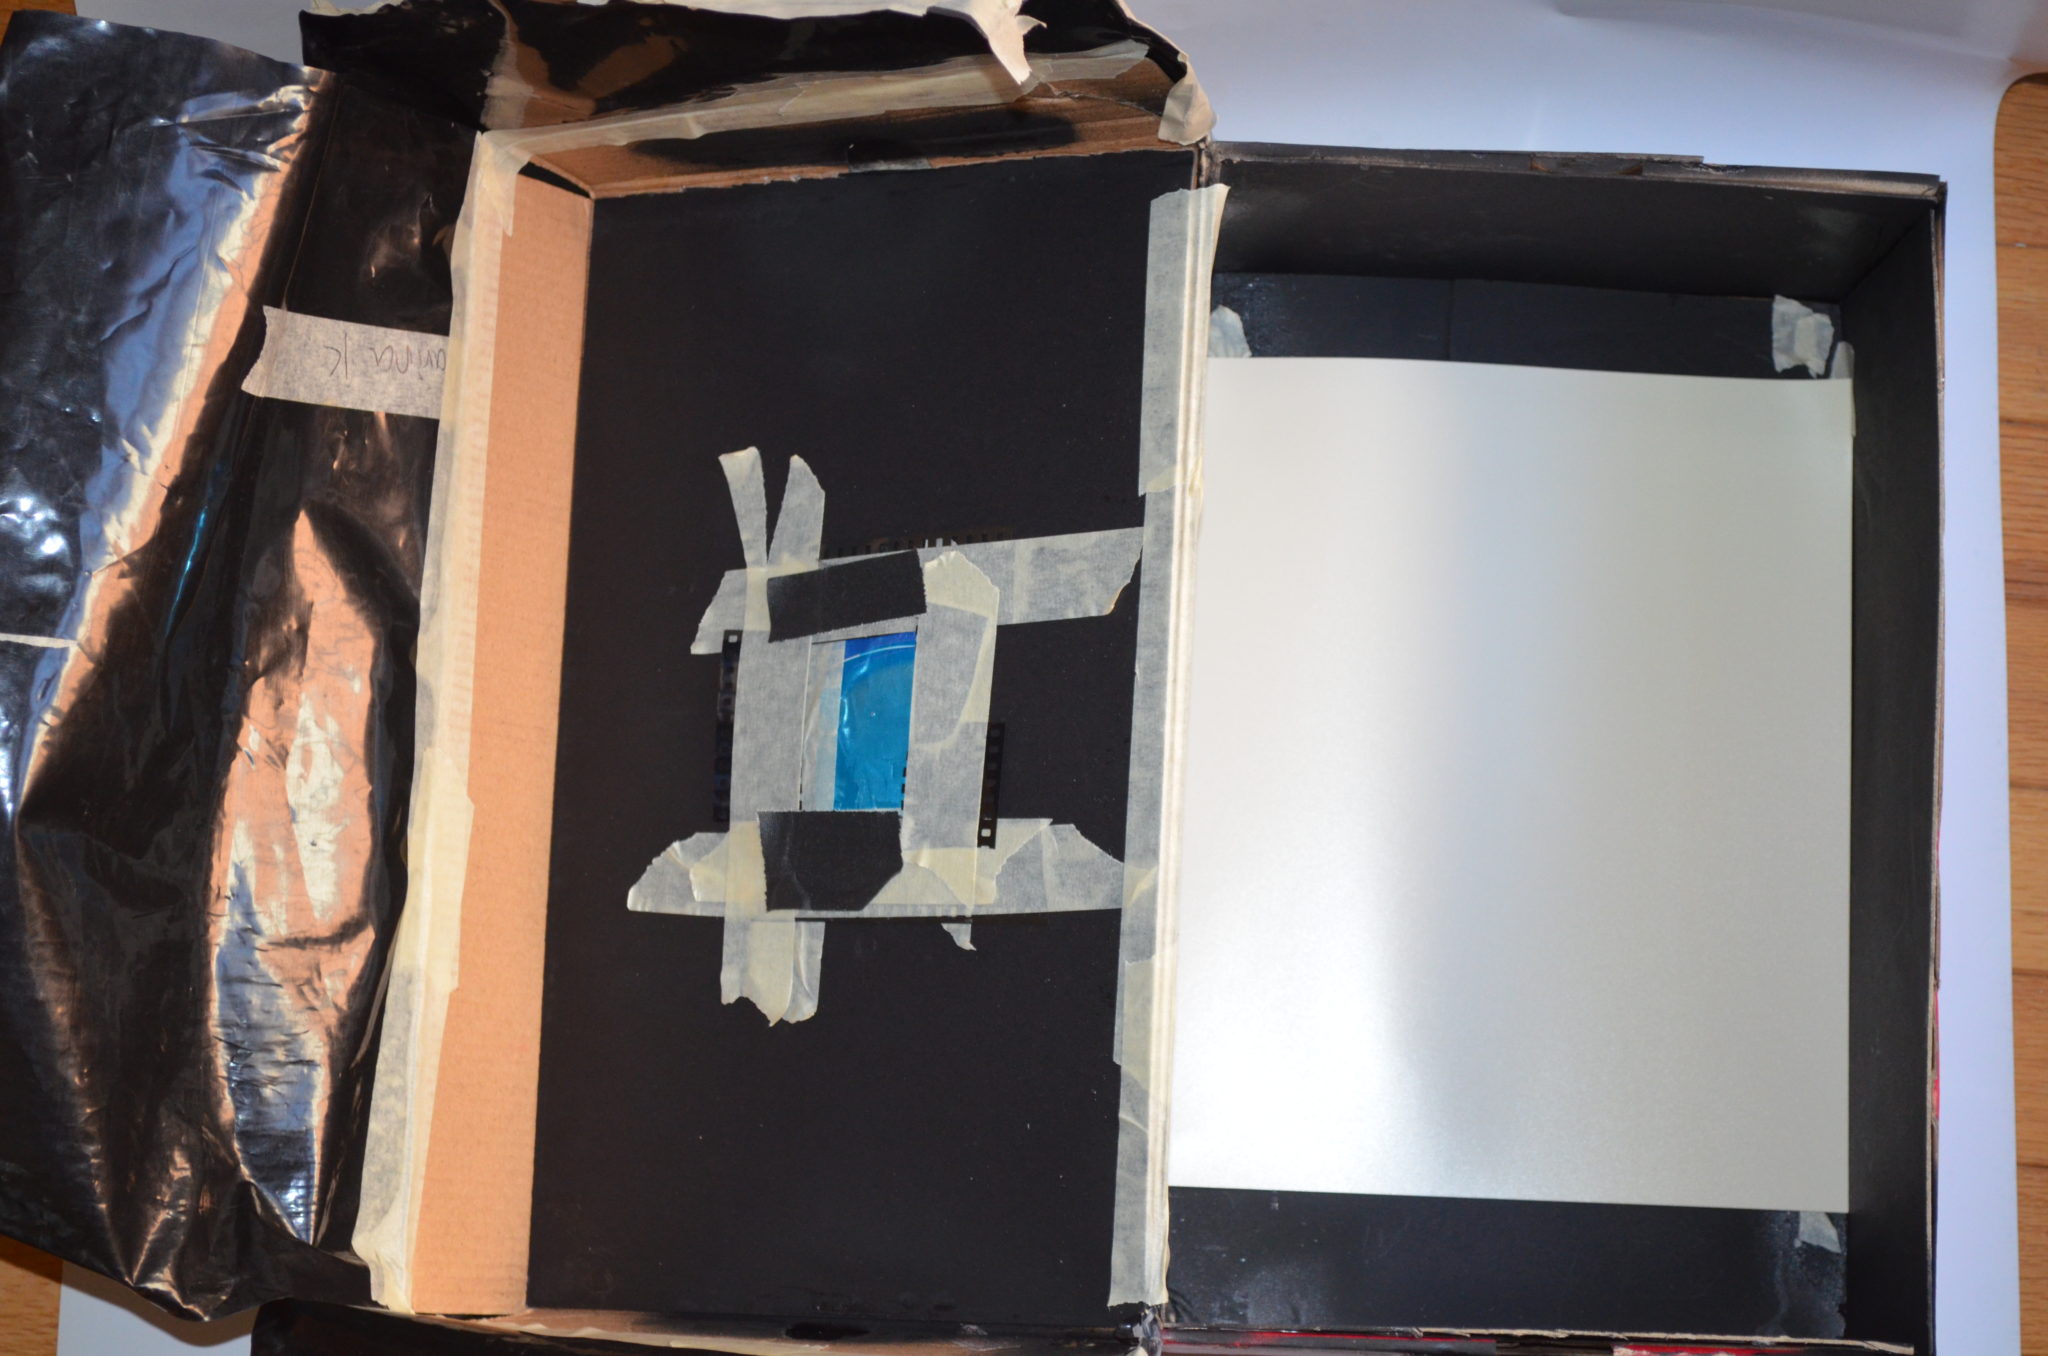
For the shoe box, Dan had to blank out the inside using a combo of matte black spray paint and black construction paper. Here’s the rest of his process:
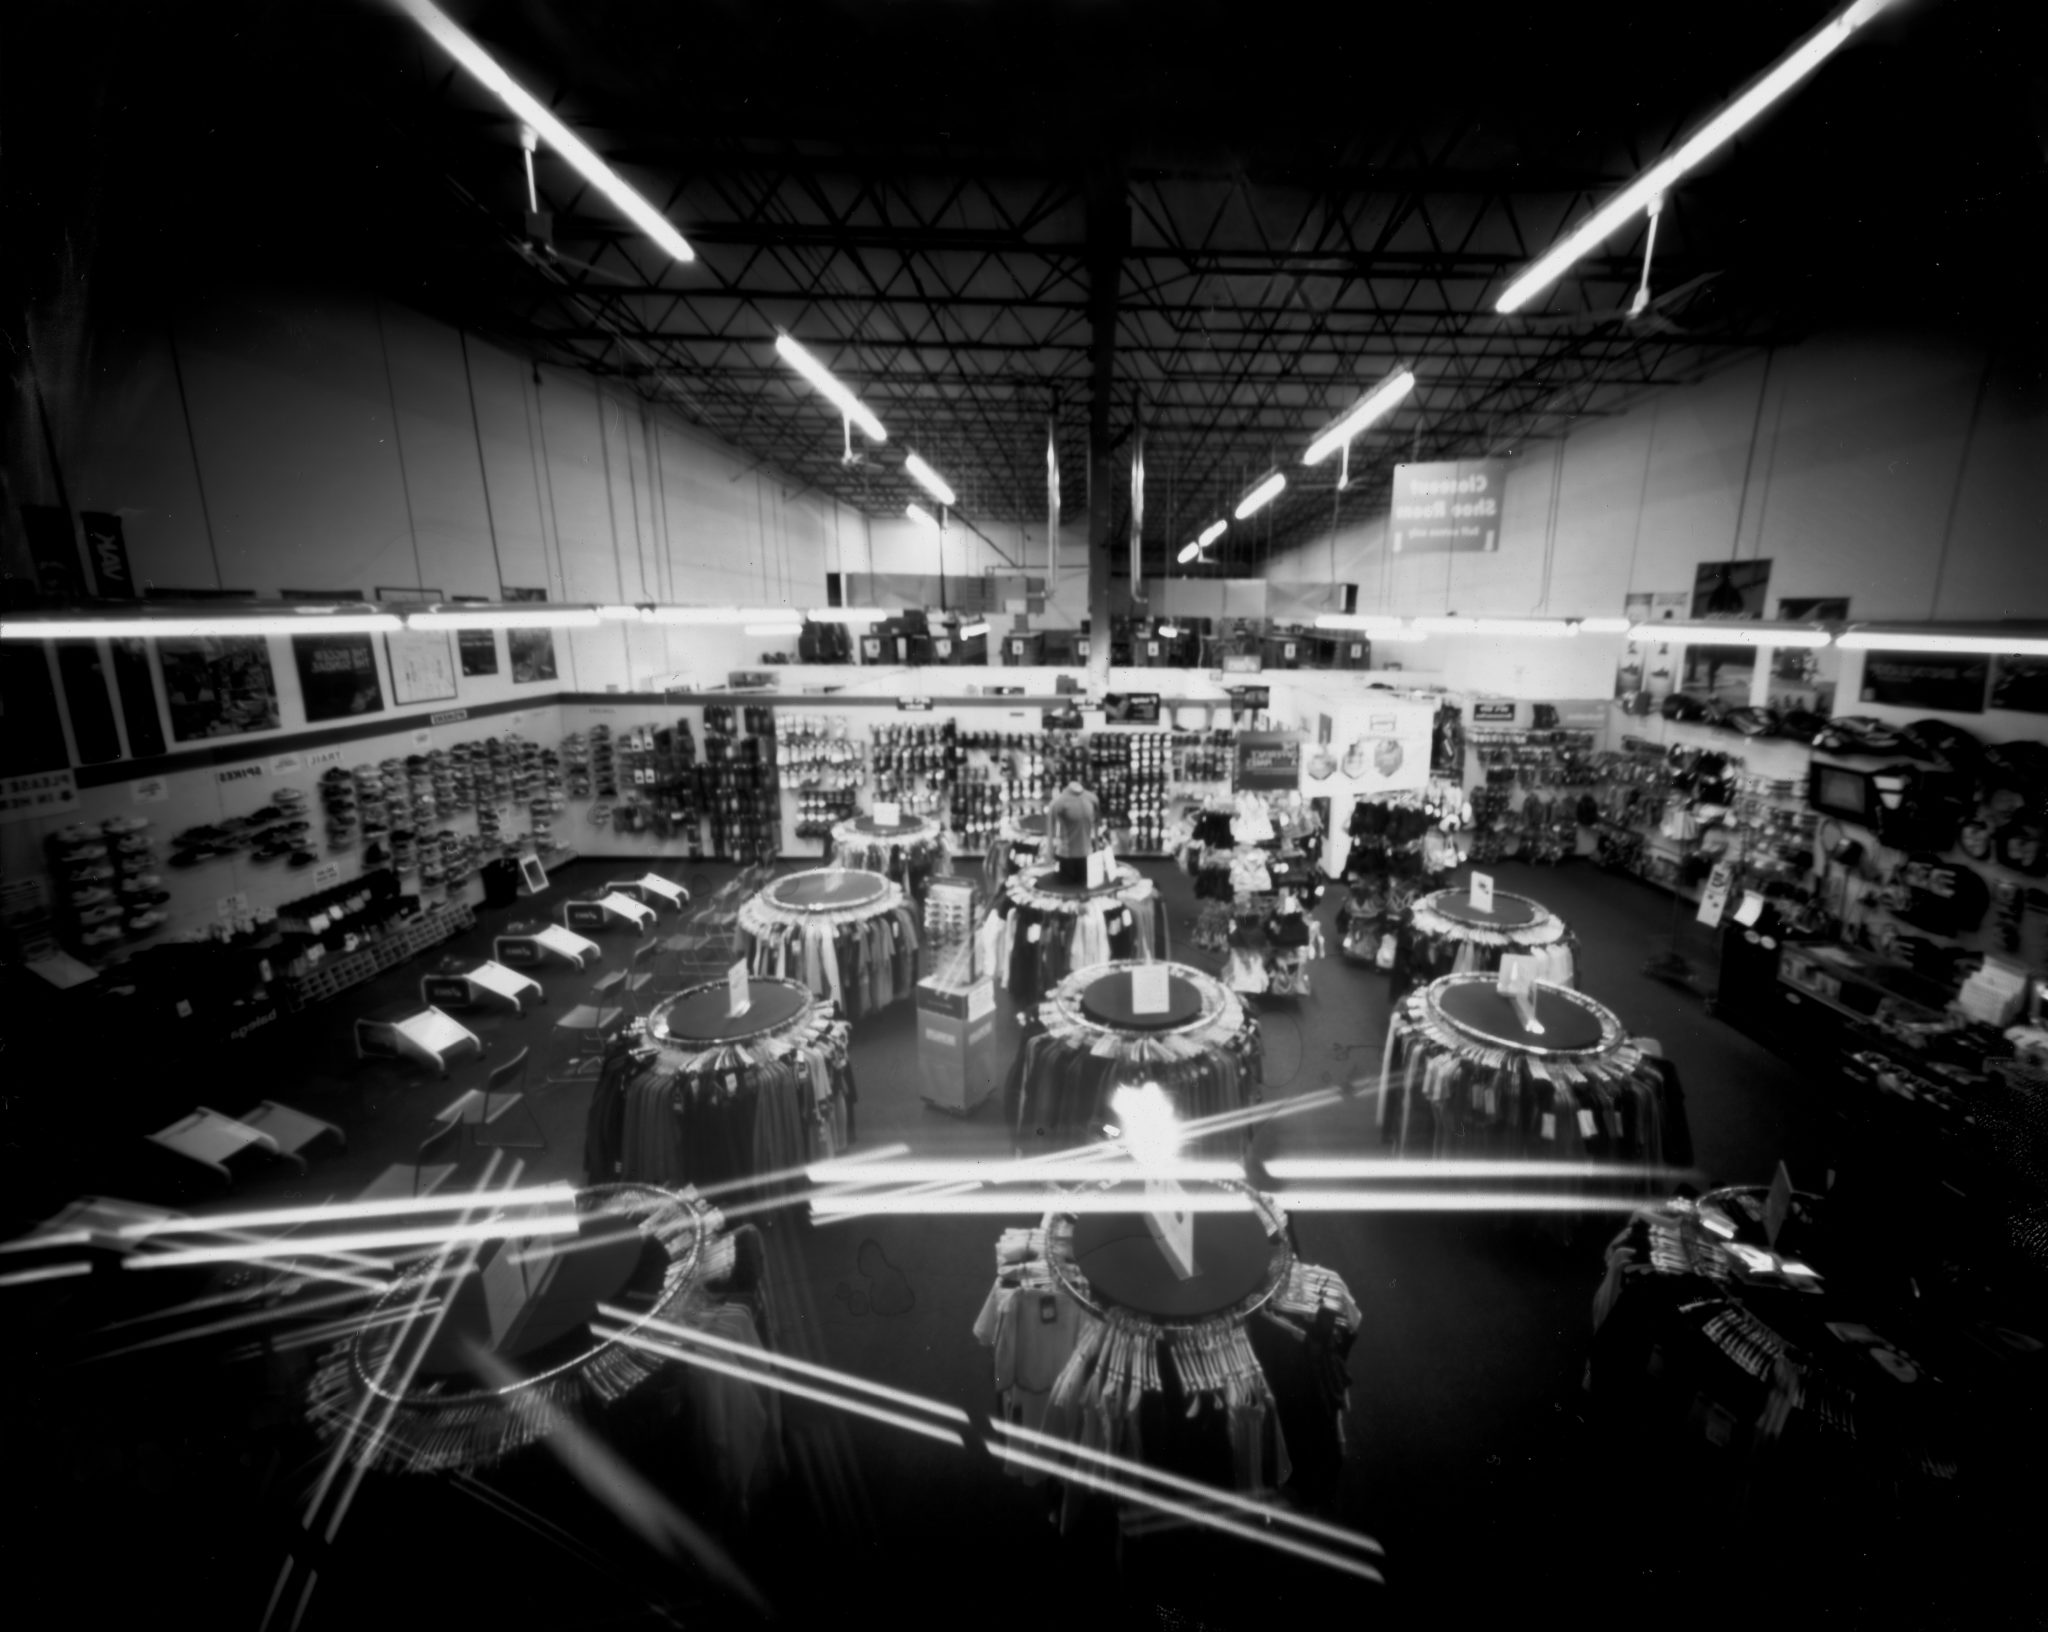
“After I did that I took the front of the camera and cut out a small rectangle, over that I put a small sheet of metal and poked a pinhole in it. I used a combo of gaffers tape and dense film to black out the edges. I then covered the edges of my camera with light safe plastic that photo paper comes in. I taped it all up and was done. I also took a small piece of matte board and taped that over my pinhole lens to act as a cover. I use RC silver gelatin photo paper that has an ISO of around 3. I’ll tape it into the back of my camera(as you can see in one of the photos) in the darkroom. So for my fstop the formula for fstop is focal length divided by aperture, so my focal length was 120mm and the aperture is 1mm so my fstop on that camera is f120. Thats about it! In the end its just a black box with a small hole in it and some light sensitive paper.”
“I’m using RC Silver gelatin paper in the box so when I develop it in the darkroom I get a negative. I then just scan it into the computer and invert it. Besides removing any minor chemical stains that’s all the editing I’ll do. In all honesty I use the RC silver gelatin because its what I know how to use and the darkroom I use is set up for that.”


Get rid of the ads!
Did you enjoy reading this article as much as we enjoyed writing it? There's a way to support us and our reporting, getting ad-free navigation and more as a bonus. Subscribe to us for less than a coffee per month —just $3.99— or take advantage of our yearly subscription with a hefty discount for only $25.- An ad-free experience
- A free mystery box for Lightroom or Capture One
- All the books in our store
- 20% discount on Capture One
- 30% discount on Imalume Photo Theft Protection
- 20% off Herbs and Kettle Tea Company.
- 20% off your order from MPIX printing services.
- 5% off Viltrox Products via their eCommerce store.
- 10% off all film developing, printing and scanning services from Blue Moon Camera and Machine
- 15% off 7Artisans products: The lens and accessory maker is offering a sweet discount for Phoblographer's readers.