")
Last Updated on 03/17/2016 by Chris Gampat
The Impossible Project’s first major batch of color film had very interesting results; and by interesting I mean not very reliable, not saturated, and sometimes random. With Color 3.0 on the horizon, Color 2.0 has had a lot of time to marinate so to speak: and I’ve been busy testing it intermittently along the way.
For those of us that are labelled as millennials (and those who have probably turned 40 for the 20th year in a row), we probably remember the major excitement we had when our parents shot a Polaroid, it came out and we waited for the magic to appear. And quite honestly, that’s was it: magic! Indeed, whatever witch’s brew these covens were concocting had us giddy for a while–until the digital age.
Impossible has tried to keep that part of our culture and past alive; and for that effort they need to be commended. Considering how tough their project indeed is, it’s a miracle that they’ve created something this stable–but still not so simple to use.
Tech Specs
Specs taken from the Amazon listing of the product
- Imported
- 8.8 centimeters wide
- 8 exposures per pack
- Color instant film for Polaroid 600-type cameras
- Development: 30 minutes approximately at 70 (21 )
- Image area: 3.1 x 3.1 in (7.9 x 7.9 cm).Finish: Glossy
- Date on item is production date and not expiry.
- Made in Netherlands
Ease of Use
On their webpage, Impossible has a couple of tips on how to use their film. Here they are:
LIGHT
- The chemistry in this film loves light, especially natural light. The more, the better.
- It is important to keep strong light sources behind you.
- Always use the flash when shooting indoors.
TEMPERATURE
- Temperature affects this film. It should be stored cold (never frozen).
- Before using the film, let it adjust to room temperature, ideally 13-28°C (55-82°F).
- If it’s colder, keep photos in a warm, dark place as they develop – an inside pocket should work.
- On a hot day, keep photos cool and in the dark as they develop.
CARE
- Never shake or bend photos.
- Photos are still sensitive to direct light for the first few minutes, so place them face-down to shield them.
- Full development takes 5-10 minutes for B&W film, up to 40 minutes for color.
LOVE YOUR CAMERA, TOO
- It’s not just this film that you need to take care of. A happy camera takes better photos.
- Keep the camera lens and film rollers clean. Use a soft cloth and water to clean both.
- Hold the camera as steady as you can when shooting to avoid blurry photos.

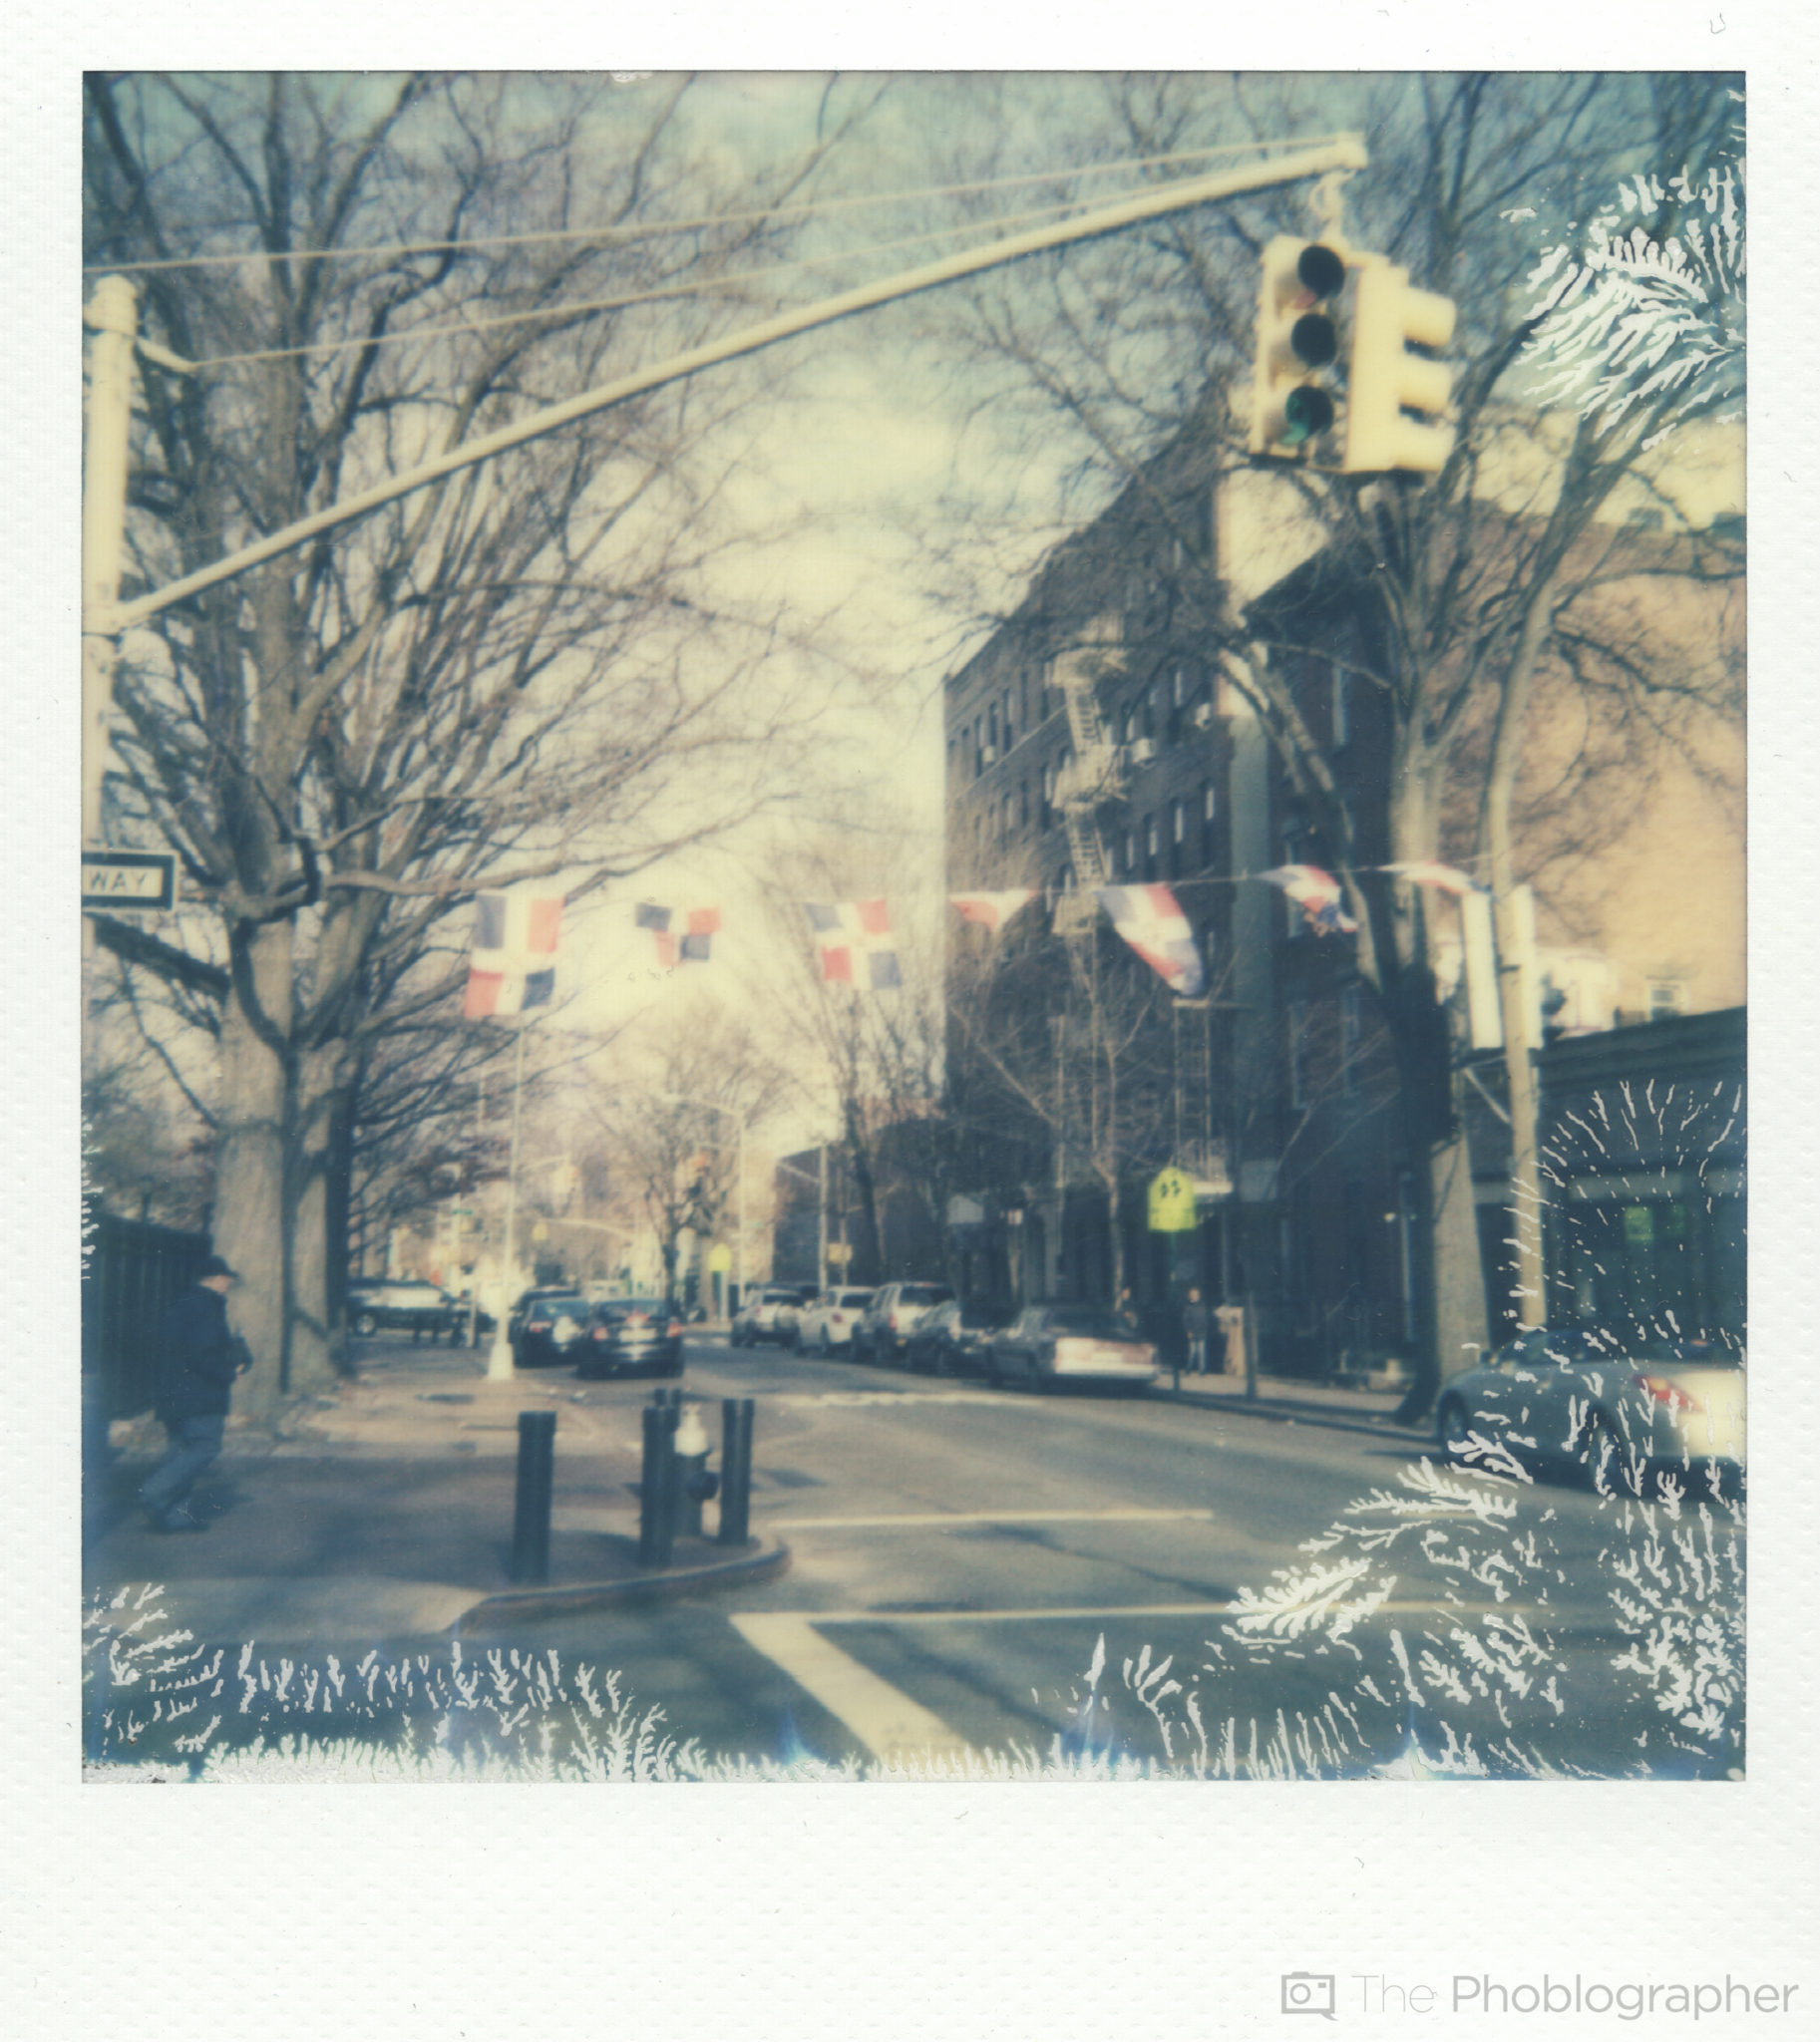
For the most part, they’re right. The film loves lots of light, but not necessarily natural light. When shooting outside on a bright sunny day, you’re going to get quite an orange cast. When there is shade, you’ll just much more life-like colors. The brighter the scene is, the more you’ll want your camera to meter normally. The darker it is, you’ll want to flip the exposure compensation on.
What I also found is that this film may be closer to Tungsten balance than normal. So if you’ve ever worked with Fujifilm 100C, then you should know that this film isn’t exactly like that. Instead, think of it as closer to being the Instant Film version of CineStill 800T. In fact, I think you should always shoot with the flash since it can only help.

To that end, make sure that your camera’s lens is in good shape, the Sonar focusing is working flawlessly, etc and you won’t have a problem.
Also, the batteries for this film are integrated into the film pack: and that’s why it’s called integral film. You’ll get 8 shots a pack vs Polaroid’s 10 shots. Sort of a bummer when you’re starting out, but once you’ve learned how to master this film it’s going to be much easier. To be fair, there’s a chance that you’ll get frustrated with it, give up, curl up in bed, cry to yourself as you rock back and forth under your softest comforter, and then go back to digital. Not saying that I did that; but I’m not saying I didn’t either…
If at all possible, I recommend working with a tripod for more stable shots.
When you’re not shooting, put the film in the fridge unless it’s loaded into the camera. When it’s been loaded, think of it as a dairy product. You know how you should really eat and finish a salad dressing or mayo ASAP? I recommend the same thing here.
When the film is out of the fridge, let it warm up. If the film is too cold then the chemicals inside will be too: so they won’t go through the film so evenly. On that thought, it’s often better to shoot with the camera and film when it’s warmer. That also means that you’ll need to be more conscious of your light. On some of these images, you’ll see what looks like fingerprints or emulsion problems. This is because those images were shot when it was very cold out.
When the film is developing, scurry as quickly as you can to shove it into a pocket that’s close to your body and make sure that it doesn’t see the light of day for at least an hour to be safe.
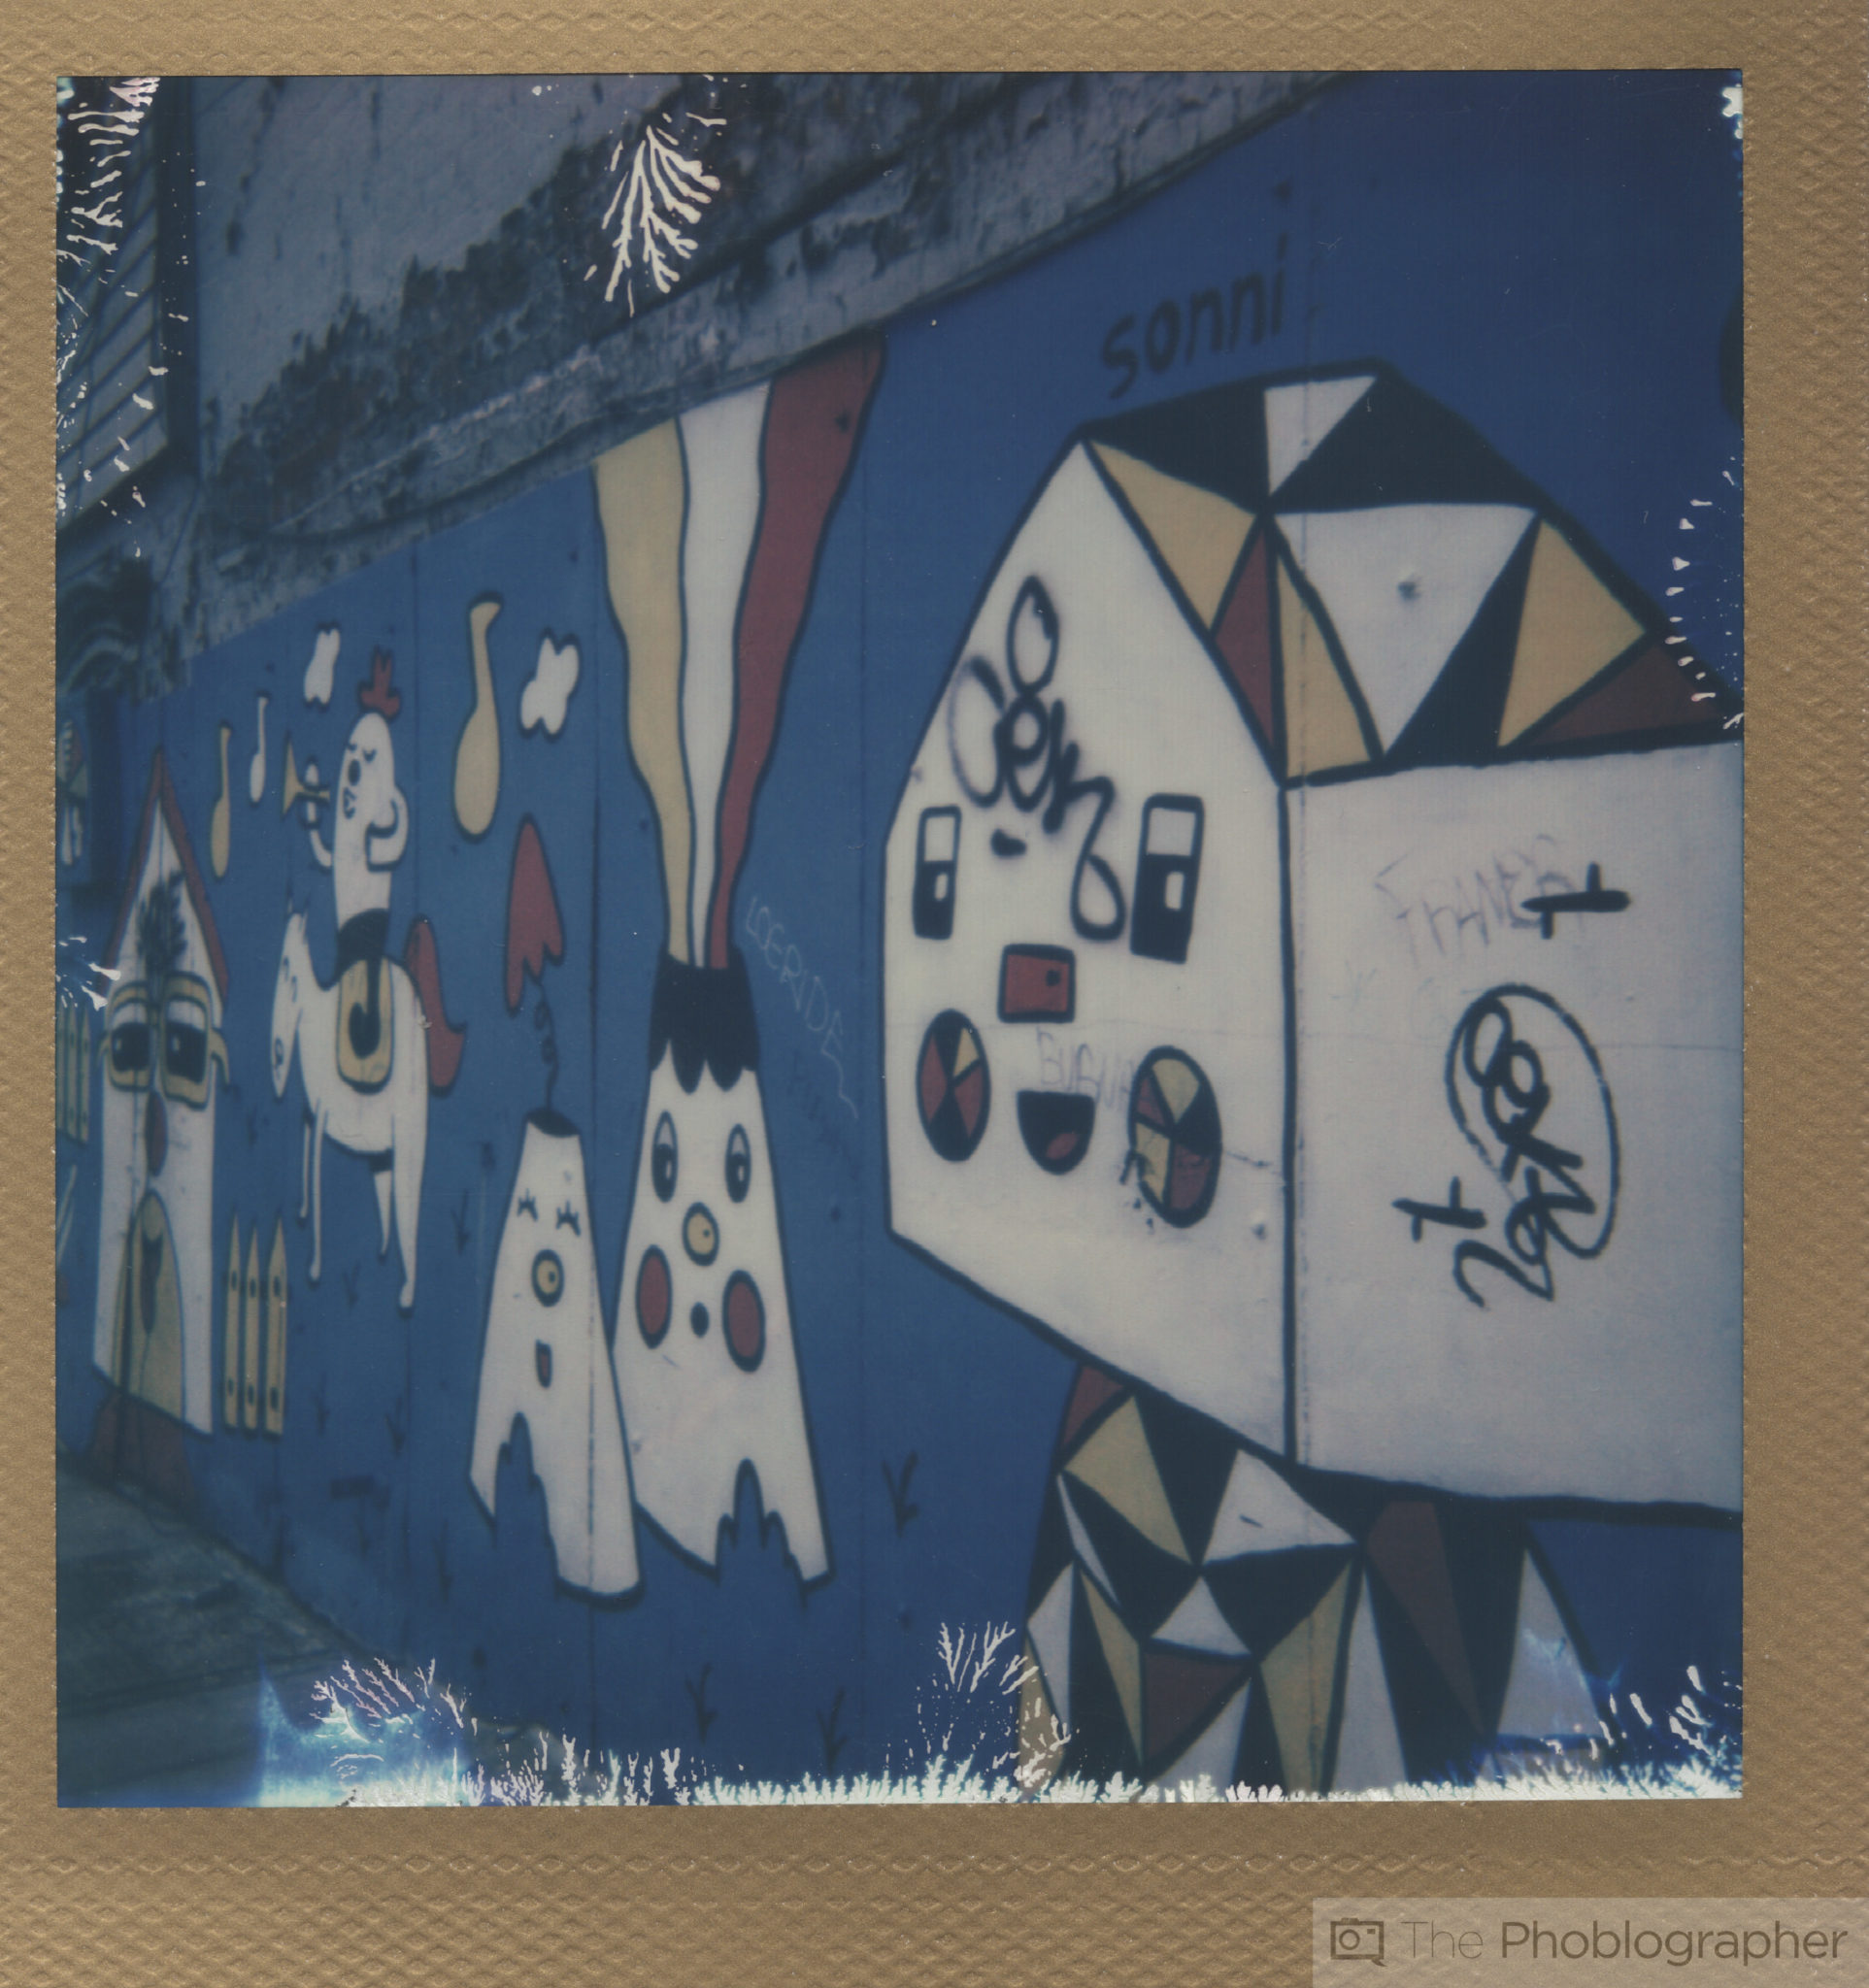
Image Quality

So unlike the black and white film, the color here doesn’t fade. In fact, it’s just as sharp, saturated and punchy as it was on the first day I shot some of it months ago. That’s a big thumbs up to Impossible for that! However, I’d still like a punchier and more saturated emulsion.
You can’t have everything I guess and so this is being done in baby steps.


Conclusions
Impossible Color 2.0 is a step forward in the right direction. It renders color well, but I really feel like most people will have no idea how to use it properly right out of the box. For that reason, I think that Impossible should have instructions on use shipped with every pack of film. This emulsion is leaps and bounds better than color 1.0 was, and it’s probably even the best medium format color instant film available right now (sans Fujifilm 100C with a good camera/lens/flash.)
It works, but I highly doubt the results will last as long as the Polaroids my mom used to shoot of me when I was four years old. I’m 29 now, and those Polaroids are still just as crisp and vibrant as ever.