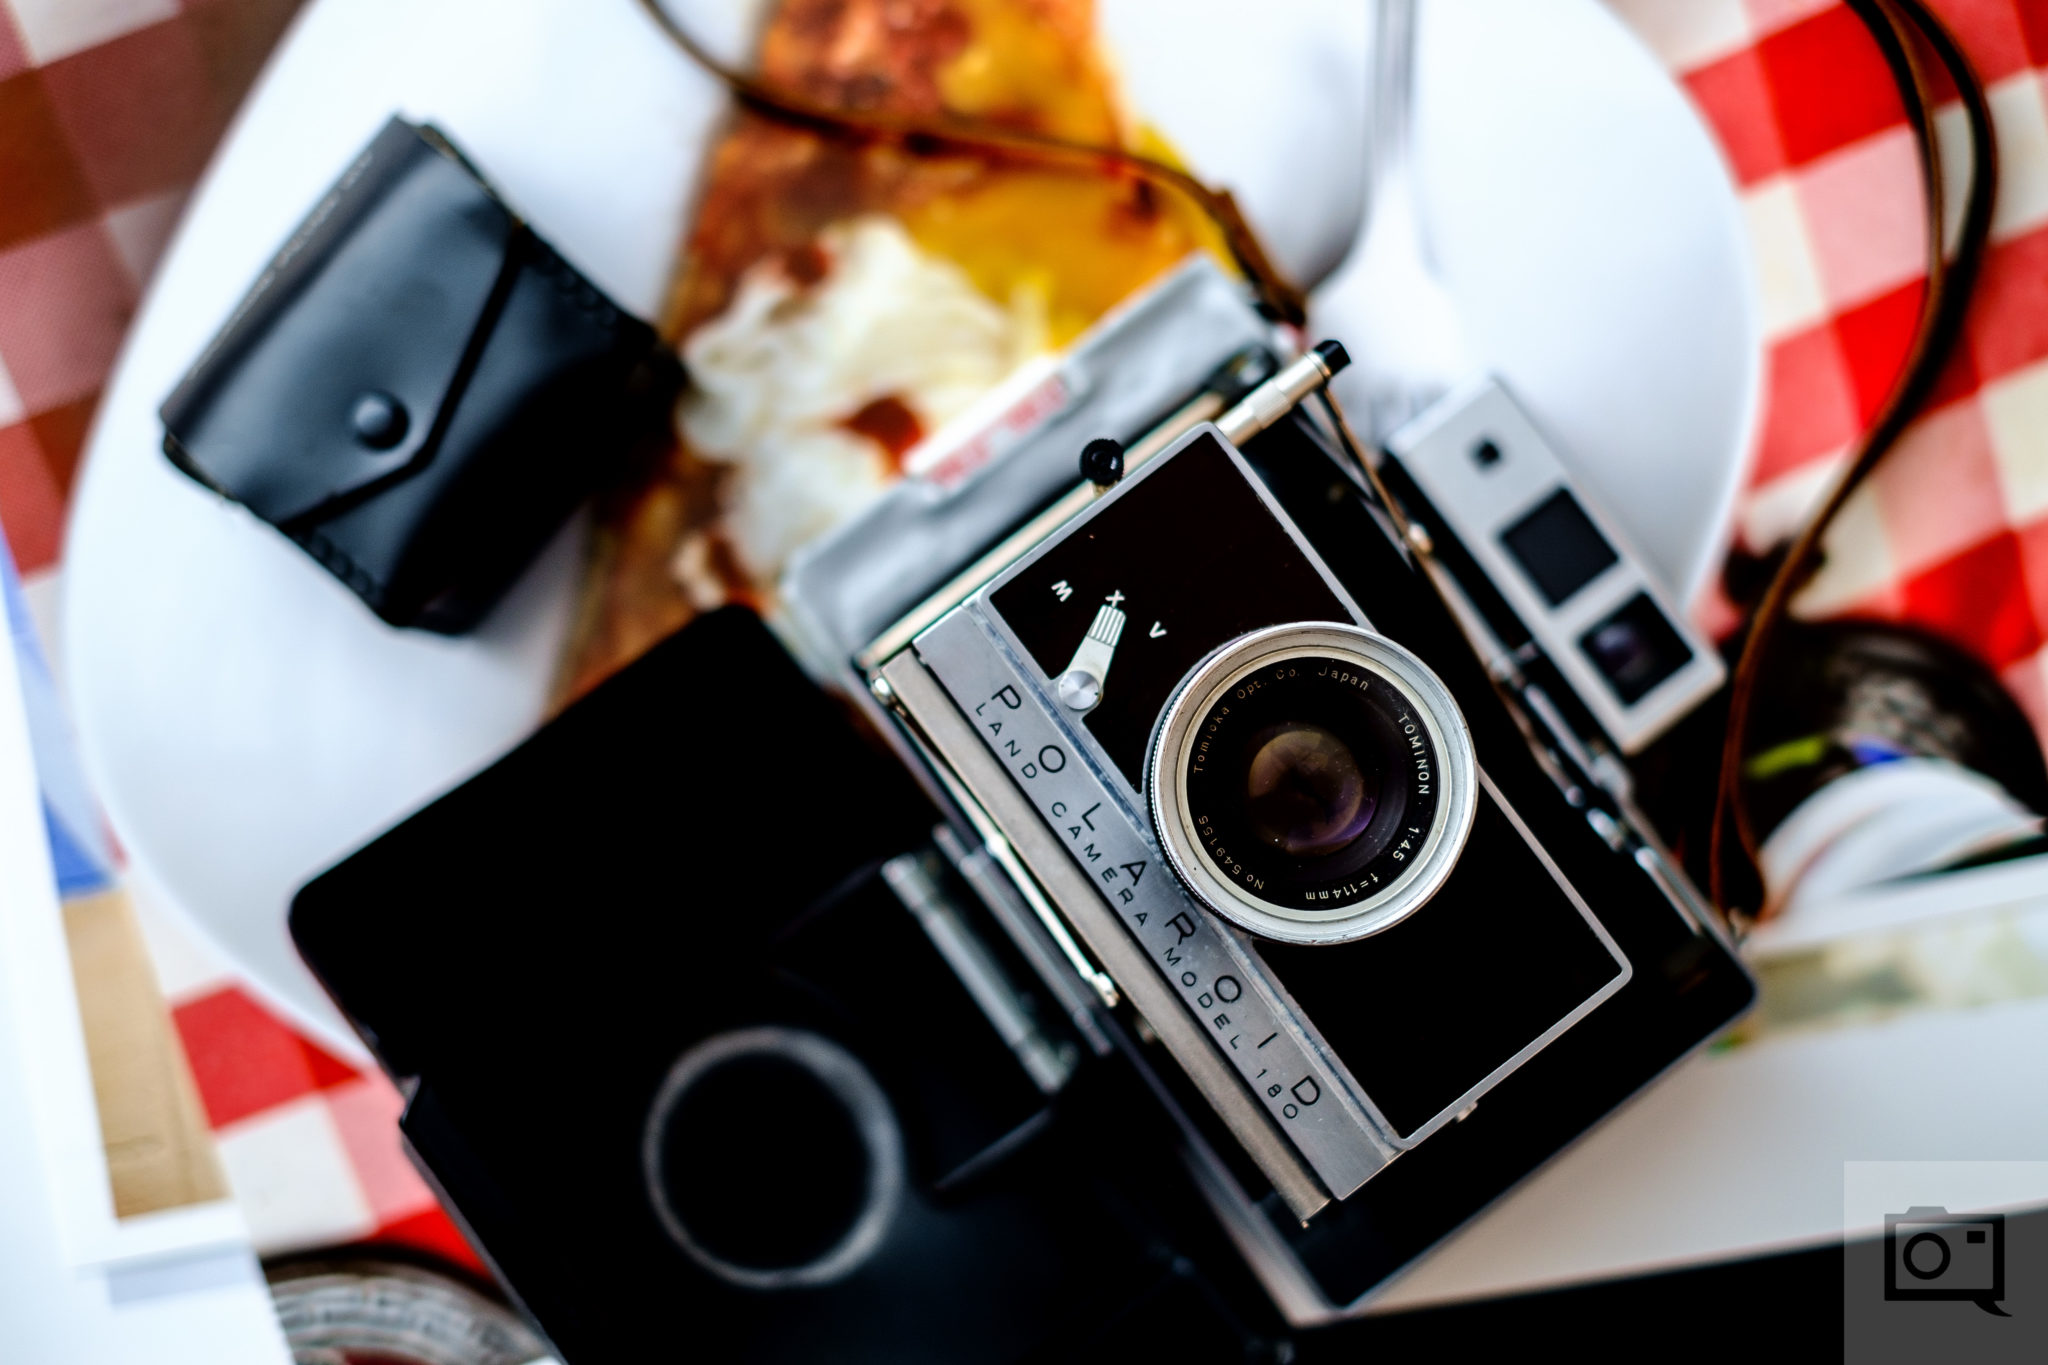
Something that I’ve been thinking about for a while here is getting back into doing vintage camera reviews: and one of my long time favorites has been the Polaroid Land Camera 180. This one was targeted at the higher end professional crowd, and as a result doesn’t use a battery or even have a light meter built in–much like many other Polaroid Land Cameras. To that end, that means that you don’t need to check the battery compartment to ensure that it wasn’t corroded away.
Like other Land Cameras though, you’ve got a couple of other problems to look out for: rangefinder calibration and the quality of the bellows only being two of them. You may also want to check the shutter speeds, how the lens looks, etc.
But if you manage to get your hands on a solid, working copy of the camera, hold onto it.
Tech Specs
- Zeiss rangefinder
- 3×4 film Instant
- 114mm f4.5 Tominin lens
- f4.5-f90
- 1/500-B
- M for bulb or X for electronic flash; “V” is a self-timer setting.
- Accessory shoe
Ergonomics
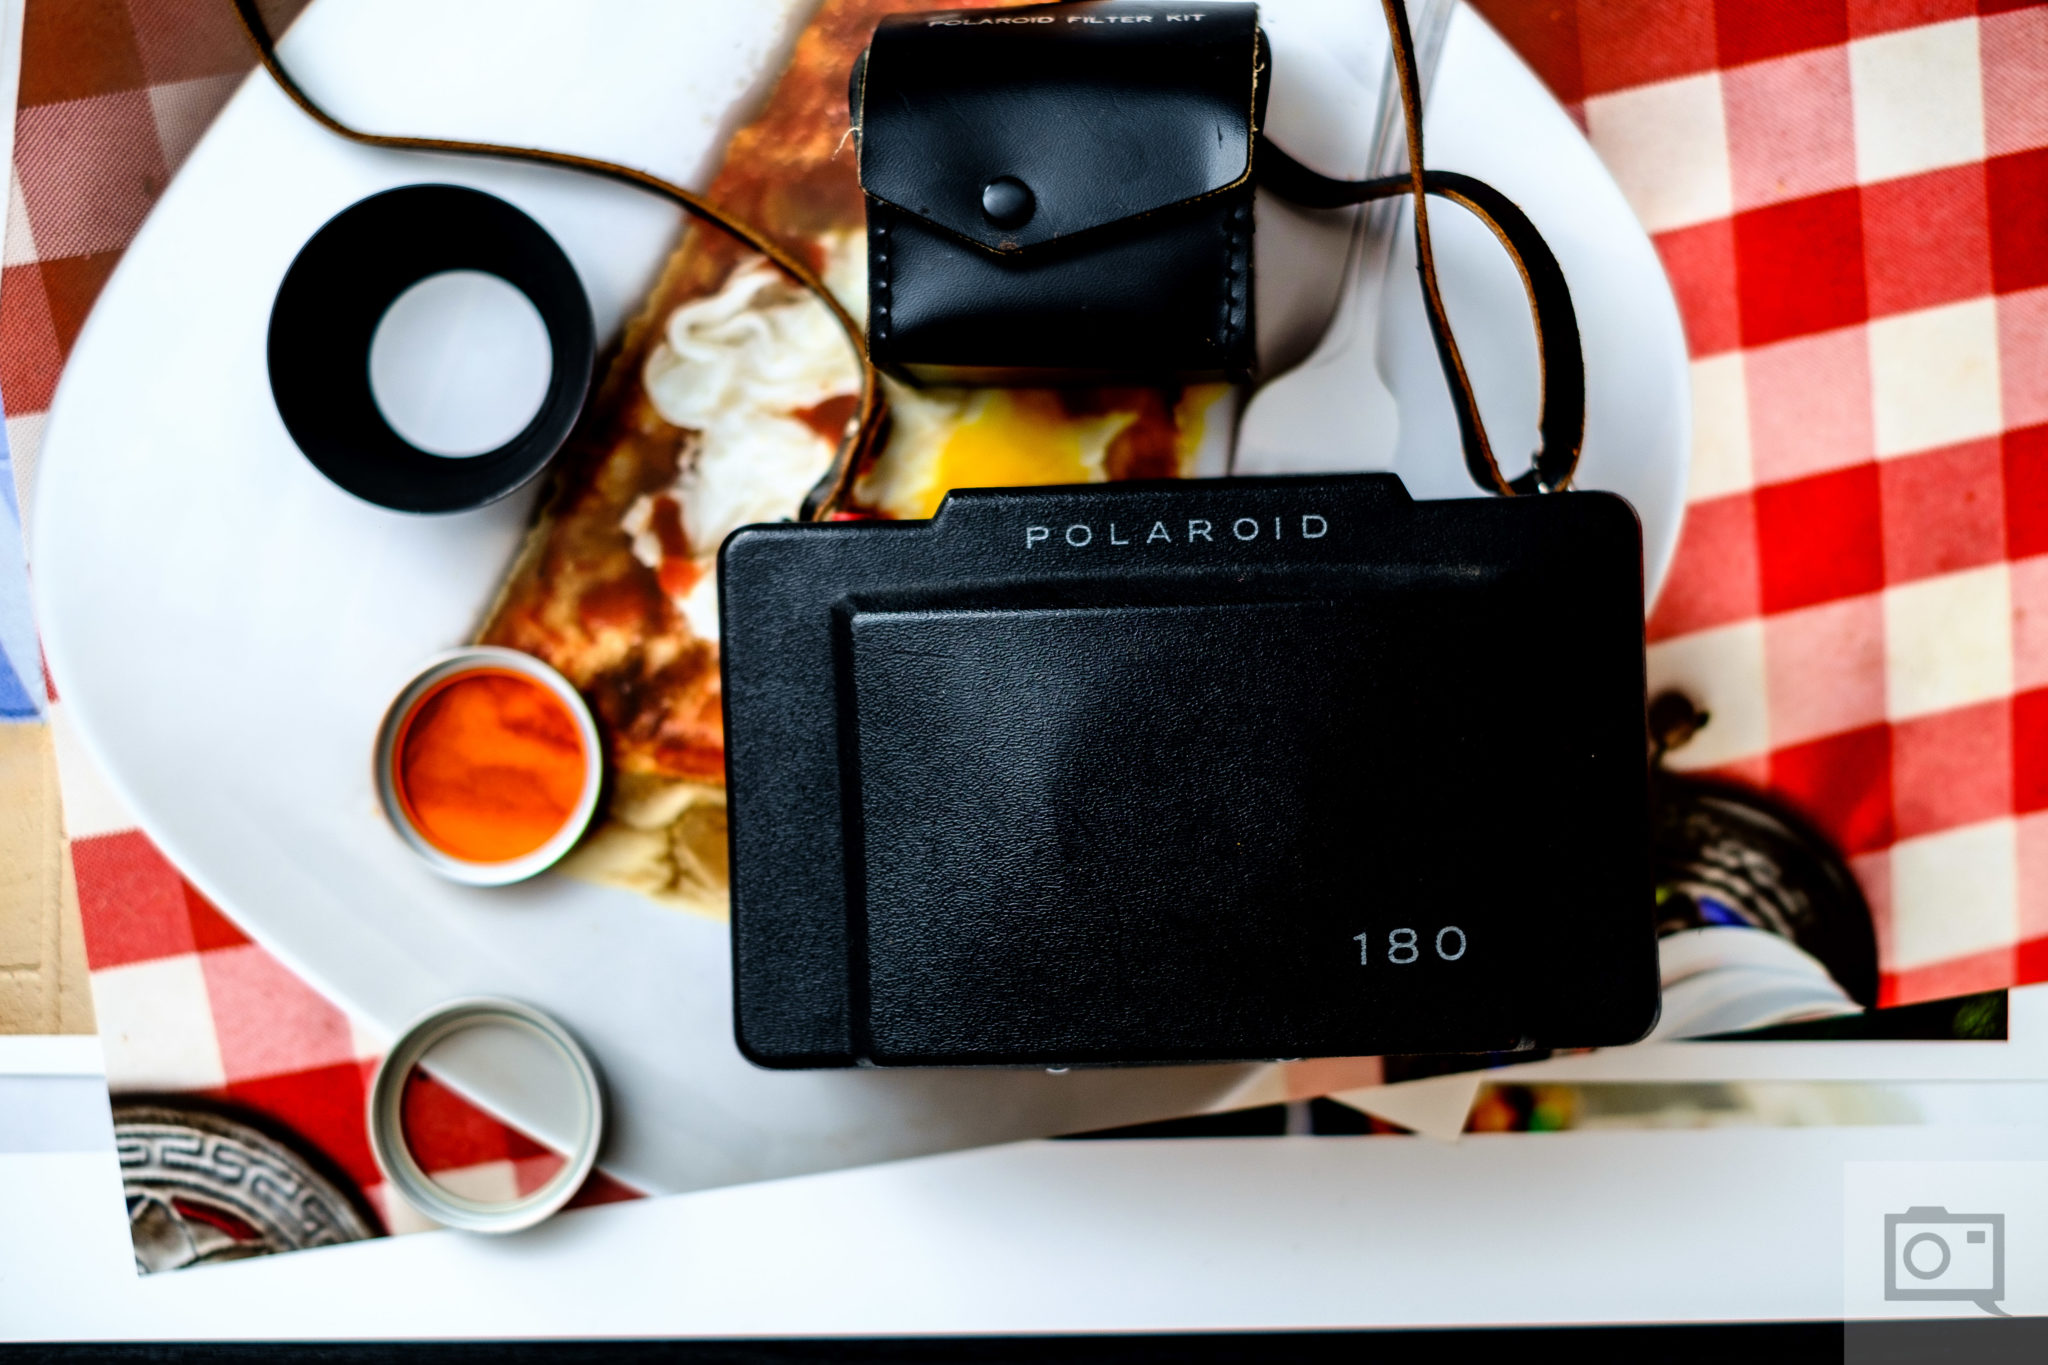
The Polaroid Land Camera 180 camera has its own built in case that protects the camera. IF you can find them, there is also a filter kit that includes a lens hood.
Pop the case open and you can disconnect it from the camera using the simple but highly effective clip system. I generally keep the case on; but in studio use I take it off and put it somewhere I won’t lose it.

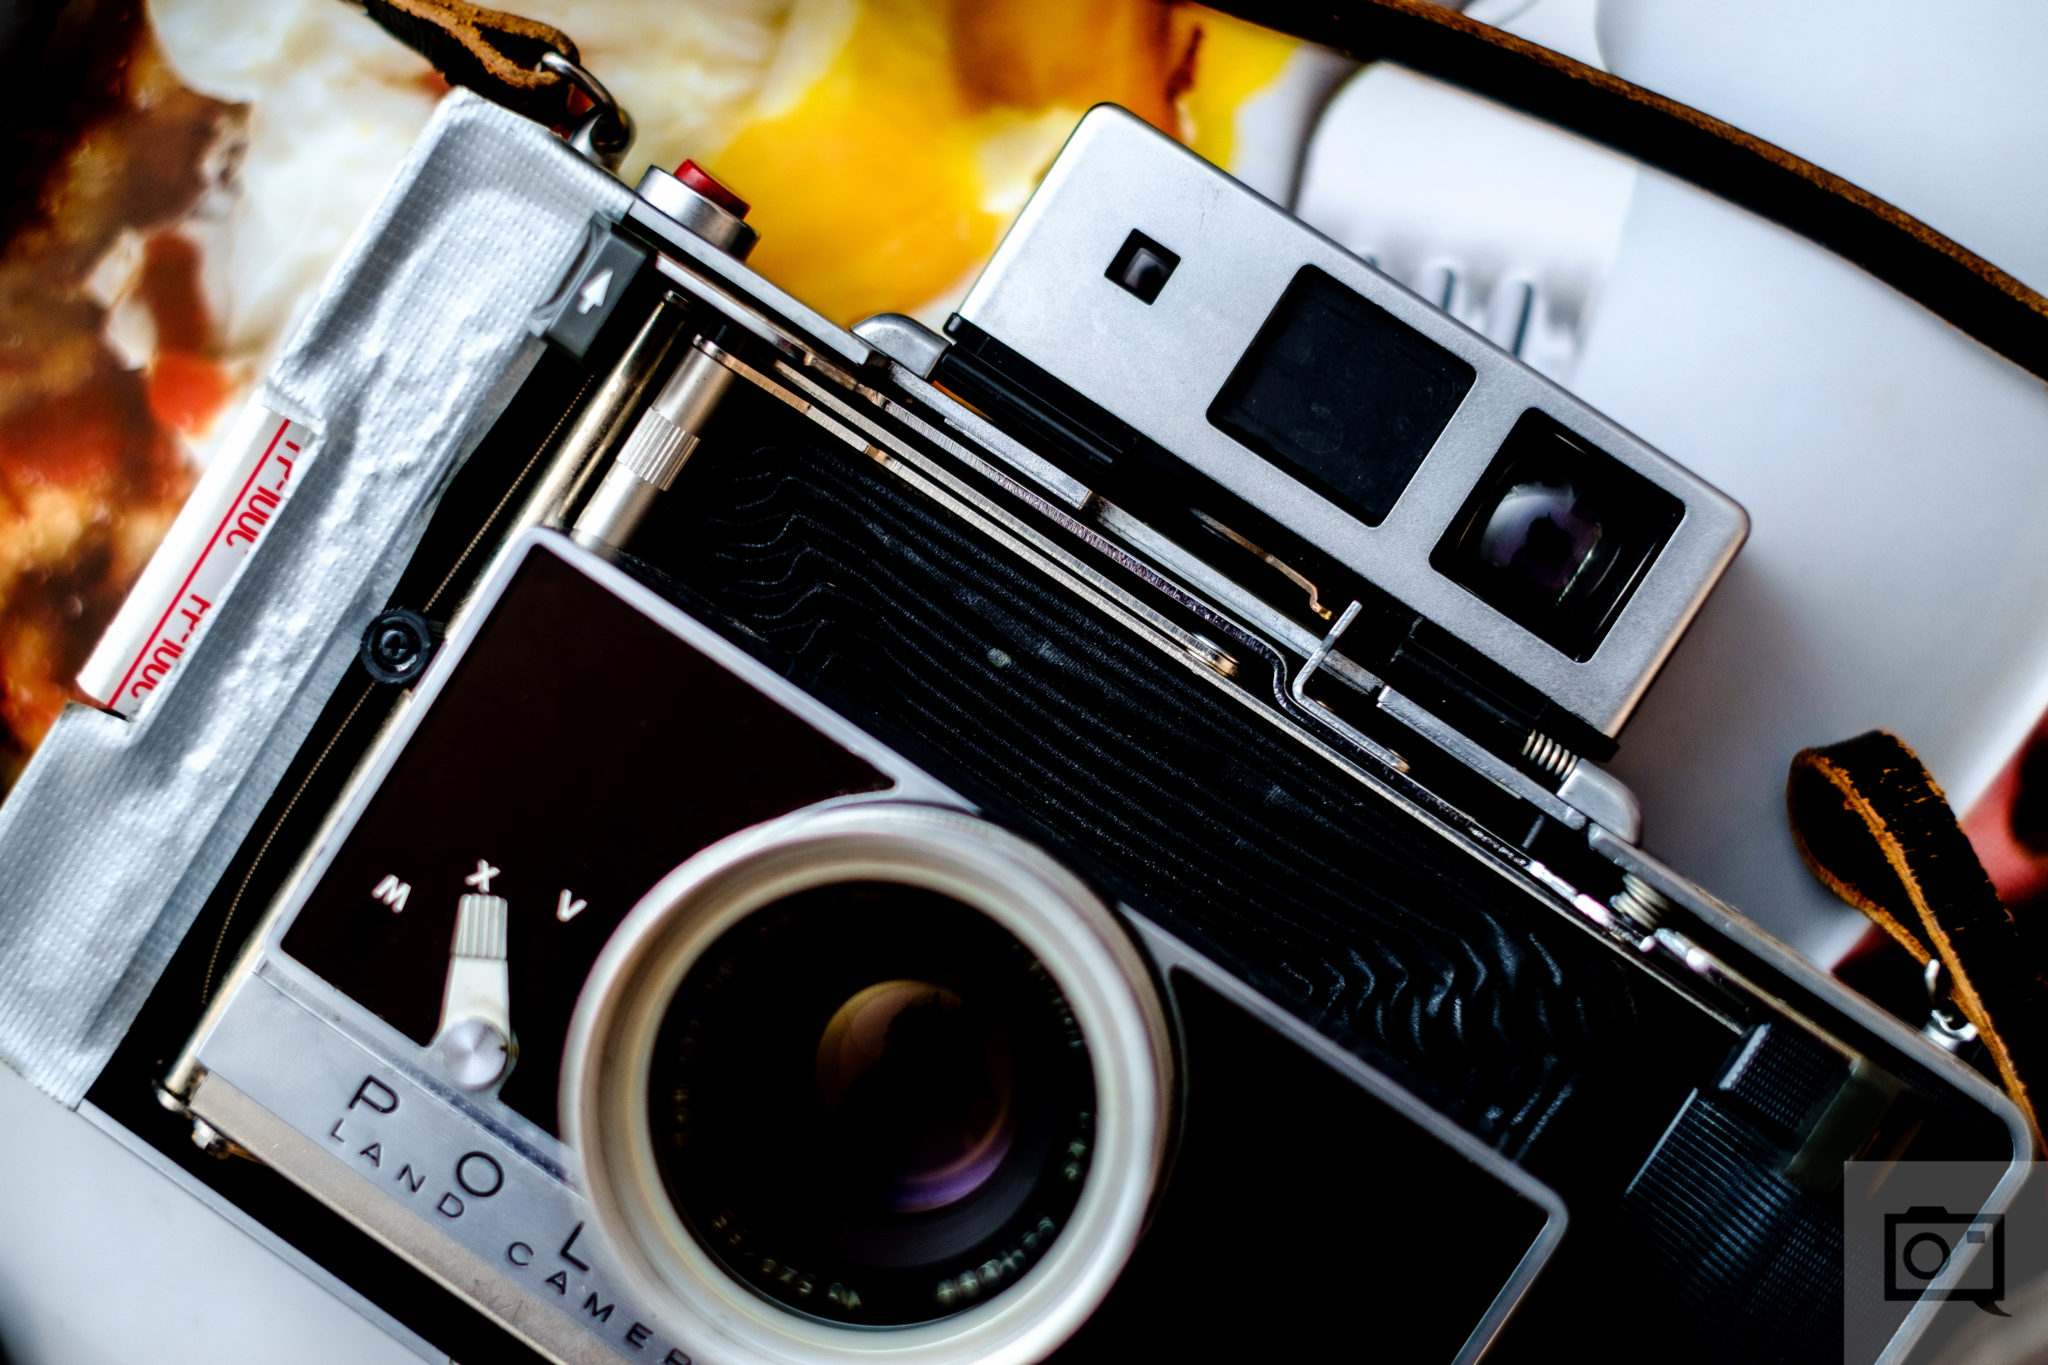
The front of the camera has a couple of controls, though not much. You’ll spot the lens on the front, the shutter mode type switch (which is talked about in the previous section) and the viewfinder.
And yes, that is gray tape on the handle. This camera has been through a lot with me.

The first thing that you need to do is pop up the rangefinder/viewfinder. It will click into place with a hearty feel and sound. You’ll also spot the shutter button and the distance scale up here. The two tabs (one with the distances and the one adjacent on the other side) are used with focusing. You’ll move them from side to side.
More on that later.
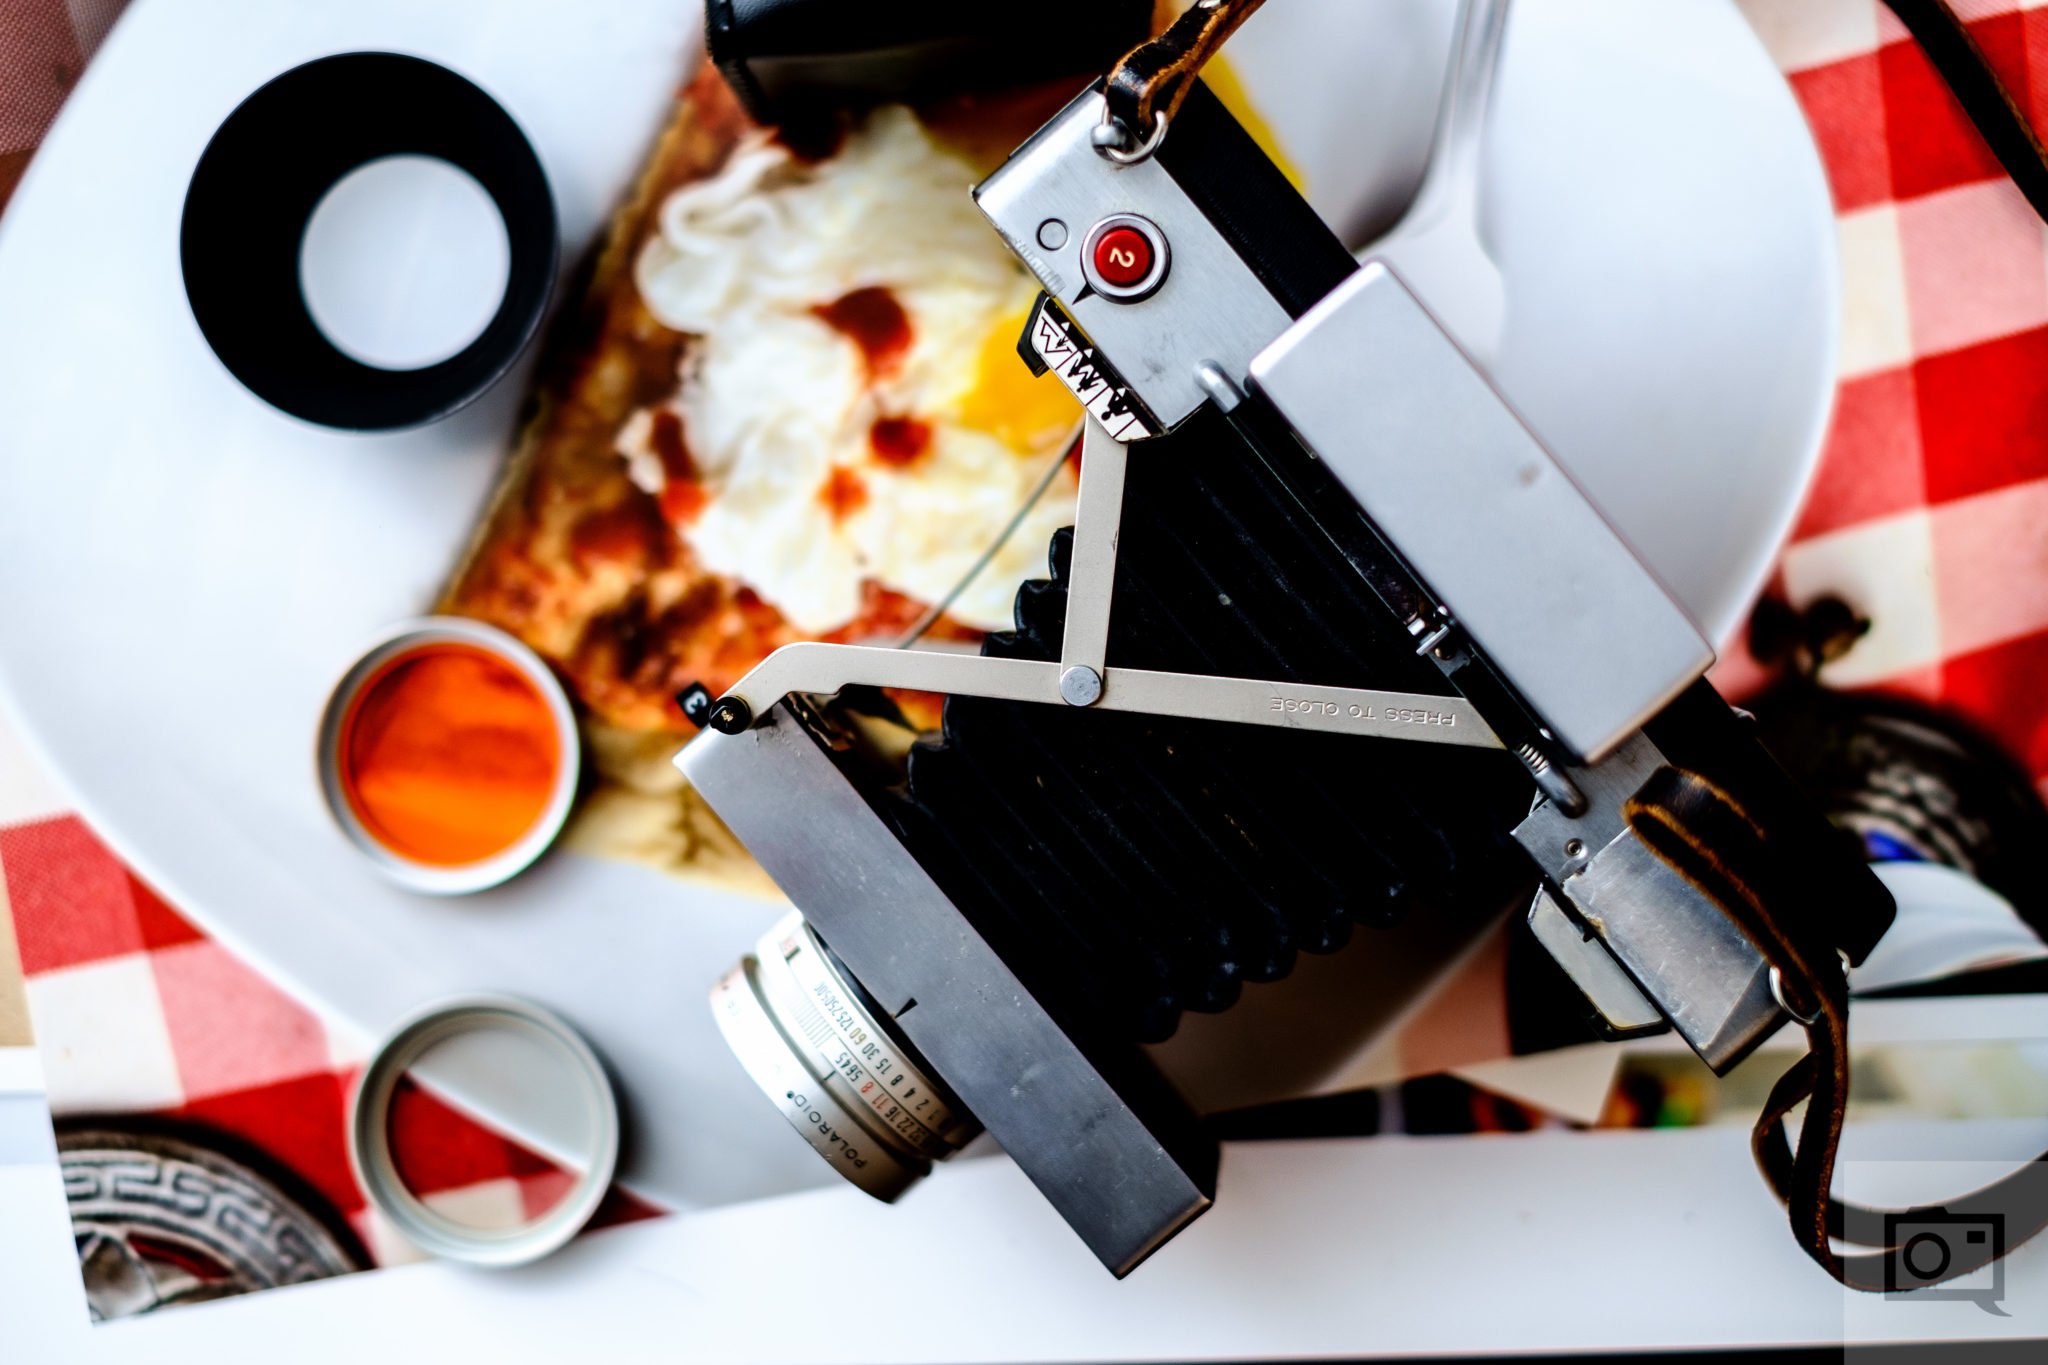
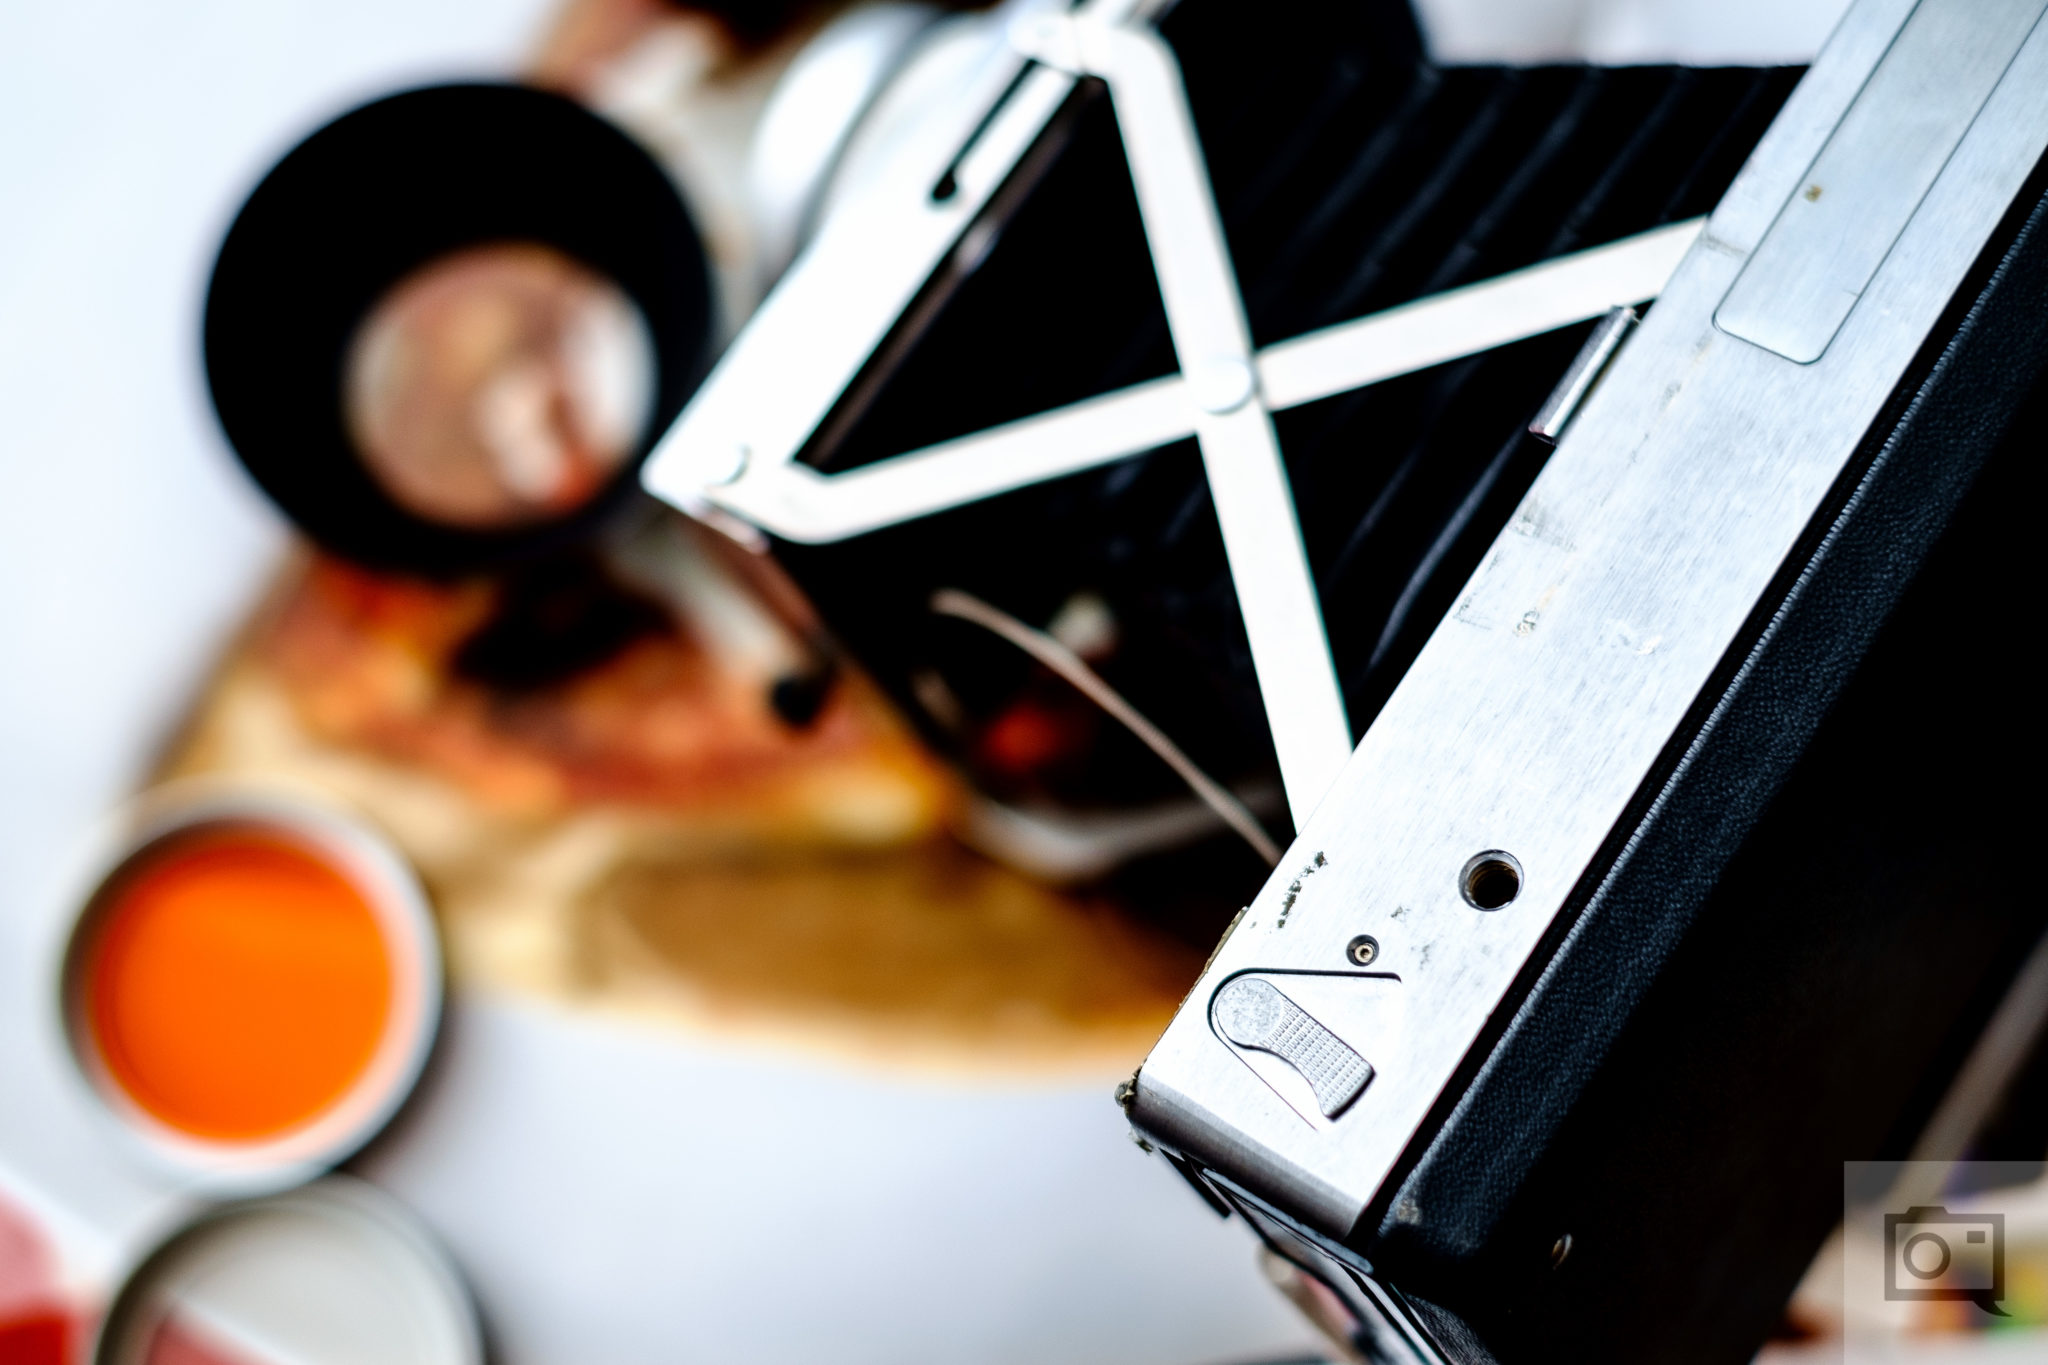
To release the lens and the bellows, you’ll need to pull one of the focusing tabs up a bit. Then the section will come out and also snap together with yet another click and feel. To close it up, you press down a bit on the spots where it tells you to.

This is a leaf shutter camera, so this entire area is very important. Here you’ll spot the lens which controls the aperture and the shutter speeds. On one side you’ll find a PC Sync port for flashes and off-camera studio strobes.

Move to the side of the lens and you’ll spot this knob. This is how you cock the shutter to fire.
Move even further back and what you’ll find is the film roller/output. When you’ve loaded the film into the back of the camera, this is where you’ll pull the tabs and then pull the sheet of film out.
As a piece of advice, never trust your rollers. When the film comes through, put it against a flat surface and flatten it accordingly with your hands. It will make sure all the chemicals go through. Further, don’t shoot when it’s cold: the chemicals will be too cold to even process the image.
To pop the film compartment open you slide this switch.
If you’ve got film loaded in there, I suggest you not do that. But if the pack is empty, then you obviously know what to do.
Build Quality
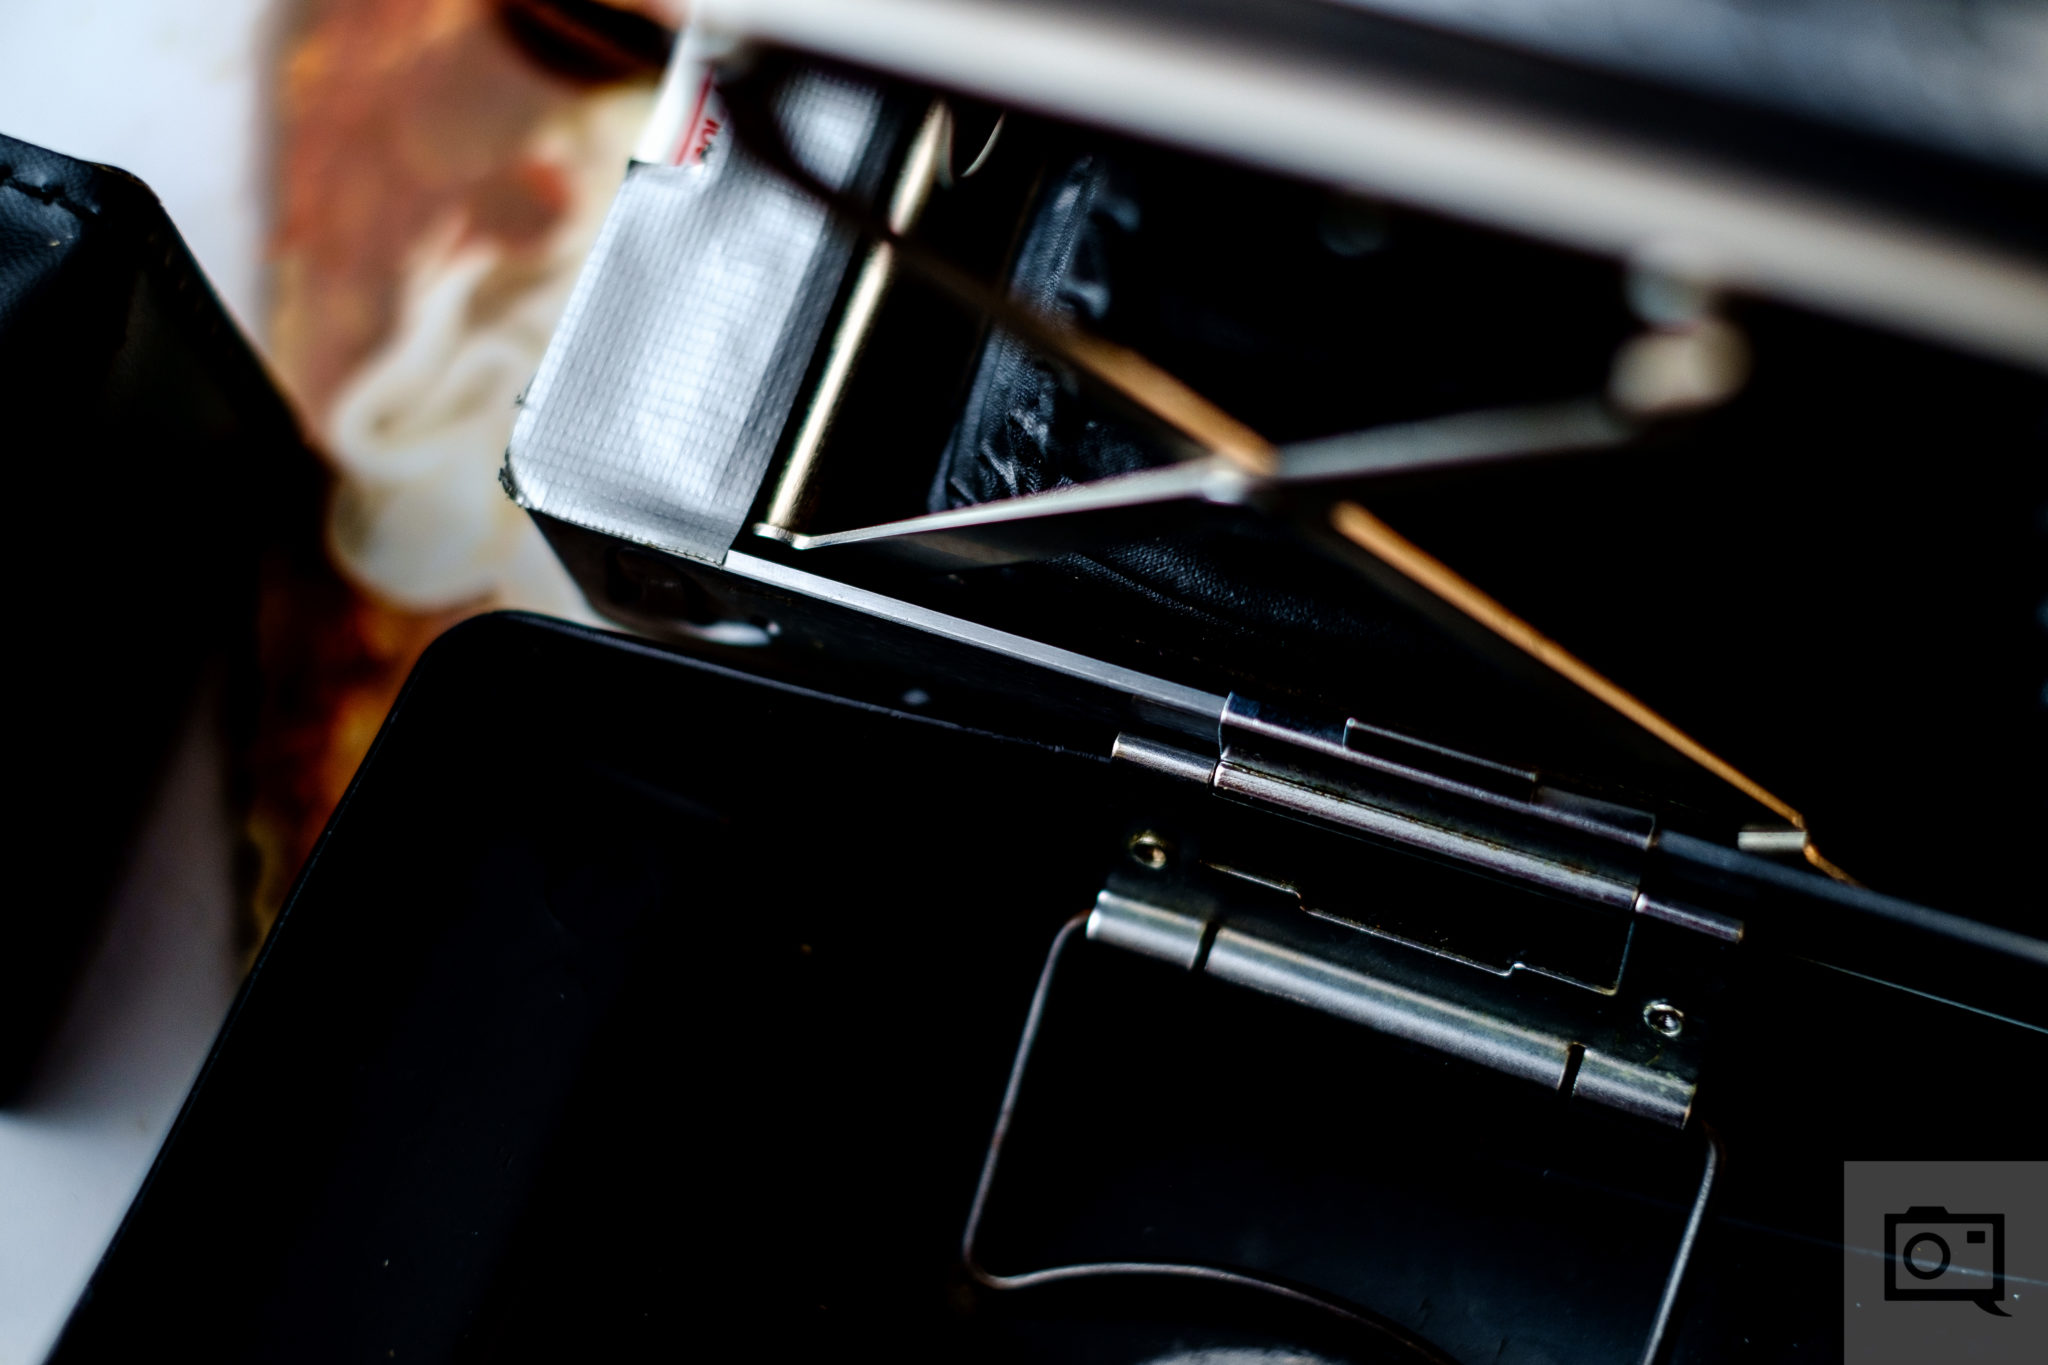
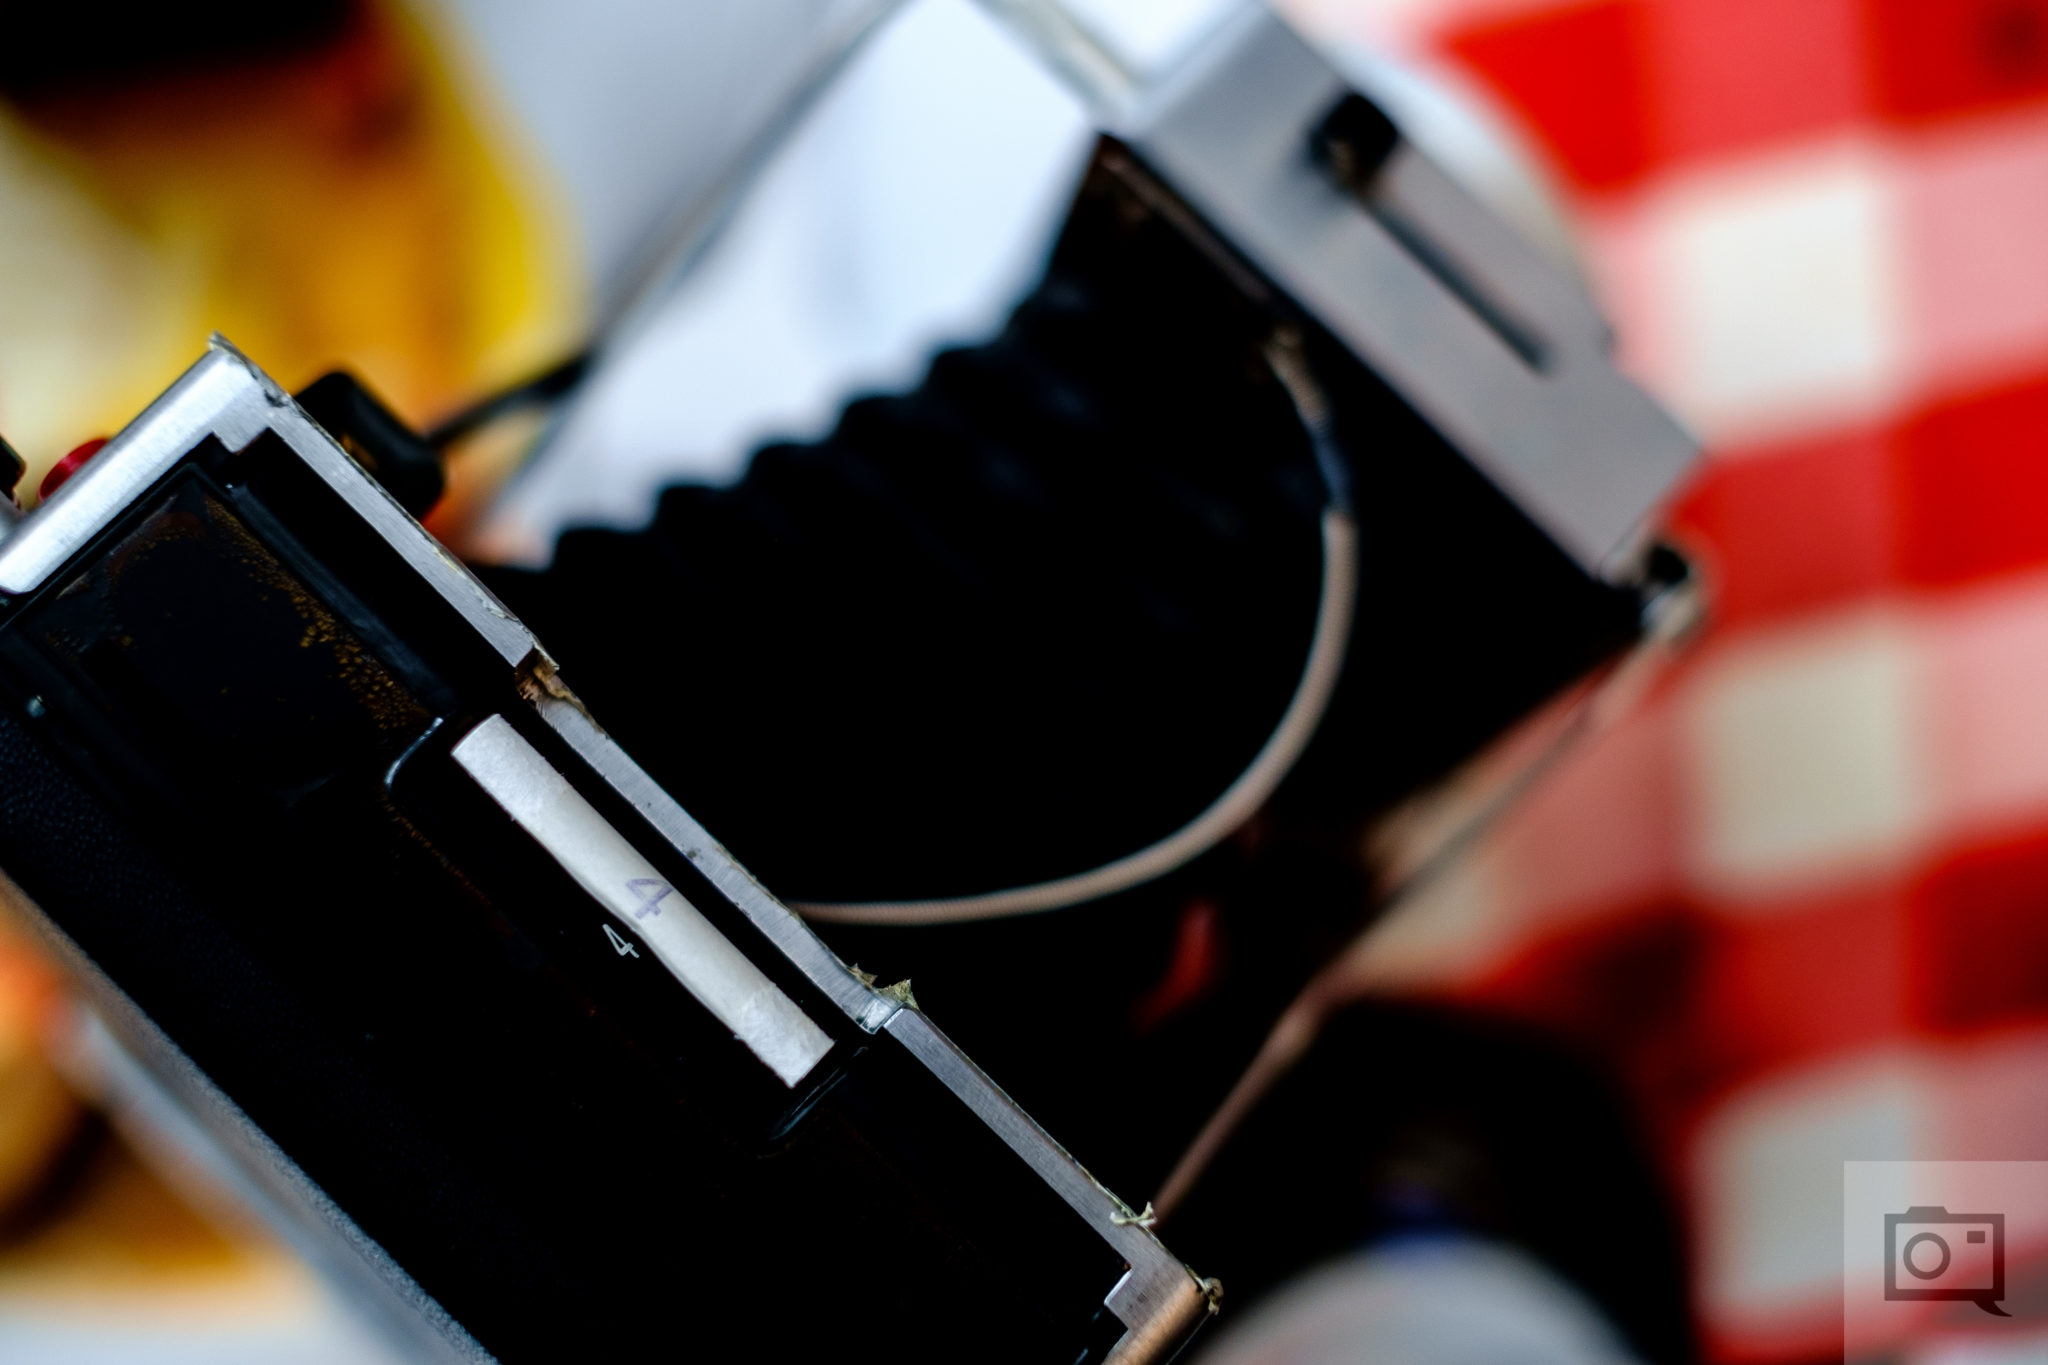
This camera quite honestly is pretty delicate and you want to be careful with it though not treat it like an egg. The area with gray tape came off when my then girlfriend and I were walking around Brooklyn right after a snowfall and I gripped it a bit too tight. I’ve still got the piece, but it’s much better to just put tape of it and replace it accordingly.
Then you’ve got all the joints, moving parts, the bellows, etc. Anything with a bellows always needs extra TLC lest light leaks come and completely screw up your exposure.
Additionally, the lens is plastic and not super high quality. So I recommend shooting with the lens hood outdoors and even using your hand to act as an extra lens hood. Indoors in a studio situation it’s a bit easier.
Overall though, be careful with this camera. They’re delicate and if you break it you’ll have to go through hell to either repair it or get a new one.
Ease of Use

Shooting with the Polaroid Land Camera 180 is very simple, but you’ll need to get into a routine with it. You’ll need to:
- Pop the case
- Raise the viewfinder/rangefinder
- Extend the bellows/lens
- Cock the shutter
- Focus and lineup the subjects in the rangefinder just like with a Leica, Voigtlander or Zeiss camera
- Set the shutter speed
- Check focus
- Fire
- Get a timer ready
- Pull the film tab
- Pull the film
- Start the timer and pull the image accordingly to the development time with the temperature around you.
When working with studio lights, you’ll want to have the front switch set accordingly to what you want and you’ll always be checking your focusing. Shooting wide open gives you a subject that will barely be in focus. f4.5 is INCREDIBLY shallow at the 3×4 size format.
Focusing
Focusing with this camera is done by pushing the levers left and right and looking through the rangefinder. When you’ve got the subject perfectly in focus, ensure that you’ve got the composition that you want. When focusing and recomposing, don’t pivot. Instead, try to slide the camera just enough. I prefer to do this on a tripod, but that’s just me.
Image Quality

This camera uses Fujifilm 100C and 3000B film (if you can find the latter with Fujifilm announcing the discontinuation of the former too.) It’s going to be soft and it’s going to have a slightly lo-fi look to it, but if you embrace that then you won’t have much of a problem.


Conclusions
I love this camera; I always have. For over a year I looked for the right Polaroid Land Camera for me and when I figured out that the Auto 100 wasn’t that camera, I worked hard to get the Polaroid 180 at good price and in a great condition. I recommend meeting folks in person to inspect the product.
If you want something that can shoot at the larger end of the medium format scale, give you manual control and will make you go through a careful and exacting process, then this is the camera for you.
Get rid of the ads!
Did you enjoy reading this article as much as we enjoyed writing it? There's a way to support us and our reporting, getting ad-free navigation and more as a bonus. Subscribe to us for less than a coffee per month —just $3.99— or take advantage of our yearly subscription with a hefty discount for only $25.- An ad-free experience
- A free mystery box for Lightroom or Capture One
- All the books in our store
- 20% discount on Capture One
- 30% discount on Imalume Photo Theft Protection
- 20% off Herbs and Kettle Tea Company.