Last Updated on 02/17/2016 by Chris Gampat
Consider this, if you will, a highly specialized article/tutorial. As many readers have known, former staffers and I both have been obsessed with manual focus lenses. Part of this come from the experience, but part of it also has to do with the fact that it forces you to put more emphasis and attention into the creation of a single image. Some folks can do it, and some folks can’t. And that’s cool–but it gets much tougher when you work with longer focal lengths because of how little comes into focus at a given aperture and focusing distance.
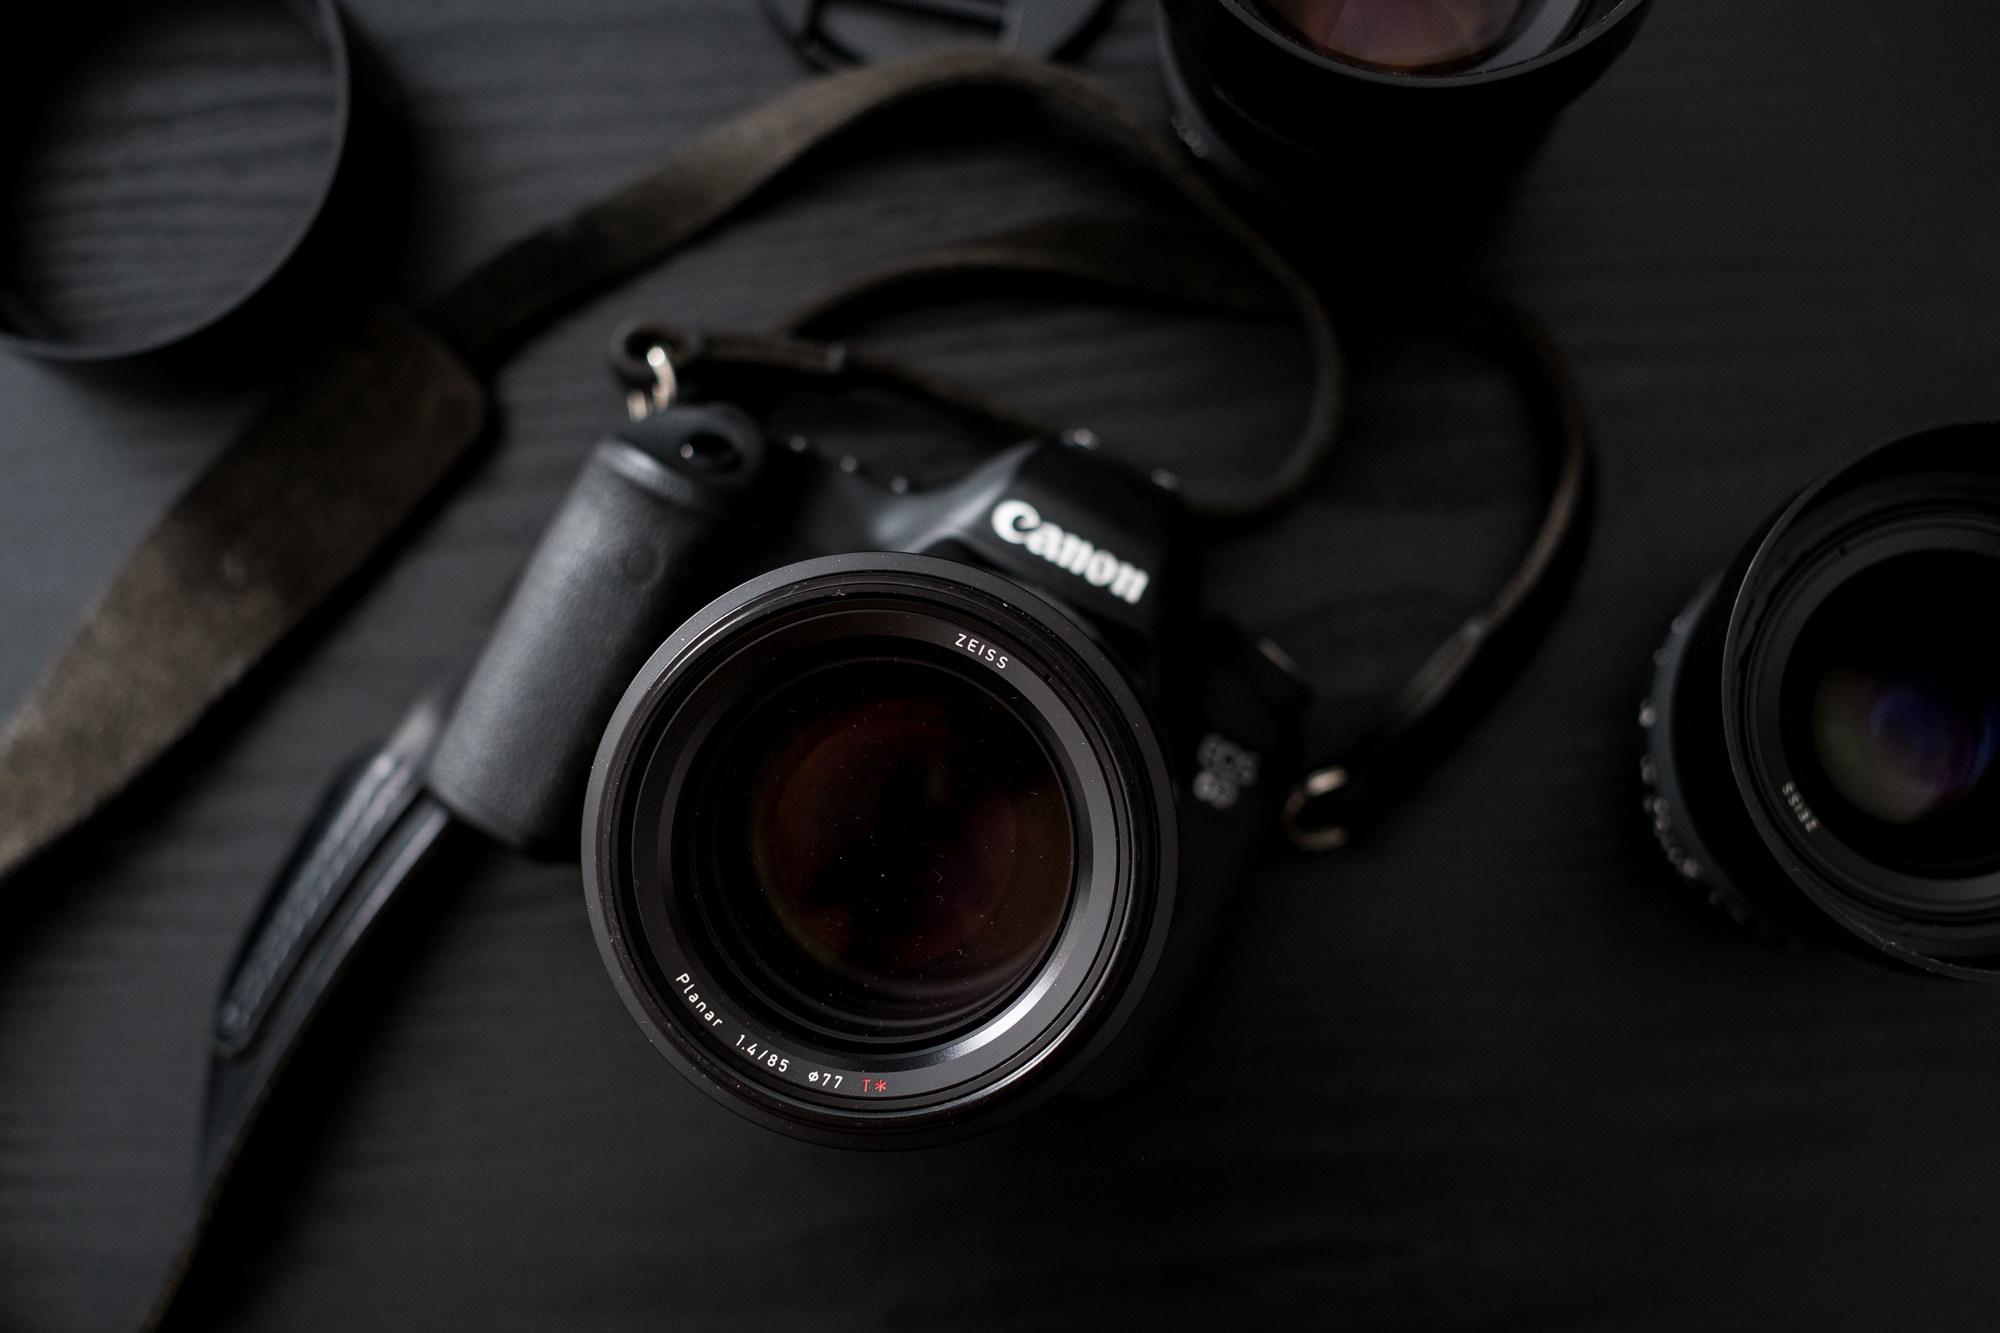
Considering feedback I’ve recently received from the site’s Rokinon 135mm f2, this piece is designed to help you get the most from a telephoto lens with manual focus. Take it from a guy with a terrible astigmatism. It can applied to any focal length 85mm and above in a full frame 35mm equivalent, but also can be applied in some ways to anything longer than 50mm.

Before I even start this article, I’m going to assume that you haven’t read the previously linked piece. How dare I go ahead, work 60+ hour weeks, and create free resources for you to not take advantage of, right? 😉
Let’s break it down for you right now. When you manually focus a lens, your mind puts a heck of a lot more effort into the creation of one specific image. You pay attention to lots of aspects of the scene, you focus in one the one main subject to ensure that you’ve got it perfectly in focus, and you’re checking your exposures to ensure that you’ve got it all perfectly in line with your intended creative vision. In contrast, when shooting with autofocus lenses, you’re guaranteed for the subject to be in focus (most of the time) but you’re also going to have a lot more wasted images that you probably won’t post or even care to edit. Manually focusing yields you less images with the proper mindset and intent. But it also means that your keeper rate skyrockets.
No Questions Asked: Use a Tripod
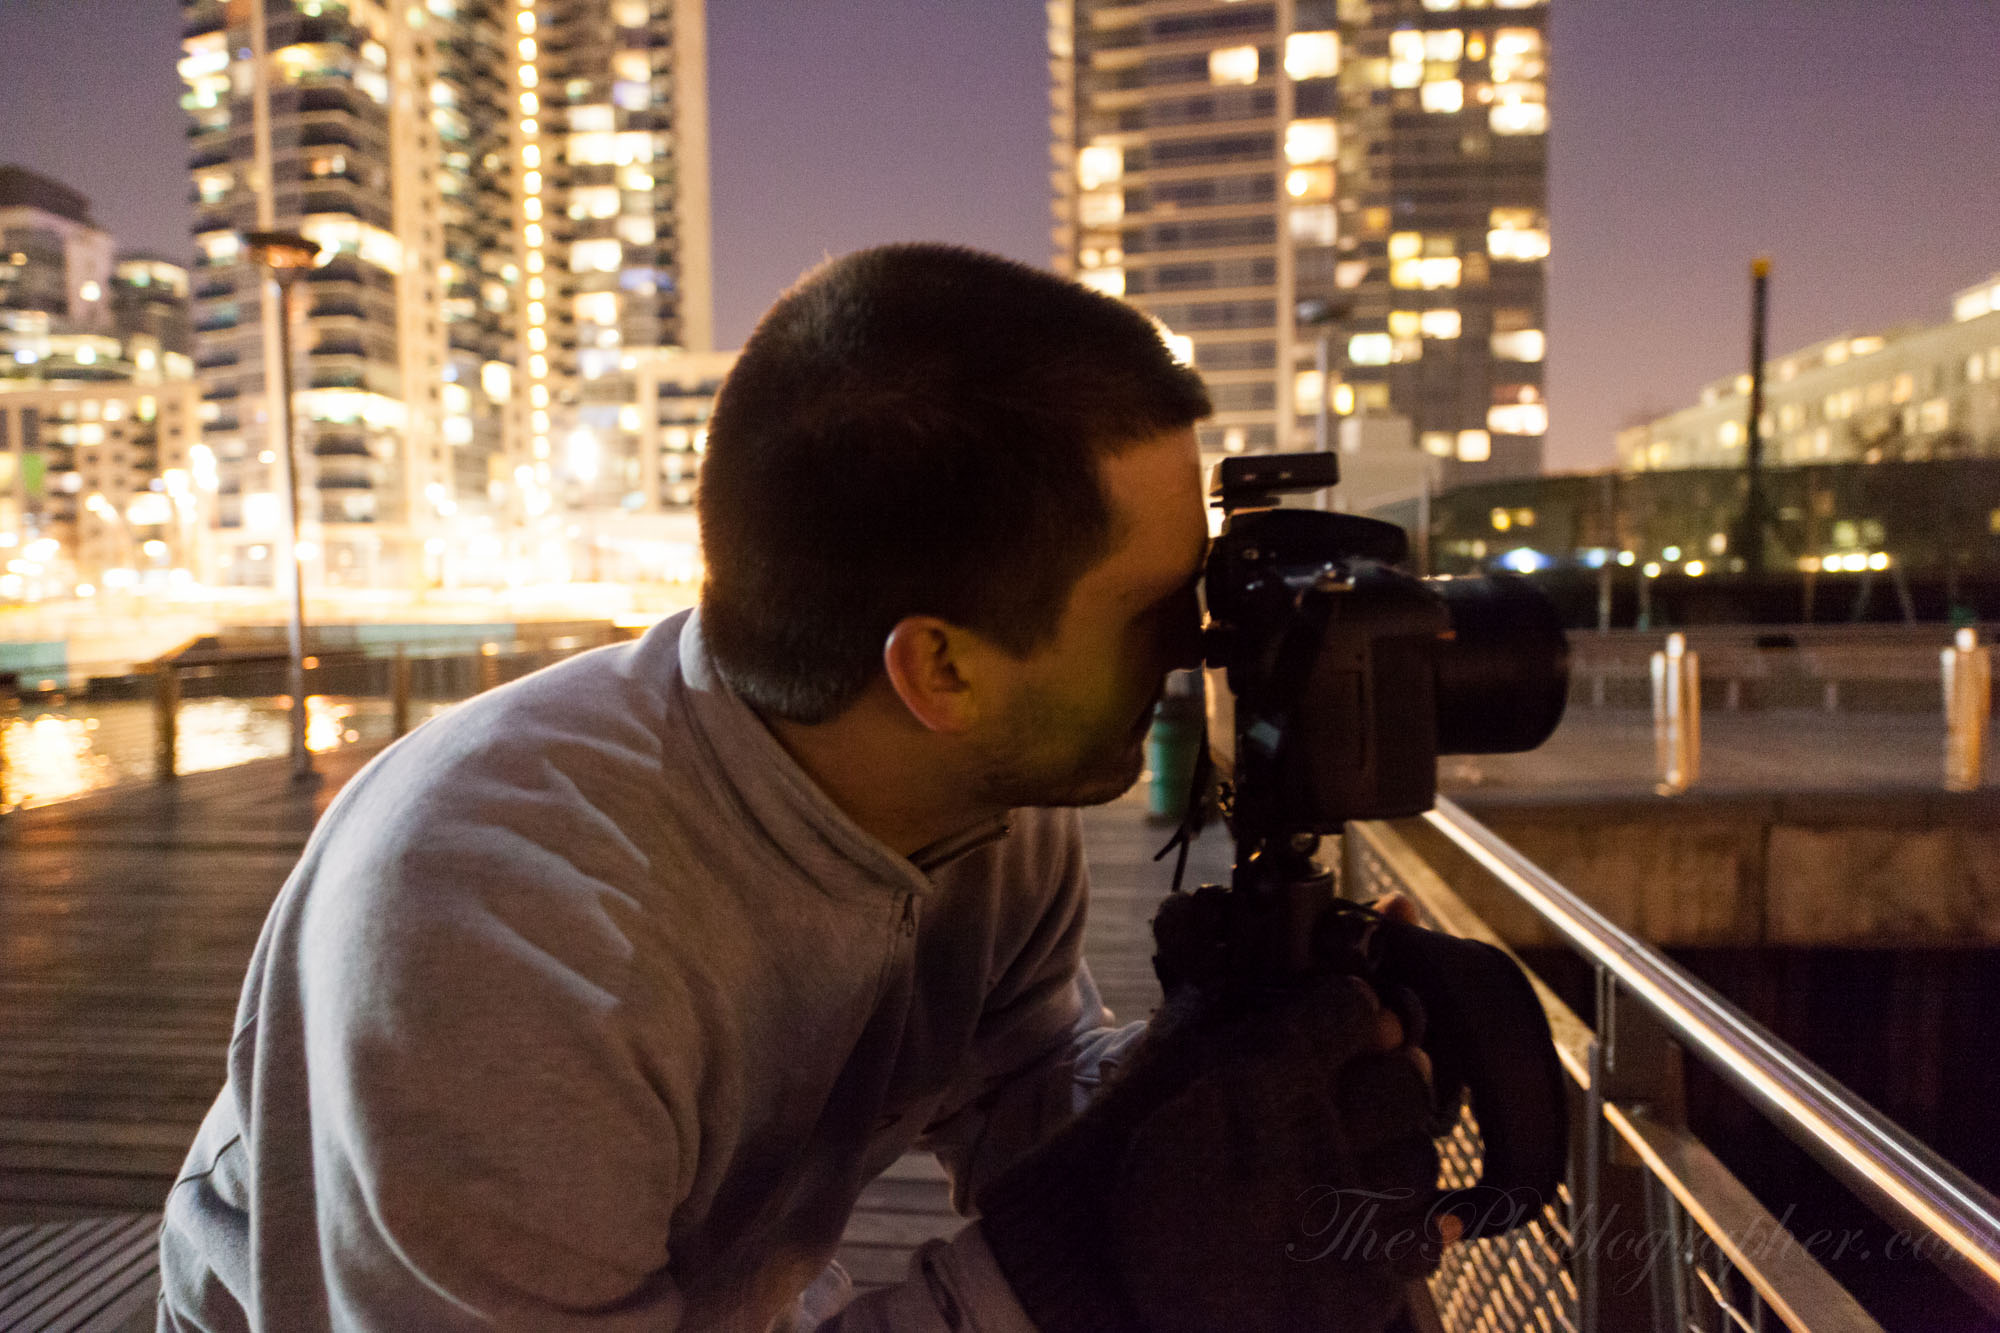
When shooting with a telephoto manual focus lens there is absolutely no exception to the rule: you need to use a tripod. I know you may like to shoot handheld, but you’re not doing that quick run and gun style of photography that everyone tries to become Instafamous for–you’re putting lots of effort into the creation of a single image: a true photograph. Not a pic, not a photo, a photograph. You’re using a slow process to create a piece of art.
Here’s why: the process of autofocusing a lens requires you to press a button and then it does the job. You’re bound to shake, but not much. In contrast, when you manually focus, you’re putting a twisting energy into the lens and therefore moving it and everything else all around. When the camera says you’re in focus, you probably really aren’t once you’ve totally stabilized yourself. To avoid that, you just cut out the shakes!
Trust me, it happened all the time when I was testing the Zeiss Milvus lenses.
This is really, really big when it comes to portraiture!!! It’s less so with landscapes, but still applicable overall. The closer you focus, the tougher it also becomes.
In a situation like this, I really recommend a good, heavy tripod. I use the Vanguard Auctus Plus 383CT with a pistol grip head. This setup is what I use for really heavy medium format cameras too. It’s bound to not shake at all and has lots of cool features.
Get Your Creative Vision All Set
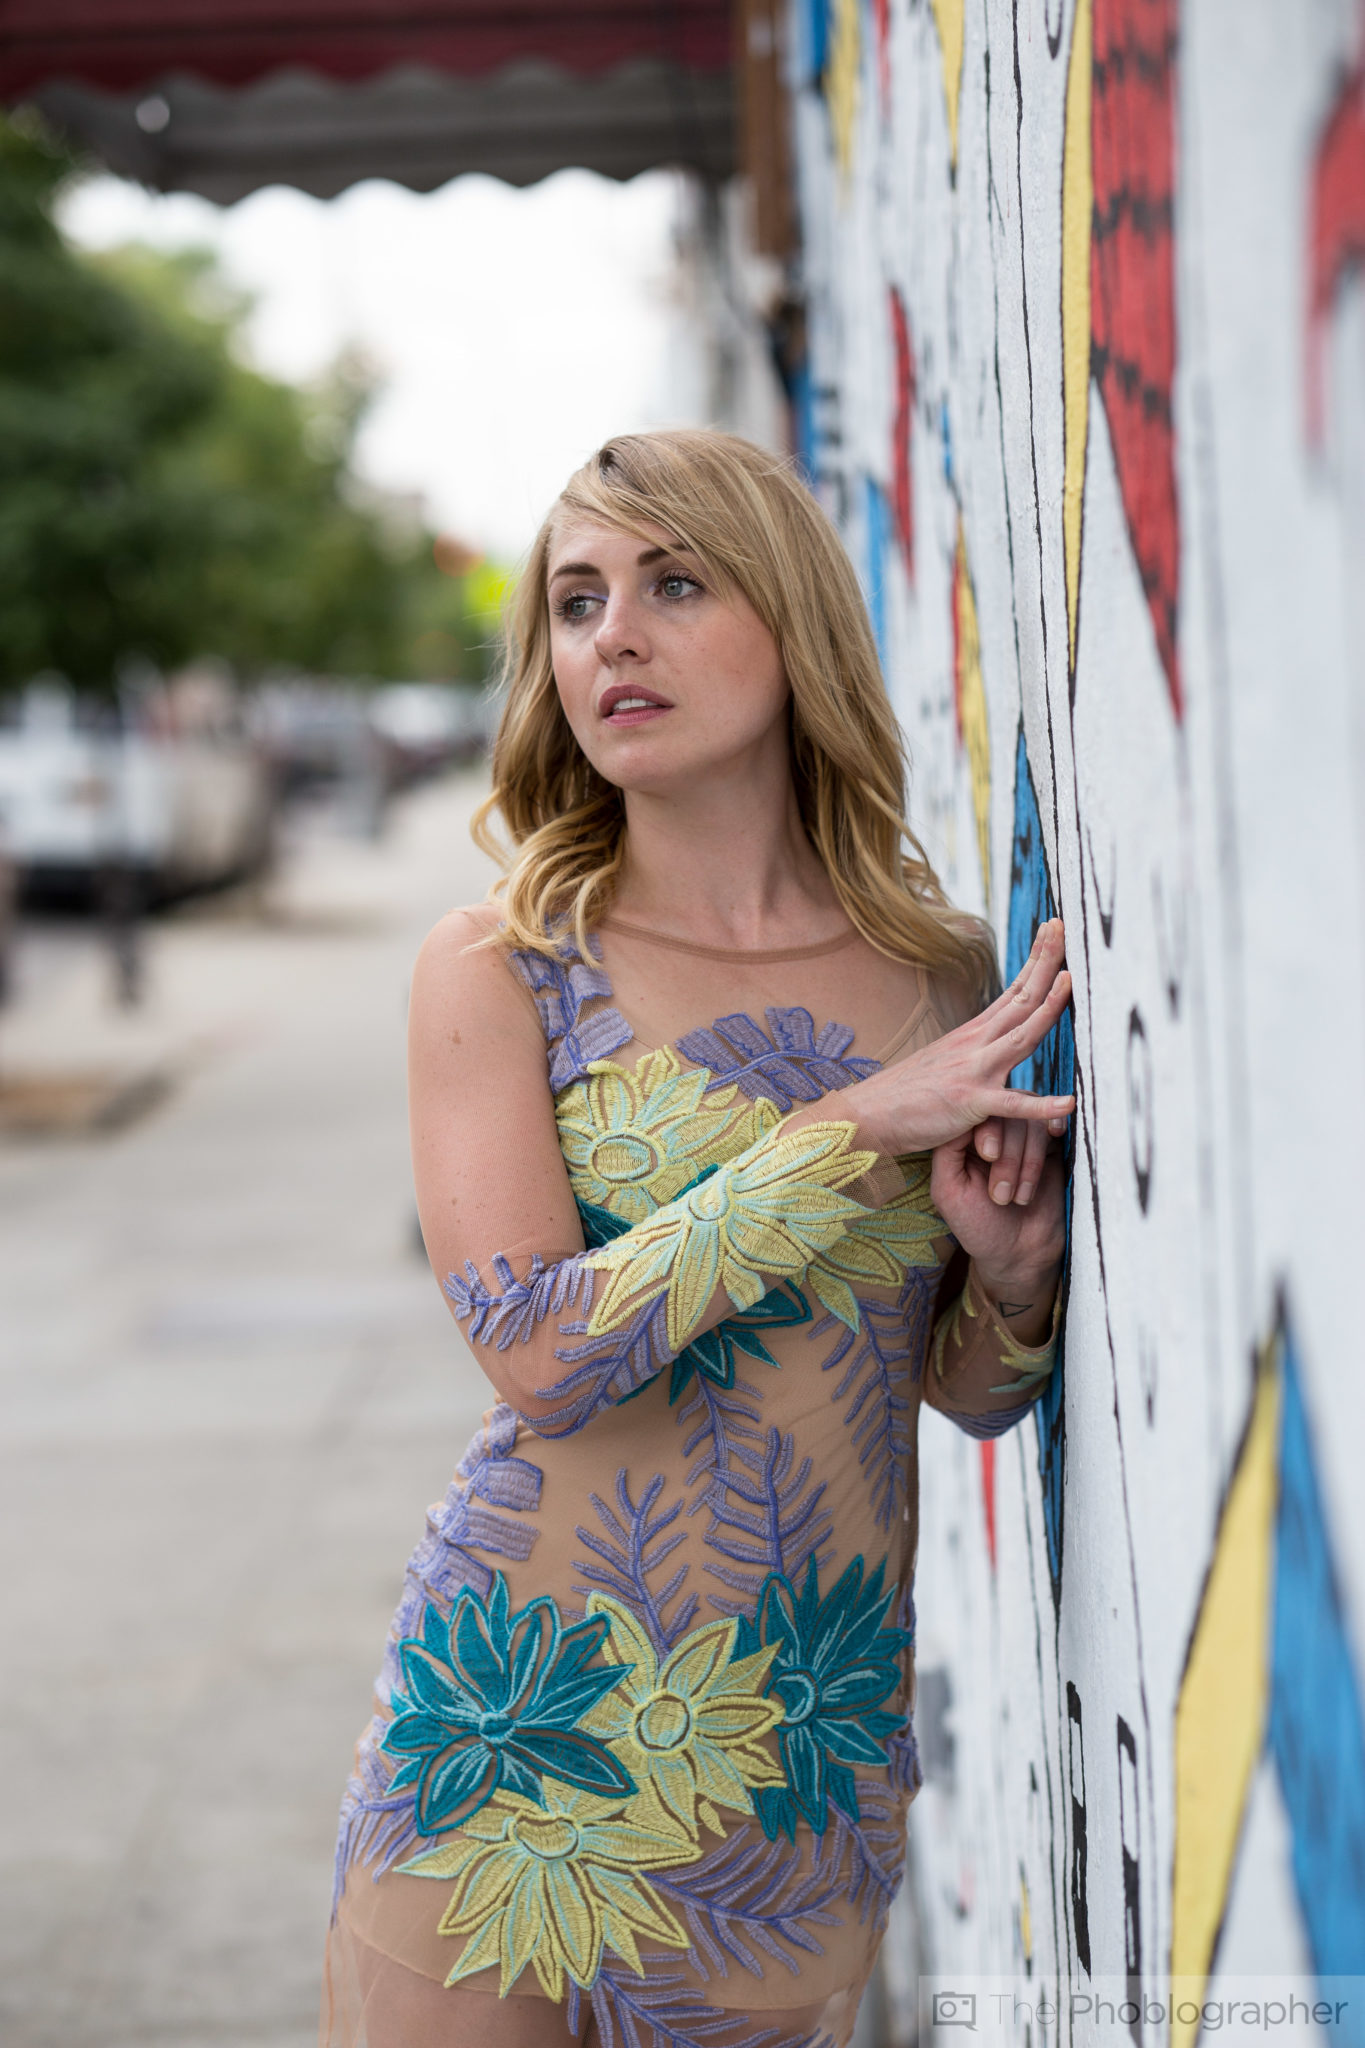
Before you create an image, you should look at your scene, your model (or subject) and get inspired by it. Ideas should be coming to you. If they’re not, scrap the thought and move onto something else. If it’s there, then look carefully at everything and get a good idea with strong communication between you and your model. The reason why is because this is going to require more effort on your part to create a single photo.
Set Your Exposures First

Before you even focus, go to the camera and set the exposure. It’s a good idea to bring a handheld light meter with you if you can’t meter a scene with your eyes. When setting your exposure, you’re also working with the aperture. This will directly determine how much of the scene is in focus at a given distance.

Want some super shallow depth of field? Then this is going to be tough. Want to stop down to f5.6 or f8 and make it less so? Then you’ll need to crank up your ISO or shutter speed accordingly.

Set Up Your Composition; Then Focus
After you’ve got the exposure right, compose your scene first. To make this easier, you may want to get a general idea of your focusing–so go ahead and do that. But in this case, you’re not focusing and recomposing. You’re composing first and then focusing. The reason for this is because if you focus first, then recompose, you’ll probably need to refocus because of the shallower depth of field (which I assume you’re using) plus models aren’t always 100% completely statue still.
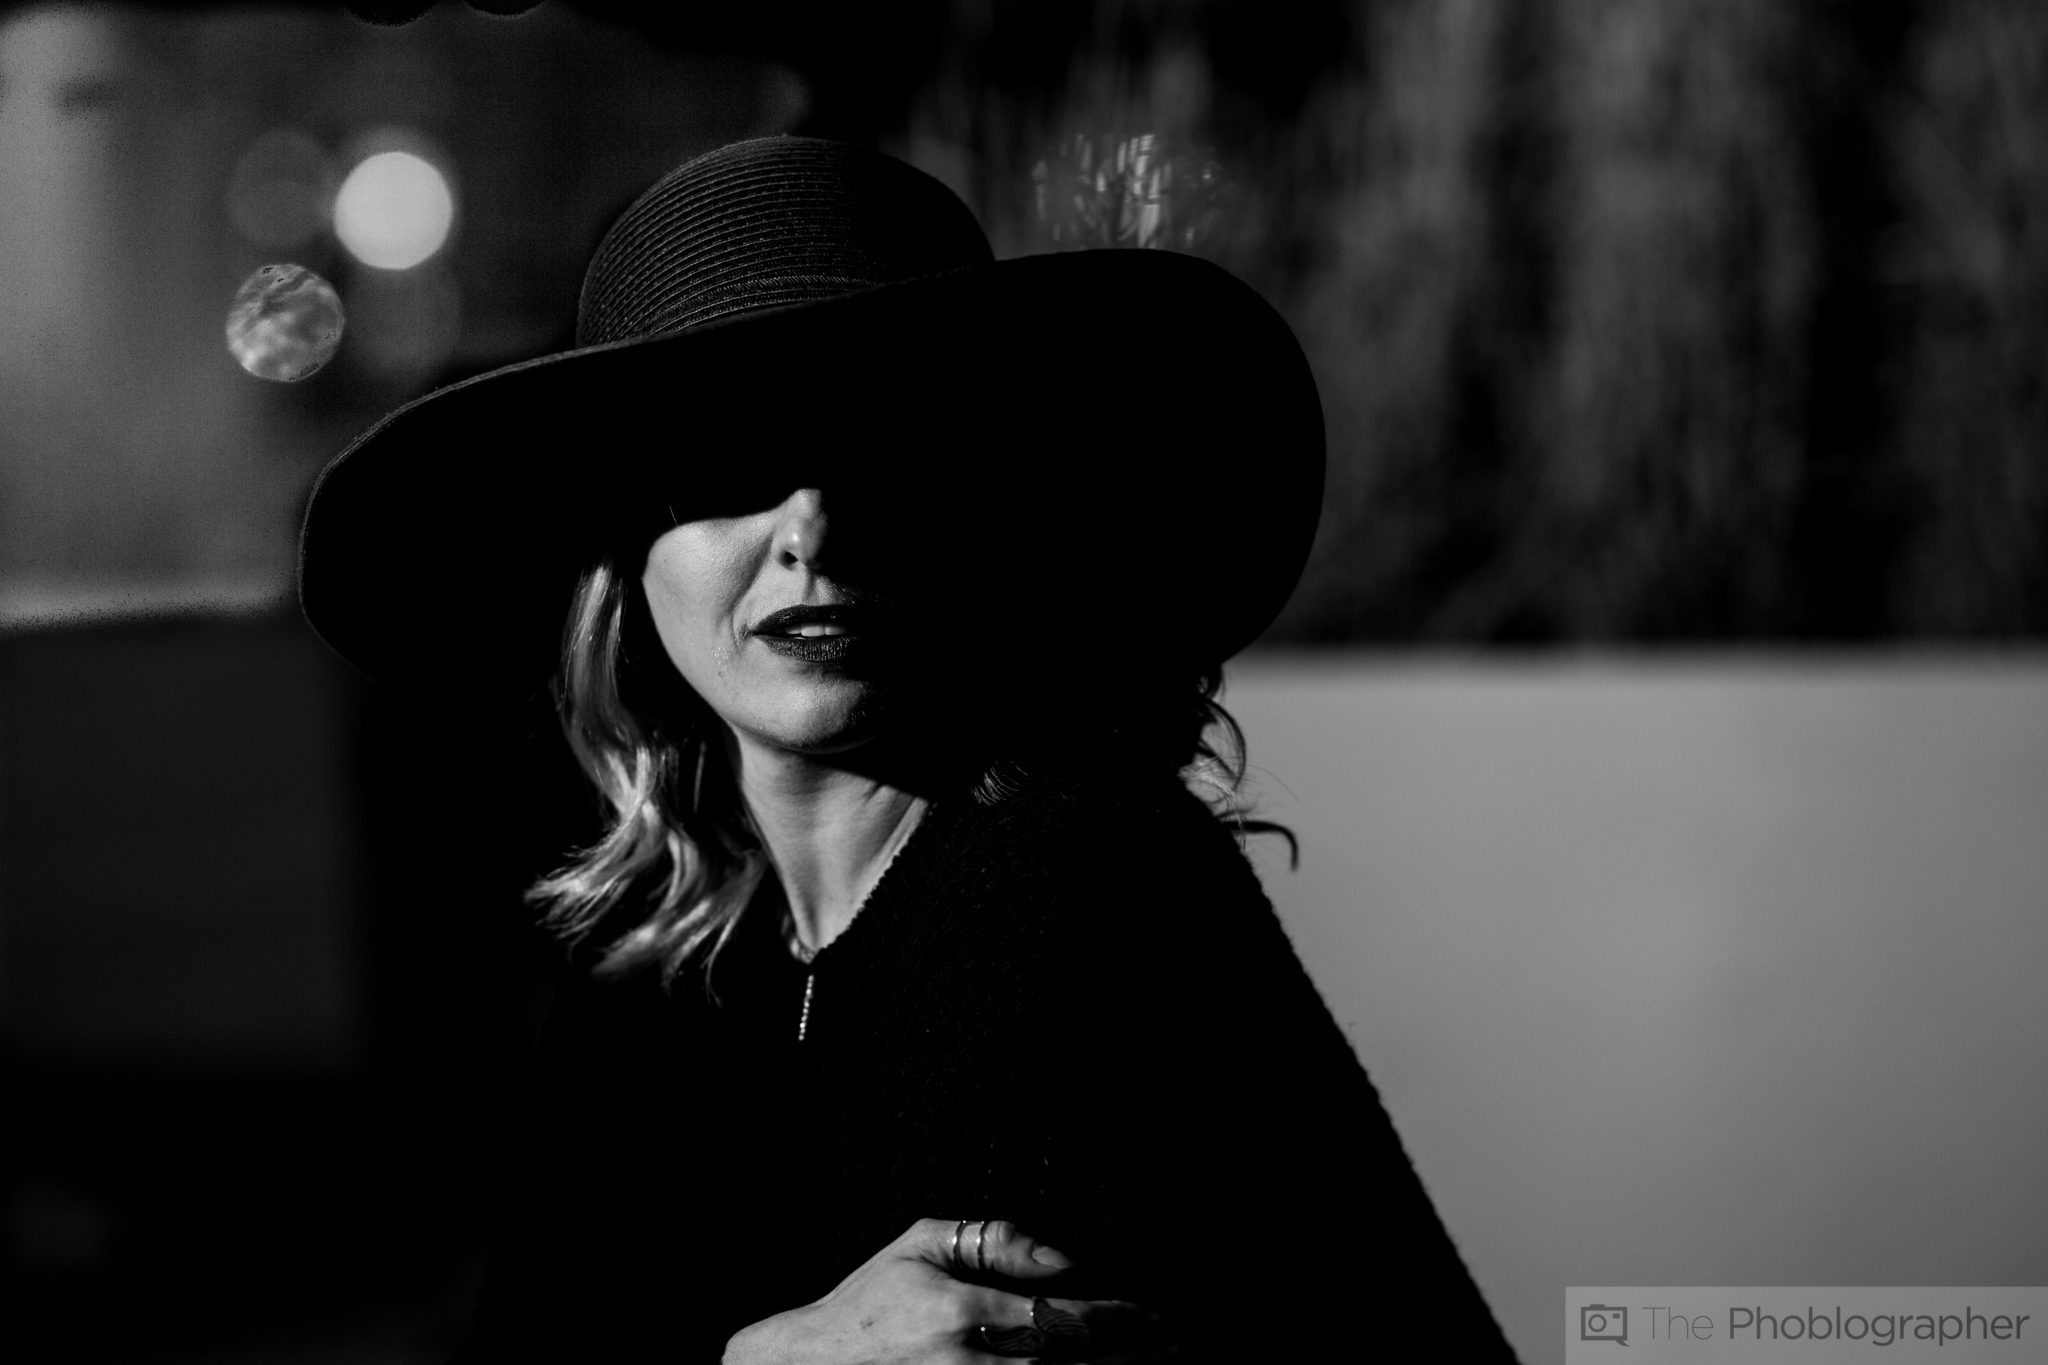
Use the LCD Screen to Manually Focus (Or Focus Peaking)
Now you’re going to focus: use the LCD screen or an EVF with focus peaking. Check to ensure that you’re perfectly, accurately in focus and sharp. If you put all this effort in first, you’ll see that you’ll be rewarded with better images the first time around rather than shooting, fixing, shooting, fixing and essentially just wasting time with things like the focusing.
Manual focus lenses can provide very rewarding results to you; so I highly encourage you to give it a shot.
Get rid of the ads!
Did you enjoy reading this article as much as we enjoyed writing it? There's a way to support us and our reporting, getting ad-free navigation and more as a bonus. Subscribe to us for less than a coffee per month —just $3.99— or take advantage of our yearly subscription with a hefty discount for only $25.- An ad-free experience
- A free mystery box for Lightroom or Capture One
- All the books in our store
- 20% discount on Capture One
- 30% discount on Imalume Photo Theft Protection
- 20% off Herbs and Kettle Tea Company.