Though they’re a staple to the more advanced photo editors among us, Camera Profiles are a little known about feature that many folks don’t know about, understand or use. If you’ve ever looked at your camera’s LCD screen, shot in RAW, and wanted your RAW image to look exactly like the JPEG then you’ve probably also spent a long time trying to match them up perfectly only to get disappointed. It’s tough, but it’s also honestly useless to try it when the camera manufacturer often gives you exactly what you need if you use Adobe Lightroom.
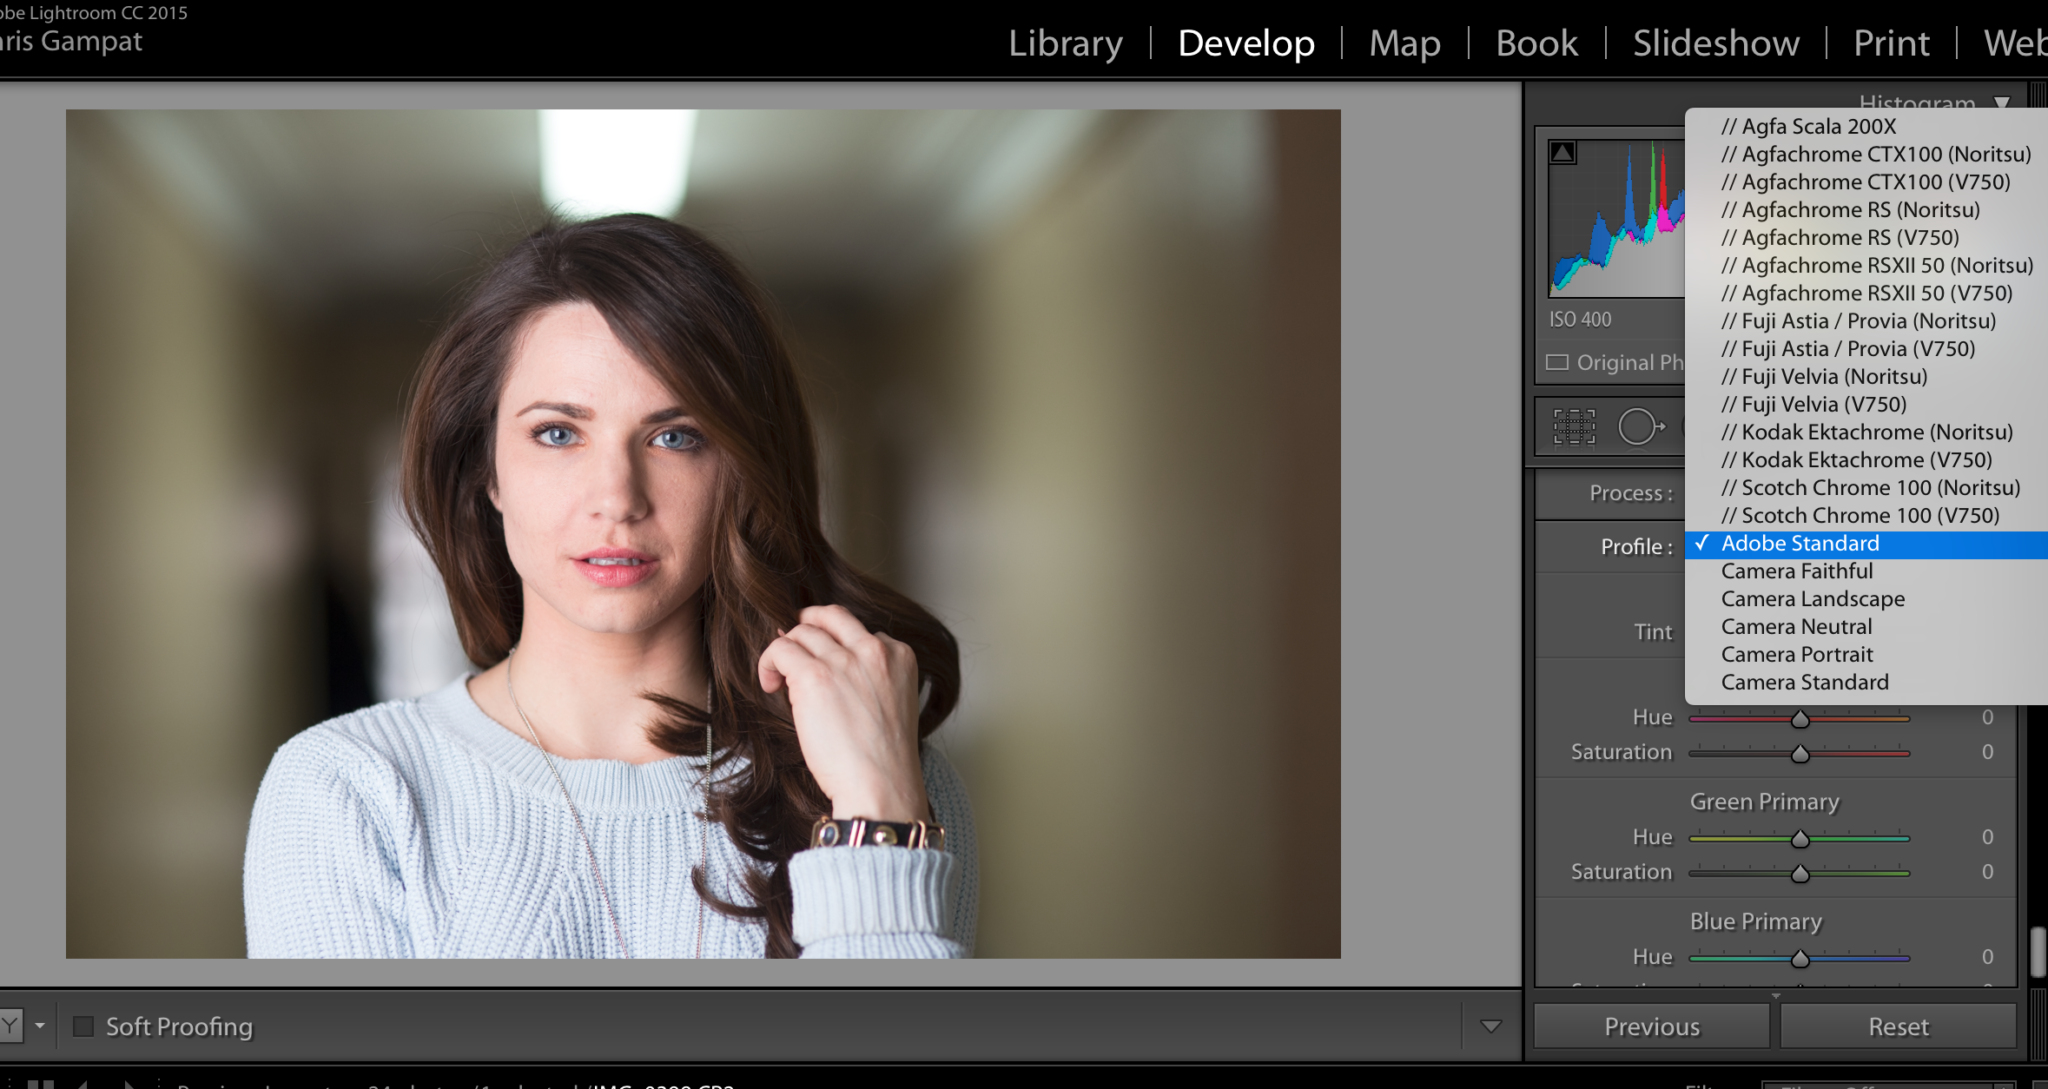
In Adobe Lightroom’s Develop panel, you simply go down to the Process area near the bottom, click on profile and scroll through. If you’re a Canon DSLR user, then you’ve probably known about this for a while due to the flat color profiles that are available to maximise dynamic range. If you shoot portraits, Canon has a profile for that that they’ve built into the camera–same goes with landscapes. These options can be found in the DSLR’s menu system. The same goes for Sony, Nikon, Olympus, Panasonic, Samsung, etc. But the user that this probably benefits the most is Fujifilm.

If you’re a Fujifilm camera user, then you also probably are very particular about your colors moreso than other camera users. Afterall, Fujifilm lets you shoot with a Velvia, Astia, Provia or Classic Chrome rendering depending on your camera. Replicating those colors manually isn’t easy to do, so incorporating the camera profile is the best option. Then from there you can make your individual tweaks.
Truthfully, this can help speed up your workflow, but as I’ve always said: a speedy workflow means nothing if you don’t get the image you want in the end.
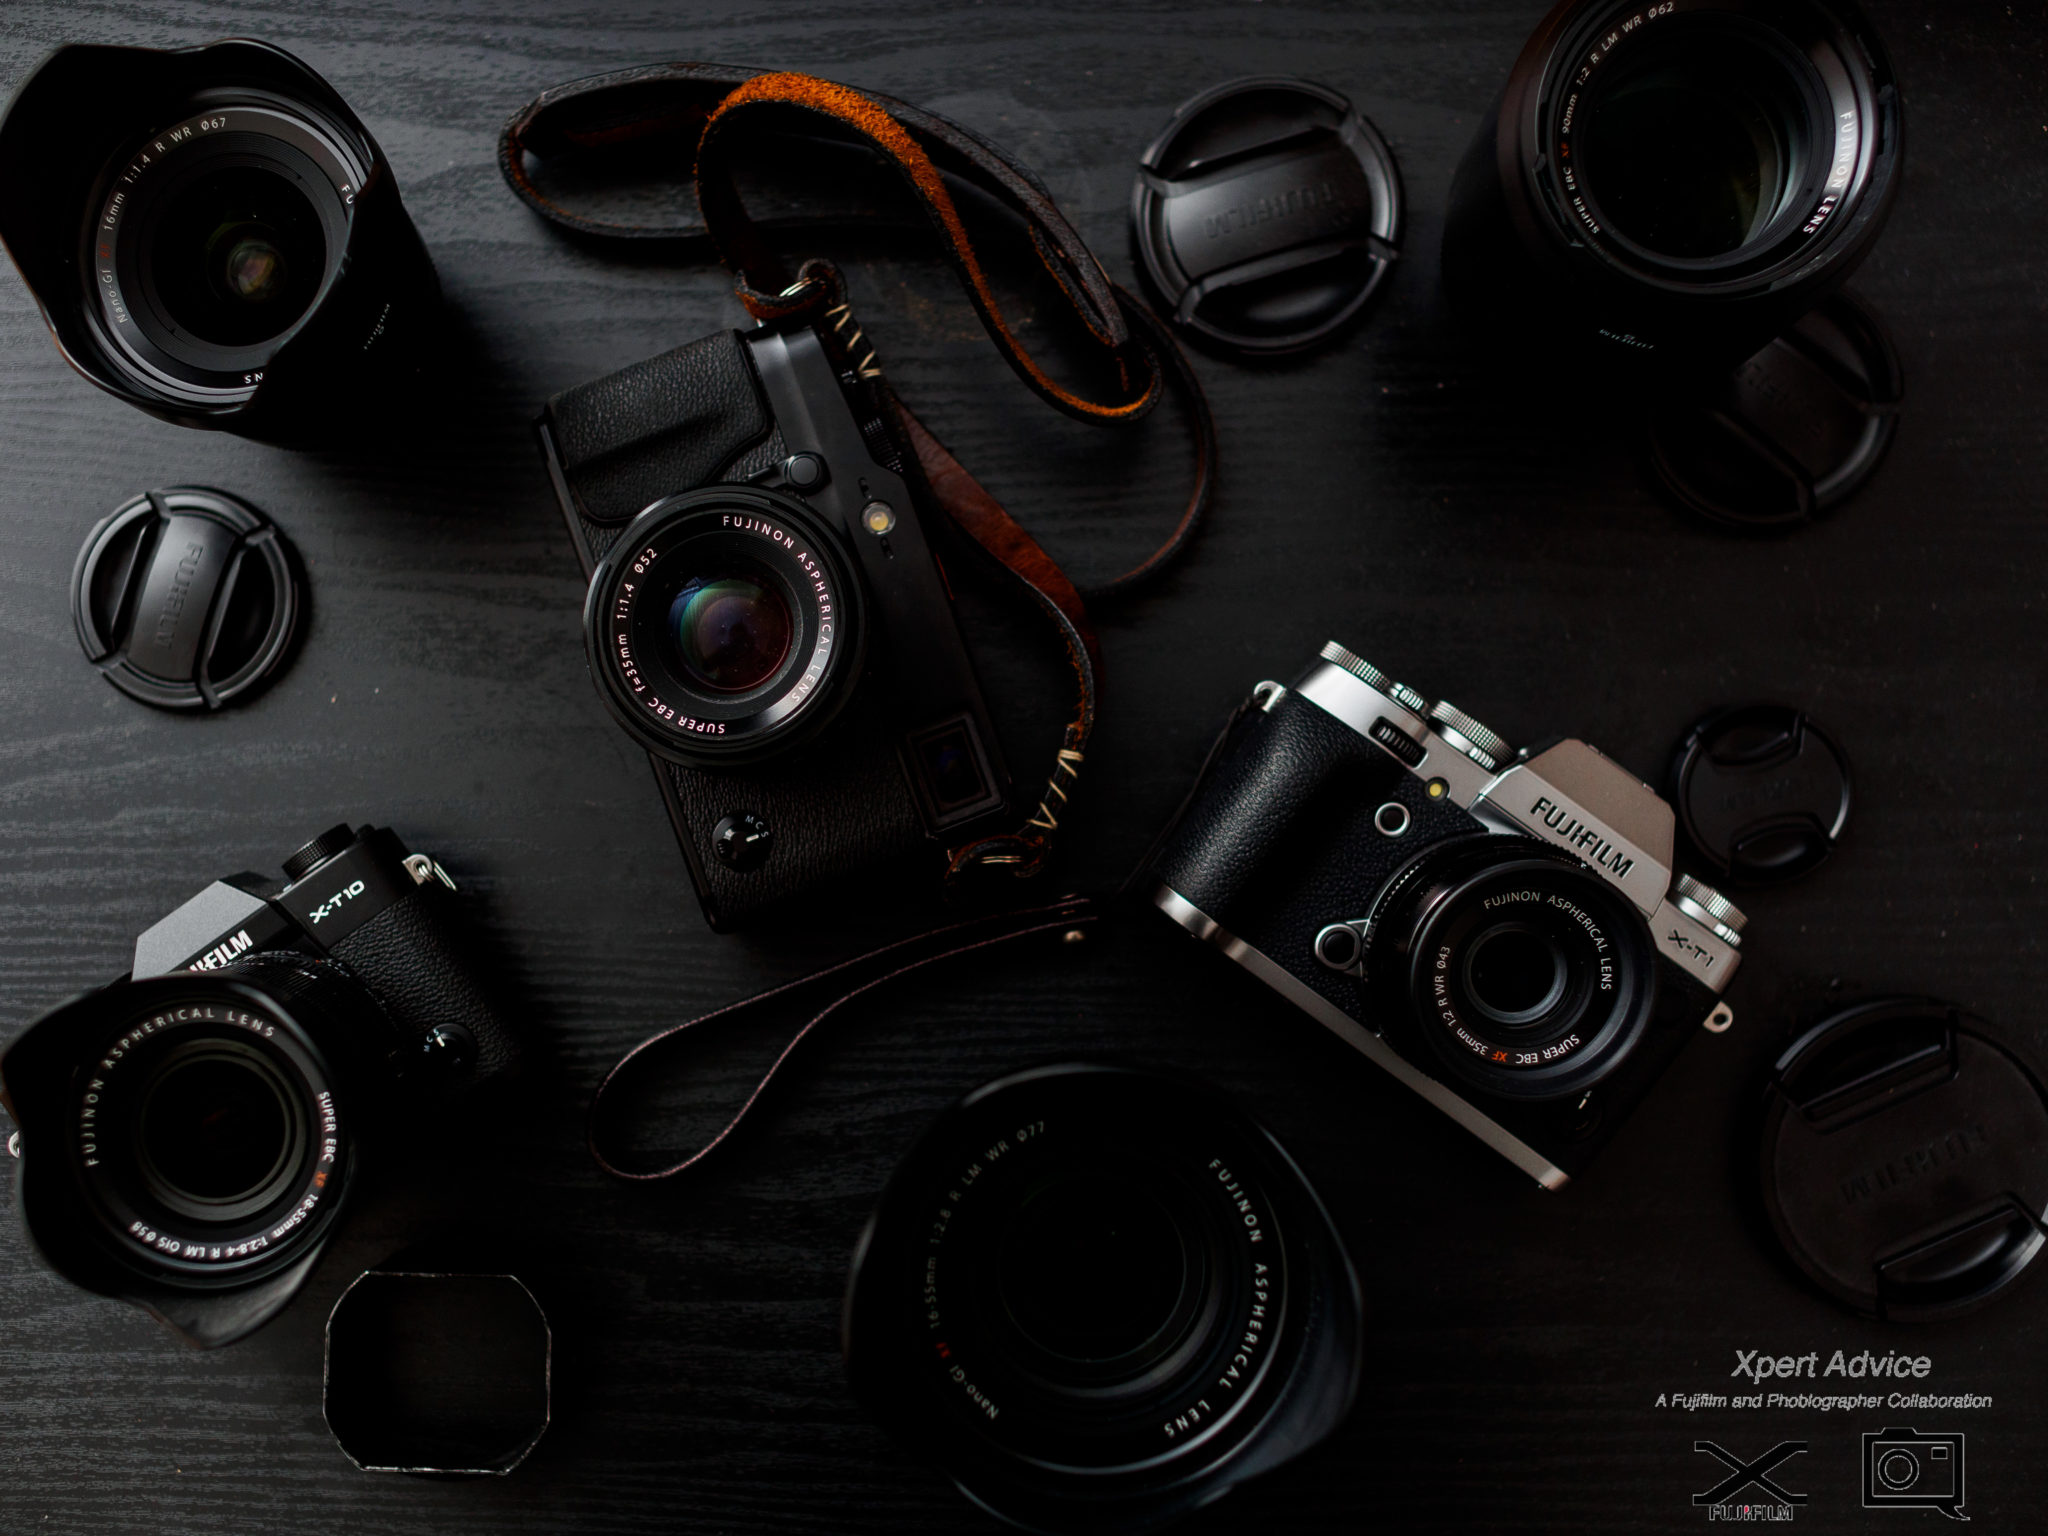
When I shoot product photos for the Phoblographer using Fujifilm’s cameras, I often choose the Velvia camera profile. The product images are a series, so the profile is applied to and synced to each image that will go into the final display along with other minor tweaks like sharpness, clarity, etc. Then from there, I go through each image individually and make individual tweaks based on what my creative vision for the shoot dictates. It speeds up the workflow but it also helps me to actually create and render the images that I want in the end.
As I’ve found out on the Phoblographer’s Instagram, you folks like them too.
But this process has a lot more applications than product photography:
- Wedding photography: for each room or lighting situation
- Portrait photography: for each session, look, etc
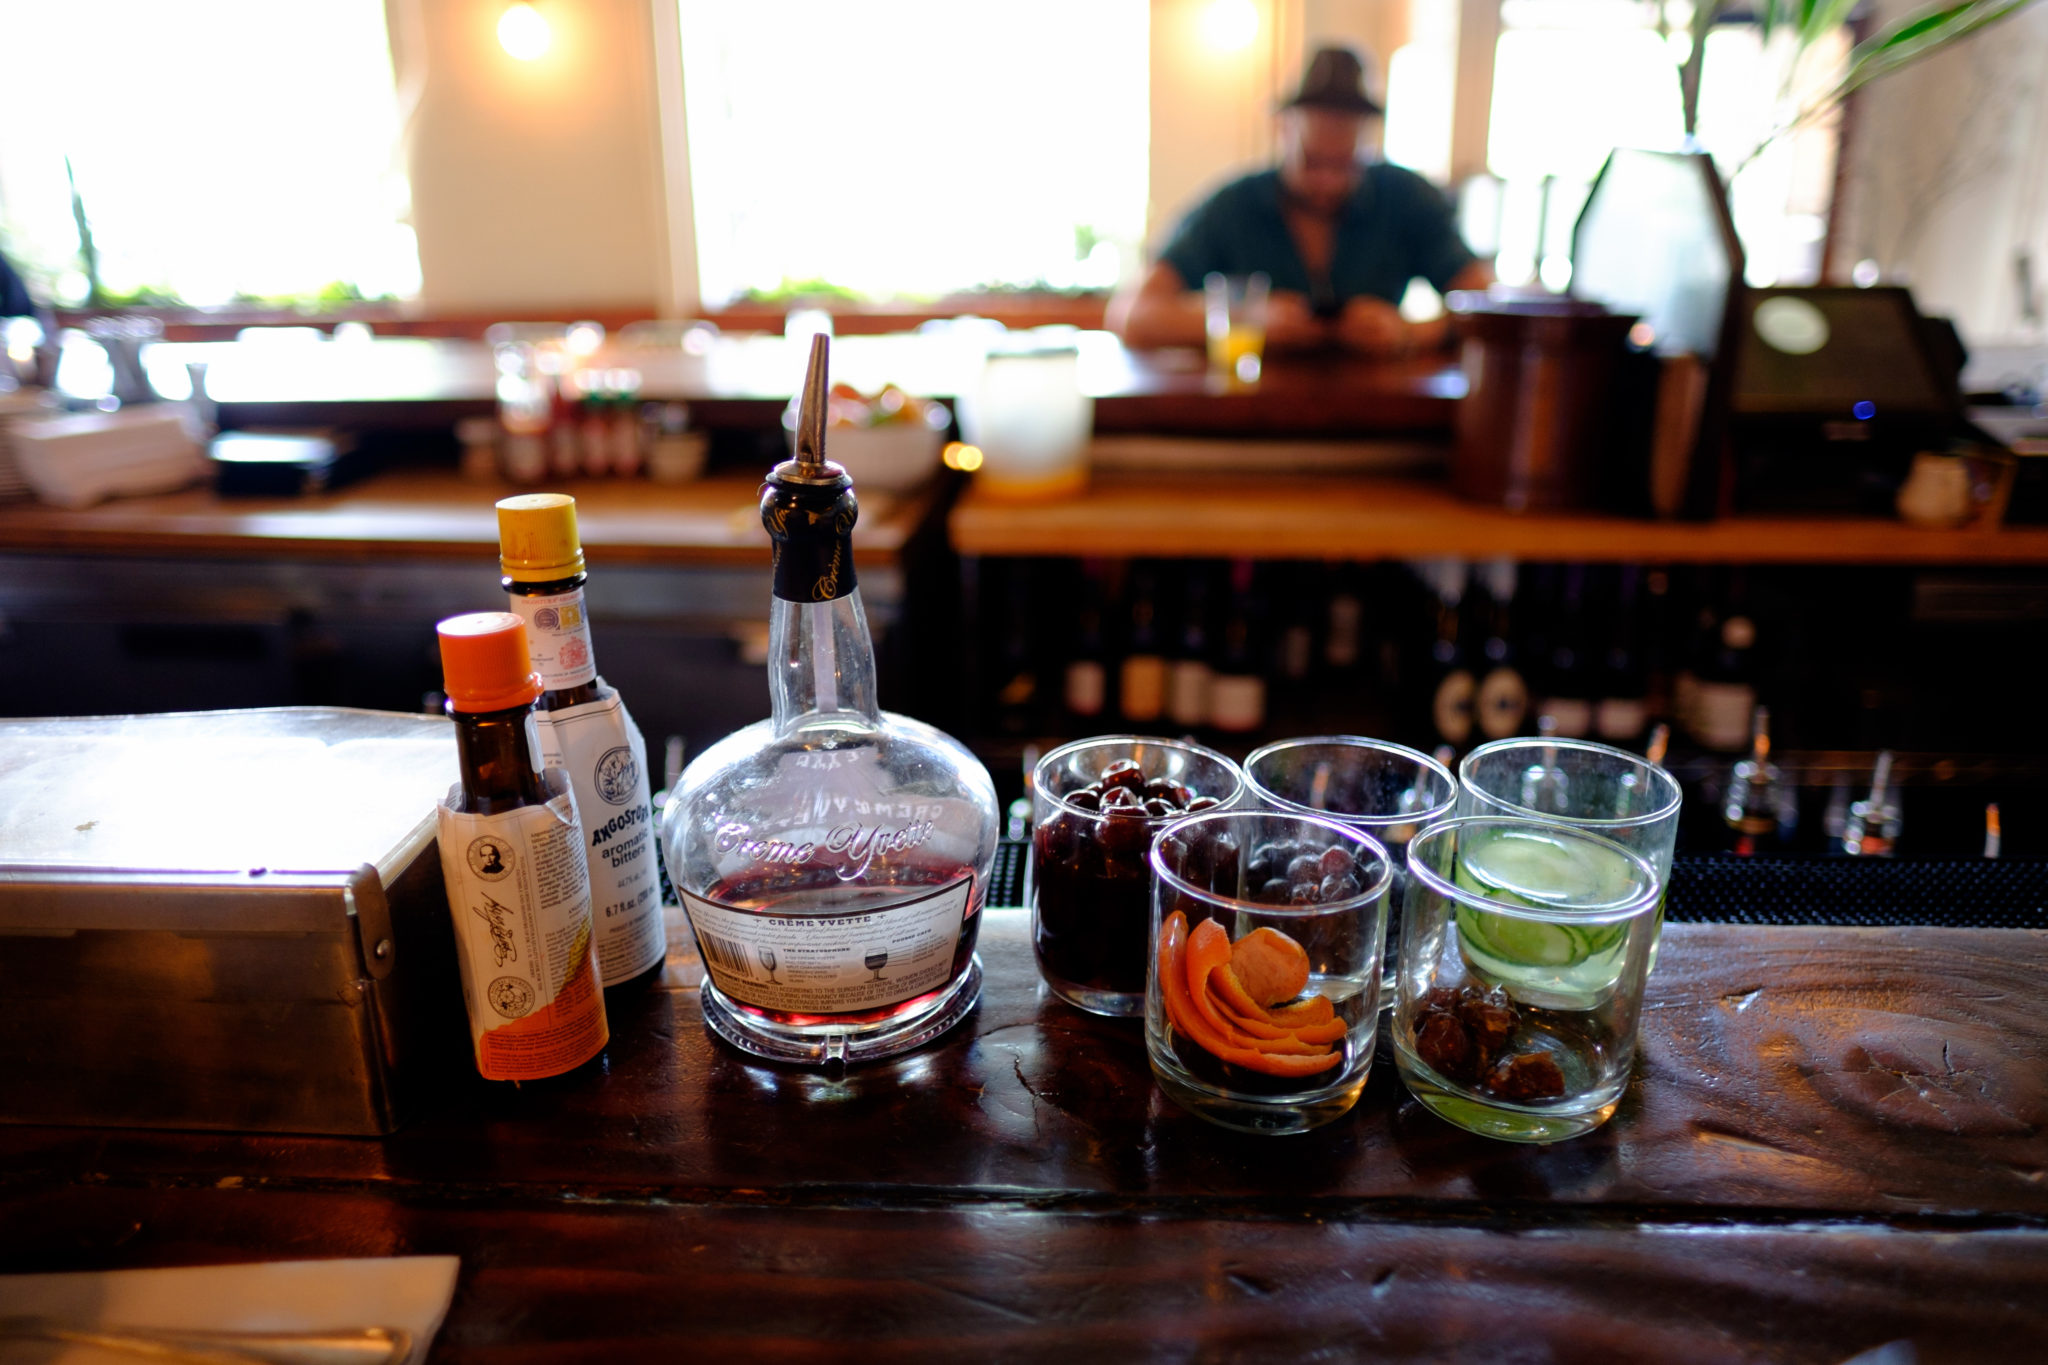
- Food photography: for each lighting situation, color scheme, etc
- Sports: generally you’re sticking to one color profile
- Photojournalism: same as weddings
- Landscape photography: you’re basically shooting everything with the same vivid color profile
These are just some of the ways this can be used. And again: while this is a great start to editing, I implore everyone to not just use it as a crutch, call it a day and export as is. Instead, exercise your creative freedom and develop something that’s unique to just you.
Get rid of the ads!
Did you enjoy reading this article as much as we enjoyed writing it? There's a way to support us and our reporting, getting ad-free navigation and more as a bonus. Subscribe to us for less than a coffee per month —just $3.99— or take advantage of our yearly subscription with a hefty discount for only $25.- An ad-free experience
- A free mystery box for Lightroom or Capture One
- All the books in our store
- 20% discount on Capture One
- 30% discount on Imalume Photo Theft Protection
- 20% off Herbs and Kettle Tea Company.
- 20% off your order from MPIX printing services.
- 5% off Viltrox Products via their eCommerce store.
- 10% off all film developing, printing and scanning services from Blue Moon Camera and Machine
- 15% off 7Artisans products: The lens and accessory maker is offering a sweet discount for Phoblographer's readers.