Food photography isn’t tough to do, but good quality food photography can be incredibly tough. It’s all about timing, composition, colors and lighting. Good food photography whets an appetite and elicits emotions connected to food. If you can make someone smell the Mac and Cheese that you just cooked, then you’re well on your way to making better food images.
Here’s how to go about shooting better food images by using one light and keeping it simple.
The Accessories
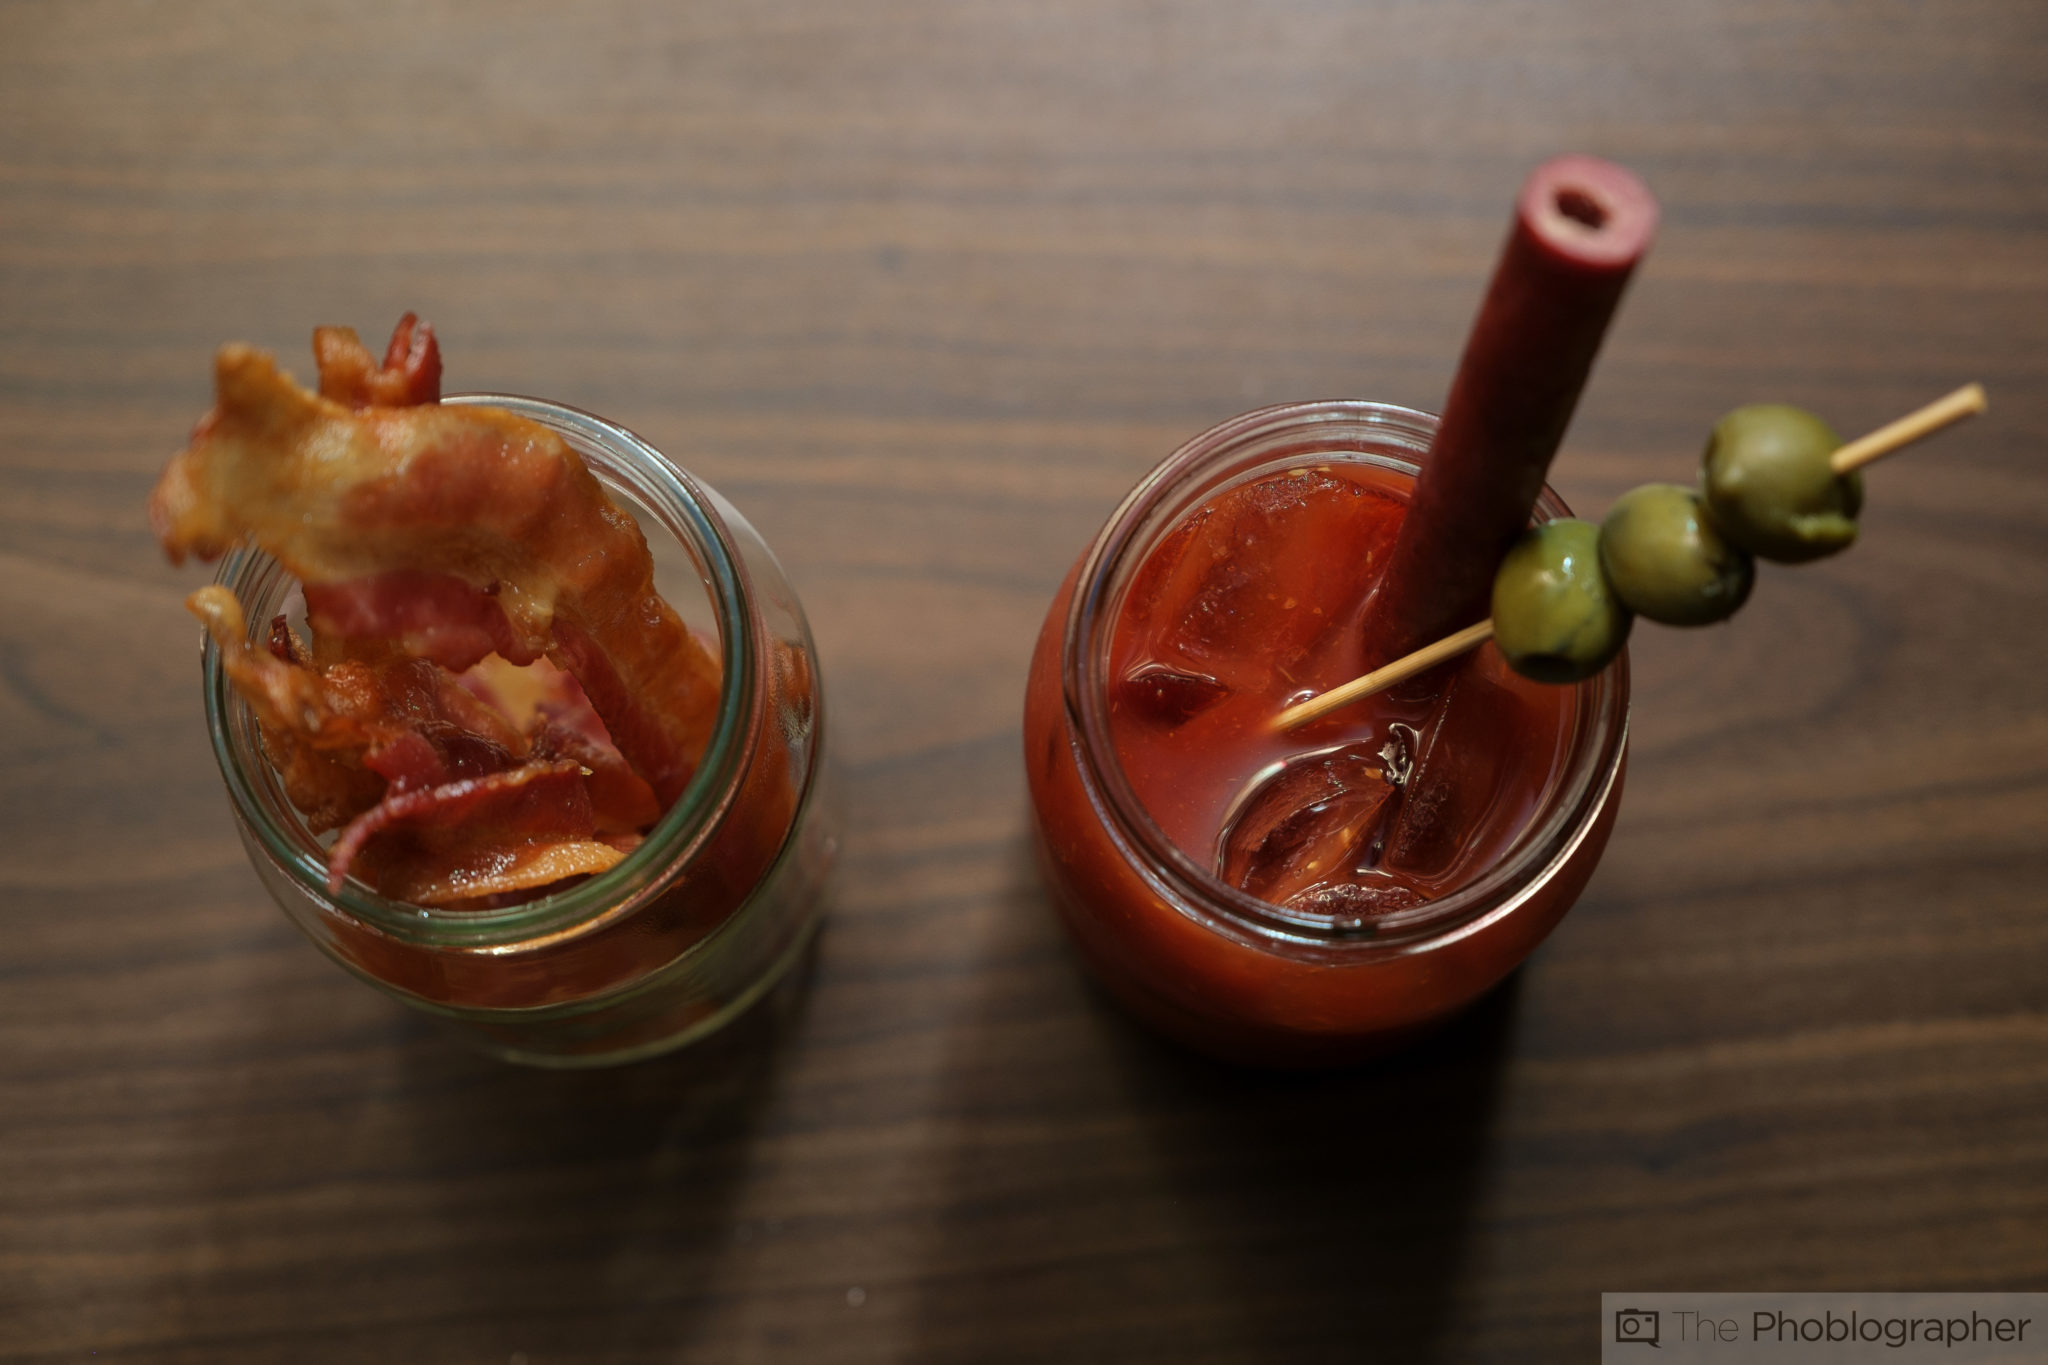
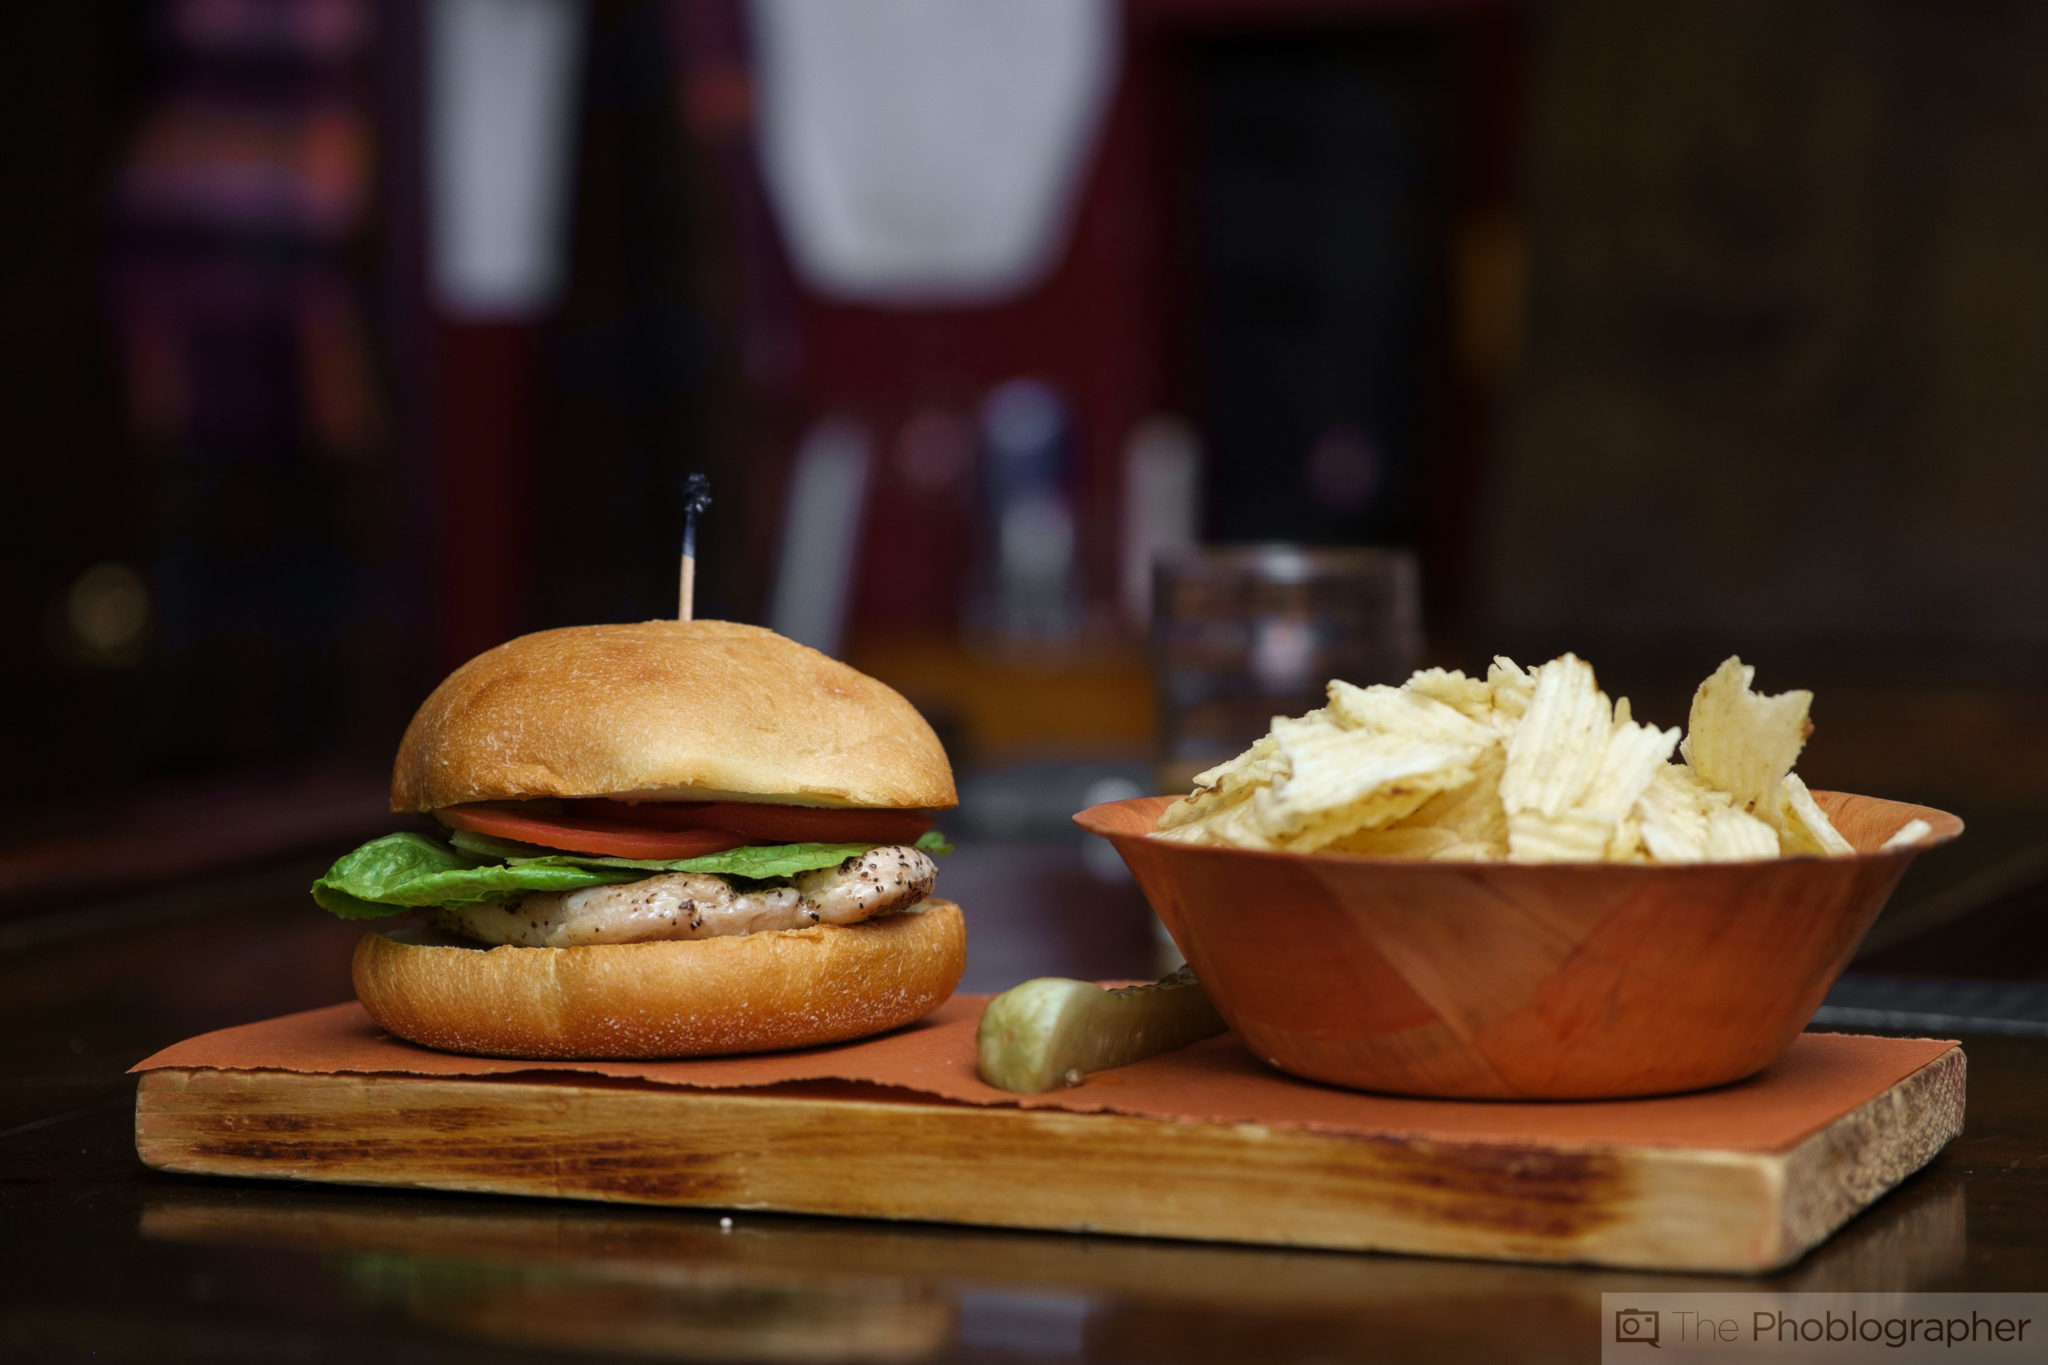
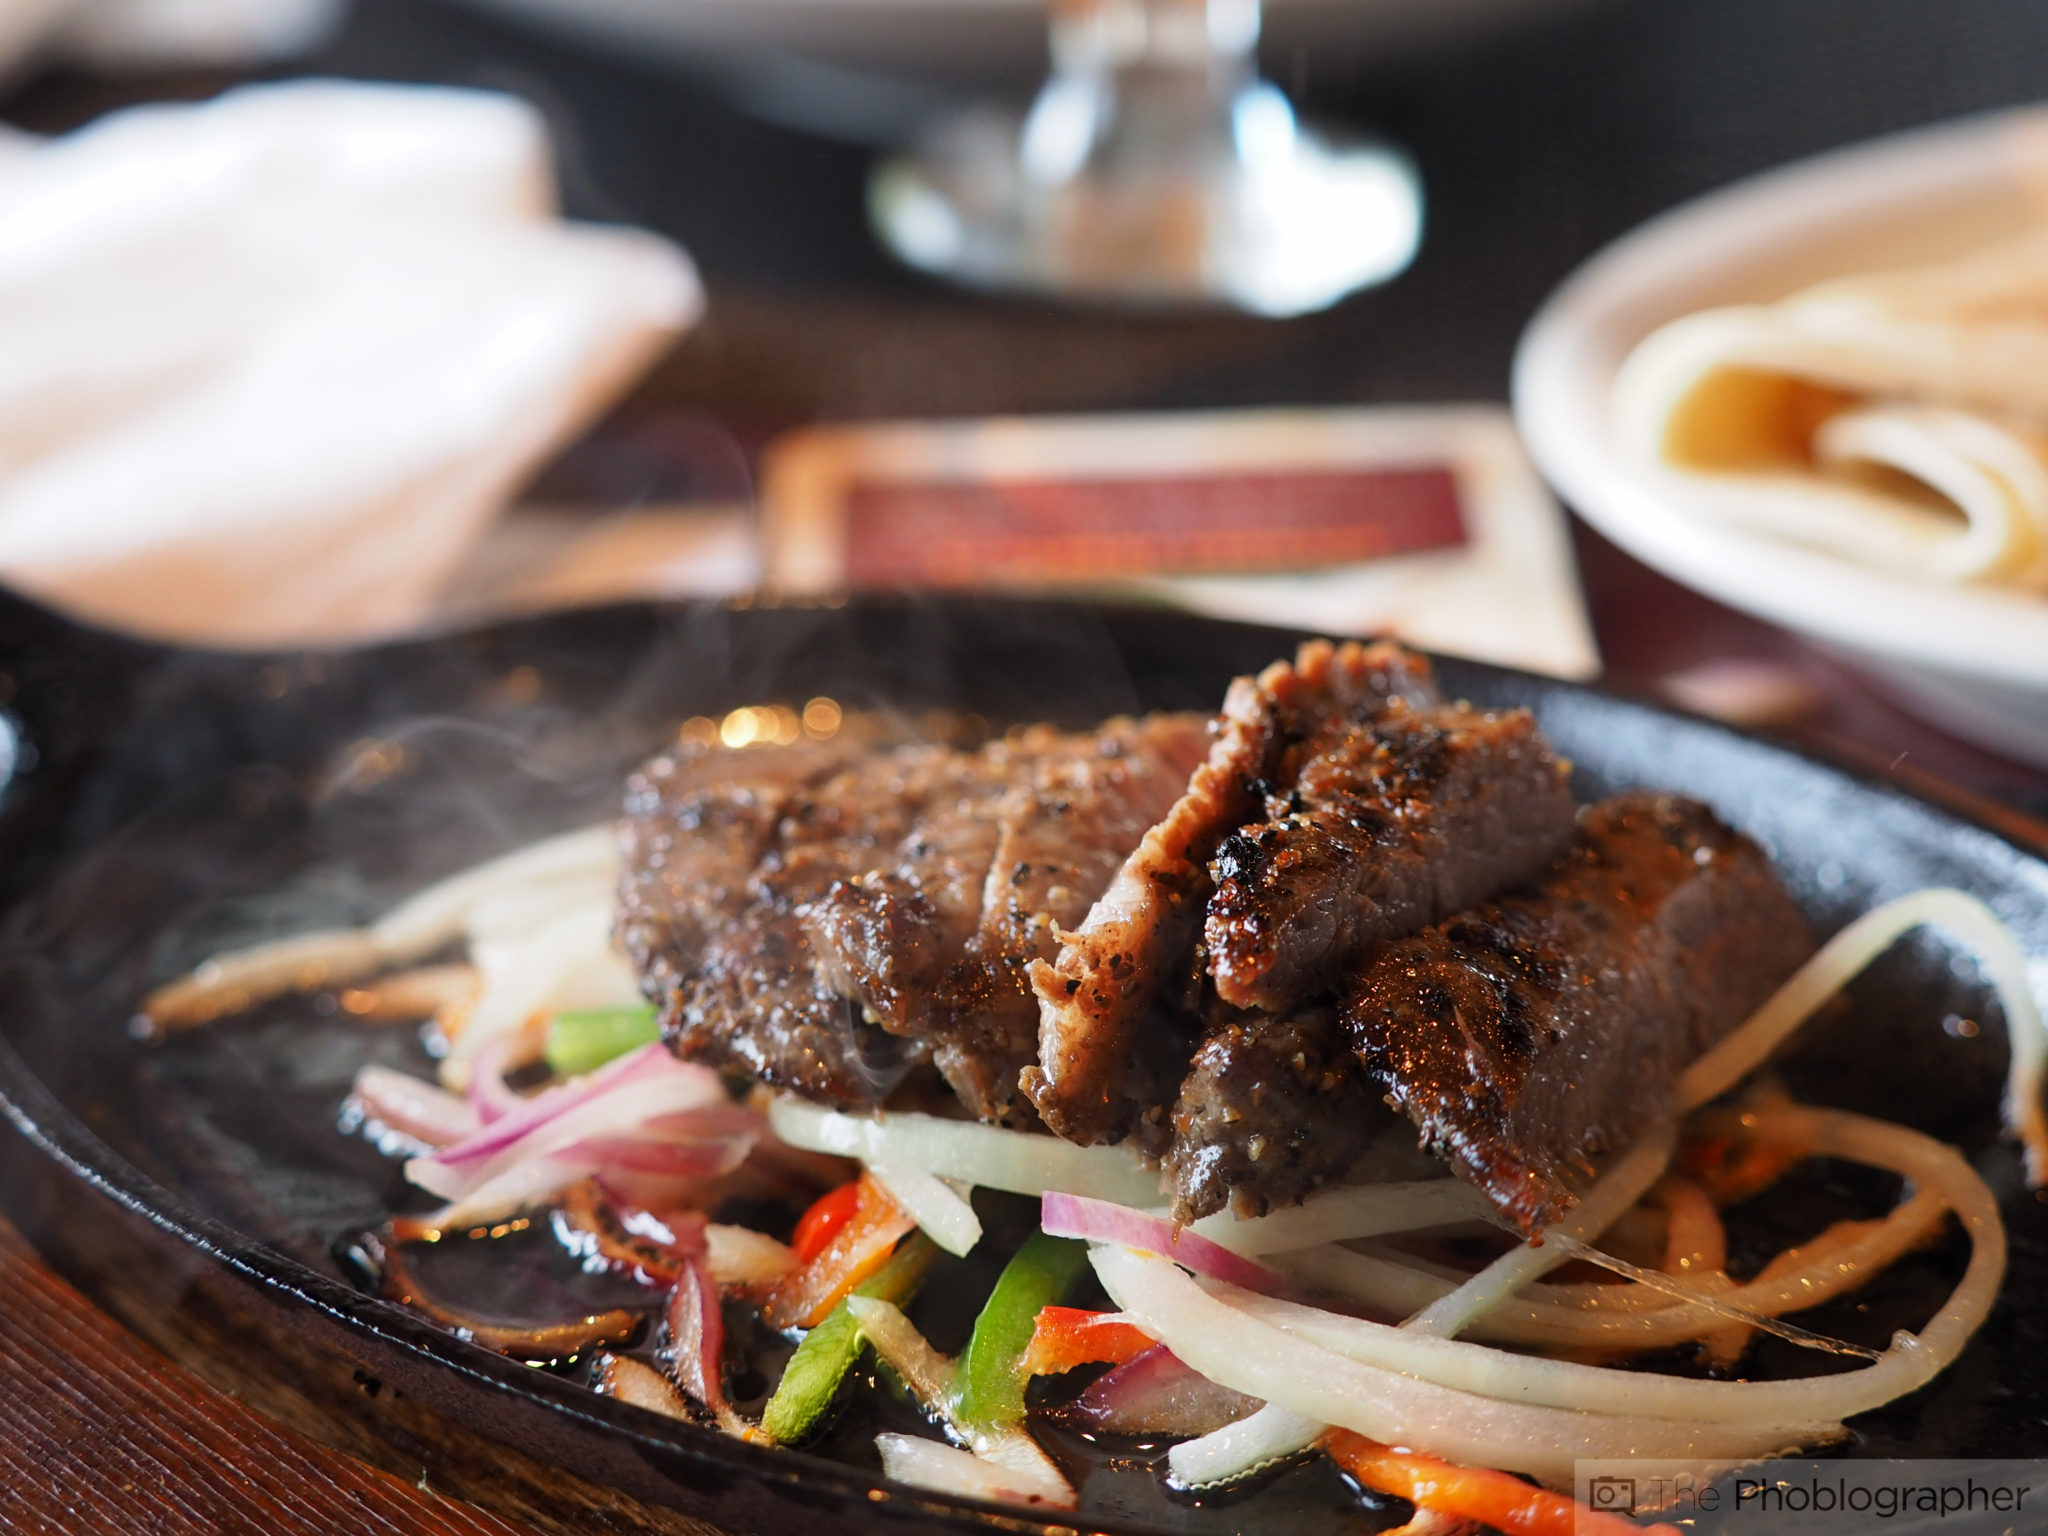
Before you even start, you need to stylize food. To get a couple of ideas, try looking up some of your favorite recipes on Pinterest to start. Here’s an example: take a bowl of cereal, add the cereal, then pour the milk in. That’s the most basic breakfast that lots of folks have but it can be jazzed up quite a bit. Add strawberries, blueberries, banana, put orange juice on the side, get a clean spoon, etc.
Similarly you can add garnishes to that beautiful salmon that you just baked. If it’s looking a bit dry, add some oil to moisten it up. Our biggest tip? Find a way to create color contrast of some sort.
With food photography you’re literally creating a scene and not just capturing one. Beyond that, you’ll need to think about creative solutions to your problems.
Use a Window
Most professional photographers go for window lighting or making the images look like they have window lighting. The reason for this is because it often looks natural and homey. What do we mean by that? It brings us back to the comfort of the kitchen and the dining room. Like all good art, good food photography needs to make someone feel something. there’s a bit difference between “Oh, that’s nice. ” and “OMG NEED THIS IN MAH MOUTH NAO!!!!”
You’re essentially striving for the latter.
Make the window lighting your key light and place the food on the table after putting together a stellar presentation. However, the best window light is only at certain times of the day. Otherwise, you’re very limited on when you can shoot.
Augment the Natural Light
The answer to being able to shoot any time of the day comes with adding a flash to augment the natural light in the scene. If your window has blinds of some sort, bounce the flash off of the blinds and maybe add a gel of some sort to make it look more like natural daylight.
Here’s how this works: By placing a flash right against a window, you’ll get the natural lighting from the window coming in and it will be boosted by the flash output all from one direction. Since the light is hitting the window, it is bouncing off of the window in the same shape–so it will illuminate the scene in the same way. Beyond that, all you need is a single light.
When doing this, we strongly recommend that you set your flash to manual mode and adjust the power accordingly to what aperture you want to shoot at.
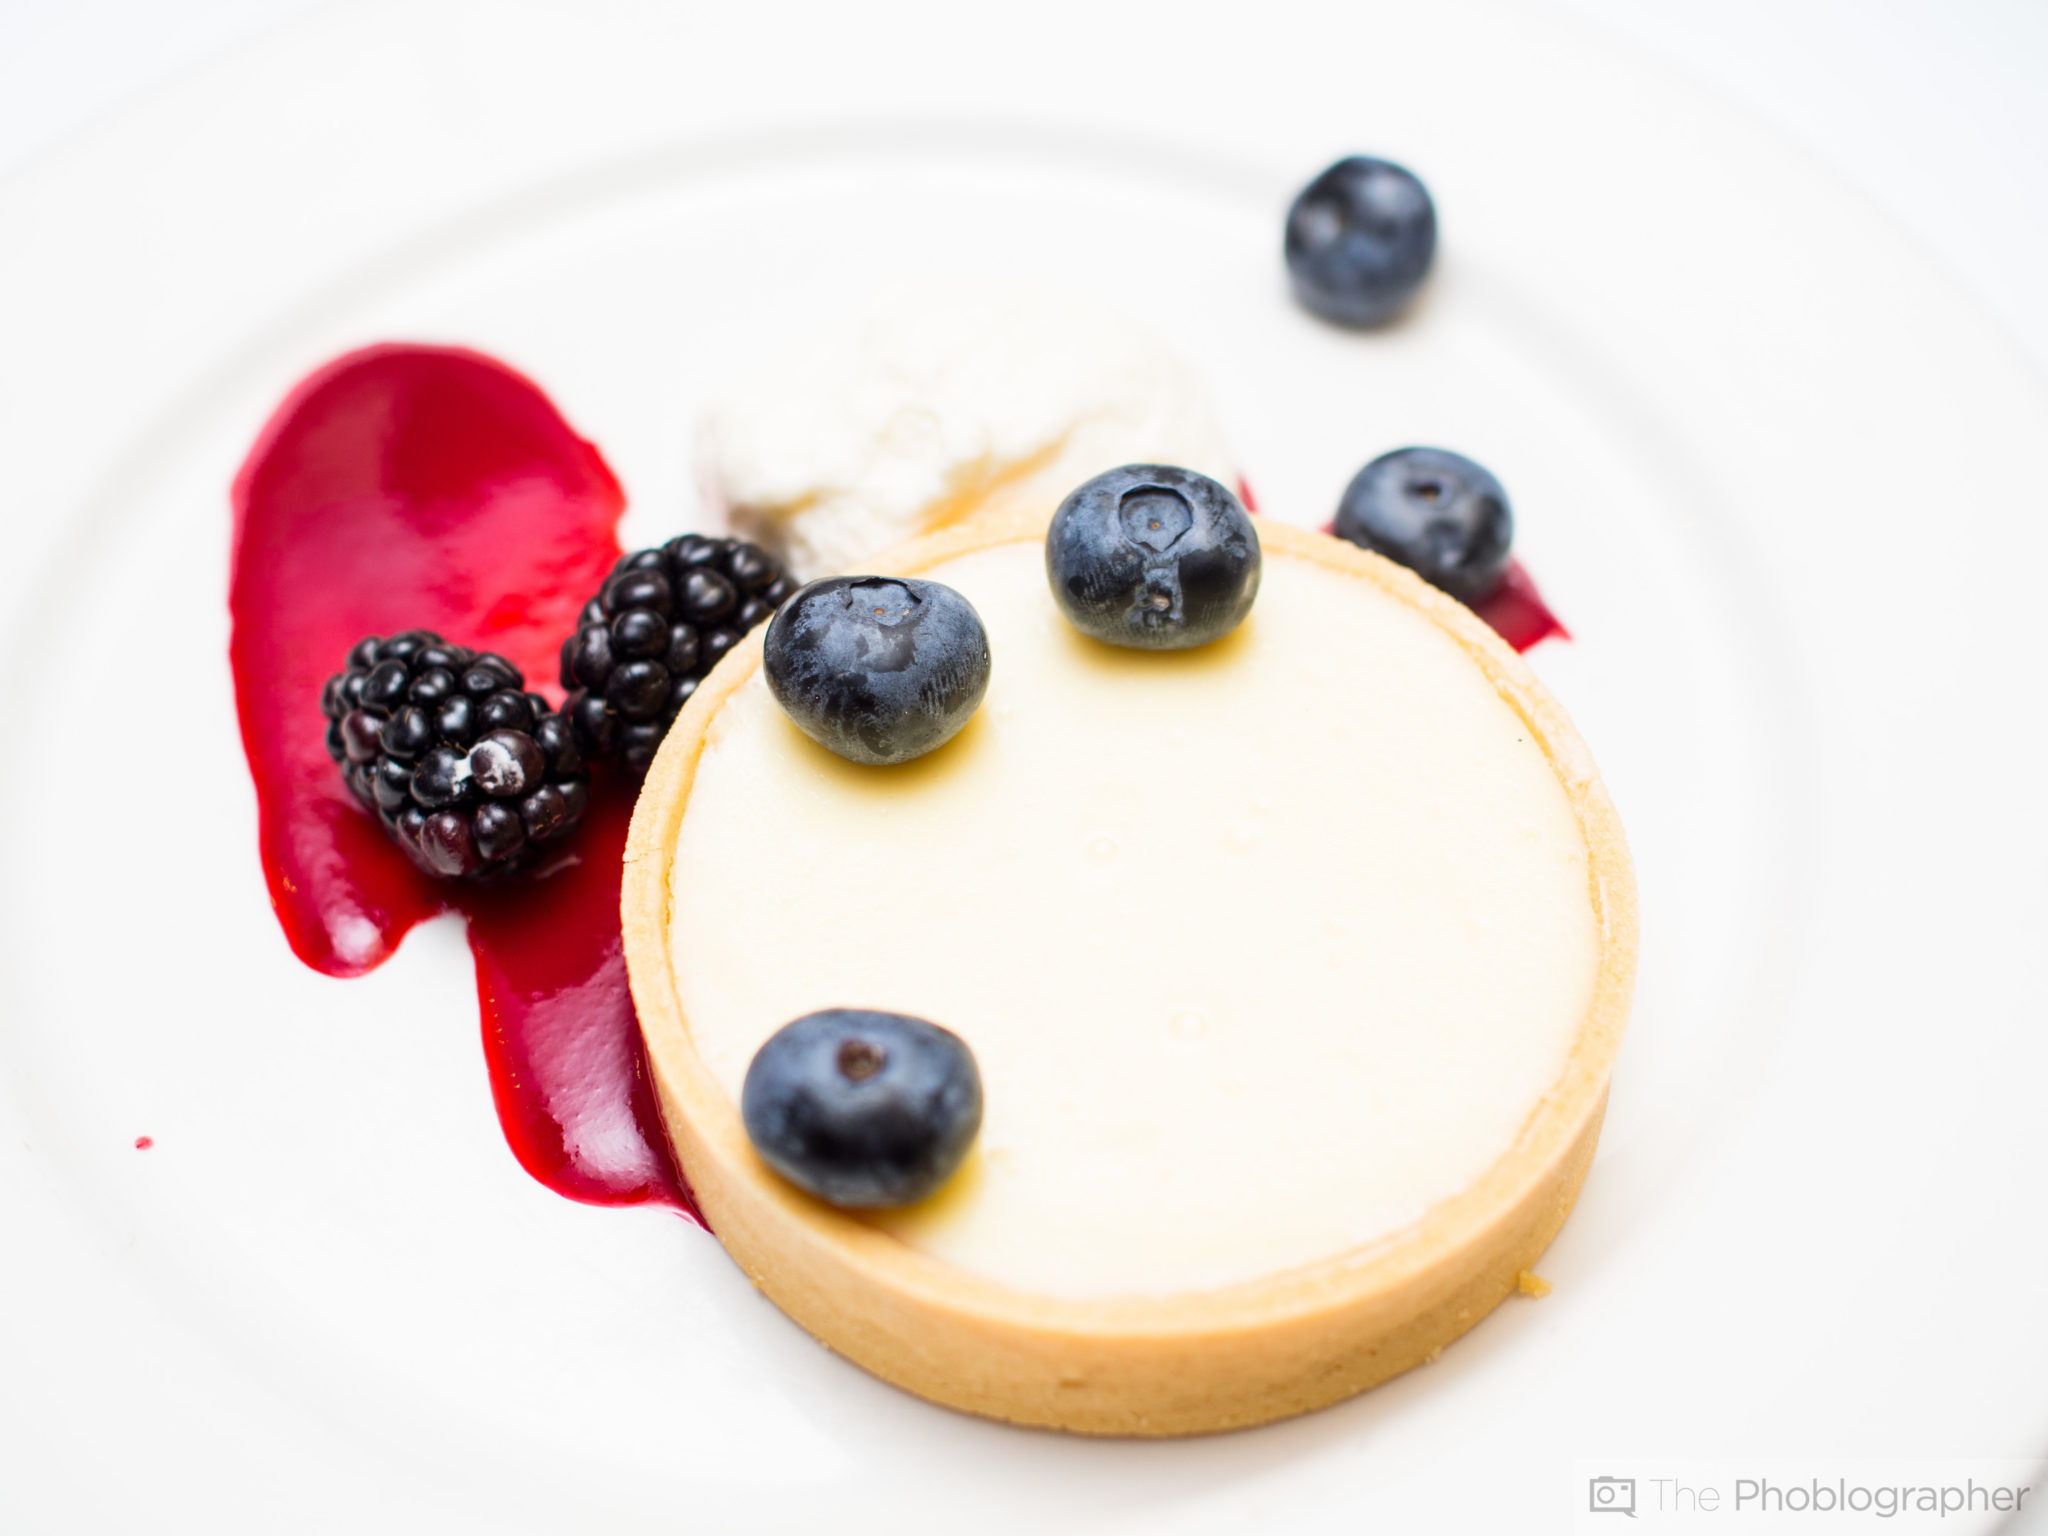
Have a Clean Composition

It’s very possible for a food photo to be way too cluttered, so try to keep it minimal. We’re going to compare this to the video world–when a set is lit, one light is added in at a time. Here, you’re going to add one thing at a time to a scene.
For example, the hot chocolate above may look great to you in person, but it won’t look so tempting to someone looking at your image. Add the marshmallows in and the cinnamon, and you’re in business.
So why not add a nice pastry of some sort to the image? Because that’s a whole new element and otherwise it will take away from the drink. Again, good photography is about building scenes.
Get rid of the ads!
Did you enjoy reading this article as much as we enjoyed writing it? There's a way to support us and our reporting, getting ad-free navigation and more as a bonus. Subscribe to us for less than a coffee per month —just $3.99— or take advantage of our yearly subscription with a hefty discount for only $25.- An ad-free experience
- A free mystery box for Lightroom or Capture One
- All the books in our store
- 20% discount on Capture One
- 30% discount on Imalume Photo Theft Protection
- 20% off Herbs and Kettle Tea Company.