
Pinhole photography requires you to think about motion, careful composition, and at the same time be willing to experiment with your luck. You’re often shooting at a lower ISO setting and with an extremely narrow aperture to create the images that you get. Most of it is also quite wide, too. But to get better pinhole photos, what you need to do is think about your scenes and start seeing the world in a totally different way considering that your camera isn’t capturing a more conventional image.
And if you’re looking for cameras, then check out these modern and DIY cameras.
Shoot Black and White or Solarized

In general, we’re going to strongly recommend that you don’t shoot in color. Color images end up not looking so great because of all the diffraction issues that pinhole images are known for. However, in black and white or with some other weird process like solarization, they look very nice. Part of this is because you’re using less colors and so the flaws naturally look better to the human eye in an artistic sense.
If you’re all about technically perfect photos, then you’re not going to get it with pinhole photos.
You Need a Tripod
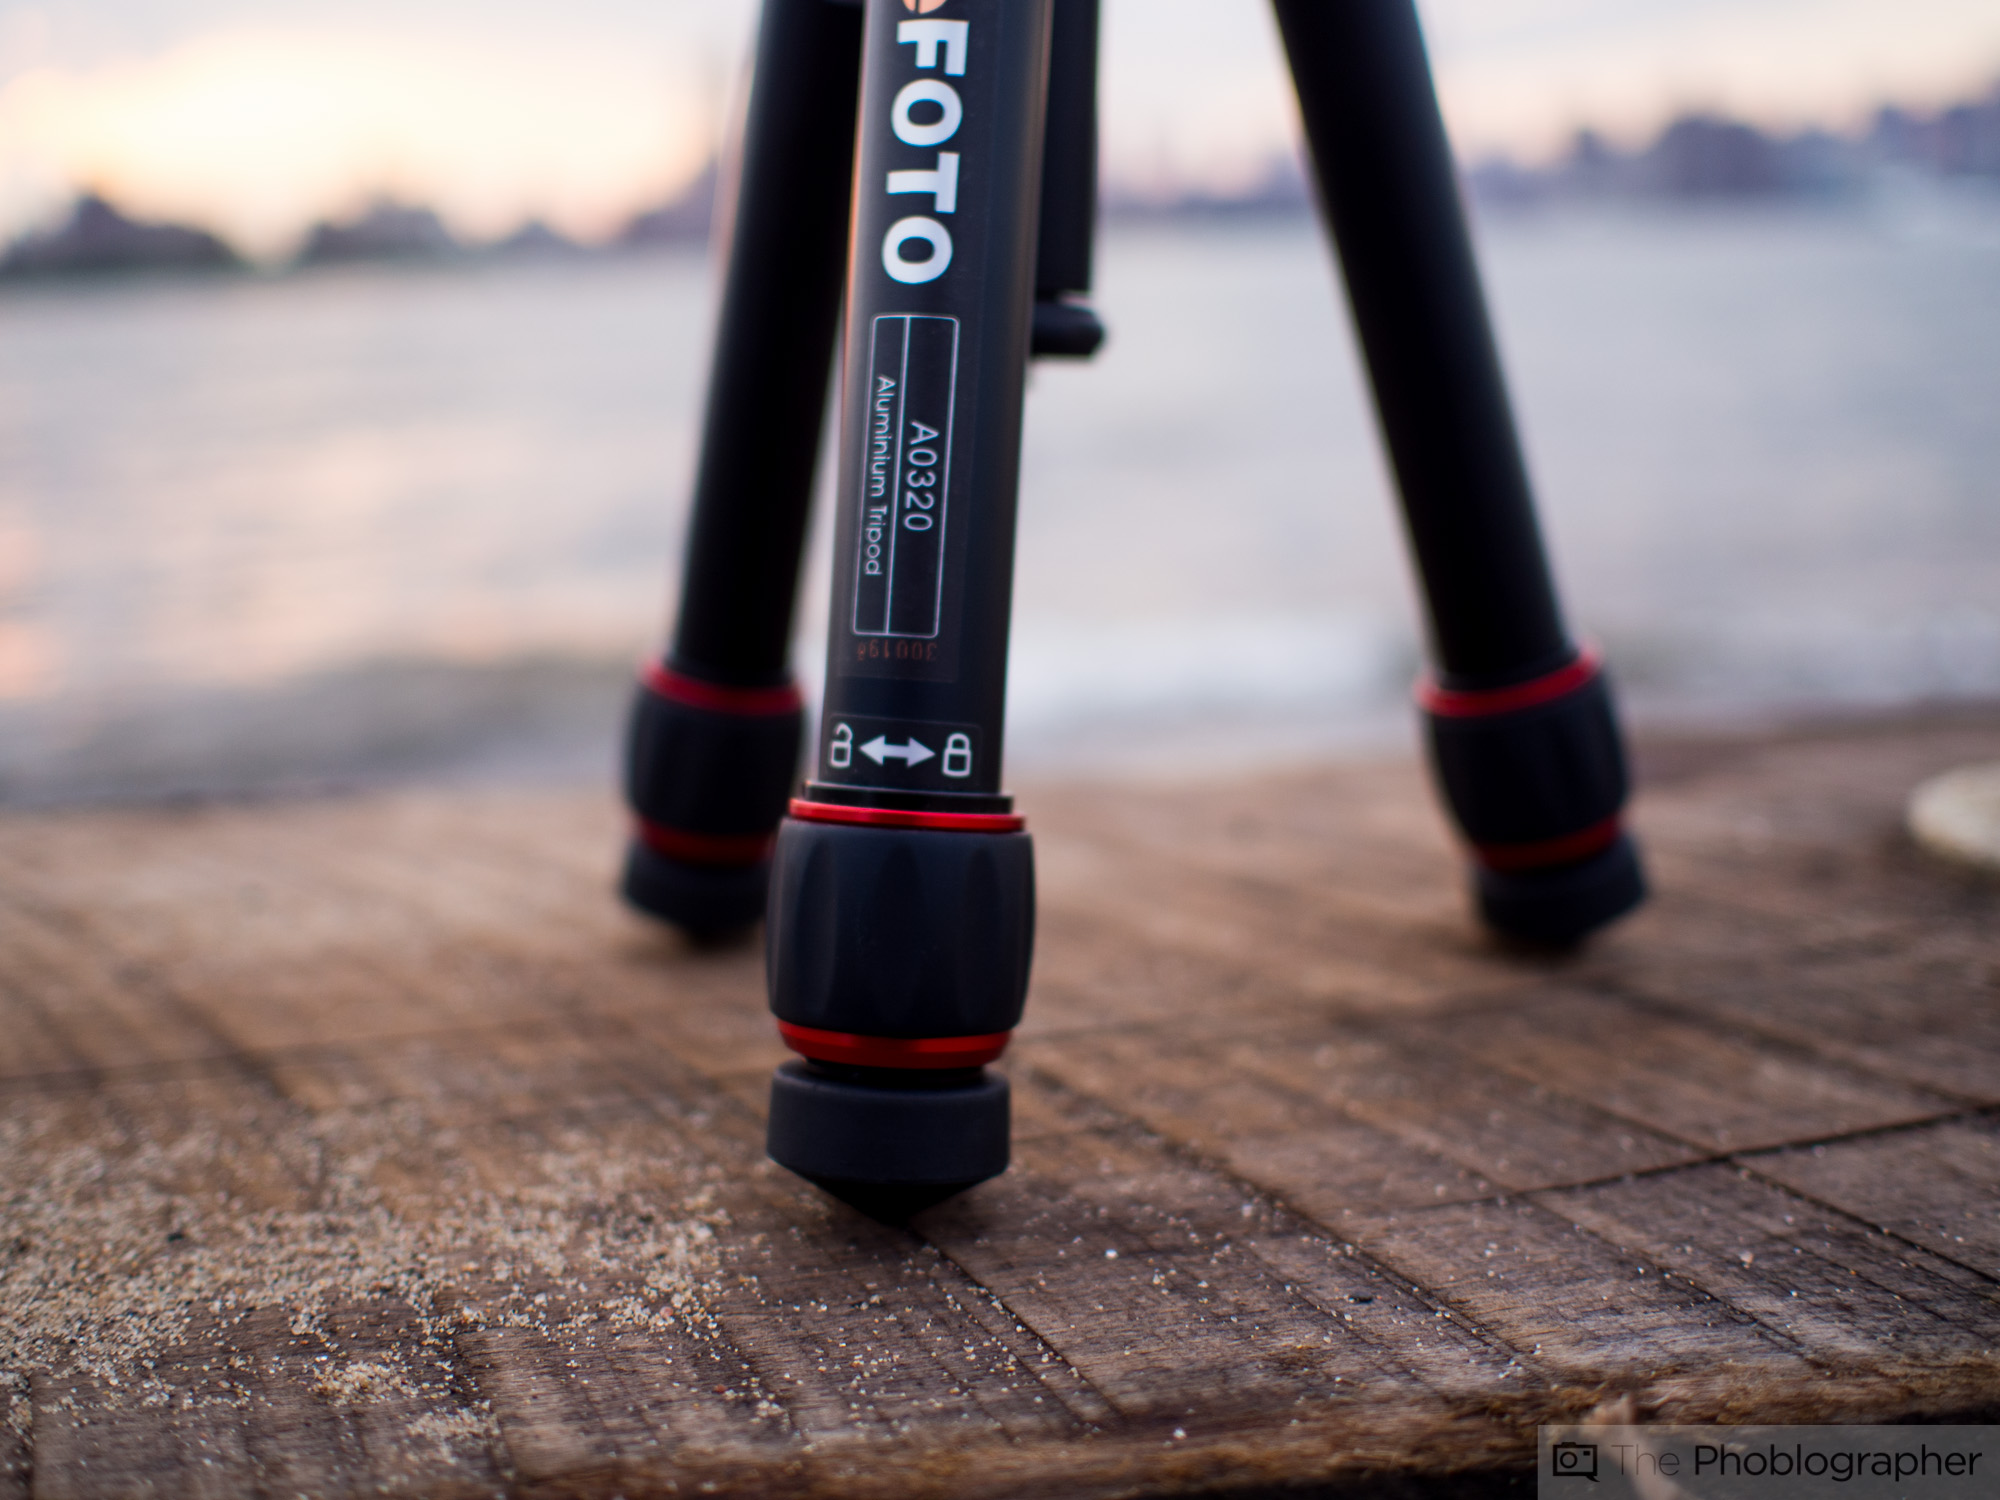
Don’t kid yourself–you’re not handholding a camera for a six second exposure and expecting to get something really worth it to look at. Your camera needs a tripod and you’ll need to set the shot up carefully then shoot. If your camera has a threaded shutter release, then that’s even better. But otherwise, try to shake the camera as little as possible.
High Contrast
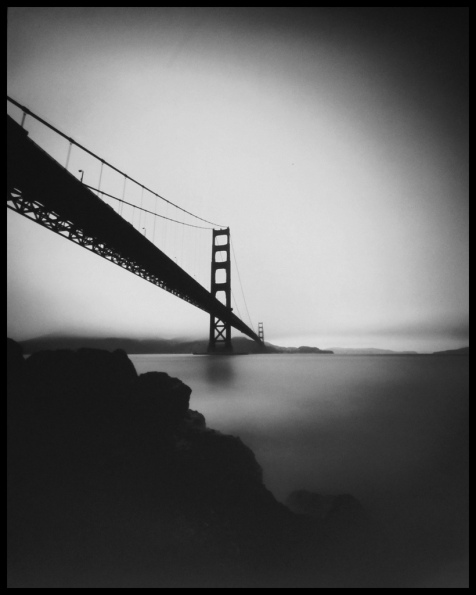
Pinhole images aren’t HDR photos and so you should embrace all sorts of contrast that my come up. With pinhole photography, you don’t need to wait until the Golden hour, instead you can go out and shoot when you please. By using high contrast, you get the viewers to focus more on specific elements of the photo that make it beautiful and that emphasize the ethereal look that pinhole photos are often known for.
How does this work? When the human eye sees blacks in a full color image, it tends to disregard them and looks at the other ones that stand out (like red.) But when you’re looking at a black and white photo, it’s all about shapes and the way that the linees and contrast works out.
We recommend shooting these with film like Kodak Tri-X, Ilford Delta or Fujifilm 3000B if you can get your hands on it considering that it’s now discontinued. The look of film lends itself well to the high contrast black and white look that you’re going for.
Composition is Your Depth of Field

With pinhole photos, you’re bound to not get any bokeh because at extremely narrow apertures, everything is in focus. So the only way to convey any sense of depth of field is to use composition and scale. With that said, try placing subjects and objects that are closer to your physical position near the bottom of the image and as people look out and up into the photo they’ll see objects that are further away.
Use an Exposure Calculator or Handheld Light Meter
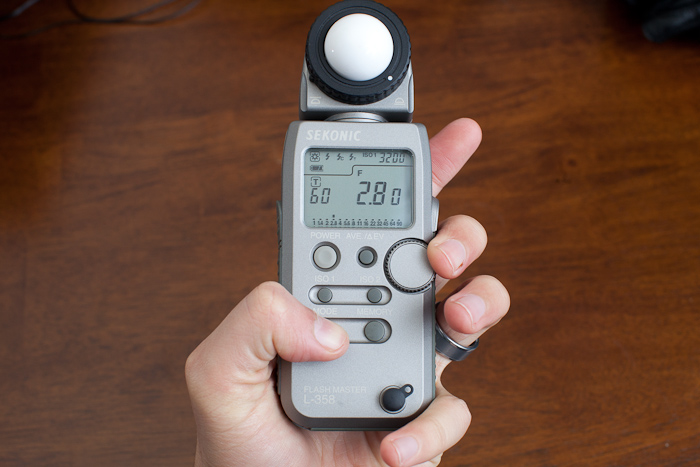
When shooting at extremely narrow apertures it’s very tough to figure out what your metering settings should be. So in that case, you’ll need to either carry a handheld light meter, do sunny 16 predictions (involving lots of math) or use an exposure calculator based on what the aperture and ISO of your lens is. The most accurate way to do this is to use a handheld light meter, but even those sometimes can’t figure out the settings because the aperture is so narrow–but it will help.
Get rid of the ads!
Did you enjoy reading this article as much as we enjoyed writing it? There's a way to support us and our reporting, getting ad-free navigation and more as a bonus. Subscribe to us for less than a coffee per month —just $3.99— or take advantage of our yearly subscription with a hefty discount for only $25.- An ad-free experience
- A free mystery box for Lightroom or Capture One
- All the books in our store
- 20% discount on Capture One
- 30% discount on Imalume Photo Theft Protection
- 20% off Herbs and Kettle Tea Company.
- 20% off your order from MPIX printing services.