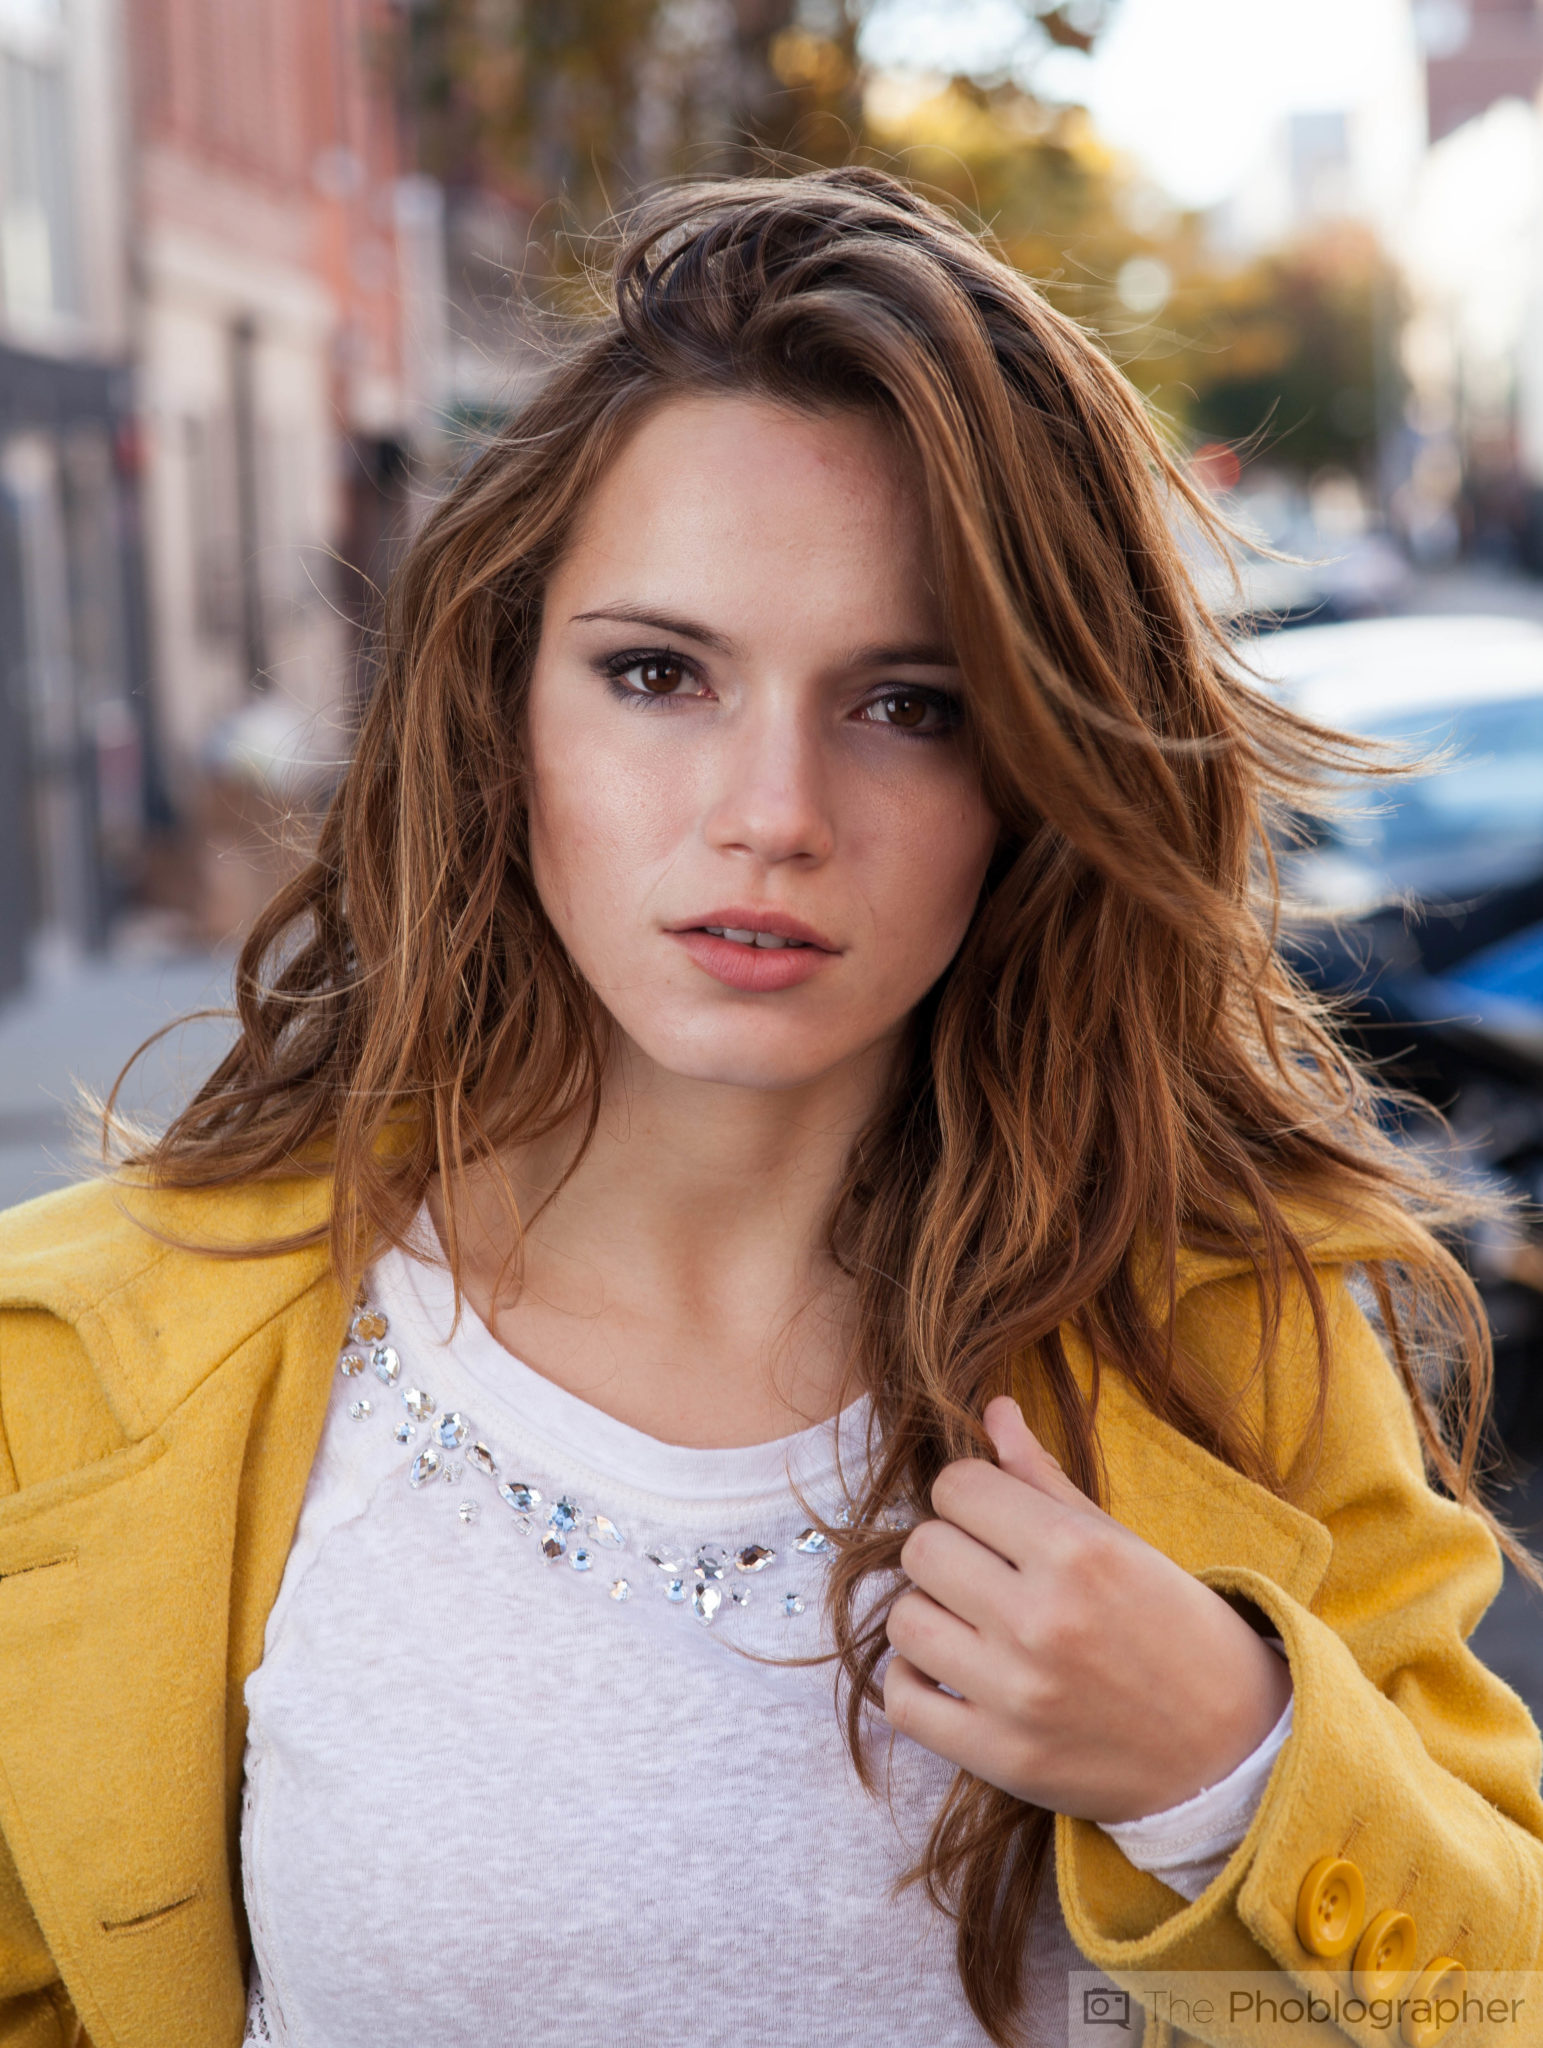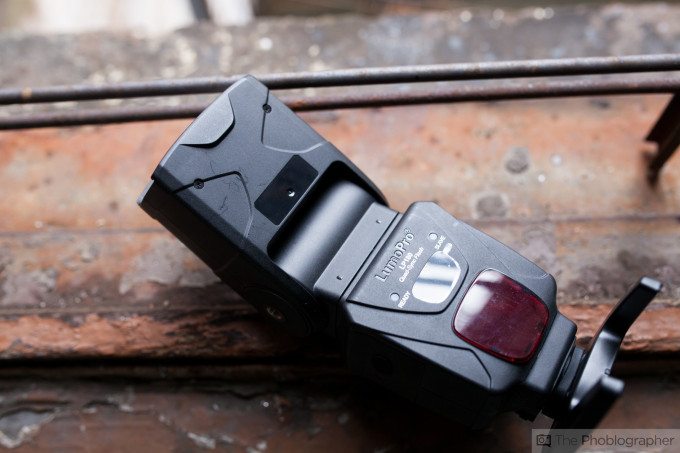
Congratulations, you’ve probably just picked up your first flash if you’re reading this post. Welcome–and know that pretty much everything that you’ve thought you’ve known about using a flash should be thrown out the window. The use of a flash in general has to do with adding light to a scene and creativity rather than just using it in spots where it would otherwise be too dark.
We’re serious: throw everything away that you thought you knew about using a flash and read on.
How A Flash Relates to Exposures
First off, there are two different types of flashes: TTL and Manual, It’s possible that a flash can be both. When TTL is activated, the flash and camera will act together to deliver what it thinks you want based on the other exposure parameter settings. In manual mode, the flash will do specifically what you tell it to. Want it to fire at 1/4 power? Just tell it to do so. But how the flash affects your exposure depends on your settings.
Shutter speeds in general won’t be affected by the flash and instead only control the ambient lighting. However, at a certain point, the flash won’t be able to sync with the shutter of most cameras. To override this, you’ll need to do lots of digging into the menus.
Aperture controls how much of the flash generally affects the scene. If your flash is metered to f8 and you’re firing the shutter at f1.4, then it will appear much too bright.
ISO controls the overall scene sensitivity to every other parameter.
You Will Rarely Point Your Flash Directly Forward
No, the best way to use your flash isn’t to just point it forward at your subject and continue to shoot. Yes, that’s the most battery-efficient way, but the language of flash has to do with the light being inefficient. In general, more diffused lighting looks better. To do this, you’ll need to bounce the flash off of surfaces and make its output appear larger. The reason for this has to do with soft lighting–the softer the light the larger the light source.
What this theoretically means is that if you point your flash at the ceiling, it will turn the ceiling into the light source. While that isn’t necessarily wrong, it’s how you should be thinking. Your flash should be turning things into light sources.
Don’t Just Bounce Above You, Try a Bit Behind You
Many photographers starting out by using flashes and pointing them directly at the ceiling. If you’re photographing a person this leads to shadows underneath their chin and their eyes being darkened. To fix this, you’ll need to point the flash not only upwards but a bit behind you too.
Remember: using a flash is about turning surfaces into light sources. So if the light is hitting behind and above you, then it is front lighting your subject from above. This will fix the problem with the shadows. It’s also much more effective than using the little bounce card that many manufacturers provide you with.
Trust us when we say that in most cases those things are completely useless.
The Wide Angle Reflector and Zoom Head

One of the most underused parts of a flash is the zoom head and wide angle reflector. The longer the focal length the flash is zoomed into, the further the light will travel and the narrower the beam will be. The wider it is, the more surface area it will cover.
One of our favorite things to do when pointing our flashes directly at a subject is to crank the power down and use the wide angle diffuser. Yes, we said don’t point it at a subject earlier on–but this is an exception.
Exposure Compensation
Many flashes have an exposure compensation setting if you’re using one with TTL. What this means is that you don’t necessarily need to change your ISO or your aperture but instead you can keep those settings the same but the flash will output more or less power based on what you’re doing.
Shooting a wedding or a party? You may want to use this setting.
Putting the flash into a softbox or a ring shaped diffuser? Yeah, this setting will become your best friend.


