Want more Useful Photography Tips? Click here.
Before we get to the big, meaty part of this post that you’re all here for, let’s quickly go over the elements of flash photography. To control what the image looks like, you have your shutter speed, ISO, aperture, and flash output. For argument’s sake, we’re going to say that you’re dealing with a manual flash instead of a TTL light–and we’re also going to assume that the light is off-camera.
– Shutter speeds: control the ambient lighting in the scene
– ISO: controls the overall sensitivity of the other parameters.
– Aperture: controls the depth of field and how much light from the flash actually affects the scene.
– Flash output: a specific powerful level. If you have a 500 watt second monolight and are shooting with it at around half power, you’ll be shooting at 250 watt seconds. That’s around three or four standard hot shoe flashes.
Using the different combinations of these parameters you can blend the lights accordingly to look more natural. Then there is the other obvious part: using a large light modifier to make the light even softer.
Finally, we now get to what’s really important. The biggest secret to making flash output look more natural has to do with its positioning. Much of the light that we normally see in life is above us. Ever notice that?
Walk through a hallway, and the lights are in the ceiling. Go outside and sun is shining down on you from up above.
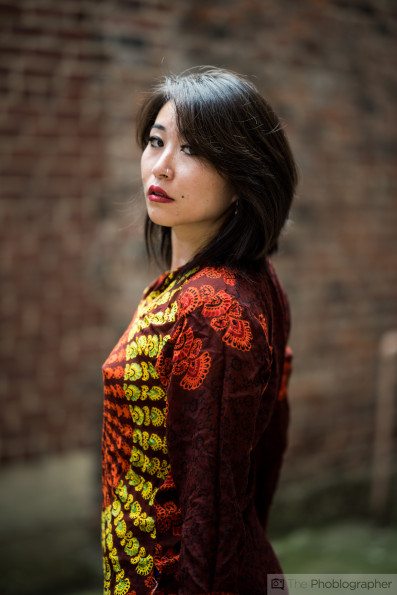
So one of the biggest tips that we want to give you is to raise the light up above your subject and aim it downwards at an angle. Additionally, bring the light to the side and forward. By doing this little trick, the light in your scene can look a thousand times more natural than if it were from below.
Just think: how many times do you see the light coming from below someone?
Want more? Check out how to make strobe look natural, using an ND filter with strobes and blending strobe and ambient light.

